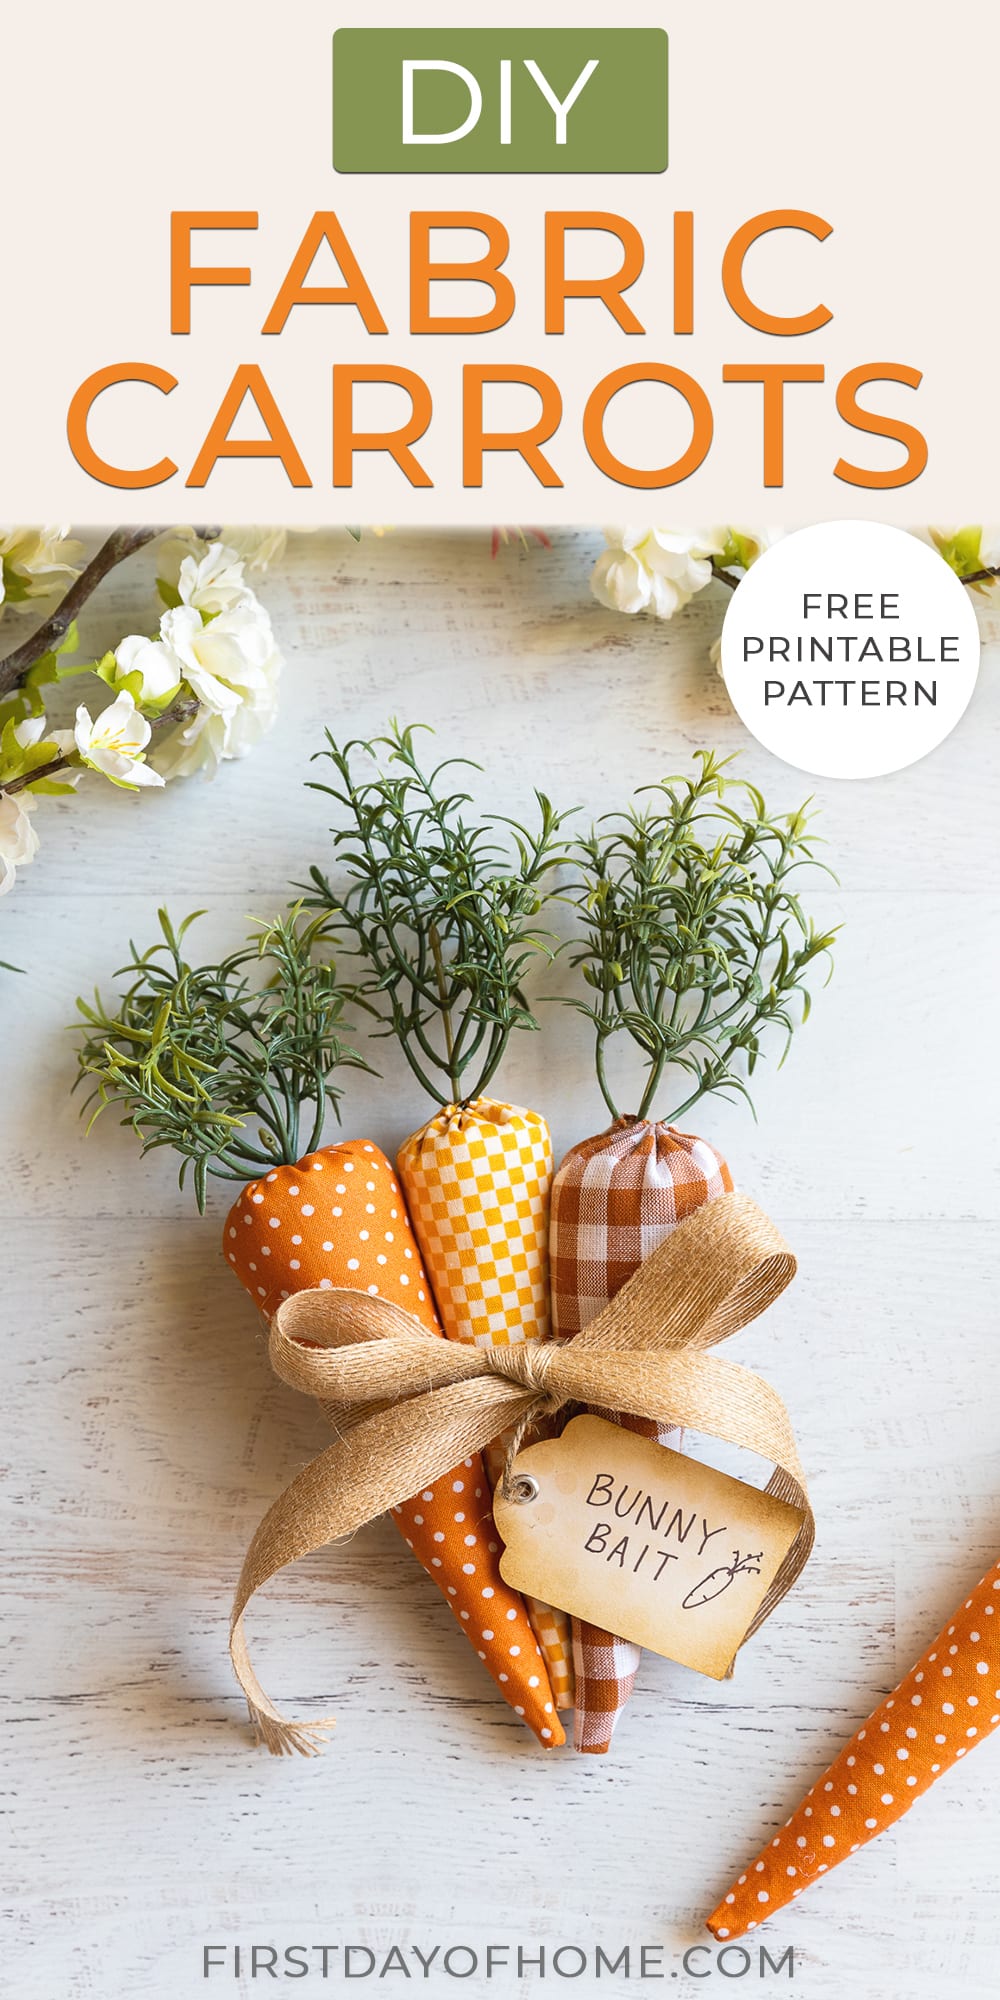
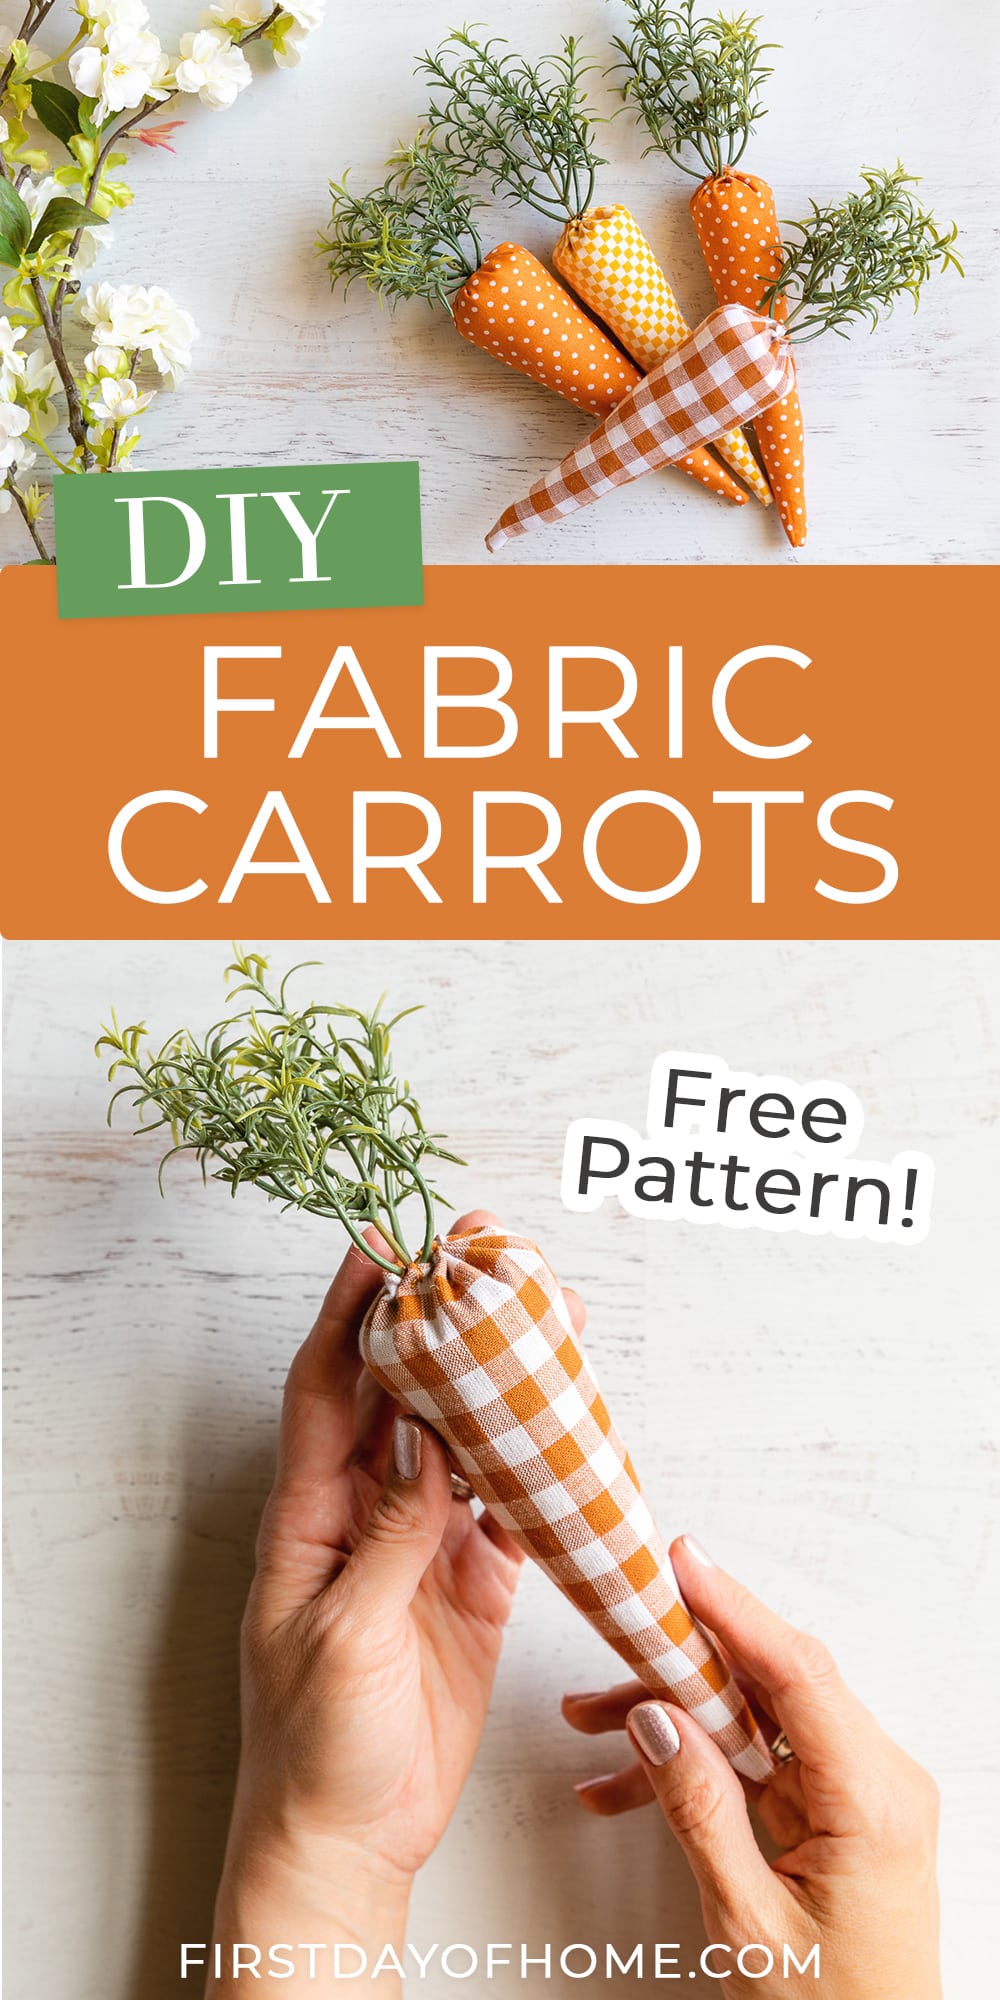
DIY Fabric Carrots (Free Pattern)

I’m all about decorating with adorable bunnies and carrots when spring rolls around. These fabric carrots make the cutest “bunny bait” and don’t require a sewing machine. Plus, I’m offering a free pattern to create these simple spring decorations.
This post contains affiliate links, and I will be compensated if you make a purchase after clicking on my links. For more information, please see my disclosures.
Watch on YouTube
The latest on Youtube:
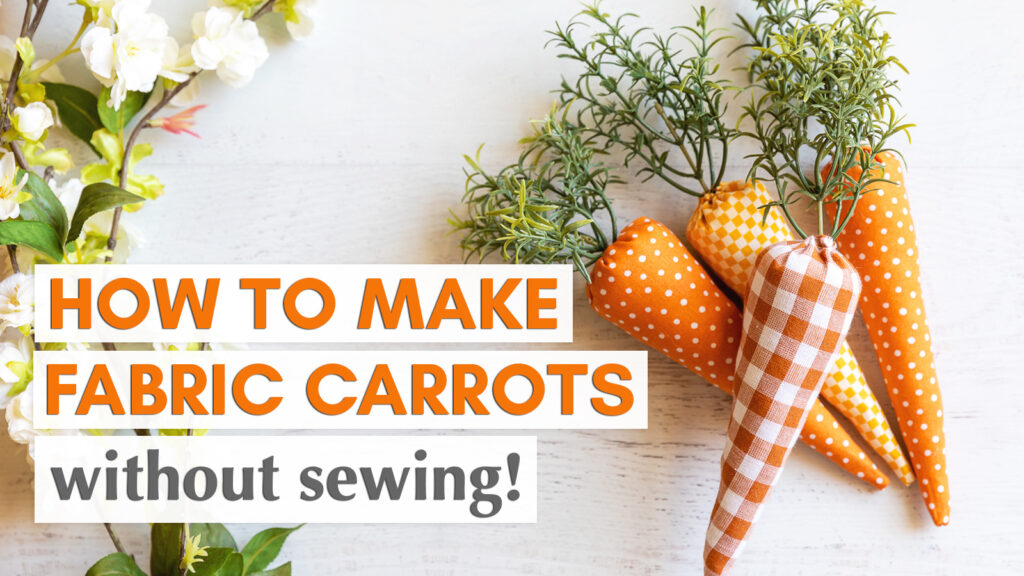
How to Make Fabric Carrots
I fell in love with sewing several years ago when I left my corporate job. Over the years, I’ve made things like a pretend campfire, tooth fairy pillows, and lavender heating pads with my sewing machine.
But sometimes you just want to whip up something cute without lugging out Big Bertha!
These fabric carrots are the perfect no-sew project. If you’re new to working with fabric, this tutorial is for you. Best of all, you won’t be able to tell whether you used a machine or not.
Fabric Carrot Supplies
Step 1: Download and cut the fabric carrot pattern
I’ve included a free fabric carrot pattern at the end of this post. You can also freehand a carrot shape onto your fabric if you prefer.
My pattern includes lines showing where to fold and glue the carrots. If sewing is your jam, you can also use this pattern with a sewing machine.
Step 2: Trace and cut the carrot shapes
Fold the paper pattern in half along the “fold” line. Then fold the fabric in half (right sides facing each other). I chose a trio of orange patterned fabrics, including gingham, checkered, and polka dot prints.
The fold line on the pattern should line up with the fold line on your fabric.

I like using this disappearing ink pen to trace my pattern, but honestly, no one will see the line since it will end up inside the carrot.
Of course, you can just cut the pattern without any tracing if you have a sense of adventure. I suggest using a good pair of fabric shears to make a clean cut and prevent fraying.
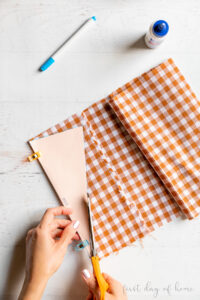
Step 3: Apply fabric glue along the dotted line
Fabric glue takes the place of sewing in this project. Apply an even line of glue along the dotted line indicated on the pattern (the long side of the carrot). Don’t skimp on the glue at the tip of the carrot.
If you decide to sew your carrot instead, this dotted line would represent your seam.
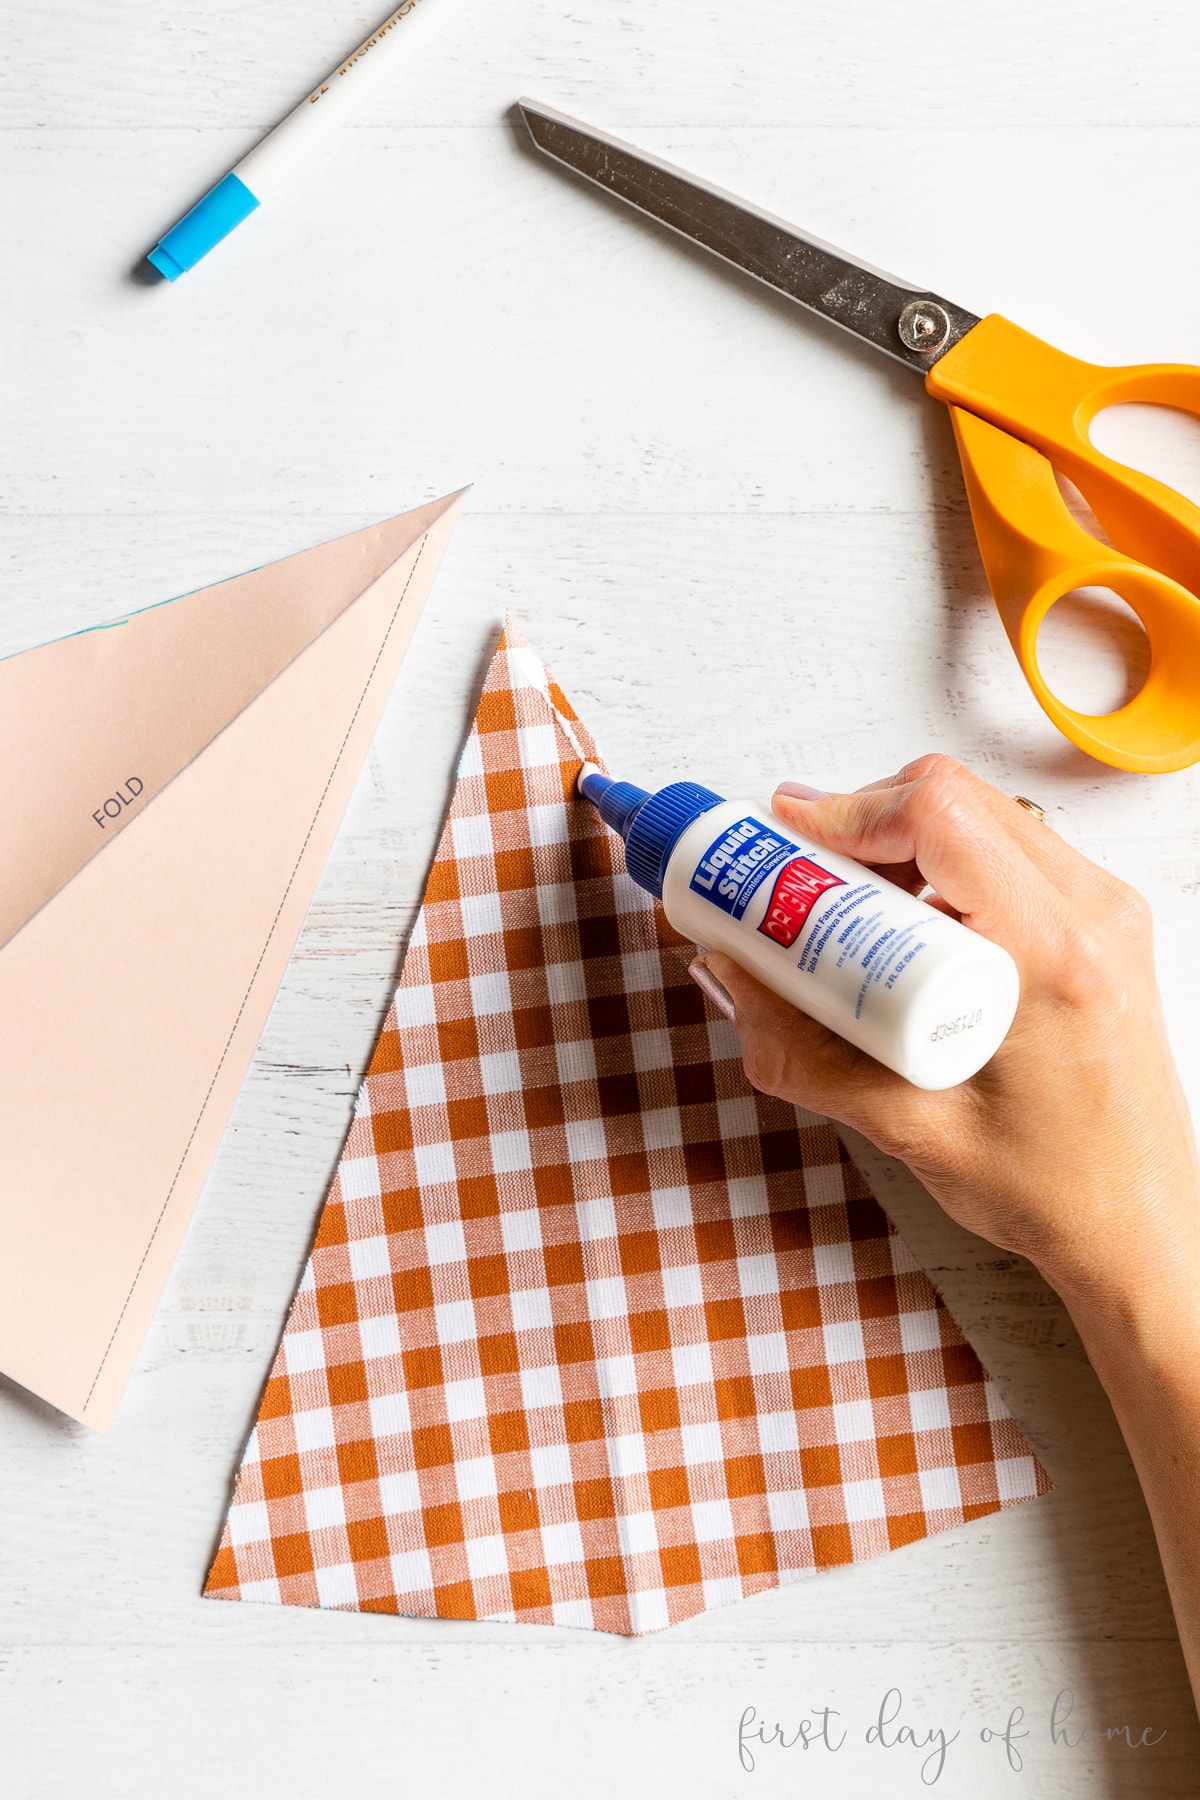
Press the right sides of the fabric together, and let the glue dry for about 30 minutes.

Step 4: Fill the carrot with stuffing
Once the carrot has finished drying, it’s time to stuff it! First, you’ll want to turn the carrot right-side-out. I also like to trim the very tip of the carrot to reduce bulk. (Just be careful not to cut beyond the glue.)
You may want to use a chopstick or point-turner tool to push the tip of the carrot out.
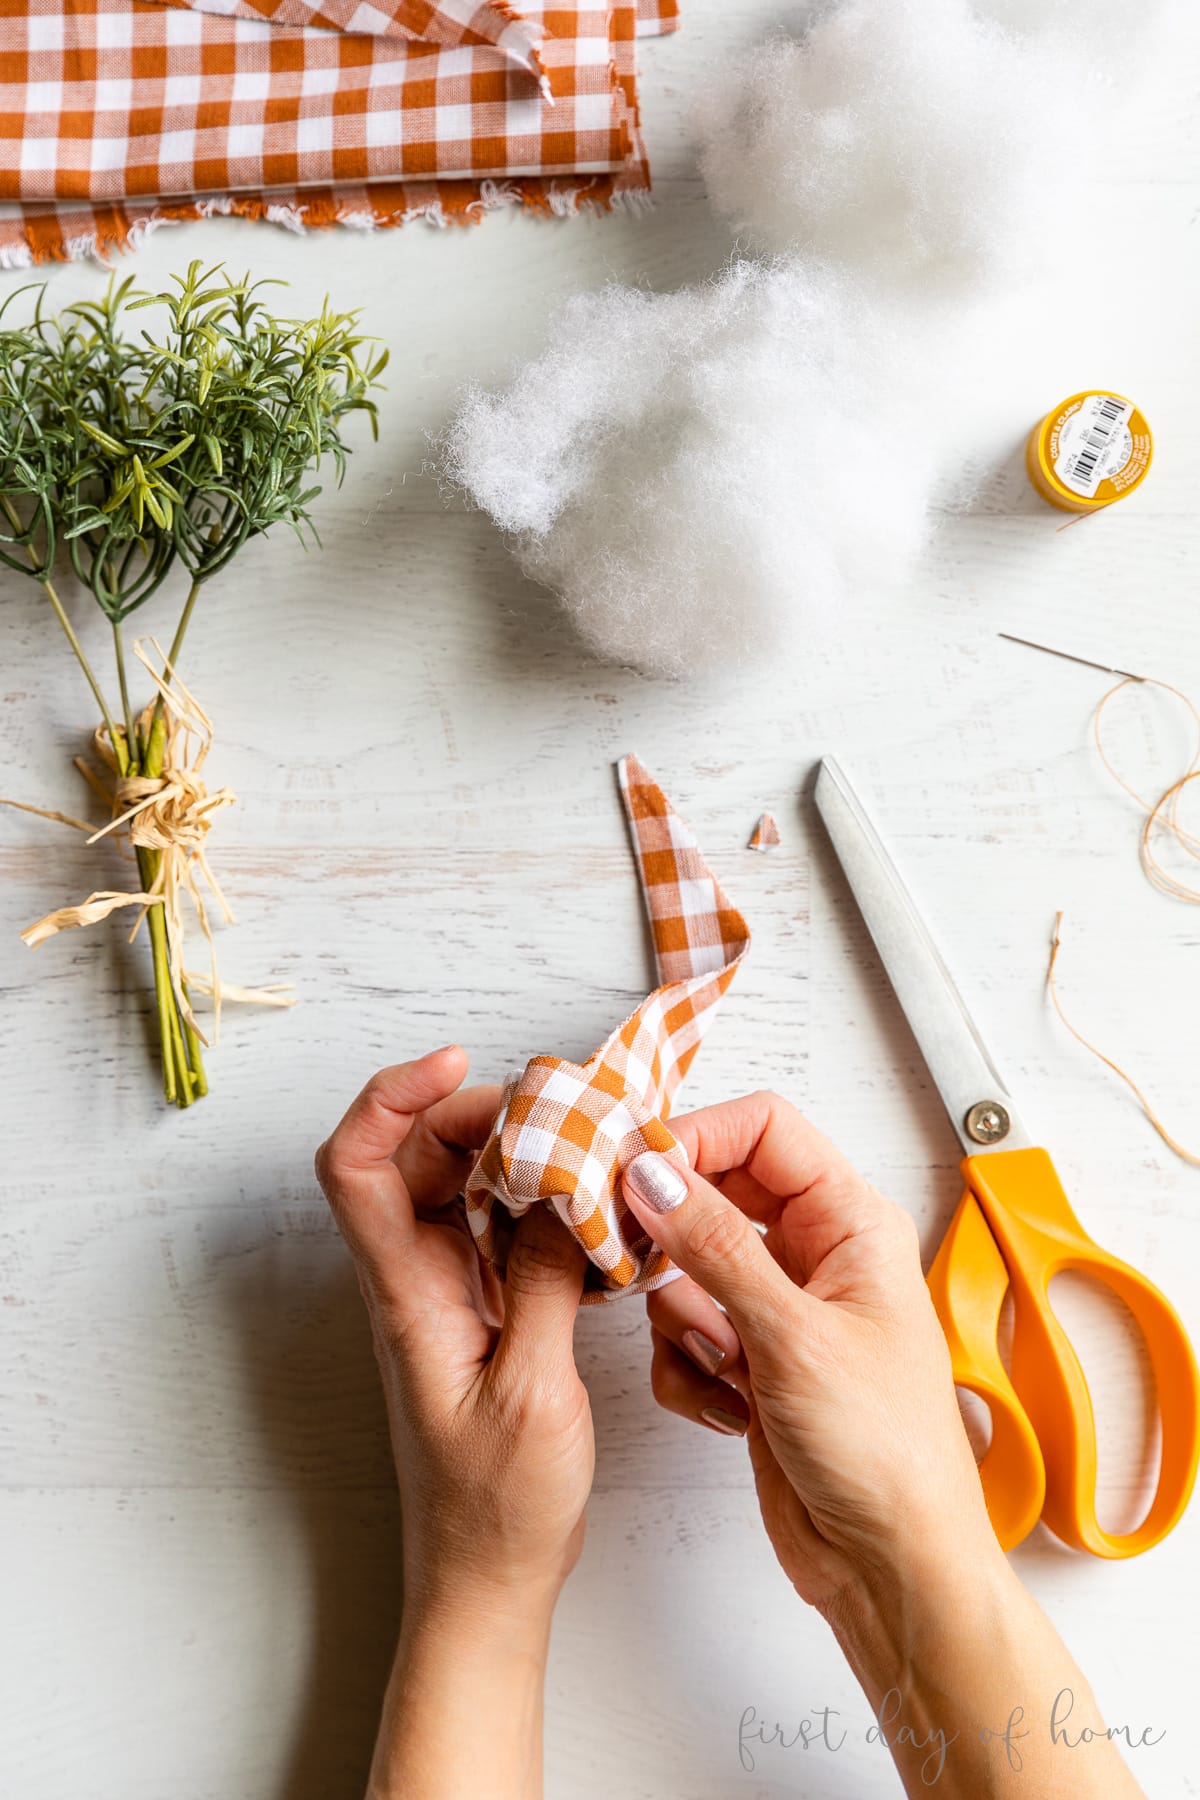
I use this polyester filling when making any type of plush project. It works like a charm, but if you only have cotton balls or another filling, feel free to use whatever you have!

Pro Tip
For the best finish, fold the edges at the top of the carrot inward before closing the opening.
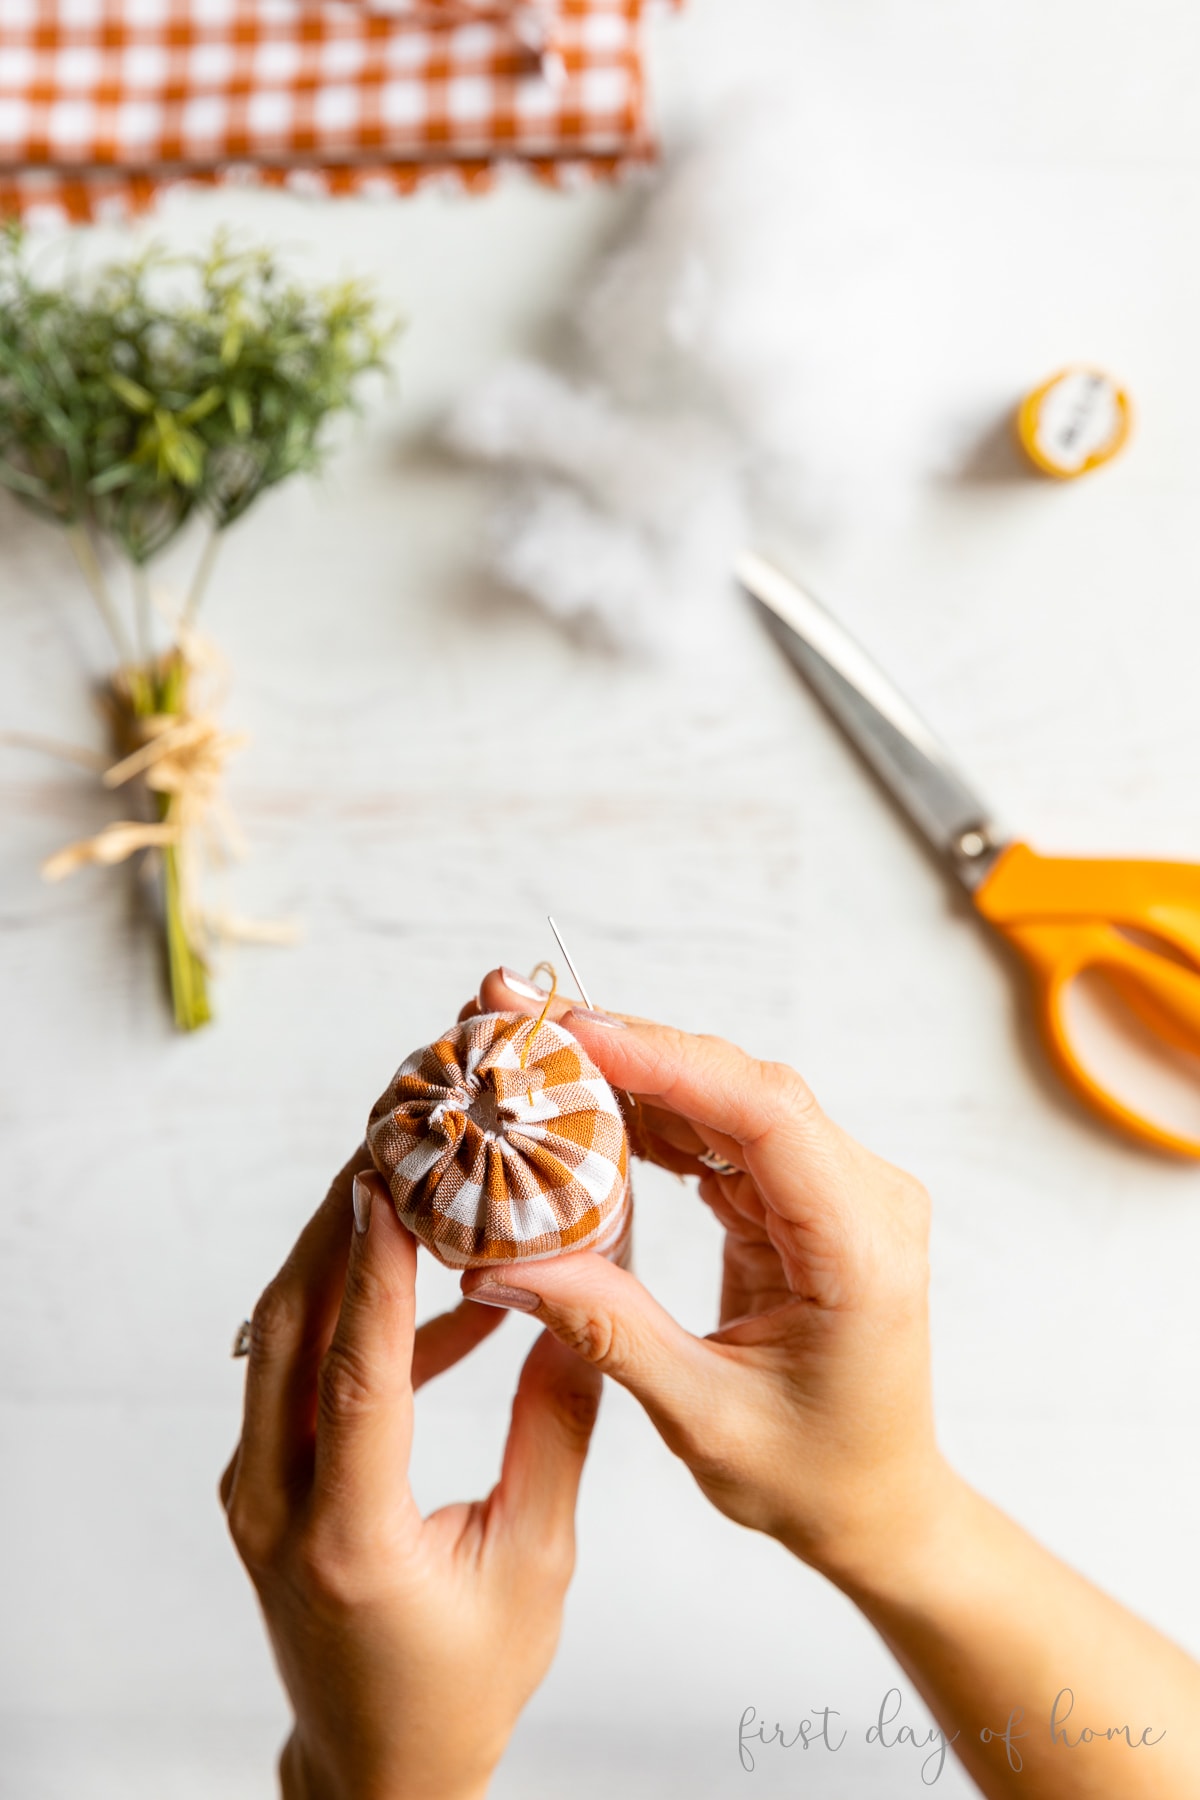
Step 5: Glue or hand-sew the carrot closed
To close the opening at the top, you can either hand-sew it or glue it together. It takes only a minute to hand-sew it closed, but I realize some folks don’t want to deal with any kind of needle.
A running stitch all the way around the folded edges will look like the photo below. Just make sure to leave a small opening to add a leaf or greenery.
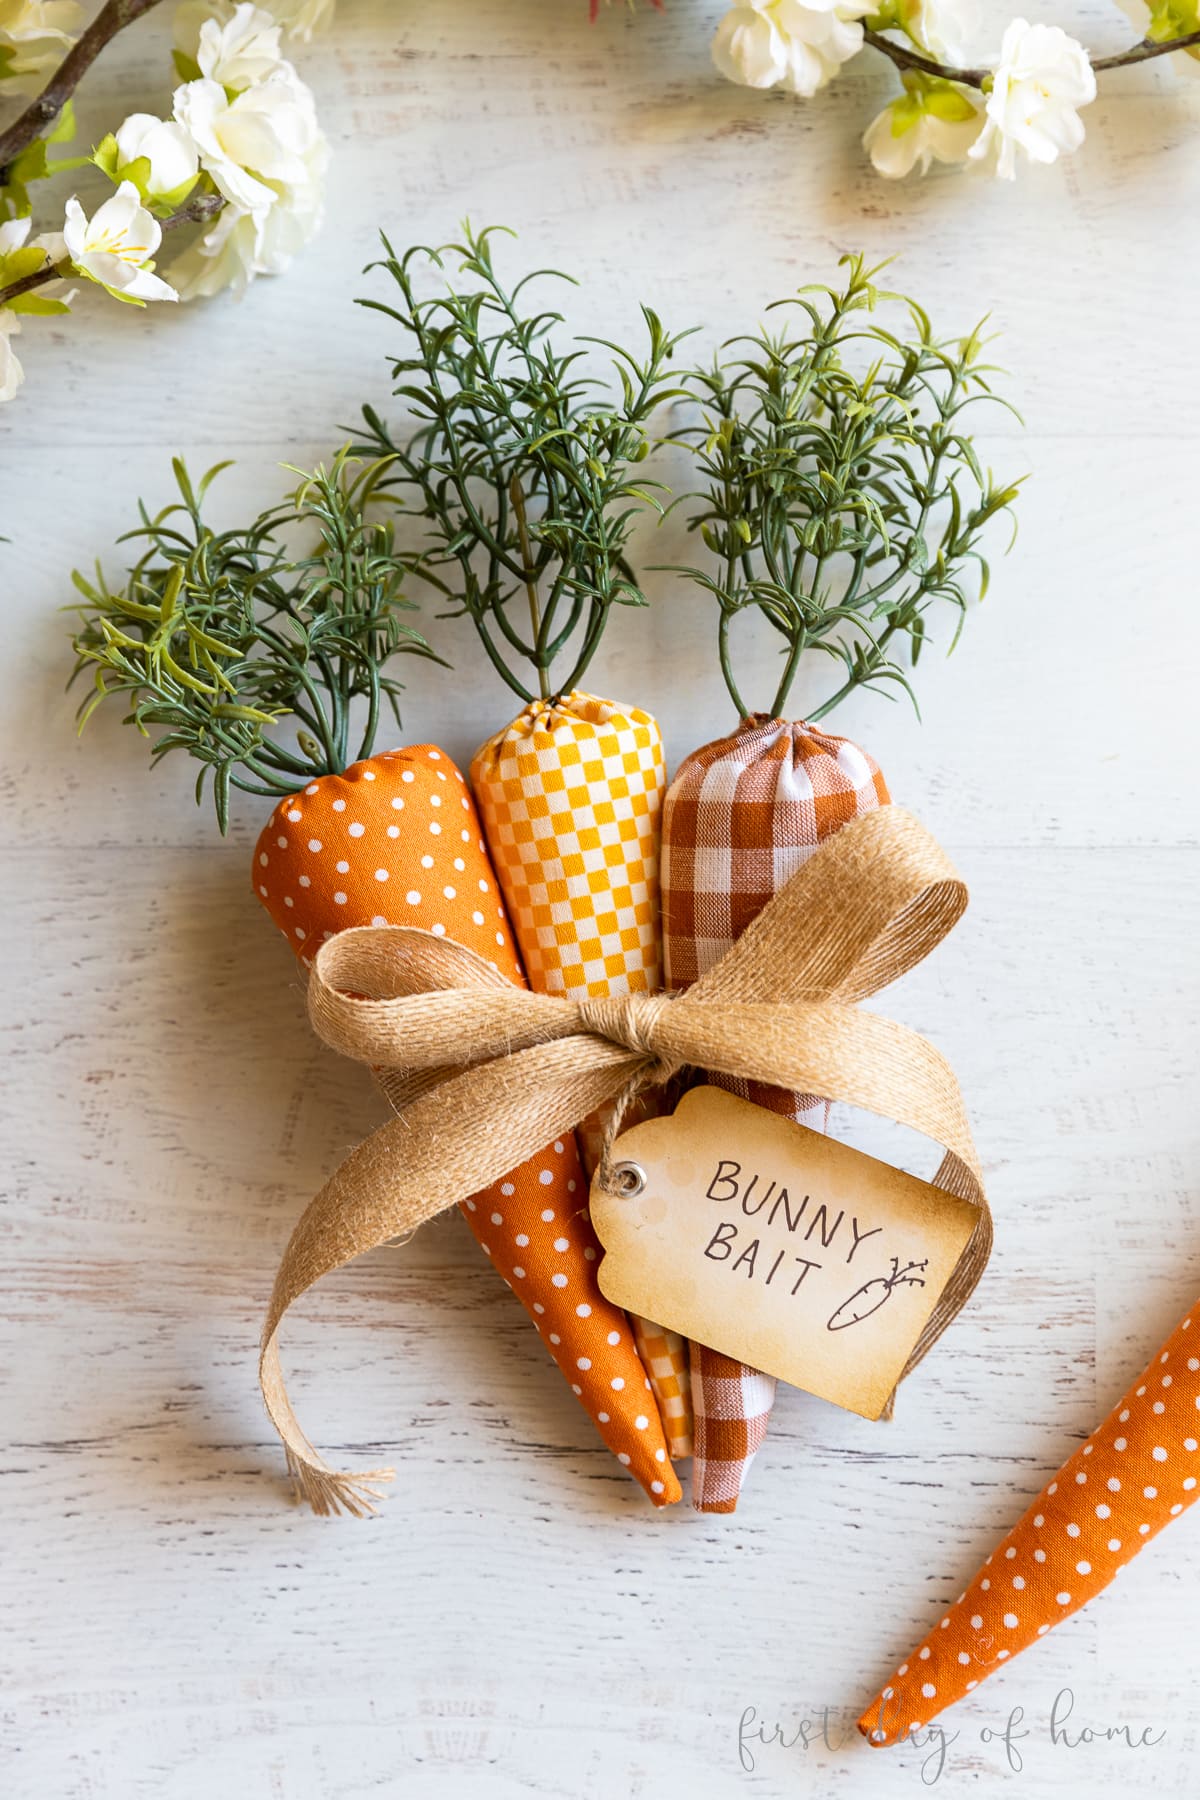
Step 6: Attach greenery or ribbon to the carrot top
I found the cutest artificial rosemary stem to make my carrot tops. You could use any faux greenery, green fabric, ribbon, or even yarn for this last step. I love the idea of using wired ribbon to create whimsical-looking fabric carrots. Maybe I’ll try that next time!

I simply stitched my thread around a few sprigs of the faux stem to secure it in place. Hot glue also works well for this step.
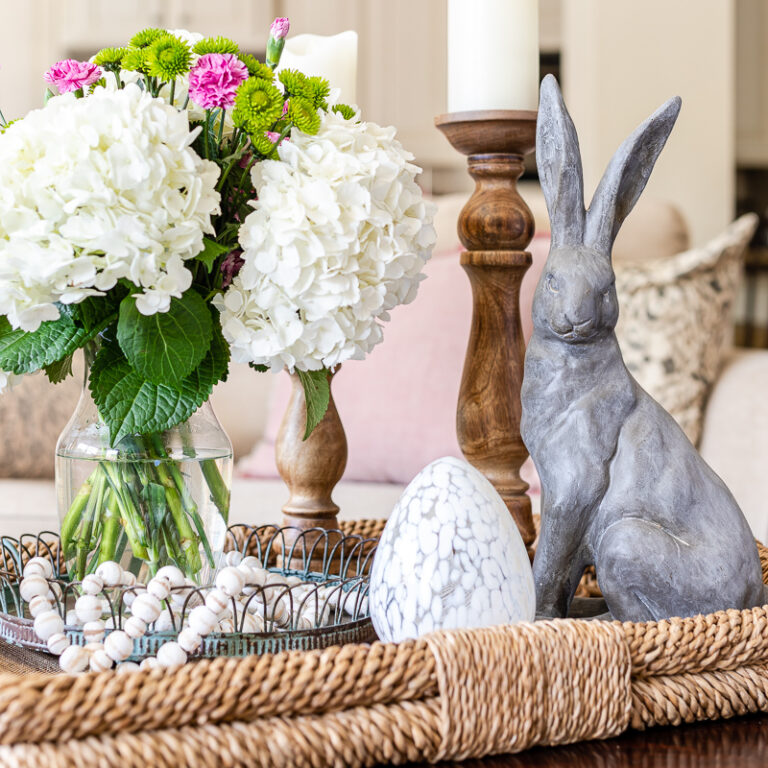
Decorating with Fabric Carrots
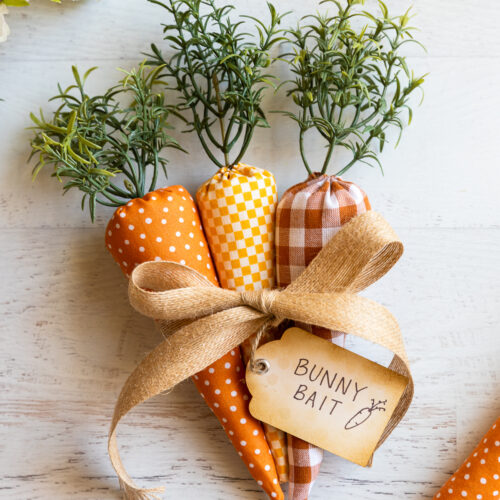
I’ve enjoyed displaying my DIY fabric carrots on my tiered tray this year. I decided to create a bundle of carrots and wrap them in a rustic ribbon for a farmhouse decor vibe.
You could also use them for a dough bowl, spring tablescape, or basket. These primitive carrots make a great accent throughout the Easter season.
If you have leftover pieces of fabric, consider making mini carrots for a garland or wreath to add to your Easter decor.
You can also try your hand at these scrap fabric projects throughout the year.


Pin it for later!
Download the free fabric carrot pattern
I’m happy to offer a free printable pattern for fabric carrots to make your life easier. These carrots come in two slightly different sizes. All files are for personal use only.
Note: To view the document, you will need Adobe Acrobat Reader, which you can download for free here.
Tag me on Instagram if you decide to create your own “bunny bait.” I’d love to see your pretty creations! You can also share this fabric carrot tutorial with others by pinning it below.
How to Make Fabric Carrots
Equipment
- Fabric Scissors
- Needle optional
- Hot glue gun optional
Supplies
- ⅛ yard patterned fabric
- fabric glue
- piece Fiber fill
- 1 piece faux greenery (may also use pipe cleaner, fabric, or ribbon)
- piece thread (optional, may use glue instead)
- carrot pattern (Visit blog post for free download)
- glue sticks (optional, if using glue gun)
Instructions
- Download and cut carrot pattern.
- Fold the printed pattern in half. Then fold the fabric in half, lining up the fold edge of the pattern with the folded edge of fabric. Trace and cut the carrot shape out of the fabric.

- Apply fabric glue on the right side of the fabric (patterned side) on the long edge. (See the dotted line on the pattern as a guide.)
- Press the edges of the fabric together, and wait 30 minutes for the glue to dry completely.
- Trim the tip of the carrot to prevent bulk, taking care not to cut past the glue. Flip the carrot right side out.
- Add fiber fill (Poly-fil) to fill the carrot until only 1/2 an inch is left from the top edge.
- Fold the top edge of the carrot, and begin to make a simple running stitch around the top. This will cinch the carrot closed leaving a small opening for greenery. You can also glue the top of the carrot closed instead for a no-sew option.
- Attach faux greenery, ribbon, or fabric leaves to the top of the carrot. You can use a needle and thread or hot glue to keep the carrot top in place.
- If you have fabric left over, you can repeat these steps to make additional carrots.


You Might Also Like…

These carrots are so fun, I seriously love using them for decorating. I have always sewn mine but always thought they could be made with out. So pretty and I love how you bundled them with the tag.
Yes, they are so fun to use for Easter decor! I still like having the option to sew if I have my machine out. Thanks for stopping by, Leanna!
These carrots are so cute, Crissy. Making fabric carrots has been on my DIY to-do list for a long time. Your fabric patterns are great.
Thank you, Carol! It’s a quick and easy craft for Easter. I’m sure you’ll find cute ways to decorate with them. Happy Easter (a little early)!
This are so cute!! Thanks for the tutorial and for the inspiration,,I think I will definitely be trying to make so of these!!
Hugs,
Deb
Thanks so much, Debbie! I hope you will give them a try! They really only take a few minutes to make, and you can get creative with the carrot toppers. Hugs back, Crissy
Very super cute! And the little gift tag too. I hope you’ll share it at my craft party. Have a great day!
Thanks so much! I’ll have to check out your party!