DIY Photo Transfer To Wood: A Beginner’s Guide
Transferring photos to wood is one of my favorite ways to creatively display special memories. I don’t know about you, but when I truly cherish a moment, I want to hold onto it forever! In this simple DIY tutorial, I’ll teach you how to make a photo transfer to wood that will last.
This post contains affiliate links, and I will be compensated if you make a purchase after clicking on my links. For more information, please see my disclosures.
Transferring Photos to Wood in 7 Simple Steps
This photo transfer project uses a fun technique I have wanted to share for such a long time! It’s an easy way to repurpose scraps of wood, and the finished product has a gorgeous vintage vibe.
You can watch the full video tutorial on my YouTube channel (click the image or link below).

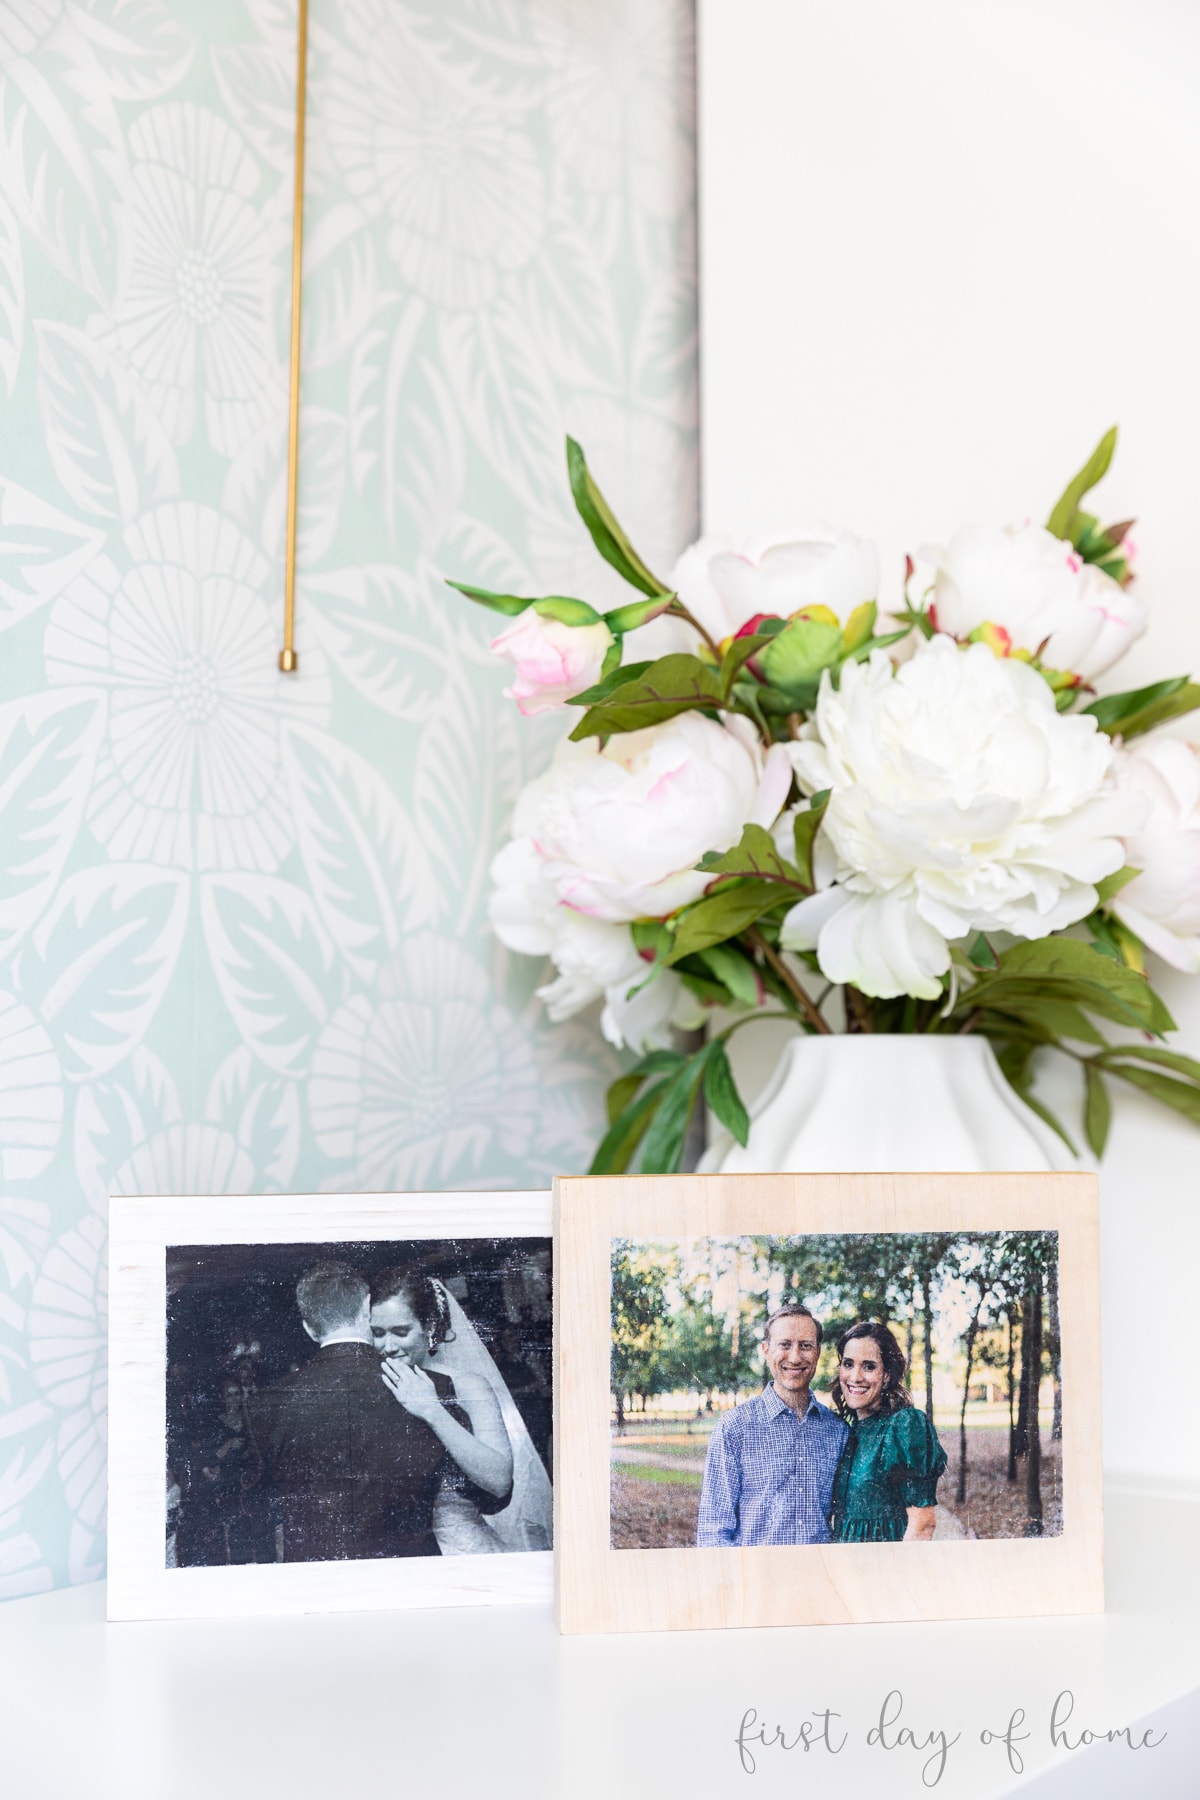
I’ve covered many crafts that involve decoupage on wood, but the photo transfer to wood is one of my absolute favorite projects. It’s the perfect combination of classy and sentimental…the type of gift anyone would treasure.
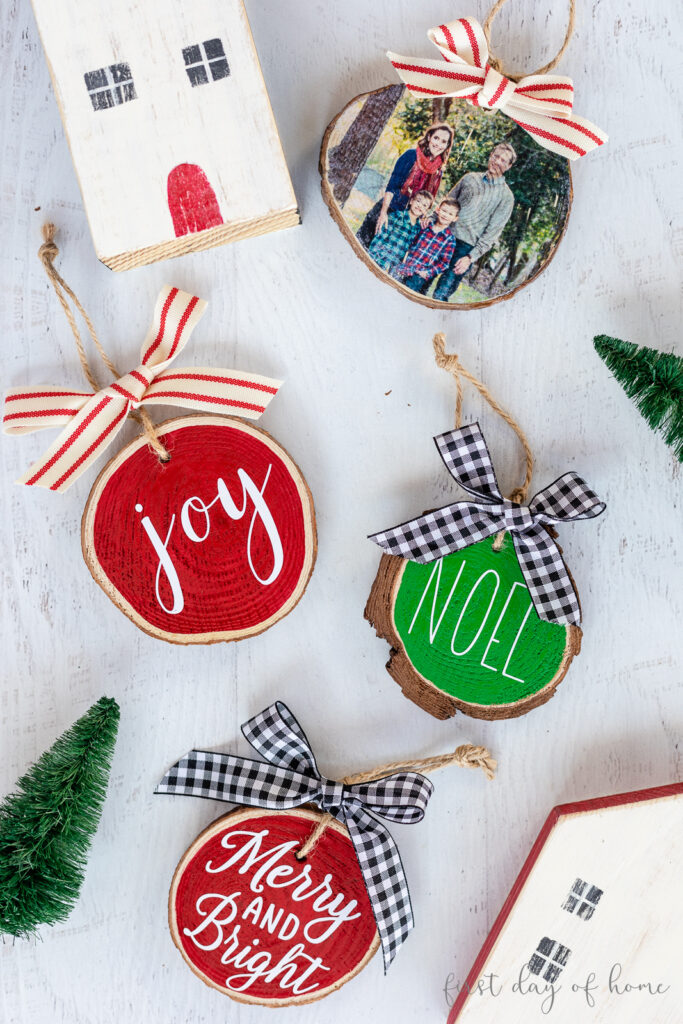
If you’re looking for similar gift ideas, check out my guides on Decoupage Wood Signs and Photo Transfer Christmas Ornaments.

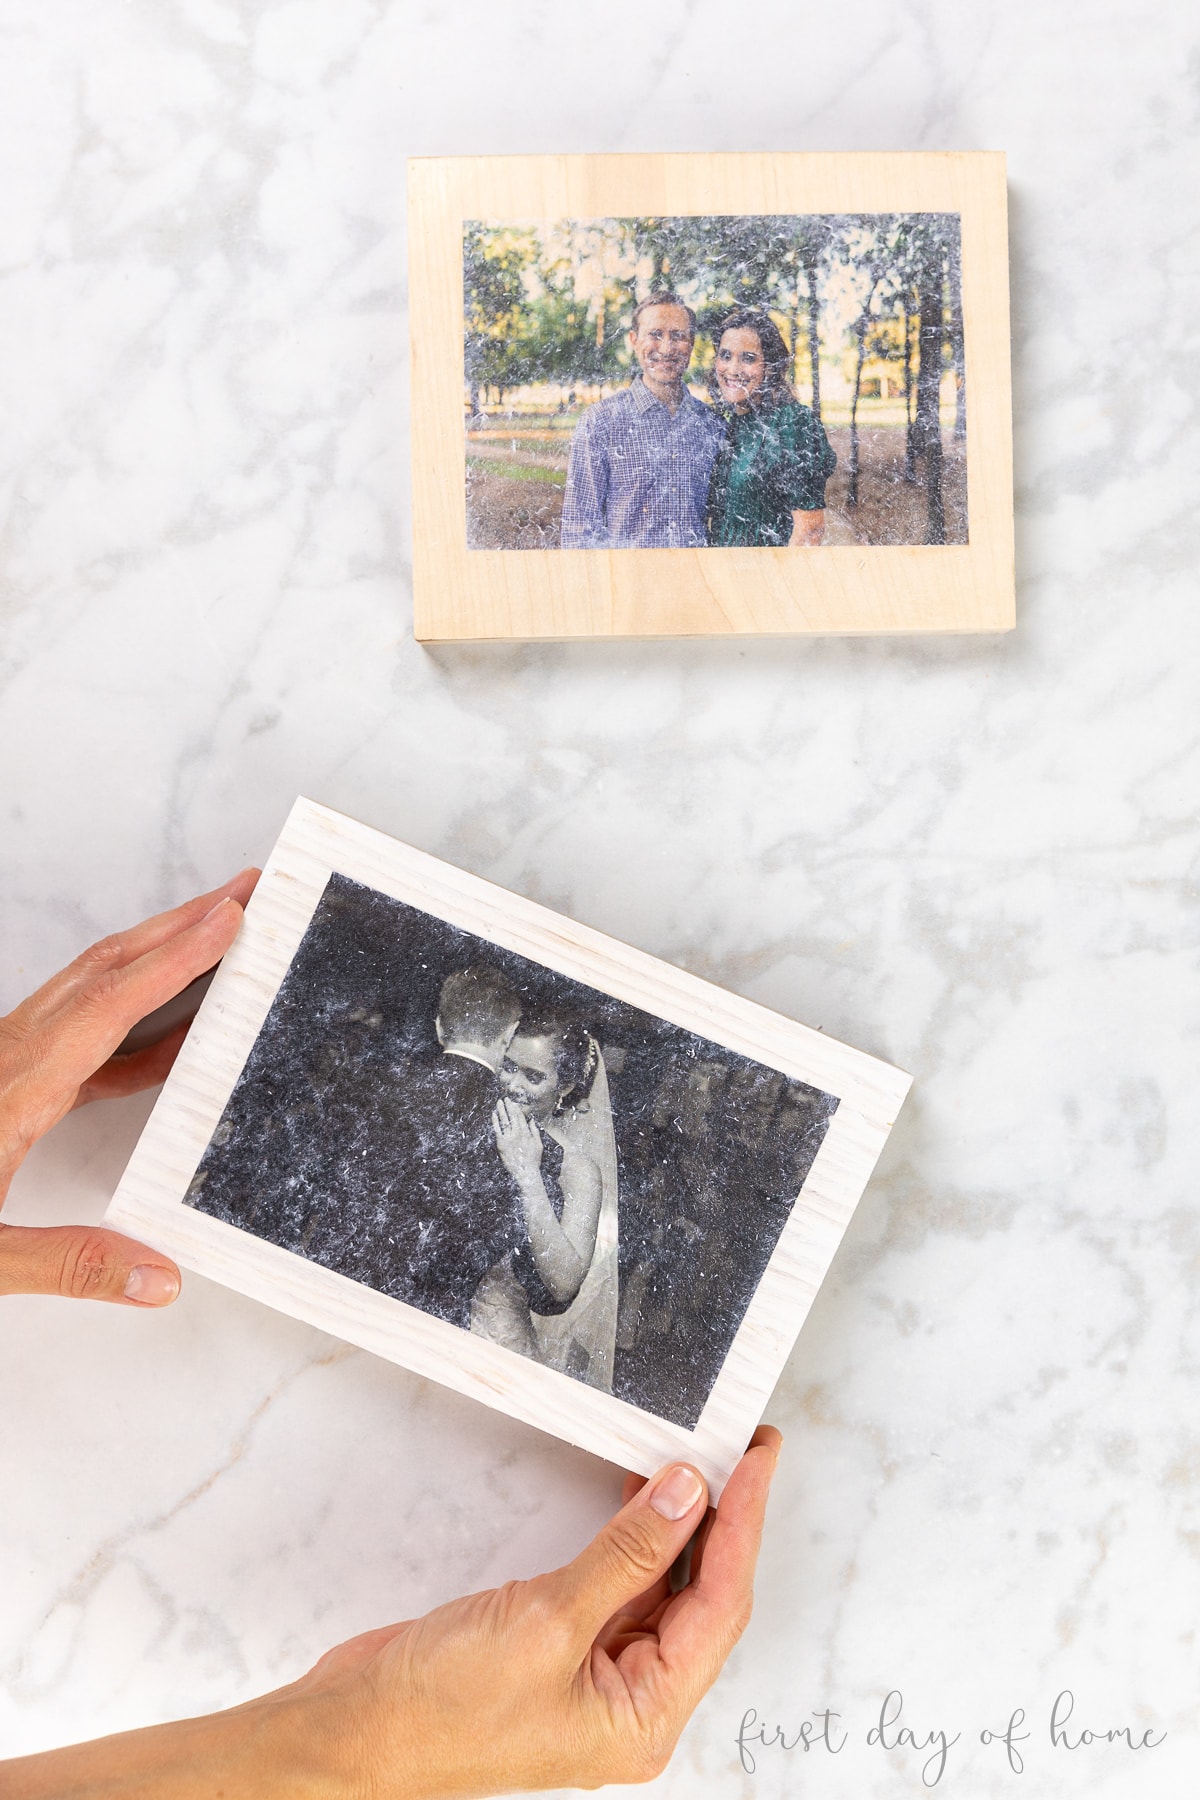
For this tutorial, I’m using the Mod Podge Image Transfer Medium, and a scrap piece of pine. I like using wood with grain to get more texture, but any inexpensive block of wood will work, like maple, poplar, oak, or plywood.
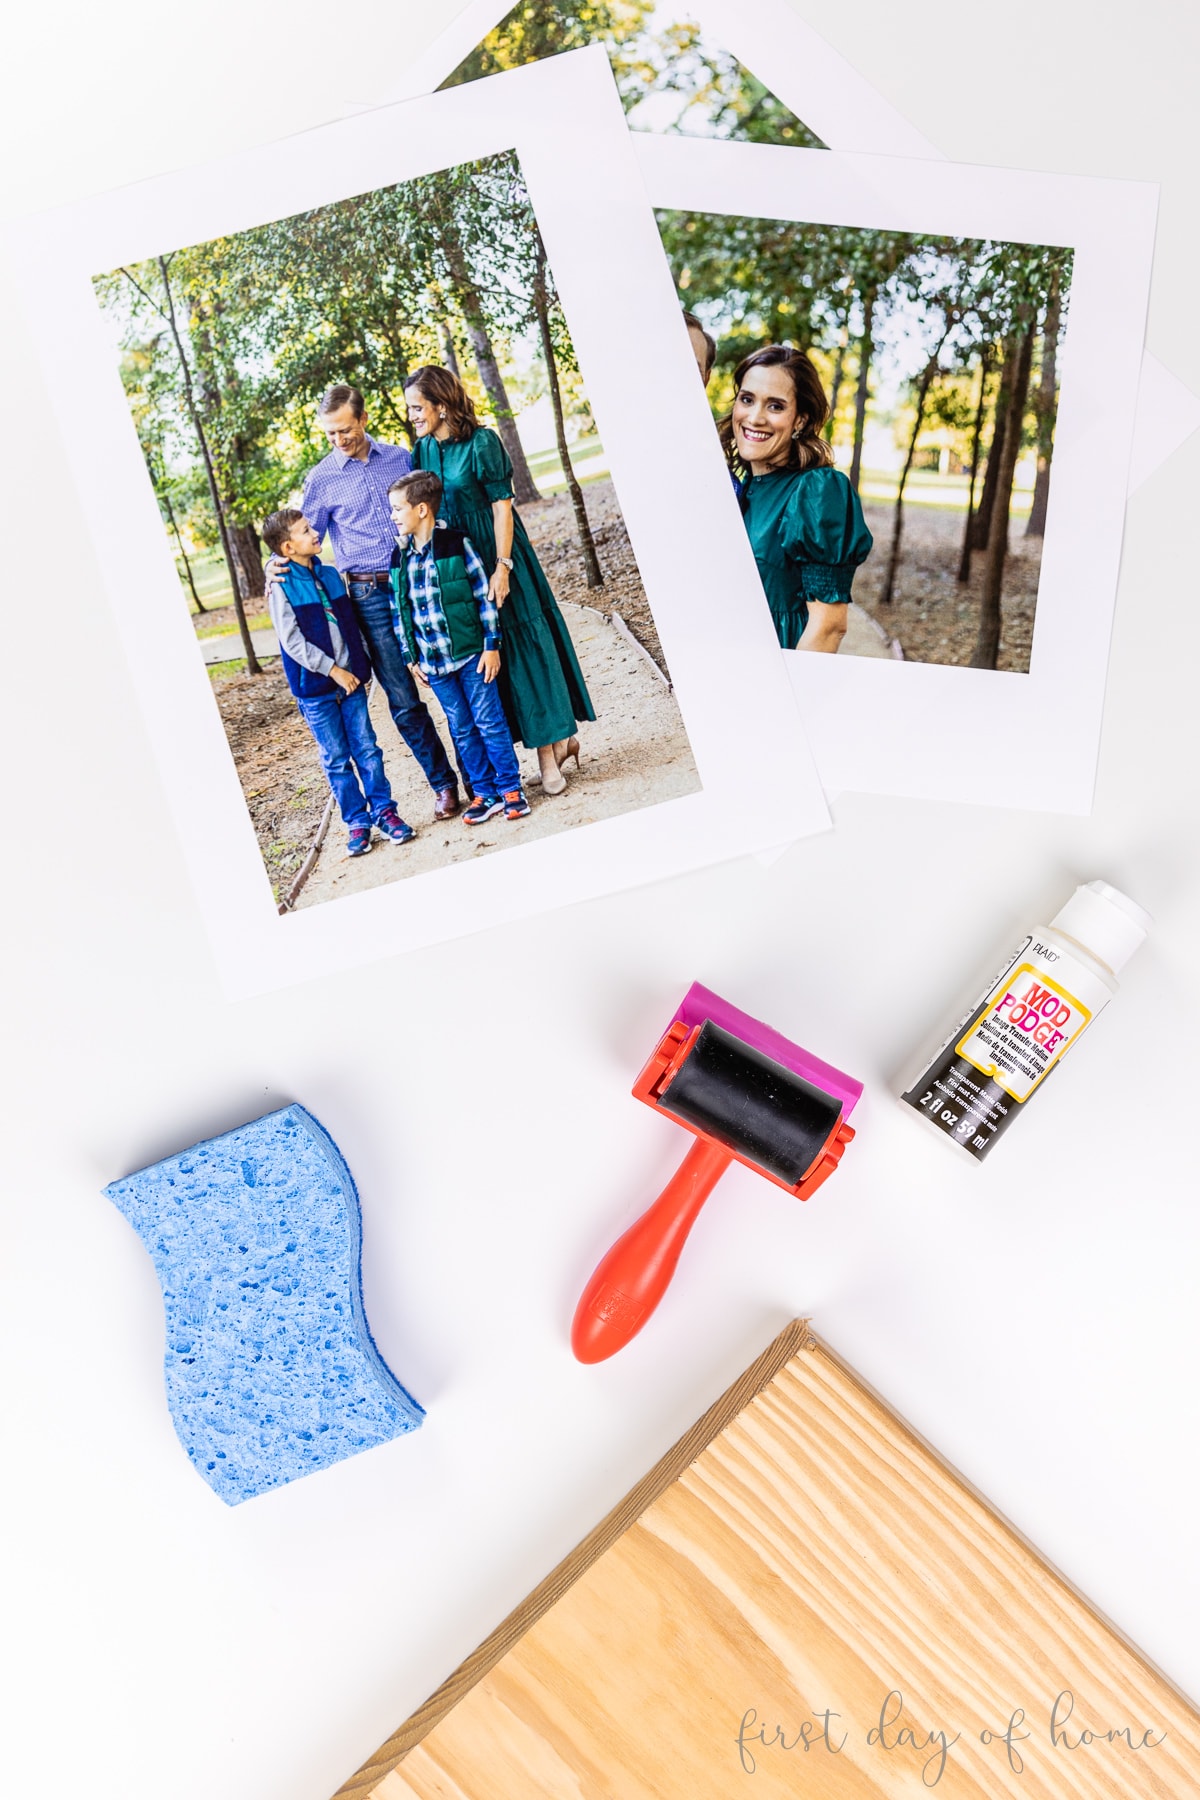
Supplies
- Laserjet printer
- A photo you love
- Wooden block (pine, maple, oak, or similar)
- Image transfer medium
- Foam brush
- Sponge
- Brayer (optional)
Note: Image Transfer Medium (used in this tutorial) is different from Photo Transfer Medium. I’ll discuss the differences in the FAQ section at the end.
Step 1: Prep wood for photo transfer
Before printing your photos, you’ll want to prep your piece of wood for the project by sanding any rough edges on the surface. A smooth surface will result in a cleaner transfer.
If you plan to stain or paint your piece of wood, now is the best time to do that.
Step 2: Print out a photo you love
Choose a high-quality photo that you can print or scan into a computer. Regular photo paper will not work for this craft.
Prepping the Photo
Based on the size of your wood piece, resize your photo to fit accordingly. You can have the photo bleed all the way to the edge or leave a “frame” around the photo as I did.
If your photo has text, make sure you also mirror the image before printing.
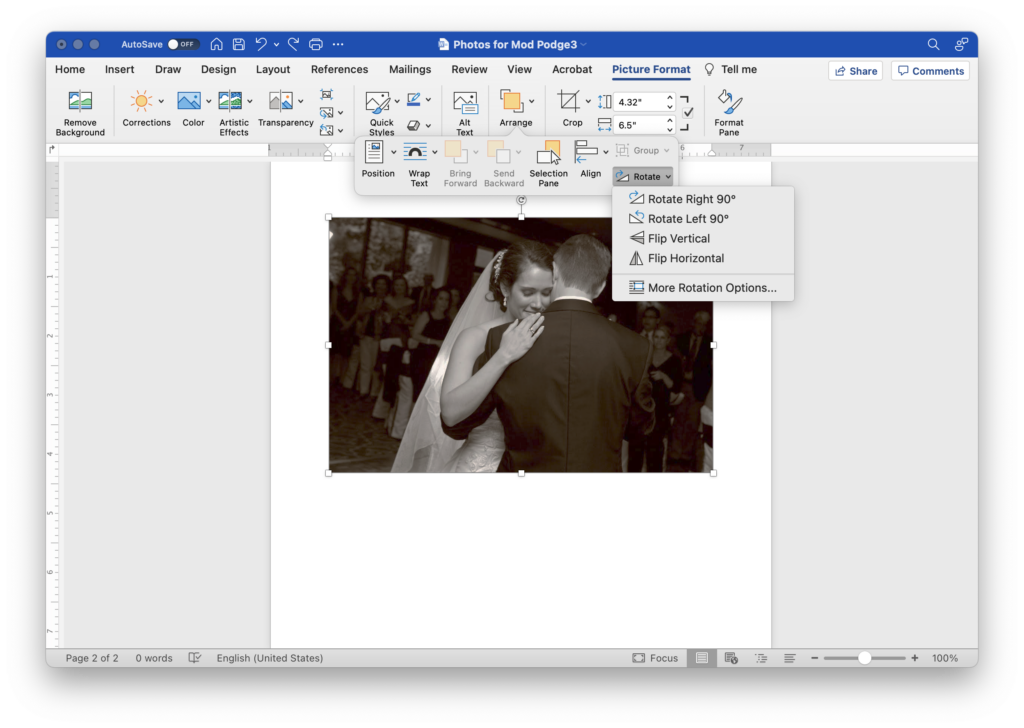
In Word, I mirrored the image by selecting “Flip Horizontal” under the “Picture Format” menu (see image above).
Printer Requirements
Be sure to use a laser printer or dry toner copier to print your photo, as it will produce a sharper, clearer image that won’t smear.
No Laser Printer? No problem!
- Send your photo to a local office supply store. You can order a laser copy through FedEx’s online printing services or another office supply store. If using FedEx, select “Copies and Custom Projects” to upload your document and print it on laser paper. OR
- Print the image on an inkjet printer and apply a sealer. Start with a light coat of Mod Podge Acrylic Sealer and let it completely dry before applying a second coat.
Step 3: Add Image Transfer Medium to your photo
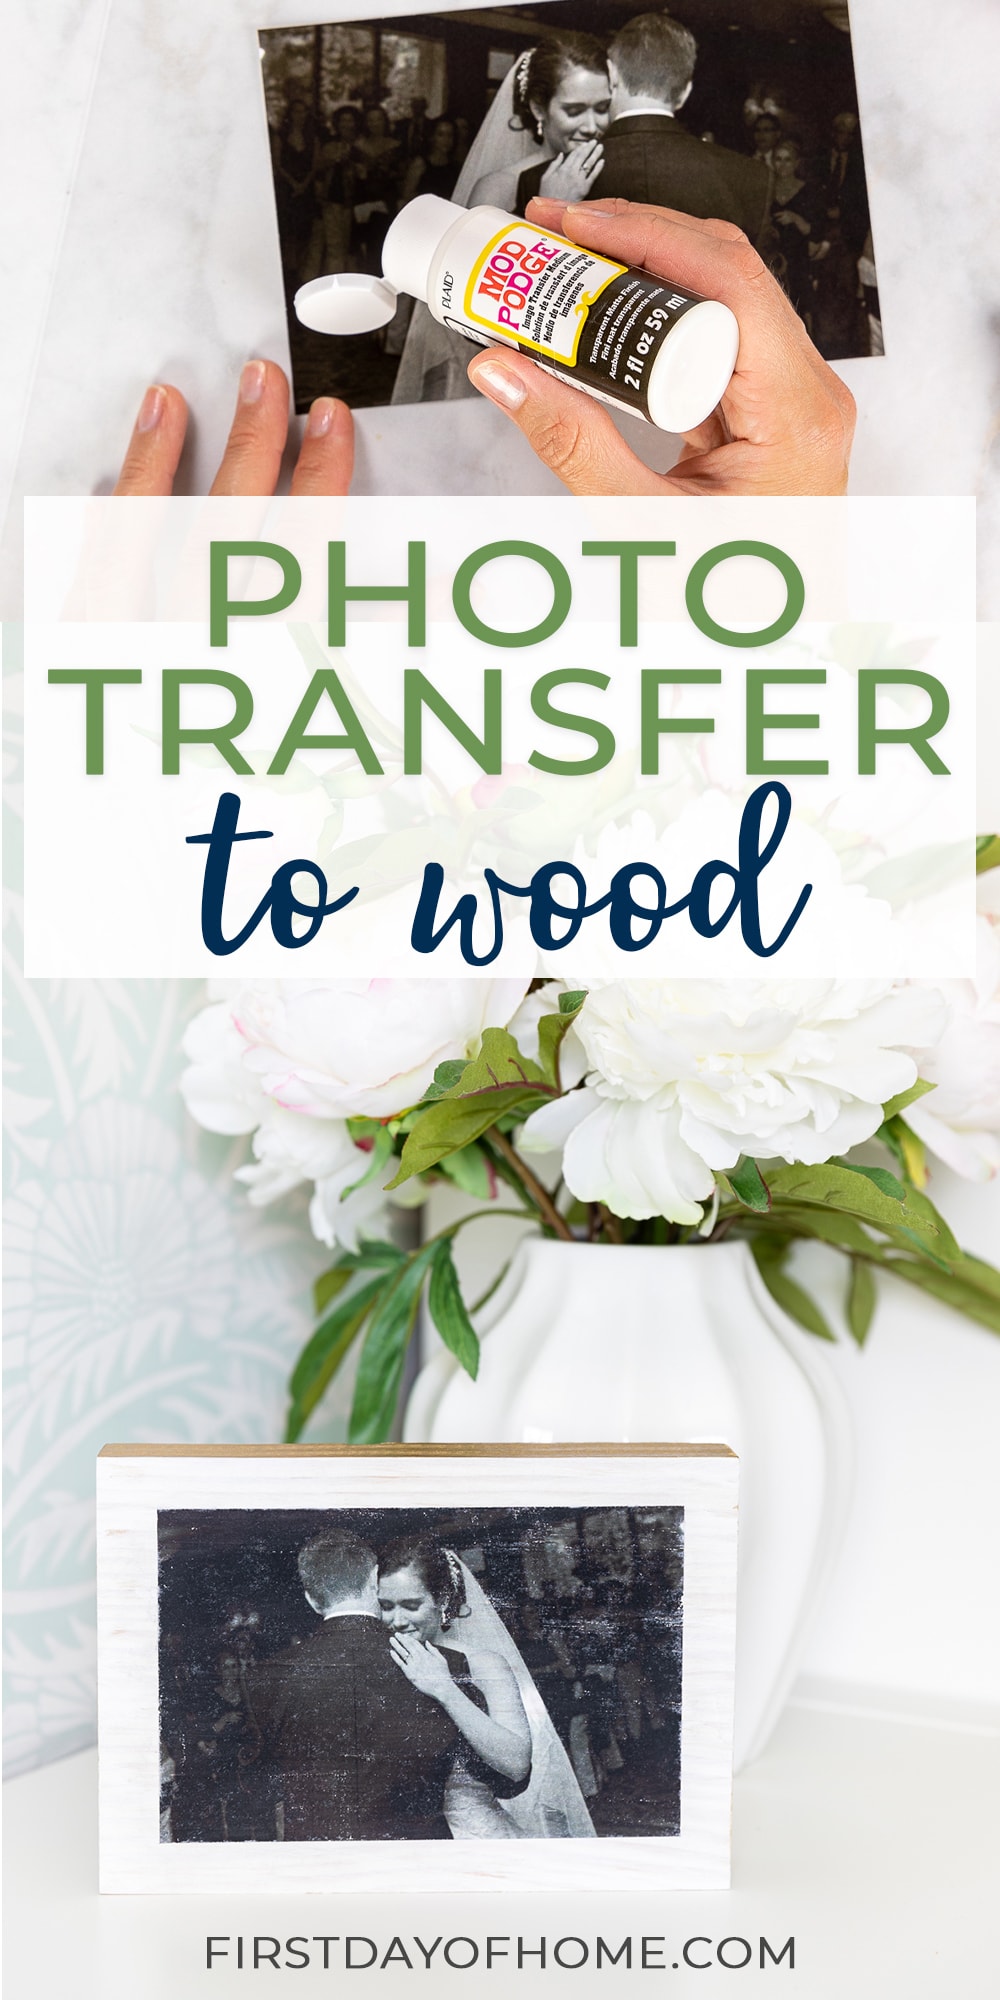
Add the Mod Podge Image Transfer Medium directly onto the front side of your image. Then use a foam brush to spread the gel medium in thin layers to prevent the picture from warping.

Tip: Protect Your Work Surface
Set parchment paper or wax paper beneath the image to catch any excess gel that may run off the edges.
Step 4: Attach your photo to the wood
Next, lay the image face down onto your wood surface and press it down gently with your fingers. Smooth out any air bubbles you see on the surface of the paper.

Using a brayer tool can help ensure a smooth application. A brayer is like a small, rubber rolling pin that you roll up and down the back of the photo to remove those pesky air bubbles.
If you don’t have a brayer, you can also try sliding a credit card across your surface.
Step 5: Let the photo transfer dry for 24 hours
All good things take time! Giving your photo transfer ample time to dry is vital to getting the most stunning results. Allow the image to dry for a full 24 hours before removing the paper layers.
Step 6: Remove Paper With A Wet Sponge
Wet a cloth or sponge to slightly dampen it, and wring out any excess water. You don’t want to completely saturate the paper, so make sure the sponge is not dripping.

Gently rub the surface of the paper in a circular motion without pressing too hard into the image. Little by little, you will begin to see the paper disintegrate, and the image will become visible.
Tip: Remove Layers in Stages
For best results, remove the paper layers in stages, allowing the image to dry slightly in between. This prevents the image itself from becoming detached.

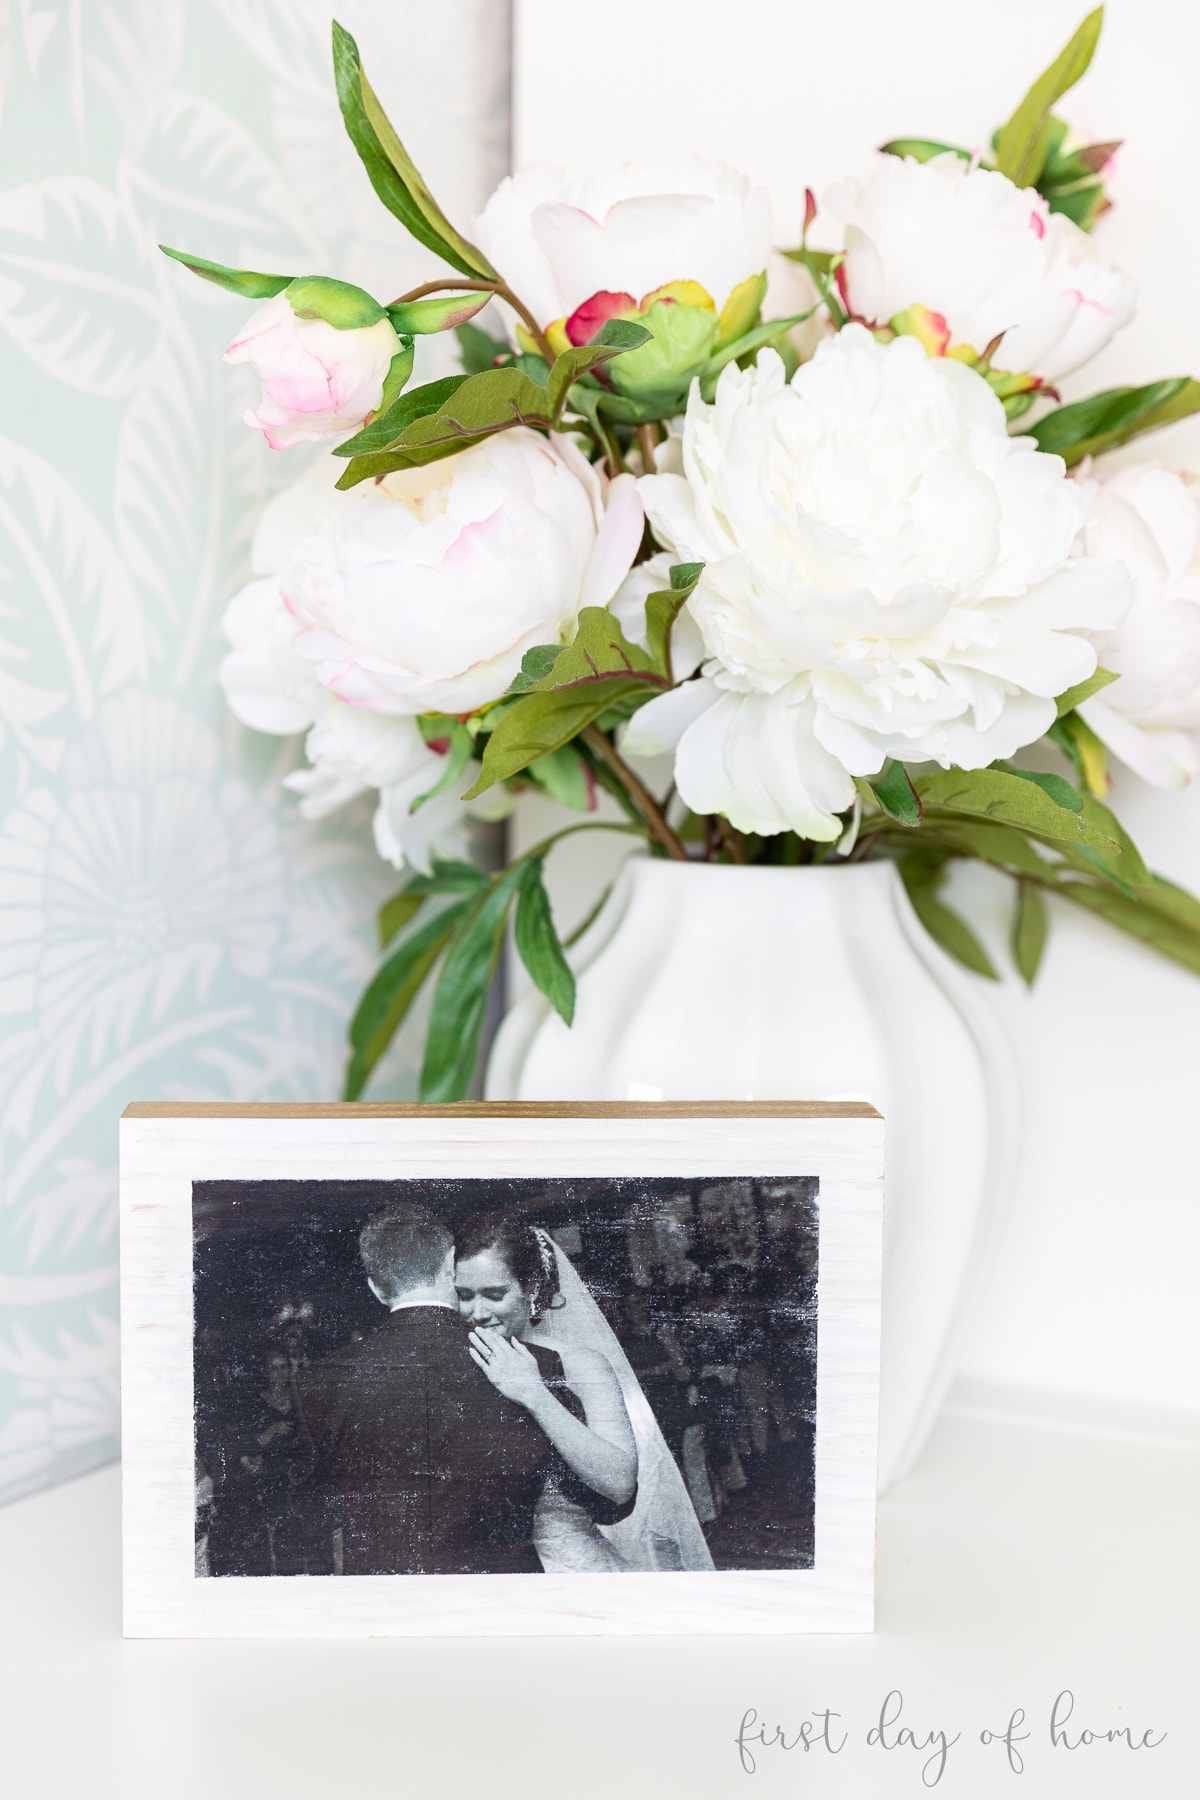
Your photo transfer to wood will likely have some little nicks and scratches here and there. Just be patient and know that your project will still have a beautiful rustic charm.
Step 7: Add finishing touches to your photo transfer to wood
It’s time to add those finishing touches to your gorgeous craft.
I like to use fine sandpaper to smooth out any rough edges that remain on the wood. In some cases, you may want to reveal some of the wood grain texture through the photo transfer.
Another option is to add a thin layer of Mod Podge over the surface of the wood to make the face of your image look extra polished. If you do this, make sure to use the Mod Podge Matte or Mod Podge Gloss formula (not the image transfer formula).
You now have a stunning photo craft to display in your home or use as a perfect gift for Valentine’s Day, Mother’s Day, Father’s Day, or Christmas!
Your loved ones will feel nostalgic when they see their memories on display.
Pin it for later!
FAQs
-
Can you use photo paper to transfer to wood?
No, photo paper will not react properly with the image transfer medium. You must use a laserjet printer or dry toner copier and regular printer paper for the photo transfer.
-
Can I use a regular Mod Podge sealer to transfer a photo to wood?
While there are techniques for transferring a photo with regular Mod Podge, the Image Transfer Medium is specifically formulated for photo transfers and will give you the best results.
-
Can I transfer black-and-white photos?
Yes! Your image does not have to be in color for the photo transfer to work. For black and white pictures, I’d recommend a lighter color wood to accentuate the black and white picture.
-
Does Mod Podge Image Transfer Medium work on other surfaces?
Yes! According to PLAID (the manufacturer), the Image Transfer Medium can be applied to wood, canvas, terra cotta metal, and glassware but cannot be used on fabrics.
-
What is the difference between Mod Podge Image Transfer Medium and Photo Transfer Medium?
The Photo Transfer Medium is another option for photo transfers to wood. Unlike the Image Transfer formula, the Photo Transfer Medium will dry glossy and can be used on fabric.
More Mod Podge Crafts
What a lovely couple you two make! I love the look of the images on wood – great project Crissy! Pinned😊
Thanks, Cindy! I really enjoyed this sentimental little project. Thanks so much for paying me a visit and for pinning too!