
How to Decorate a Christmas Tree
Learning how to decorate a Christmas tree is a bit of art and science. There’s no official “right way,” but I’ve learned many tricks over the years that can take the guesswork out of the process. You can express your style in any color scheme you like once you follow this simple 5-step process.

This post is part of a product exchange partnership with King of Christmas. All opinions expressed are my own. This post also contains affiliate links, and I will be compensated if you make a purchase after clicking on my links, at no extra cost to you. Please see my disclosures for more information.
Each year, we have a ritual of bringing our Christmas decorations out of storage and transforming our home into a winter wonderland. In Texas, it may not feel like winter outside, but we try our best to pretend!
Staring at an undecorated tree, whether it’s real or artificial, can feel intimidating if you don’t have a plan in mind. Just like an unfrosted cake or an unpainted canvas, it’s hard to know where to begin.
I’m partnering with King of Christmas to help share some simple tips that will help you decorate your evergreen in style. Starting with a beautiful tree makes the decorating part easy!
Picking the Right Christmas Tree
I was thrilled to start with a 7.5′ Royal Fir Artificial Christmas Tree that includes 1000 warm white & multi-color LED lights. For those of us with allergies, artificial trees are a no-brainer, and this one looks as realistic as you can get.
Here’s what it looks like right out of the box after attaching the three sections (but before spreading the branches).

The biggest bonus was a handy remote control that toggles through eight different light settings. (Yes, eight!) Plus, you can change the brightness and set a timer.
You can bet I’ll do a retro Christmas tree with the colored light setting one year. Just wait for it.
This year, I decided to go a more traditional route, following the Ralph Lauren Christmas trend. I started with a red and gold theme, similar to the red and gold Christmas tree I decorated a few years ago, but more minimalist.
How to Decorate a Christmas Tree in 5 Easy Steps
Regardless of which color scheme you choose, the process for decorating a Christmas tree remains the same. Feel free to modify it to make it your own!
Step 1: Fluff the tree
Right out of the box, some branches of an artificial tree may clump together or get bent out of their natural shape. It’s important to spend time spreading the branches apart.

You may find it easier to spread the branches of each tree section before assembling the full tree. My Royal Fir came in three sections.
Tip
When fluffing up the tree, pull the branches apart in a star shape, hiding any gaps of light you see from a distance.
King of Christmas trees include gloves to protect your hands while spreading the branches. My manicure thanks them!
Step 2: Add festive ribbons
Once the branches are spread out, you can begin adding ribbons of your choice. I like using 2-3 different ribbon styles with complementary colors or one “statement” ribbon.
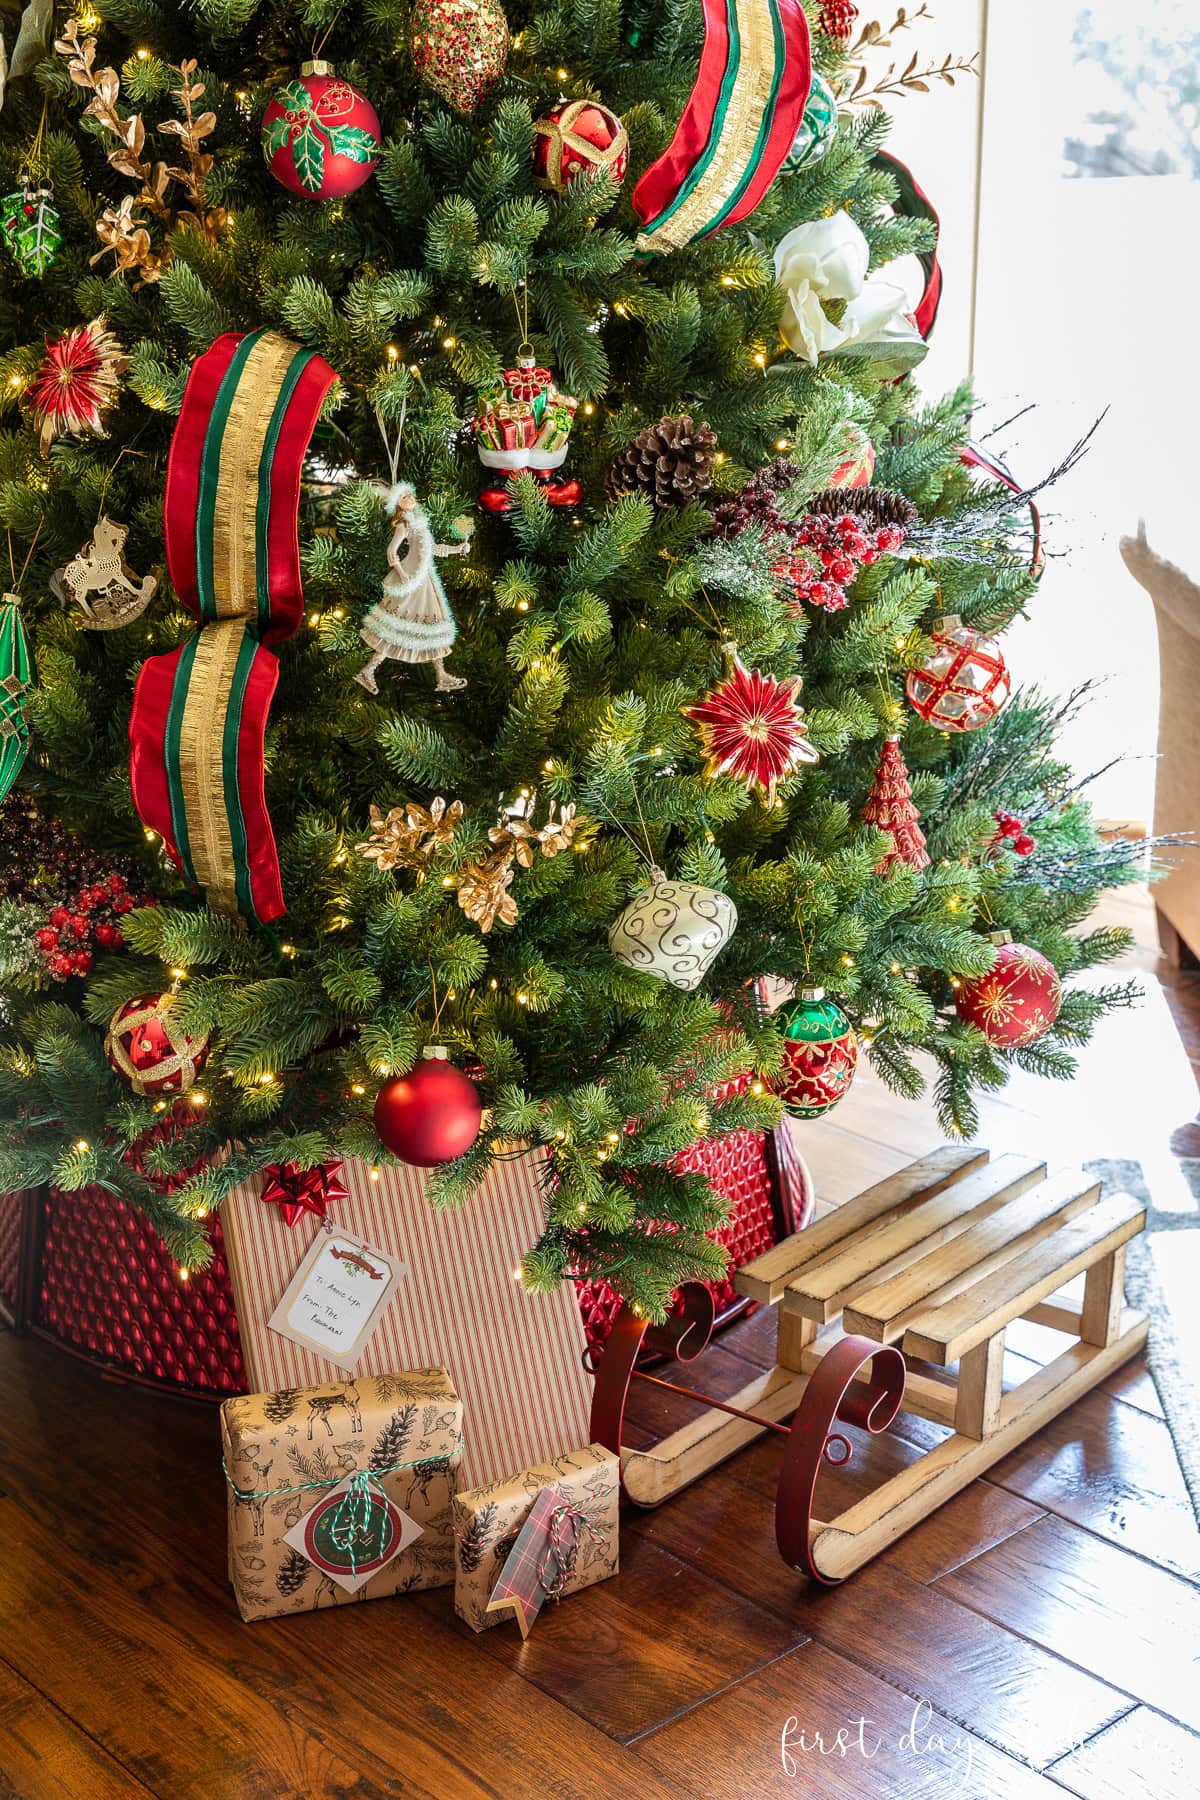
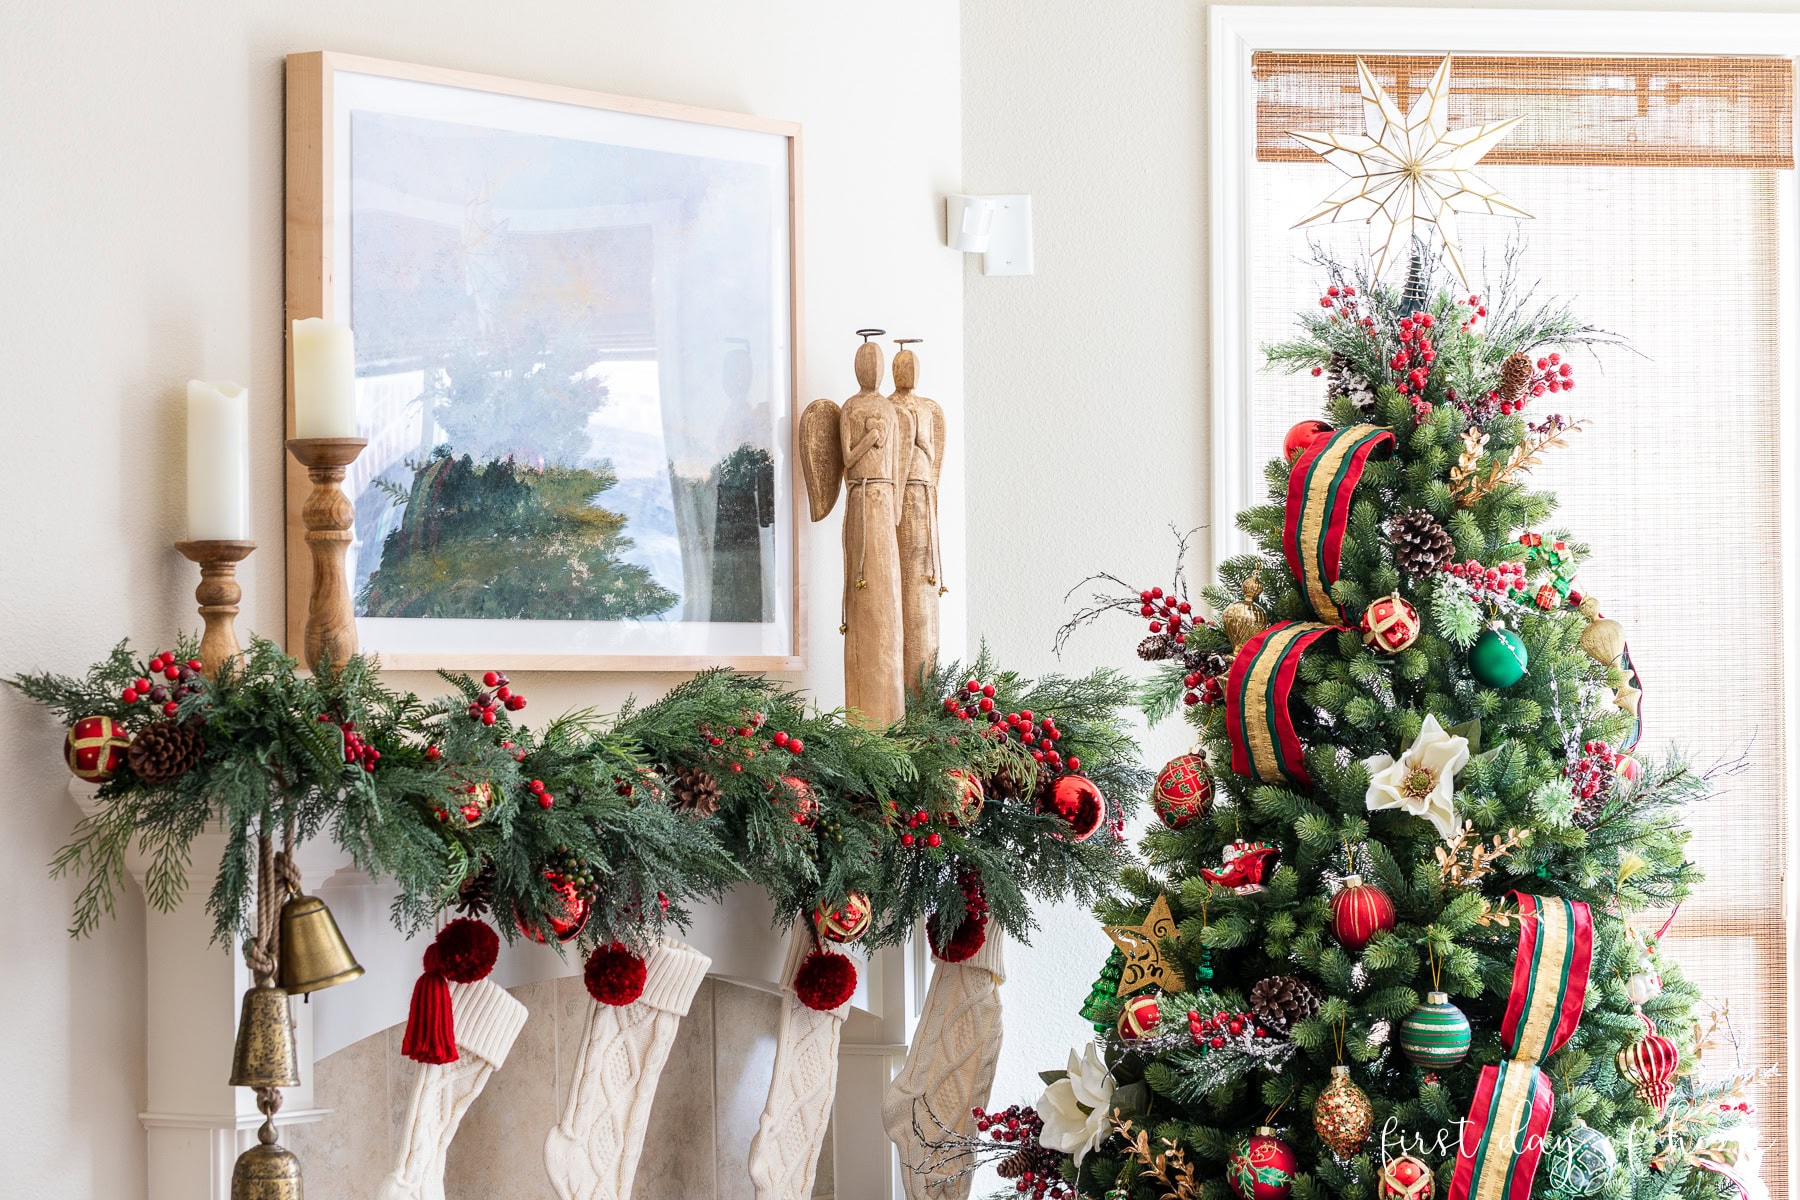
I love the simplicity of this “Ralph Lauren” inspired striped ribbon. Using a wider 4-inch ribbon allows you to add pops of color without having to distribute ribbon all over the tree. A little goes a long way.
To see an example of a Christmas tree with multiple ribbons incorporated, see this flocked Christmas tree decor.
Tip
There are several ways to decorate with ribbons on a Christmas tree. Here are a few of my favorites:
- Spiral two ribbons around the tree, starting at the top and working down to the base. (Example: red and gold Christmas tree)
- Create bows with single or double ribbons, and place them strategically on the ends of branches. (Example: farmhouse Christmas tree)
- Create an undulating pattern with ribbons by cinching them to branches using pipe cleaners. (Example: flocked Christmas tree)
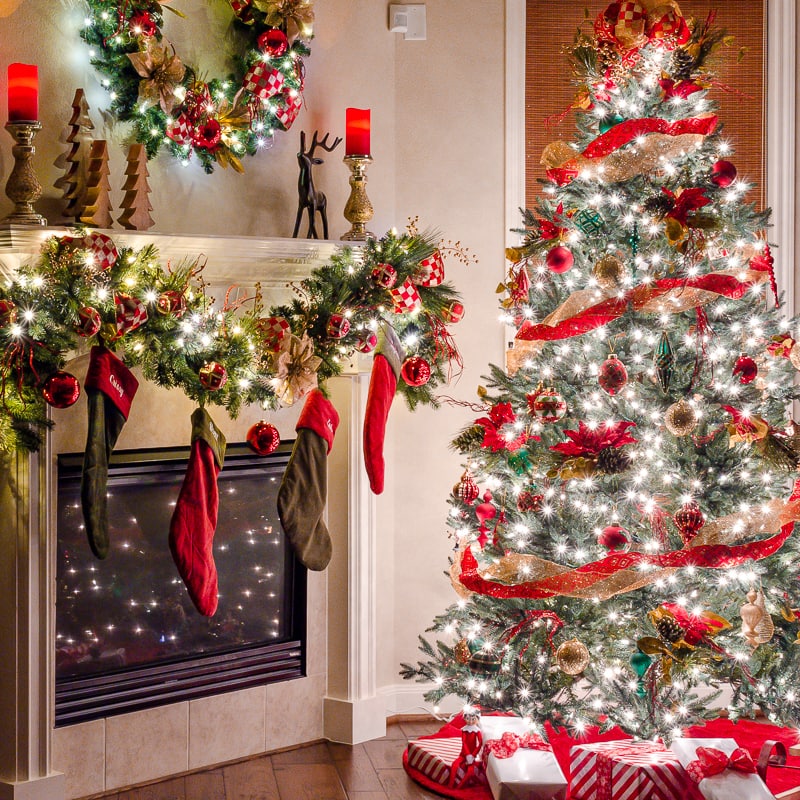
I used the last of these methods to create the ribbon patterns for this classic Christmas tree. It helps to stretch a roll of ribbon farther, making it more budget-friendly.
Step 3: Insert floral picks
Many people skip the step of adding floral accents or stems because, frankly, it can add to the expense.
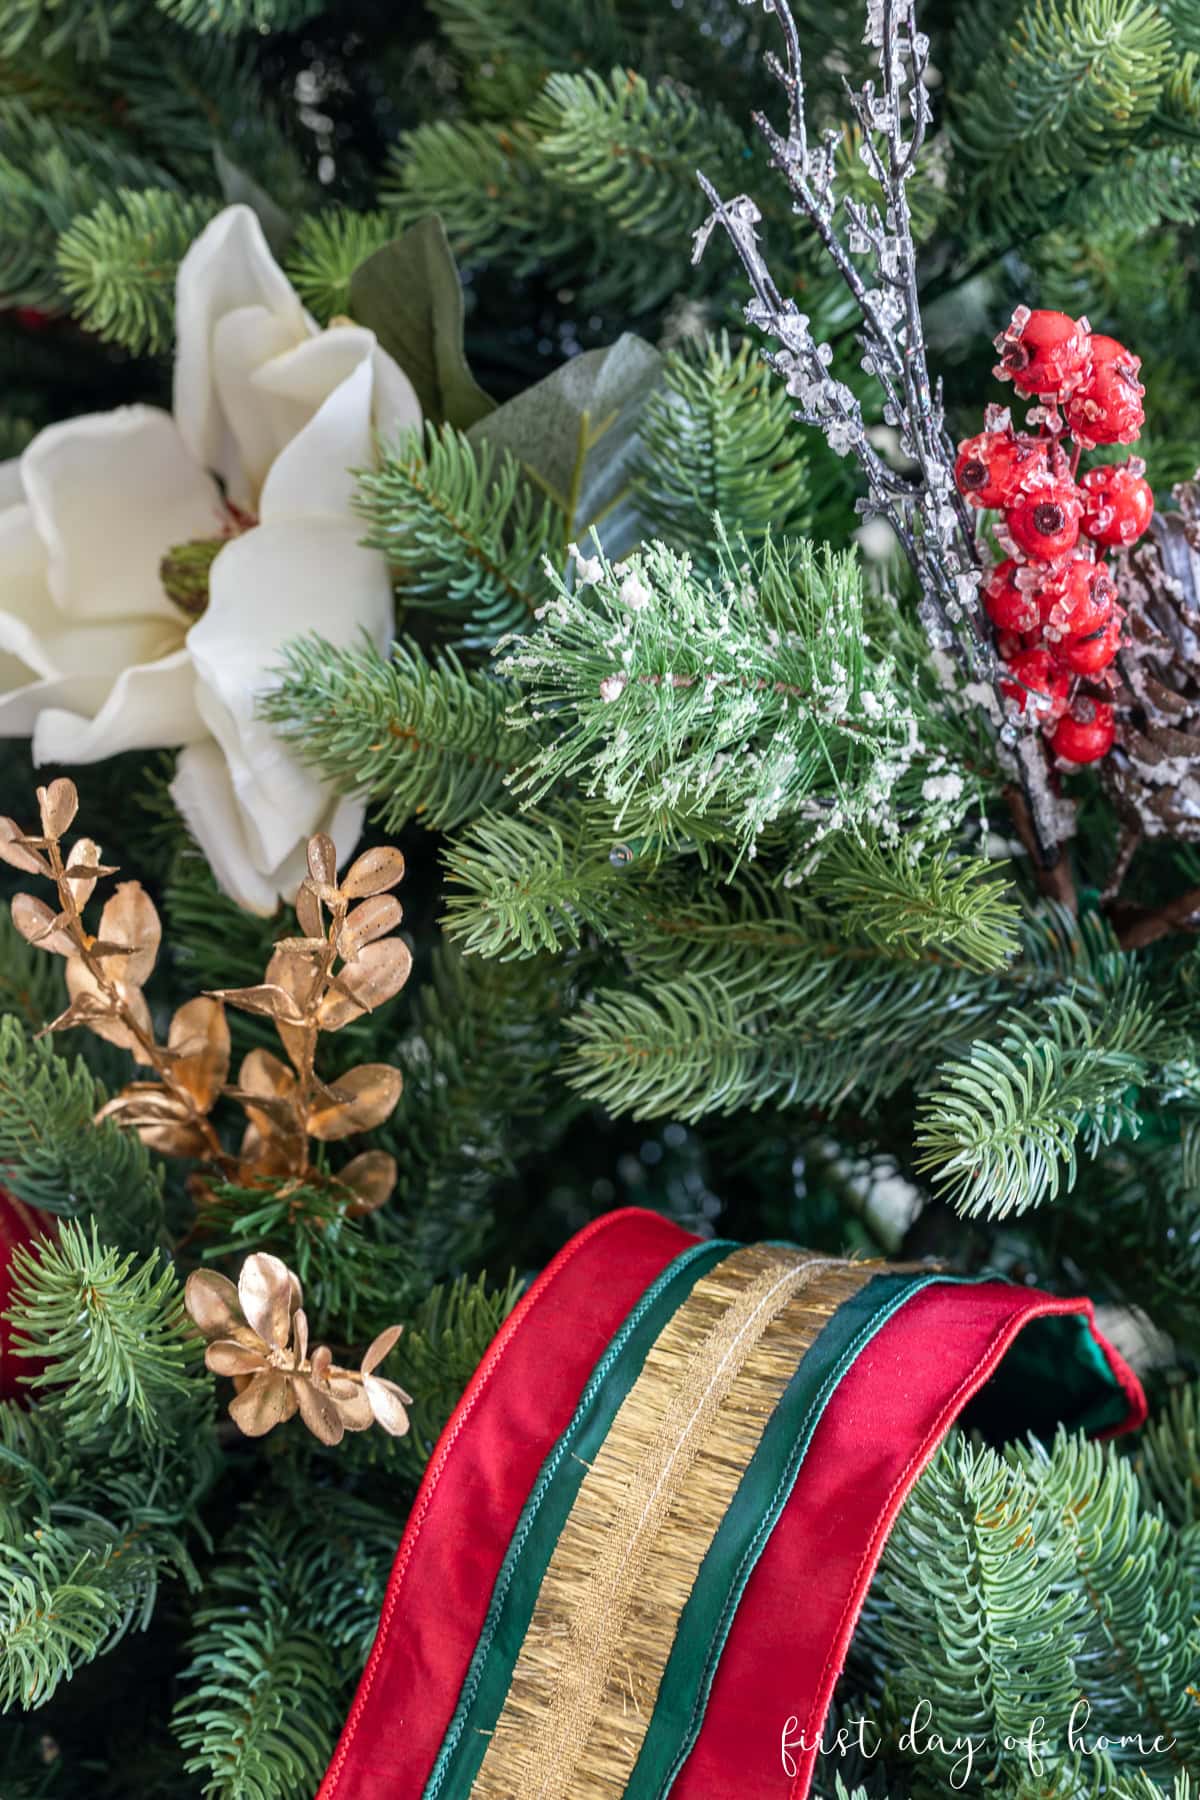
However, I like to buy floral picks when I find them on sale and use wire cutters to separate them into smaller sprays of branches. Again, I suggest using pipe cleaners or floral wire to attach floral stems to your tree.
A combination of pinecones, berries, frosted branches, and gold leaf stems helps the tree appear fuller and adds more visual interest. I also threw in a few magnolia blooms for a pop of white to balance the red and green.
You can use the same floral accents as a tree topper as well.
Step 4: Add ornaments
Once the ribbons and picks are inserted, you can begin decorating the tree with ornaments.
If you have sparkly ornaments with glitter accents (like this girl), it’s helpful to add the ornaments before placing your tree skirt or collar. I always vacuum around the tree after this step for obvious reasons.
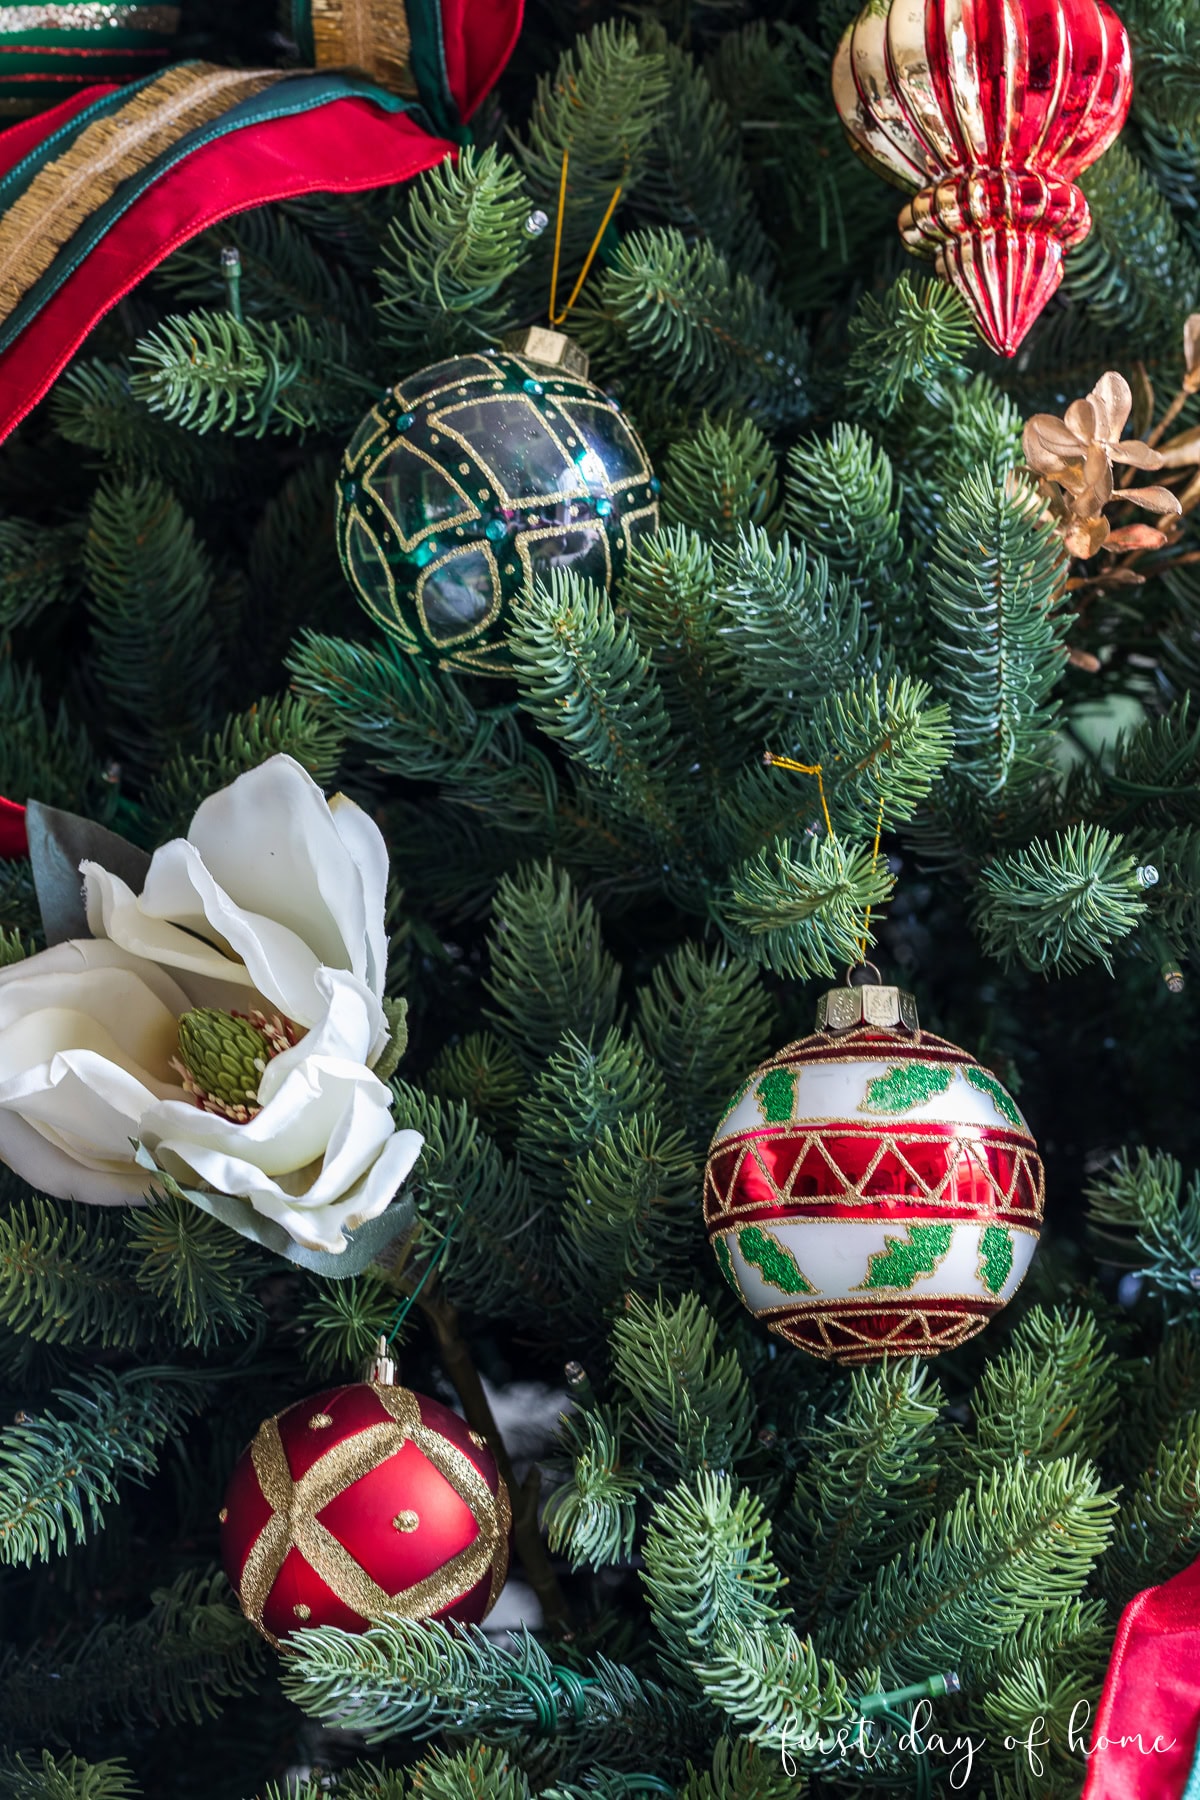
If you plan to use a tree collar, place the lower level of ornaments after you secure the tree collar. This will prevent accidentally breaking fragile ornaments near the base of the tree.
Step 5: Place the tree collar and tree topper
To complete the look, add a tree topper, floral picks, or ribbons to the top of the Christmas tree. Here, I chose a simple collection of floral stems with berries and pinecones, and then I placed my star tree topper using this handy stabilizer.
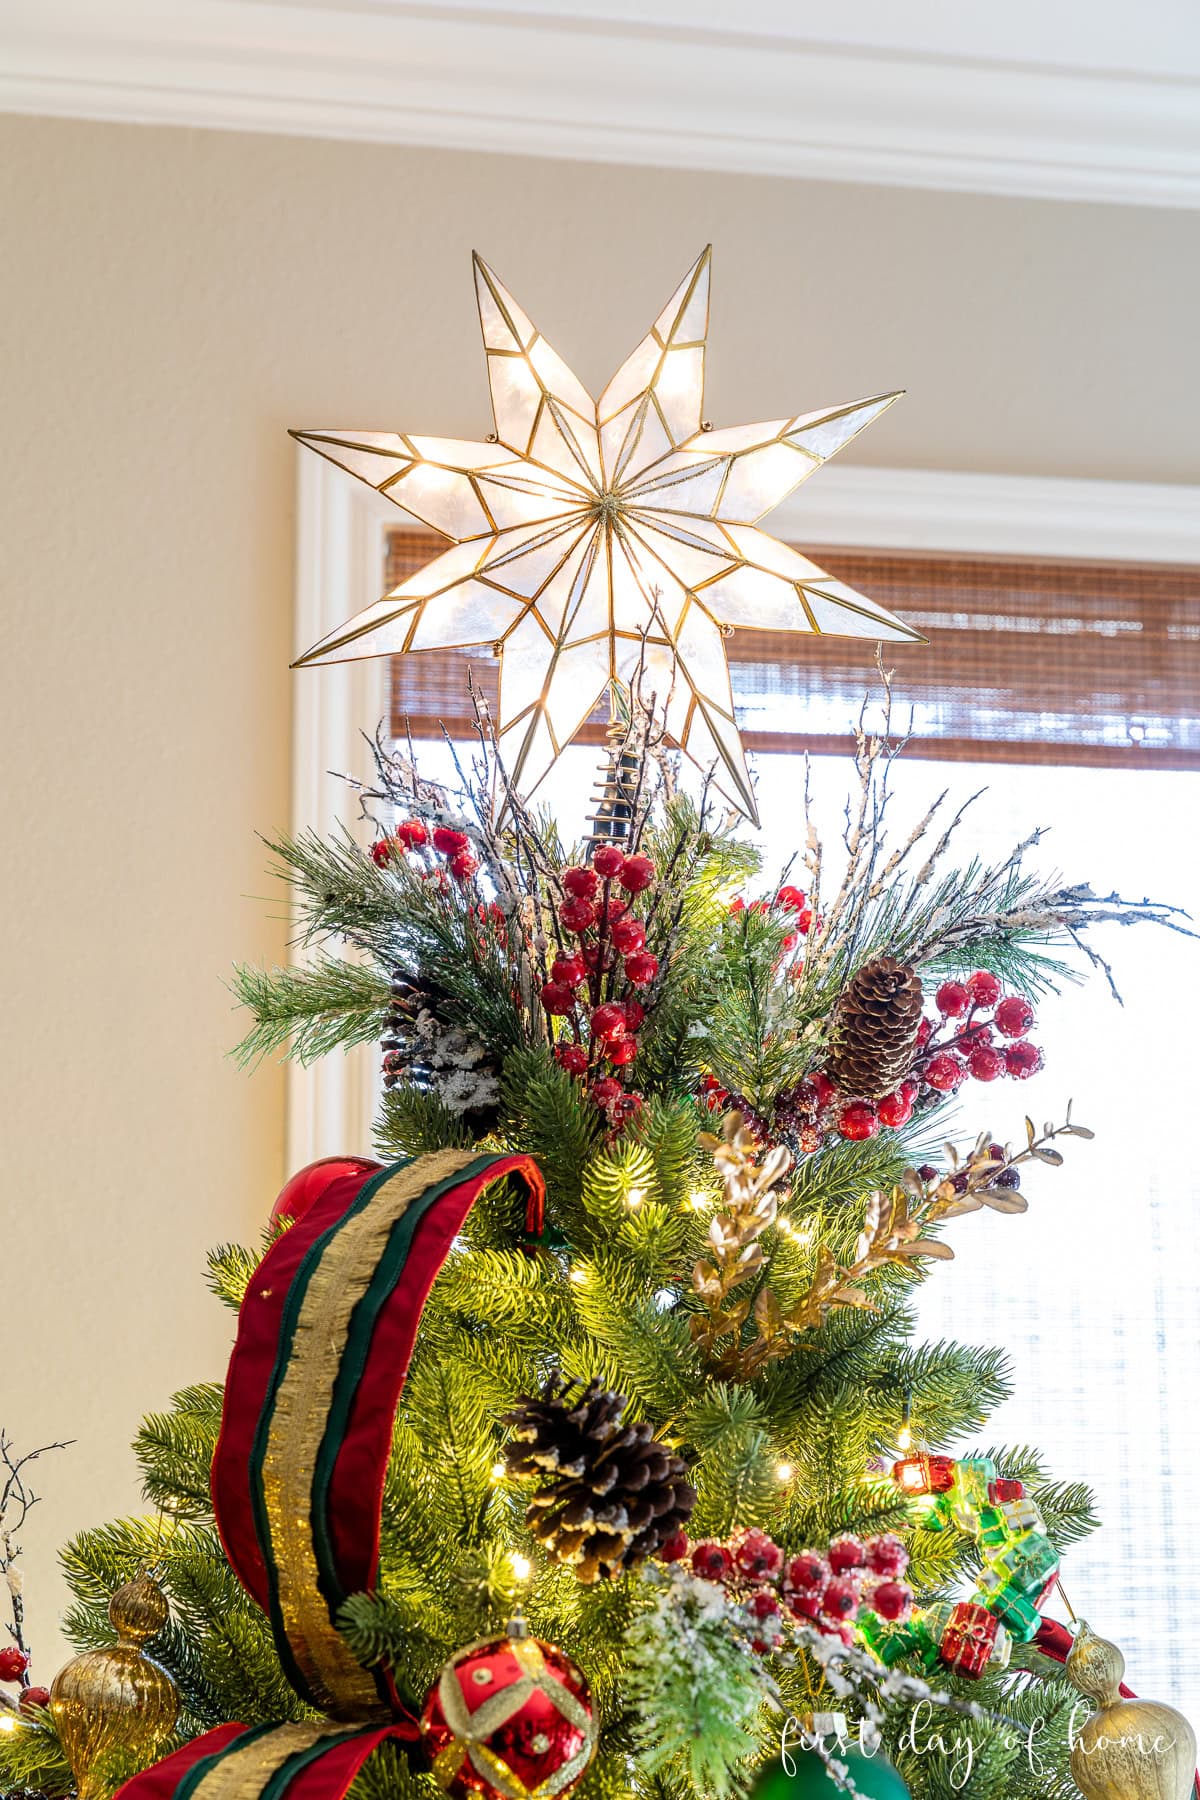
The tree collar at the base ties the theme together, and I added my favorite sled to await the presents that will eventually find their way here.

Storing Your Christmas Tree Decorations
I love to reuse my Christmas tree decorations, so I store them carefully. The tree itself is stored in the bag provided by King of Christmas.
It’s helpful to keep Christmas ornaments stored in the original box. I take a photo at the start of the season to remember how they fit.
I suggest storing floral stems in a separate bin along with the ribbons to make the Christmas tree decorating process smoother in future years.
Of course, right now I’m just enjoying the warm glow of my tree at night and not thinking about putting it away in storage! Let me know in the comments how you plan to decorate your Christmas tree this year!
SHOP THE LOOK


Pin it for later!


Found this post to be especially fitting because my husband and I put my tree up first thing morning. He surprised me a couple of weeks ago with a brand new 7 ½ foot cashmere fir one (my favorite) for our new home that we moved into this year. It’s the kind that plugs together and comes with the lights on it already so that made it super easy, but one thing that surprised me if it also came with the branches fluffed! Doesn’t get much easier than that! Now to just add the decorations. Love the idea of adding some floral picks as well.
Hi Alexandra! It’s so nice to see you on here. Congrats on the new home and the beautiful tree to decorate! That is very exciting, and it’s nice that all you have to do is add decorations. Enjoy the process, and best wishes as you get settled into your new place.