Cricut Cards for Beginners
Once you learn how to make cards with Cricut, you’ll love personalizing greeting cards for every occasion. In this tutorial, we’ll explore card-making projects three different ways, including with and without Cricut card mats.

This post contains affiliate links, and I will be compensated if you make a purchase after clicking on my links. For more information, please see my disclosures.
I put the Cricut Card Mat to the test, with both the Cricut Joy / Joy 2 machine and the Cricut Maker 5 machine. The versatility of adding pens, markers, foil, and other embellishments makes it easy to customize a greeting for just about any holiday or special event.
You can make cards without a Cricut Card Mat. (I’ll cover that below.) However, there are some advantages of using the Card Mat to create unique designs.
Cricut Card Making Supplies

- Cricut Joy (or Joy 2), Cricut Joy Xtra, Cricut Explore, or Cricut Maker
- Cricut Joy Card Mat, Joy Xtra Card Mat, or Cricut Card Mat (2×2)
- Cricut Insert Cards, Cricut Cutaway Cards, or Cardstock
- Fine-point blade (included in Cricut machines)
- Cricut weeding tool (optional)
- Cricut pens or Cricut markers (optional)
Types of Cricut Cards
For this simple tutorial, we’ll create cards using both Cricut Insert Cards and Cricut Cutaway Cards. You can also make a “homemade card” with cardstock, so I’ll cover that briefly as a third option.
Cricut offers five standard sizes of cards for the Explore/Maker Card Mat and the Joy Xtra Card Mat. For the Cricut Joy Card Mat, there are three size options.
The best part is that these card kits include envelopes for easy gifting.

To find some of my favorite Cricut card sets from this tutorial, visit my Amazon store. All card designs are linked to Cricut Design Space throughout this post.
Cricut Insert Cards
Cricut Insert Cards are my favorite type to make. Once you cut out the design, it’s easy to weed away (remove) the pieces of cardstock on the front of your card. Then you can reveal the colored insert card underneath.
Step 1: Choose a design in Cricut Design Space
In Cricut Design Space, you’ll find many pre-formatted insert card designs to whip up birthday cards.
I’ll start with a simple happy birthday card, but you can customize the front with any image or phrase.
Get this birthday card design here in my Cricut Design Space profile.

I like using the pre-formatted designs since they already have slots in the corners for insert cards. Search “Cricut Insert Cards” and Filter for “Cricut Only” to see the best formatted card options.
You can always swap out the image in the next step.
Step 2: Format your design
If desired, modify your design by personalizing it with a name or swapping out the center image.
Tip: Choosing Fonts
When choosing a font, note how the shapes inside the letters (called “counters”) will be detached. For example, the center of an “o” or “a” will disappear unless you glue them on. I like choosing a stencil font for this reason.
Related post: Best Free Fonts for Cricut
I also like using Cricut pens or the Cricut foil tip to add embellishments. Some designs are already formatted for writing and foiling operations, too.

The Valentine’s Day card above (on the left) used gold foil combined with the standard cut operation.
Find these Valentine’s Day card designs here in my Cricut Design Space profile.
Tip: Horizontal Cards
To make a horizontal card, rotate your card design in Cricut Design Space (-90º). Just make sure the four slits for the insert card remain in place.
Step 3: Insert the card into the card mat
Once you have your card formatted, insert the card into the card mat.
- First, remove the protective film from the mat.
- Then, slide the card into the card sleeve until the fold meets the edge of the sleeve (see below).

The back of the card should slide snugly inside the sleeve of the mat, while the front of the card should stick to the front side of the mat. Note: You can also use the 4-Card Mat or the 2-Card Mat with compatible Cricut Explore and Cricut Maker machines.
Step 4: Cut the design
Click Make in Cricut Design Space and select On Card Mat to load your materials. Select the appropriate Material Size for your card, and choose Insert Card – Cardstock as your material.
Tip: Cricut Explore/Maker
Move the star wheels on the Explore/Maker machine to the center if using the 2×2 Card Mat. This prevents the cardstock from getting damaged.
When prompted, insert the card mat into your Cricut machine. With the Cricut Joy and Joy Xtra machines, you can make one card at a time, but with the larger Explore/Maker card mats, you can make up to four unique cards in one sitting.
When combining multiple operations, like drawing or foiling, follow the prompts in Cricut Design Space to load the appropriate pen or material.
Step 5: Weed the design and insert cardstock
After processing the design and unloading the mat, remove any lettering or images from the front of the card.
Then gently tuck the insert card into the corners on the front of the card.

I love the holographic insert on this birthday card. Too cute!
Cricut Cutaway Cards
Cricut cutaway cards have a similar format to insert cards, but the “insert” is glued to the inside of the card before cutting.

Step 1: Choose a card design in Cricut Design Space
For this type of card, you don’t need slits in the front of the card for the insert. This means you have more flexibility in choosing a card design.
I’ll be creating a Mother’s Day card in this example. It’s very ornate, so the weeding process is a little more involved. Keep that in mind when choosing your first card design.
Get the Mother’s Day design here in my Cricut Design Space profile.
Step 2: Insert the card into the card mat
Insert your cutaway card into the card mat where the top of the card meets the top of the sleeve.
Make sure the fold is pushed to the edge of the sleeve. Then, remove the adhesive liner on the left side of the open card.

Attach the insert card to the left sticky side of the card where you removed the liner. Make sure the “good side” of the insert card faces the adhesive layer. Finally, close the card on the mat.
Step 3: Cut the design
Proceed with cutting your design as you would for the insert cards, choosing Cutaway Card + Backer as your material type.

After unloading your Cricut machine, weed out parts of the design you don’t need. Using a weeding tool may help with this process, as I find that the cardstock often sticks to the insert.

Making Cricut Cards without the Card Mat
You can also use regular cardstock to make a handmade Cricut card on a standard cutting mat.
Get this custom card design here in my Cricut Design Space profile.
Step 1: Create a rectangle card shape and a scoring line
For this type of project, first determine the full dimensions of the card when it’s unfolded. Let’s say we want to make a 4.25 x 5.5-inch card.
For a 4.25 x 5.5-inch card, I’ll create a rectangle measuring 8.5 x 5.5 inches (see pink rectangle below).
Score the card (optional)
To make folding easier, score the center of the card using a scoring wheel or scoring stylus.
- Create a vertical line 5.5 inches long, and center it on the pink rectangle horizontally and vertically.
- With the line selected, choose Scoring in the Operation menu instead of “Basic Cut.”

To create a card insert, add a second rectangle to your canvas with slightly smaller dimensions (e.g., 4 x 5.25 inches) like the yellow rectangle above.
Step 2: Create a design with images or text
To keep it simple, I selected a flower image with the text “Just a note” above it. Then, I centered it on the left side of the card. I also added some text on the right side of the card using the Writing operation and a Cricut pen.
Step 3: Mirror the design
Select the design, attach any individual layers, and flip the design horizontally to ensure it will display correctly when the card is folded. We are essentially cutting the design backwards.

Step 4: Attach the layers
Before cutting the design, select all layers (by holding shift and clicking each layer) and press Attach. This ensures that the layers are cut as displayed on the canvas. Do not attach the rectangle for the insert piece (if you made one).

Step 5: Cut and weed the design
Cut the design on a standard cutting mat using any cardstock you desire. You can use a Scoring Wheel or Scoring Stylus to make your scoring line. (Click “edit tools” in the software if you want to switch between the stylus and the wheel.)
After unloading your mat, fold the card along the score line and weed any excess cardstock to reveal your design.
Step 6: Assemble the card
If you cut an insert, you can glue it to the inside of the card to be visible on the front.

Pro tip: Make your own insert cards
If you own a Cricut Card Mat, you can also cut your own cardstock to make Insert Cards or Cutaway Cards rather than buying a card pack.
Final Thoughts
I hope you learned a few ways to make custom cards using your Cricut. There’s no limit to the designs you can make! For your next challenge, try embellishing your cards using Cricut pens or gold foil.
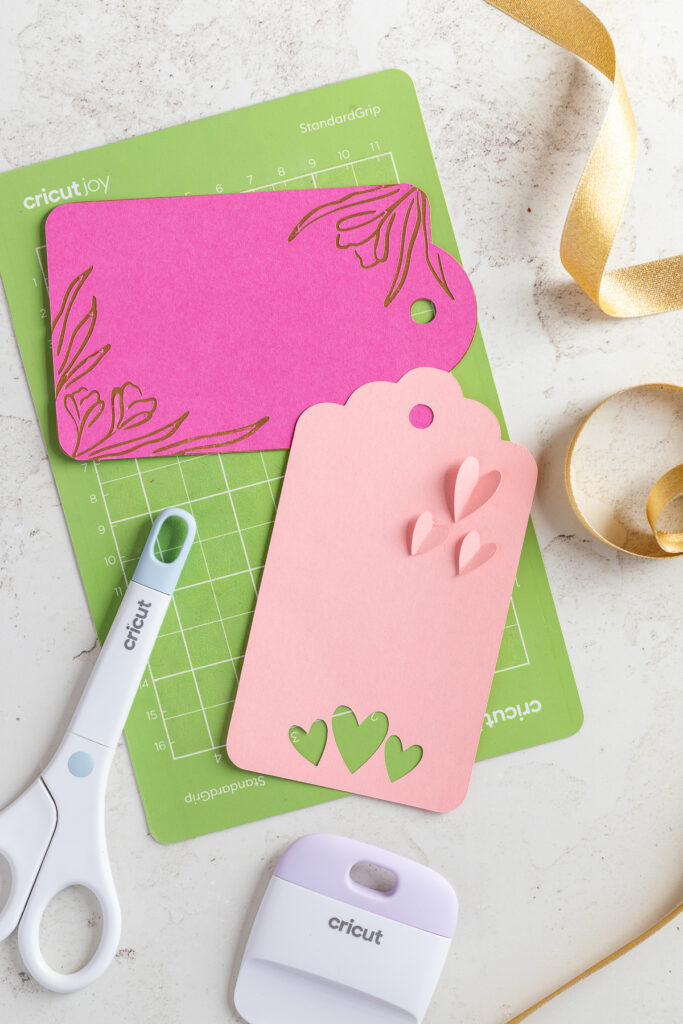
Be sure to check out my Cricut gift tags that feature different writing and foiling techniques to expand your Cricut horizons.
Feel free to share your card designs over on Instagram and tag me (@firstdayofhome). I’d love to see what you create!

Pin it for later!