Cricut Gift Tags to Upgrade Your Gifts
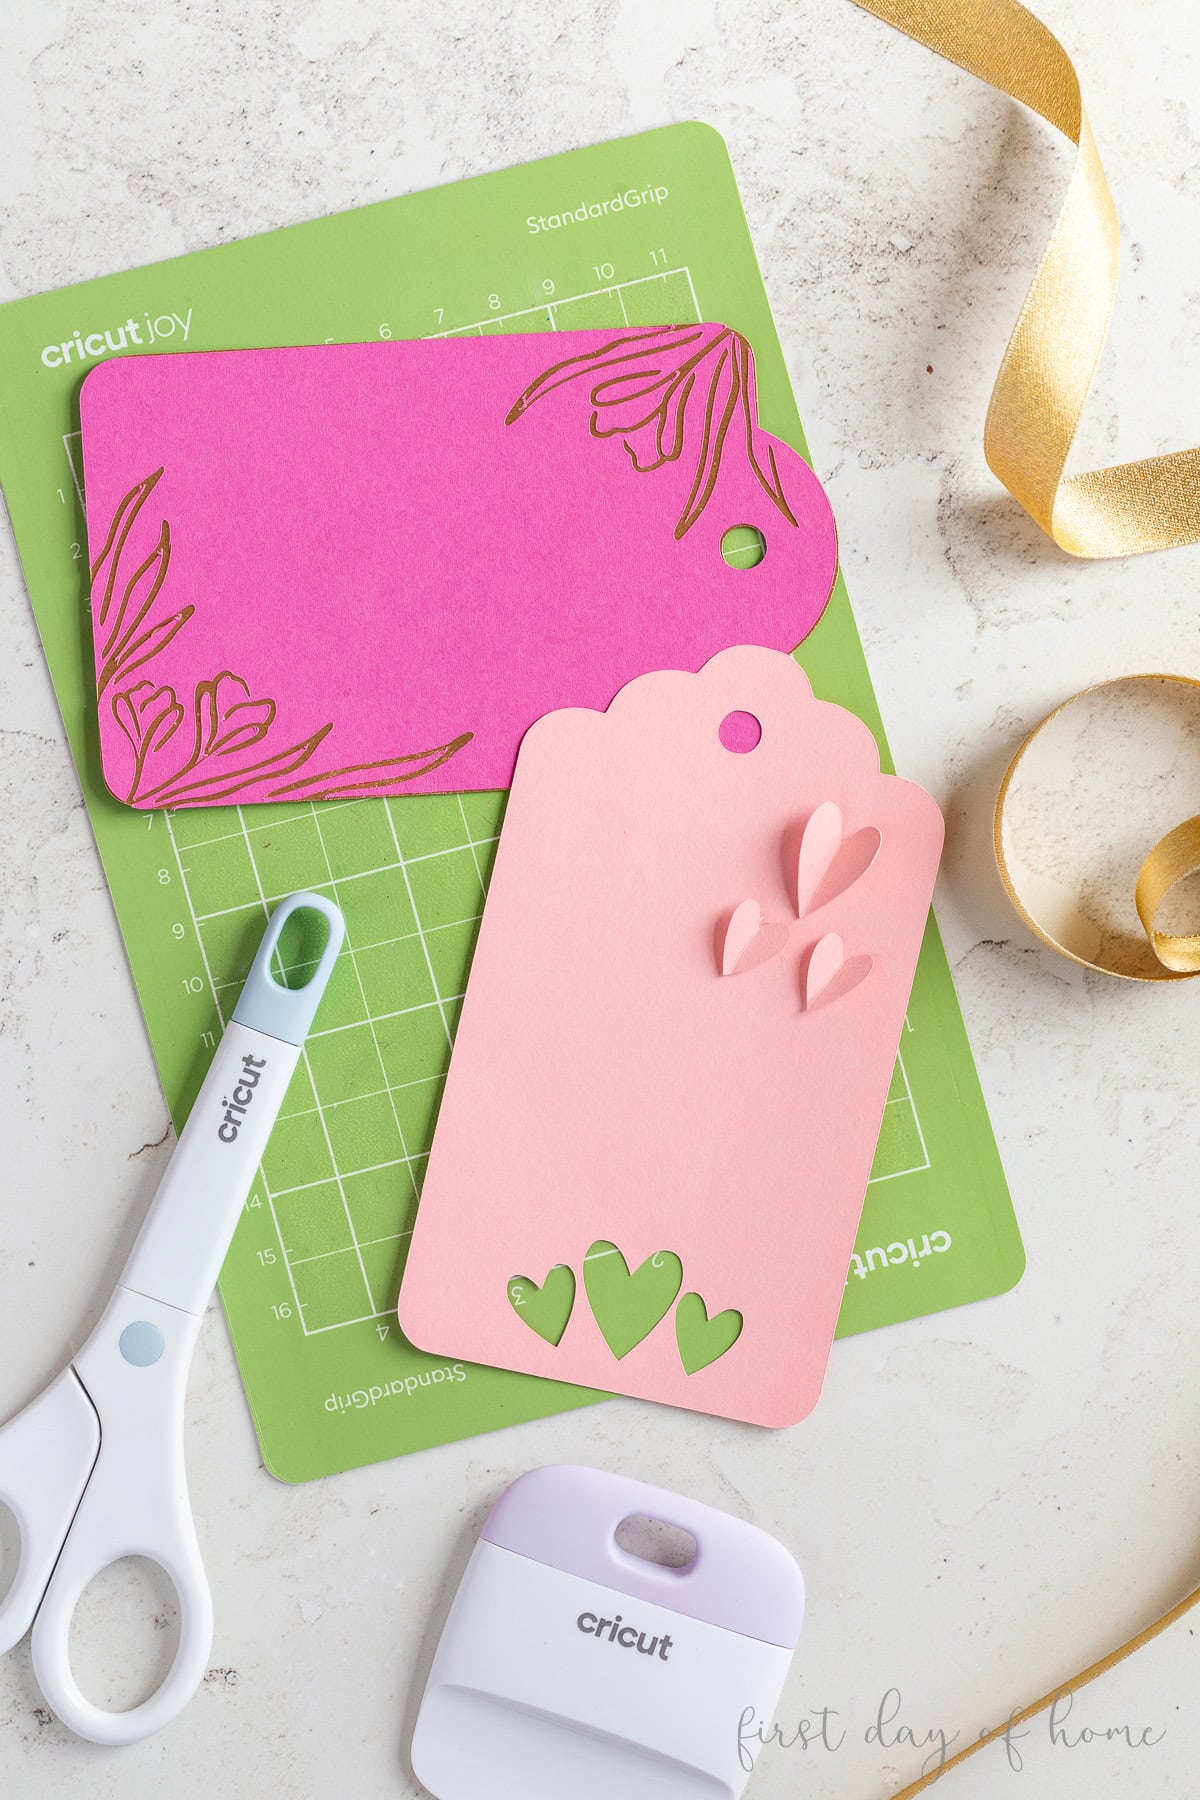
Cricut gift tags take less than 10 minutes to make and are perfect for beginners. I’m sharing five techniques to make gift tags with pens, foil, vinyl, and other embellishments. By the end, you’ll feel confident cranking out batches of gift tags to dress up gifts and party favors.
This post contains affiliate links, and I will be compensated if you make a purchase after clicking on my links. For more information, please see my disclosures.
Getting started with Cricut Gift Tags
In my opinion, gift tags are one of the easiest things for Cricut beginners to make. All you need is colored cardstock or scrapbook paper! You can use any type of Cricut machine for these gift tags, from the Joy 2 to the Maker 5.
New Cricut Maker 5
Cricut just released the new Cricut Maker 5, which works with more materials and tools than any other Cricut machine. To find out more, visit the blog post below.
CRICUT MAKER 5: ULTIMATE GUIDE
I’m sharing all of my original designs from Cricut Design Space below, so you don’t have to reinvent the wheel.
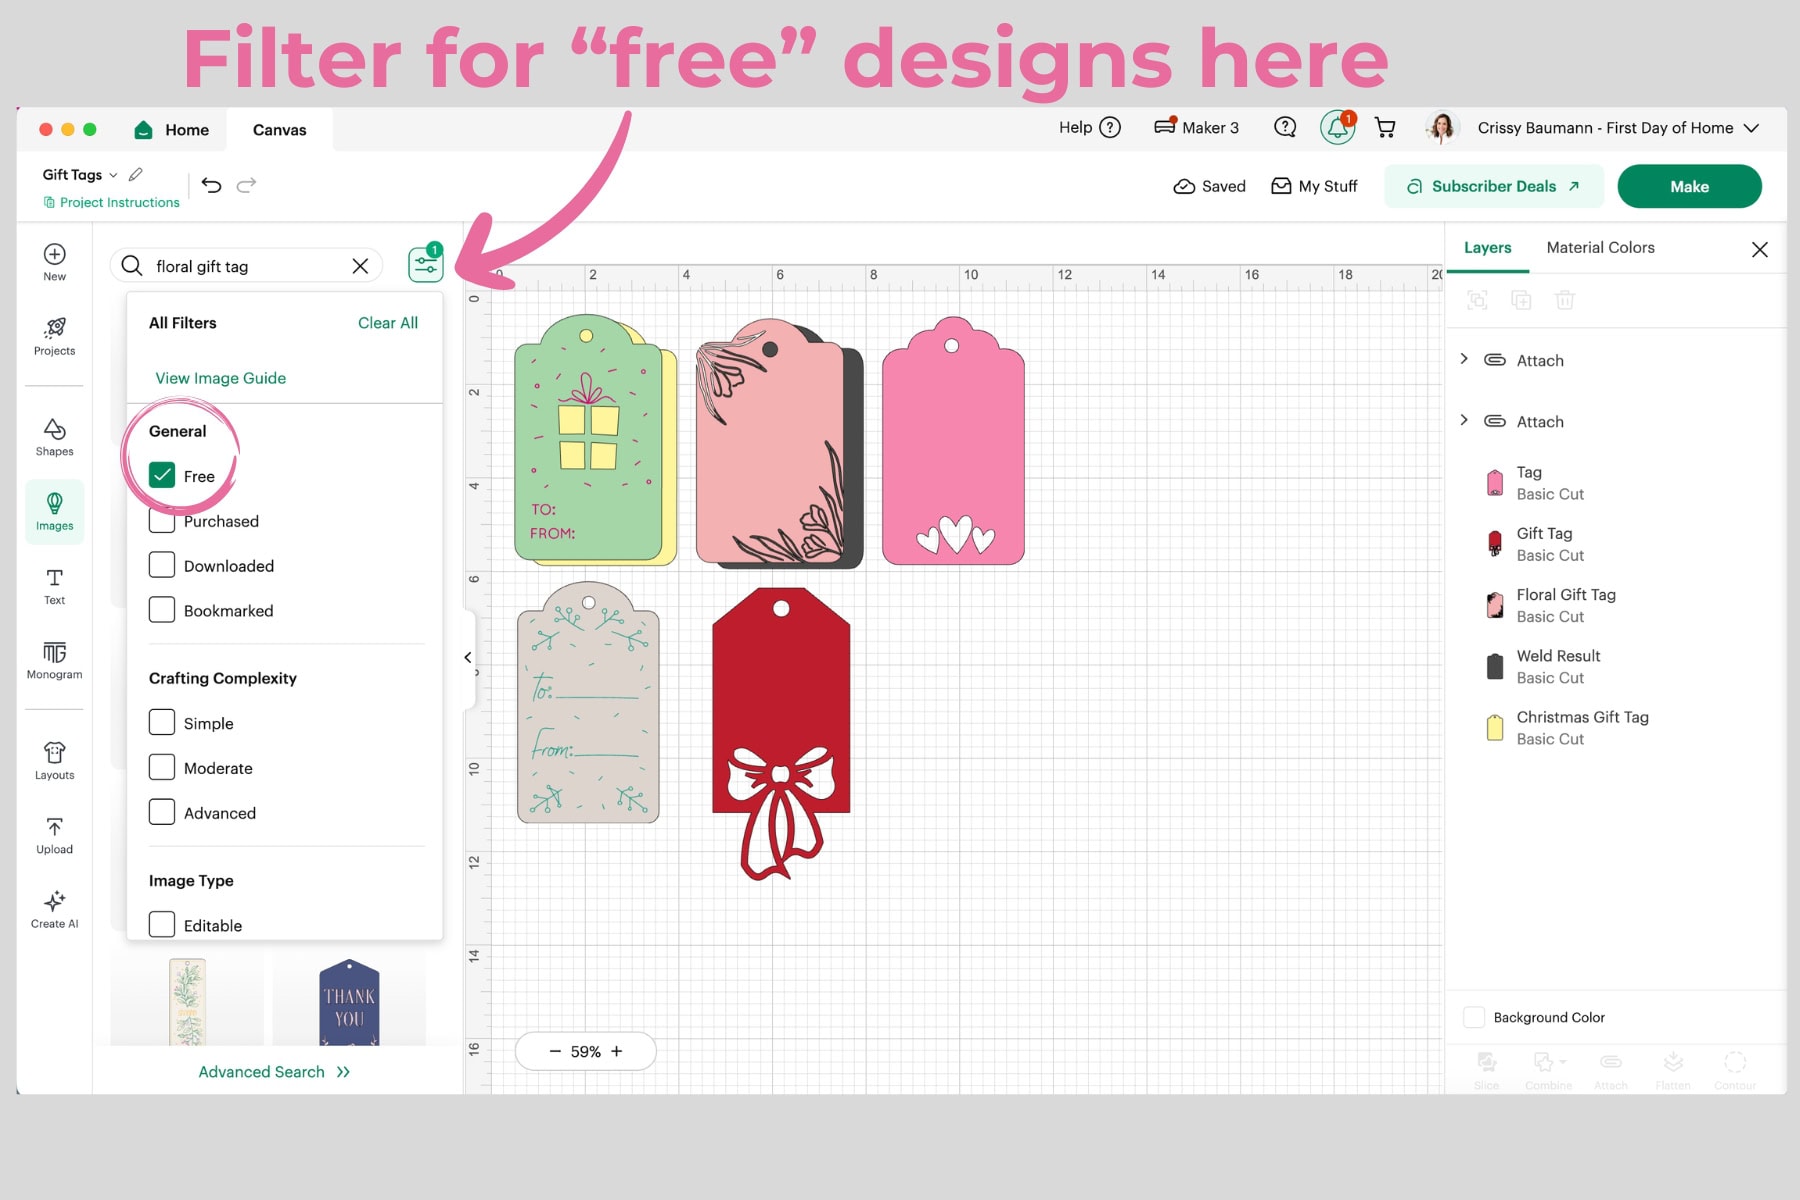
Some design elements cost a one-time fee if you don’t have a Cricut Access membership. In that case, you can either buy the design à la carte or search for a similar design by filtering for “Free” designs in the menu bar.
Follow Along
Follow me in Cricut Design Space for easy access to these designs and future projects.
Now, let’s get started making gift tags!
Gift Tag Supplies

Below I’ll list supplies for specific types of gift tags, but these are some of the essentials you’ll need.
1. Basic Gift Tag
The simplest tag to make is a basic cut design. This would include the tag with the red bow or the pink hearts below.
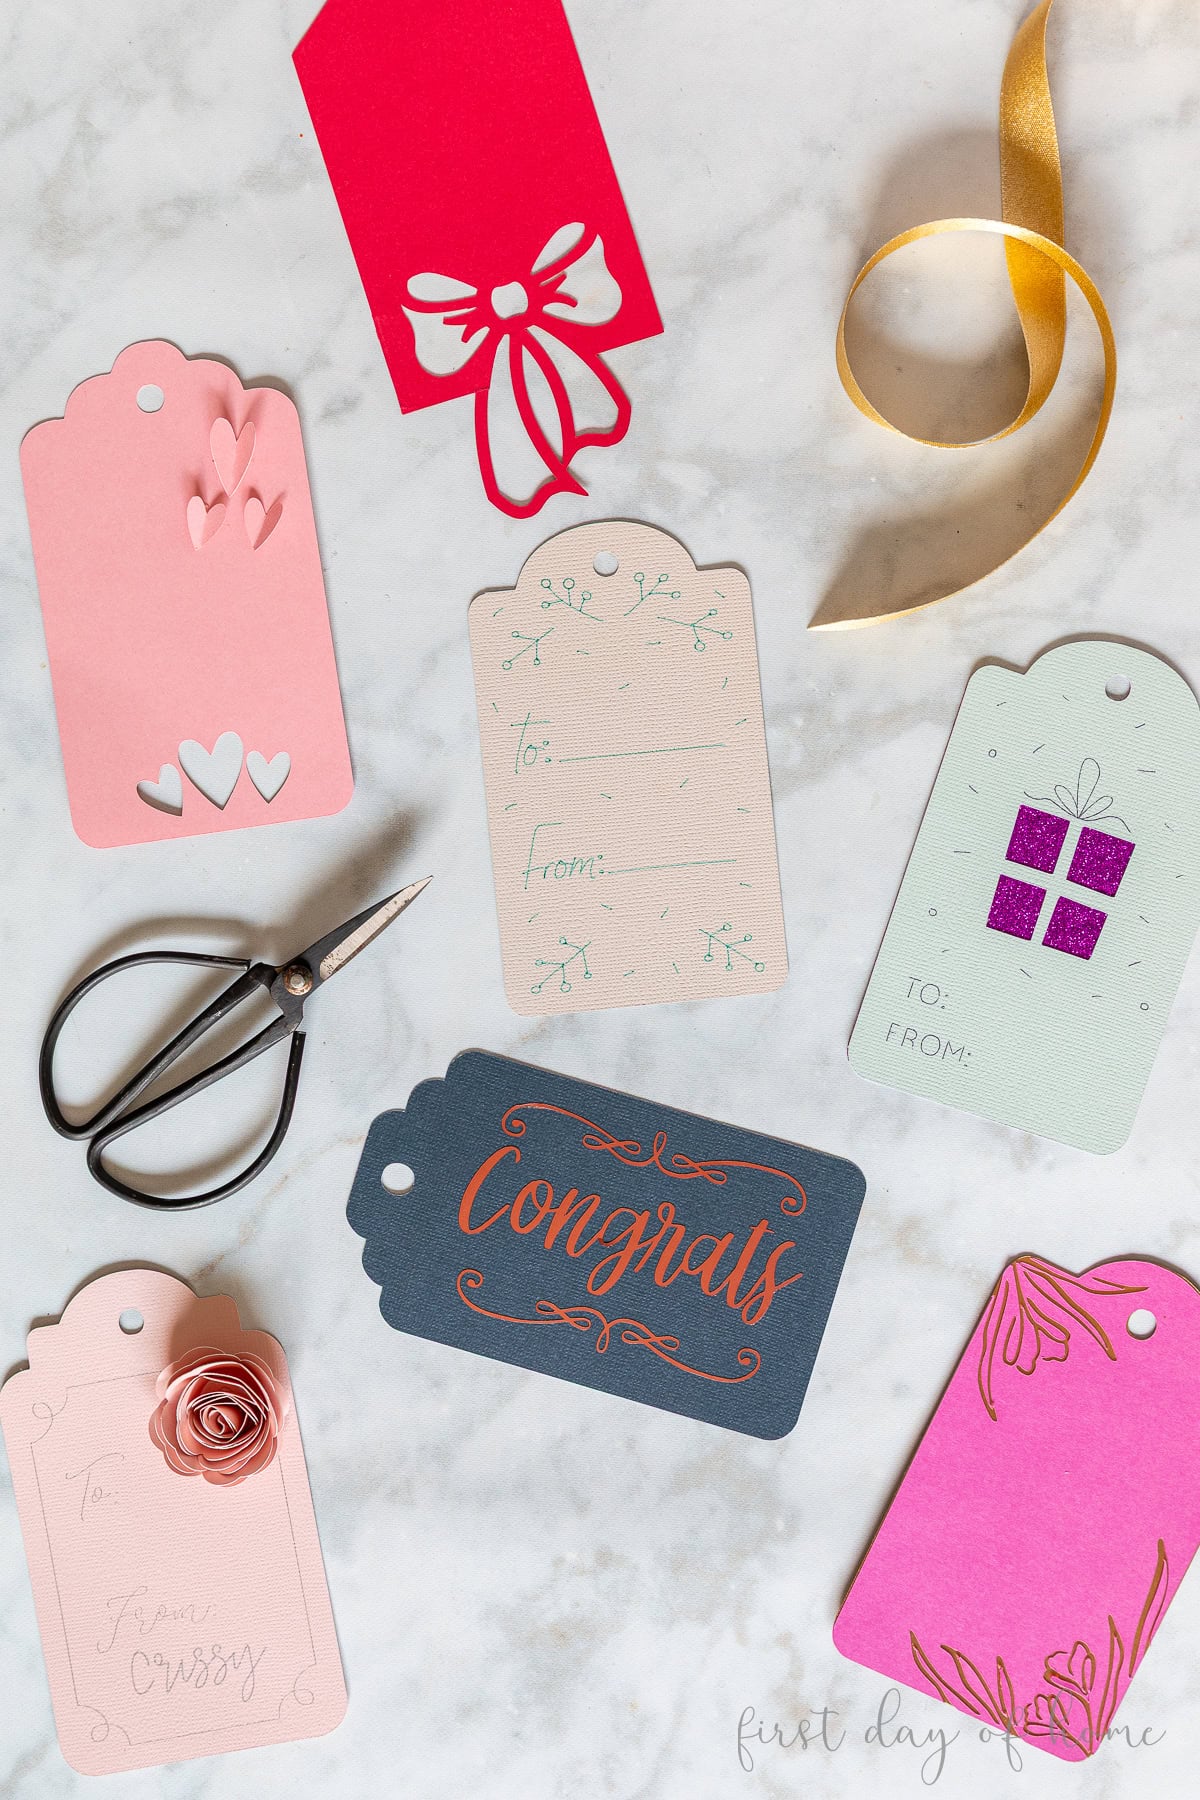
For the pink heart tag, I folded the heart cutouts and glued them, giving the tag a 3D effect. After many years of crafting, I’ve decided this is my favorite paper craft glue. I use it for all of my Cricut paper projects.
Get these designs in Cricut Design Space
Click here for these basic gift tags, including one foil transfer design (which I’ll cover below).
2. Gift Tag with Writing
To add more customization, you can choose a writing font and select Draw>Pen in the operations menu in Cricut Design Space.
The cream-colored “to/from” tag in the earlier photo was made with a turquoise fine-point pen.
3. Layered Gift Tag
Gift tags really come to life when you layer multiple colors of cardstock or scrapbook paper.
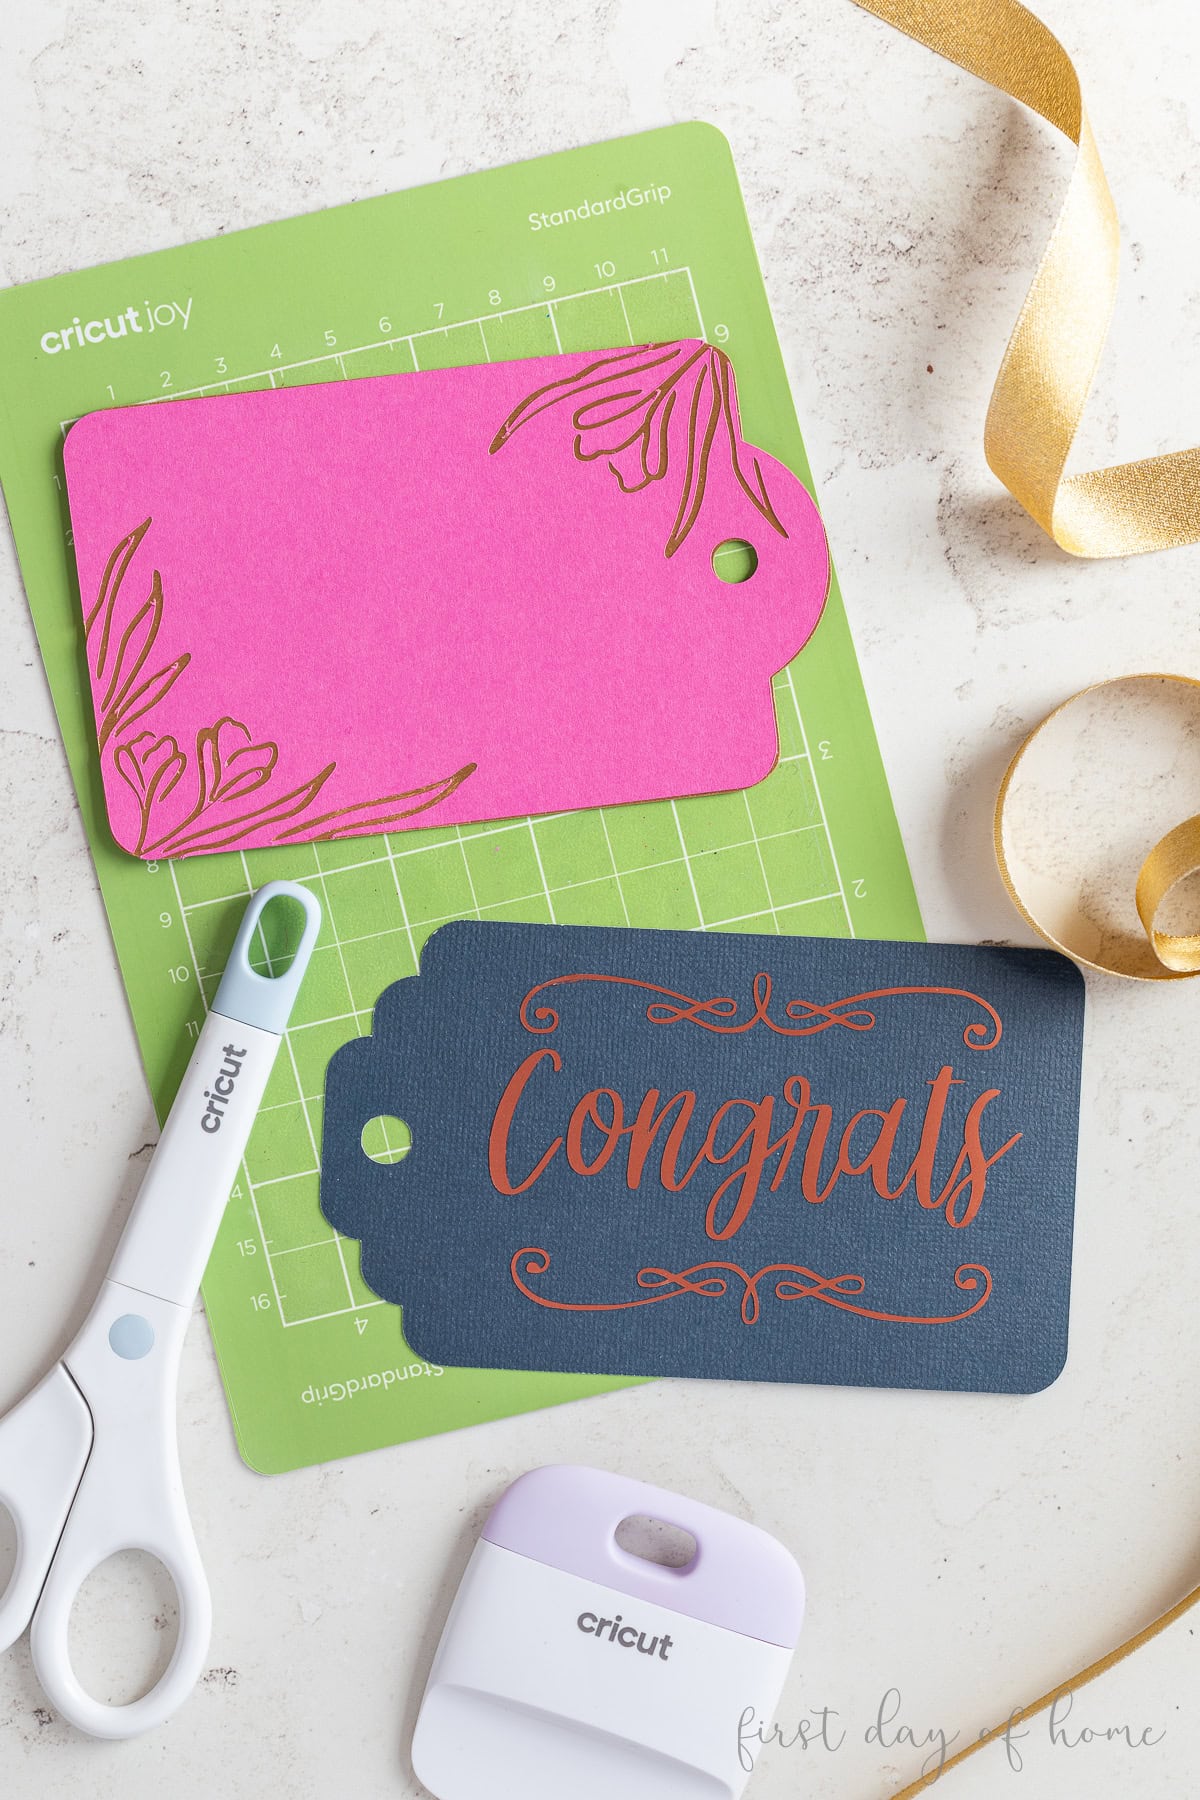
To make a layered gift tag, you’ll need to duplicate the top layer and use the contour tool to remove any parts of the design you want to fill in. This creates a solid background. (Just don’t forget to keep the hole at the top of the tag.)
The pink floral gift tag above is already formatted for a layered design. You can find that design here in Cricut Design Space.
4. Gift Tag with Foil
To add a touch of foil to your gift tags, you have two options:
- Foil Transfer Sheets (See the pink gift tag with paper rose below)
- Foil Adhesive Vinyl (See the “Congrats” gift tag below)
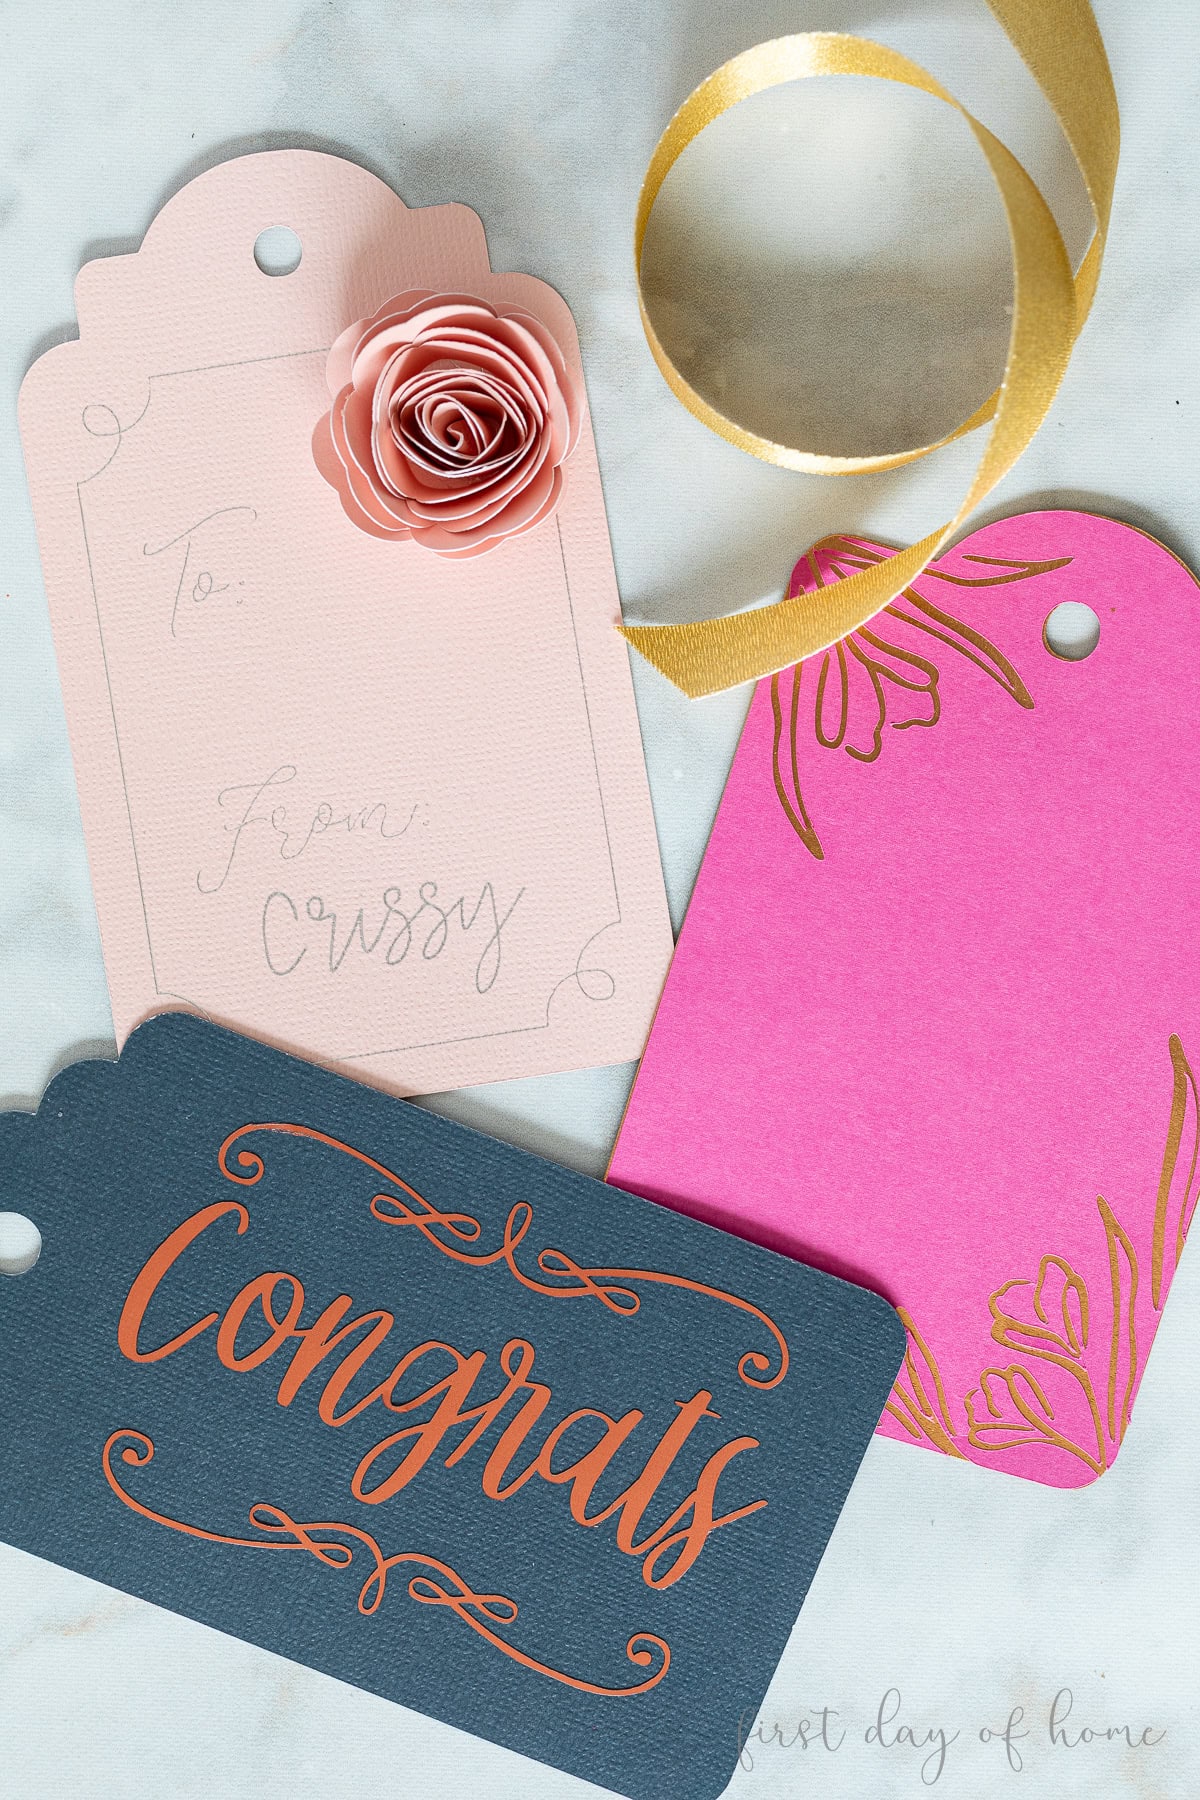
For foil transfer, you’ll need the Cricut Joy Foil Transfer Kit or the Cricut Maker/Explore Foil Transfer Kit. Watch this foil transfer tutorial on my YouTube channel for a quick demonstration.
On the pink gift tag above, I used foil transfer for the decorative border and a metallic pen for the name. Honestly, the difference is so slight that you could substitute the metallic pen for the whole design.
To make a “Congrats” gift tag with adhesive foil vinyl, cut the vinyl design as normal and then use light-grip transfer tape to apply it to the paper.
Get these designs in Cricut Design Space
5. Gift Tag with Paper Flowers
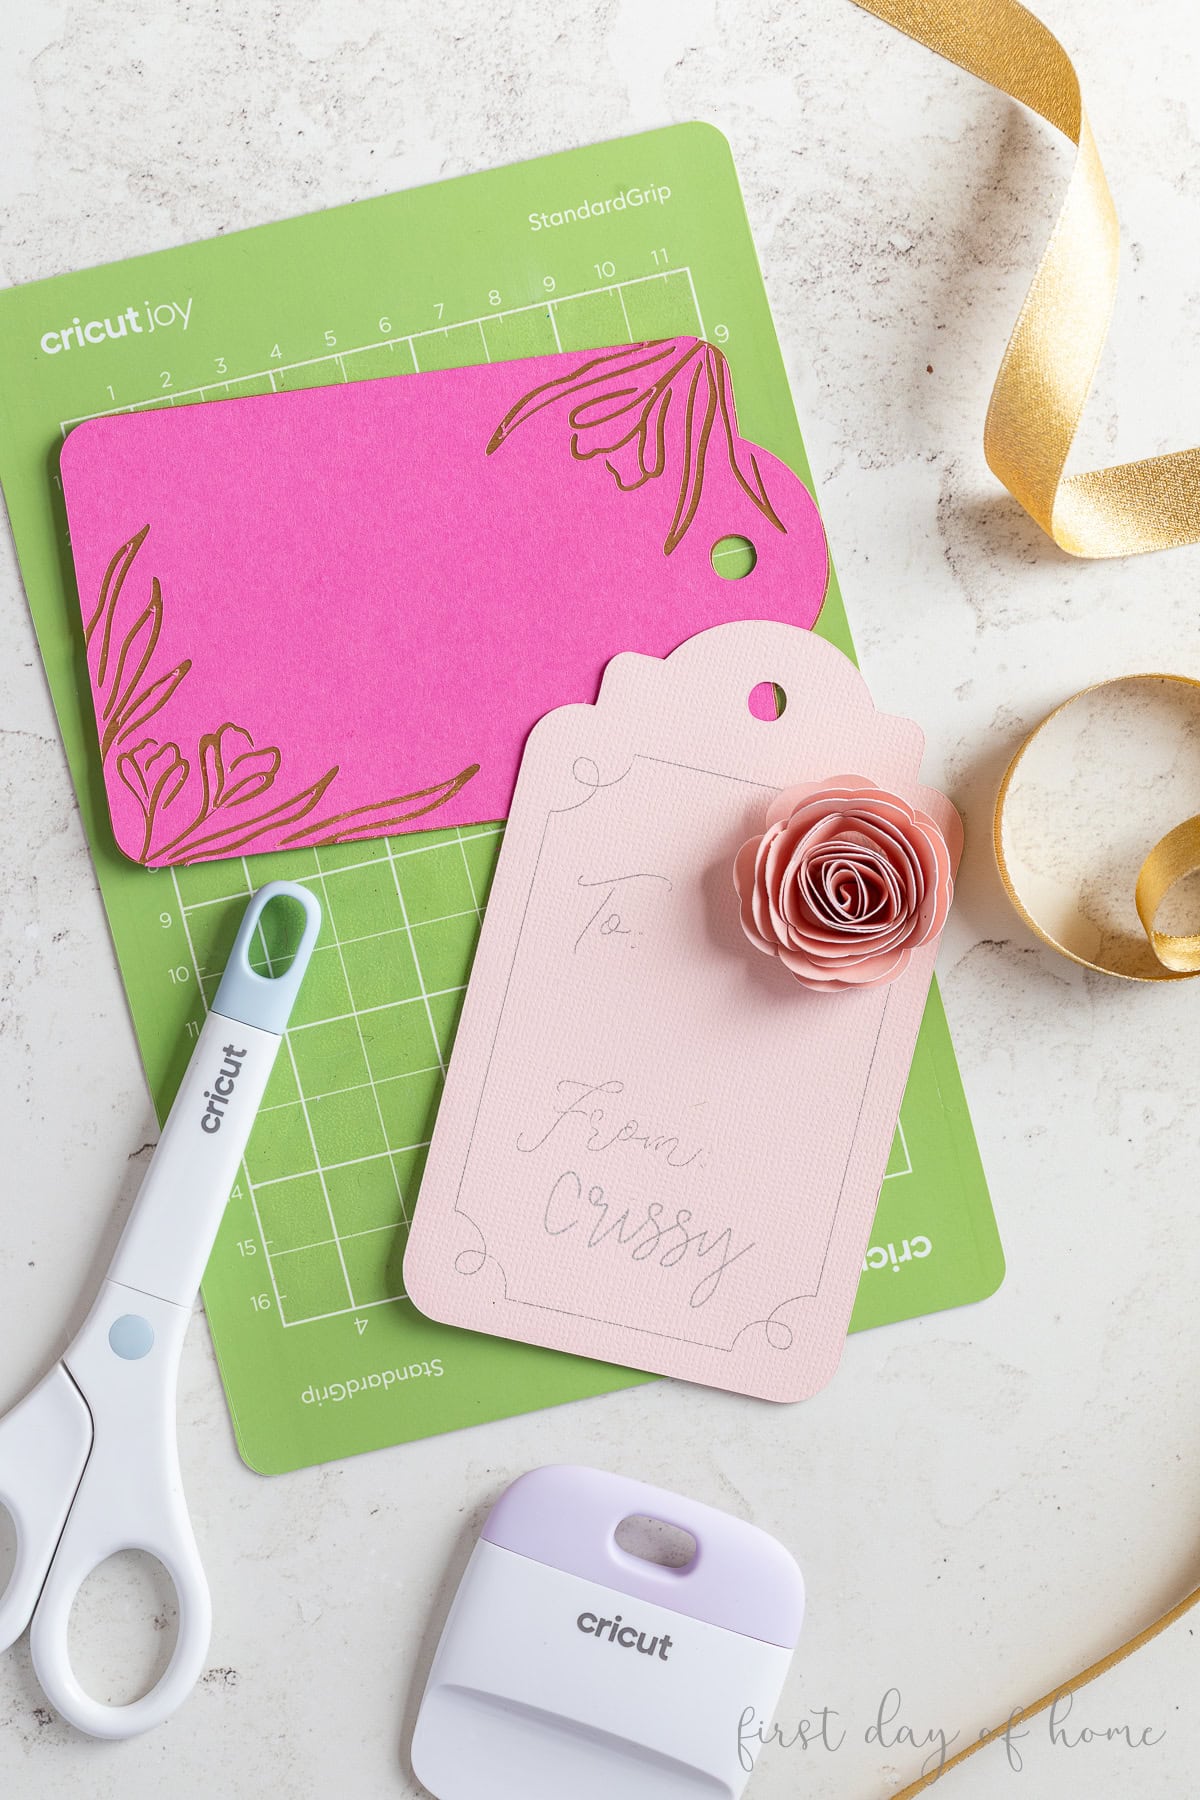
To embellish my pink foil gift tag, I also added a rolled paper flower. This gives a three-dimensional touch to your gift tags, making them perfect for bridal showers, teacher gifts, or birthday presents.
Visit my Cricut Paper Flowers project in Cricut Design Space to access my favorite flower designs.
How do I assemble a paper flower?
More Cricut Crafts to Try
Cricut gift tags are a great entry-level project, but there are so many other fun crafts to try! Check out these posts for more inspiration.

Pin it for later!