How to Build a DIY Farmhouse Headboard
My husband and I didn’t know how to build a wood headboard when we started this project. So naturally, we decided to build two at once! With this DIY farmhouse headboard tutorial, you can dive right into this project like we did.
This post contains affiliate links, and I will be compensated if you make a purchase after clicking on my links. For more information, please see my disclosures.
Why did we build our own headboard?
It finally happened. Our pre-school boys outgrew their toddler beds, and it was time for an upgrade. One problem: we couldn’t find standard twin headboards that would fit our room dimensions.
That’s when we decided to design our own farmhouse headboard! We used Ana White’s farmhouse bed as inspiration for this project and made tweaks along the way.
Tools and Supplies
Woodworking Tools
According to Ana, you could tackle this project with just a saw, a Kreg Jig (more on that below), and a drill. However, we also recommend the following tools:
- Table Saw – This is a great starter/weekend saw that doesn’t take up much space in the garage.
- DeWalt 20V Drill and Driver
- Stanley Jack Plane – This plane creates smooth finishes on the wood (read: no sanding required).
- Stanley Sweethart Block Plane – We love this block plane for smoothing out edges and creating beautiful chamfers.
- Combination Square
- Kreg Pocket Hole Jig – Many designs you find online use Kreg Pocket Holes to help join/connect wood. With a 5-star rating on almost 1,000 reviews on Amazon, it’s hard to deny this thing is handy for the DIY-er.
Headboard Project Supplies
- Wood – We used poplar wood to build each farmhouse headboard, but you can also use pine.
- Poplar: good for painted furniture and harder than poplar, but it generally costs more
- Pine: cheap and readily available, but it can dent more easily and stain less evenly
- Panel Moulding
- Titebond Glue
Note: If you have trouble finding the dimensions of wood you need, you can always glue two or more pieces together for added thickness.
Optional Supplies
- Benchtop Planer – When a piece of wood is too thick or has uneven thickness, a benchtop planer helps even it out.
- Clamps – Use these when gluing two pieces of wood together. While you can get by with pocket holes using a Kreg Jig, glue sometimes comes in handy, especially to limit the number of holes in a project.
Instructions
Step 1: Create Your Farmhouse Headboard Design
Here’s the rough plan my husband and I designed for the twin headboard. Later, we decided to add panel moulding on the interior for extra detail.

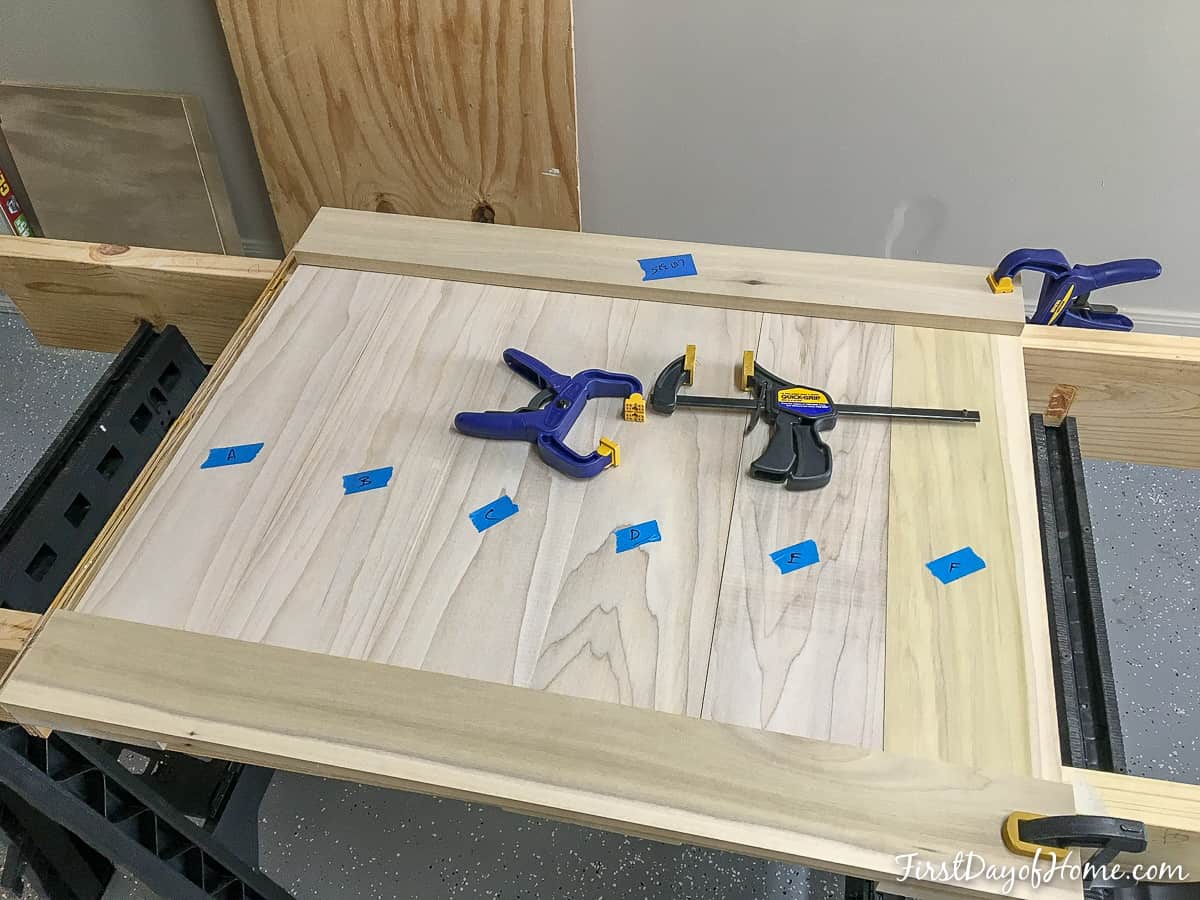
Step 2: Make the Headboard Panel
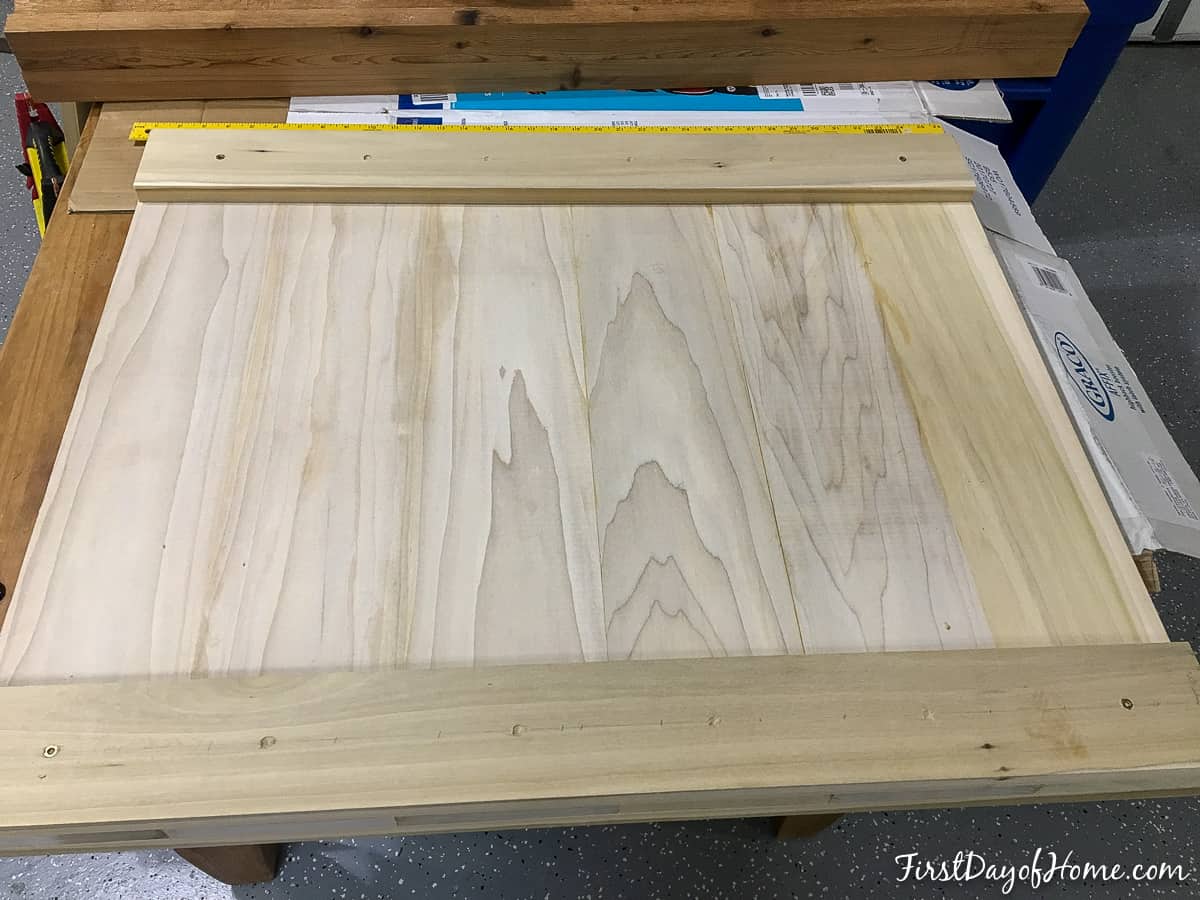
We chose a relatively simple panel style construction, taking 6 boards and gluing them together to form one large panel. Then, we “sandwiched” the panel between the top and bottom 1 x 4 frames.
Looking for a simpler design? You can opt to buy one solid piece of plywood for the panel instead. The headboard legs will cover up any exposed edges of plywood anyway. If you do use plywood, we suggest buying the good stuff and not the low-grade, rough sheathing.
Once we glued all the panels together, we used the planer to smooth out rough spots and make the boards level and continuous.
Step 3: Make the Headboard Legs
Sometimes you can’t find lumber in the exact thickness that you need or at the right price. A lumber yard will often mill pieces down to a specific thickness for you. Otherwise, you can glue two or more pieces together and then plane/sand them down to look like one large piece.
We chose to take a large piece of wood, “rip it” (cut lengthwise), run it through the planer, and then glue it together. If you know what this means, then you probably already own a planer and can tackle this!

The combined 2 x 4s we glued together made one long 4 x 4 post for each leg. You could get by with just a 2 x 4, but we wanted something a bit sturdier looking.
Step 4: Add the Top of the Headboard
To make the top of the farmhouse headboard sturdier, we added a mantel piece on top. Since the mantel rests on top of the legs, it also supports the panel weight and adds stability. (The panel essentially hangs from the mantel, and the mantel in turn rests on the legs.)
We used a 2 x 4 for the headboard mantel, which we planed from a larger piece of wood, and then topped it with a 1 x 6 for a layered effect. Then, we simply screwed the top mantel into the panel.
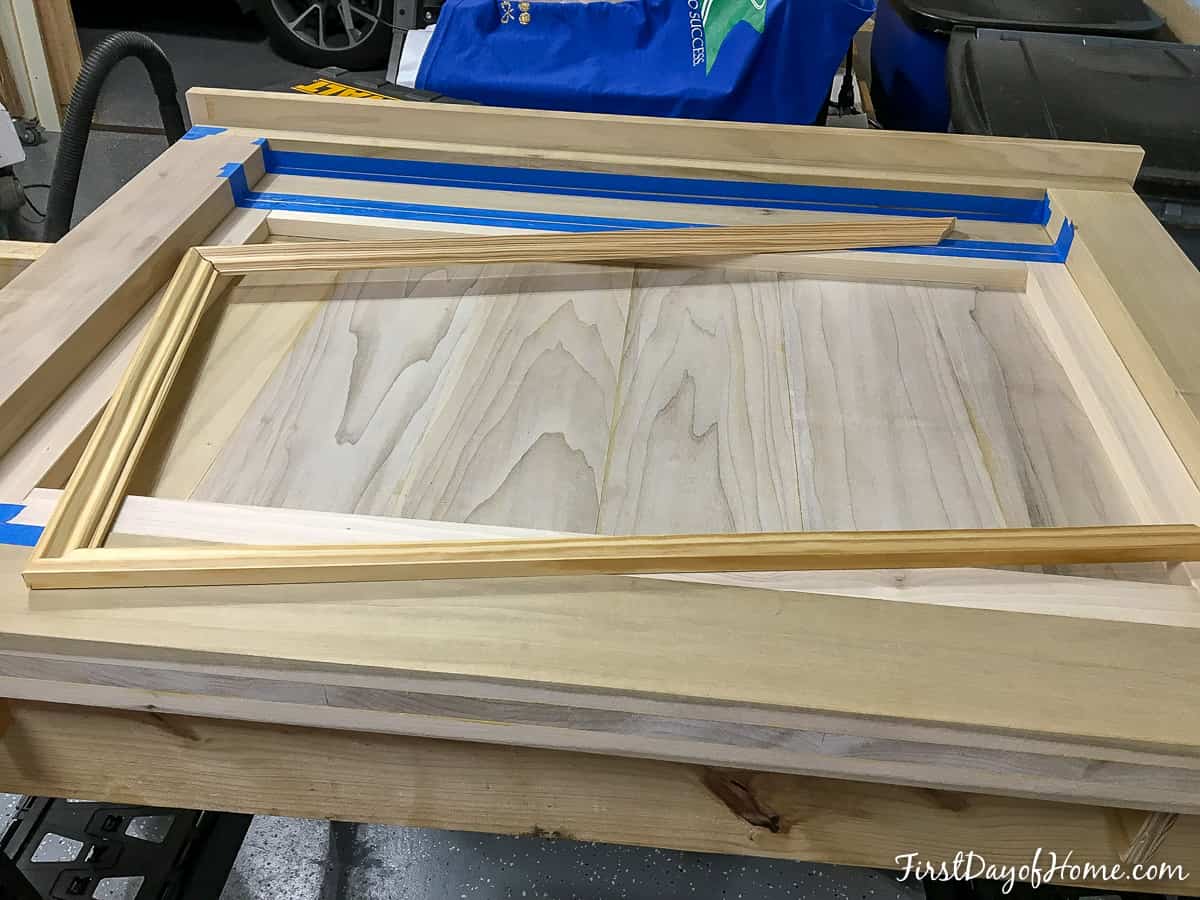
Step 5: Add the Headboard Trim
For the interior panel, we chose a simple but elegant moulding. This pine wainscot panel moulding worked well, and once we painted it, it blended right in. We simply glued these pieces onto the panel and had no real need for screws or nails.
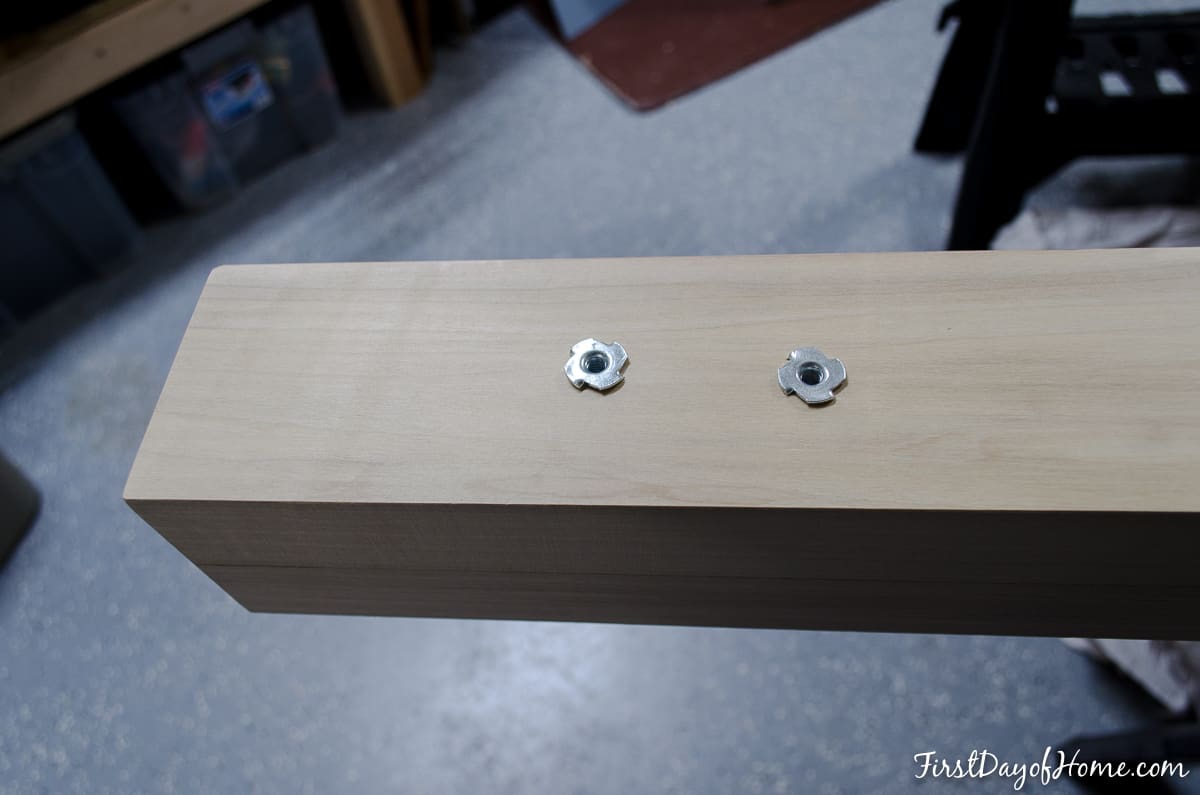
Step 6: Drill Holes and Add Mounting Hardware
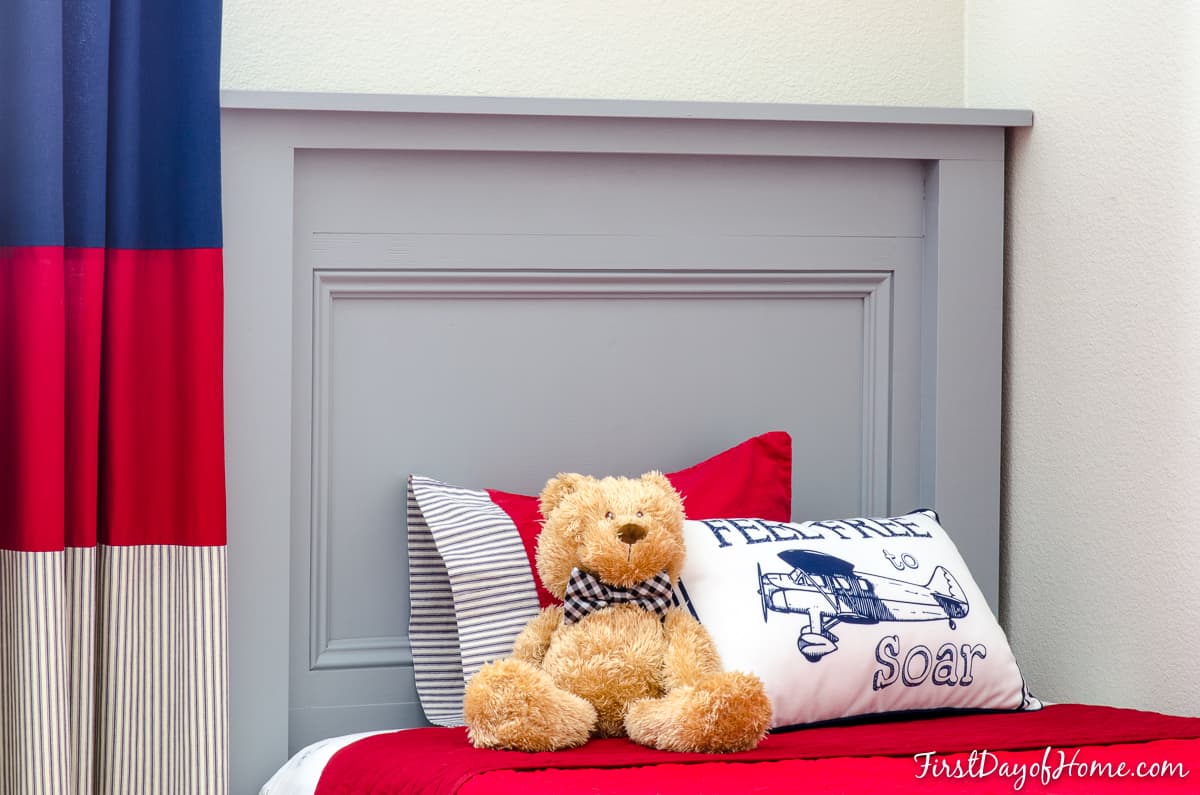
At some point in the future, we plan to build a full farmhouse bed and/or a footboard. For now, we opted to use a metal bed frame with square corners and mount our DIY headboard to it.
We lined up the frame where it would meet the legs of the headboard and mounted some threaded nuts in the legs after drilling holes. Depending on your bed frame arrangement, you’ll want to create a plan to handle this important last step.
Step 7: Finishing the DIY Headboard
For a more rustic look, we softened all edges of the headboard with a block plane and sandpaper. This has the added benefit of removing any sharp edges, making it more comfortable to handle and reducing the potential for ER visits later!
In a future blog post, we’ll show how we made our own chalk paint for these headboards.
If you’re planning to make a DIY headboard, let us know! We would love to see your plans on Instagram or Instagram.
Pin it for later!

Drop me a line if you have any questions! I respond to each and every comment!
More DIY Projects
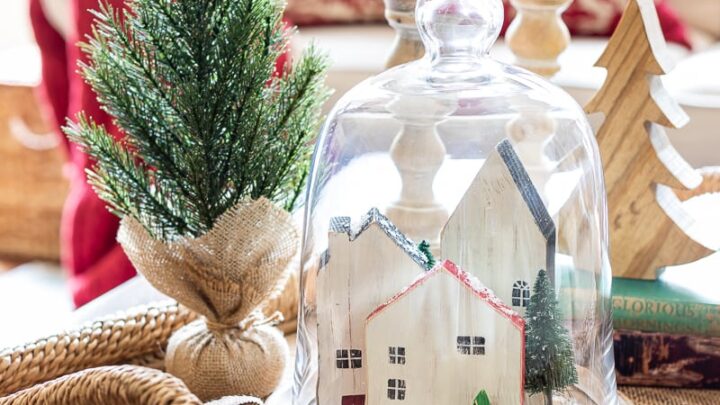
How to Make Mini Wooden Houses with Scrap Wood - A Christmas Cloche Idea
Learn how to make these simple wooden houses for holiday home decor.
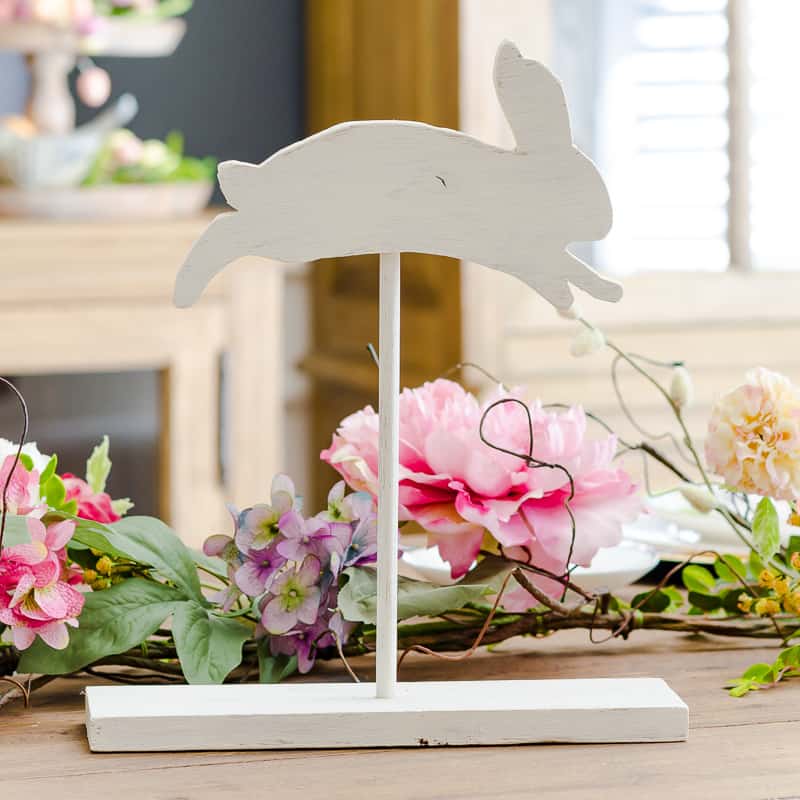
How to Make an Easy Wooden Bunny from Scrap Wood
Make a decorative bunny for spring using scrap wood.
How to Make Reversible Farmhouse Signs - DIY Guide
It's easy to make this reversible farmhouse sign using plywood and a few simple tools.
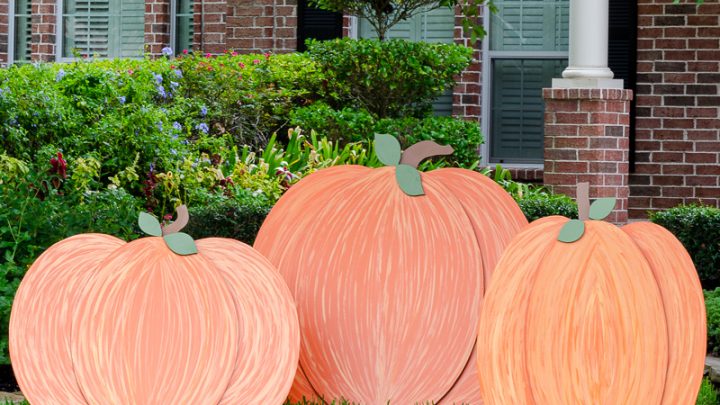
How to Make Wooden Pumpkins for Yard Decorations
Learn how to make giant wooden pumpkins for yard decor with these free plans.
What an adorable headboard Crissy! You both did a great job on this :). Pinned!
Thanks, my friend! Coming from an expert like you, that means a lot! I’m grateful for you pinning it!
What an adorable headboard! We have been meaning to upgrade our 3-year-old to a big boy bed soon, so glad I found this for inspiration…pinned. 😉
Thanks, Marissa! Our boys are 4, so it was time to upgrade! The boys love their “bed shields,” as they call them.
What outstanding results for a DIY project that will have special meaning for years to come. Your instructions are detailed and easy to follow! Great photography, as well!!
Well, I’m glad you liked it! We really enjoyed making these, and our boys love their “big boy” beds!