How to Create DIY Pressed Flower Art with Microfleur
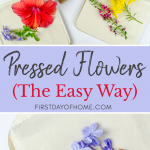
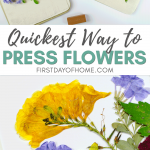
Learn how to make DIY pressed flower art in just minutes using a microwave! You won’t believe how beautifully you can preserve treasures from your garden with this one simple tool.
Thank you to Microfleur for sponsoring this post! The opinions expressed in this post are completely my own, and I only recommend products I personally use and enjoy. For more information, please see my disclosures.
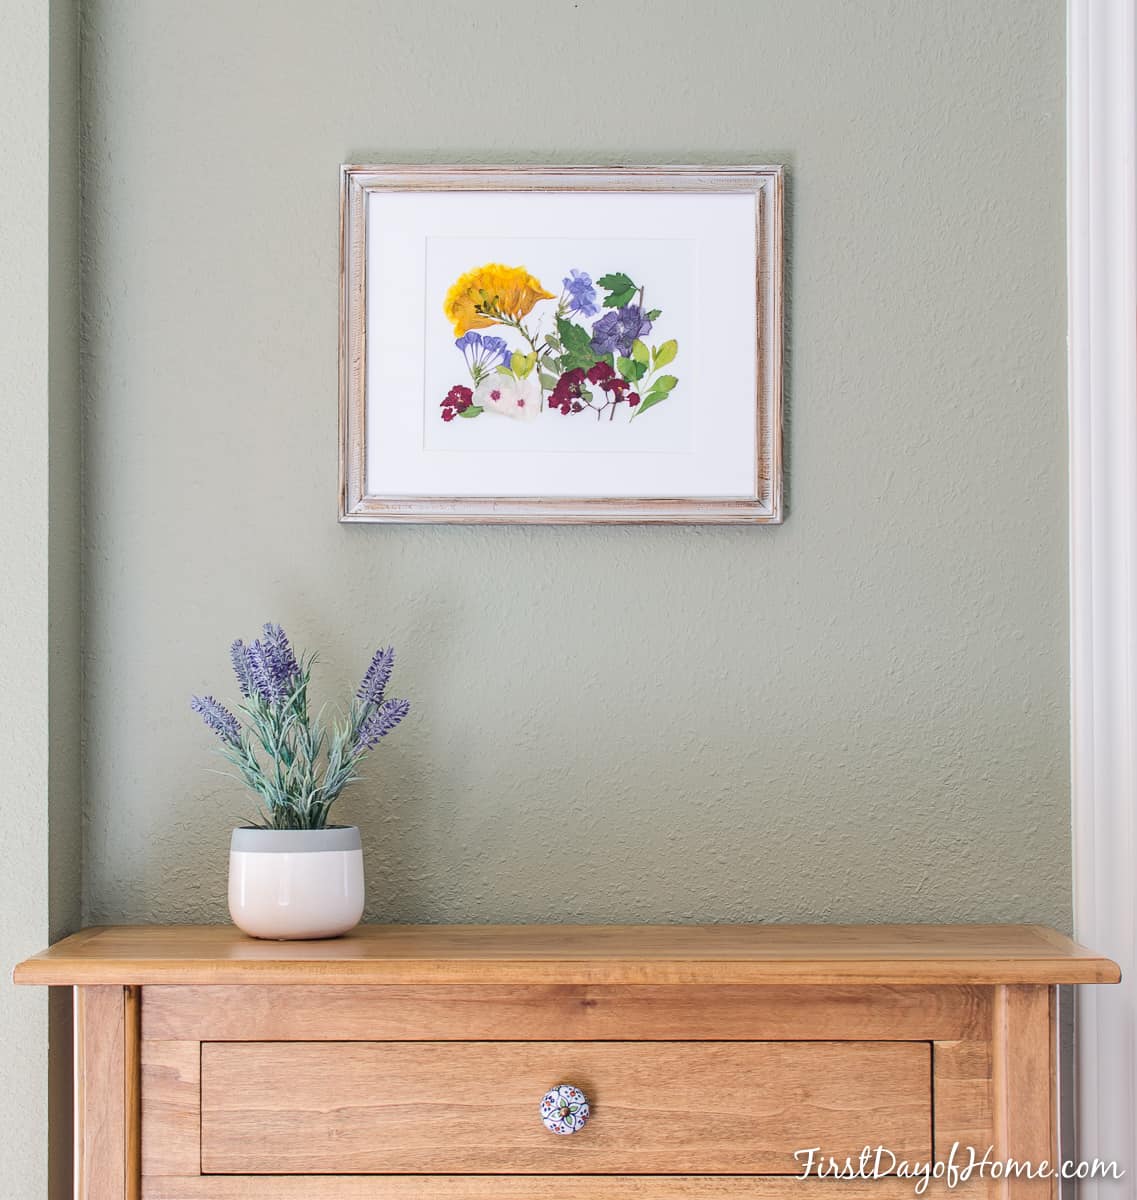
When my family moved into our new home a few years ago, I wanted to surprise my husband with a keepsake from our first year there. Botanical prints were gaining in popularity, so I felt inspired to create my own DIY pressed flower art. The only problem was that I knew nothing about pressing flowers!
Luckily, I discovered the Microfleur Microwave Flower Press. In minutes, I transformed garden flowers into original artwork.
Special Coupon: I’m excited to offer my readers 10% off a Microfleur Flower Press. See details at the end of this post!
Since that first project, I’ve created many gifts using the Microfleur. Today, I’m sharing an easy tutorial to make pressed flower art that will capture the special moments in your life, too.
Pressed Flower Supplies
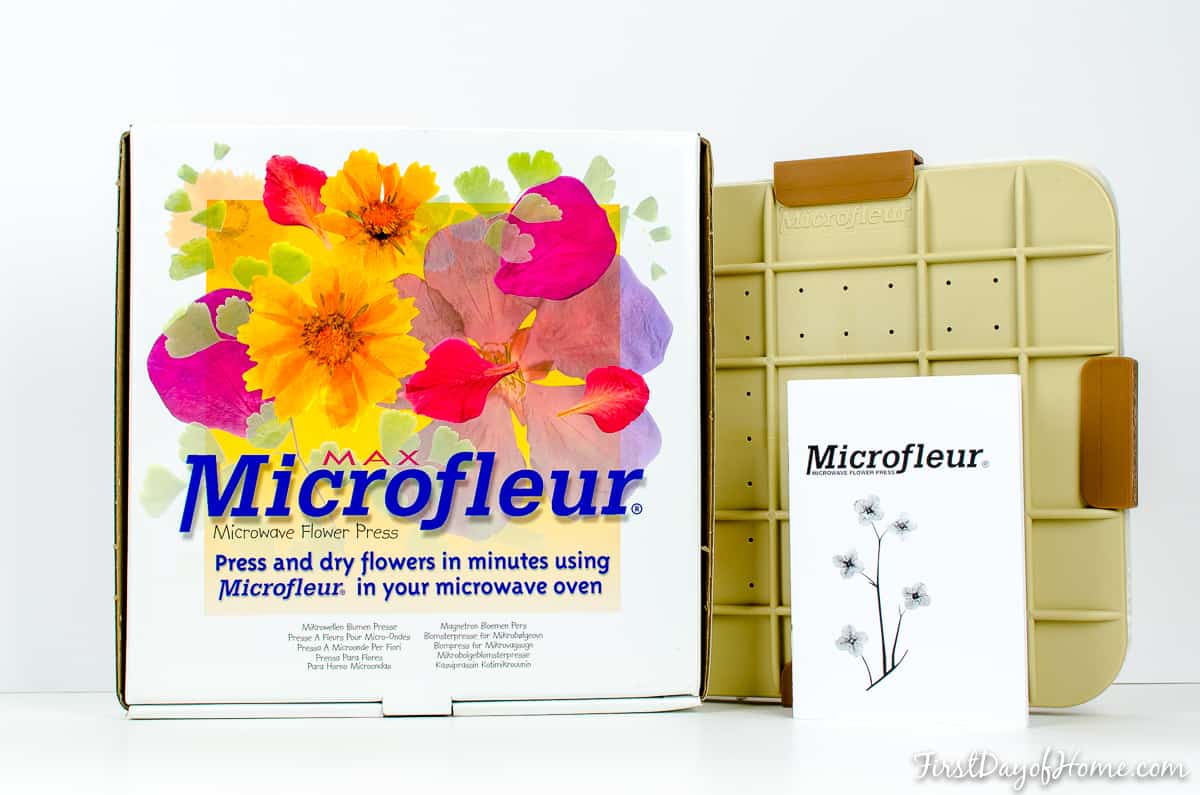
- The Microfleur Max (9″ press) or The Microfleur Regular (5″ press)
- Fresh flowers
- Cardstock paper or backing of your choice
- Craft glue/adhesive
- Frame
For this tutorial, I’m using The Microfleur Max.
Did you notice that you won’t need any phone books or bricks for this type of dried flower art? Traditional methods of pressing flowers with heavy books can take 3-4 weeks (see my post on How to Press Flowers Four Ways). However, the Microfleur allows you to create dried flowers within minutes using a microwave. Hooray!
Directions
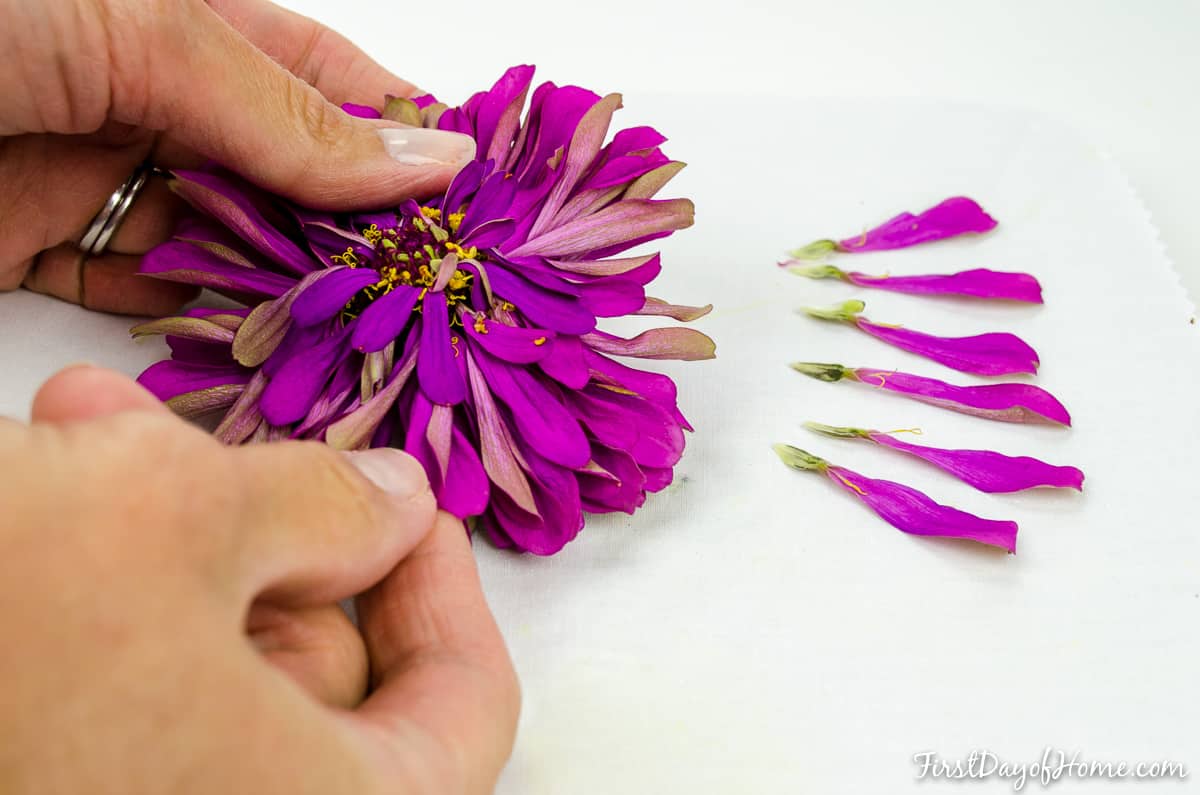
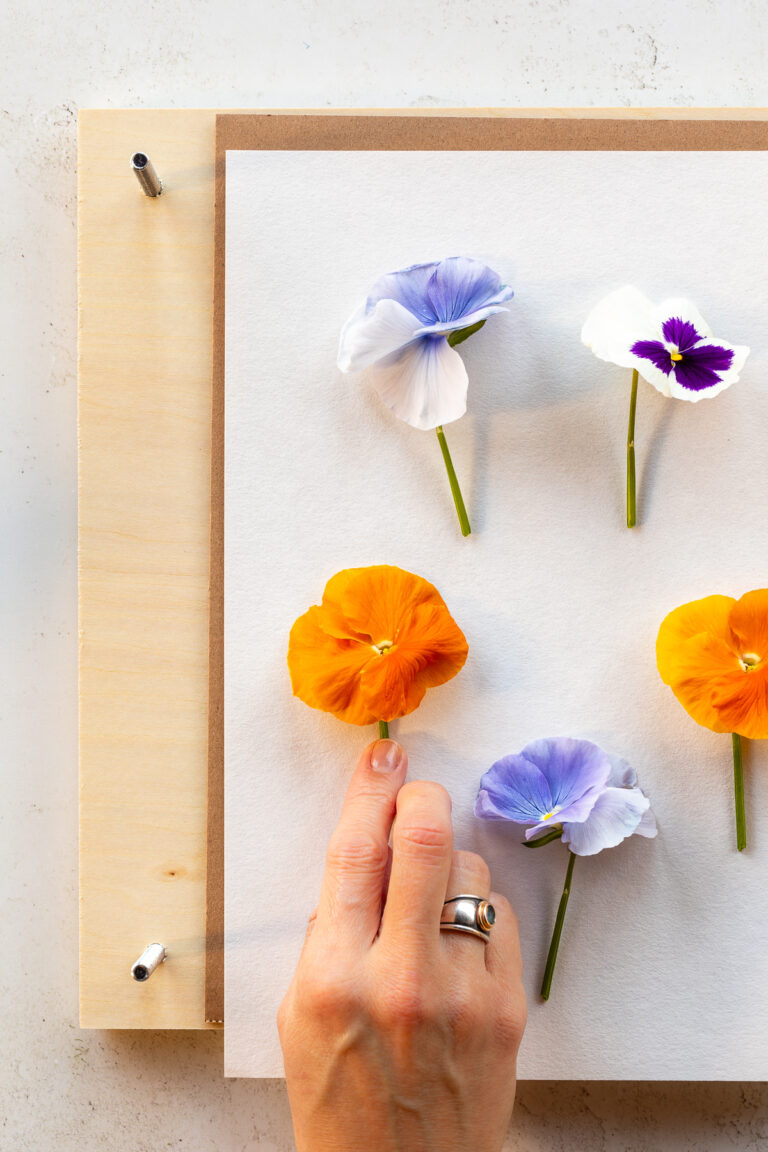
Step 1: Select and prepare flowers to press
My Microfleur Max has allowed me to press a variety of plants and flowers, including roses, angelonia, esperanza, plumbago, vincas, crepe myrtle blossoms and ferns.

When selecting your blooms for pressed flower arrangements, here are a few tips to keep in mind:
- Very thin flowers may need more care, as they can stick to the fabric liner more easily.
- For thick blooms, consider dismantling the flowers or cutting them into flatter pieces.
- Newer blossoms tend to retain their color better than older blooms.
Step 2: Prime the Microfleur fill-pack
If you’re using the Microfleur for the first time or after a long break, spray the inner fill pack with water. This prevents scorching.
Step 3: Arrange flowers in the press and apply clamps
To press multiple flowers at once, make sure the blooms have a similar thickness or texture. You may choose to overlap petals from multiple flowers, but I prefer to create my layers after I complete the drying process.
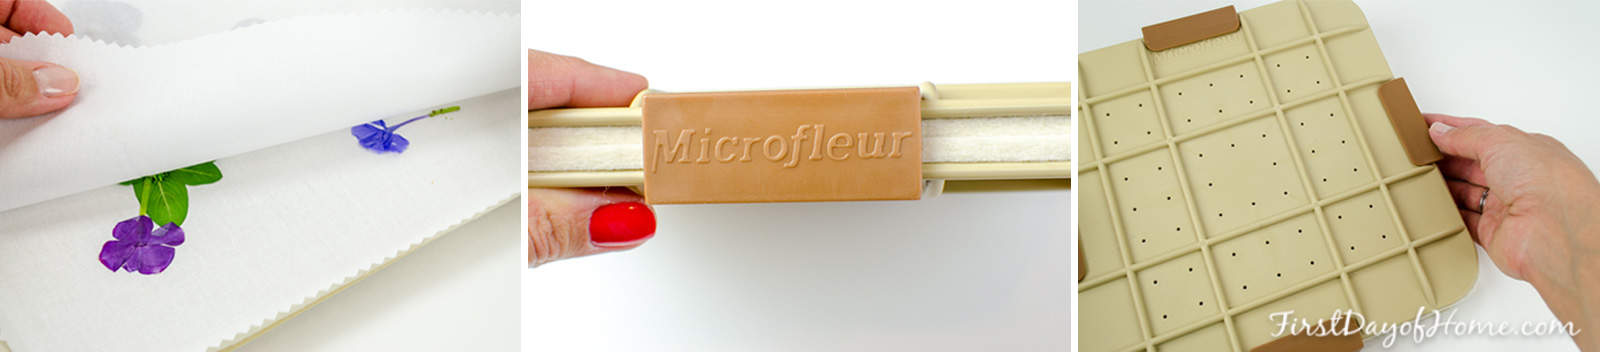
Step 4: Microwave flowers in the Microfleur
Microfleur has guidance on drying times for different types of microwave ovens. In my experience, an initial burst of 25-30 seconds on high power, followed by several 10-second cycles, generally does the trick. Every flower requires a different amount of time depending on its moisture level and thickness. I had fun experimenting until I struck the right balance!
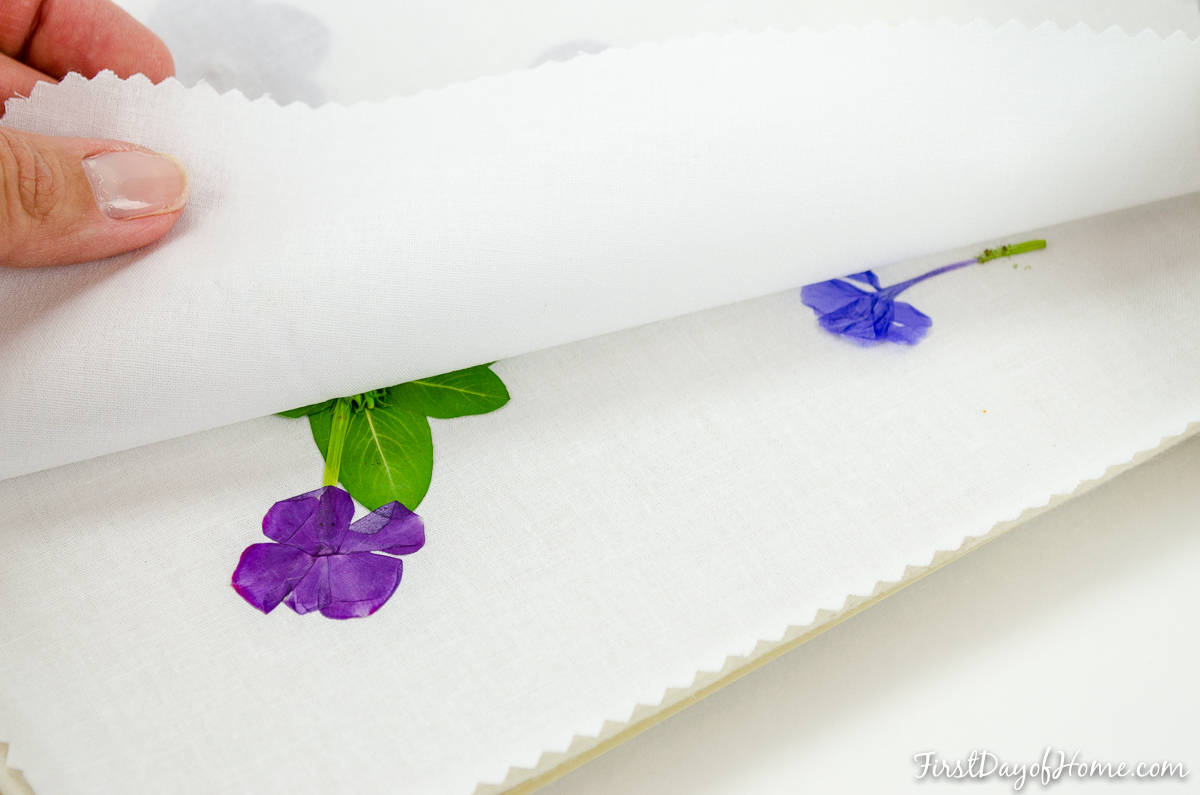
After the first long burst, you can make slight adjustments to any petals or stems, if desired. In my four years of pressing flowers, I’ve learned it’s wise to loosen the flowers from the fabric liner after the initial burst to prevent sticking later.
For best results, open your flower press to ventilate the flowers between cycles. You’ll know your pressed flowers are ready when they feel dry and “papery” to the touch. Petals and leaves should not droop either.
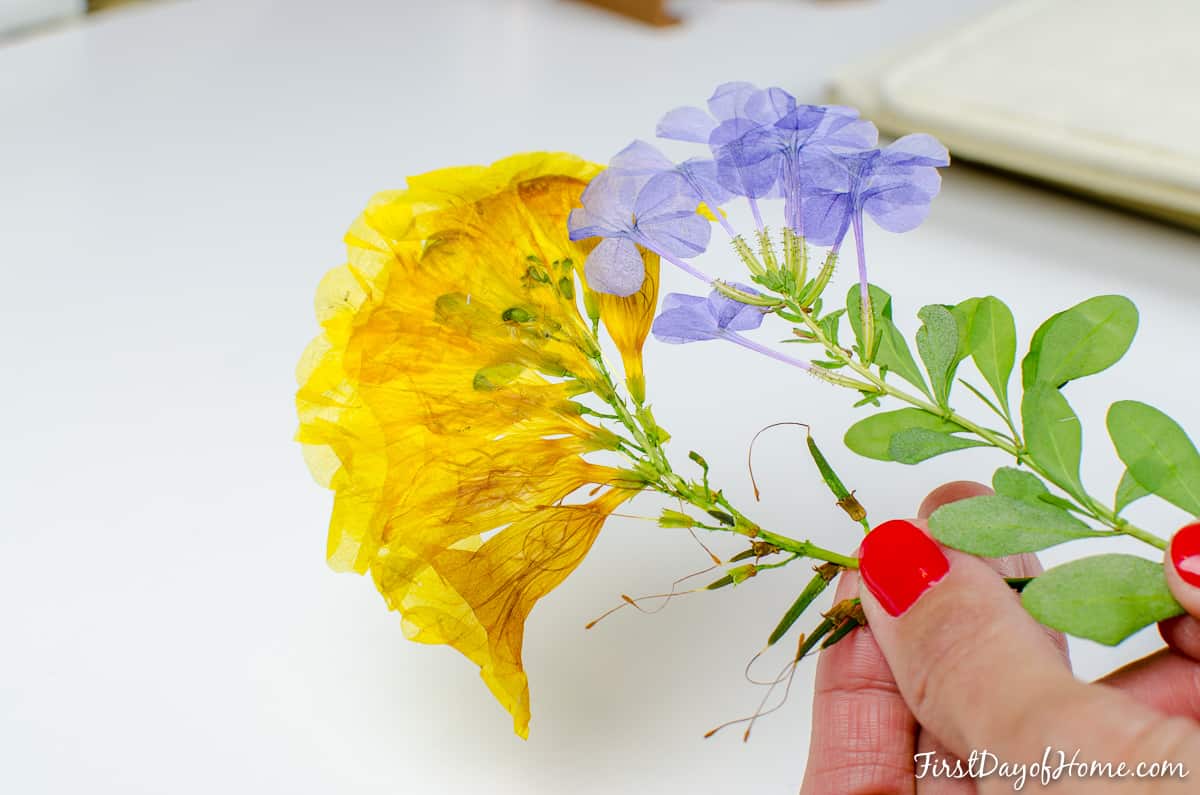
Step 5: Arrange and glue flowers on cardstock or backing of your choice
Once you have completed the drying process, you can begin arranging your pressed flower artwork! I find that tweezers allow me to handle delicate flowers more easily. Microfleur sells a great pair of nylon tweezers made just for this purpose.
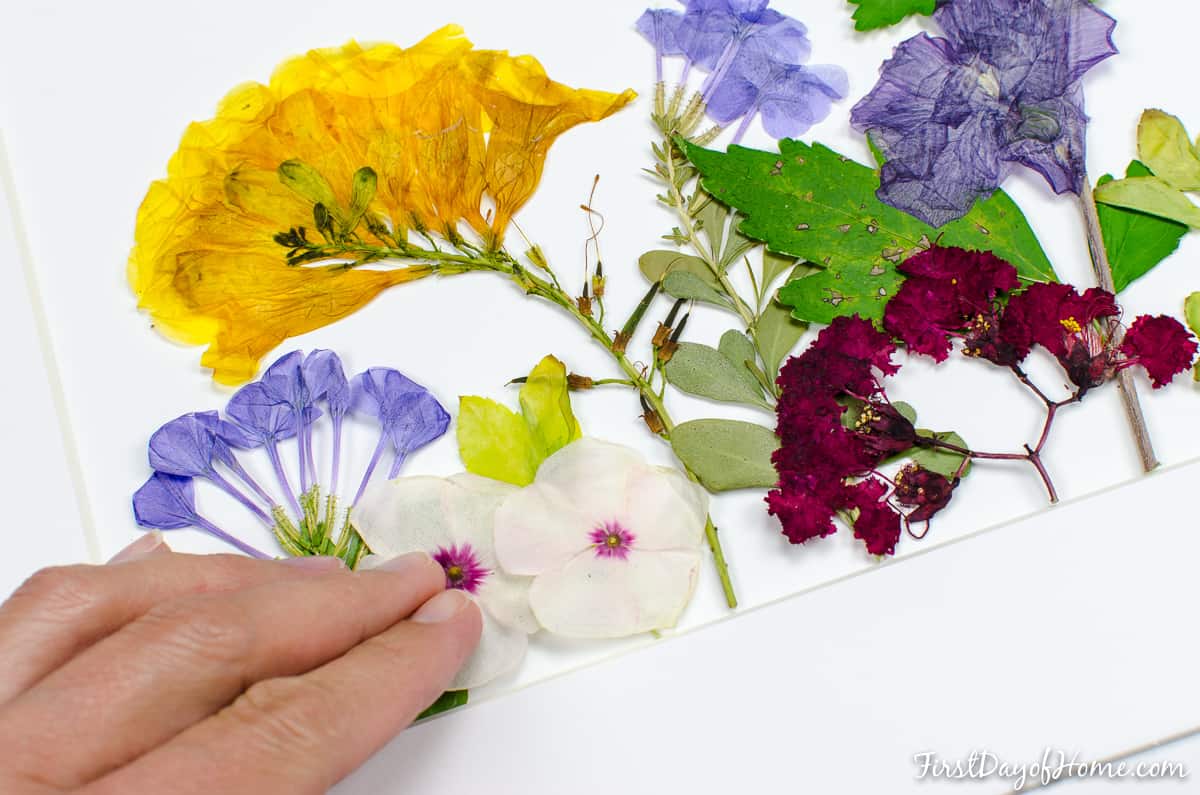
When your flowers finally strike a pose you like, snap a photo before you begin gluing the stems and petals to the backing of your choice.
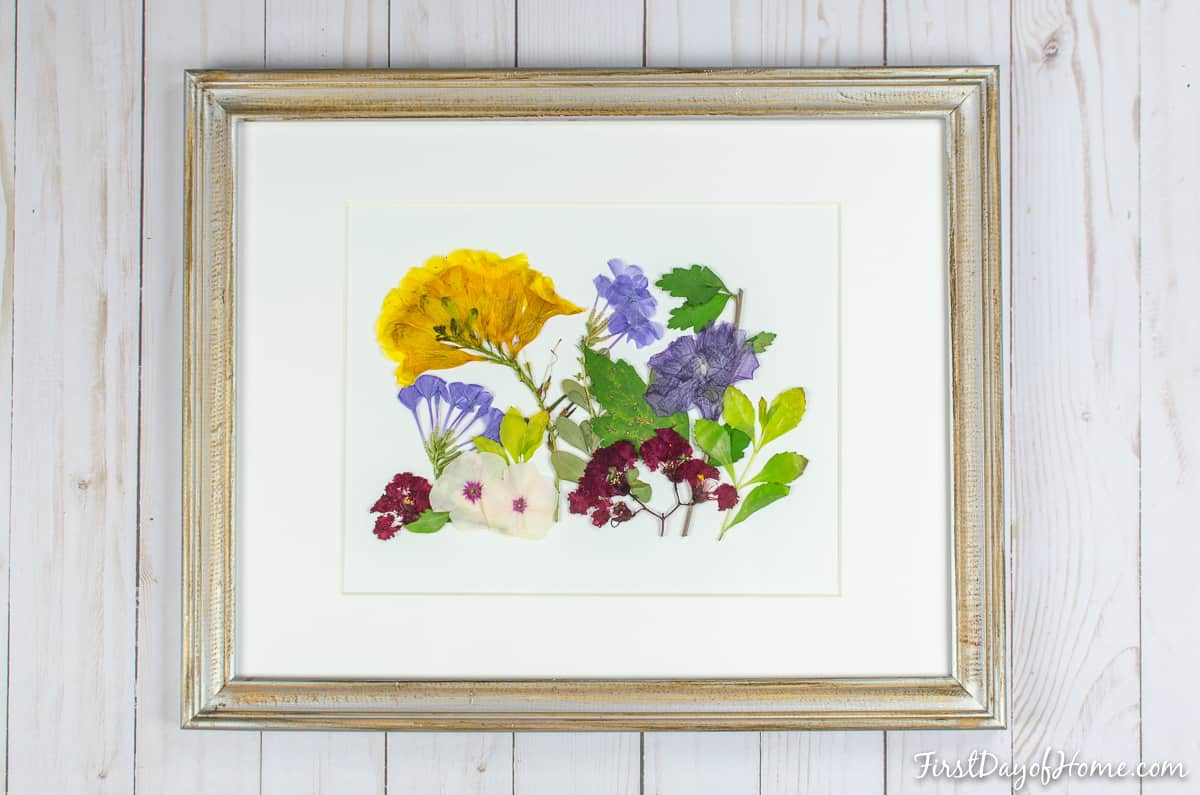
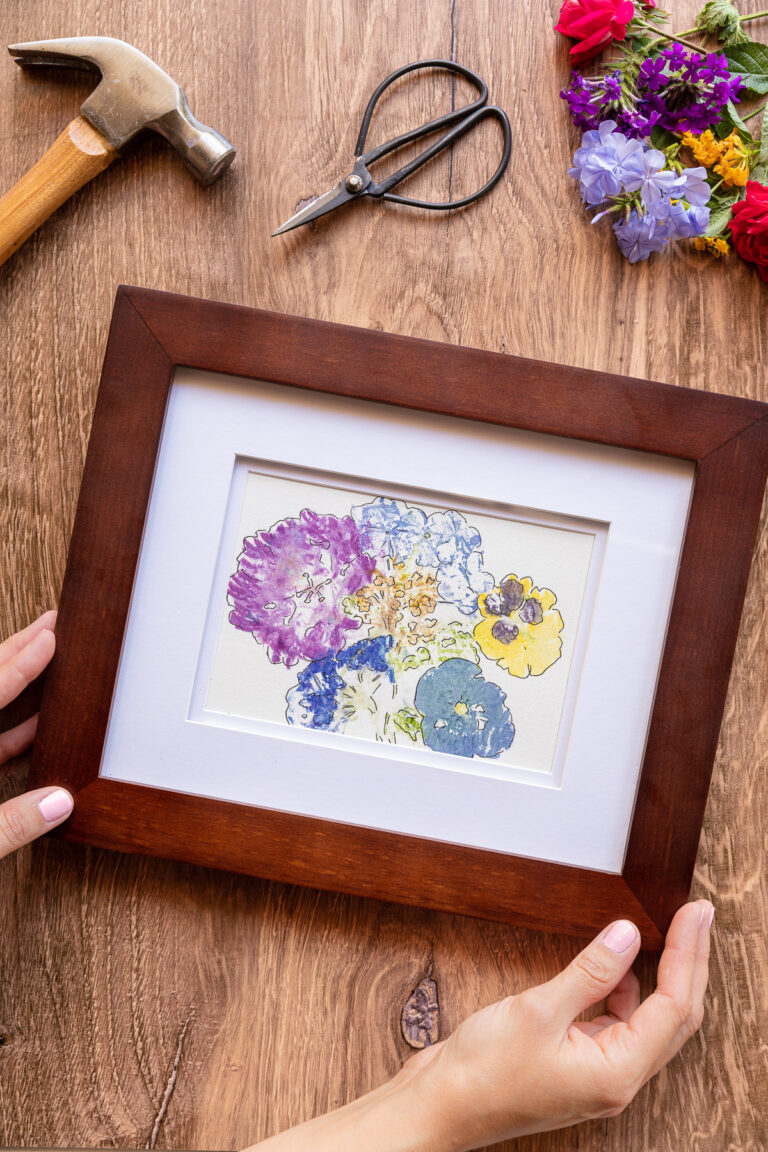
Step 6: Frame and display your pressed flower art
If you’re using a matted frame, use clear tape to attach your backing to the matte. As the seasons change, this gives you the option to update your flower press art.
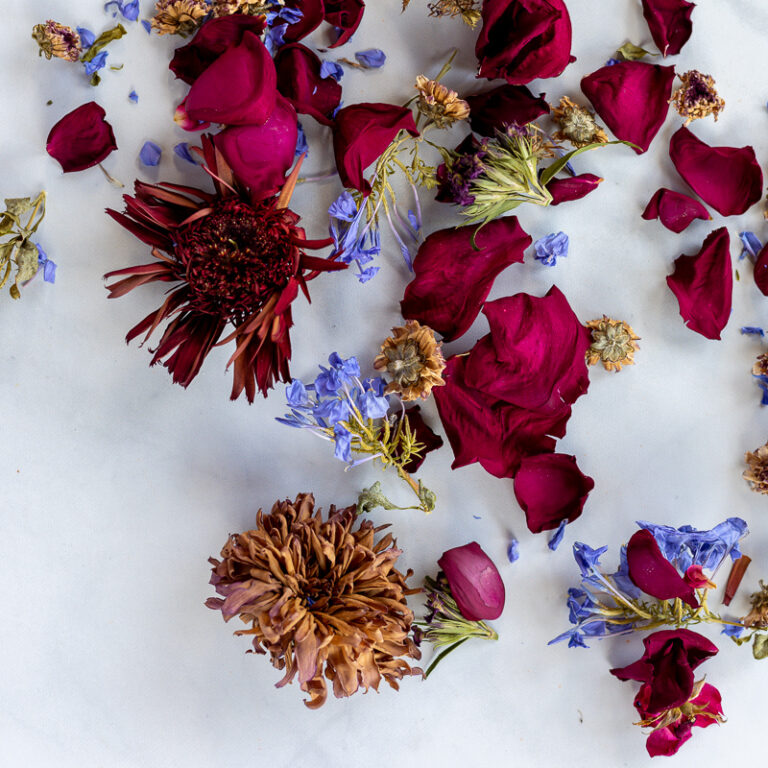
You may be wondering, “How long do pressed flowers last?” Over time, some fading will occur, especially if placed in direct sunlight. However, gradual aging can add to the rustic charm of flower press art.
What else can you make with pressed flowers?
Beyond making pressed flower art, you can use your press for a range of DIY projects, including cards, decoupage, ornaments, bookmarks, and tabletop decor. Check out this tutorial on pressed flower lanterns for another beautiful project idea.
To get started, pick up your own Microfleur Max or Microfleur Regular with the promotion below:
Get 10% off your entire order of Microfleur products with the code FIRSTDAYOFHOME. Click [HERE] to redeem. Limit one per customer.
I also have a post showing how to create wedding table numbers using pressed flowers. You’ll be amazed by how stunning these table centerpieces look.
For a completely different method of preserving flowers, check out my post on drying flowers with silica gel or how to dry flowers 5 different ways.
Now that you know how to make dry flower art, what projects do you have in mind?
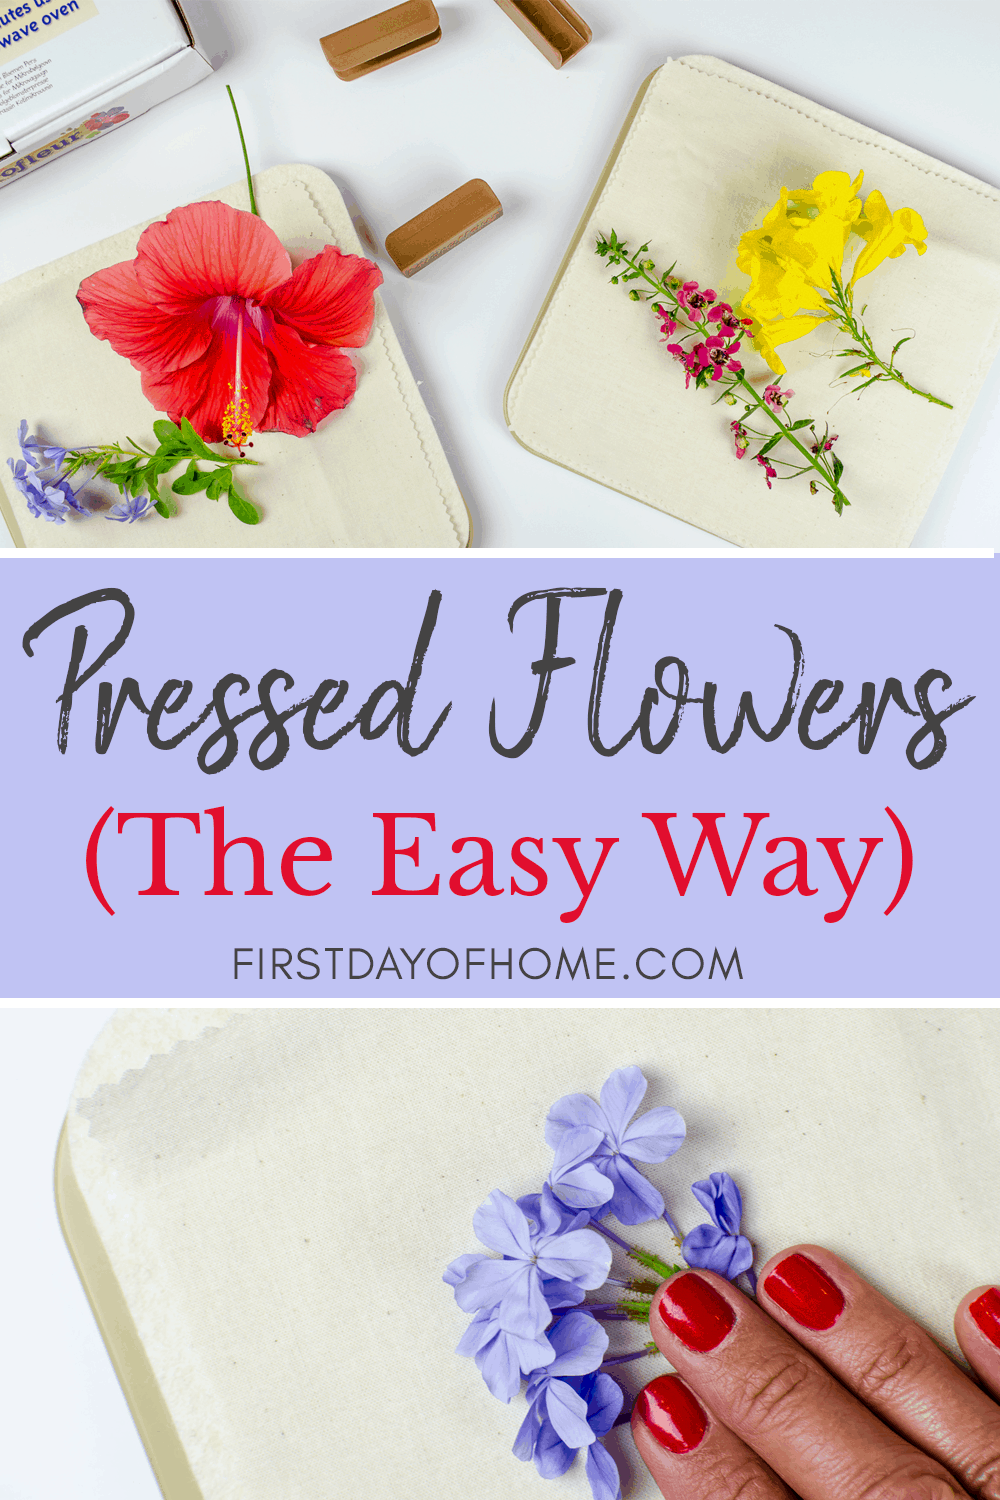
Pin it for later!
Thank you again to Microfleur for sponsoring this post! The opinions expressed in this post are completely my own, and I only recommend products I personally use and enjoy. For more information, please see my disclosures.
You Might Also Like…

This is so well done and helpful. Thank you! Quick question – do you have a prefered glue you like to use for making cards? Was thinking glue gun so it would be transparent but maybe the heat would ruin the delicate flowers?
Thanks so much, Lauren! Yes, I like to use a simple craft glue instead of hot glue. I do think the heat and thickness of hot glue might damage the flowers. I used this glue to make my art: https://amzn.to/2WWfLzi. Hope this helps! Thanks, Crissy
I loved your tutorial, thank you for sharing it. I’m a flower lover. I have all kinds of flowers planted in my garden and I can’t wait to try it so I can use it in my candles.
Have you tried with Hydrangeas ?
Hi Patrizia! Thanks for your kind words. I’m glad you liked the tutorial. I haven’t tried drying hydrangeas with the Microfleur, but I suspect you may have to either remove some stems or petals. When I’ve tried drying flowers that are very full or with a thick center, the liner has overheated at times. This happened to me with a hibiscus flower, and the pad got scorched. You can always take it slow and reduce the power on your microwave. Spritzing the pad with water can also prevent scorching. Keep me posted if you try it and have any luck! -Crissy
Thank you for this article! You say that the time in the microwave depends on how much moisture is in the flowers – does more moisture mean more time in the microwave, or less? I just got my microfleur today and I’m really struggling because the flowers are being cooked or turning brown.
Hi Hannah! I’m glad you decided to get a Microfleur! May I ask what types of flowers you’re trying to press? What I’ve learned is that certain types of succulents or flowers with fleshy petals (like begonias or portulaca/purslane) aren’t good for pressing. They tend to scorch in the microwave. I’ve also scorched flowers with very large centers or bulbs, like Hibiscus.
Generally, flowers with more moisture will take longer to press, but you should still microwave in short increments. (So perhaps you do 20 short bursts instead of 10.) If your flowers are getting “cooked,” you could try a few things: 1) do a shorter initial “burst” to make sure the flower doesn’t scorch, 2) reduce the power on your microwave, 3) do shorter bursts (maybe 5-10 seconds). I always open my Microfleur in between bursts and let the inner linings cool a bit before microwaving again.
Let me know if any of these tips help or if you’re still struggling! Thanks, Crissy
This is so cool!!! I haven’t thought of pressing flowers since I was in elementary school and did the “books and bricks” kind of pressing. I’ll have to try this new method!! Thanks for sharing! And your final product is stunning!!
Thanks, Spela! I was in your camp, too. I hadn’t done it in years. Now I’m obsessed with it. I’m determined to make it a new fad again! 😉
Oh my goodness. This is so pretty! I’ve never heard of this product but I’d love to try it!
Hi Stacey! You’re so kind. I love using this product to make keepsakes. I hope you’ll enjoy using it, too!