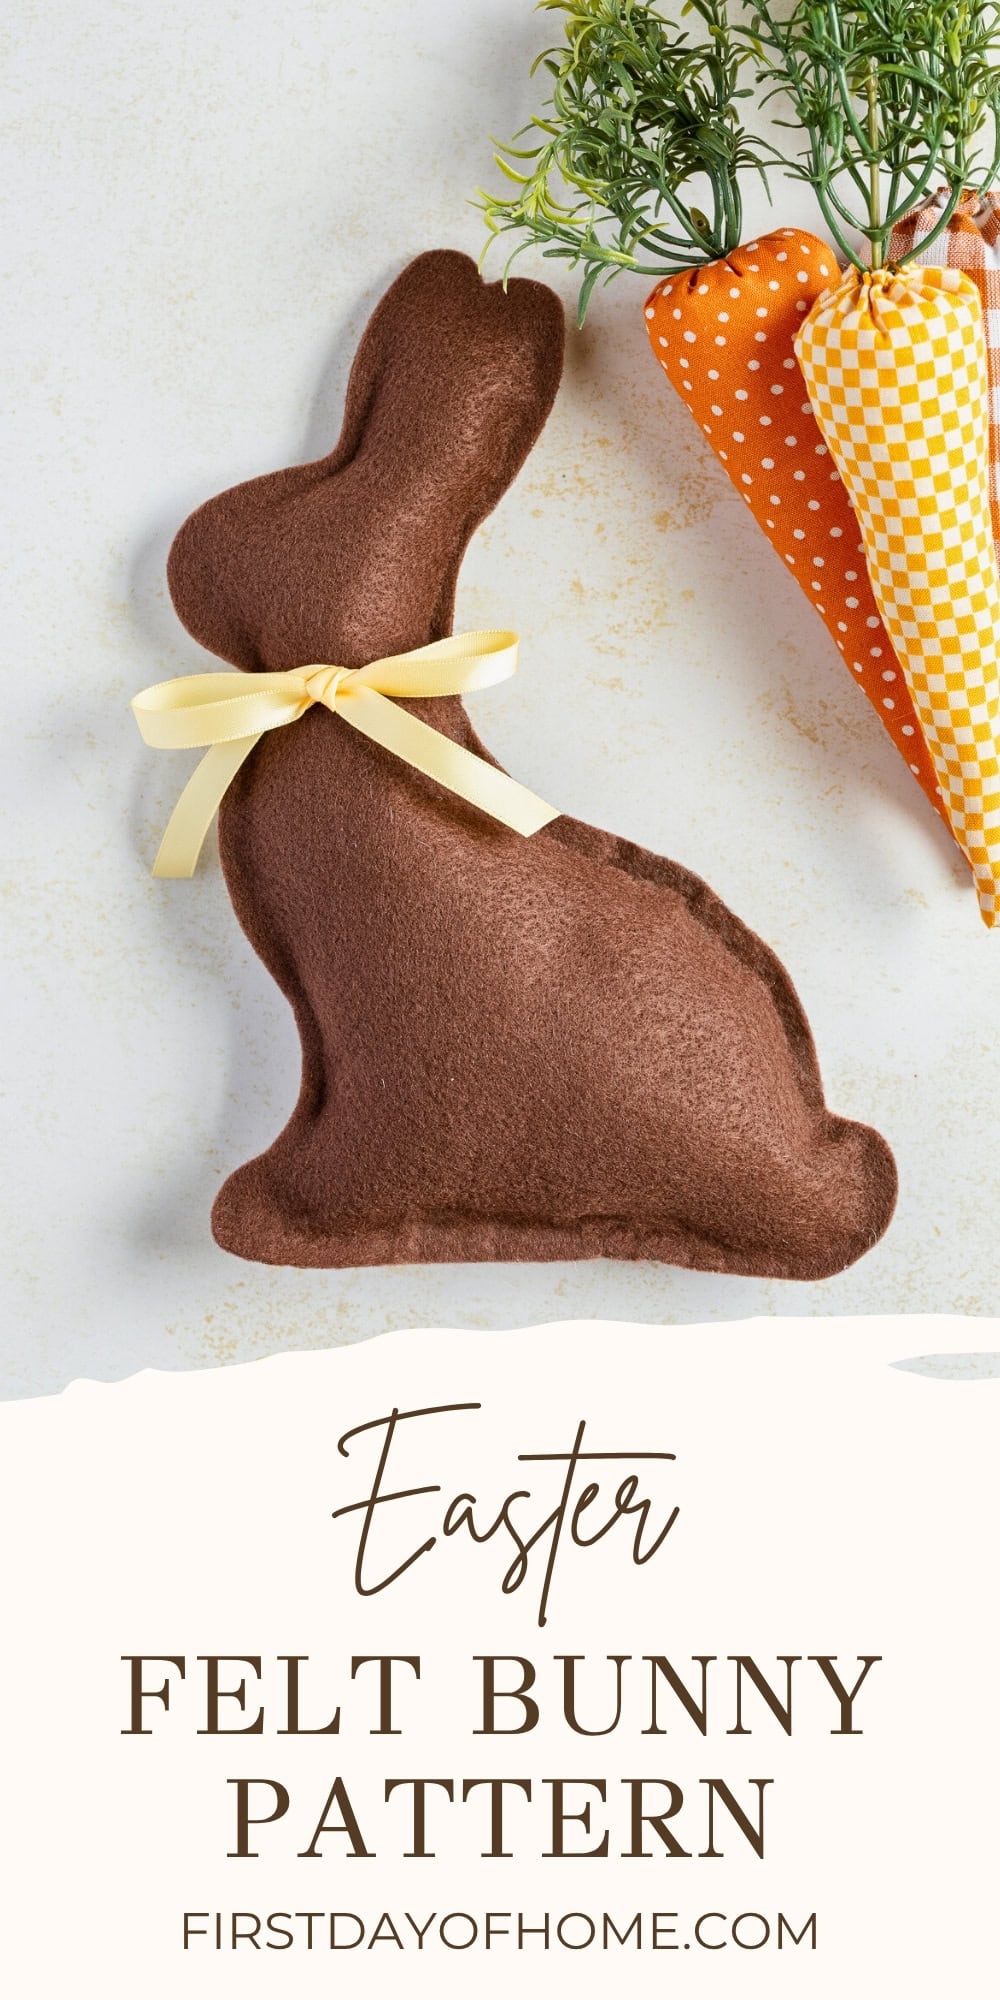
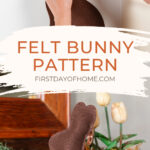
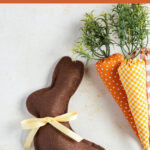
A Retro Easter Craft – Felt Bunny Pattern
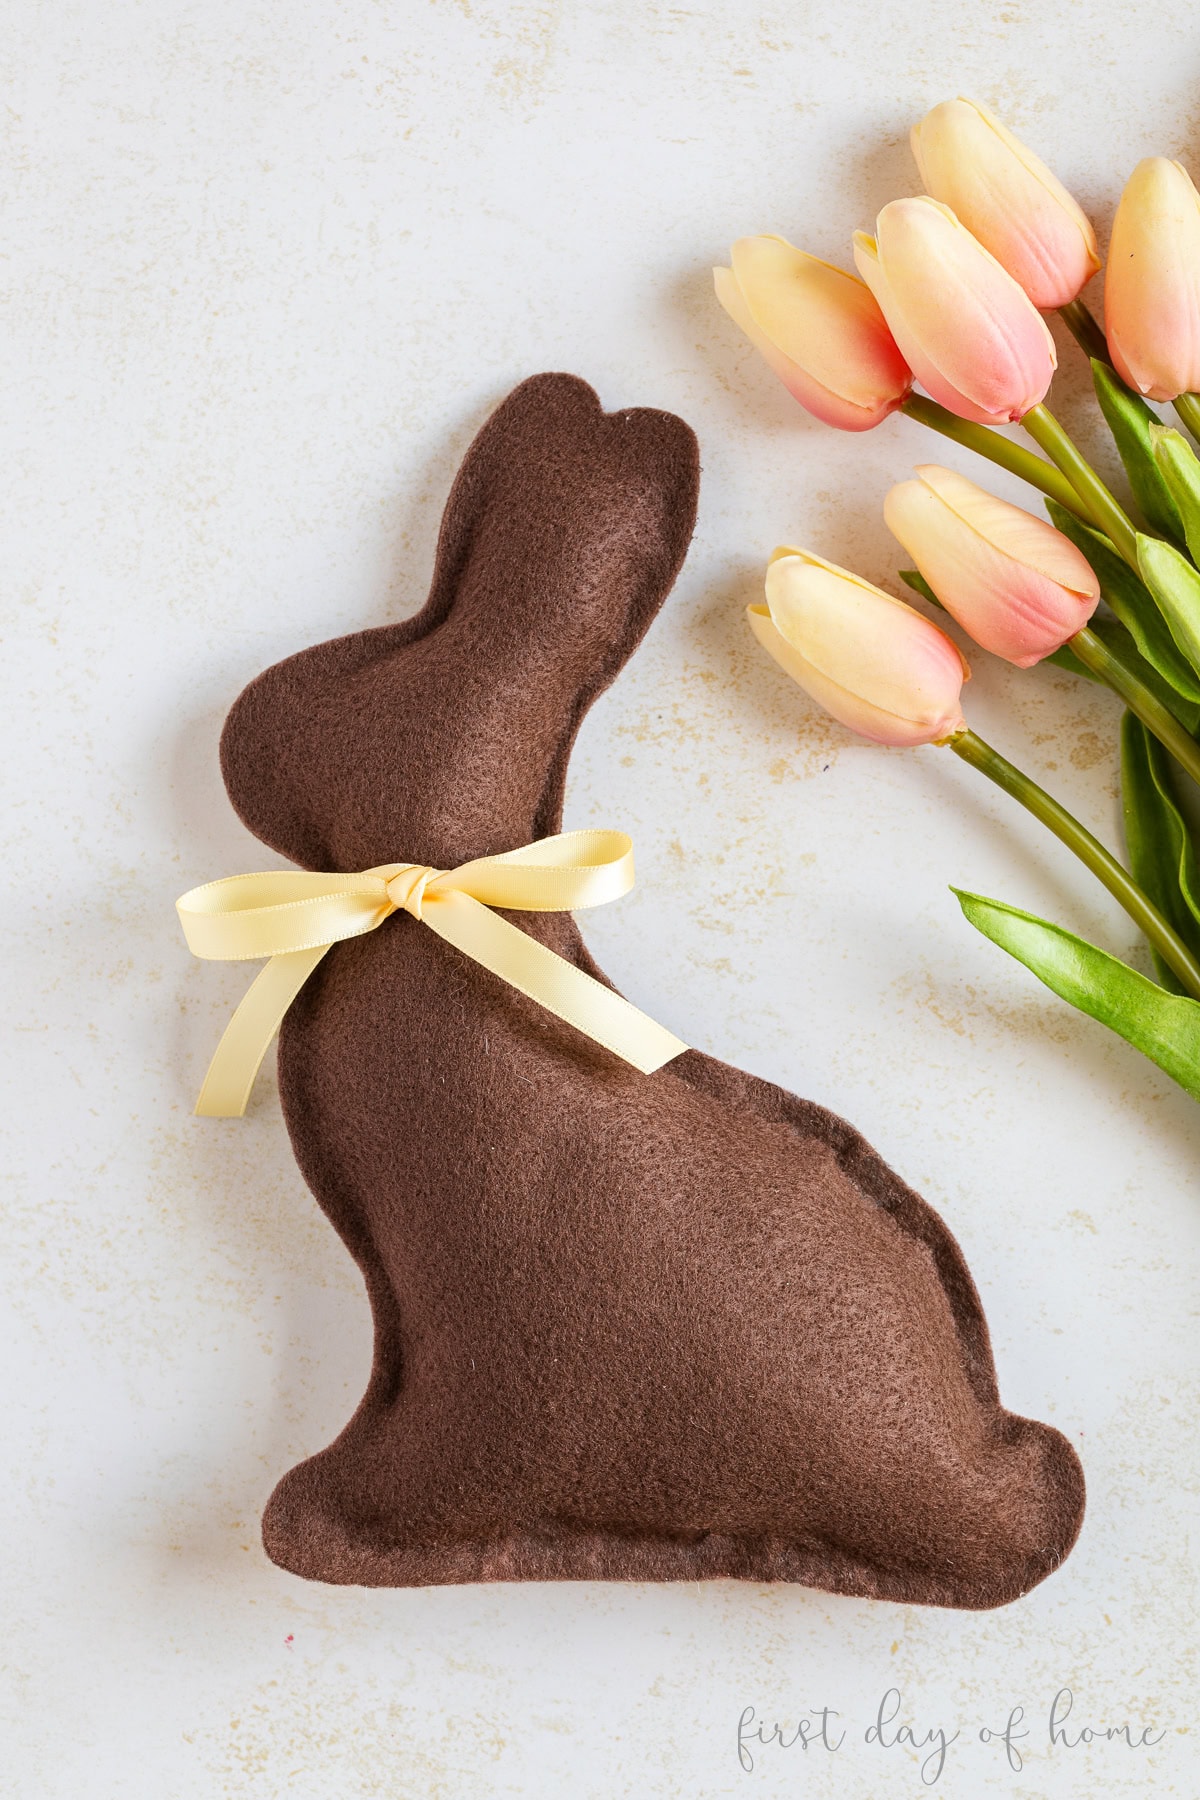
This felt bunny brings back “all the feels” from childhood Easter celebrations. My mom and dad would always include a chocolate bunny in my Easter basket, so I wanted to recreate the look using brown felt and my Cricut machine. Below, you’ll find my felt bunny pattern, but you can also freehand your shape and follow the tutorial instructions.
This post contains affiliate links, and I will be compensated if you make a purchase after clicking on my links. For more information, please see my disclosures.
A Nostalgic Easter Craft

A giant chocolate bunny was always the statement piece in my Easter basket as a kid. As a parent, I can understand why. It helps tie everything together, standing tall in the center, surrounded by Easter eggs, bubbles, and little plastic toys.
I love how this brown felt bunny looks in a tiered tray, as a pillow, or as part of an Easter centerpiece. I hope he gives you all the nostalgic feels, too.
xo, Crissy
How to Make a Felt Easter Bunny
You can quickly whip up this felt bunny with a Cricut machine, or you can cut the pattern by hand.
You don’t have to use felt, either. Any brown fabric will give it the “chocolate bunny” look, but I love the look of felt the best. If chocolate is not your thing, feel free to experiment with patterned fabric as well.
Watch This Tutorial
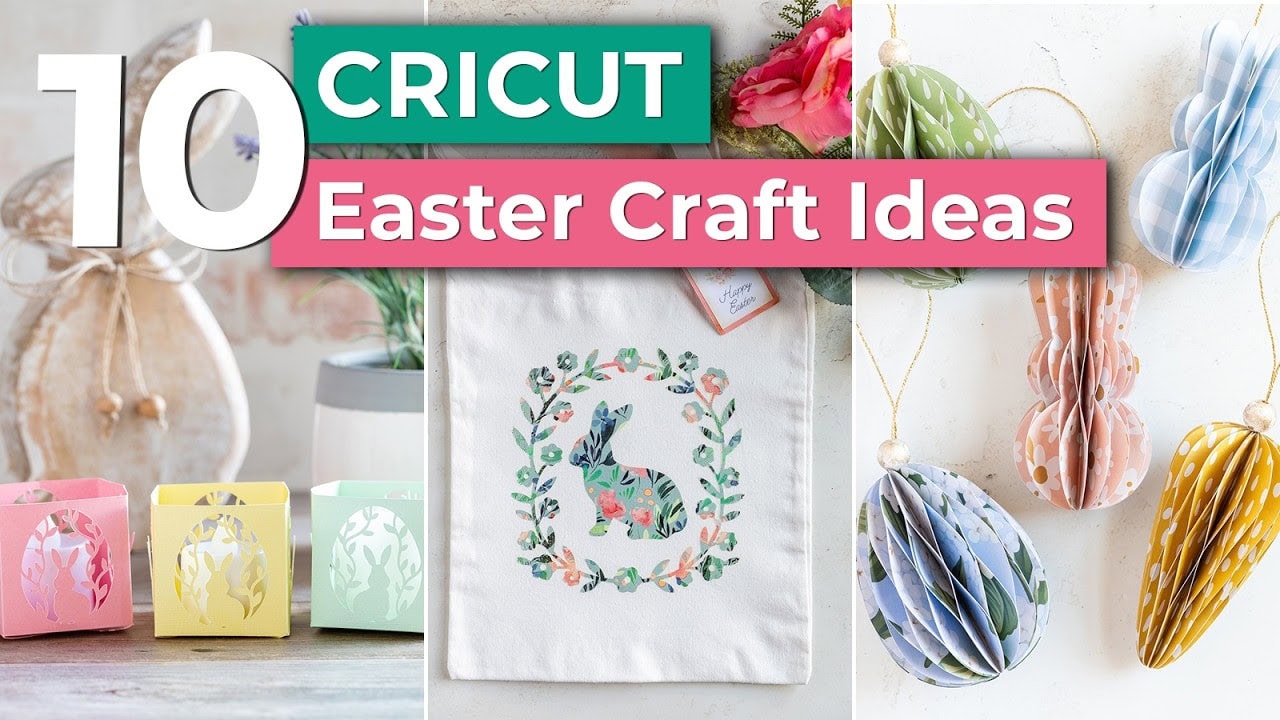
You can watch this project as one of 10 Easter Cricut Crafts on my YouTube channel.
Felt Bunny Supplies
- Felt fabric
- Cricut machine or scissors
- Fiber fill stuffing
- Hot glue
- Ribbon (optional)
Step 1: Download the bunny pattern
You can freehand your bunny shape, or you can buy the pattern below for a small fee.
This contribution supports my small business, and it only takes 30 seconds to check out!
Felt Bunny Pattern (SVG and PDF)
Step 2: Cut the felt bunny shape
You can use the above pattern to make a one-dimensional bunny for crafts or a plush 3D bunny. I suggest using brown felt for the classic “chocolate bunny” look.
If you’re making a stuffed bunny, be sure to cut two pieces of your material.
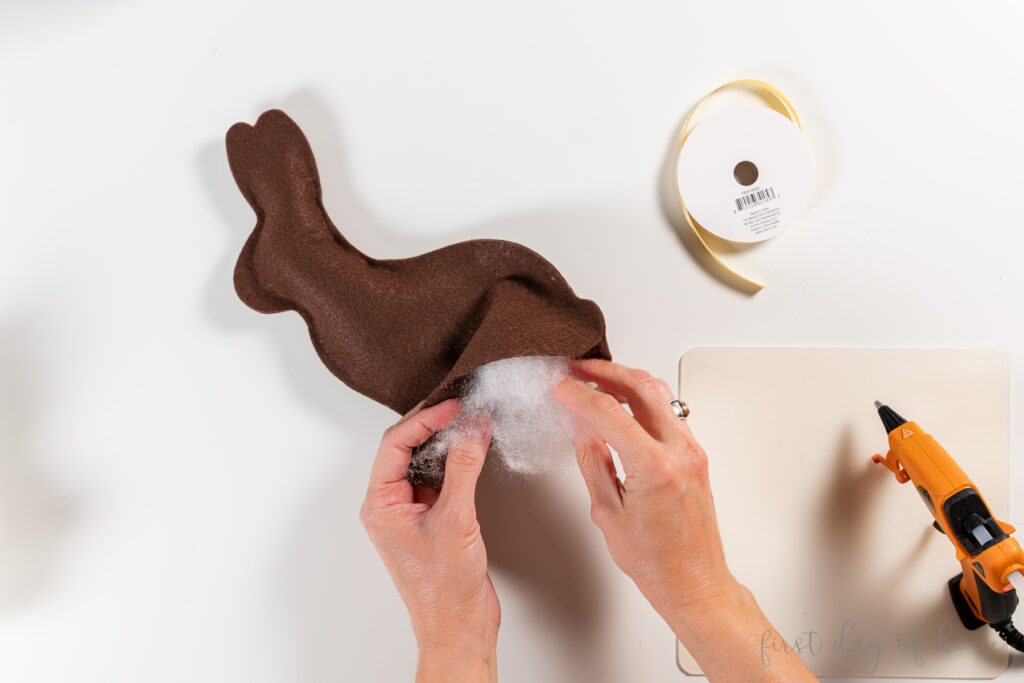
Step 3: Glue or sew the bunny edges and stuff with filling

Gluing edges Stuffing with fiber fill
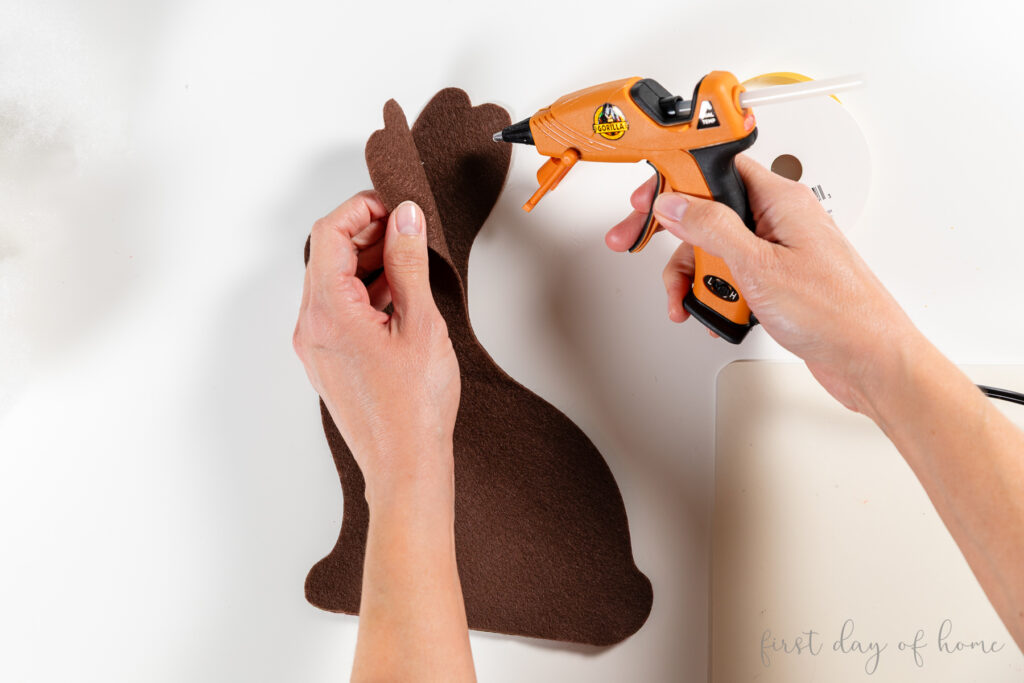
You can either glue or sew the bunny’s edges. I used a hot glue gun for simplicity.
Start at the top by the ears and work your way around both sides of the bunny silhouette in sections, leaving an opening at the bottom.
Then, fill the bunny with fiber fill until it’s stuffed to your liking. Glue the remaining edge of the bunny to close the gap, stuffing more fiber fill as needed.
Don’t overstuff the bunny, since this can cause the fabric to buckle.
Step 4: Add a decorative ribbon
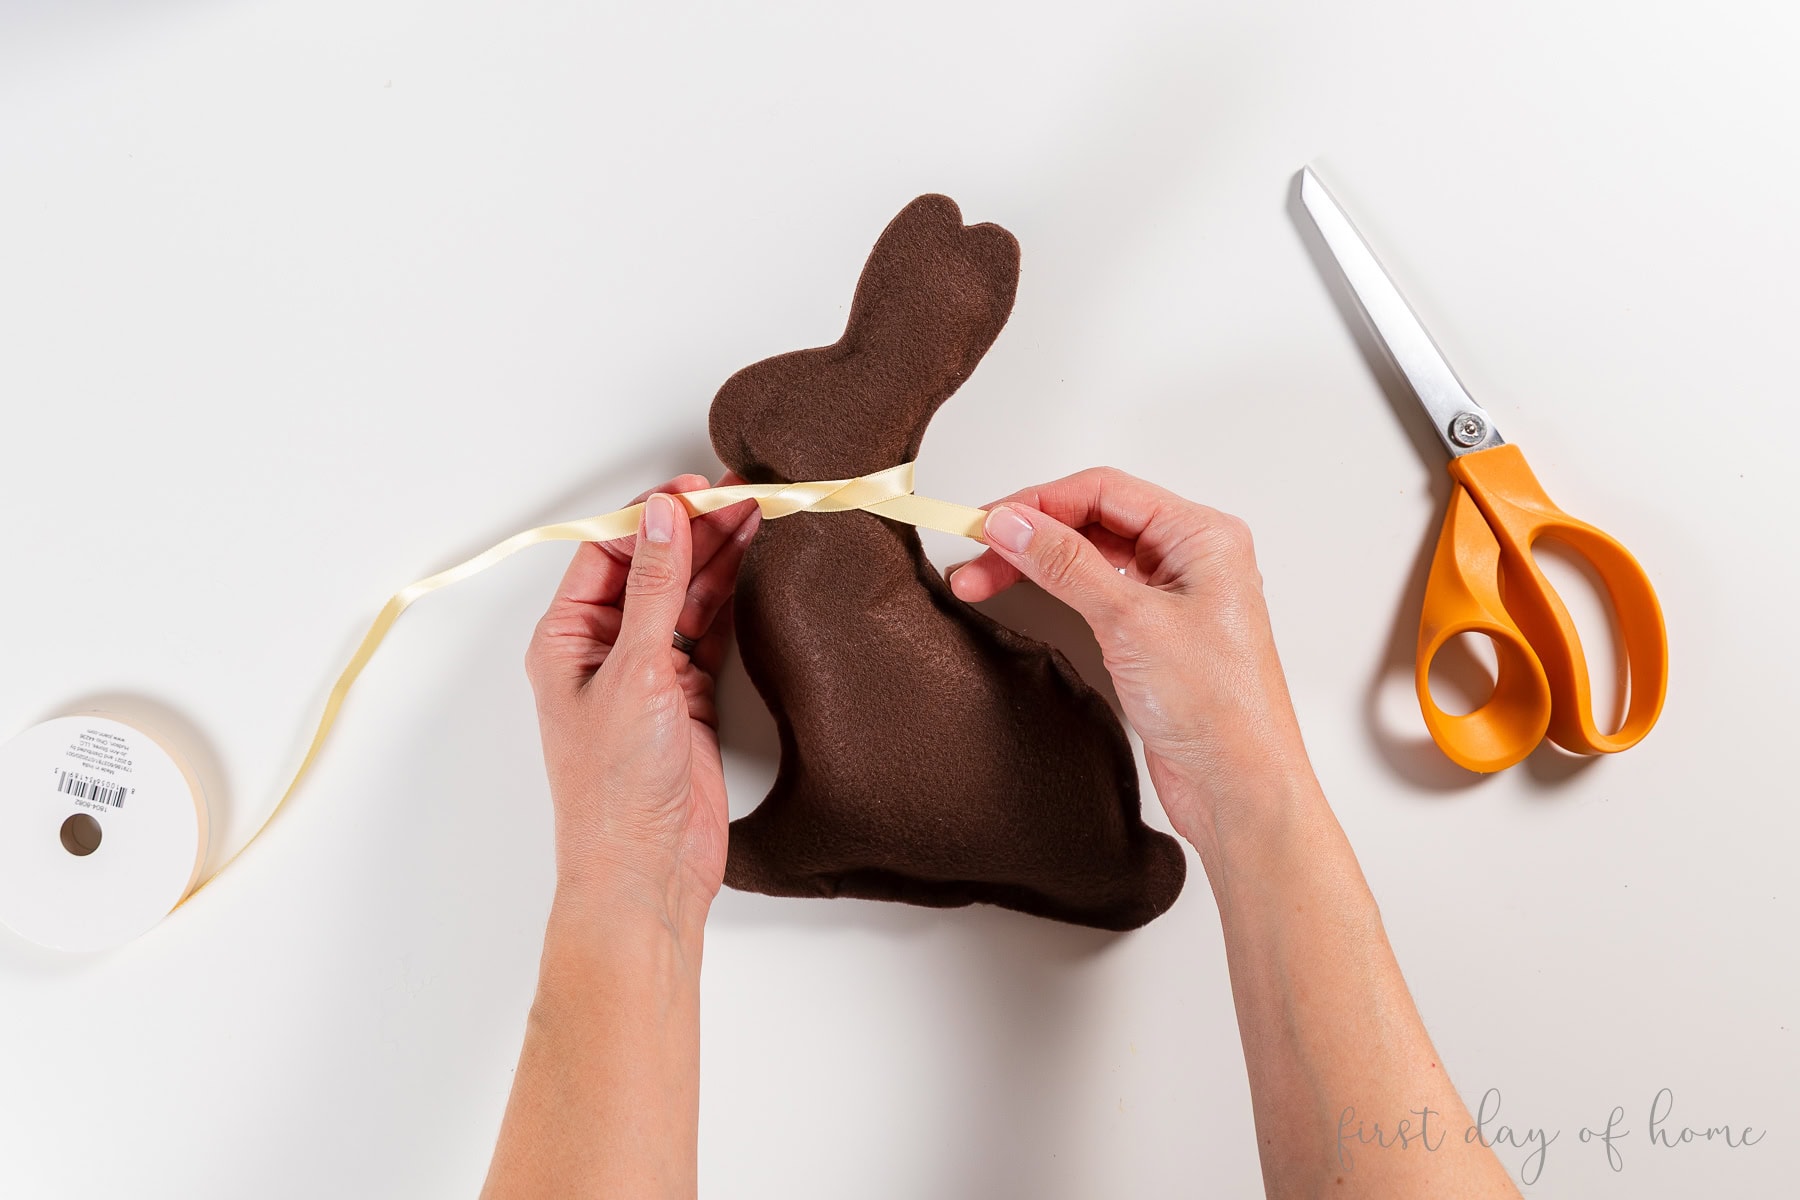
No felt bunny is complete without a cute ribbon. I used yellow ribbon for mine, since I love the contrast with the brown felt. You could also use a gingham ribbon, faux flowers, or greenery to decorate your bunny.
Displaying your felt bunny
I love placing my chocolate felt bunny in a tiered tray, along with my DIY fabric carrots.
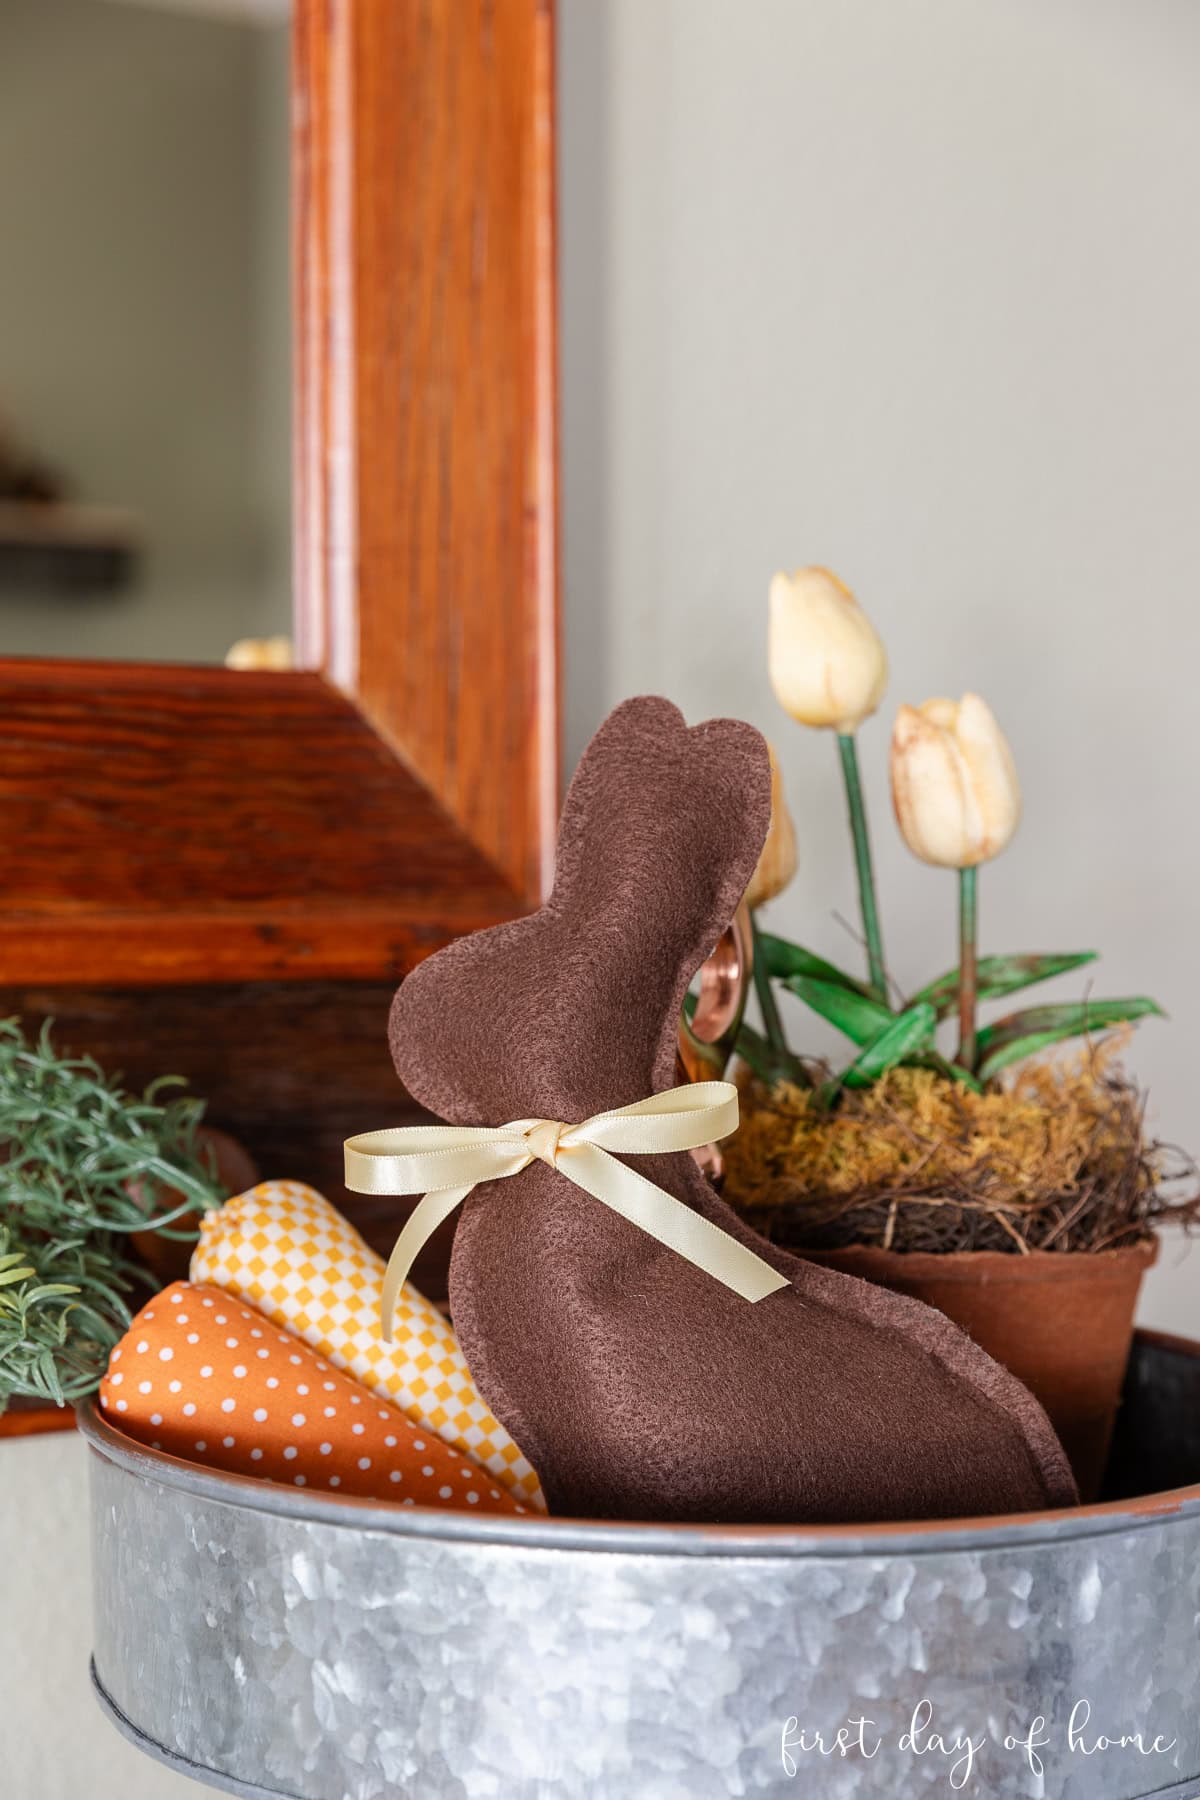
You could also display your fabric bunny in a centerpiece for an Easter tablescape or on a shelf for a touch of spring.
For another spin, try reducing the felt bunny’s size to make a cute Easter banner or a fabric bookmark. There are so many possibilities!
Feel free to tag me on Instagram (@firstdayofhome) if you end up making this project!
Pin it for later!