How to Customize Gifts with Cricut Patterned Vinyl
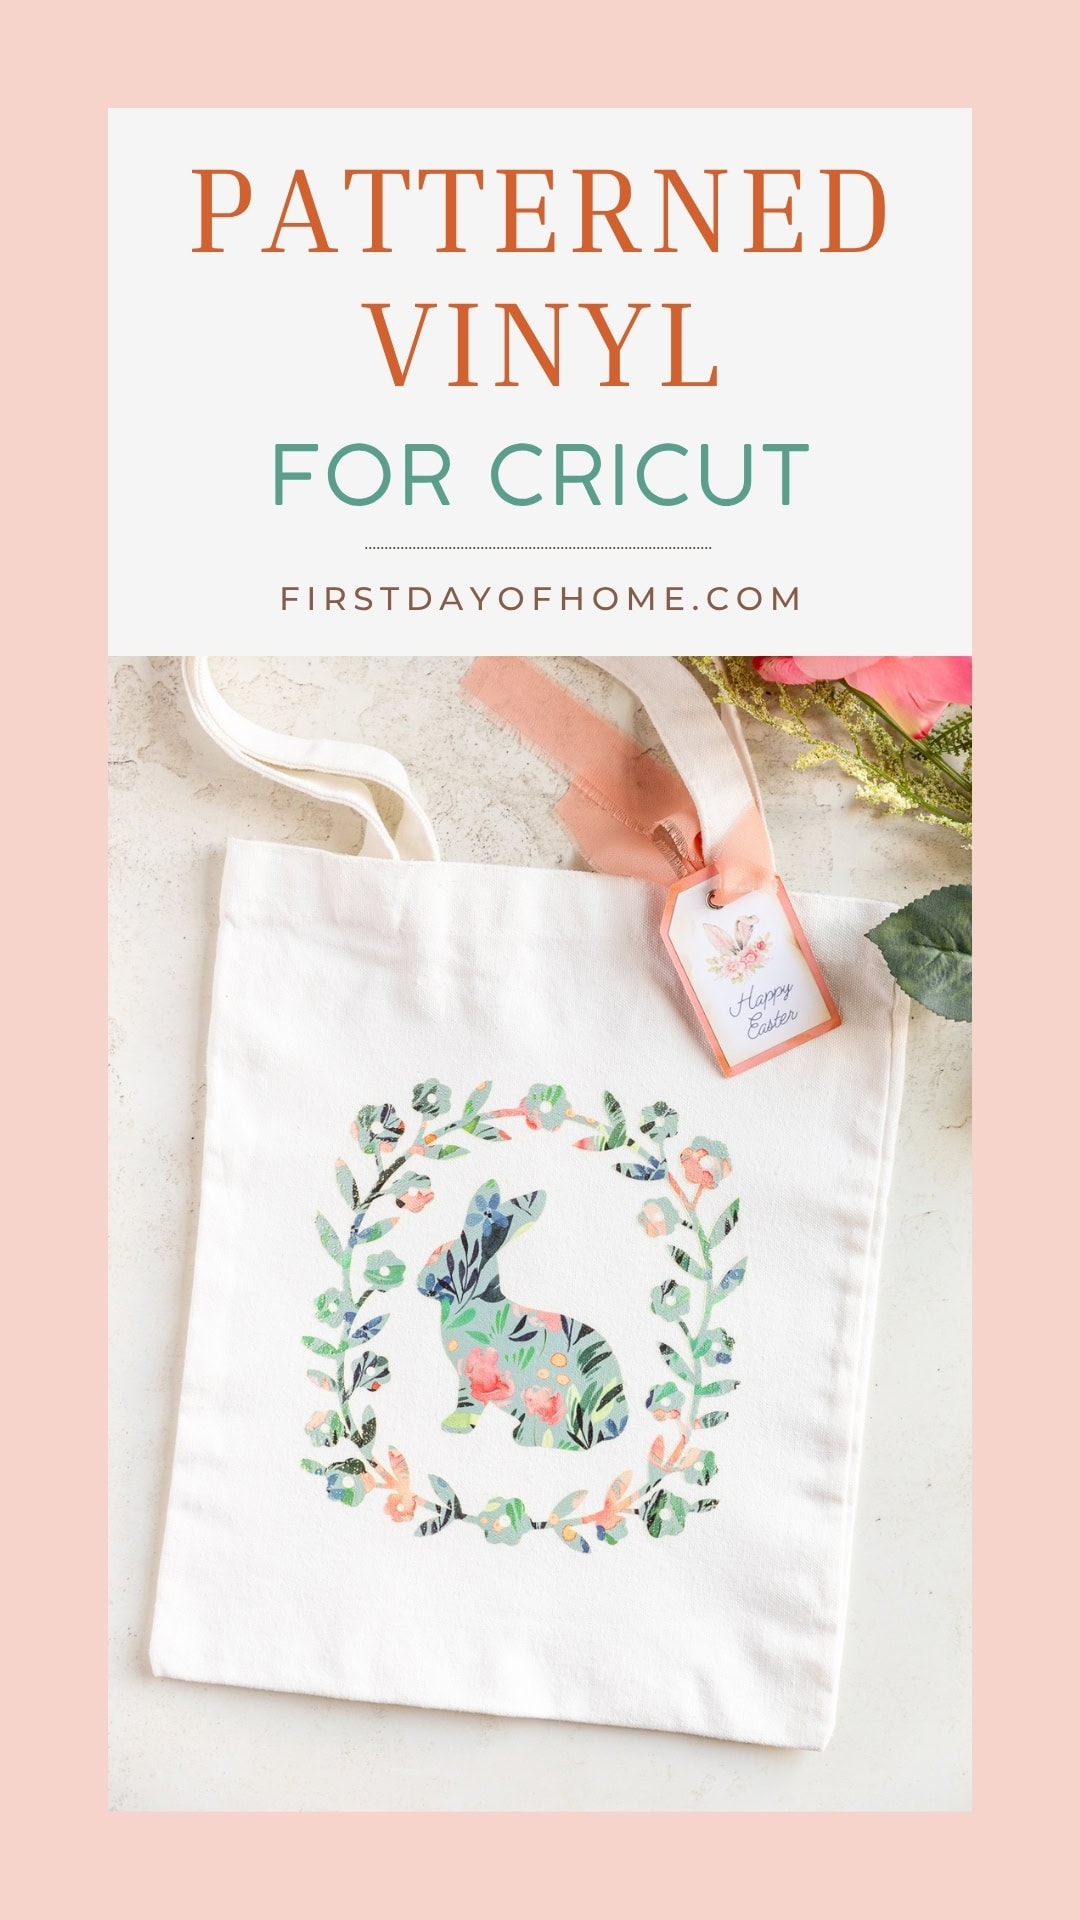
Cricut patterned vinyl unlocks a world of possibilities for making custom gifts. You can add beautiful pops of color and patterns to a blank material in one fell swoop. No more layering required to get a multicolor design like other iron-on vinyl! Here are a few tips and tricks you should know before tackling this versatile material with your Cricut.
This post contains affiliate links, and I will be compensated if you make a purchase after clicking on my links. For more information, please see my disclosures.
A Unique Way to Customize Gifts

I love making handmade gifts for friends and family. But let’s face it…it’s always hard to find the time.
Whipping up an iron-on project is easy with Cricut, but single-color designs don’t always look as impressive. That’s where patterned vinyl can help.
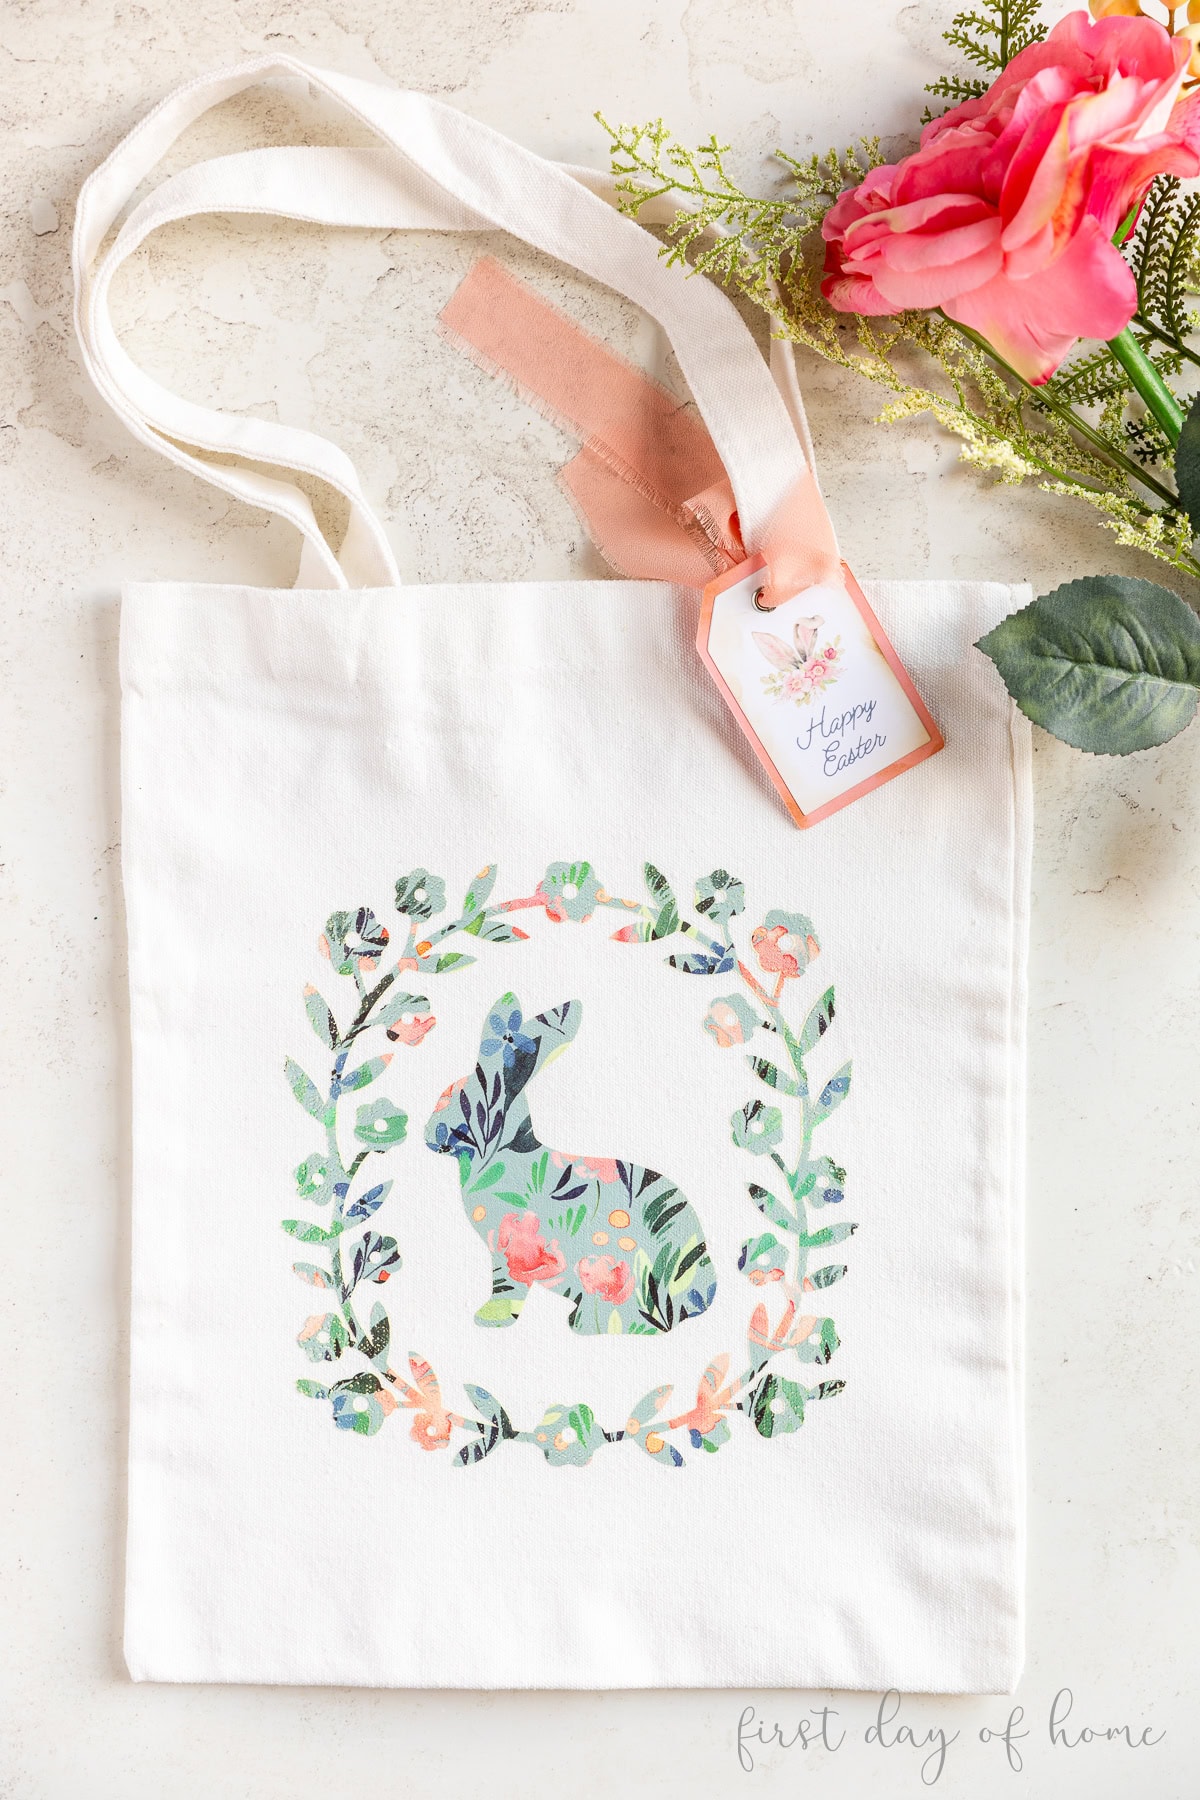
This simple Easter tote is just one example of how you can customize a plain canvas bag into a beautiful DIY gift.
xo, Crissy
When to Use Patterned Vinyl
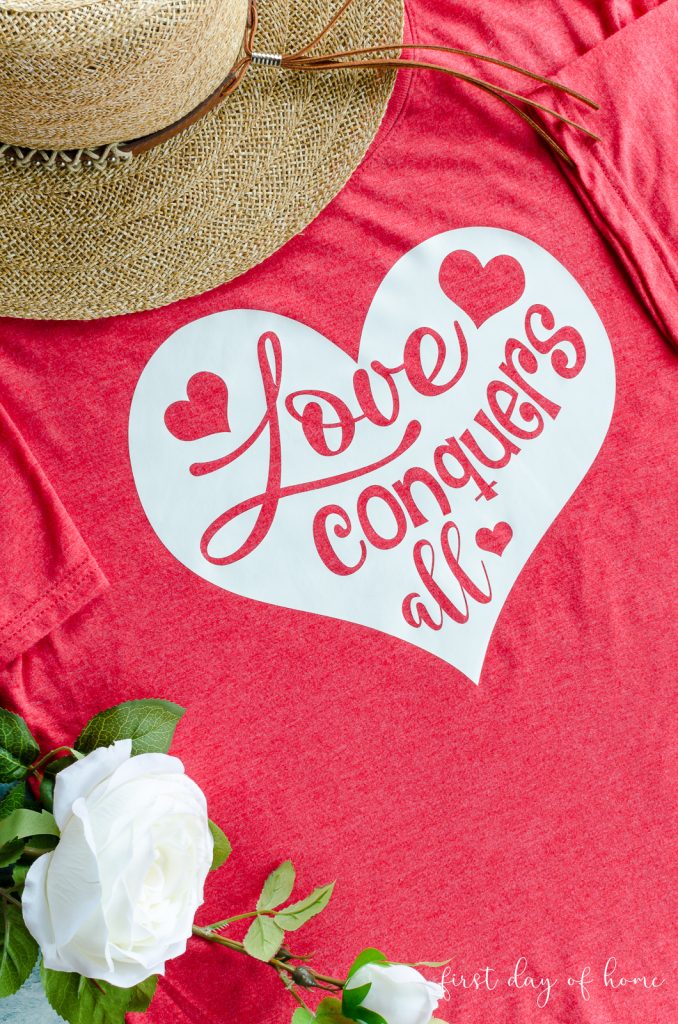
I’ve made plenty of heat-transfer vinyl (iron-on) projects over the years, from a DIY heart shirt to a festive trick-or-treat bag.
The first project is an example of a single-color design, and the latter includes a multi-colored, layered design.
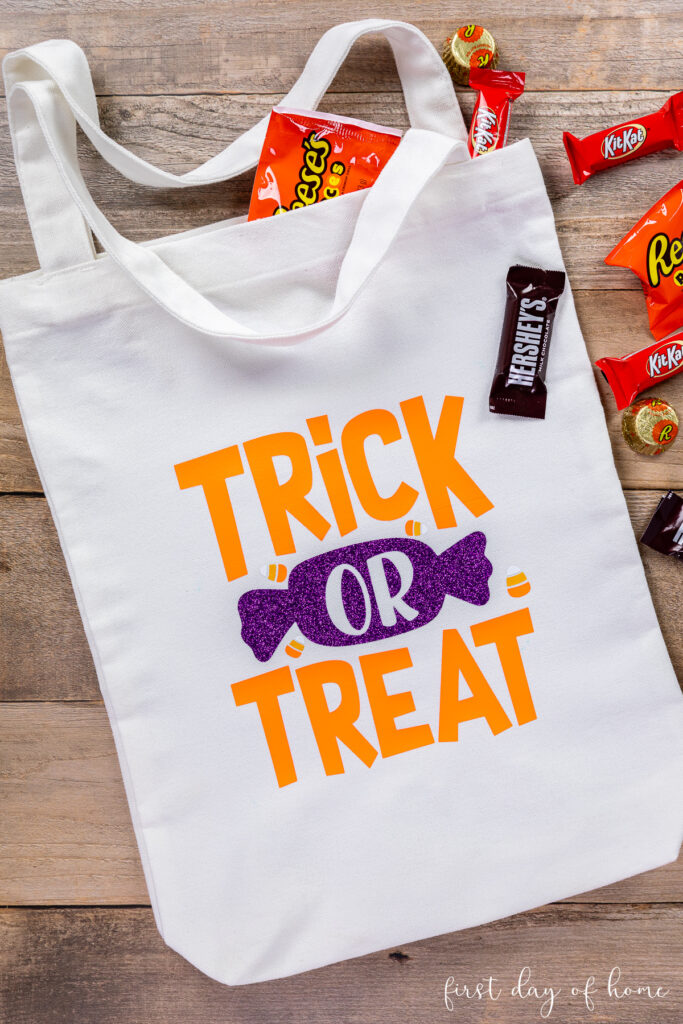
While I love combining colors of iron-on vinyl, it’s not always practical when you need a DIY gift on the go!
Patterned vinyl is a good alternative when you want a colorful vibe but don’t want the hassle of layering multiple colors of vinyl.
Patterned Vinyl Pros and Cons
|
Pros |
Cons |
|---|---|
|
Perfect for seasonal crafts |
Less versatility for general projects |
|
Single heat-transfer application |
Unable to use scraps as easily |
|
Easy to batch-produce designs |
Sometimes designs get discontinued |
|
Perfect for monograms/text |
Too “busy” for intricate designs |
Patterned vinyl is great for seasonal projects, though it’s sometimes harder to repurpose once the season passes.
Patterns can also get discontinued (as mine did). I bought this beautiful spring pattern bundle on clearance, and you can’t purchase it anymore.
As with any craft involving patterns, you should choose simple shapes and avoid overly intricate designs. Patterned vinyl is perfectly suited for monogram and text projects. (Think cute t-shirts with the name “Mom” or a monogrammed cosmetic bag.)
Easy Patterned Vinyl Project
As one project example, I turned a simple Target Dollar Spot tote bag into an adorable Easter gift bag. You can watch the full tutorial in my Cricut Easter Crafts video on YouTube.
Supplies
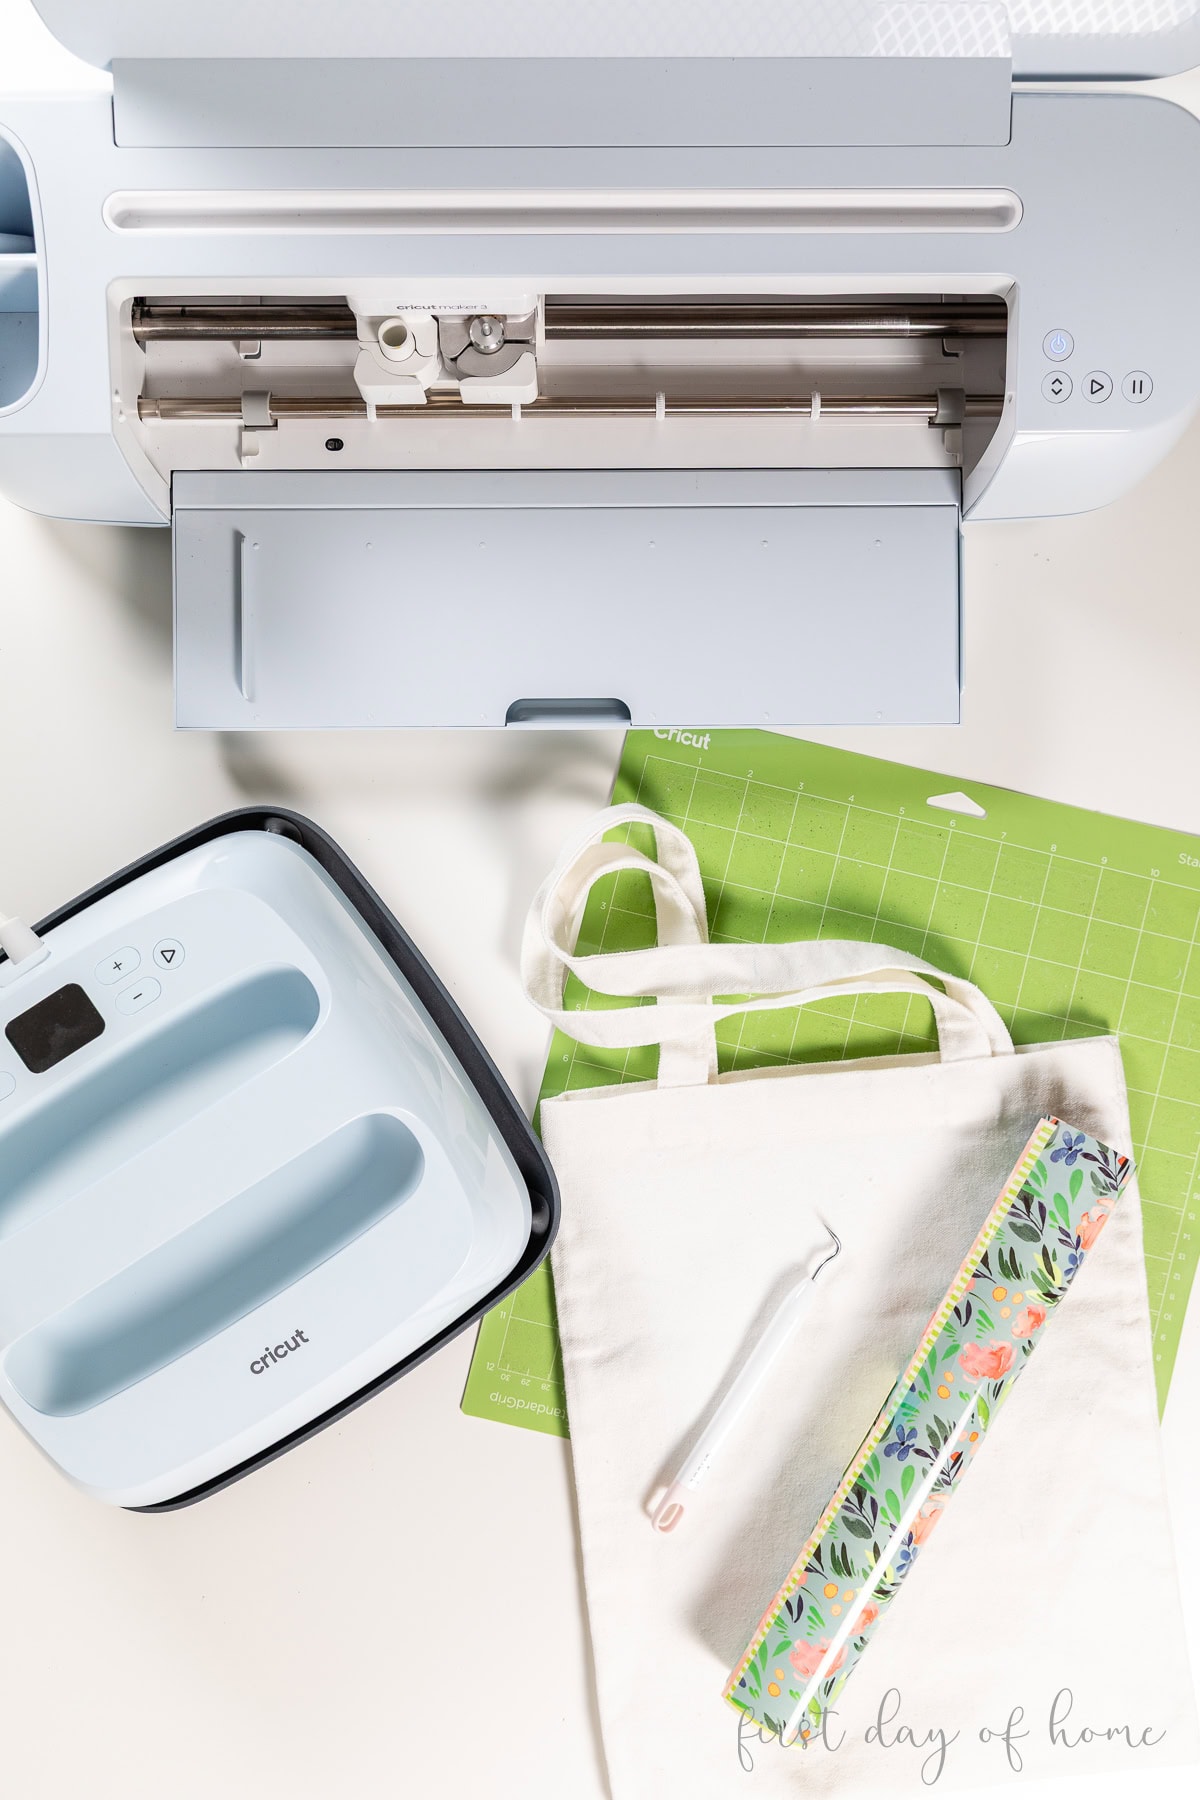
- Cricut machine
- EasyPress 3
- Heat protective sheet
- Standard-Grip Cutting Mat
- Tote bag blank (or another compatible material)
- Weeding tools
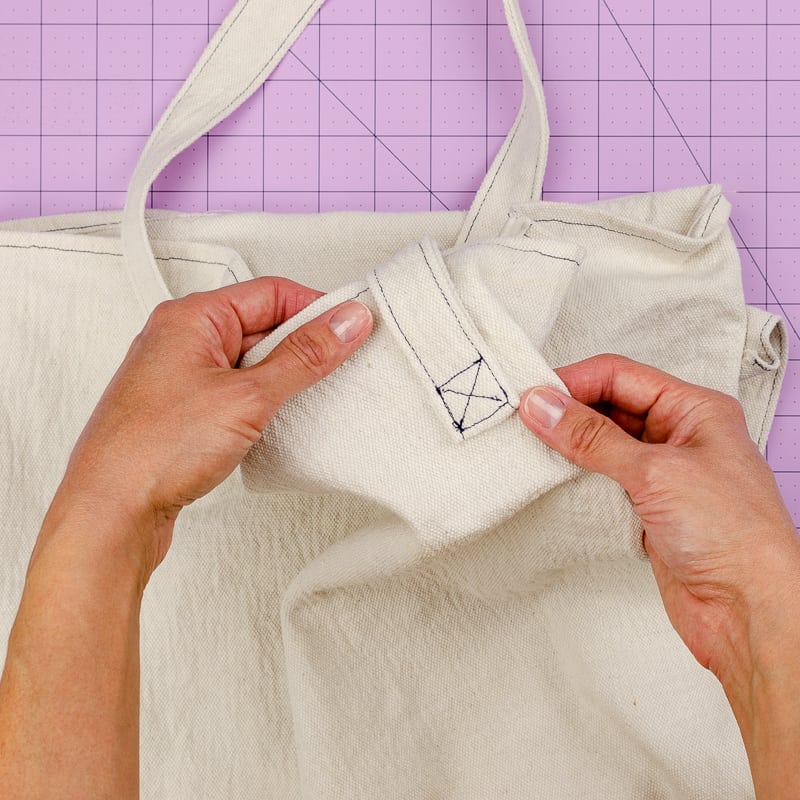
To be 100% honest, the canvas bag I purchased had a lot of texture, making it a bit challenging for my heat press. However, I still love the results!
You may want to choose a smooth cotton material when using patterned vinyl for the first time.
How to Cut and Transfer Patterned Vinyl
Cutting patterned vinyl is no different than regular heat-transfer vinyl. You’ll want to mirror the image in Cricut Design Space before cutting and use the software’s settings for patterned vinyl.
I chose a simple bunny and wreath for my design. This pretty floral vinyl (Natalie Malan Belle Citron Sampler) is no longer available, but you can still find similar floral patterns.
You can get this bunny design here in Cricut Design Space.
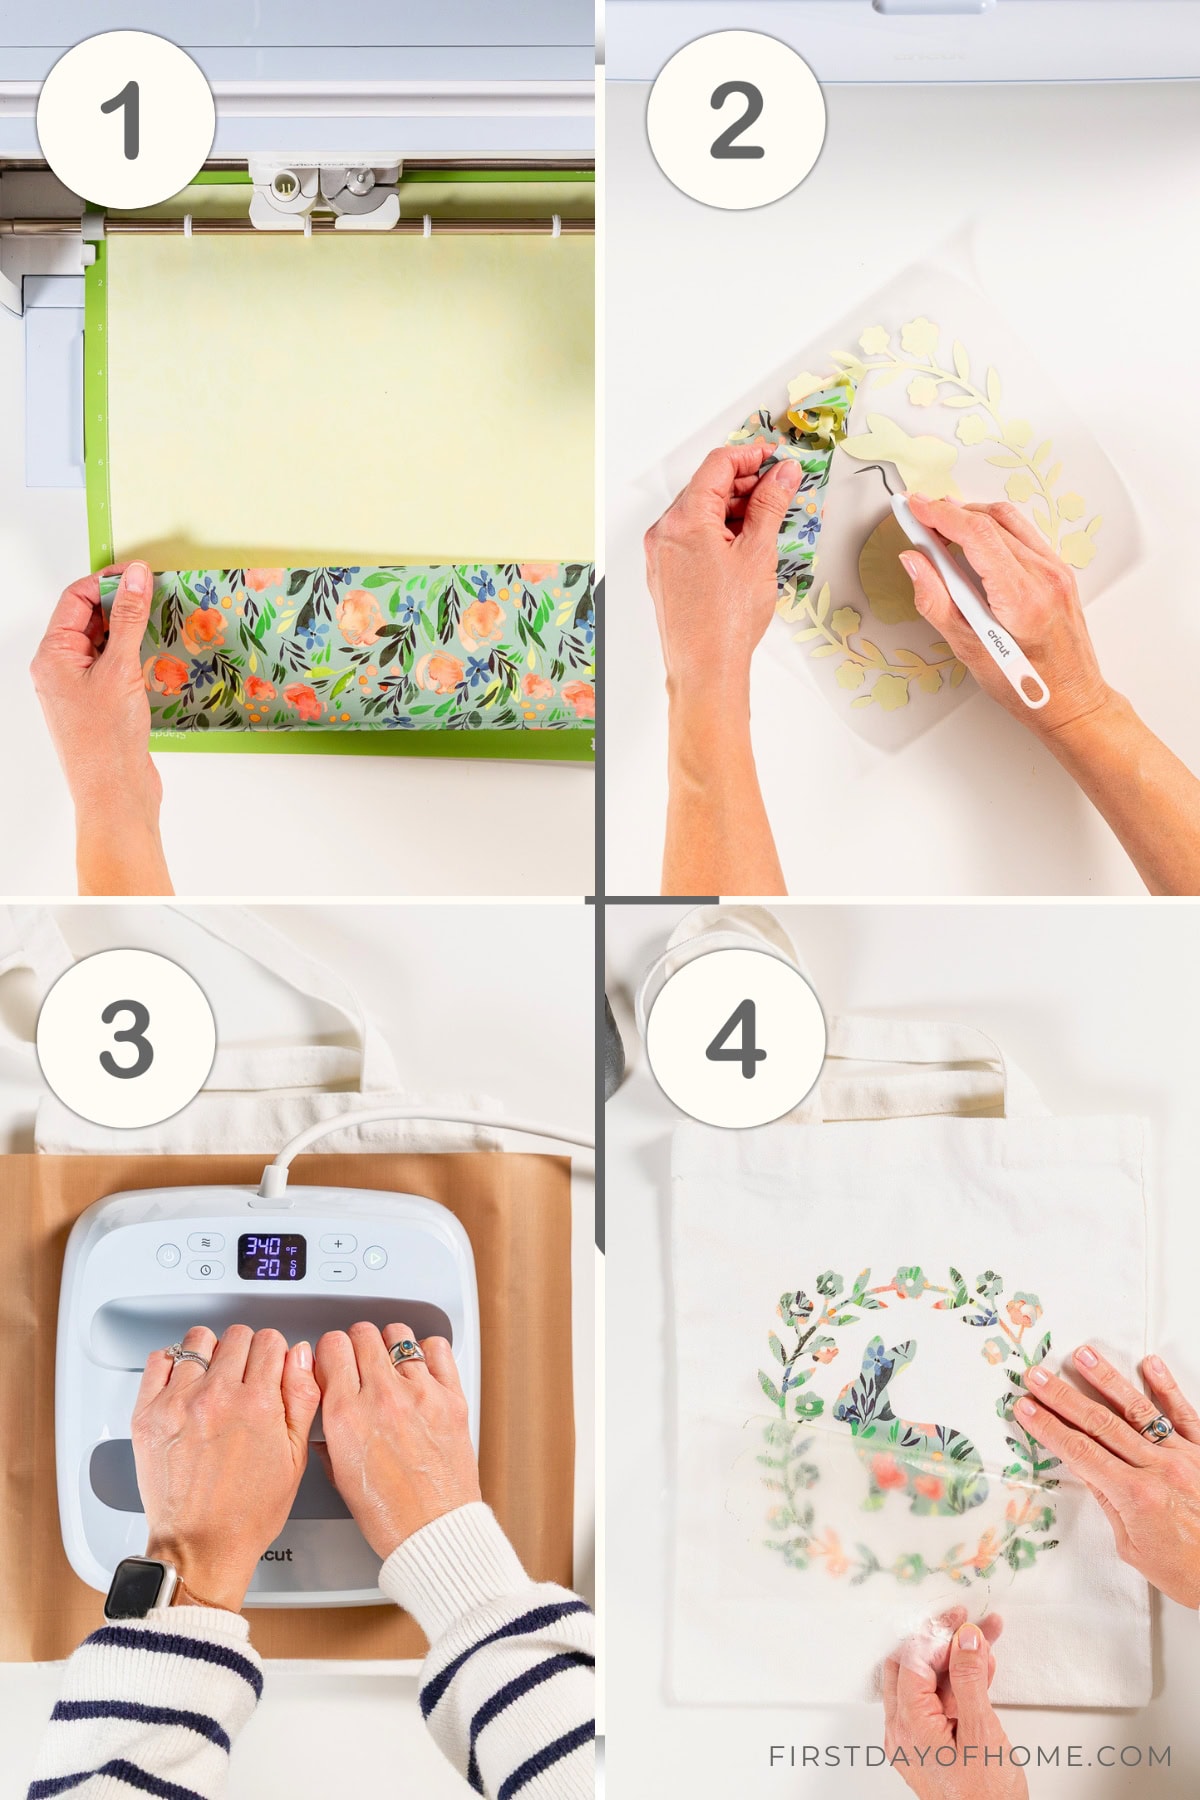
- Place the patterned side face-down on the cutting mat.
- Weed the vinyl to leave only your design.
- Place the design face-down on your material after pre-heating, and cover it with a protective sheet. Then, press the design according to the instructions in the Cricut Heat Guide or Cricut Heat app.
- Once cooled, remove the plastic liner.
Cricut EasyPress 3 Settings
If you’re totally new to heat pressing, check out my EasyPress 3 Guide to learn more about how the machine works.
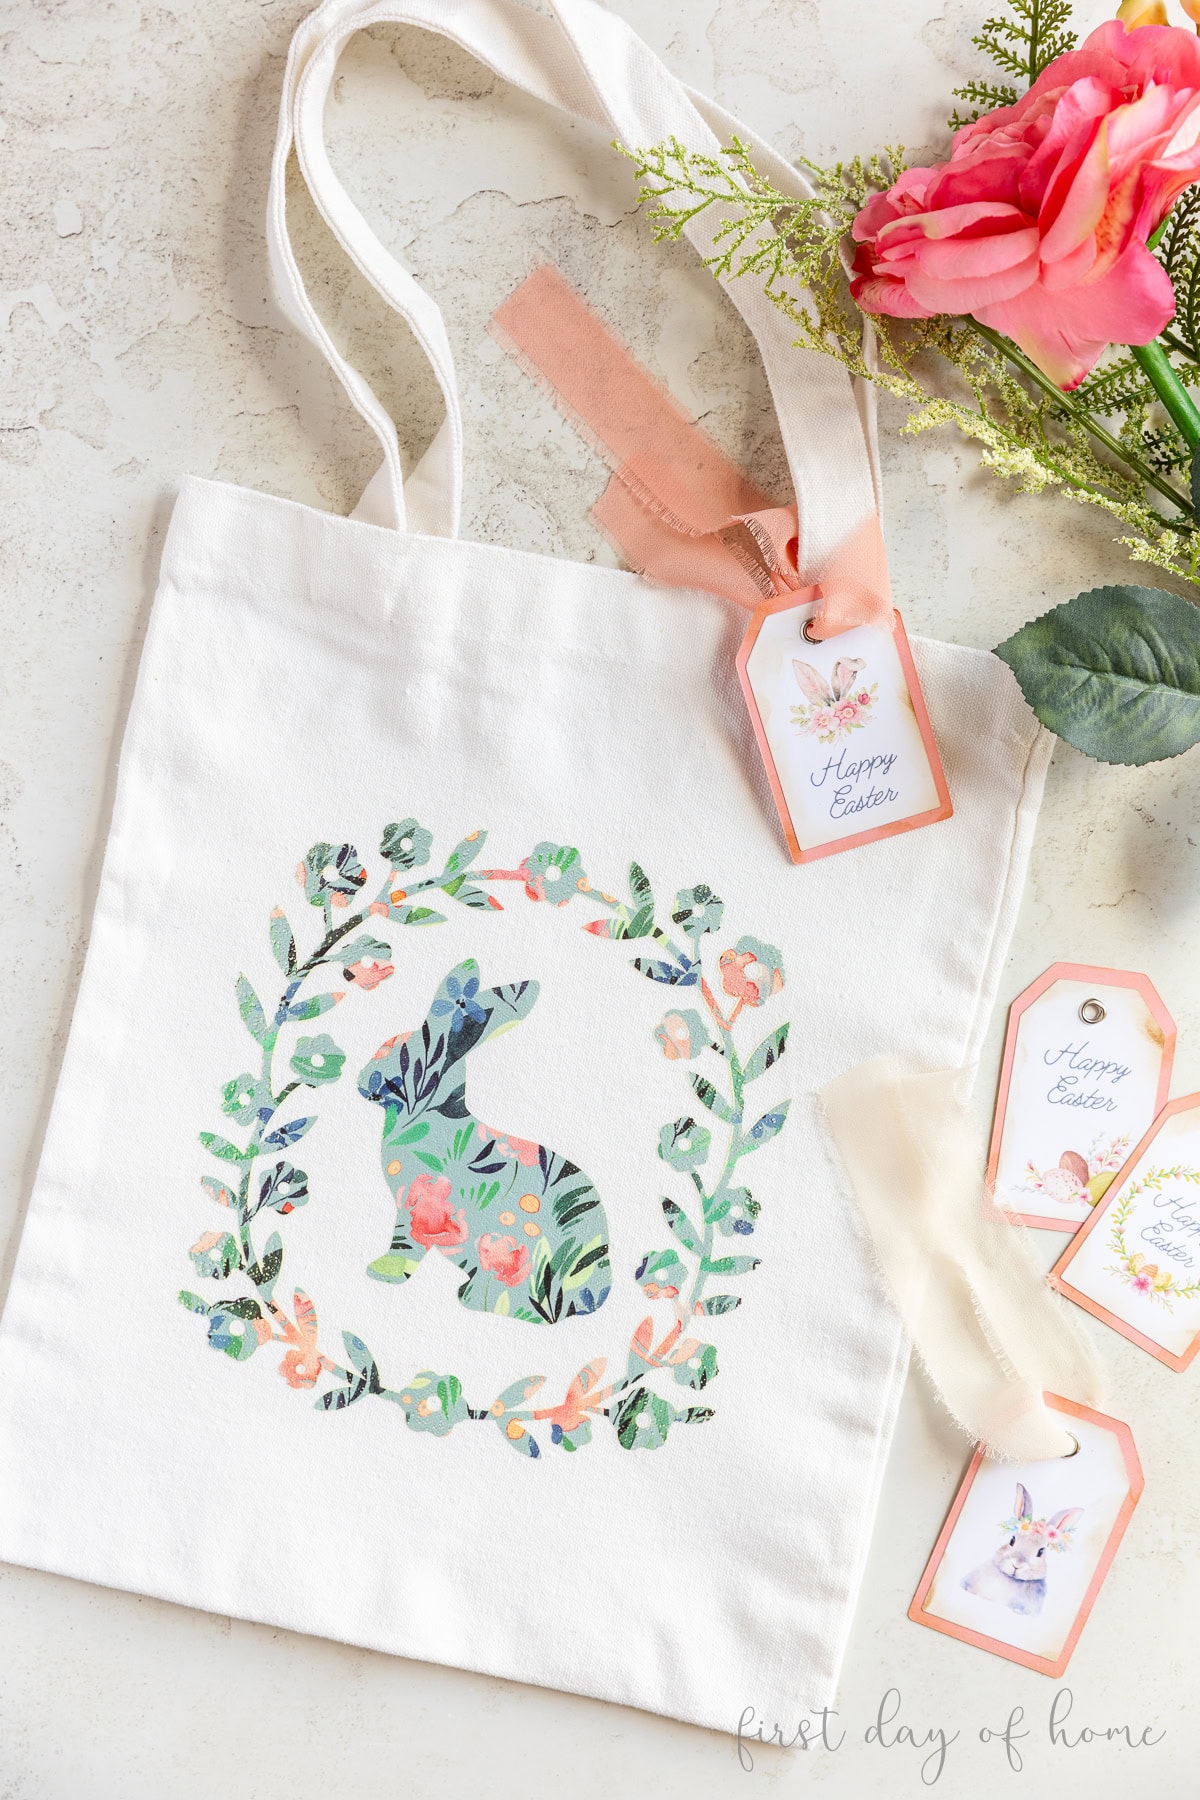
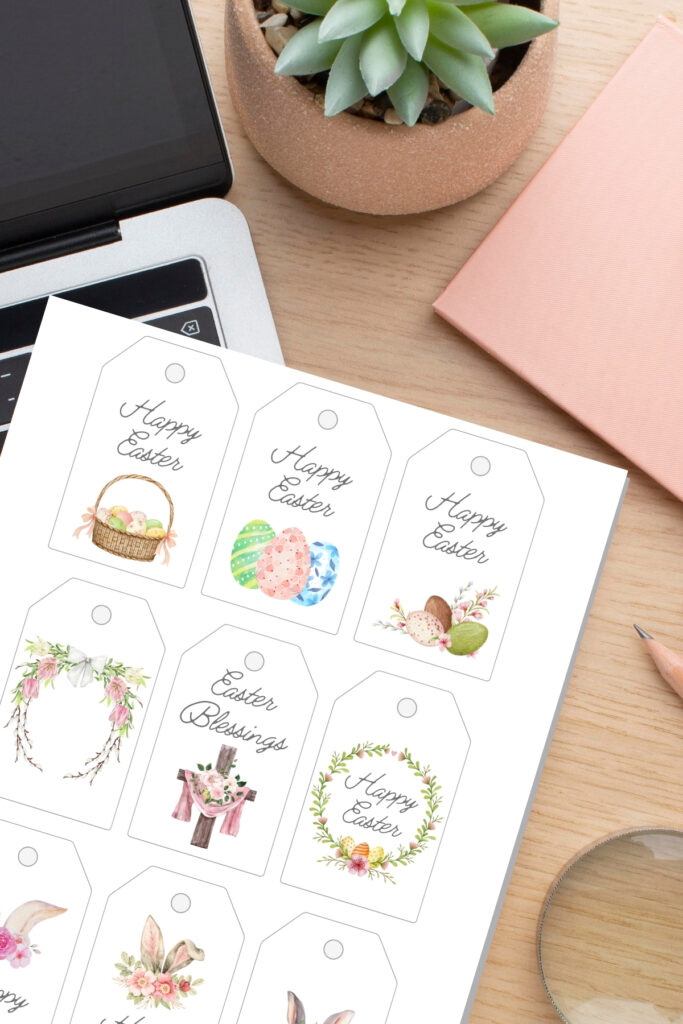
This Easter tote bag turned out so adorable! I used some of my printable Easter gift tags available in my shop to complete the gift.
Caring for patterned vinyl projects
Wait 24-48 hours before washing your project. You’ll want to turn the tote or garment inside out and wash it on a delicate cycle. I recommend hanging the garment to dry rather than using a dryer.
Below, you’ll find more projects to inspire you to get crafting. Don’t forget to pin this tutorial for later (down below)!
You Might Also Like…

Pin it for later!