Easy Macrame Gnomes
These macrame gnomes not only look adorable, but they’re also super easy to make. If you’ve never tried macrame before, this is the perfect way to learn the craft. Get the whole family involved with this festive art form.

This post contains affiliate links, and I will be compensated if you make a purchase after clicking on my links. For more information, please see my disclosures.
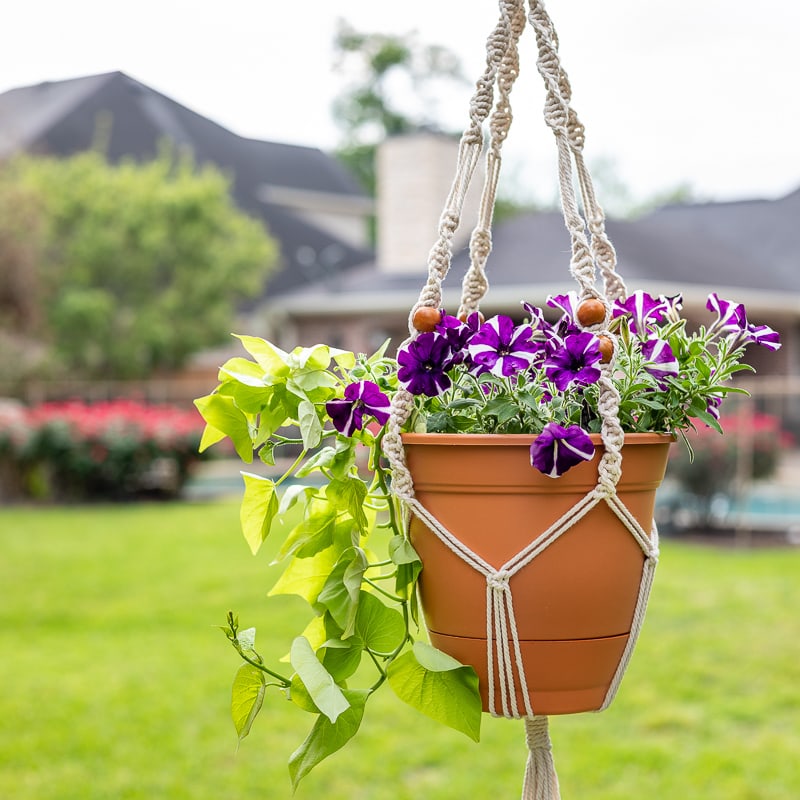
I first ventured into macrame when I made a macrame plant hanger, and I’ll admit I felt intimidated at first. If you can tie a knot, rest assured, you can learn the art of macramé!
What is macrame?
Macrame is the art of tying knots using rope, yarn, or cords to make wall art, jewelry, and decorative accents. Typically, the knots form beautiful geometric patterns, often including wooden beads.
I love these macrame gnomes since you can use them as Christmas ornaments or hang them on a string to form a garland. They also make adorable gift tags.
Kids can join the fun of tying knots and decorating their gnomes with accessories. I added a few wooden accents to their beanie hats to decorate them for the season. It’s a great craft for a sleepover or camp activity, and it only takes 30 minutes to whip up these little fairy tale creatures.
Supplies

- White macrame cord
- Colored macrame cord or yarn (I used red cord and turquoise cord)
- Wood rings
- Wood beads
- Toilet paper roll or paper towel roll
- Cardboard square (cut to approximately 4 1/4 x 4 1/4 inches)
- Scissors
- Hot glue
- Mini wood accessories (optional)
Shop for Supplies
You can find all of the supplies conveniently bundled in my Amazon storefront. Craft stores like Hobby Lobby and Michaels also carry macrame supplies.
How to Make a Macrame Beanie Hat
I used 3mm natural braided cotton for my macrame cord, but you can also substitute other types of yarn. The benefit of using macrame cord is that it has a rustic feel and works well for all types of macrame projects, including hanging wall decor or plant hangers.
Roving yarn works well for a gnome beard since it has a fluffy, soft appearance. Chenille yarn has a texture that resembles fuzzy socks with a nice chunky appearance. Experiment, and have fun with all the possibilities!
*You may need more or fewer strands of yarn than shown below, depending on the yarn you’re using.

- Wrap the cardboard with 22 loops of colored macrame cord, and cut the cord along the same edge as the other end where you started. This should leave you with 22 strands of about 8 1/2 inches long.
- Cut a toilet paper or paper towel roll to about 5/8 inch in width to form a paper ring. Then, fold one strand of macrame cord in half and insert it into the paper ring.
- Pull the loose strands of the cord through the loop.
- Tighten the cord against the paper ring. Congrats, you formed your first Lark’s head knot (a.k.a. cow’s hitch)!
- Continue making Lark’s head knots around the paper ring.
- Once complete, tie the loose strands of cord together with another piece of macrame cord or jute twine.
Don’t tie off your beanie hat yet if you want to add a hanger to your gnome to make Christmas ornaments.
How to Make a Macrame Gnome Beard

- Wrap the cardboard with nine loops of white macrame cord, and cut the cord along the same edge as the other end where you started. This should leave you with nine strands of about 8 1/2 to 9 inches long.
- Make a Lark’s head knot around the wood ring. The loop should point toward the outside of the ring as you pull the strands through it.
- Tighten the loop to fit snugly around the wood ring.
- Add the remaining cords with Lark’s head knots along the bottom of the wood ring.
Once you’ve added your cord, it’s time to separate the braids of the cotton cord. This step is optional, but it gives your gnome a fuller beard, which I think adds to the charm. You can use a pick or a comb to help separate the braids. I like to begin by untwisting the rope.

Of course, even gnomes need a beard trim! You can shape your gnome’s beard as pointed or full as you like with a sharp pair of scissors.

Now, it’s time to make a nose! Using a hot glue gun or craft glue, attach a small wood bead to the top of the beard.
For some of my gnomes, I took a few strands of macrame cord and cinched them in the middle with an additional piece of cord. Then I fed that cord through the hole in the wooden bead to form a mustache. (See the turquoise gnome as an example.)
Assembling the Macrame Gnome
To create the finished gnome, attach the beanie hat to the top of the wooden ring. To prevent shifting, you can add a dab of hot glue to keep it in place.

You can turn the wooden ring on either side depending on which side of the knot you’d like showing (Lark’s head knot or reverse Lark’s head knot).
Are you making a Christmas ornament? If you’d like to add string or twine for hanging, attach it to the top of the wood ring and pull it up through the colored macrame cords before you tie off the beanie hat.
For a finishing touch, separate the braids at the top of the beanie hat to give it a pom-pom look. Again, a fine-tooth comb can help separate the fibers.
Adding Embellishments and Accessories
Even gnomes like some extra bling! As you’ll see below, I created a few mini wooden snowflakes and hearts with my xTool M1 Ultra machine to add details to my gnomes.
Consider adding some of the following accessories to your gnome for each season:
- Valentine’s Day: Add hearts and use pink and red yarn for the hat
- Easter: Use pastel yarn with egg or bunny details in the gnome beanie
- Fall or Thanksgiving: Add fall leaves or acorns to your gnome’s hat
- Halloween: Use orange or black yarn and add pumpkin details to the beanie
- St. Patrick’s Day: Add shamrocks to a green beanie
- Christmas: Add holly leaves, snowflakes, or peppermints to the gnome’s beanie
Pin it for later!