How to Make a DIY Table Runner (The Easy Way)
Today, I’m sharing a tutorial on one of my favorite projects — how to make a DIY table runner with a farmhouse style.

When we bought our rustic dining room table, it looked very empty sitting beneath the chandelier. I decided I needed just the right table runner, but I wanted a custom look. Then, a decorator friend told me about an unexpected (and inexpensive!) material I could use to craft my own runner. Problem solved!
Aside from letting the paint dry, this is a quick 10-minute table runner project that is great for a beginner!
This post contains affiliate links, and I will be compensated if you make a purchase after clicking on my links. For more information, please see my disclosures.
Supplies for a DIY Table Runner

- Drop cloth. I had seen Pinterest friends using drop cloths for curtains, but it never occurred to me to make a runner out of the stuff! The material has great texture and is very affordable.
- Stencil. Amazon sells many gorgeous stencils at great prices.
- Acrylic paint. Choose any type of paint that fits your project. Just check whether it’s permanent or washable and buy whatever meets your needs.
- Unbleached muslin. I used this fabric on the underside of my runner for a more refined look. It’s perfectly okay to use a drop cloth for both sides or make a one-sided runner instead.
- Stencil brushes. I opted for bristle brushes over foam sponges because I felt they gave me more control. You’ll definitely need thick bristle brushes and not generic craft brushes.
Directions for Making a Table Runner with Stencils
Step 1: Practice Stenciling
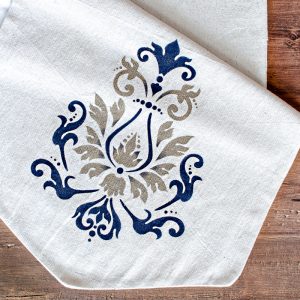
Fortunately, the drop cloth I bought was so huge I had plenty of material to practice with before making my final stenciled table runner. I started with one color but ultimately decided on a two-tone pattern.

Before you begin, tape your stencil to the fabric around all edges to keep it in place. Then, dip your brush into water and squeeze out any excess.
To keep the paint from bleeding past the stencil, start with very light coats holding your brush vertically. Press the tip of the brush into the fabric in a dabbing motion rather than painting with strokes.
You can use a paper towel to absorb some of the excess paint on your brush if needed. If you’re having trouble isolating your colors, try taping over the areas you don’t want to paint.

To add more depth to my design, I gently applied some blue paint to the corners of my gold leaves. Before adding shadows or highlights, wait at least two minutes for the underlying color to dry.

How much material do I need to make a table runner?
Measure the length of your dining table, then multiply by 60-70% to determine the length of fabric you will need for a table runner. A 6-foot table might require about 50 inches of fabric (or 1.5 yards). Most table runners are only 14-16 inches in width, and most fabric bolts are 35-108 inches wide so it’s easy to cut two strips of fabric for a reversible runner.
Step 2: Prep Your Fabric
For best results, wash and press your fabric before you begin. Then, cut your drop cloth (and optional muslin) to the desired dimensions. Just remember to add a small seam allowance of about 5/8 to 1 inch on all sides if you plan to sew the edges.
To make pointed ends on your runner, measure and mark the three points shown below.

Then connect the points and cut along the lines. I typically fold my fabric in half lengthwise so I can cut both ends of the runner at once. With a rotary cutter and a ruler, it’s easy to make clean, straight cuts. You can always use scissors if you don’t own a rotary cutter.

Step 3: Stencil the Runner
You’re now ready to apply your stencil, which you’ve already practiced doing in step 1. I like to paint before sewing, in case I have an “oops” moment. After stenciling, wait a few hours for the paint to dry before completing your project.
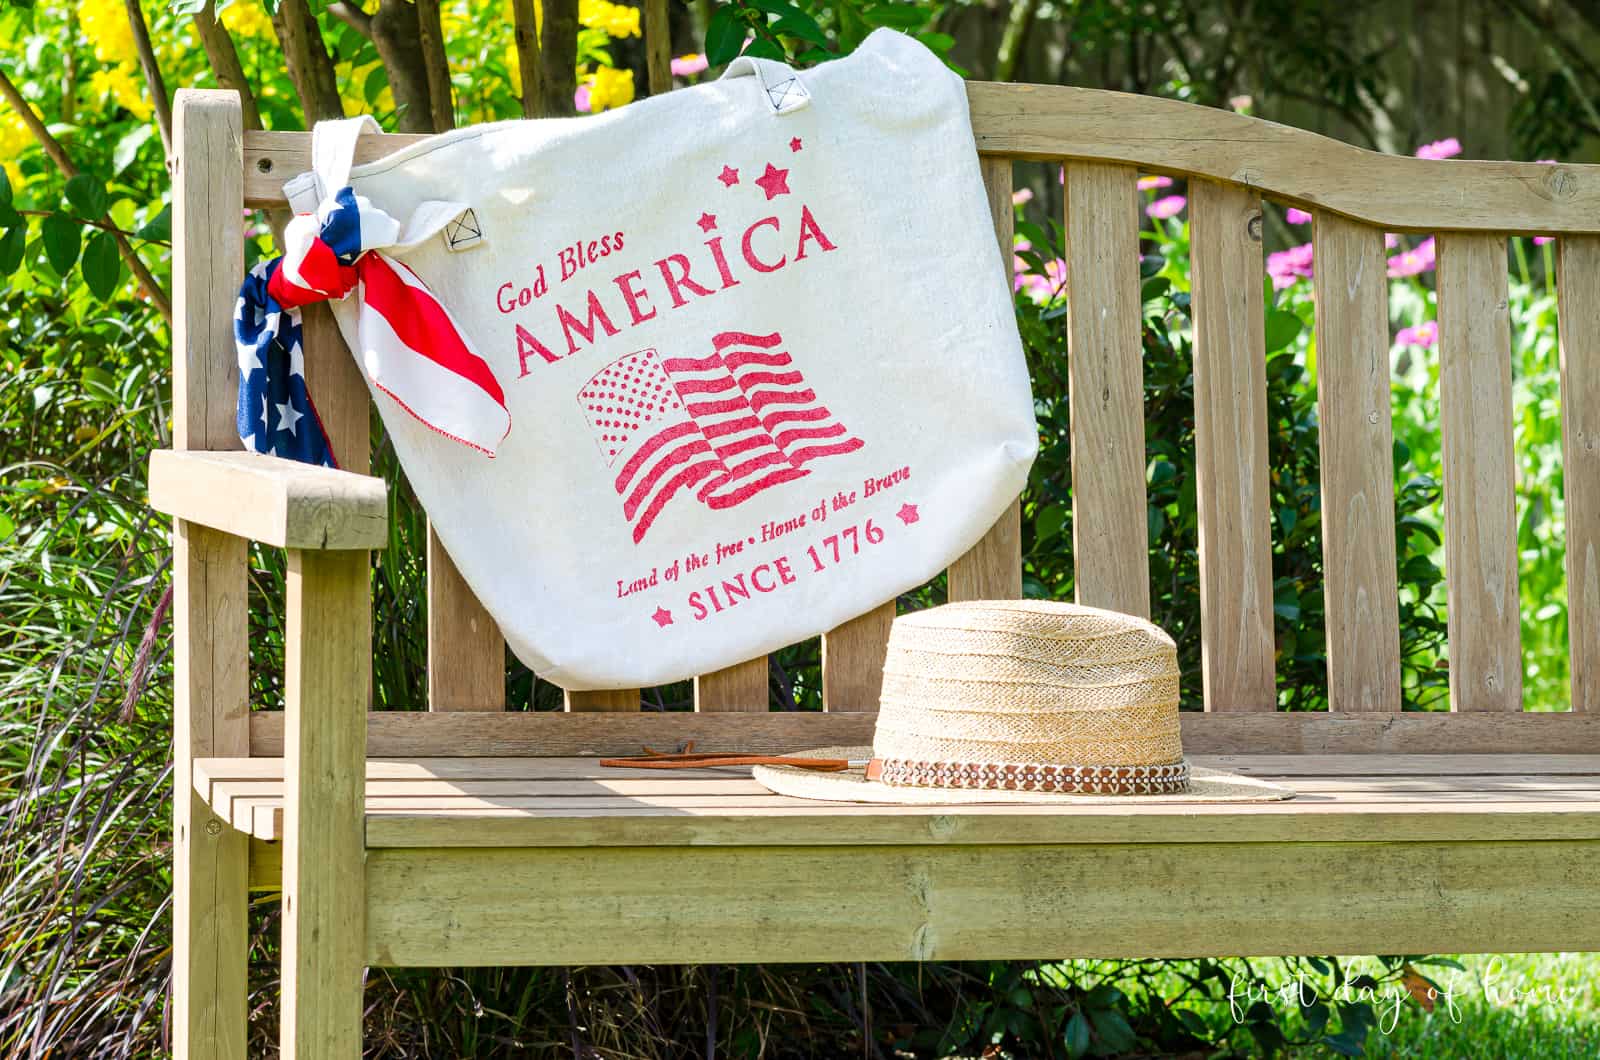
For a video tutorial on painting with a stencil, please see my tutorial for painting a canvas bag.
Step 4: Sew (or Don’t Sew!) the Runner
Option 1: Sewing Method
If you have a sewing machine and want to make a reversible two-sided runner, line up your two pieces of fabric with the right sides facing each other. Then, pin your fabric together and sew around the edges with a 5/8 to 1-inch seam allowance. Here’s a look at the muslin side of my runner after stitching.

You’ll need to leave an unstitched opening of about 4 inches on one side so you can turn the runner right-side-out again once you’re done sewing. Before turning it, trim any pointed edges closer to the stitching to reduce bulk.

After flipping the runner right-side-out, close the 4-inch opening with an invisible stitch to hide the thread, and you’re done!
Fortunately, this custom runner works for all seasons. I’ve even used it beneath my DIY mercury glass holiday centerpiece.

Option 2: No Sew Method (One-sided runner)
If sewing isn’t your thing, try using Dritz Stitch Witchery to “hem” the edge of your stenciled fabric. When applied with an iron, this tape acts as an adhesive to fuse the edges of fabric together.
Just be sure to remove all of the plastic wrapping on the roll, wet the tape generously, and use either wool or cotton settings on your iron to press the tape between the fabric pieces for 10-15 seconds.
You may need to press again if the tape doesn’t adhere well the first time.
Remember to leave an opening of 4 inches or so to turn the runner right-side-out. Then use Stitch Witchery again to close the opening.
Farmhouse Table Runner Wrap Up
What I love about this stenciled DIY table runner is how customizable it is. It pairs well with just about any table setting.
Entertain your guests at your newly decorated dinner table for Christmas, Easter, or Thanksgiving with this versatile design. I can’t wait to see what creations you dream up for your very own, unique table runners!

Pin it for later!

Thanks for stopping by! Drop me a comment below to tell me how your table runner turned out, or tag me @firstdayofhome on Instagram!
How to Make an Easy Farmhouse Table Runner
Equipment
- Sewing machine
- Needle for sewing invisible stitch, if desired
- Straight pins for holding fabric while sewing/gluing
Supplies
- Drop cloth (For length of fabric, measure about 70% of table length. For width, plan for 14-16 inches as desired.)
- Stencil
- Acrylic paint
- Unbleached muslin (optional, cut to same size as drop cloth fabric)
- Stencil brushes
- Thread (if sewing)
- Stitch Witchery (for a no-sew option)
Instructions
- Practice stenciling on a scrap piece of drop cloth using acrylic paint and a hard bristle brush or pouncer. Dab off excess paint before stenciling.
- For best results, wash the drop cloth and then press the fabric on an ironing board.
- Cut the drop cloth and muslin fabric to the desired dimensions (see notes), making a peak on each end, if desired.
- Sew the drop cloth and muslin together with the right sides facing each other (wrong side out). Be sure to leave a 4-inch gap so you can turn the runner right-side-out again and close the seam.
- Before turning the fabric, trim any excess fabric at the peaks to prevent bulk.
- If sewing, use a needle and thread to close the 4-inch opening (after turning the fabric right-side-out).
- If using Dritz Stich Witchery, place the pieces of fabric with right sides together as in step #4. Remove all of the plastic wrapping on the roll, wet the tape generously, and use either wool or cotton settings on your iron to press the tape between the fabric pieces for 10-15 seconds. You may need to press again if the tape doesn’t adhere well the first time. Remember to leave an opening of 4 inches or so to turn the runner right-side-out. Then use Stitch Witchery again to close the opening.
This is so pretty! And I love that it’s a simple, very doable project that costs so little. Thank you for the step-by-step instructions.
Thanks so much for joining the Grace at Home party at Imparting Grace. I’m featuring you this week!
Thank you so much, Richella! That is such a sweet compliment, and I’m honored to be featured on your site! 🙂
Such a lovely table runner… I don’t know how I missed this post… but I totally remember seeing the project! Pinned!
Thanks, Julie. I did this post early on when I started blogging and recently updated it. I appreciate you pinning!
Your table runner is very pretty! Great tutorial!
Thank you, Lauren! I’m glad you liked it. It’s a fun and easy project.