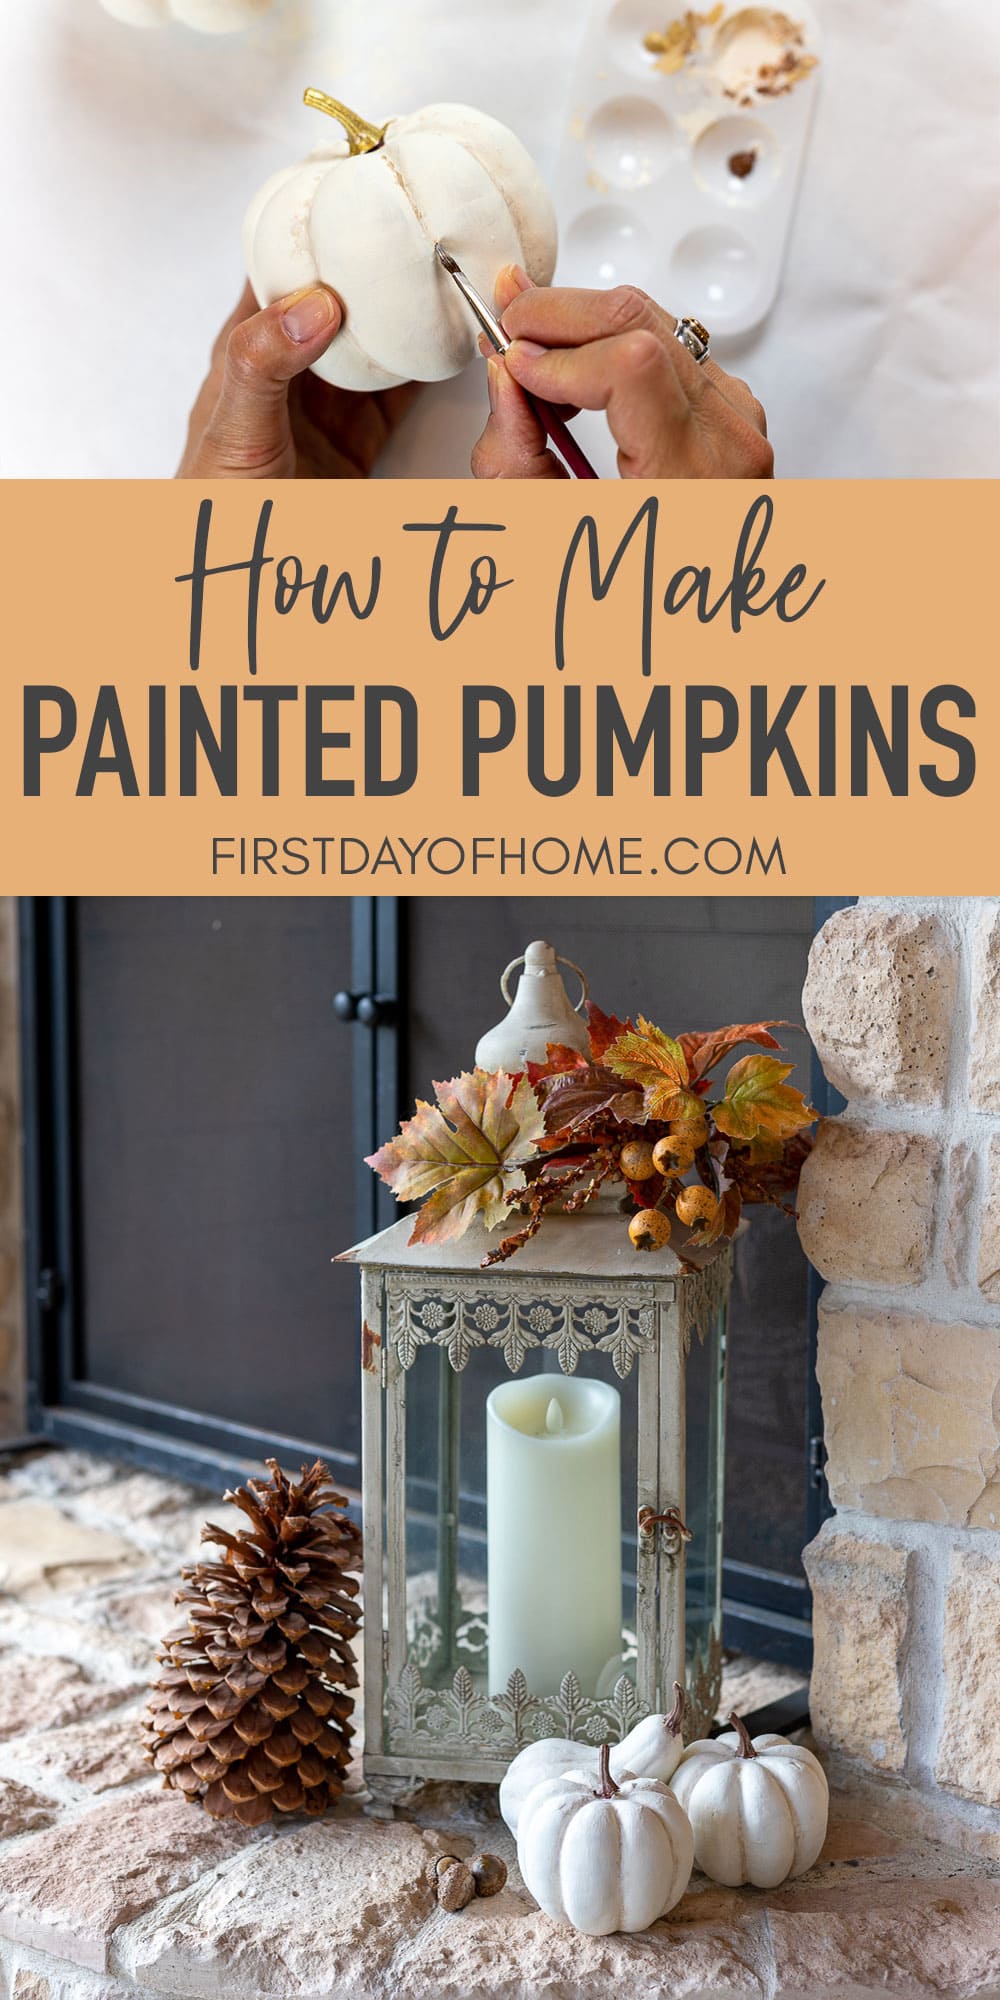
How to Make Your Own White Painted Pumpkins
Real pumpkins can add the perfect touch to your fall decor, but sometimes they’re just not practical. (Ask me about the time we permanently stained a piece of furniture when one rotted!) If you’re in the market for a good faux lookalike, read on to learn how to make your own white painted pumpkins.
This post contains affiliate links, and I will be compensated if you make a purchase after clicking on my links. Special thanks to PLAID for providing the paints used in this tutorial. For more information, please see my disclosures.
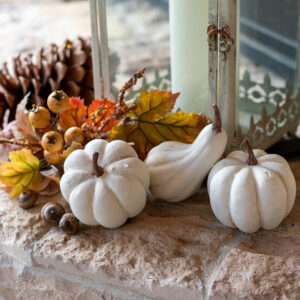
Farmhouse Style White Painted Pumpkins
One of my favorite fall crafts is painting faux pumpkins. In fact, I sometimes repaint pumpkins that I’ve painted before!
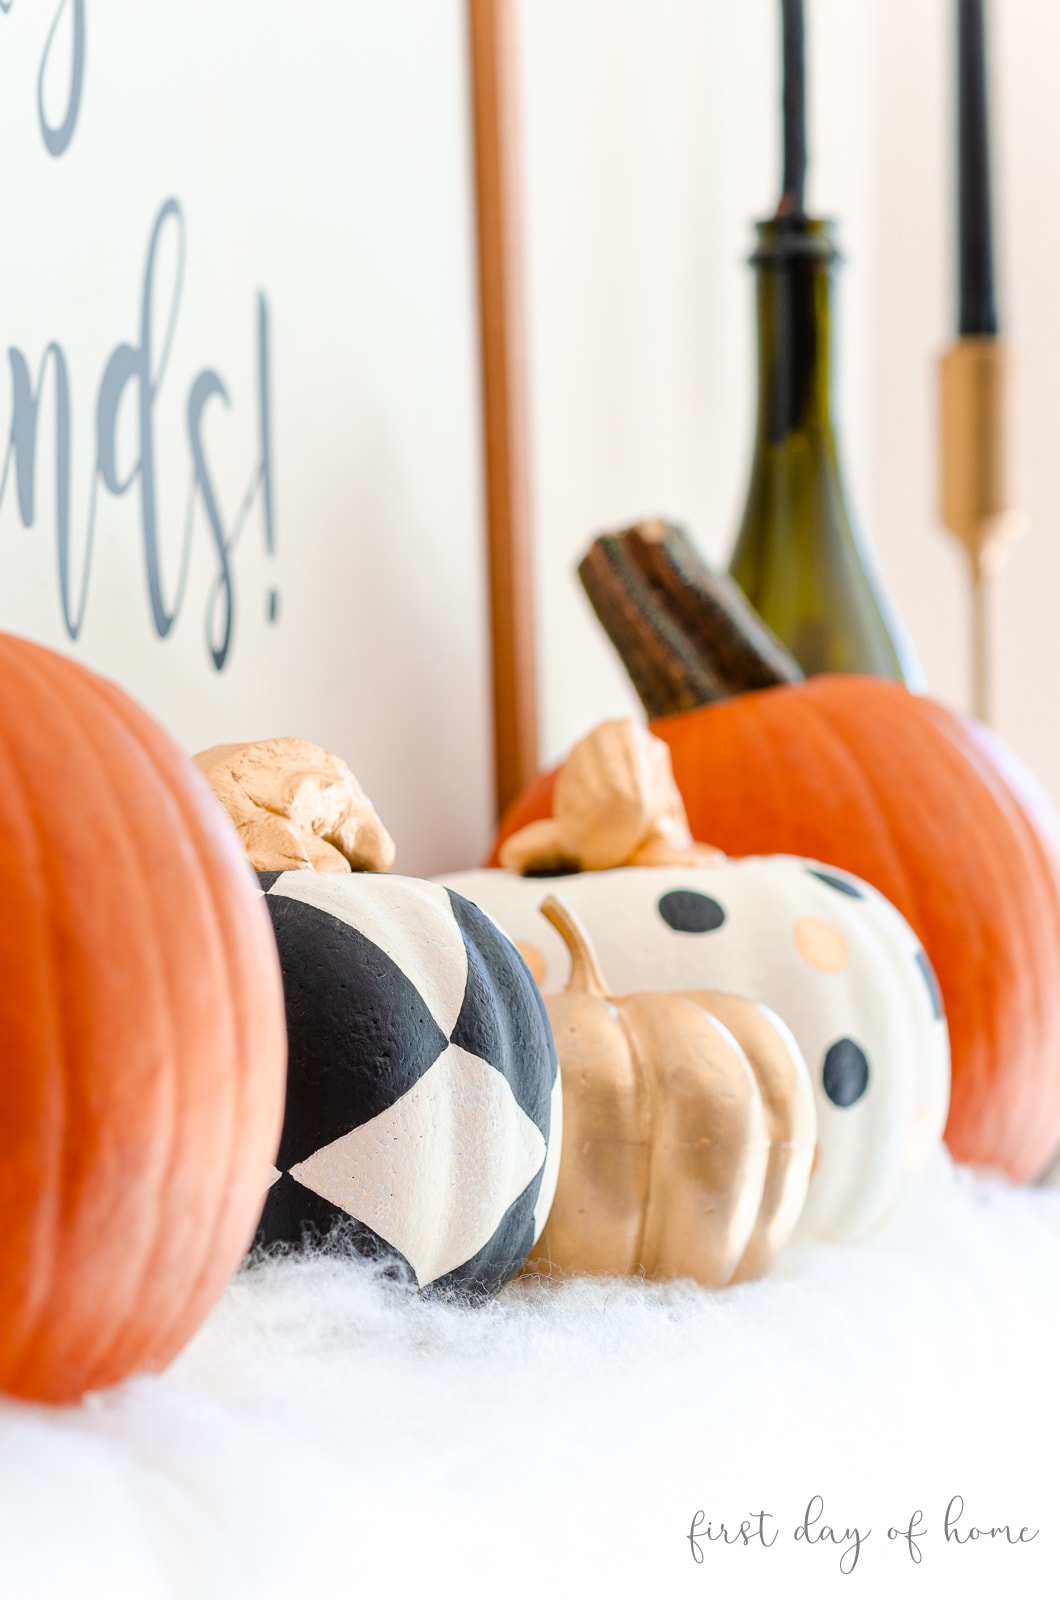
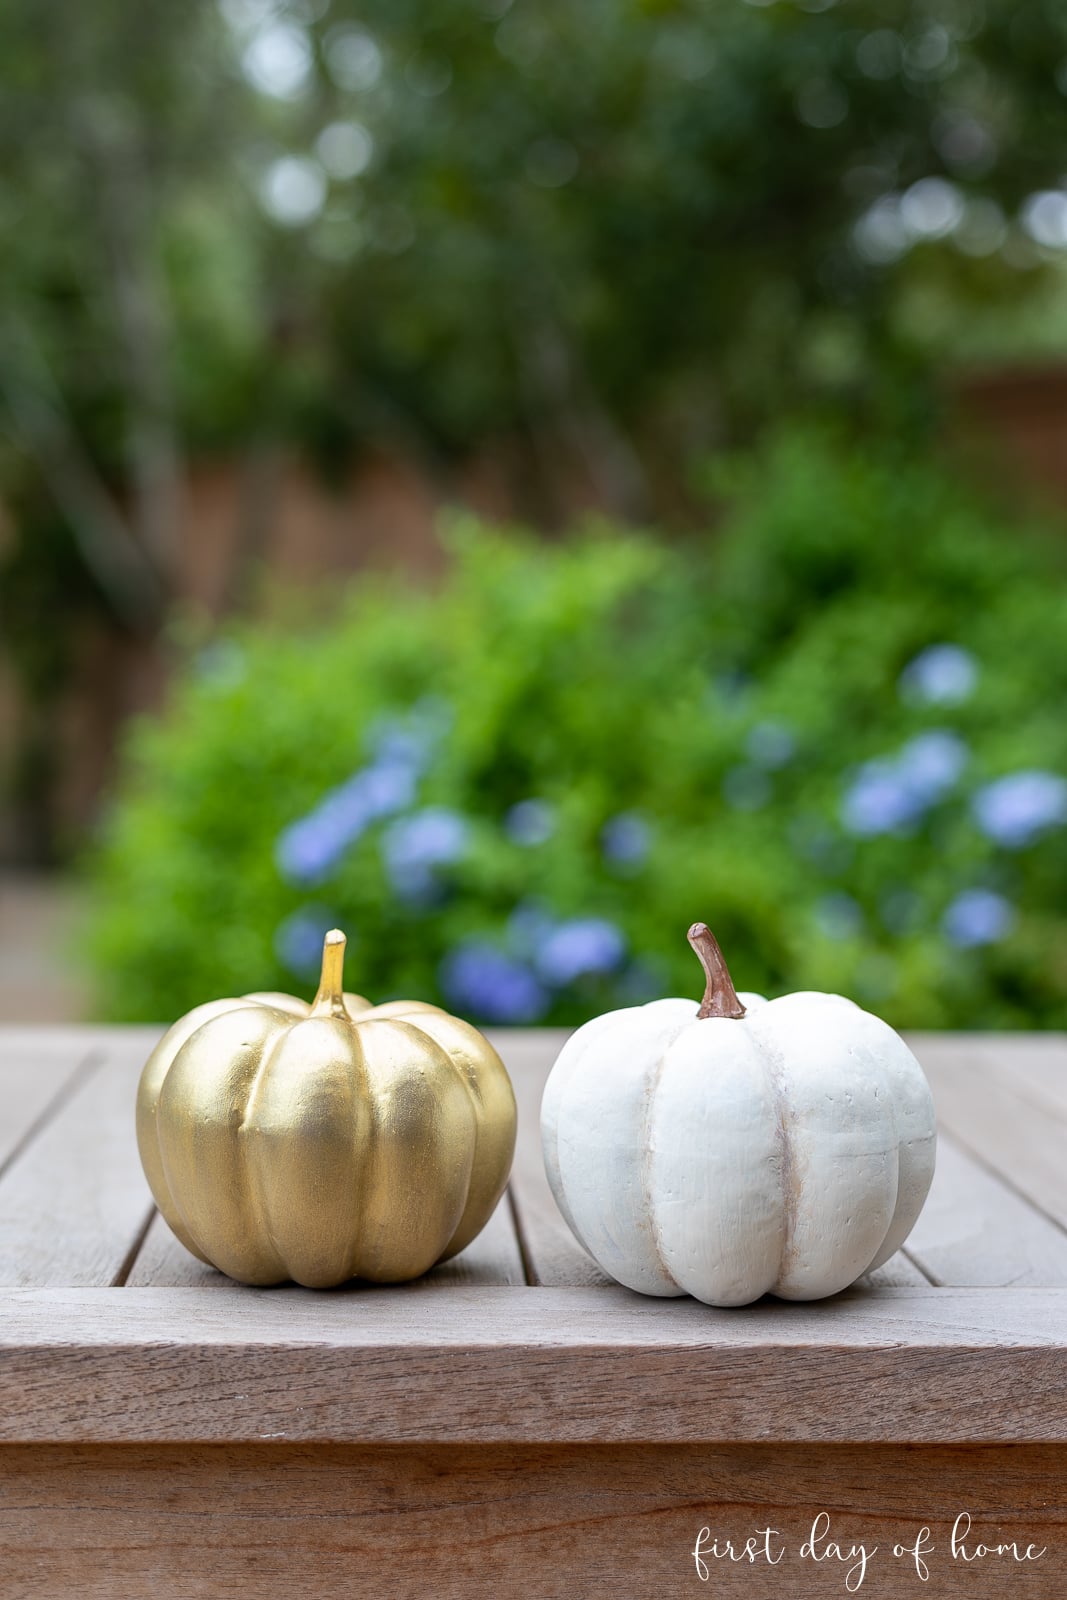
Last year, I went for a somewhat glam look with gold painted pumpkins in my Halloween mantel decor.
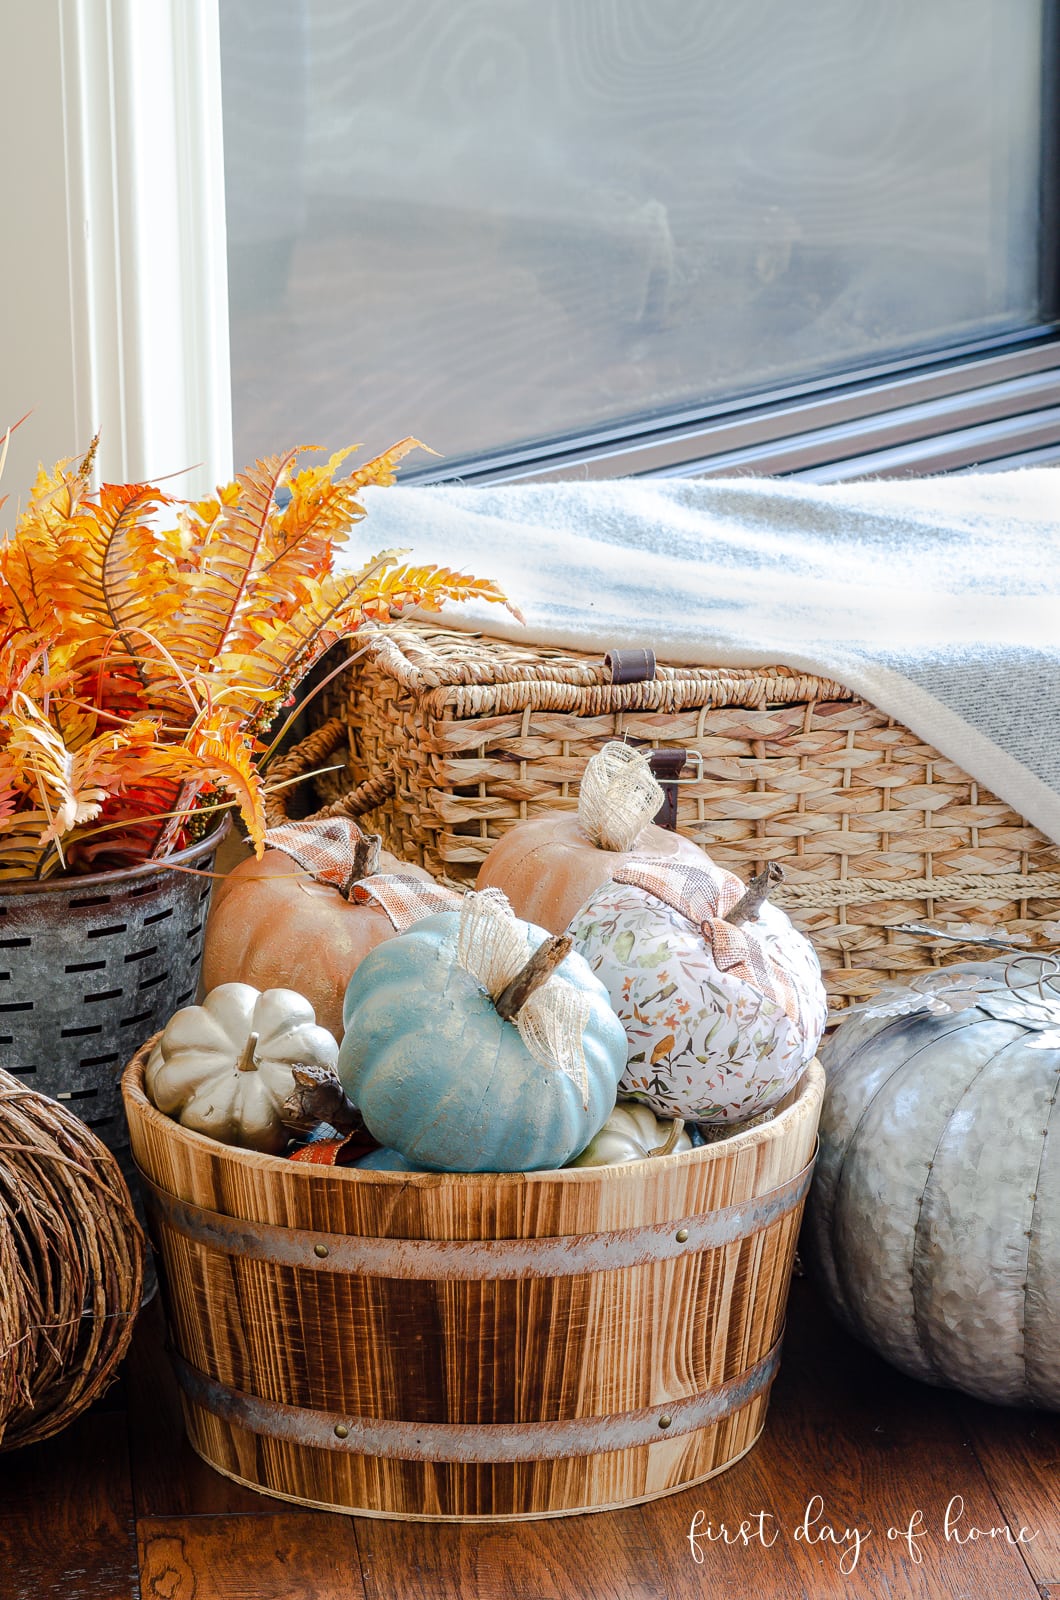
The year before that, I was all about soft blues and coppers to match my fall decor color scheme.
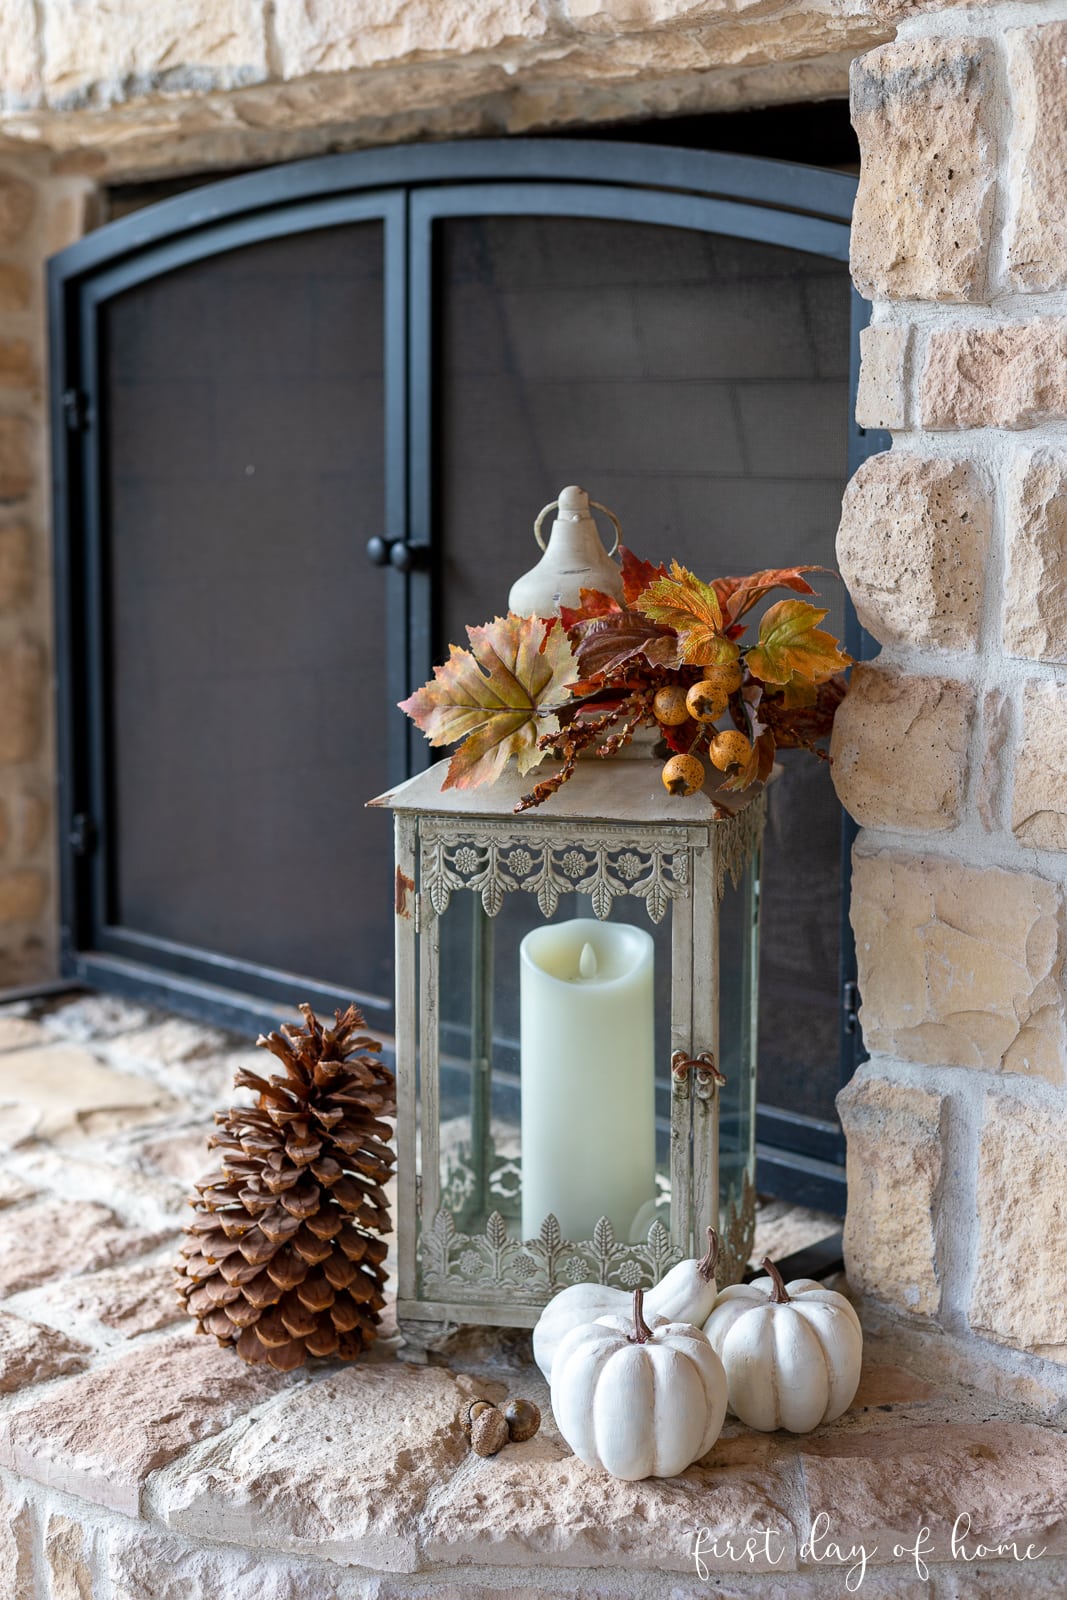
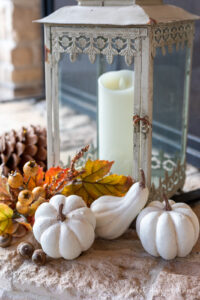
Now, I’m craving a neutral color palette. I recently shared this look in a Pinterest Challenge showcasing DIY fall centerpieces involving cloches.
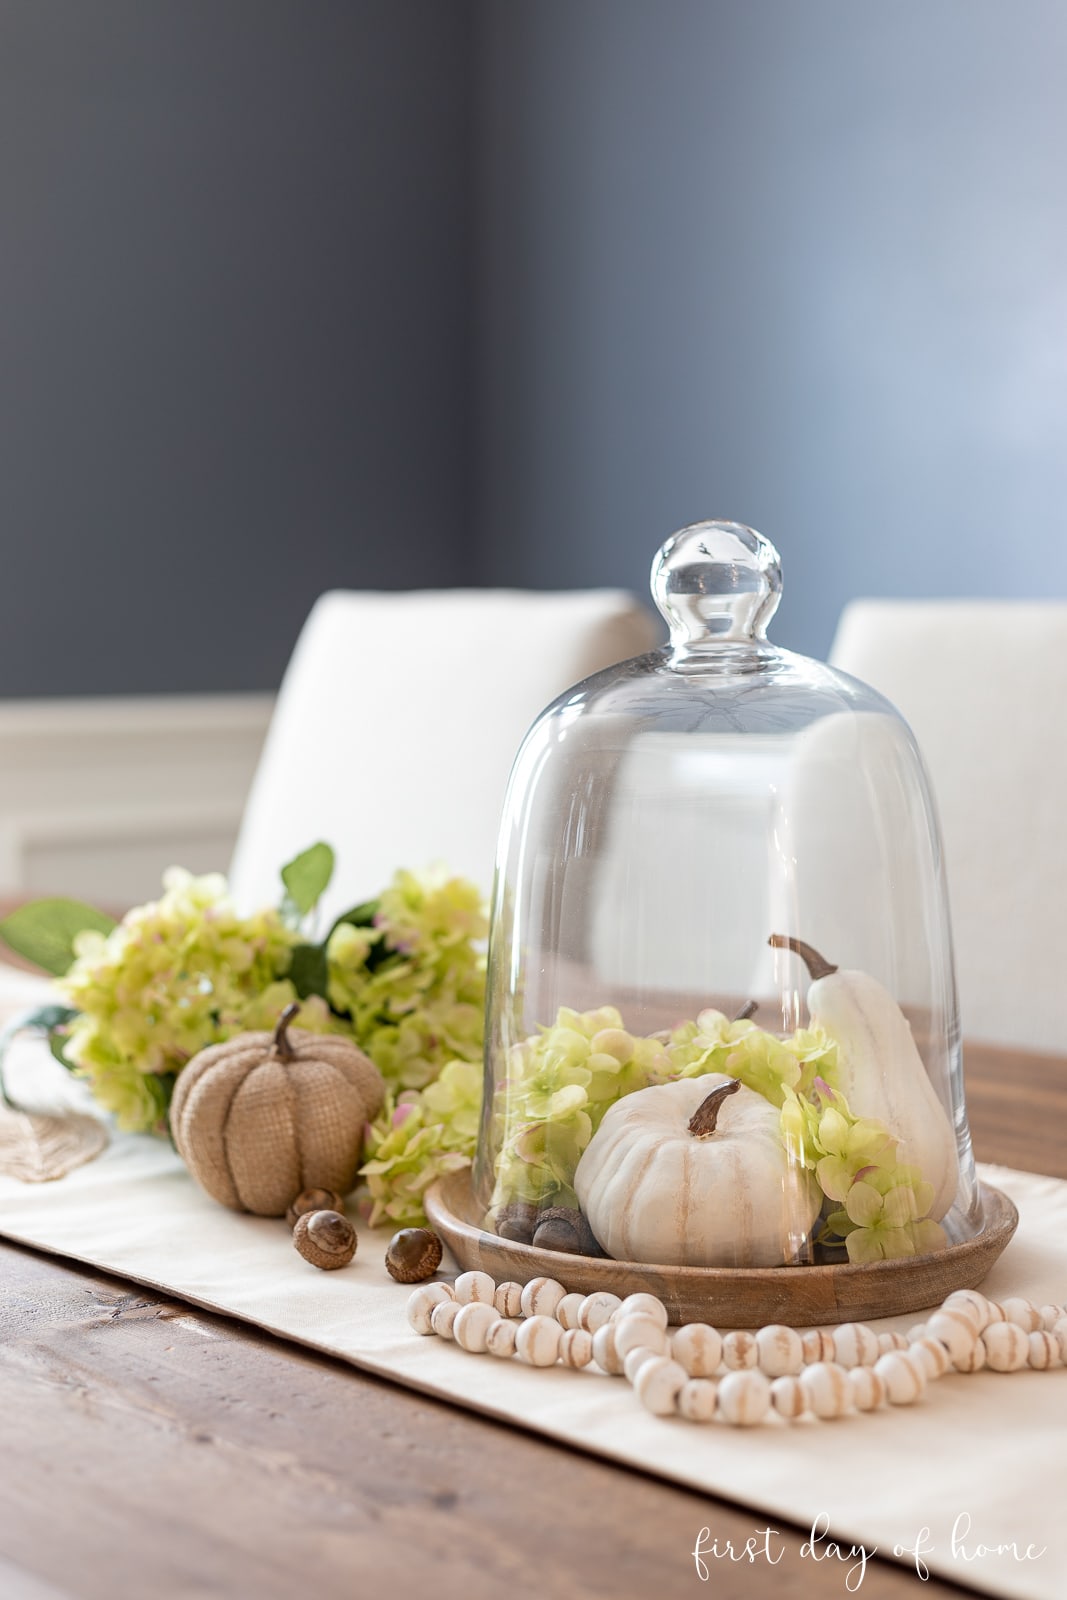
I have to admit, this is my favorite look of them all. Do you agree?
The best part is, you won’t spend much money on this craft since the pumpkins themselves come from Dollar Tree! I love a good bargain!
I hope you’ll enjoy experimenting with this technique. In my opinion, the effort it takes to make the pumpkins look aged or distressed really pays off.
You’ll see a huge transformation from my original gold-painted gourds to the final farmhouse look.
If you’d like to see this same technique used on a larger faux pumpkin, be sure to visit my pumpkin flower arrangement!
How to Make White Painted Pumpkins
Equipment
- Paint brush (flat)
- Paint brush (round/script)
Supplies
- Faux pumpkins
- Chalk paint (off-white shade)
- Brown acrylic paint
- Tan acrylic paint
Instructions
- Wipe the pumpkins clean if necessary.
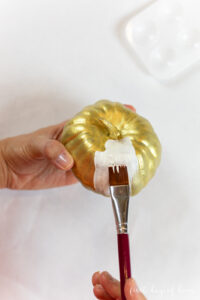
- Paint two coats of chalk paint, waiting about 20 minutes in between coats.

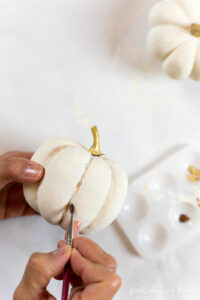
- Once the chalk paint is completely dry, add depth in between the pumpkin segments by mixing a small amount of brown and camel-colored acrylic paint. Dilute with the white chalk paint for a smoother finish.
- Blend the brown paint in the creases like you would eyeliner, smudging the paint to look more realistic.
- Paint the stems with the brown paint, and add camel-colored highlights to make it look more authentic.
Notes
Let me know in the comments how you plan to decorate for fall with your painted gourds. You can tag me on Instagram or share your photos here on Pinterest!
Happy Fall!
More Fall Decor and DIY Projects
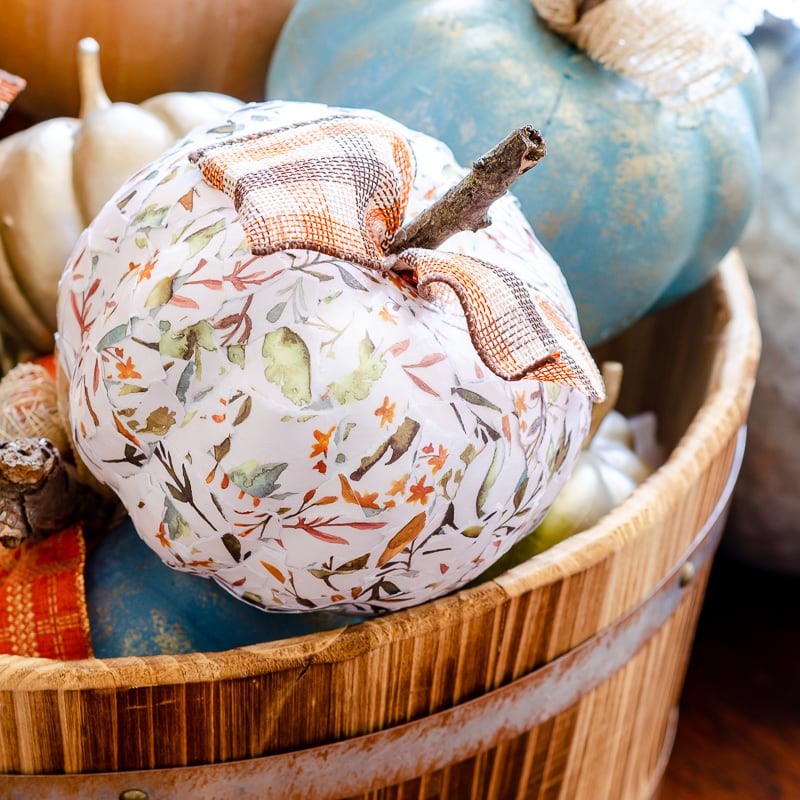
How to Make Easy Decoupage Pumpkins
Make beautiful decoupage pumpkins in just minutes with Mod Podge, scrapbook paper and foam pumpkins.
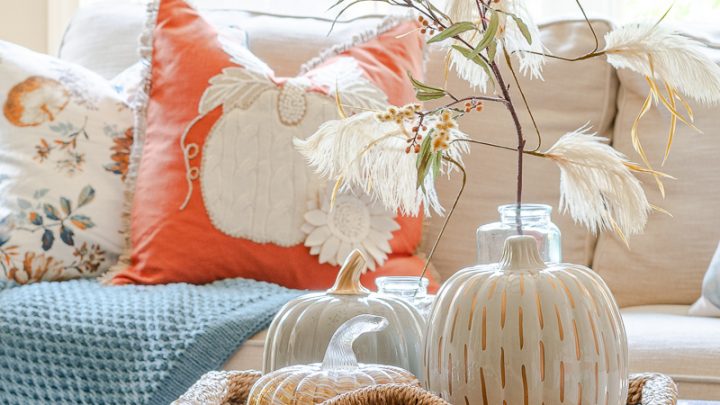
How to Make Your Home Lovely for Fall
Get ideas to decorate your home for fall, including coffee table centerpieces, dining room place settings and front porch decor.

Affordable Fall Decor Color Schemes for Every Room
Get inspired with three very different color schemes for fall home decor.
Simple Fall Outdoor Table Decor
Set a beautiful al fresco dining table for fall, with copper accents, DIY farmhouse flour sack towels, and more.
Oh man! I LOVE your white painte pumpkins. And doing the shading technique in the creases is so smart, and makes them look so real! Thanks for sharing your technique and tutorial card!
Thanks so much, Julie! I’m all about the faux pumpkins this year!