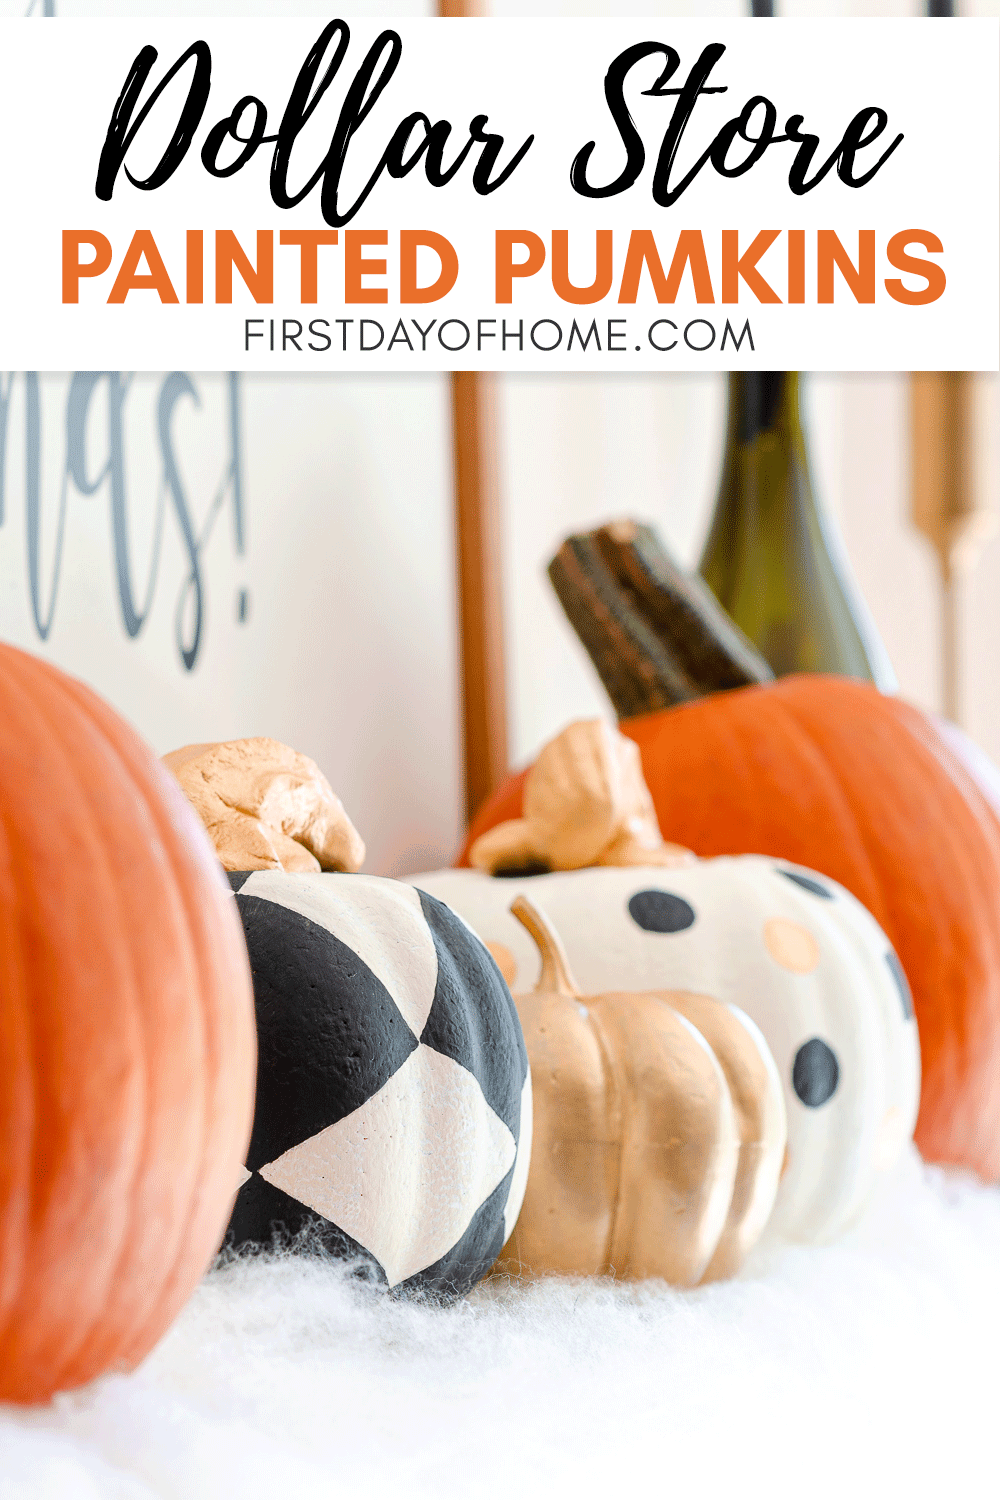
How to Paint Foam Pumpkins to Look High End
Have you drooled over those handmade harlequin pumpkins that sit on shelves in high-end boutiques? Drool no further. Today, I’m teaching you how to paint foam pumpkins to look high end without spending big money!
This post contains affiliate links, and I will be compensated if you make a purchase after clicking on my links. For more information, please see my disclosures.
Can You Paint Foam Pumpkins?
By now, I hope you know the answer is YES!
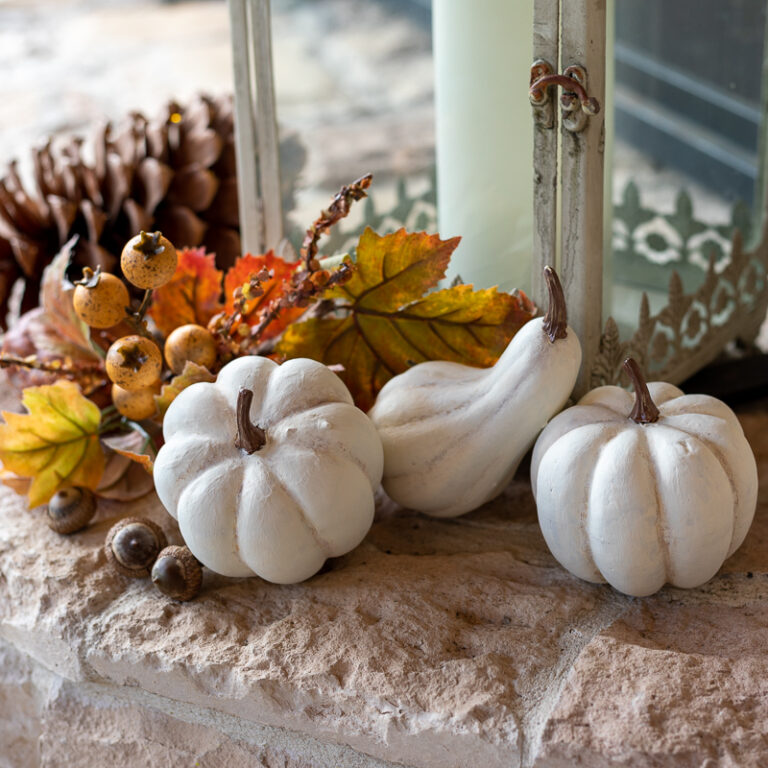
Last year, I shared how to paint pumpkins, and those little gourds became a hit on Pinterest. I’ve also made DIY white painted pumpkins for a more neutral farmhouse-style look.
This year, I wanted something bigger…something designer-inspired.
To recreate this same look, you’ll only need a handful of supplies, and I’ll give you a few options for each step depending on your skill level.
Supplies
To paint foam pumpkins, you have a few options. I’m going to share the exact supplies I used, but feel free to experiment!
- Foam dollar store pumpkins
- White chalk paint
- Black acrylic paint
- Gold leaf paint
- Paint brushes
- Hot glue gun
- Optional: Clear Acrylic Sealer (for shine)
- Faux stems, sticks or clay stems*
*I created my own stems using my salt dough recipe that I’ll soon post to the blog.
You can order real pumpkin stems, or you can use twigs, corks or knobs for a unique spin.
Shop for Stems:

How to Paint Styrofoam Pumpkins
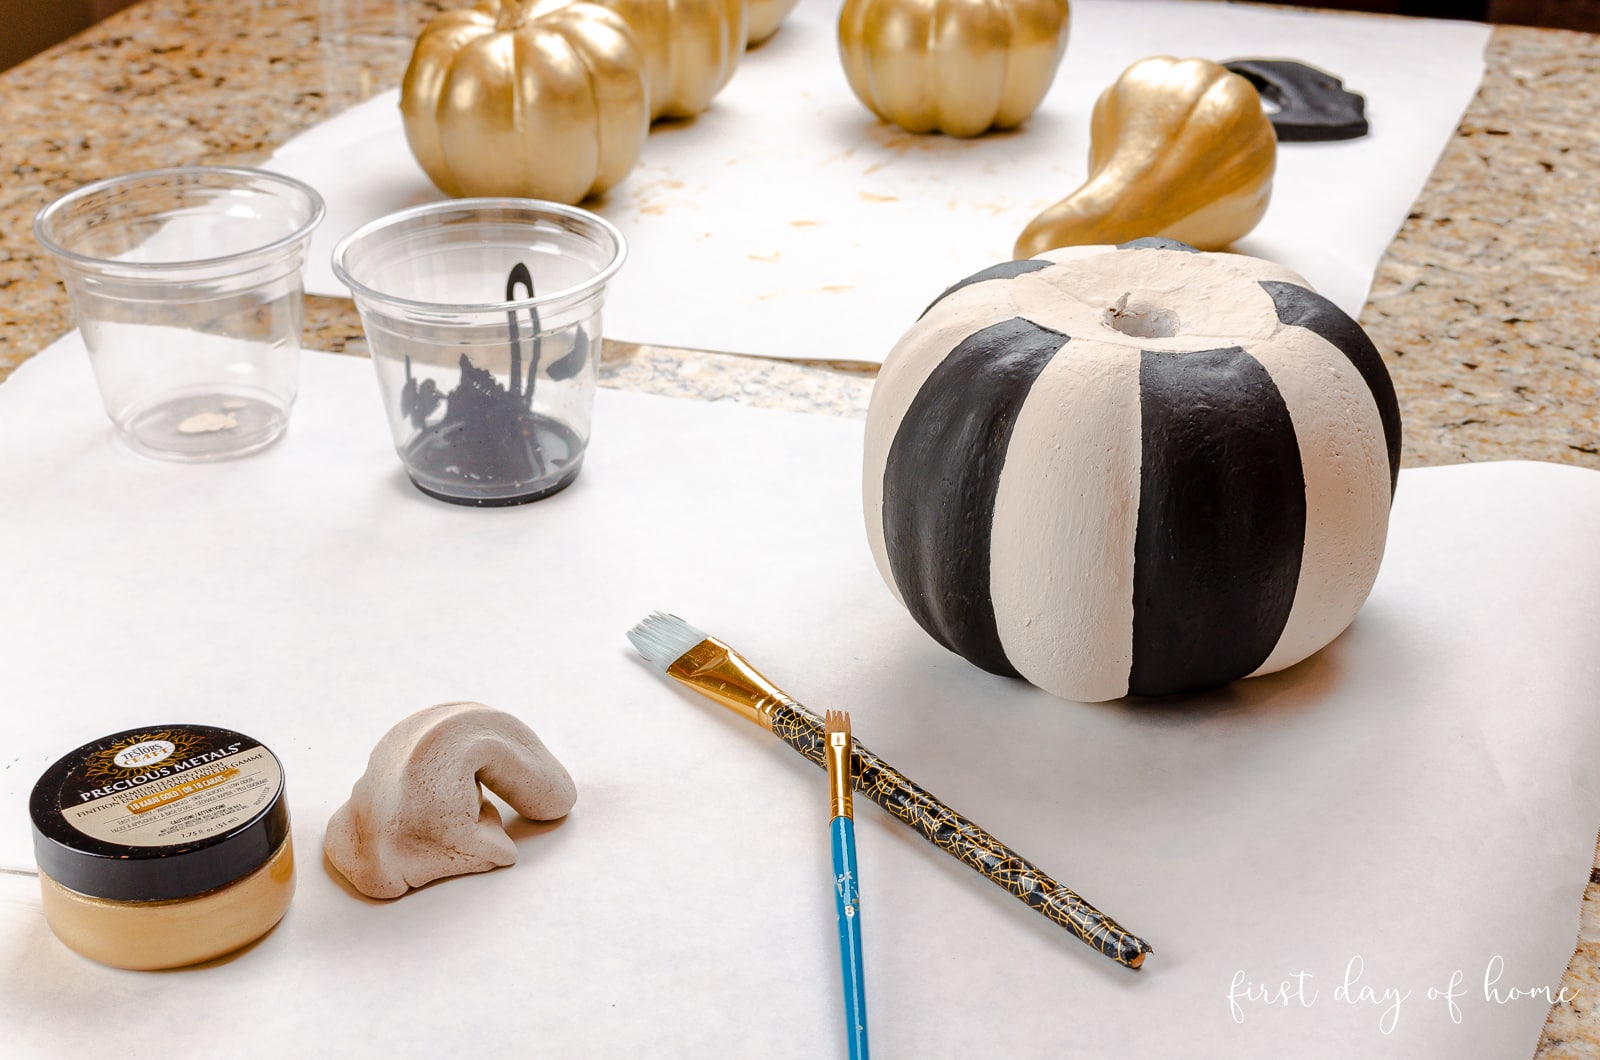
1. Remove stems and paint pumpkins with white paint.
There’s no magic to removing the stems. Simply pop them off!
Then, you’ll want to apply 2-3 coats of white paint to fully color that neon orange pumpkin. (It’s as neon as they come.)
Make sure you wait 2 hours in between coats.
I used the paint color Sheepskin for a soft white that didn’t look too stark against the black. You can see another example of this color in my painted bottles tutorial.
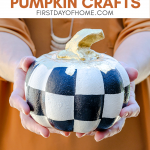
2. Draw design onto pumpkin with pencil.
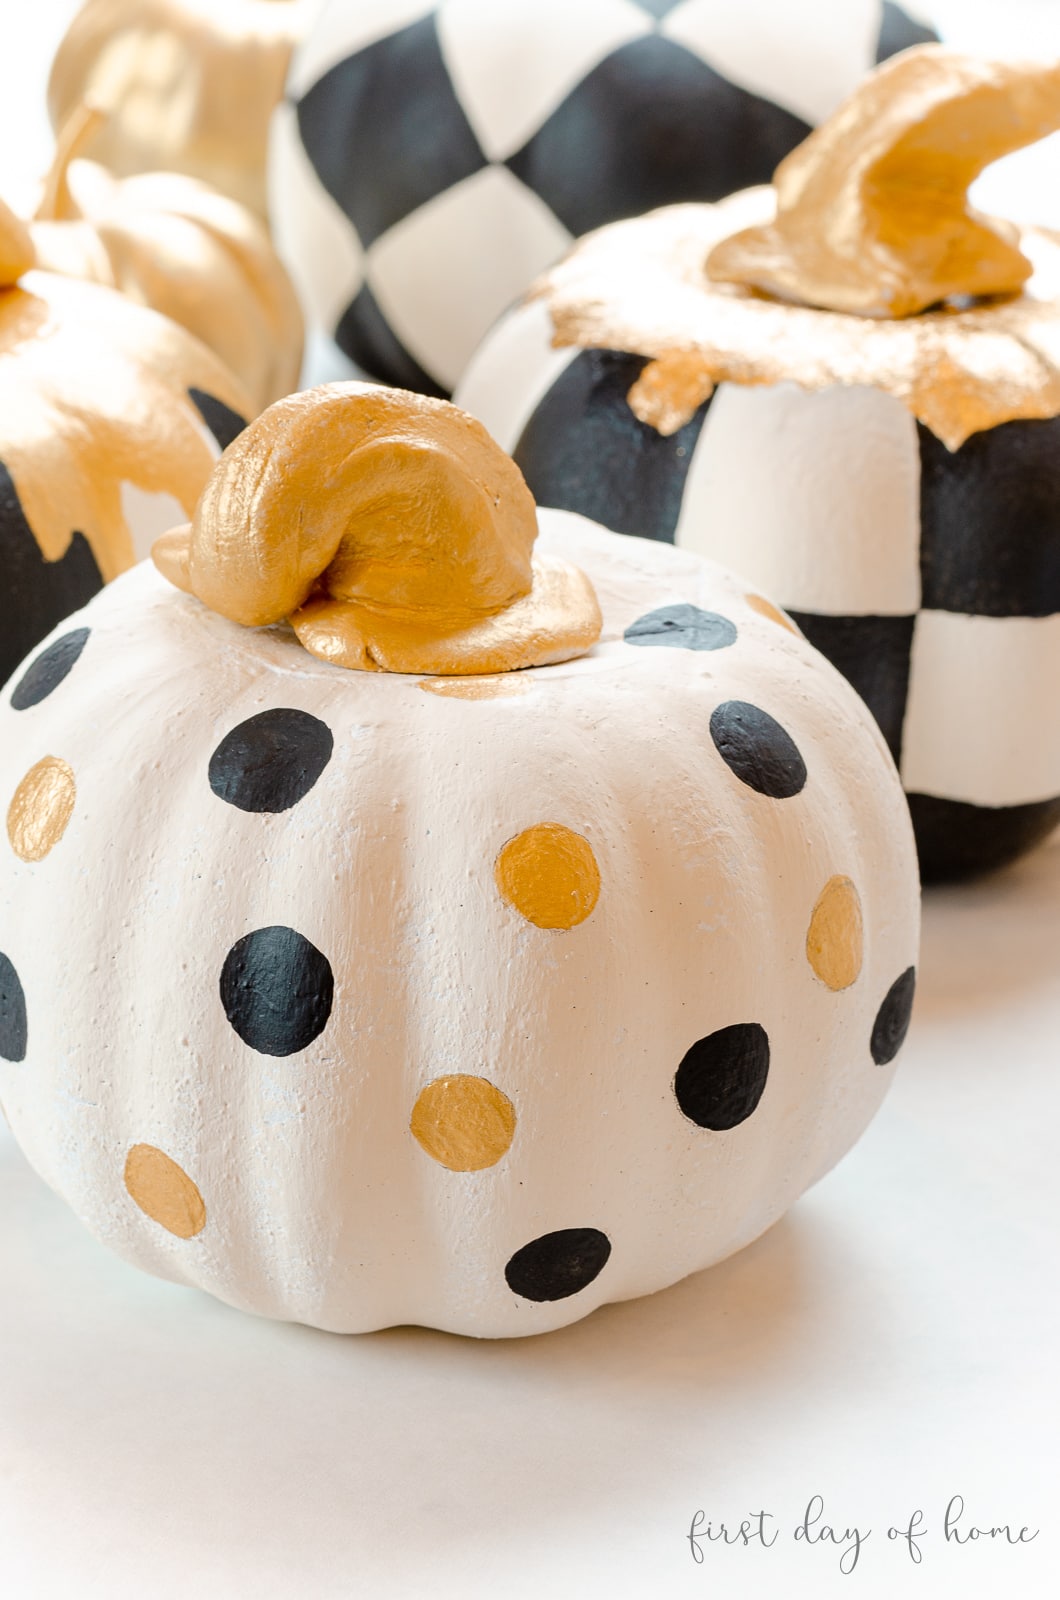
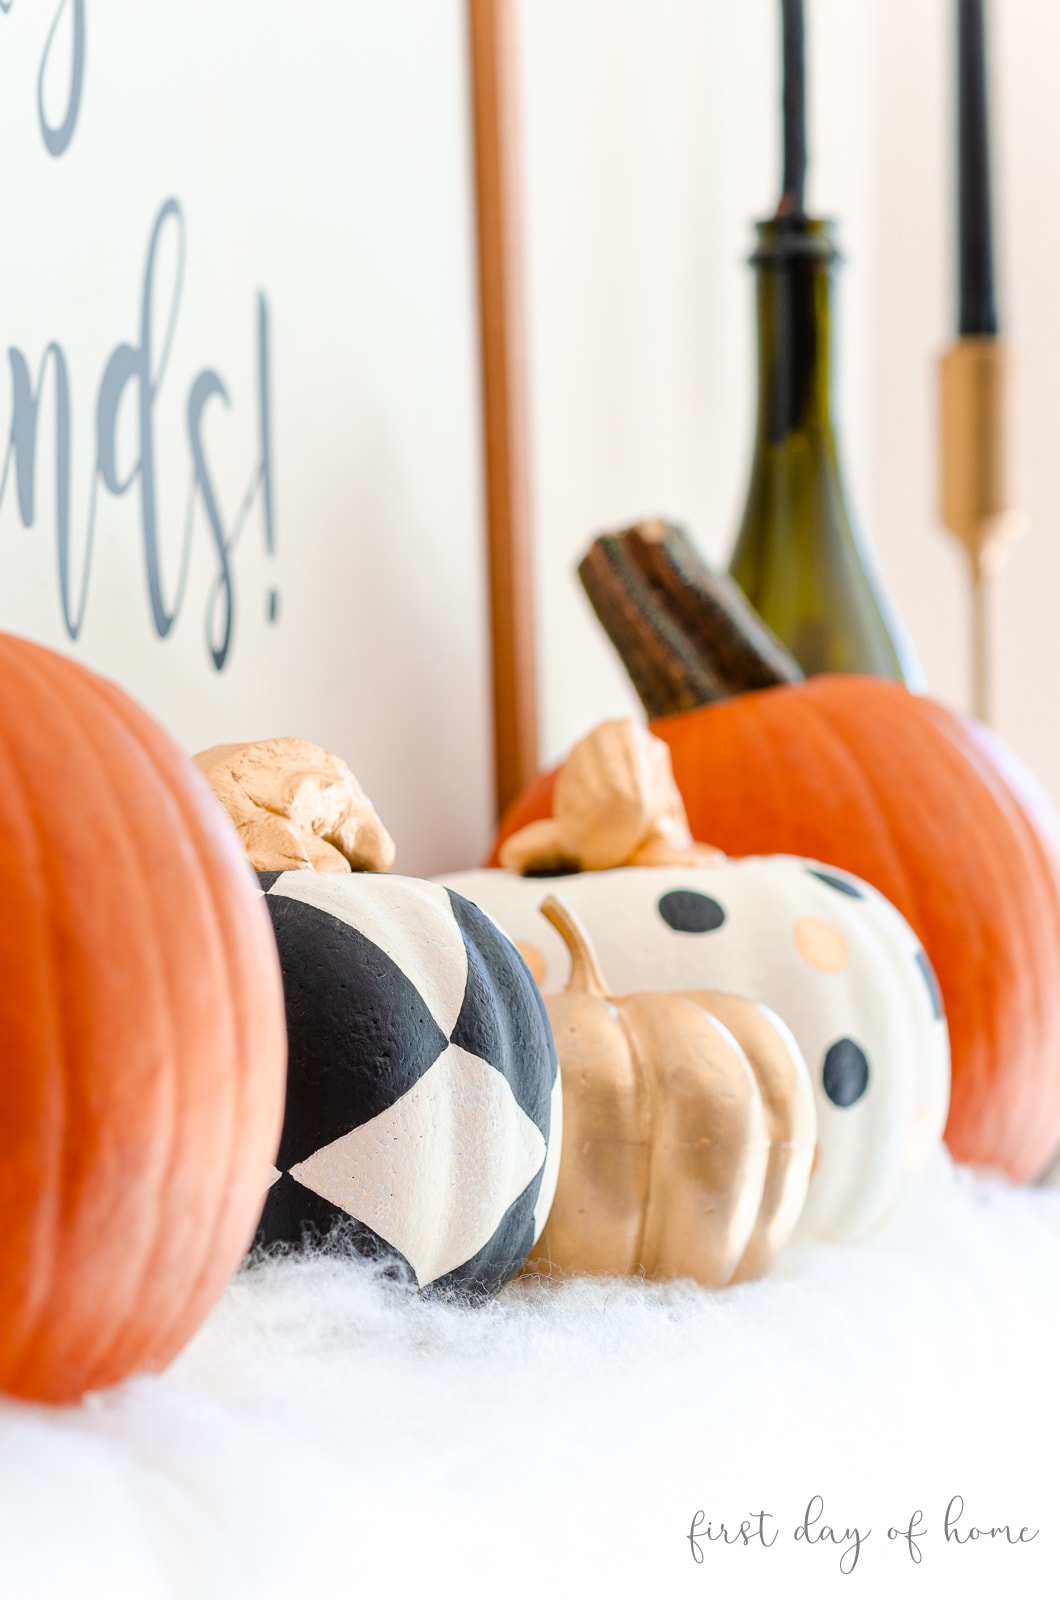
Before applying any black paint, sketch an outline of your design onto the pumpkin. You can create polka dots, a harlequin (diamond) pattern, striped pattern or a check pattern.
The striped and polka dot patterns may be easiest for beginners since they don’t require as much of a steady hand. The harlequin is most difficult, but you should totally go for it!
Stay tuned for more details in my upcoming video!
Tip: You can always use a paint pen or Sharpie if painting isn’t your jam.
3. Paint black pattern onto pumpkin.
With a steady hand, start by making a fine outline of each square, dot, or diamond. Fill in each segment with black paint.
I recommend painting half of the pumpkin and waiting for the paint to dry slightly. Otherwise, you could accidentally smudge the white areas of your pumpkin. I speak from experience (grin)!
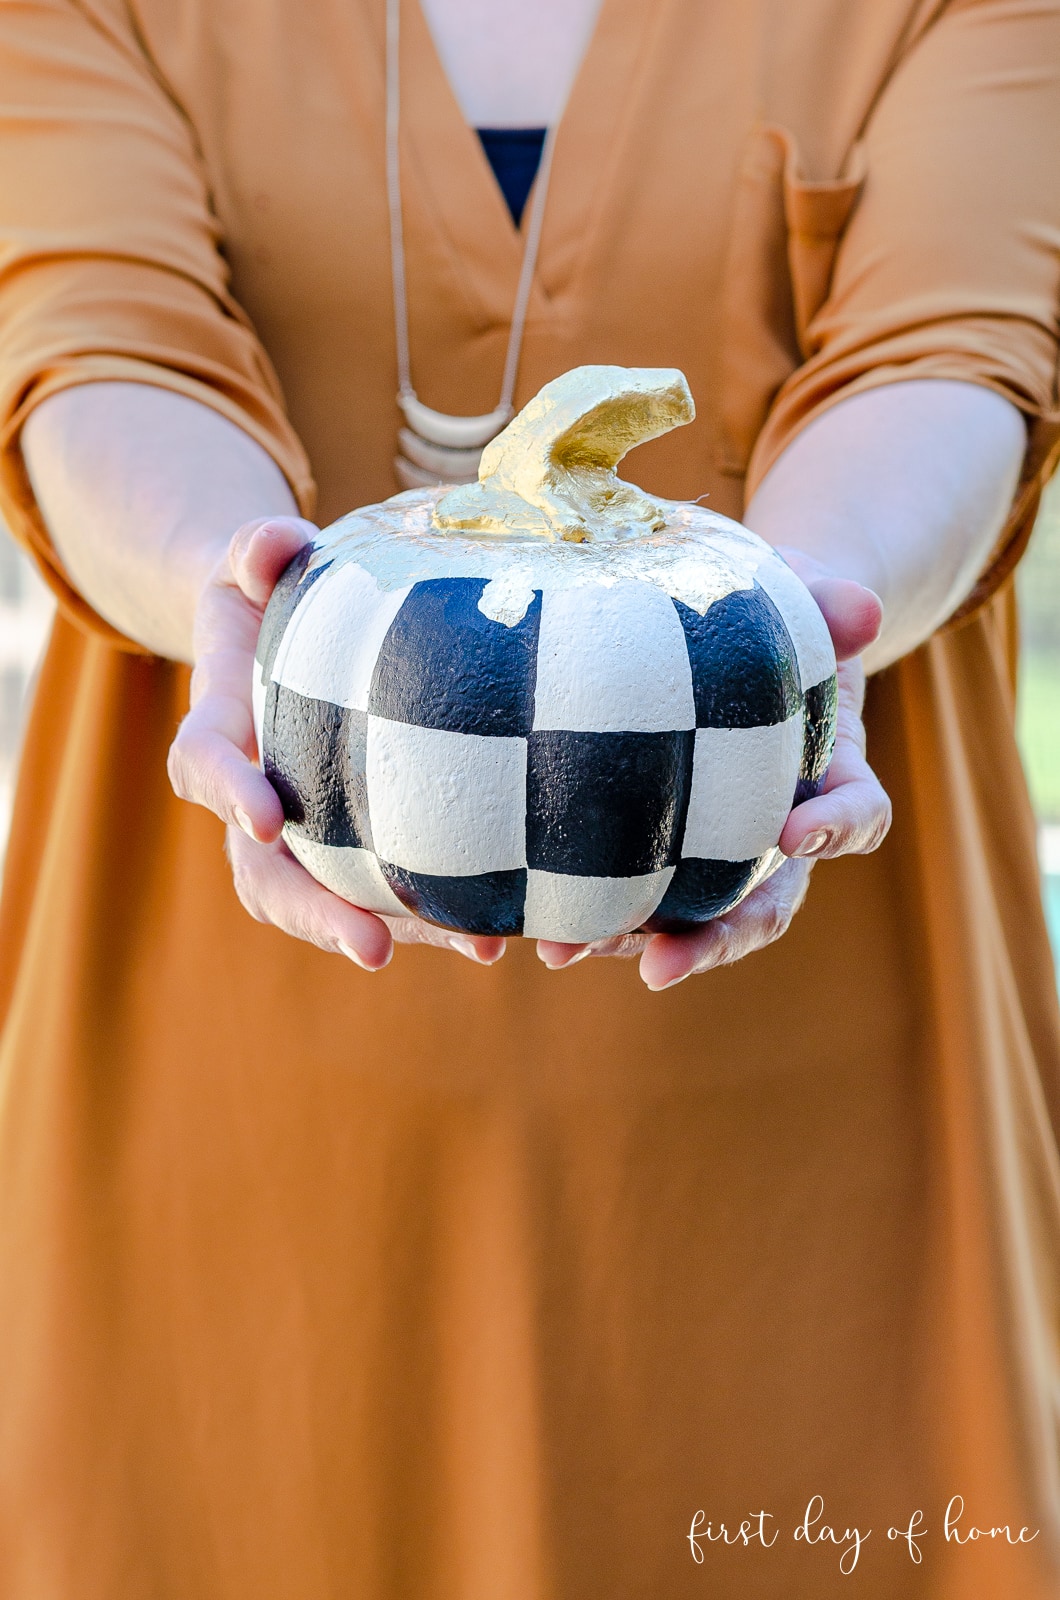
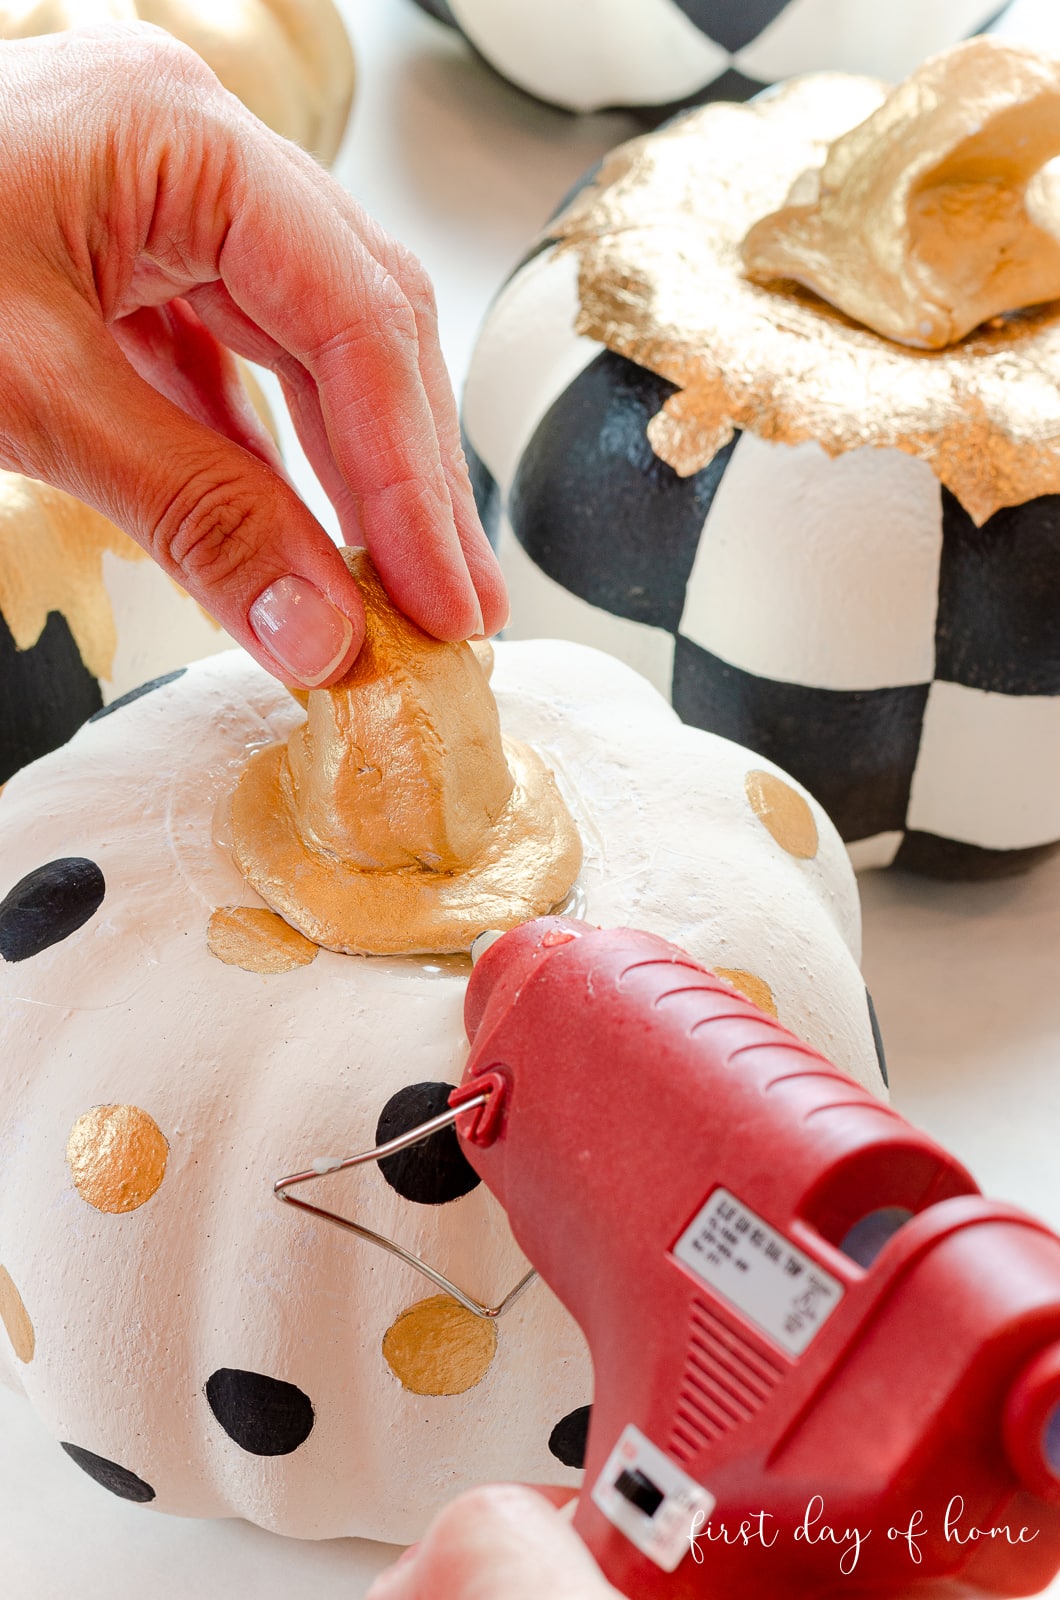
4. Paint stem gold and attach to pumpkin.
Apply at least two coats of a gold-colored paint to the pumpkin stem. (Feel free to use a natural, dried stem if you want to skip the metallic paint.)
I have experimented quite a bit with gold-toned paint colors. This 18K gold leaf paint is by far my favorite!
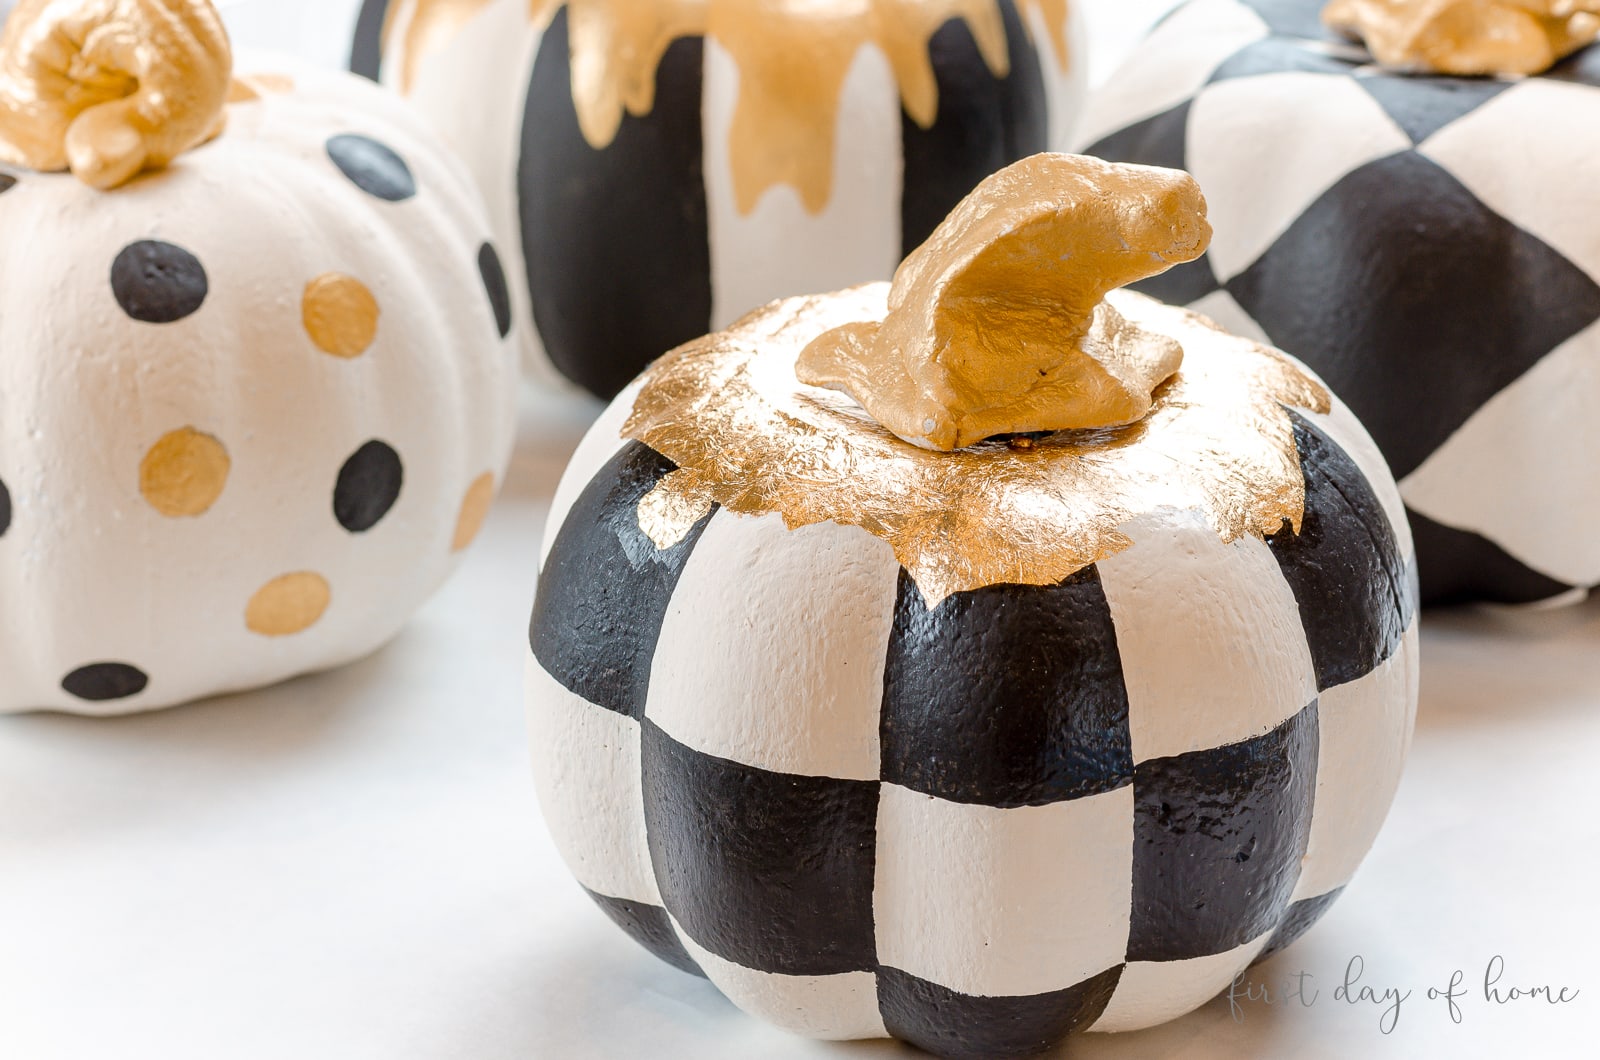
Note: The top of the pumpkin with the check pattern has a gold leaf sheet applied, while the stem is gold leaf paint. You can hardly see a difference!
The last step is to attach your stems with hot glue. Then, touch up any “bald spots” with gold paint, as needed.
Optional: Seal pumpkins with acrylic spray.
For a glossier finish, you can spray your finished pumpkins with acrylic sealer.
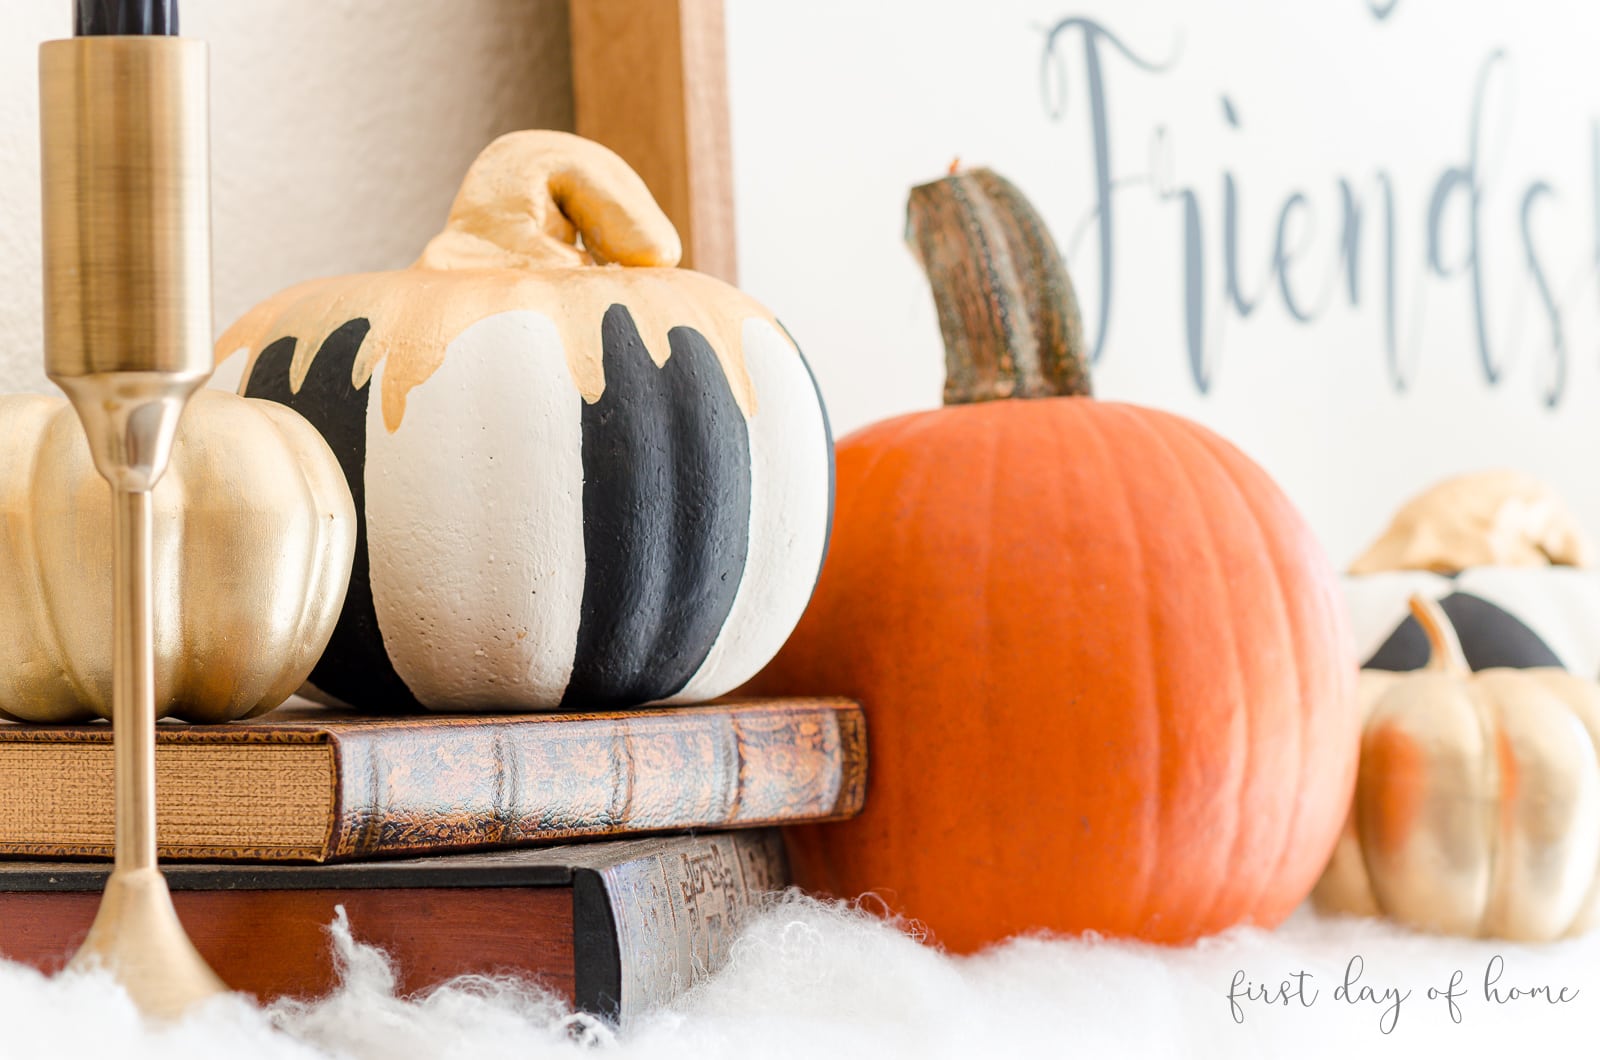
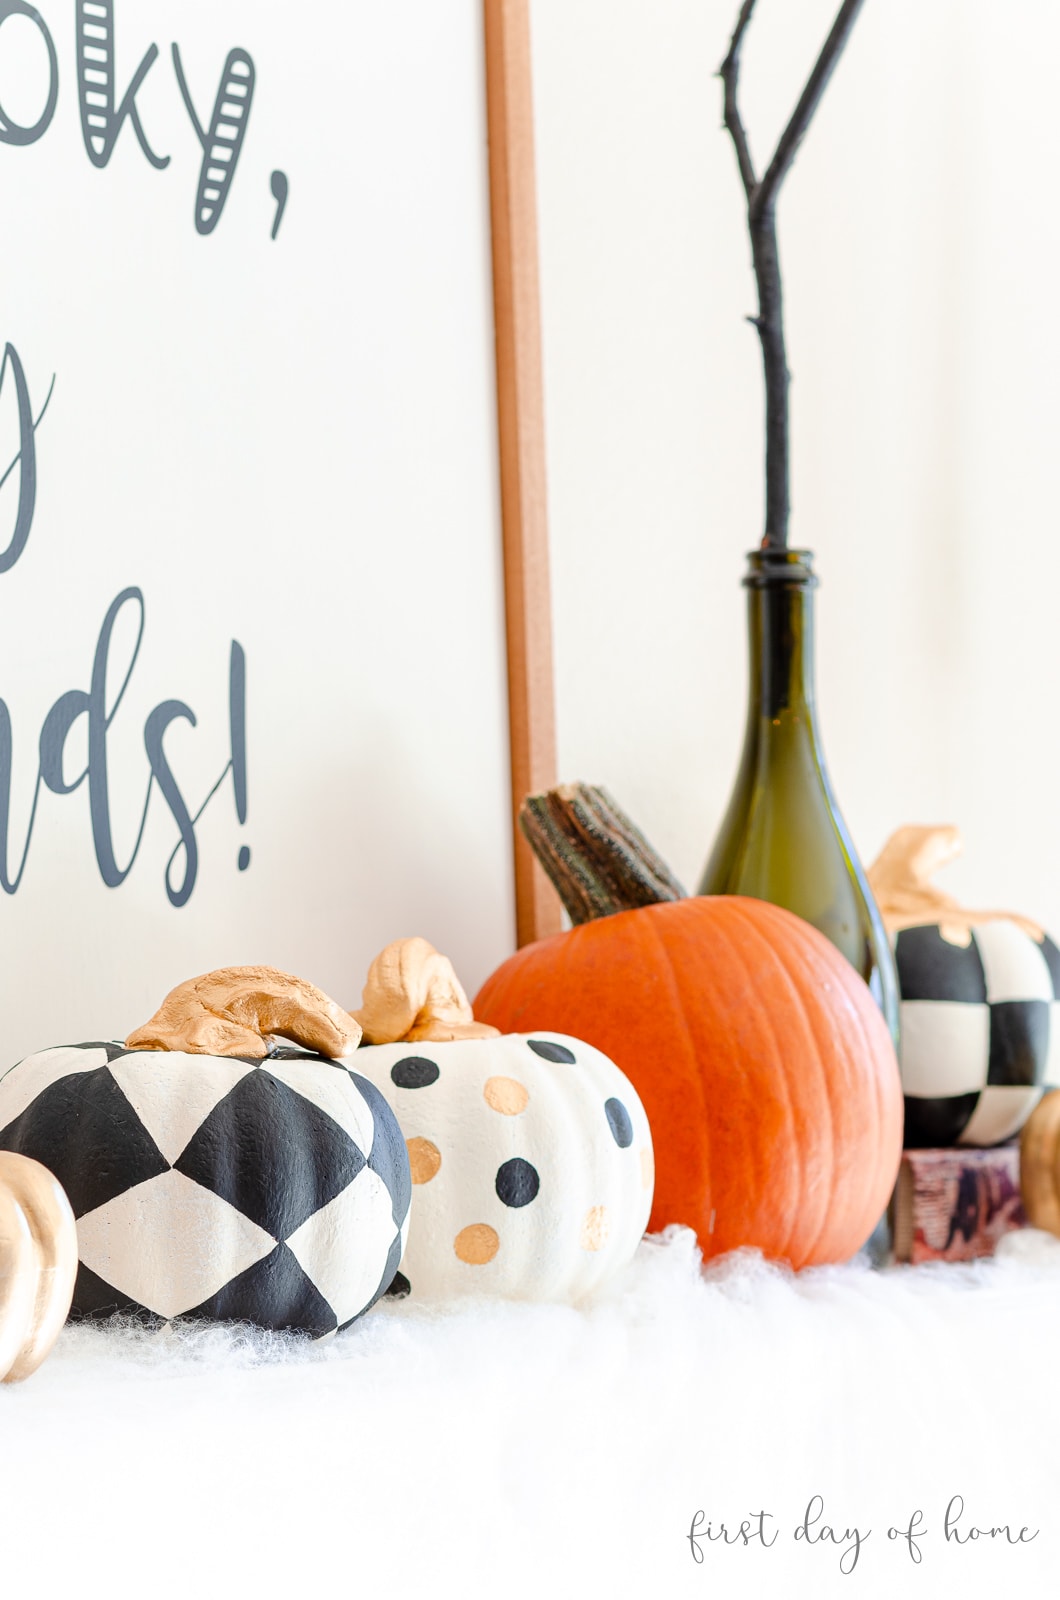
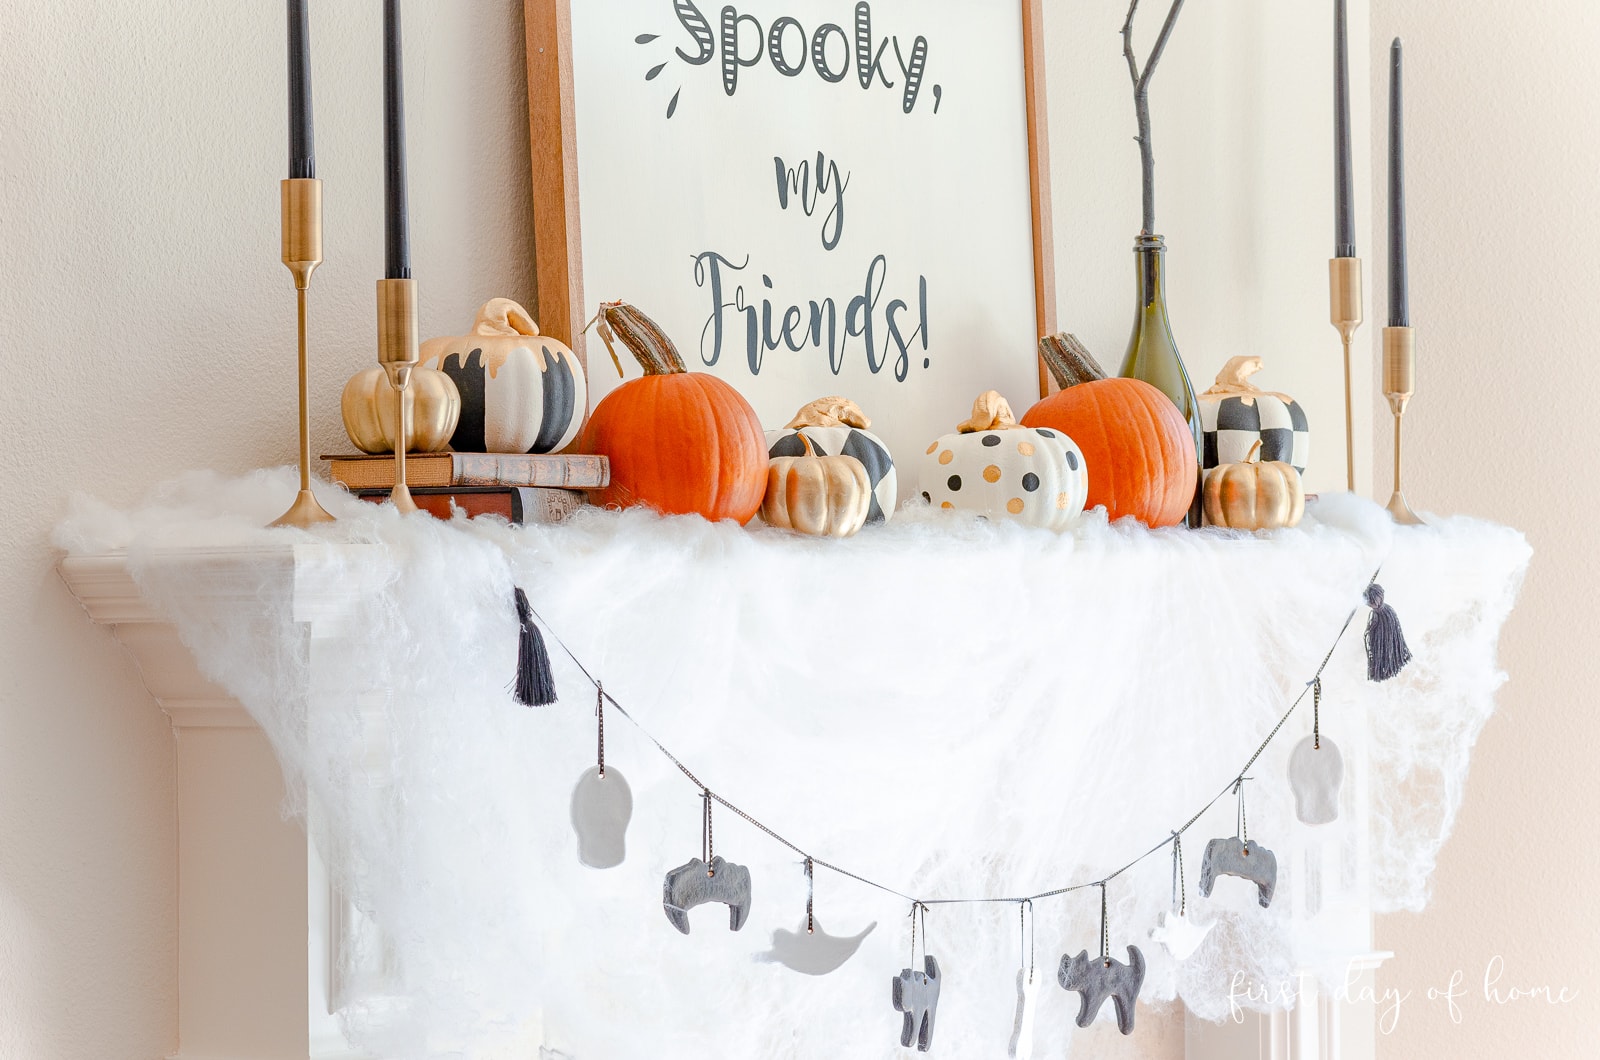
One Final Look
I love how these pumpkins turned out, and I hope you’ll enjoy making them, too! For more fall DIY inspiration, be sure to check out my full Halloween mantel decor.
Pin this for later!
Become a VIP!
Have you heard about my VIP Library with free downloads like these fall farmhouse printables? You won’t want to miss out on what I have planned for the holidays…
Thanks for spending your time with me. Ask me some questions or tell me about your pumpkins in the comments below! I read each one!
All my best,
You Might Also Like…
Gorgeous project! I am in love with those stems!!!
Thank you so much, Kippi! I’m so glad you stopped by.
These look amazing! The gold touch makes them look a lot more expensive than they are, great job!
Thanks, Pamela! I had a blast making them, and the gold paint is so fun to use on projects for the fall and Christmas.
These are so cute! I lLOVE the polka dots and the metallic gold is a brilliant (haha) way to get a very designer look!
Ha ha! Thanks, Janet. I love a good designer knock-off! This is definitely a champagne craft on a beer budget. I appreciate you stopping by, as always!
I love how those turned out! They look very elegant and high-end!
I appreciate that, Cherryl! I really enjoyed the process and can’t wait to share my video. Thanks for stopping by!
Wow! I never would have guessed those were styrofoam! You really did a wonderful job. Thanks for the tutorial!
Thanks, Johanna! I appreciate the kind words. So glad you stopped by today! Happy Halloween!
Thanks for the information on the painted pumpkins. It gave me a lot to think about.
I’m so glad you enjoyed the post! I’d love to see what you come up with if you plan to paint your own pumpkins. Thanks for stopping by, Sassy. 🙂
I absolutely love those black and white pumpkins and can’t wait to try this next year. Thanks for sharing a great budget friendly idea.
Thanks, Sonya. There are so many different ways you can paint these pumpkins. It’s always rewarding to find a way to get an upscale look on a budget. I’d love to know if you end up trying this! Thanks for stopping by.
WOW… amazing DIY designer pumpkins made from foam pumpkins! These look fantastic! I can’t believe how close they look to Mackenzie-Childs pumpkins! Very excited to see the video coming! I’m thinking I may know how you got such perfect polka dots!
Thank you so much, dear Julie! I can’t wait to hear your theory on the polka dot pumpkins. 🙂 The video will be coming soon! I can’t believe how quickly Halloween has come upon us!