
How to Make a DIY Santa T-shirt {Free Santa SVG}
Santa Claus is coming, and some of us might have some ‘splaining to do! I’ll show you how to make a DIY Santa T-shirt using my free Santa SVG file so you can tell Santa not to believe everything he hears…

This post contains affiliate links, and I will be compensated if you make a purchase after clicking on my links. For more information, please see my disclosures.
I love the naughty-and-nice Christmas T-shirts I’ve seen on Pinterest, so I decided to put my own spin on things by designing my own Christmas cut file. It reads:
“Dear Santa,
Don’t believe everything you hear!”
In this video, I walk through all the steps to making this shirt, so you can follow along. Click the image to watch…

All fonts (including the Santa graphic!) came from my recent roundup of Christmas fonts.
Did you know you can download free fonts with graphics in place of letters? Oh, yes you can!
Santa Claus T-shirt Supplies
- Heat transfer vinyl – I used holographic vinyl for this tutorial
- Cotton raglan T-shirt
- Iron or heat press
- Cricut cutting machine
- Standard grip cutting mat
- Santa SVG free file*

Download Your Free SVG Cut Files
You can download your free Santa SVG file by completing the form below. In doing so, you’ll receive…
- Access to the First Day of Home library of free printables and other downloads
- Monthly newsletters with more freebies
Simply enter your details below and confirm your e-mail. (Be sure to check your Promotions or Spam folder.)
Already a subscriber? Check your latest newsletter for the password to the VIP site.
Want More Christmas SVGs at a Discount?
Check out my digital store to find more great Christmas SVG designs at a great price! These are great for personal use, and limited commercial licenses are available, too!
How to Make a DIY Santa Claus T-shirt
Step 1: Reverse image and cut
In
When using heat-transfer vinyl, make sure you reverse the image before cutting it. Newer versions of software may prompt you to do this automatically. If you’re completely new to iron-on vinyl, check out my post on how to use heat-transfer vinyl and my EasyPress 3 review.
With some types of vinyl, you may want to make two “passes” (i.e., cut the design twice). You’ll have an easier time weeding the vinyl in Step 2 if you do this.
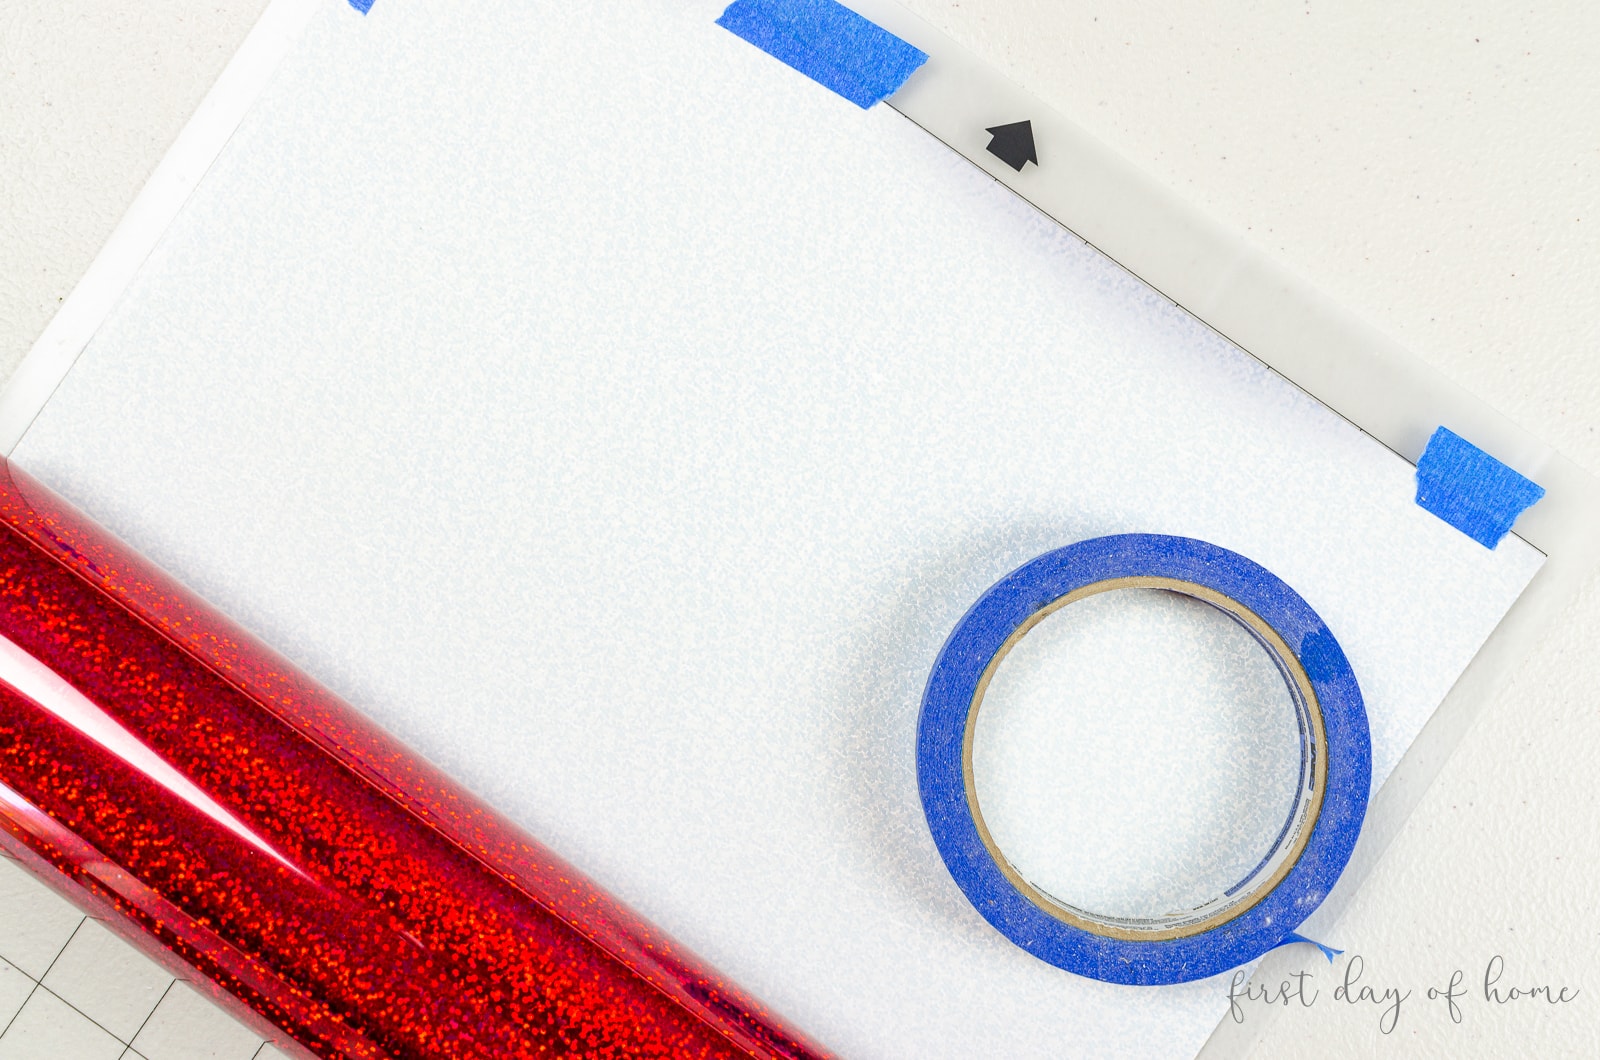
Tip: If your vinyl curls at the edges and won’t adhere to the cutting mat try taping the edges to the mat before loading.
Step 2: Weed the design
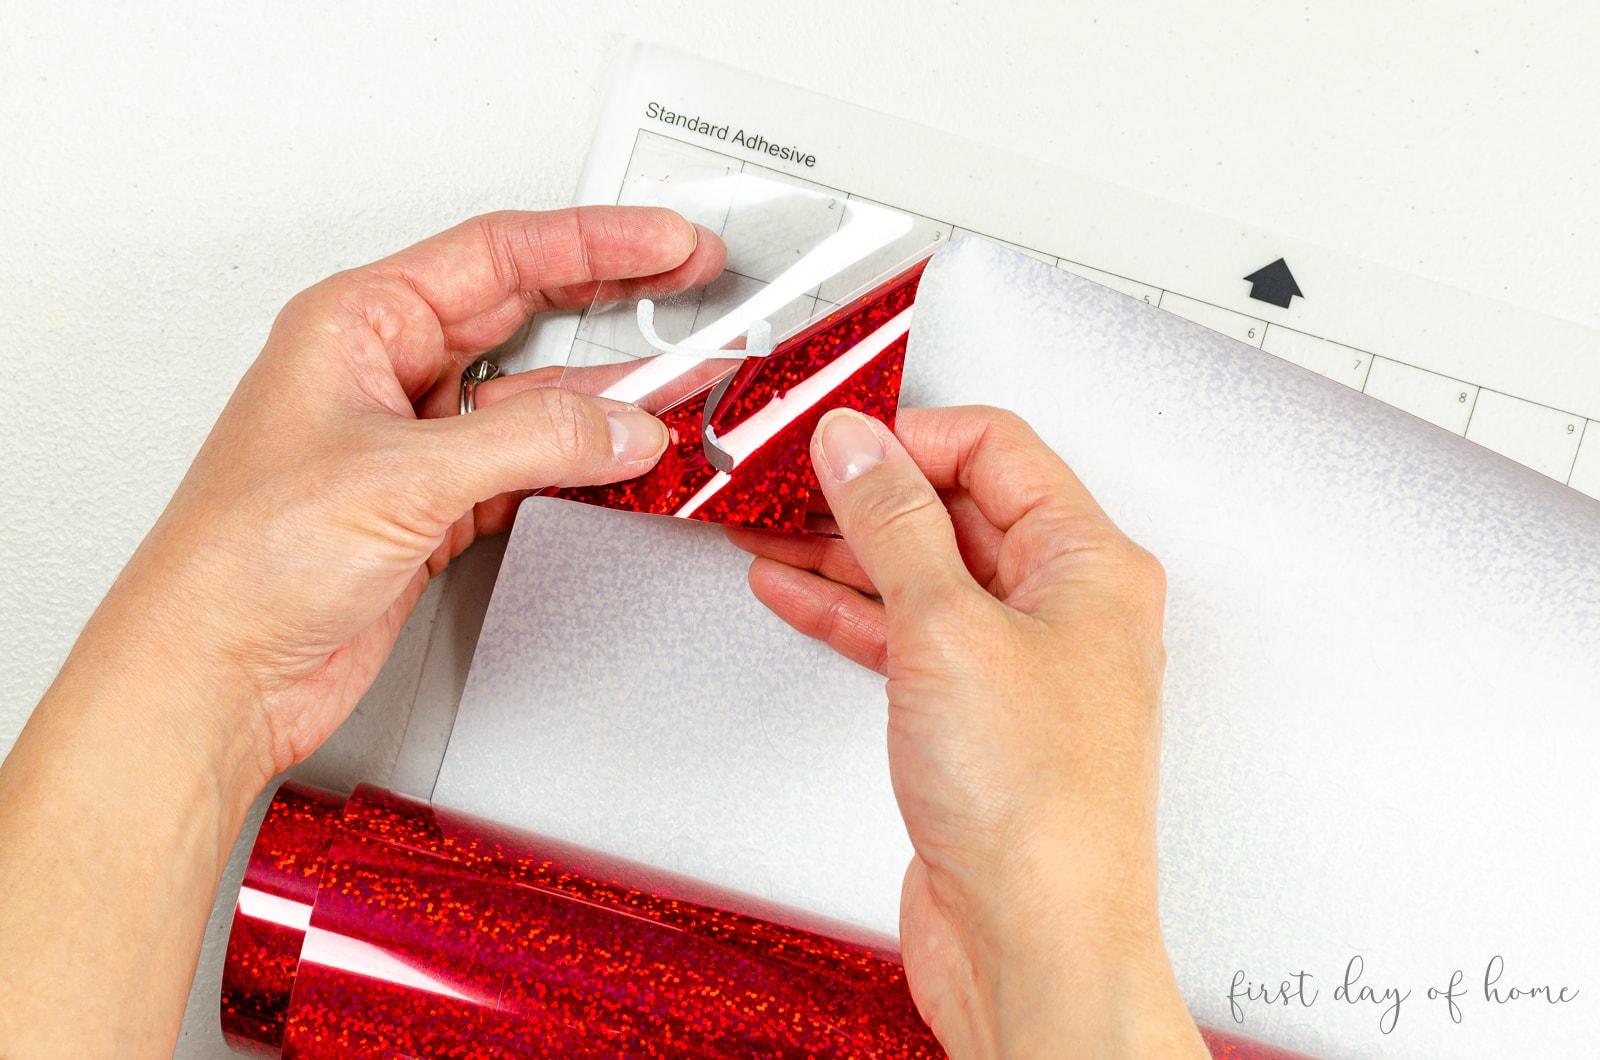
Once you finish cutting the design, remove any excess vinyl to reveal only the Santa SVG graphic on the carrier sheet. I find that using this weeding tool really helps in this process.
Step 3: Press the design
Here’s a look at the finished design ready to press onto your T-shirt. Are you getting excited yet?
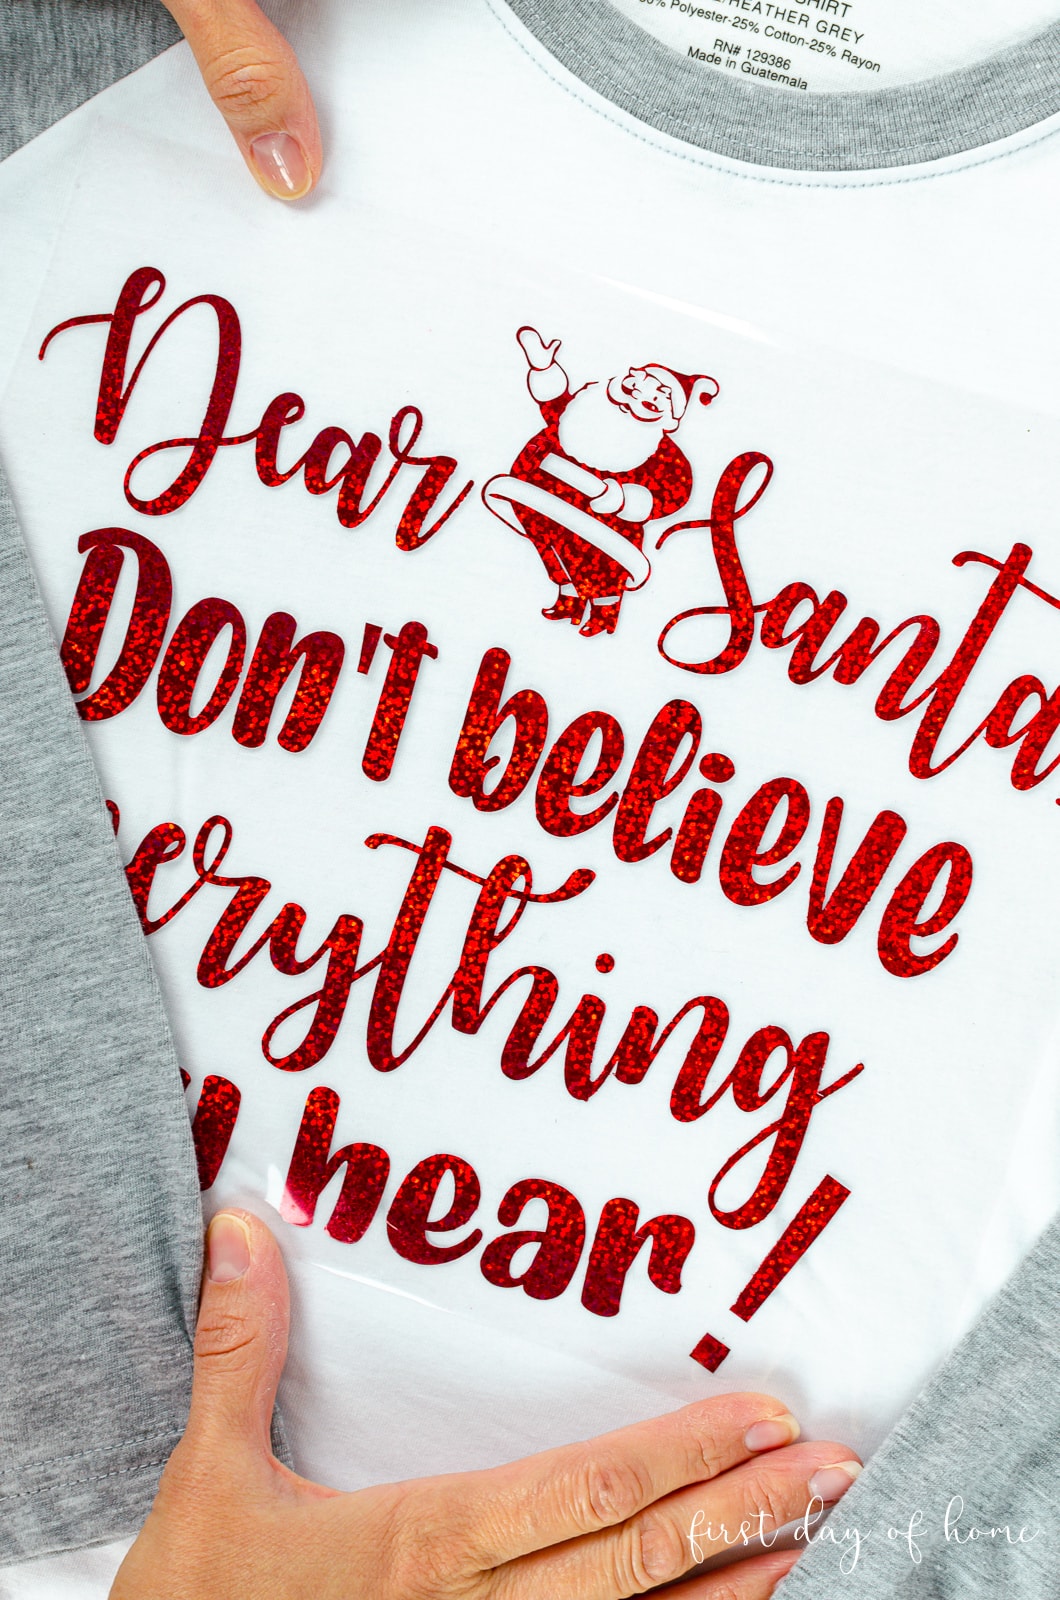
I use an EasyPress to transfer my designs onto T-shirts, but you can also follow the vinyl manufacturer’s instructions to use a regular household iron.
Final Look: Santa Claus T-Shirt
I’ve really enjoyed wearing my funny Santa Claus T-shirt this season, and I hope you enjoy wearing (or gifting) yours, too!

In the photo above, I’m wearing this shirt after laundering it a few times. It holds up well to laundering!
Care Instructions for Santa Shirt
To properly care for your Christmas T-shirt, here’s what you need to know:
- Wait 24 hours before washing your shirt.
- Machine wash warm or cold with mild detergent.
- For most heat transfer vinyl (HTV), you can dry the shirt on low heat. For holographic vinyl, hang the shirt to dry. When in doubt, let it air dry.
- Do not bleach or dry clean.


How to Make a DIY Santa Claus T-shirt with Cricut/Cameo
Equipment
- Iron or heat press
Supplies
- Heat transfer vinyl
- Cotton raglan T-shirt
- Cutting mat (Unless using Smart Vinyl)
- Santa SVG cut file (see website for details)
Instructions
- Download the free Santa SVG cut file at firstdayofhome.com.
- Resize the image, reverse it and cut using the appropriate cut settings.
- Weed (remove) the excess vinyl to leave only the remaining design on the clear plastic carrier sheet.
- Press the design onto your material using the manufacturer's recommended heat settings. You can use either a houeshold iron or heat press for this step.
Notes
- Wait 24 hours before washing your shirt.
- Machine wash warm or cold with mild detergent.
- For most heat transfer vinyl (HTV), you can dry the shirt on low heat. For holographic vinyl, hang the shirt to dry. When in doubt, let it air dry.
- Do not bleach or dry clean.