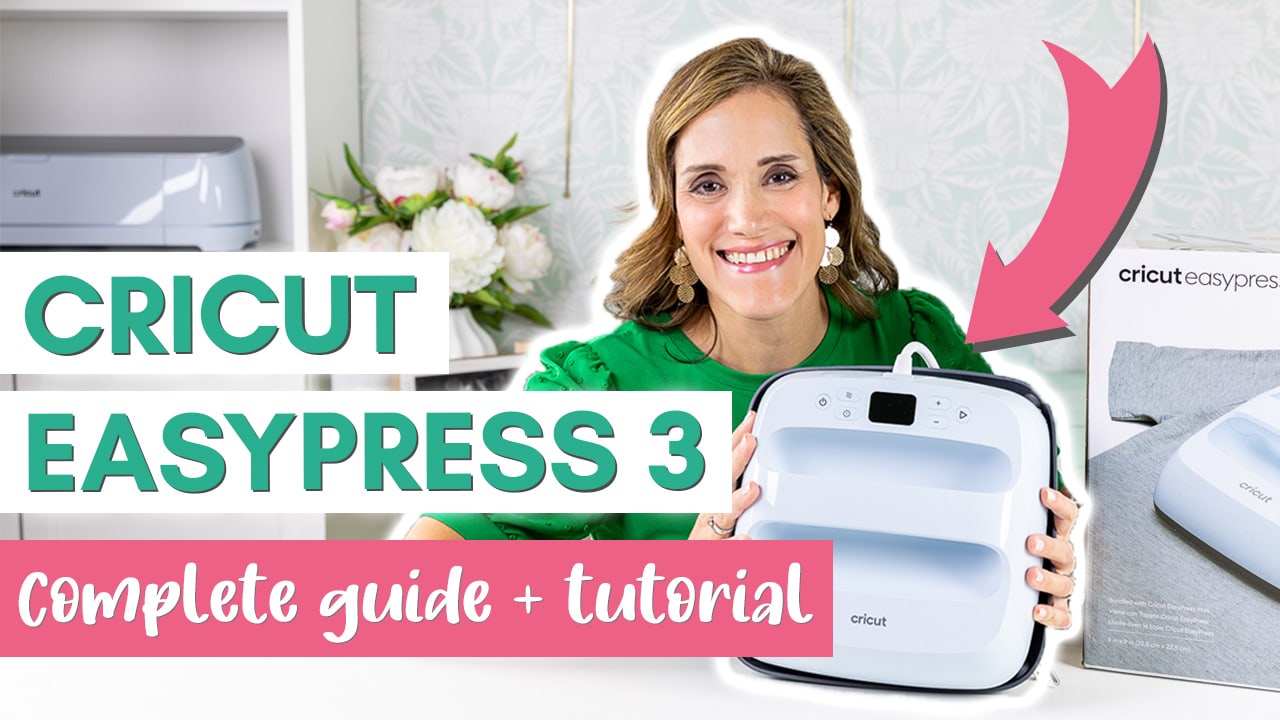
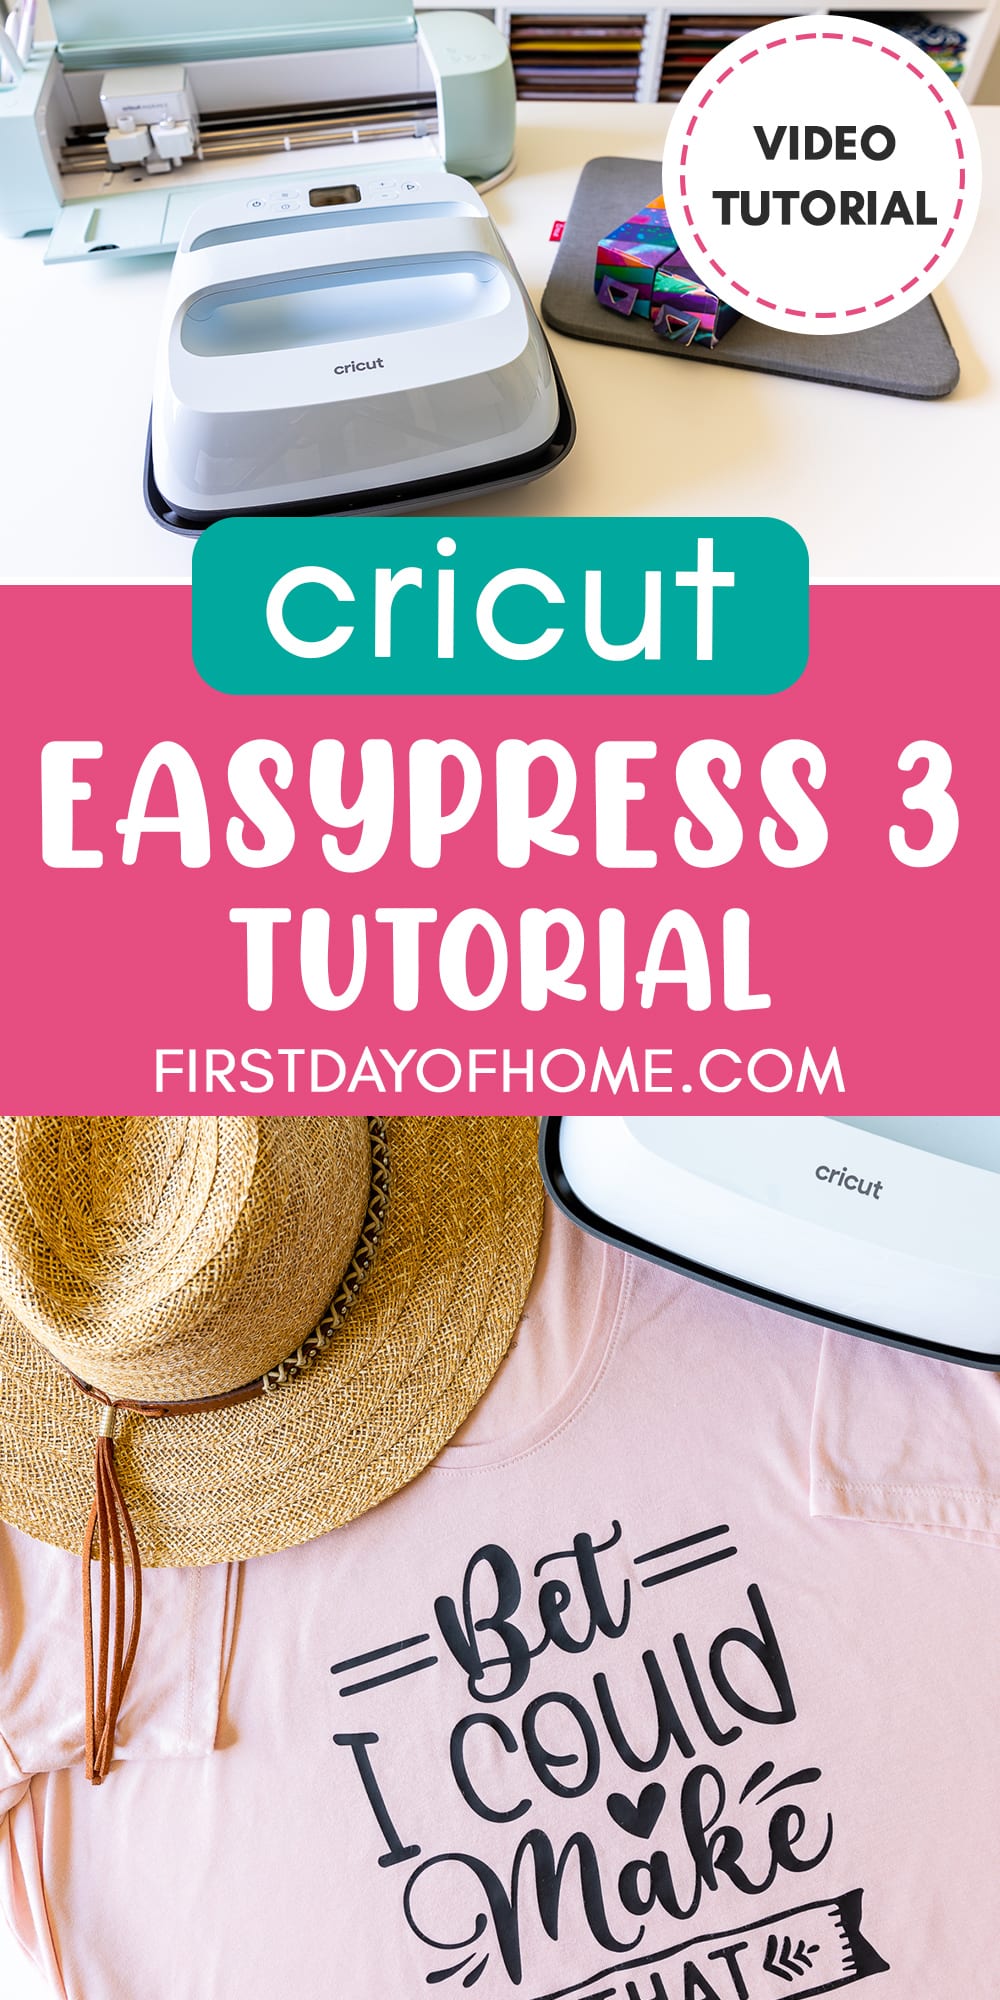
The New Cricut EasyPress 3: Complete Guide and Tutorial
If you’ve ever felt intimidated by the thought of making your own t-shirt or tote bag with vinyl, I have good news to share. The new Cricut EasyPress 3 takes all the guesswork out of heat-transfer vinyl projects!
I’ll cover all the basics and walk through a simple t-shirt tutorial to get you pressing all the things.
This post contains affiliate links, and I will be compensated if you make a purchase after clicking on my links. For more information, please see my disclosures.
Cricut EasyPress 3 Crash Course
If you’d like to get a crash course on the EasyPress 3, check out my EasyPress 3 guide and tutorial video below.
EasyPress 3: Background
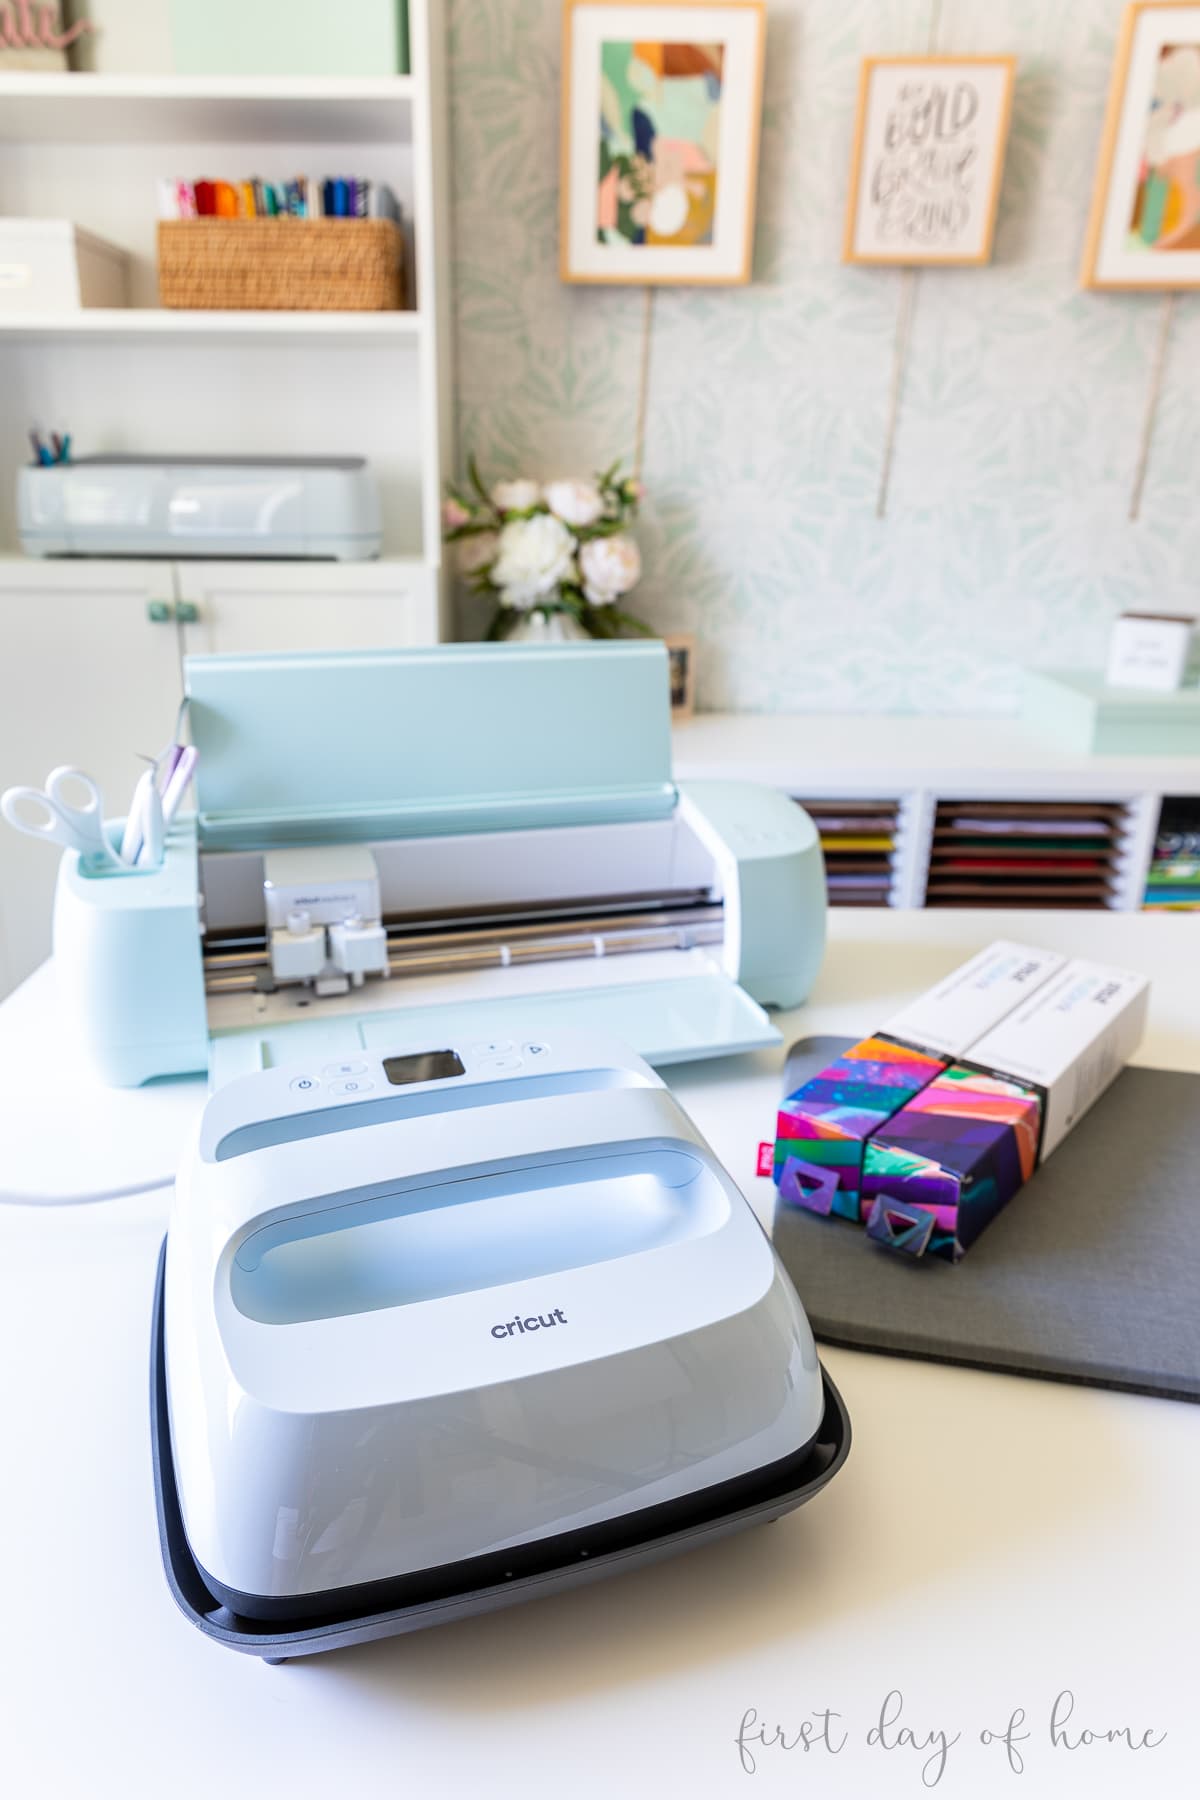
The new Cricut EasyPress 3 was released on March 13, 2022. It comes in two sizes (9×9 inches and 12×10 inches), making it the perfect tool for heat-transfer projects. It’s a great addition to a craft room, and it’s safe to use indoors like you would a household iron.
Before we dive into all of the EasyPress 3 features, let’s look at the whole catalog of
Cricut Heat Presses: Current Lineup
Below is the full list of
- Cricut EasyPress Mini for small projects (released 2019)
- Cricut Hat Press for custom hats (released March 2022)
- Cricut Mug Press for professional-looking mugs (released March 2021)
- Cricut EasyPress 2 for everyday iron-on projects (released 2018)
- Cricut EasyPress 3 for everyday iron-on projects (released March 2022)
- Cricut Autopress for commercial-level automation and batch production (released March 2022)
Did you catch that?
I have a complete tutorial on How to Use the Cricut Mug Press if you’re in the market for a mug-making machine too.
The new presses (EasyPress 3, Hat Press, and Autopress) use an app called Cricut Heat that connects via Bluetooth. I’ll cover the app down below. (You’re gonna love it.)
Benefits of Buying a Handheld Heat Press
If you’re a veteran EasyPress crafter, you can skip this section.
If you’re new to this game, you might wonder why you should buy a heat press when you already have a household iron. Those with commercial-grade heat presses (like me) might question the benefit of a handheld heat press.
Well, here you go…
EasyPress Benefits vs. Other Options
Benefits vs. Household Iron
- Ability to control specific time and temperature settings by material
- Evenly distributed heat across the whole plate surface
Benefits vs. Commercial Heat Press
- More portable and lightweight, saving space in your craft room
- Comes with user-friendly software giving detailed instructions for specific projects
So let’s get into the nitty-gritty of the EasyPress 3 model and how it differs from the EasyPress 2.
Cricut EasyPress 3: Product Review
Bottom line: The EasyPress 3 is like your heat-pressing personal assistant.
All the information you need to make a variety of iron-on projects is at your fingertips through the new Cricut Heat app. It’s as simple as just hitting the “Go” button and following the step-by-step directions.
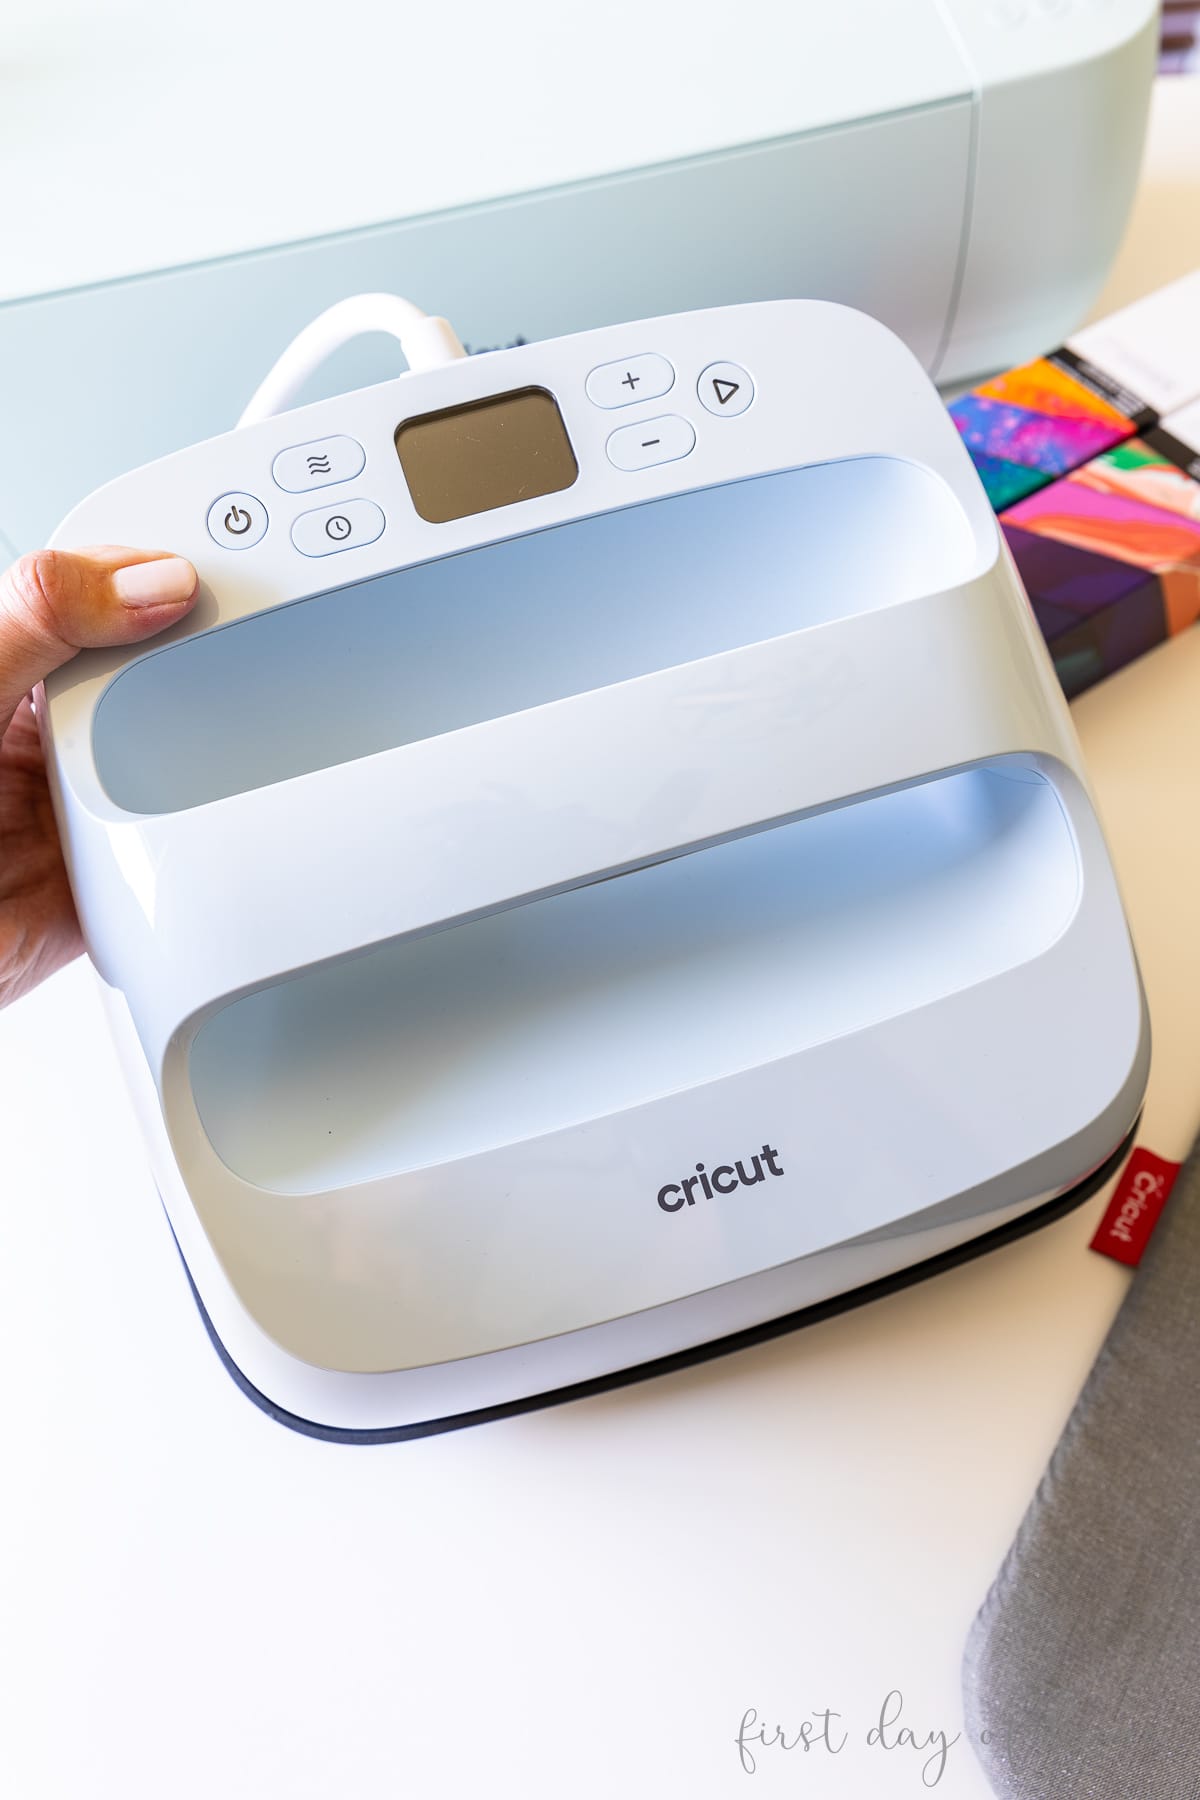
What comes in the box with the EasyPress 3?
- Canvas dust cover pouch with practice vinyl project
- Safety base
- Instructions for downloading the
Cricut Heat app
What hasn’t changed with the EasyPress 3?
Some of the great features of the EasyPress 2 stayed the same in this newer model, including:
- A ceramic-coated heat plate that provides evenly distributed heat
- The ability to specify time and temperature settings for 18 different heat transfer materials and 23 different blanks/substrates
- The ability to heat up to 400℉ (204°C) for sublimation and infusible ink projects
- Several safety features, including an auto-off feature after 10 minutes and the insulated safety base to protect your work surface from the heat
As you can imagine, the price of the EasyPress 2 has dropped since the release of an upgraded model. It’s now about $50 (USD) cheaper than the EasyPress 3 as of this writing.
So what do you get for the extra $50, and which heat press machine should you choose?
What’s new about EasyPress 3 vs. EasyPress 2?
The short answer is Bluetooth.
With the all-new Cricut Heat app, you simply select your materials (both the iron-on material and the blank/substrate) and automatically send the settings to the heat press via Bluetooth.
You still can manually input specific time and temperature settings on the machine itself. (This process would look the same as using an EasyPress 2.)
Having a wireless Bluetooth connection also means that the EasyPress 3 can receive firmware updates without a USB cord. The EasyPress 2 still requires a micro-USB cord (sold separately) to receive updates.
In short, the EasyPress 3 is like using GPS to drive to your destination instead of writing down directions and street names to find your way.
Comparison Chart: EasyPress 2 vs. EasyPress 3
| EasyPress 2 | EasyPress 3 | |
|---|---|---|
| Sizes | 9″ x 9″ or 12″ x 10″ | 9″ x 9″ or 12″ x 10″ |
| Colors | Raspberry, Mint, Lilac, Blue | Light Blue only |
| Bluetooth enabled | No | Yes |
| App/ software | Cricut Heat Guide (online)* | Cricut Heat app (Android or Apple) |
| Firmware updates | via micro-USB cord | via Bluetooth |
| Auto shut-off | Yes | Yes |
| Compatible materials | Infusible ink, most iron-on materials | Same as EasyPress 2 |
| Safety Base included | Yes | Yes |
*The new Cricut Heat app includes a link to access the standard Cricut Heat Guide. This comes in handy if you have a
Recommended EasyPress Accessories
I highly suggest buying a Cricut EasyPress mat that is at least as large as your heat press. (See alternatives in the FAQs below.)
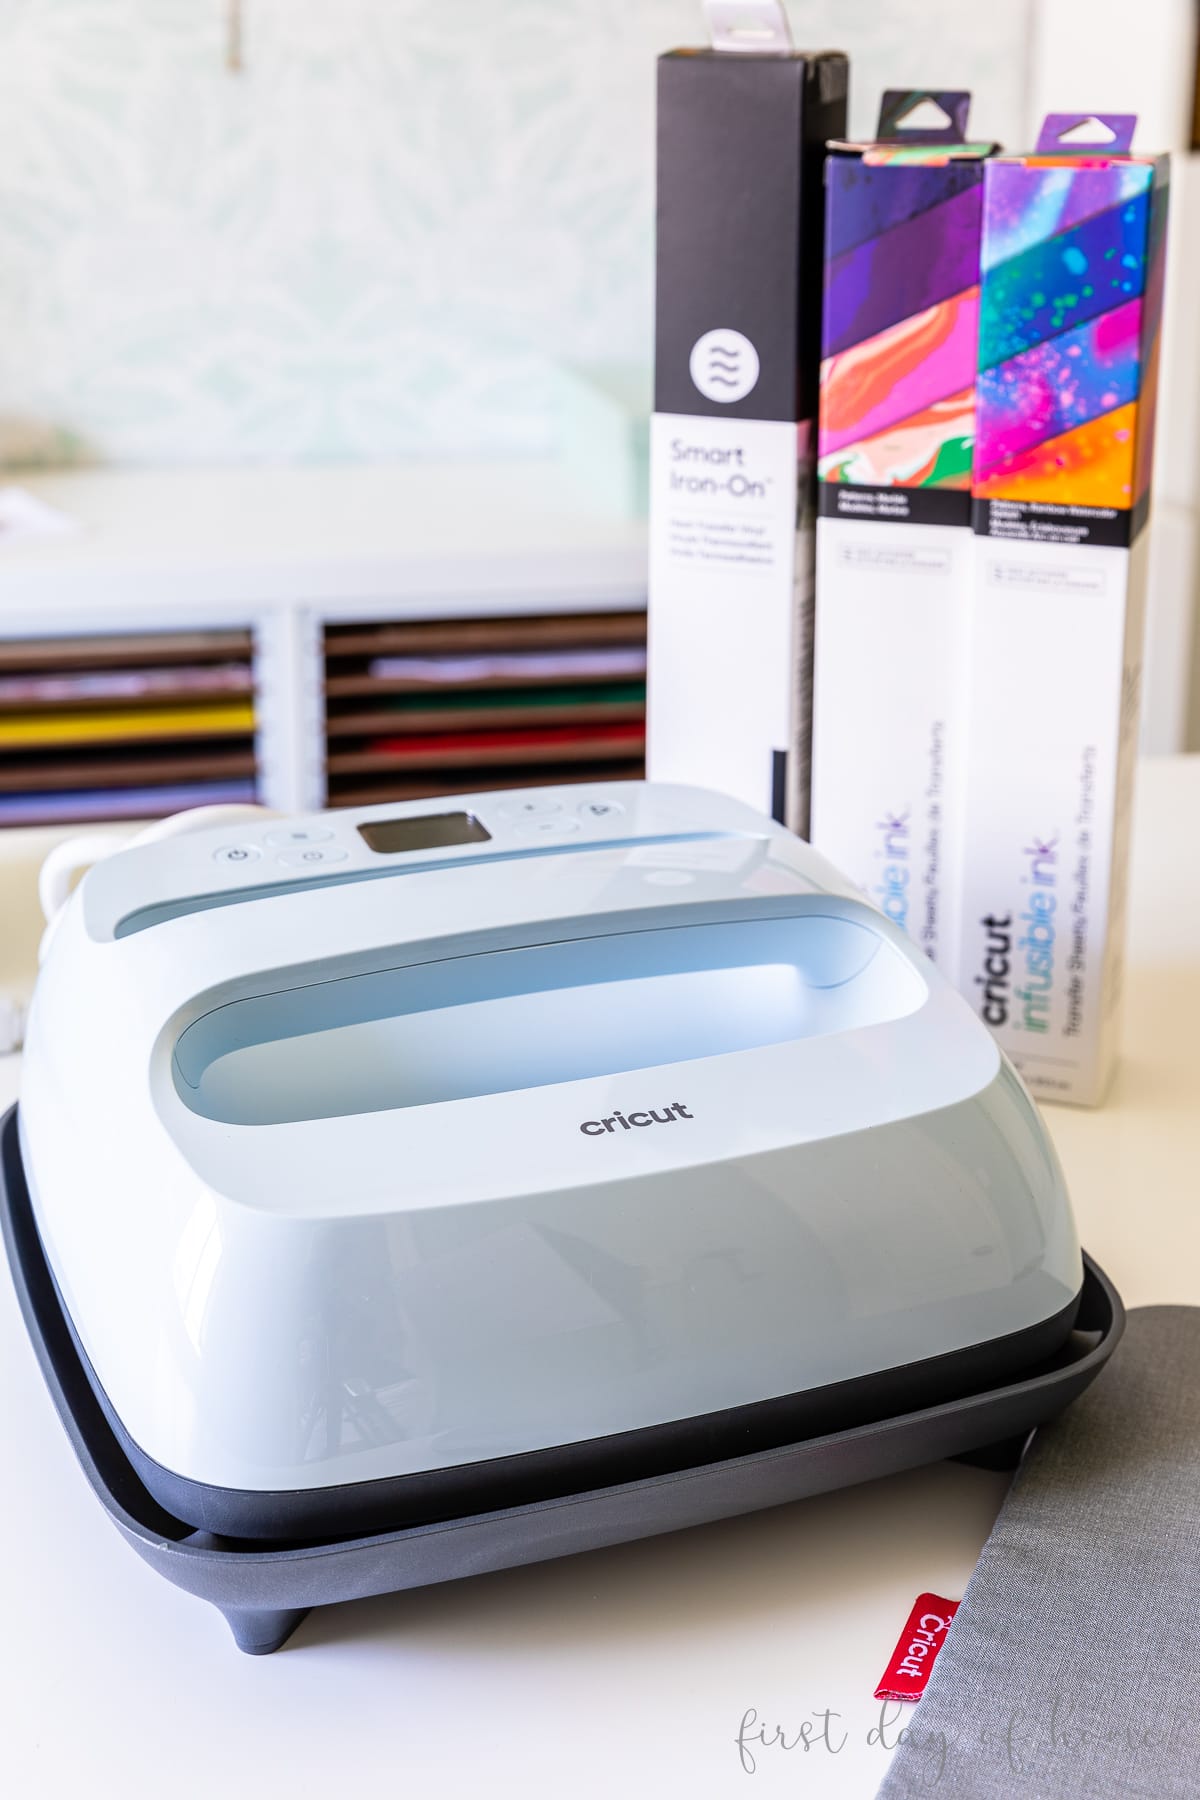
Other useful accessories include:
- Project supplies like iron-on vinyl (a.k.a. heat transfer vinyl), infusible ink, or sublimation transfers
- Weeder and scraper tool, or Cricut Basic Tool Set
- Heat-resistant tape (for infusible ink projects)
- Cardstock and butcher paper (to prevent bleed-through for infusible ink projects)
- Lint roller (to remove lint or dust from blank/substrate, especially for infusible ink projects)
Buying Tip
If you’re just starting out, consider getting a Cricut EasyPress 3 bundle, which comes with plenty of iron-on materials, an EasyPress mat, and an Essential Tool Set.
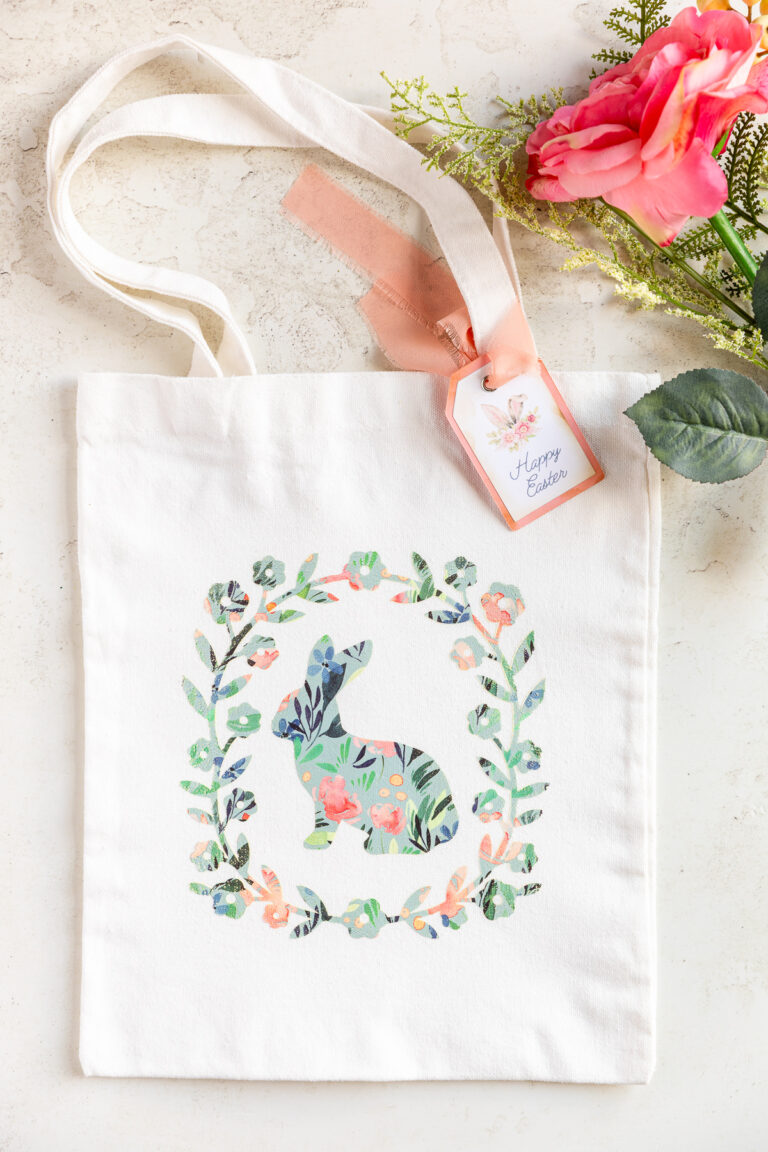
Sample EasyPress 3 Projects
The EasyPress 3 has time/temperature settings for 23 different types of blanks (materials on which to transfer your design).
For starters, here are some items you can customize with heat-transfer designs.
- Tote bags
- Coasters
- Wine gift bags
- T-shirts
- Blankets
- Pillow covers
- Wood
- Faux leather
And the list goes on! One of the biggest advantages of having an EasyPress is doing sublimation projects with Cricut infusible ink pens and infusible ink transfer sheets. These crafts require a high-temperature setting and evenly distributed heat.
Where to buy the Cricut EasyPress 3?
How to Set Up the EasyPress 3 Machine
To register a new machine, simply follow the instructions in the
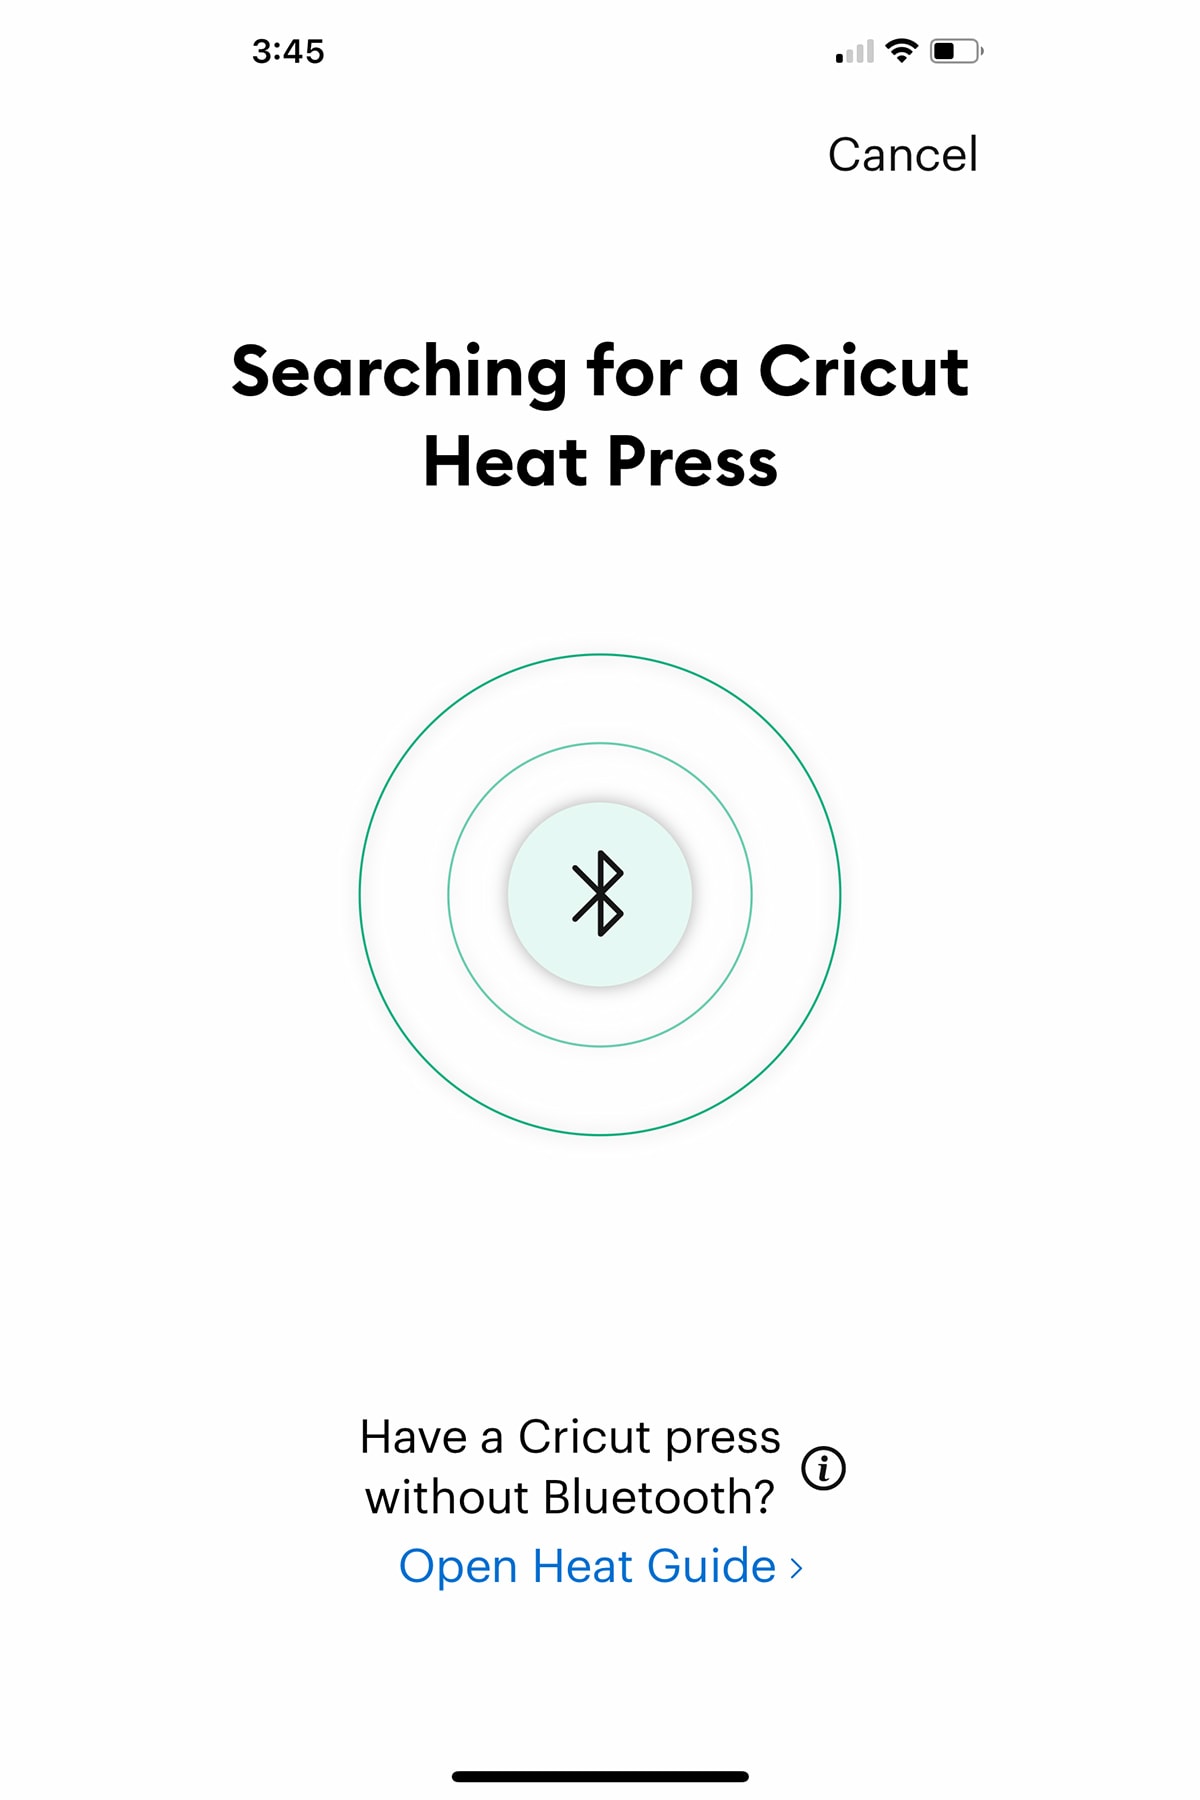
If you have not plugged in the heat press and turned on the power, you’ll get prompts to guide you (see below).
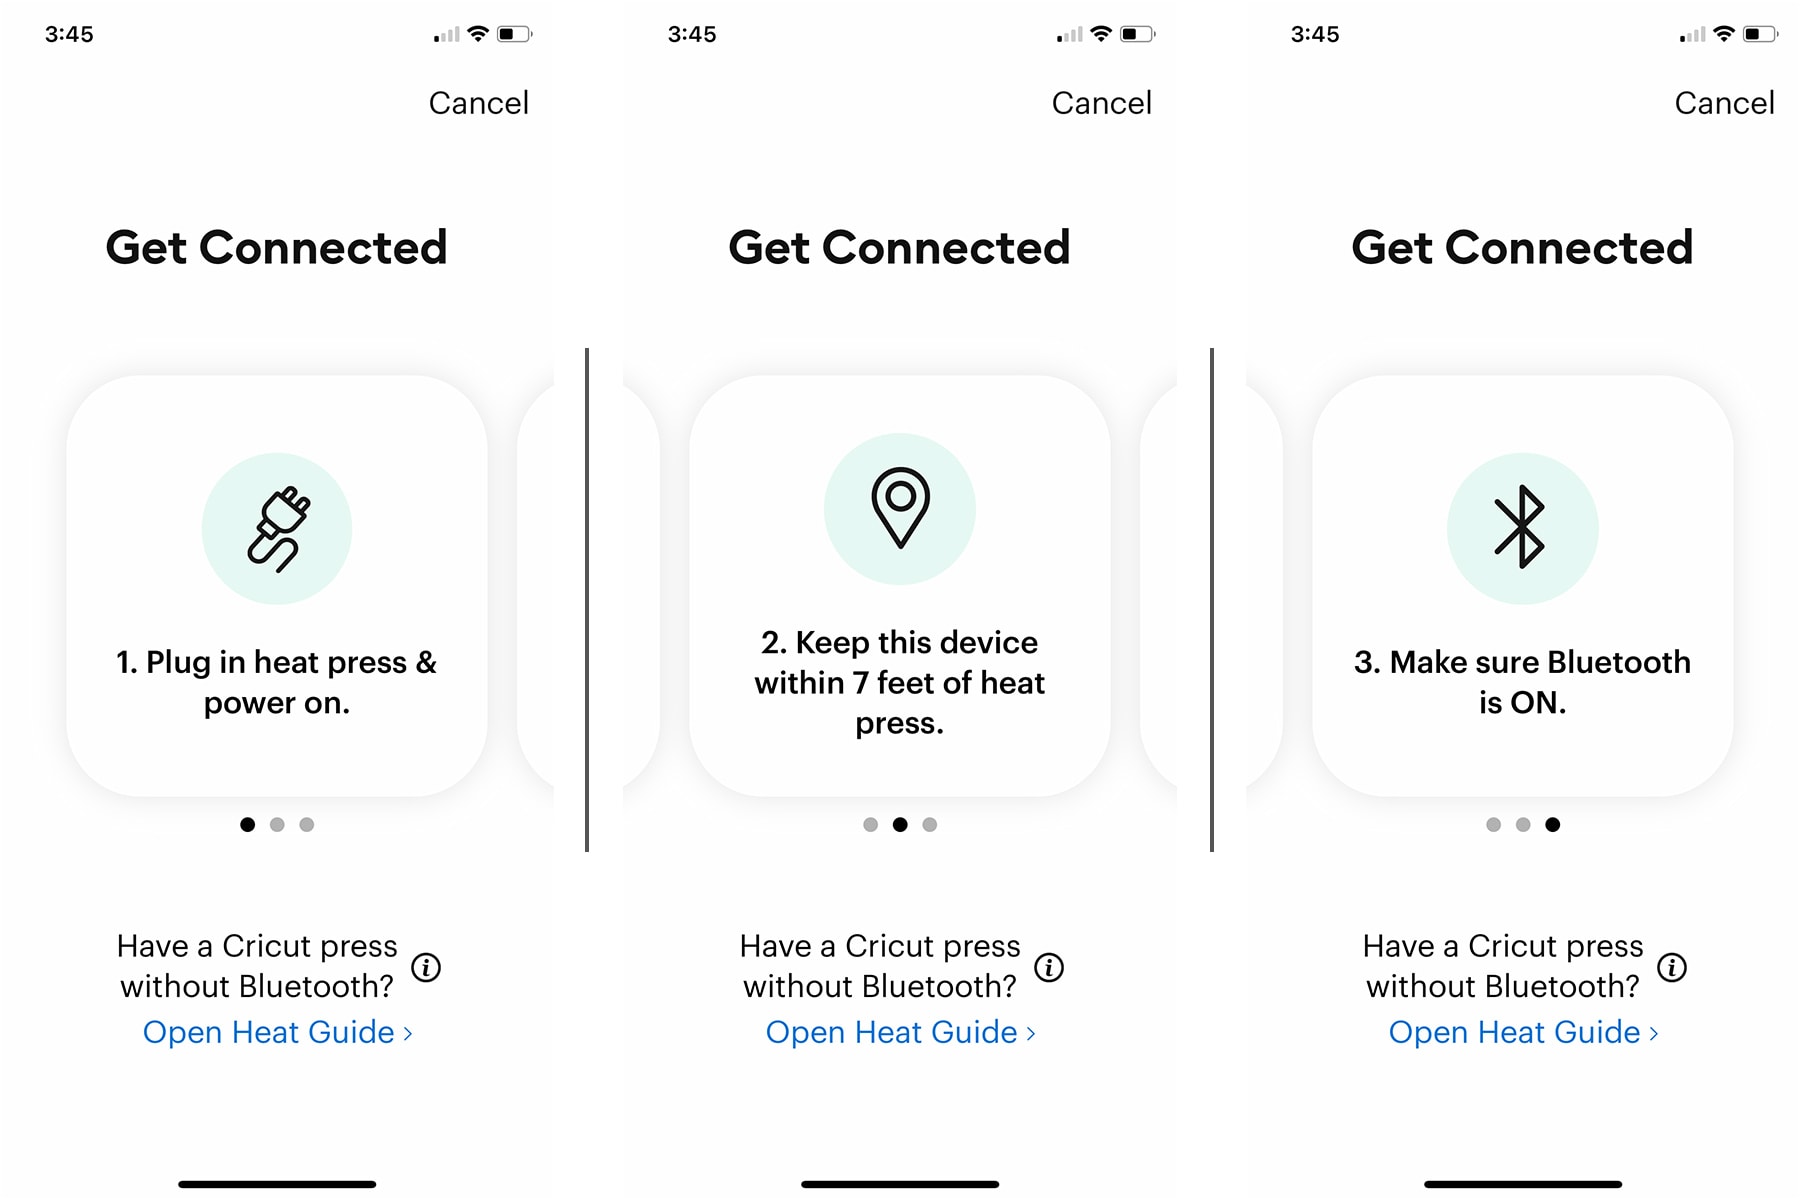
Just like that, you’re registered and ready to start pressing! Let’s make a simple project together to take a closer look at the app.
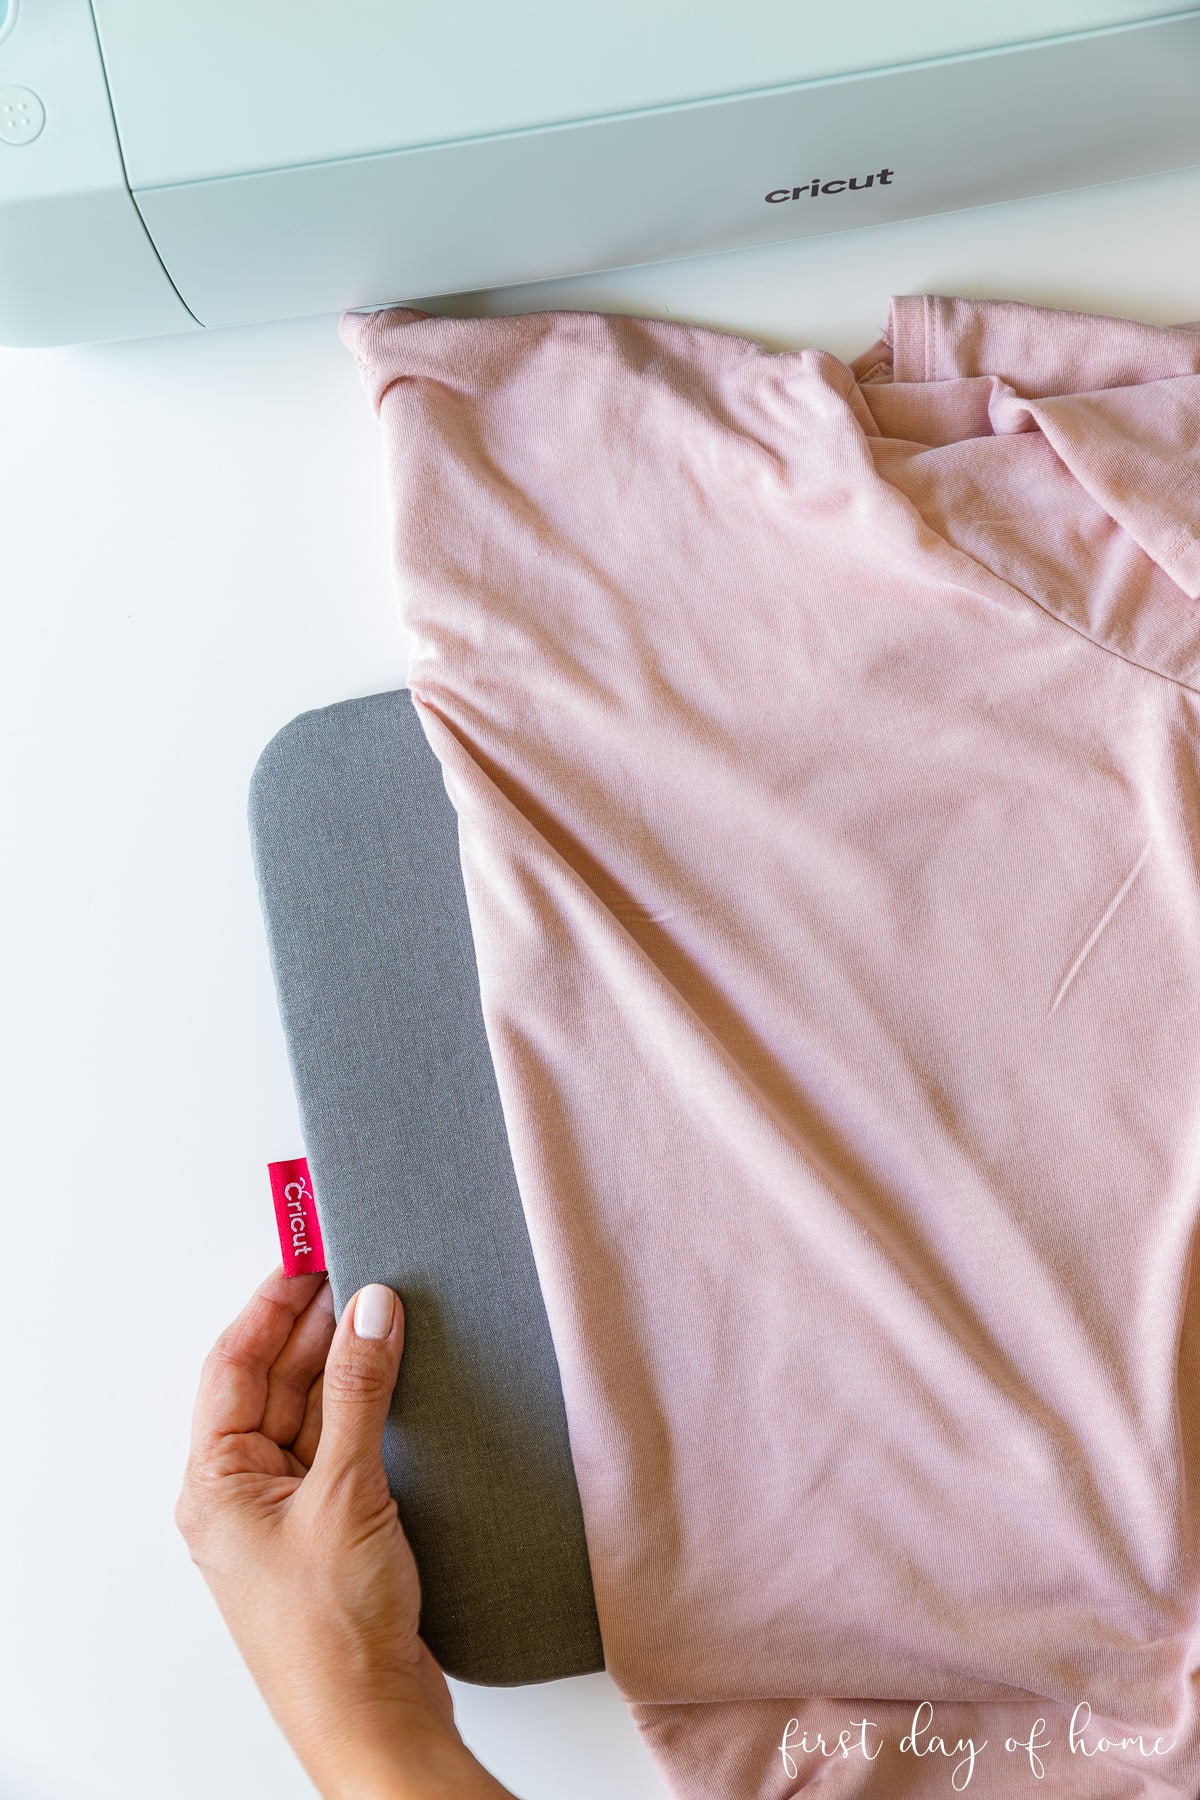
Beginner Tutorial: Easy Heat-Transfer Vinyl T-Shirt
I used my
Supplies for HTV Shirt

- Cricut Maker, Cricut Explore, or xTool M1
- Heat transfer vinyl (HTV) or Smart Vinyl
- Cotton or cotton/polyester blend shirt
- Cricut EasyPress 3
- EasyPress Mat
- Cricut weeding tool
Step 1: Select a design for the project
You can choose a design from
Follow the instructions in
Step 2: Weed the design
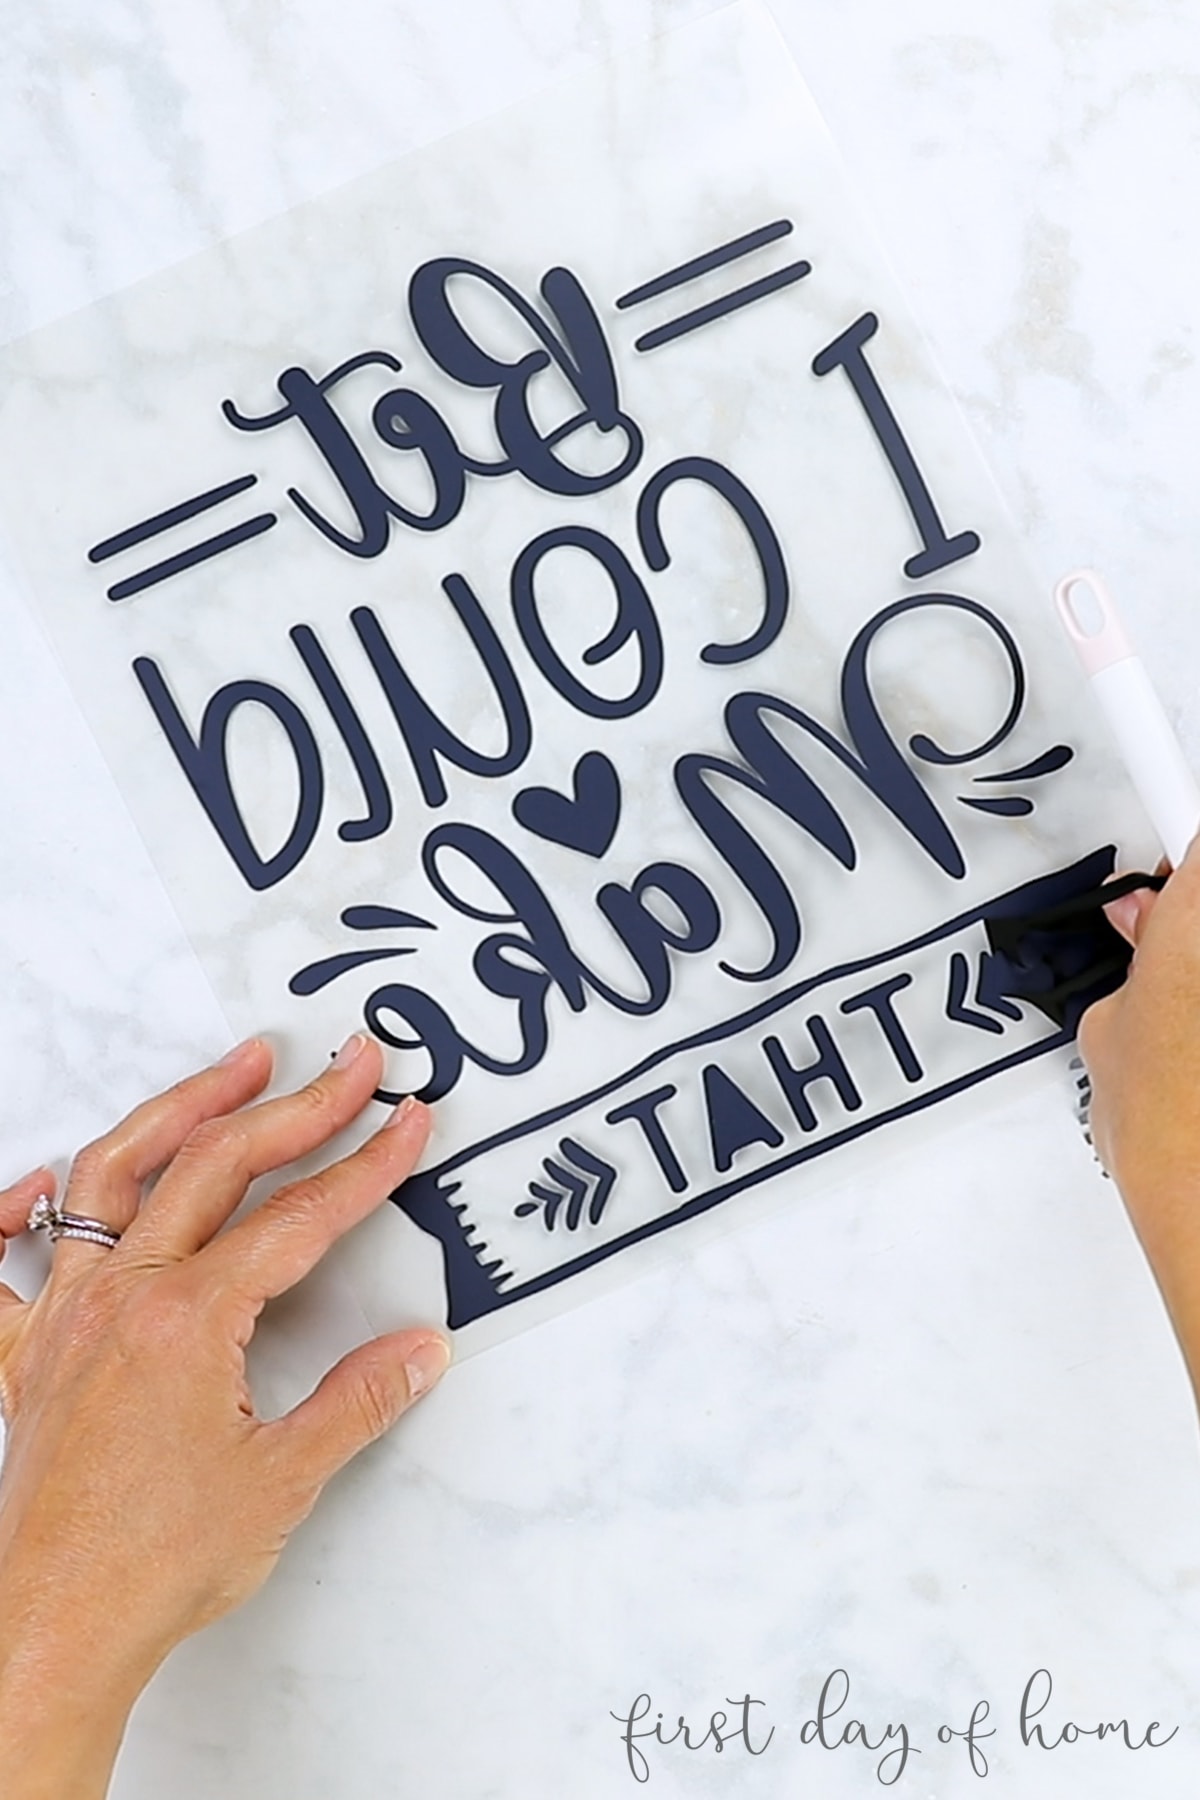
Remove the vinyl pieces around your main design to leave only the design you wish to transfer. A weeding tool helps with this process.
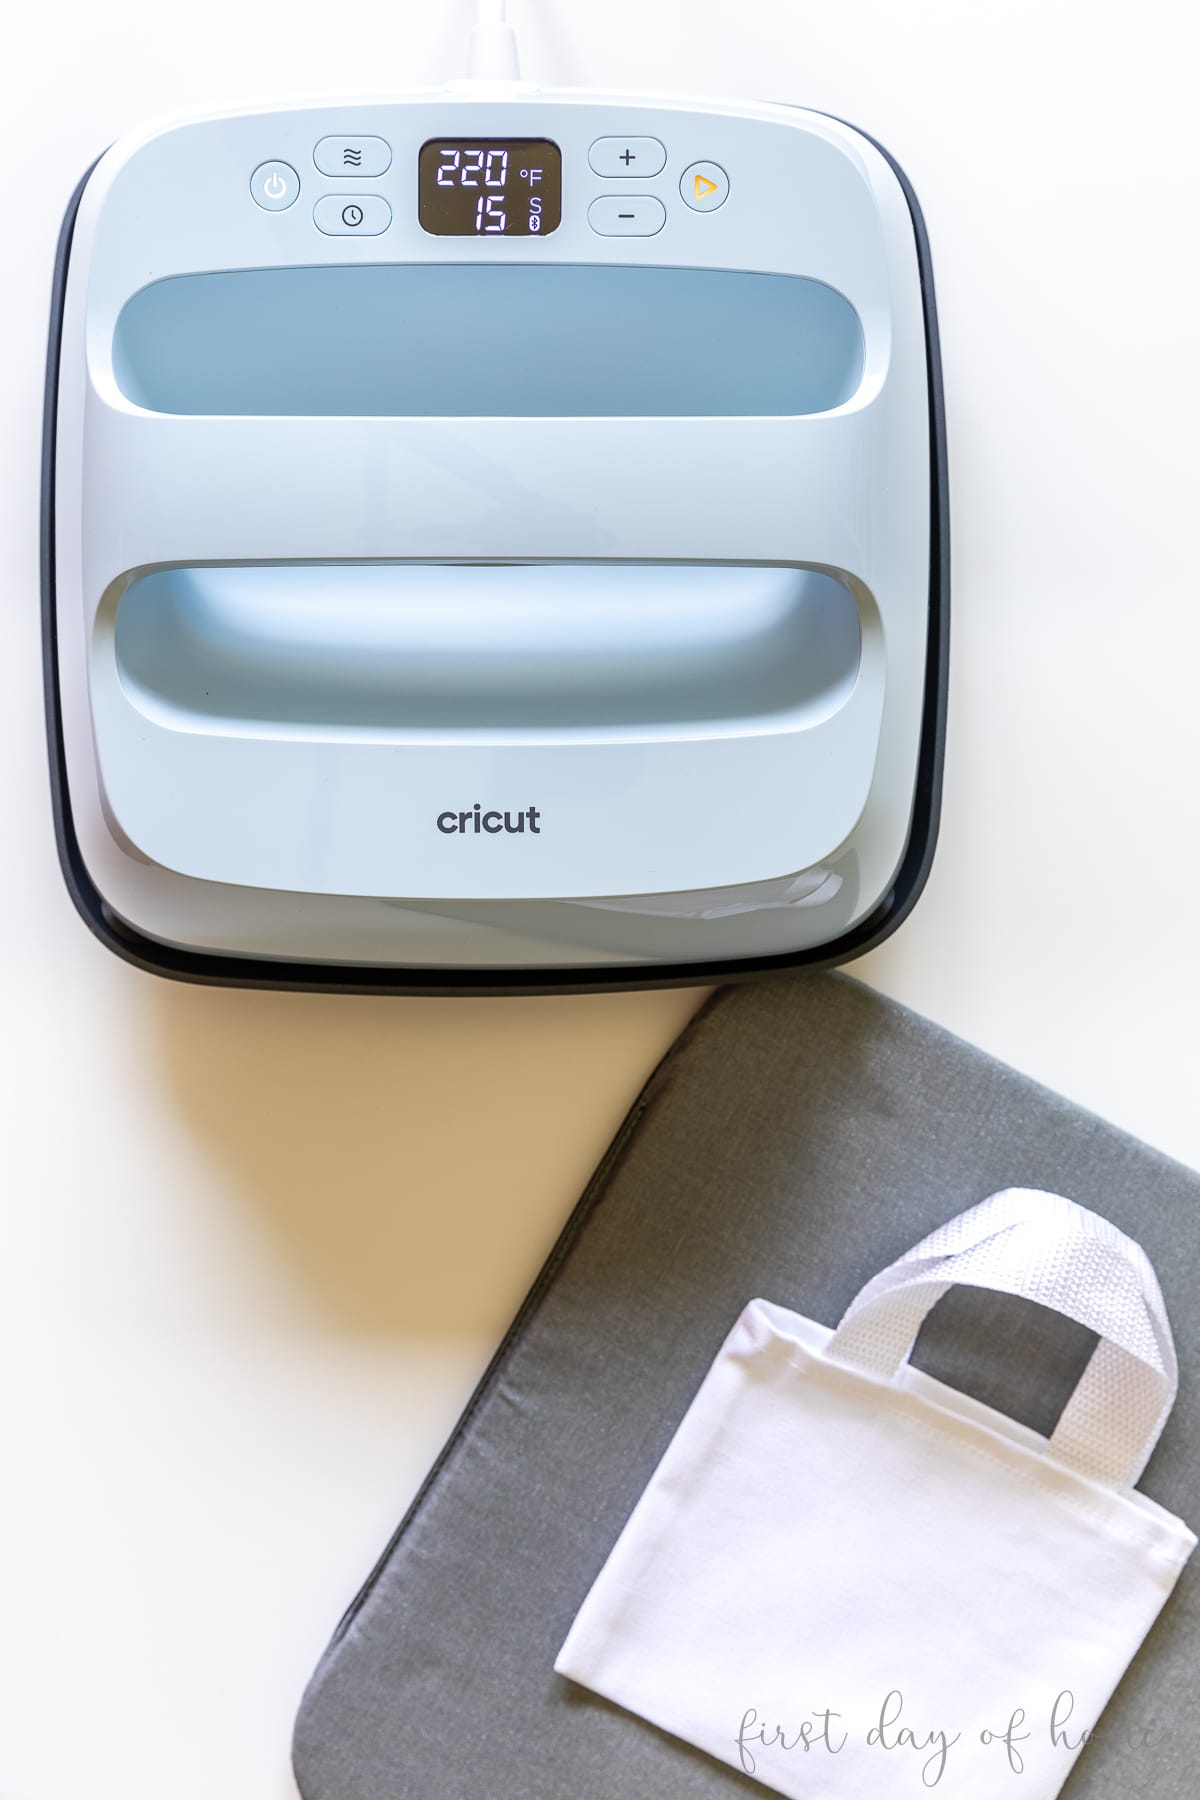
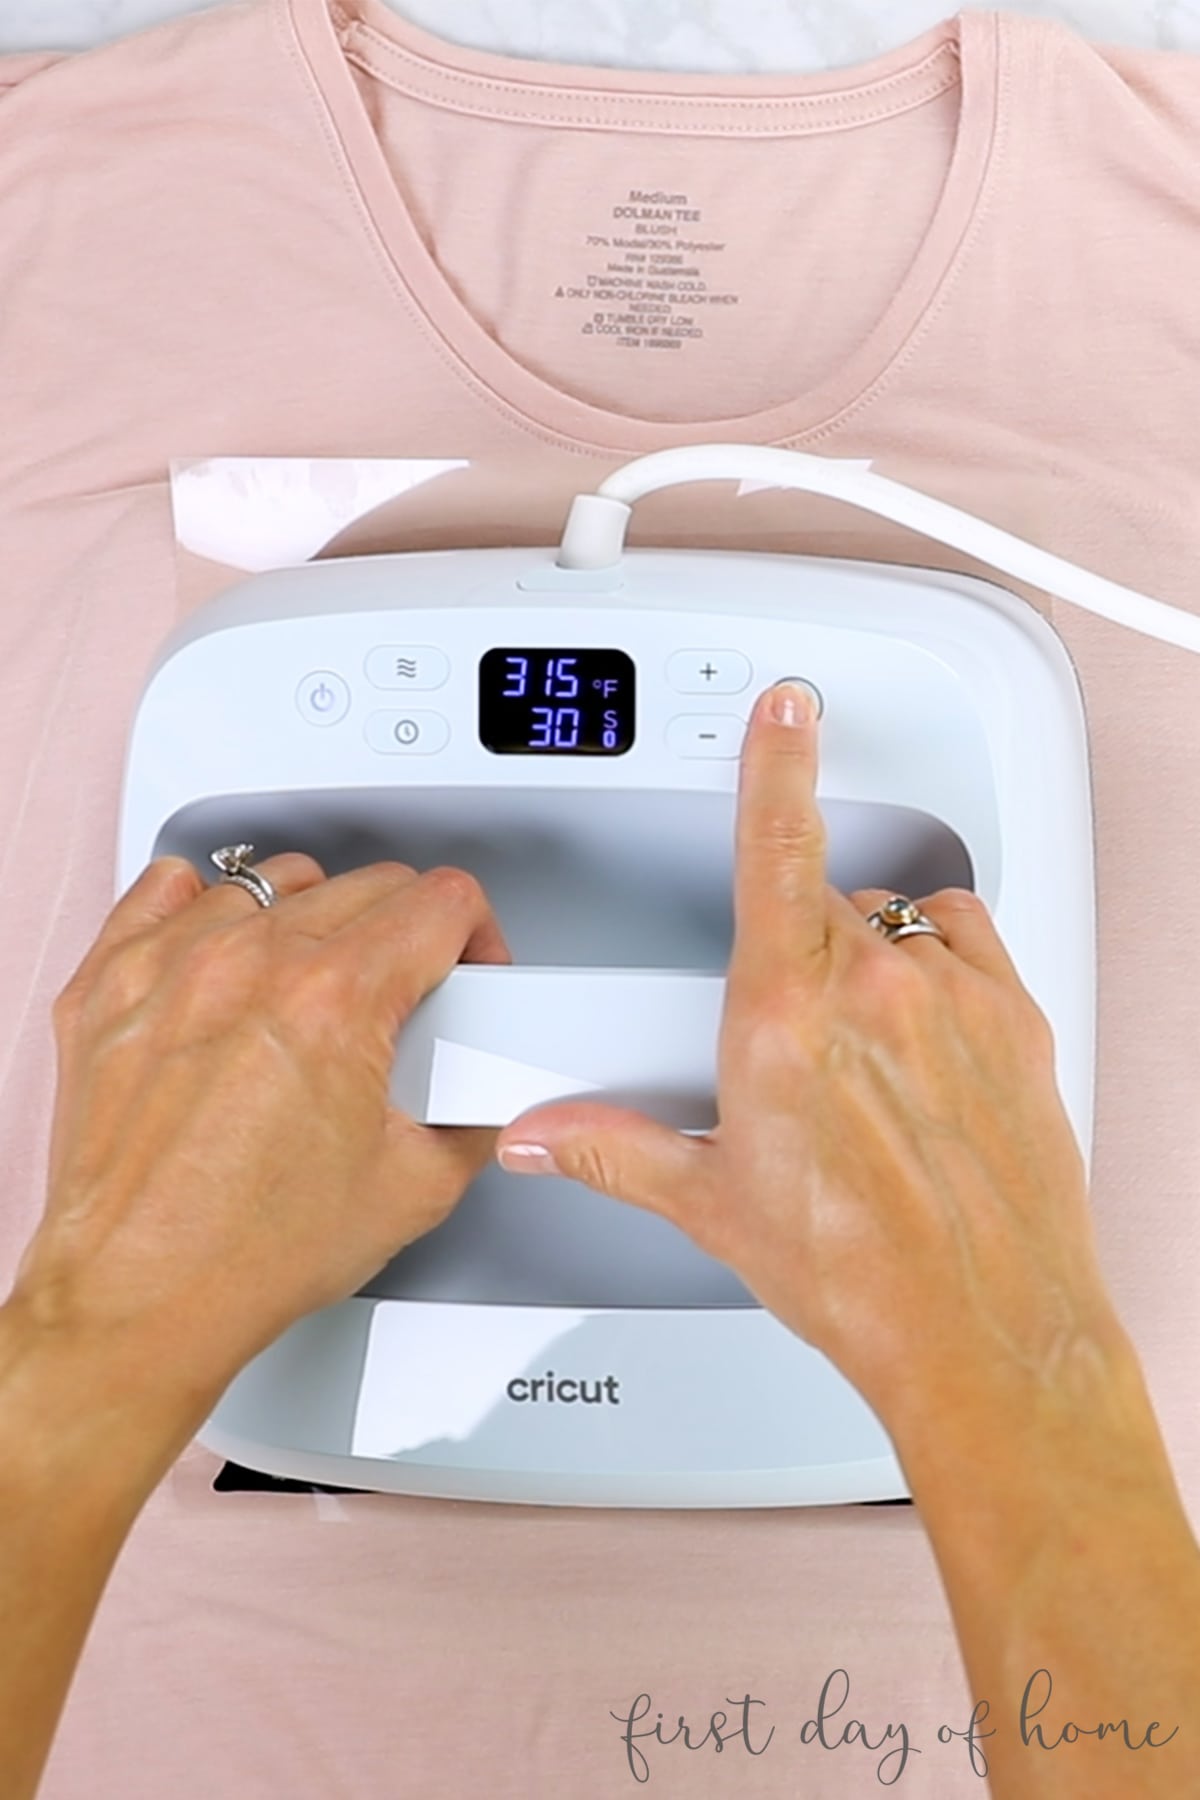
Step 3: Turn on the EasyPress 3 and Select Settings
Use the
For this project, I used Smart Iron-On Vinyl in black and selected a cotton/poly blend as the material I’m applying to.
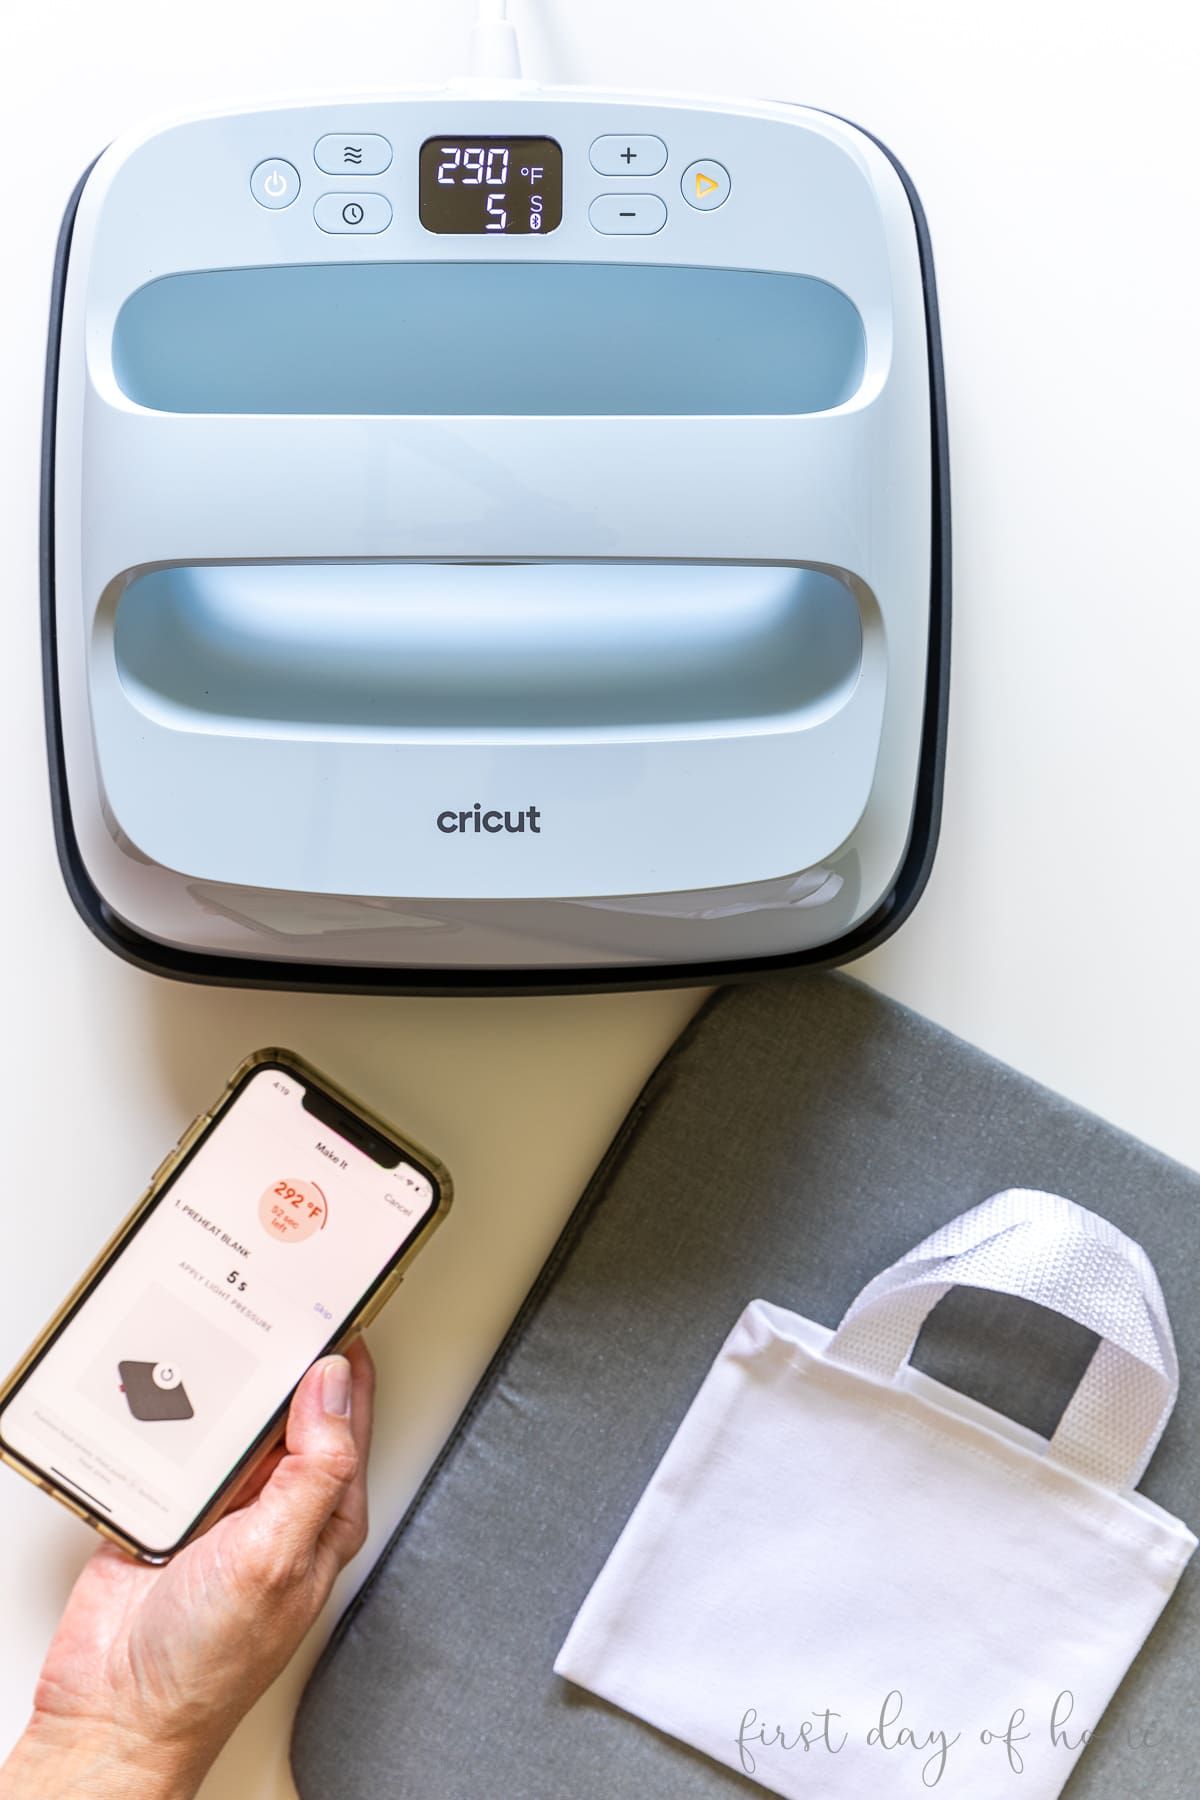
Step 4: Send settings to EasyPress 3
The
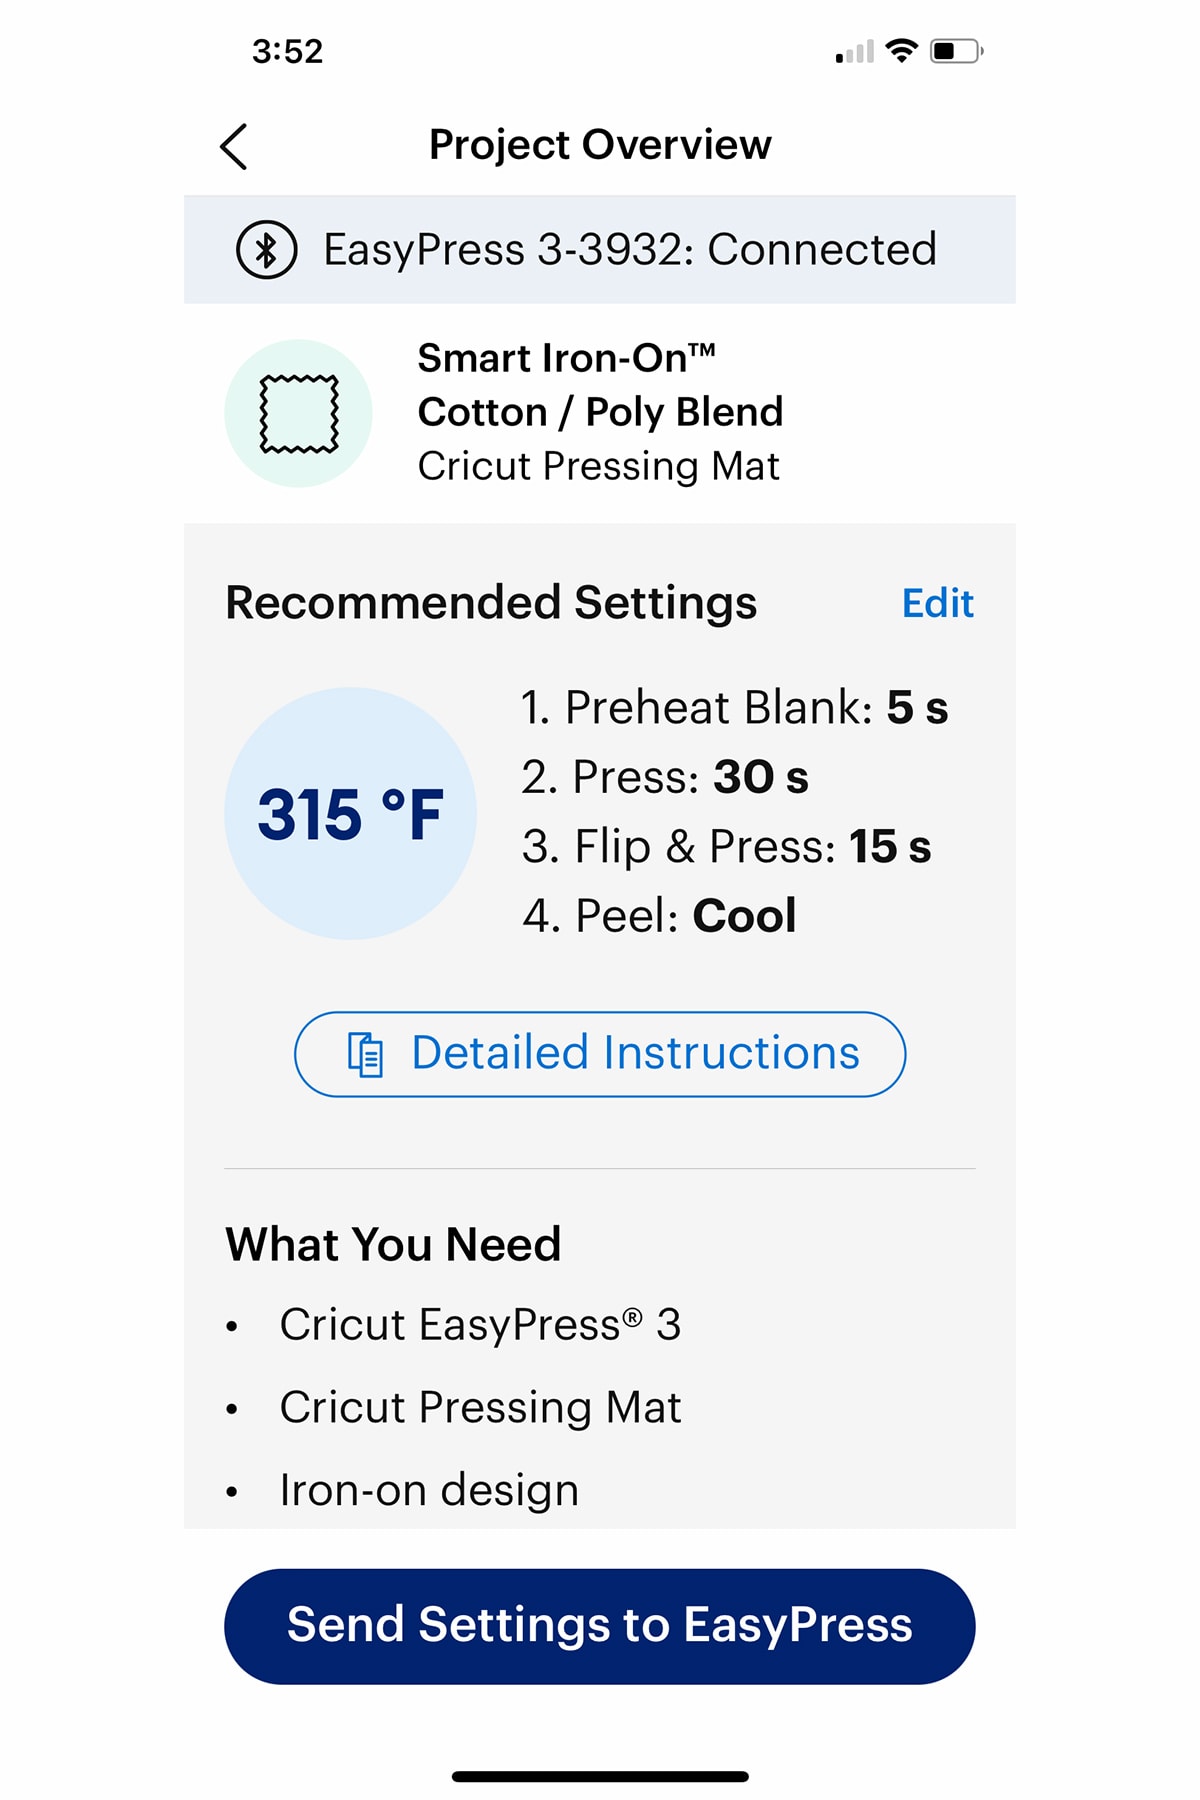
Just click the blue button in the app to send all of these settings to your heat press.
Note: Read “What You Need” carefully to make sure you have all the necessary supplies.
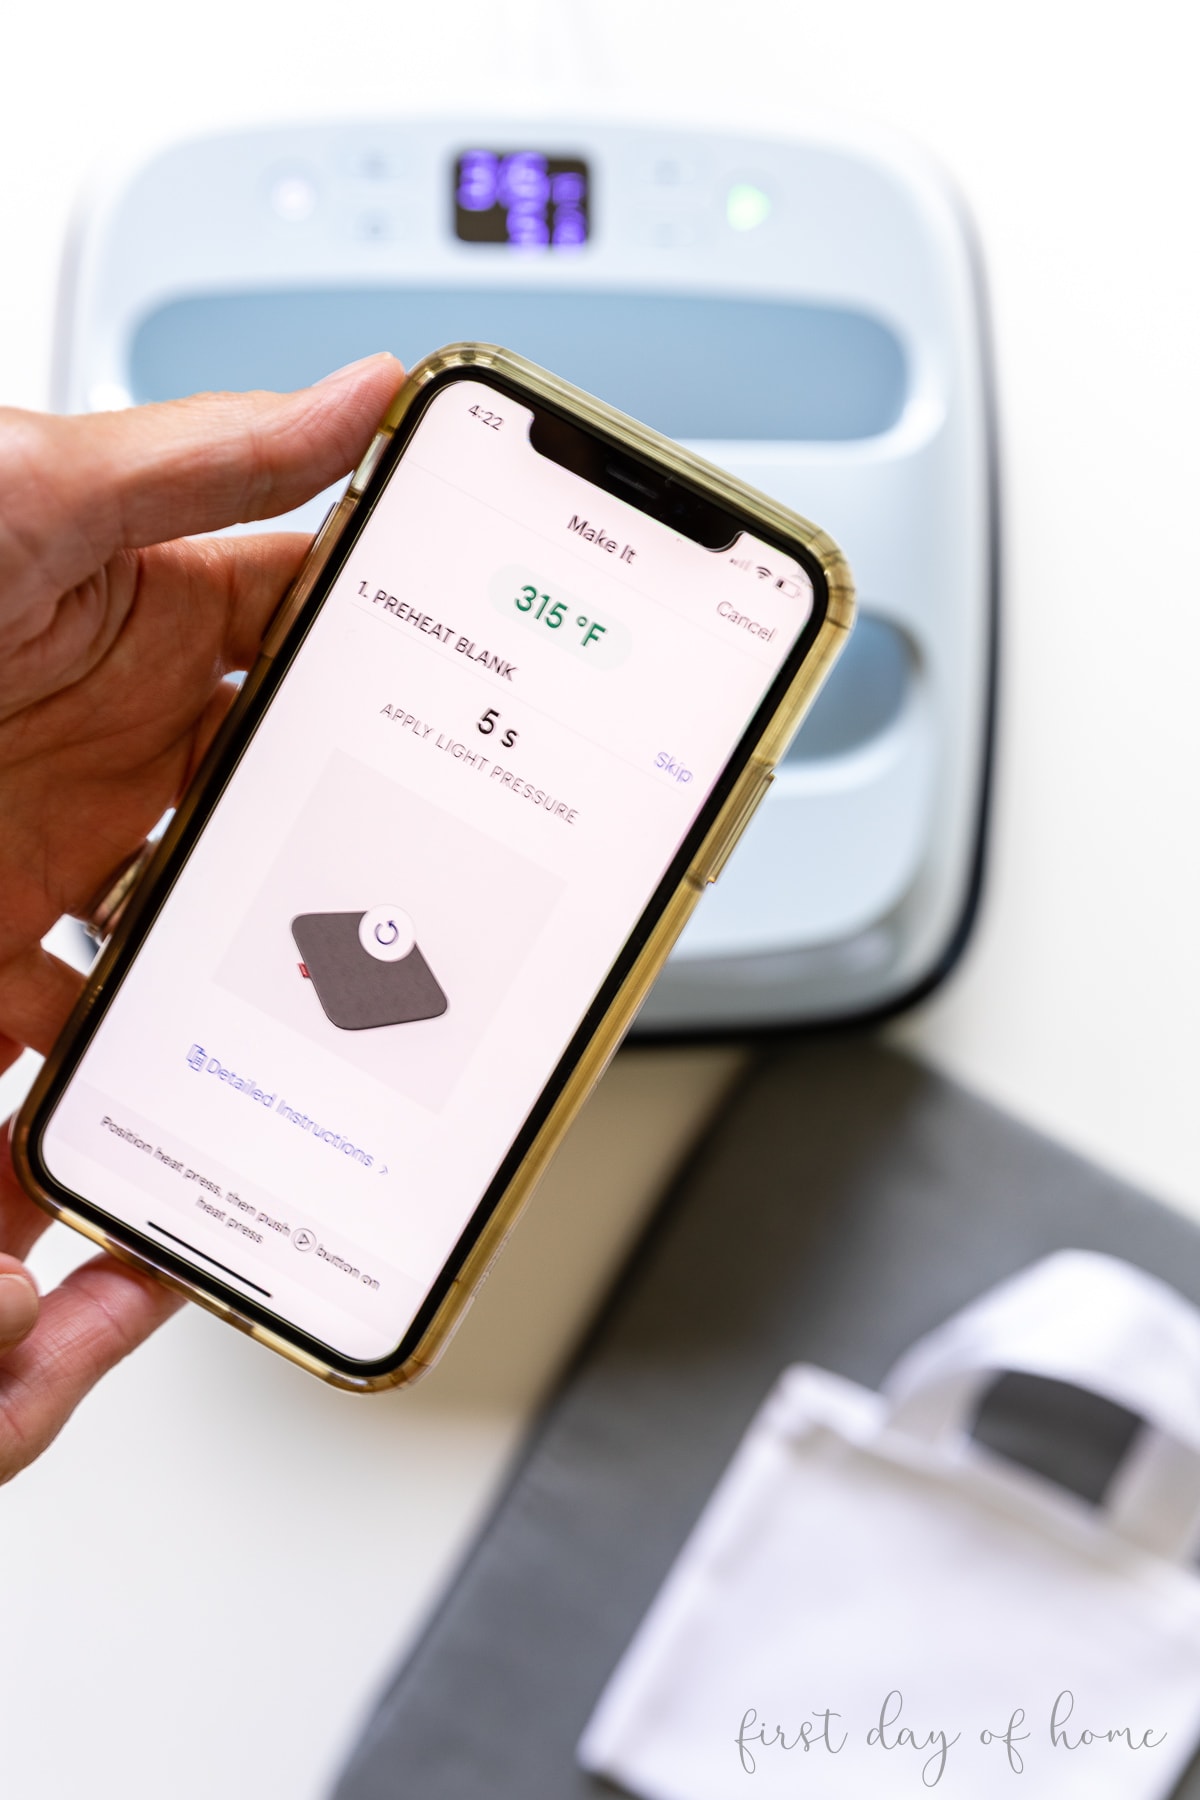
The “Go” button on your EasyPress 3 will turn green when it reaches the desired temperature. Then it’s just a matter of following the directions and watching the timer count down.
The app will prompt you for each step, and you’ll hit Go on the heat press to automatically start the timer each time.
Safety Tip
Always be sure to place the heat press on the safety base between steps or when cooling the heat press.
Step 5: Peel the vinyl carrier sheet
Once you’ve completed each step, the app will tell you whether to peel the carrier sheet when the material is warm or cold. This project called for a cold peel.

Final Thoughts: Should you buy an EasyPress 3?
If you are someone who loves
If you already own an EasyPress 2, I’d suggest holding off on upgrading. Consider adding an EasyPress mini, hat press, or mug press instead. (See the full lineup of heat presses again here.)
For those who dislike having to look up heat settings and manually enter them on your heat press, the EasyPress 3 with the
If you have a question not answered in the FAQs below, drop me a comment. Happy Crafting!
Pin it for later!
FAQs
-
Do you need a mobile device to use the EasyPress 3?
Yes, you need a mobile device to register the product. However, it is possible to access the app on a tablet or some newer MacBook models, though the software is really intended to be used on mobile phones primarily.
-
Can I use an ironing board with the EasyPress 3?
No, it doesn’t have a surface that is solid or even enough for the heat press.
-
What can I use if I don’t have an EasyPress Mat?
For iron-on vinyl, you can use a cotton towel (without a pattern) on a hard, heat-resistant surface like a table. Depending on the materials, the Cricut Heat app does have some specific suggestions for using a towel. For infusible ink projects, an EasyPress Mat is the only recommended surface.
-
Will my work surface get damaged with the EasyPress 3?
The safety base will help protect your work surface, but you should still take care not to set the press directly onto surfaces that may get damaged with heat. Always set the heat press on the safety base when not in use.
-
Can I use the EasyPress 3 on projects that are larger than the heat press?
Yes, you can press in sections for heat transfer vinyl (HTV), but for infusible ink projects, you’ll want to make sure you don’t move the heat press around. That can lead to blurry edges instead of clean, sharp lines. For large infusible ink projects, you may need to opt for the larger 12×10-inch EasyPress 3 or the Autopress.
-
Can you do layered designs with heat transfer vinyl (HTV) and the EasyPress 3?
Yes, you can layer HTV on top of HTV or HTV on top of infusible ink. You cannot layer infusible ink on top of HTV because the infusible ink requires a much higher temperature and must be pressed before HTV. When layering multiple infusible ink transfer sheets, use the Slice and Set method to transfer multiple cuts onto one liner. Read more about layering here.


Can EasyPress 3 attach fusible interfacing?
Yes, as long as the interfacing doesn’t require steam, the EasyPress 3 works perfectly. I used it in a recent video with fabric appliques using fusible interfacing. You can see it here: https://youtu.be/ionc4WzBPm8?si=7QCburr9RlKdsLPU&t=820.
Girl… your tutorials are always so thorough, and it’s not different with this crash-course on the Cricut Easypress 3! I love how it feels you are talking directly to me! Pinned!
Thanks so much, Julie! I hope others will be encouraged to make the investment. It’s so easy to use! Hugs!