
Simple Book Page Ghosts with Cricut
Book page ghosts are the perfect way to upcycle an old book and add a touch of Halloween decor to your home. You can make this budget-friendly Halloween craft with or without a Cricut machine and enjoy your ghosts year after year.

This post contains affiliate links, and I will be compensated if you make a purchase after clicking on my links. For more information, please see my disclosures.
How to Make Book Page Ghosts
The best part about this craft is how little you need to get started. Grab an old book — maybe one you never liked reading — and begin cutting! You can also find cheap books at thrift stores or dollar stores.
I made ghosts in no time with a Cricut machine, but you can cut simple ghost shapes with a pair of scissors.
Watch this tutorial
To see this project in action, along with several other Halloween projects, watch the following video on my YouTube channel.
Supplies
- Used book or printed pages
- Craft knife
- Cricut machine or scissors
- Distress ink (optional)
- Blending brushes (optional)
- Black marker (optional)
- Jute twine
- Mini clothespins
New Cricut Maker 5
Cricut just released the new Cricut Maker 5, which works with more materials and tools than any other Cricut machine. To find out more, visit the blog post below.
CRICUT MAKER 5: ULTIMATE GUIDE
Cut pages from the book
Using an Exacto knife or craft knife, cut a few pages from the book. Then either outline ghost shapes with a pencil or place the pages on a Cricut cutting mat (if using a Cricut machine).
Tip
Trim any excess white space to make sure the pages have the optimal amount of text before tracing/cutting your ghosts.
Option 1: Cut the ghosts with a Cricut machine
You can find the template for this project under my Cricut Design Space profile here.
First, secure the pages on a Cricut cutting mat. You may want to use a LightGrip Mat to prevent the book pages from sticking.
Once you have the ghosts formatted to your desired size in Cricut Design Space, cut the ghost shapes by clicking Make. Try to fit as many ghosts as you can on each mat.
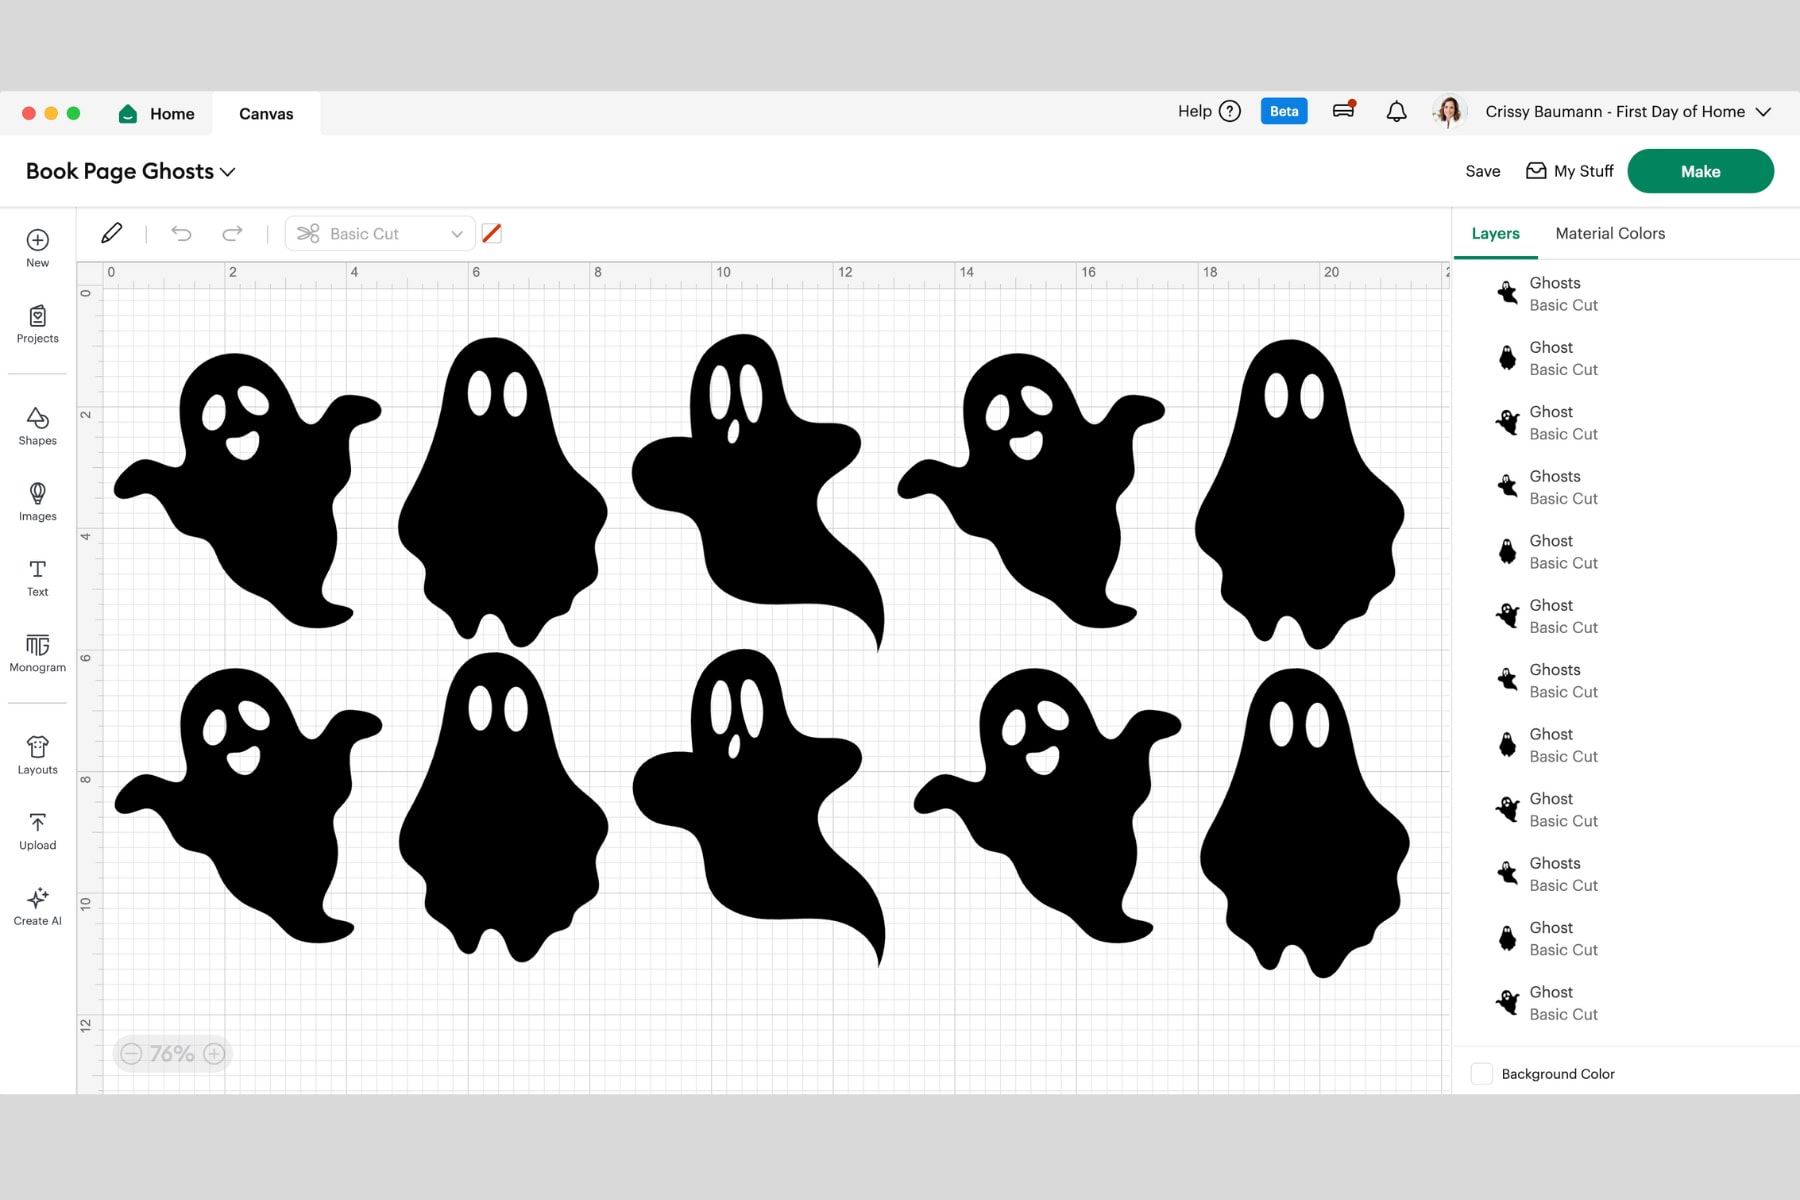
You can orient some book pages sideways and then rotate the designs within the software on the individual mat previews, if needed (see below).
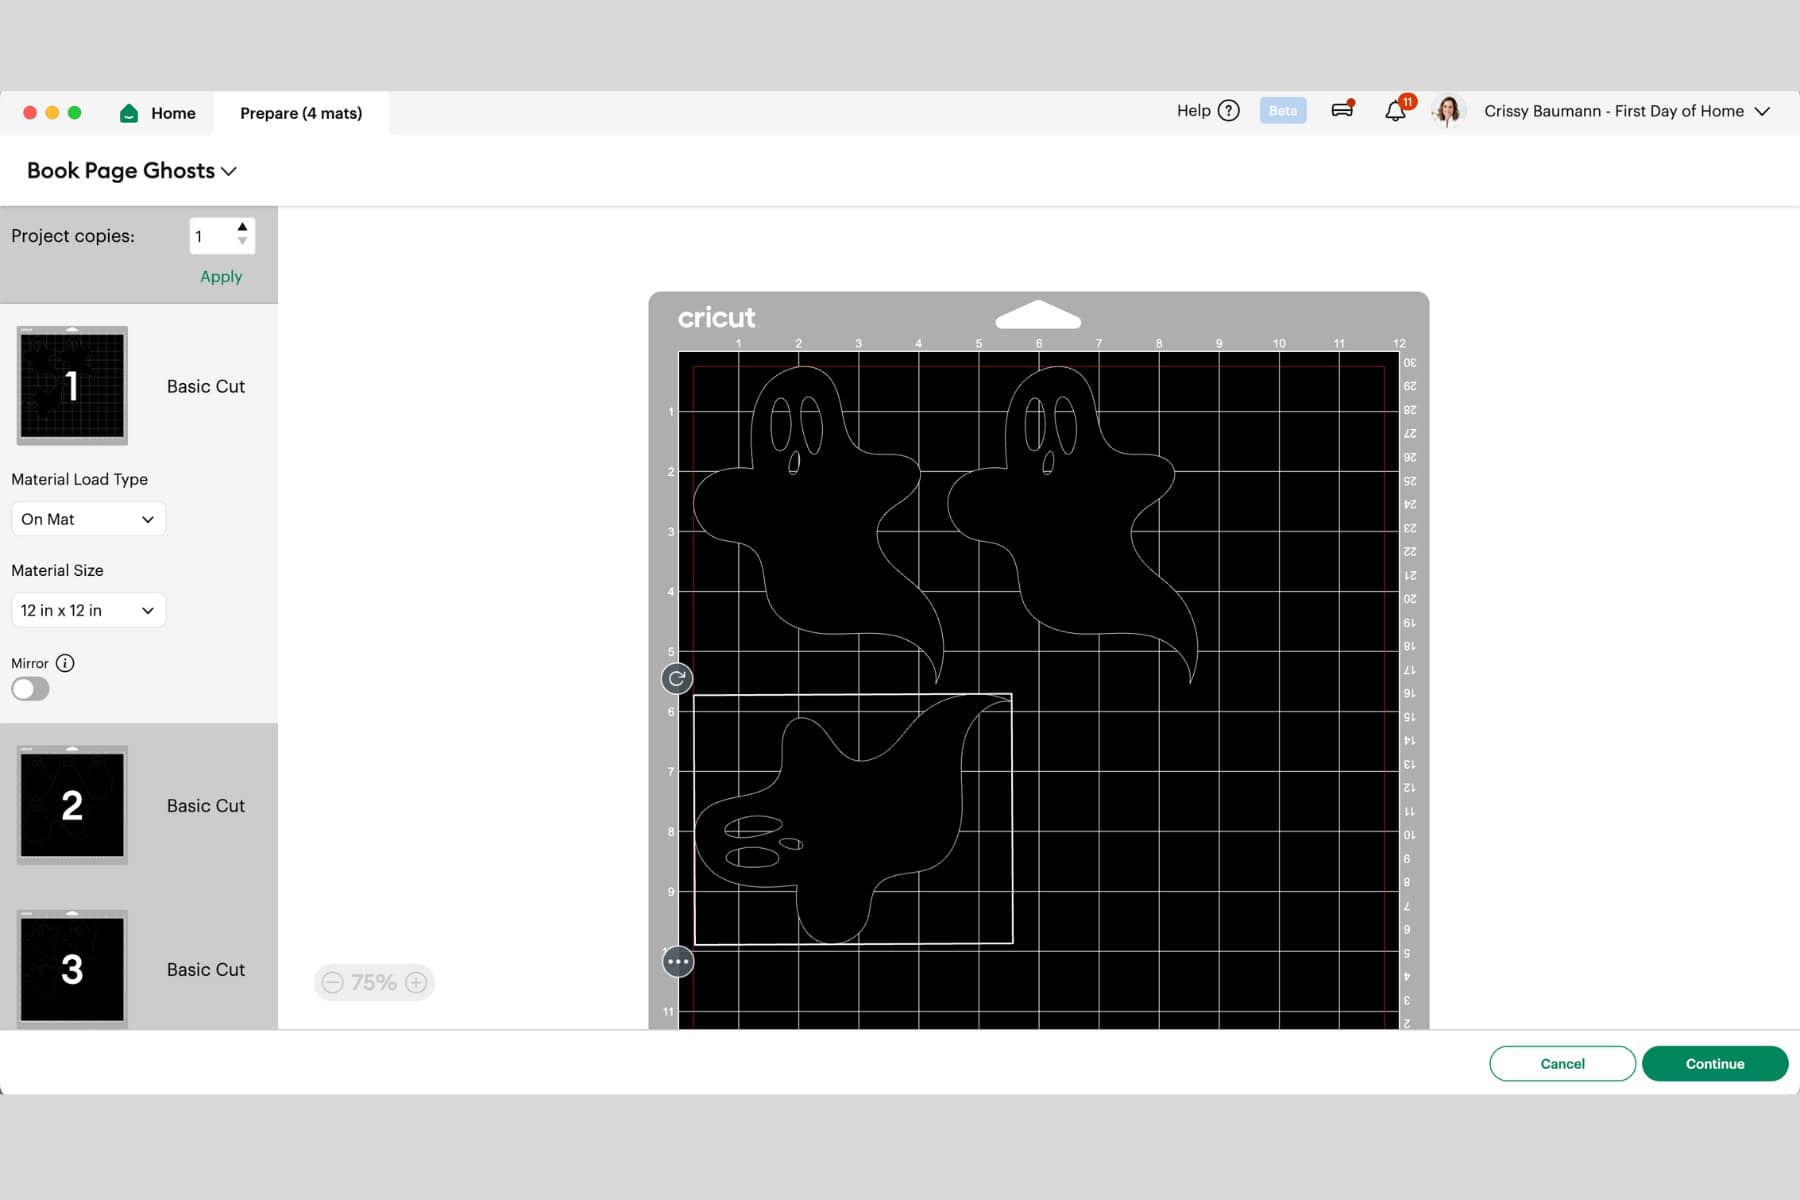
Pay close attention to the dimensions of each book page on the mat to ensure the machine doesn’t cut outside the page area.
Continue until you have the desired number of ghosts. I made nine ghosts total.
Option 2: Cut the ghosts by hand
If you choose to cut ghosts by hand, trace a few different shapes onto the book pages. Then, you can either duplicate the shapes using the first one as a stencil or make each ghost unique.
Instead of cutting out eyes and a mouth, you can draw the features on with a black marker or pen.
Add texture to the paper ghosts

For a more primitive or vintage vibe, I used my distress oxide ink pads to darken the edges of the ghosts. This helps define the ghosts, especially if you place them in front of a light-colored background.
How to Use Book Page Ghosts
I chose to display my book page ghosts as a garland hung from our fireplace mantel. You can also use the ghosts to decorate a table for party decor.

Another good option is laminating the ghosts to create cute bookmarks. That would be a cute “boo basket” idea for kids.
I’m still playing with my Halloween mantel decor, but I love how simple and dainty the ghost garland looks.
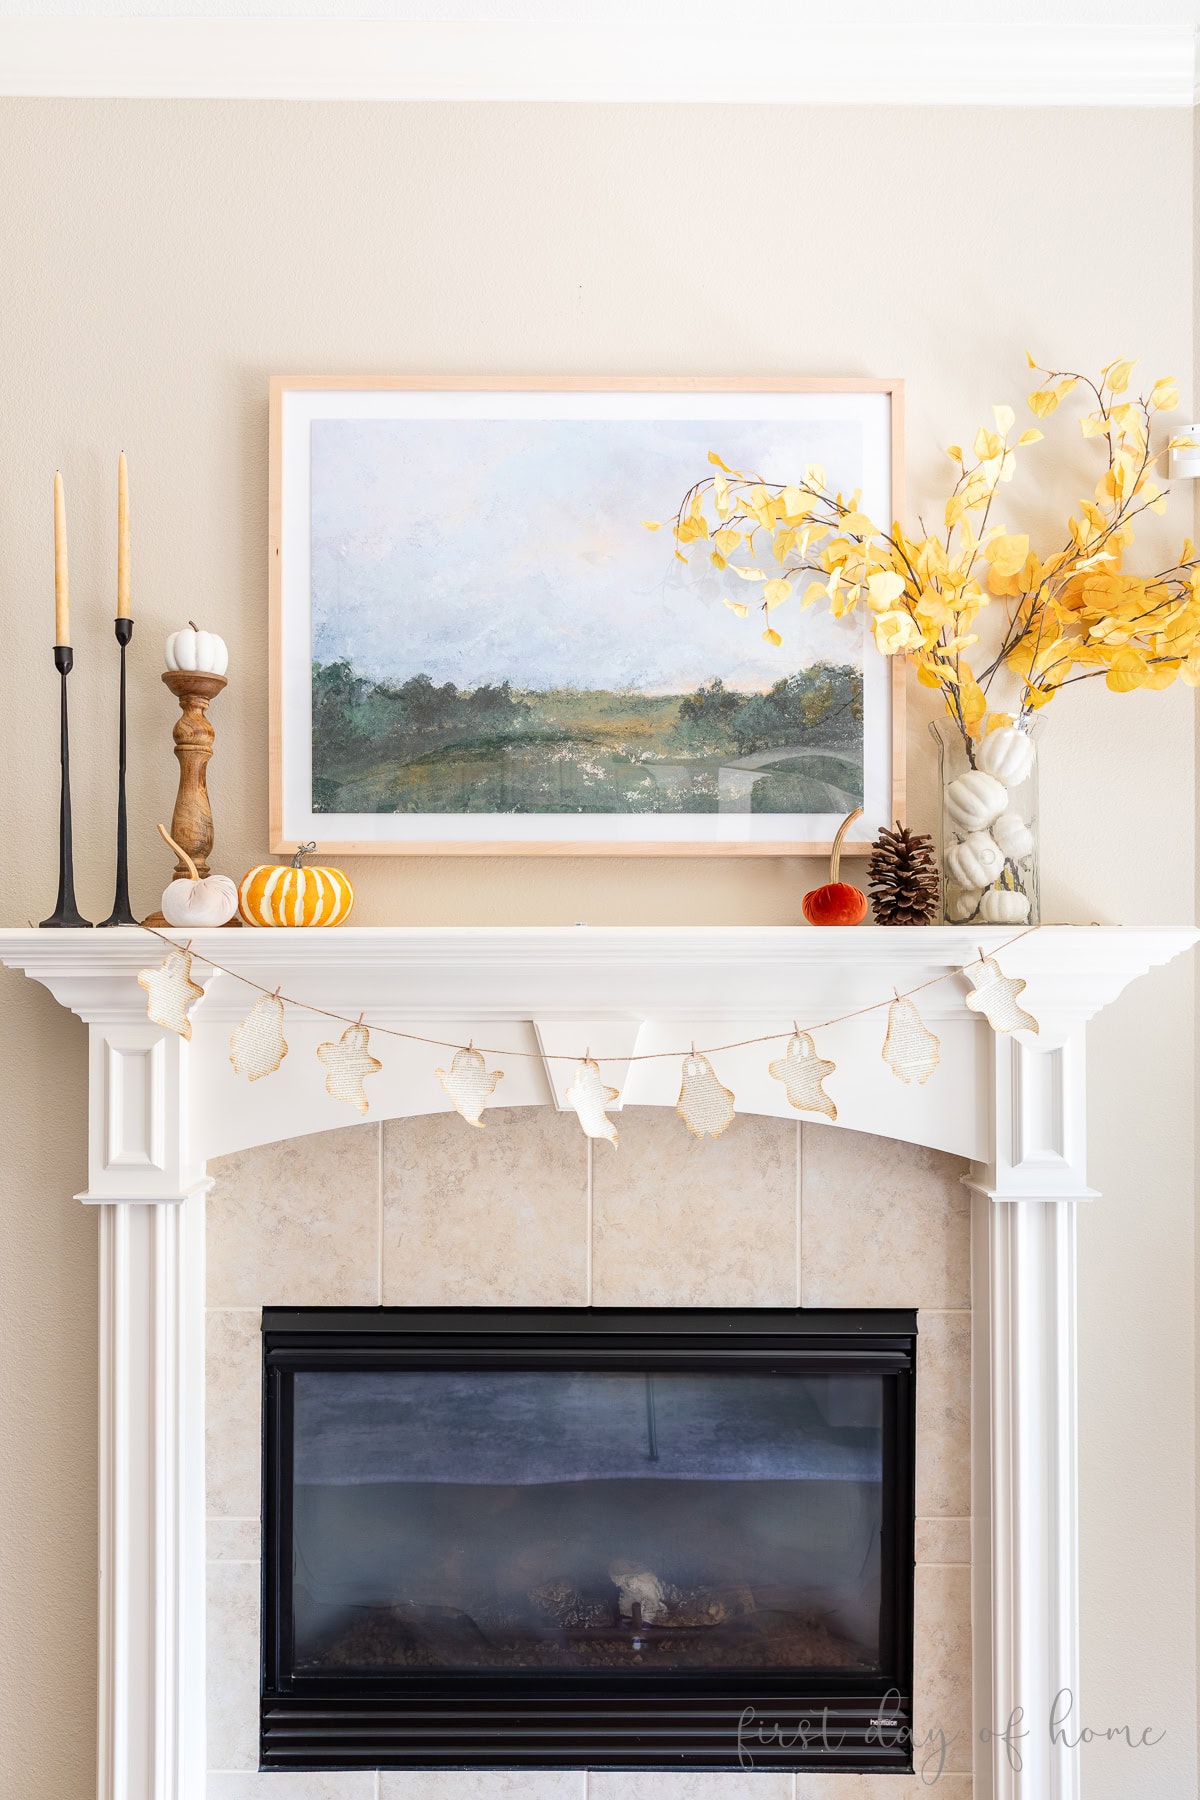
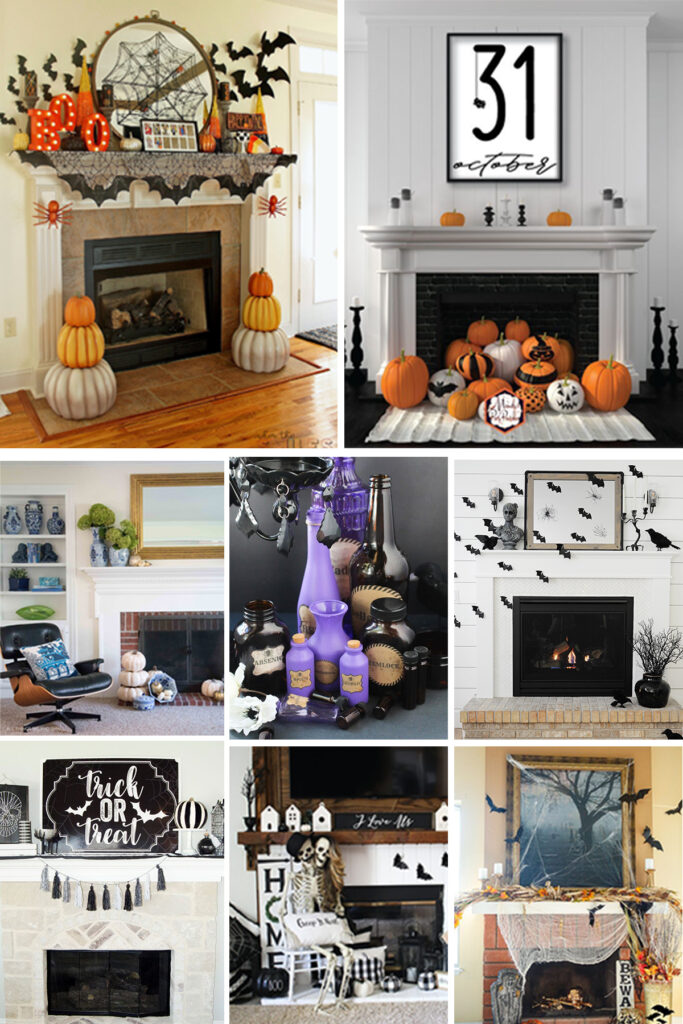
See my posts below for more Halloween mantel decorations, and don’t forget to pin this post for later!

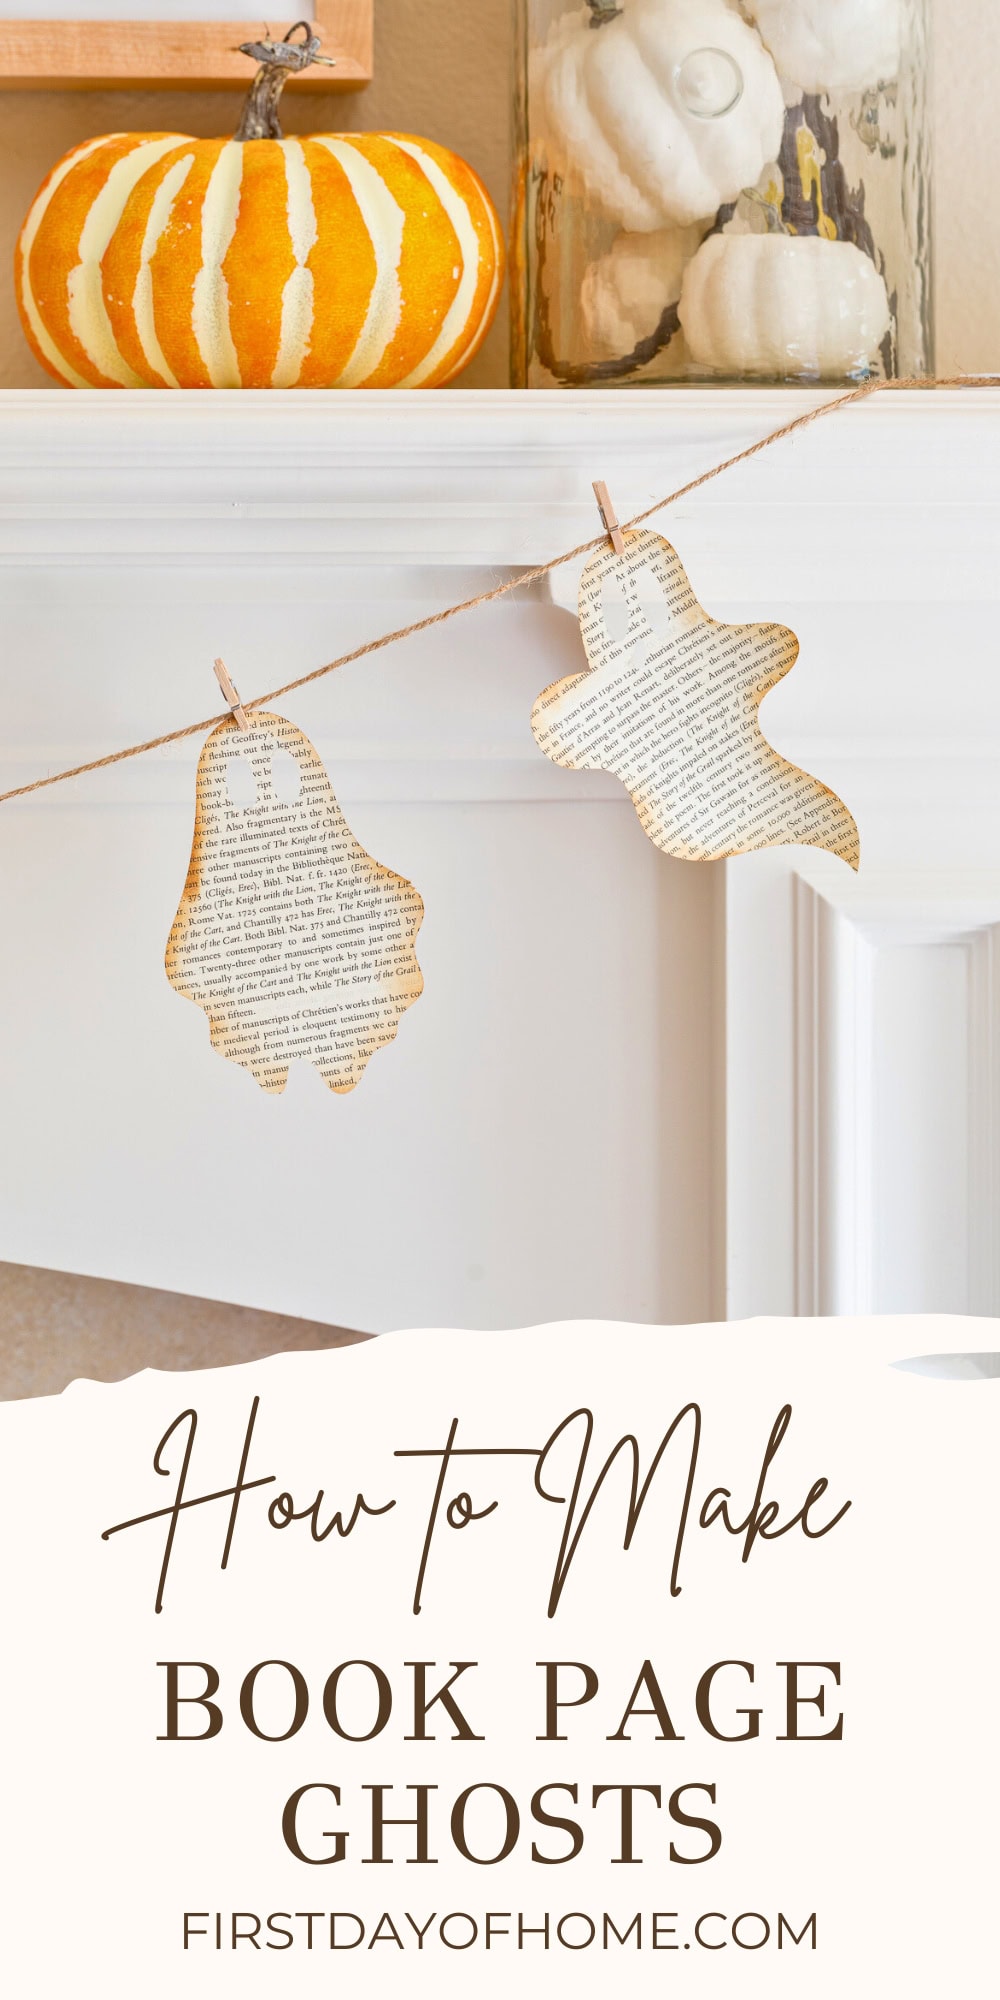
Pin it for later!

I love it – two of life’s best things, Halloween and books, combined!
Thanks so much, CiCi! I agree…they just go together!