Easy Paper Pumpkins (Free SVG)
I can’t resist a good paper craft when it comes to holiday party decor. These paper pumpkins add a festive touch to any party table, and they take only minutes to make. Best of all, I’m offering a free download, so you can make this easy pumpkin craft at home.

This post contains affiliate links, and I will be compensated if you make a purchase after clicking on my links. For more information, please see my disclosures.
How to Make Paper Pumpkins
For this tutorial, I’m offering free paper pumpkin designs that you can download, print, and cut at home. For
Think of all the fun your kids will have while assembling these sweet little gourds. They are perfect as a fall decor accent for a casual Thanksgiving dinner or school party. You could add a few to your desk or make a 3D pumpkin banner if you’re feeling adventurous!
You’ll only need a handful of supplies for this project, and you can use any glue or adhesive you like to create these 3D pumpkins.
Supplies

- Scrapbook paper (8.5 x 11 inch or 12 x 12 inch)
- Cricut Explore, Cricut Maker, Cricut Joy Xtra, or xTool M1— SVG file
- Light grip cutting mat for
Cricut (blue mat) - Home printer — PDF file
- Glue tape roller, glue sticks, or hot glue gun
Step 1: Cut the pumpkin patterns
At the end of this post, you can download my free pumpkin template in both PDF and SVG format. Then follow the steps below, depending on whether you are using scissors or a cutting machine.
For another cute fall craft idea, check out these book page ghosts.
Printable version
If you choose the printable pumpkin templates, use the highest-quality print setting for the best results.
One option is to use the colors in the PDF file for a simple orange paper pumpkin with green leaves. The other option is to cut the pumpkins out with scissors and use them as patterns to trace onto decorative paper.
(Note: I simplified the paper leaves in the PDF version for easier cutting with scissors.)
Kids can have fun cutting the shapes out themselves, so this is a 100% kid-friendly craft project. I suggest using a simple school glue like Elmer’s once you get to the assembly step.
Cricut or xTool version
For
When making layered designs, you’ll need to cut 6 shapes of the background paper and 6 shapes of the decorative top layer.
Don’t feel obligated to do a layered pumpkin design. The SVG file includes a single-layered pumpkin as well.
If you feel inspired to get fancy, though, you’ll have all the steps outlined below with this polka-dot pumpkin example. Below is an example of what your pumpkins would look like in

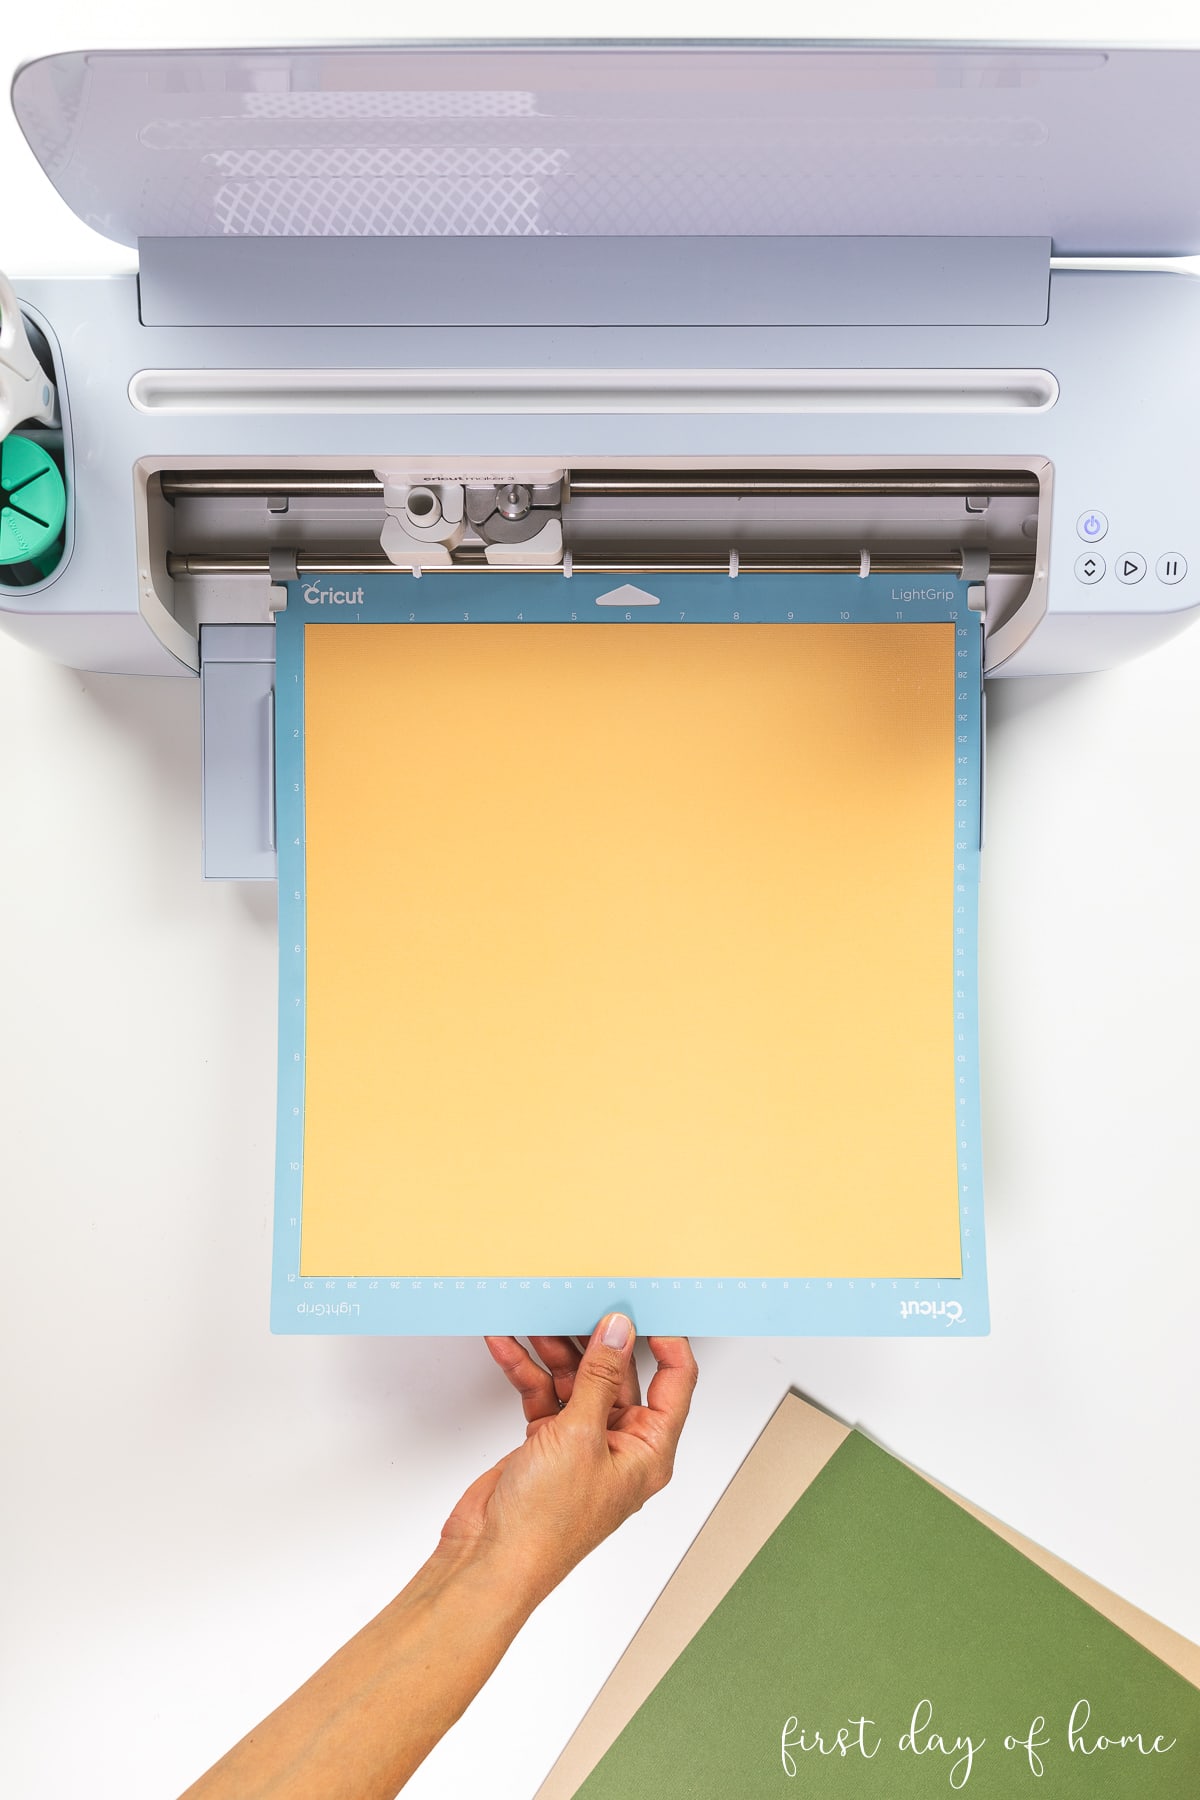
I like to use a light-grip cutting mat when working with thin scrapbook paper, but you can use the standard grip mat for thicker cardstock. To begin, cut out the top layer of the polka-dot pumpkin. Your settings may differ depending on whether you use light cardstock, medium cardstock, or glitter cardstock.
To add more sparkle, I used a metallic copper cardstock for the bottom layer of this pumpkin and sent it through my machine next.

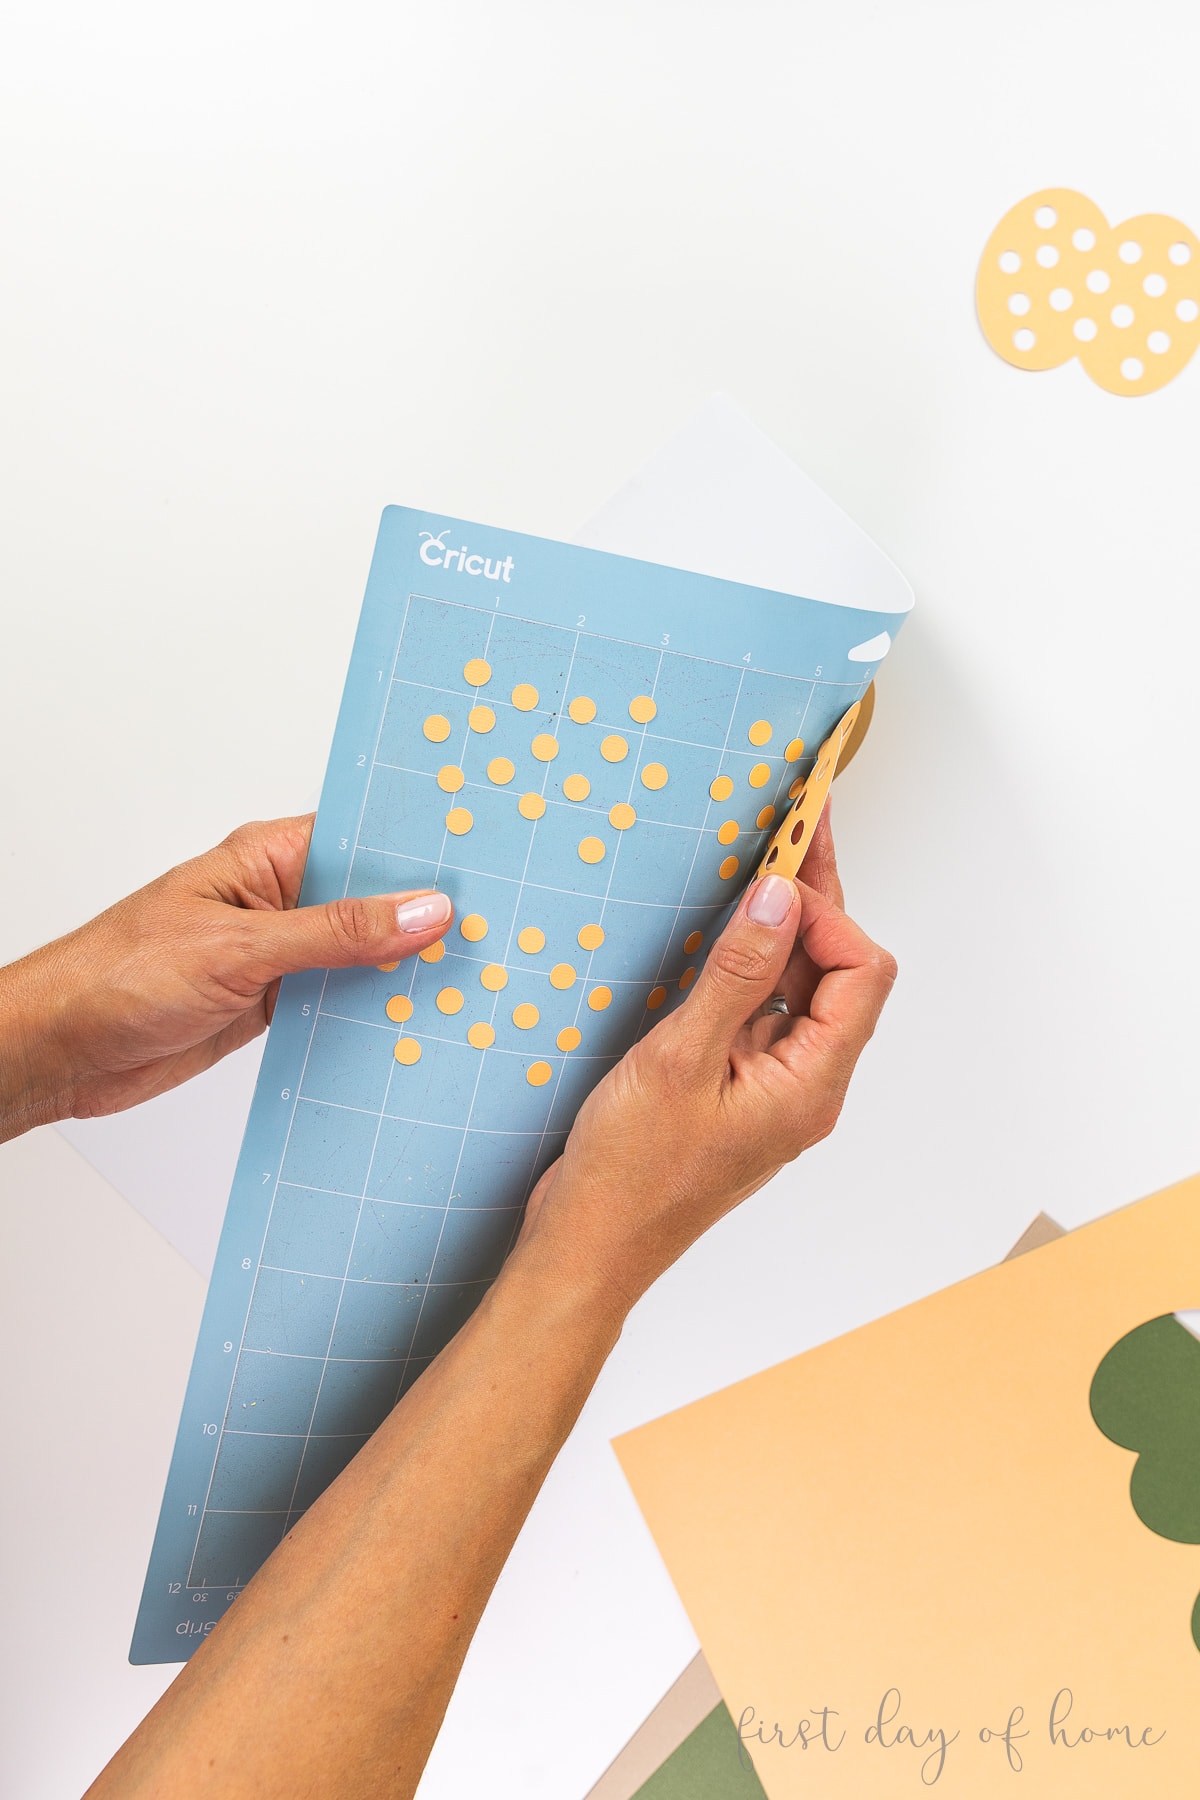
After cutting out all 12 pumpkins, you can remove any of the excess paper scraps and set them aside. These little pieces look great to use as confetti or table scatter, so don’t throw them out!
Cricut Tip
When removing paper from a cutting mat, always pull the mat away from the paper to prevent warping. It helps to turn the mat over and gently pull it up.
Continue cutting the stems and leaves by loading each color of paper into your machine when prompted. You can resize any of the shapes to meet your needs. Don’t you love having flexibility?
Step 2: Assemble the paper pumpkins
Now onto the fun part! If you used a
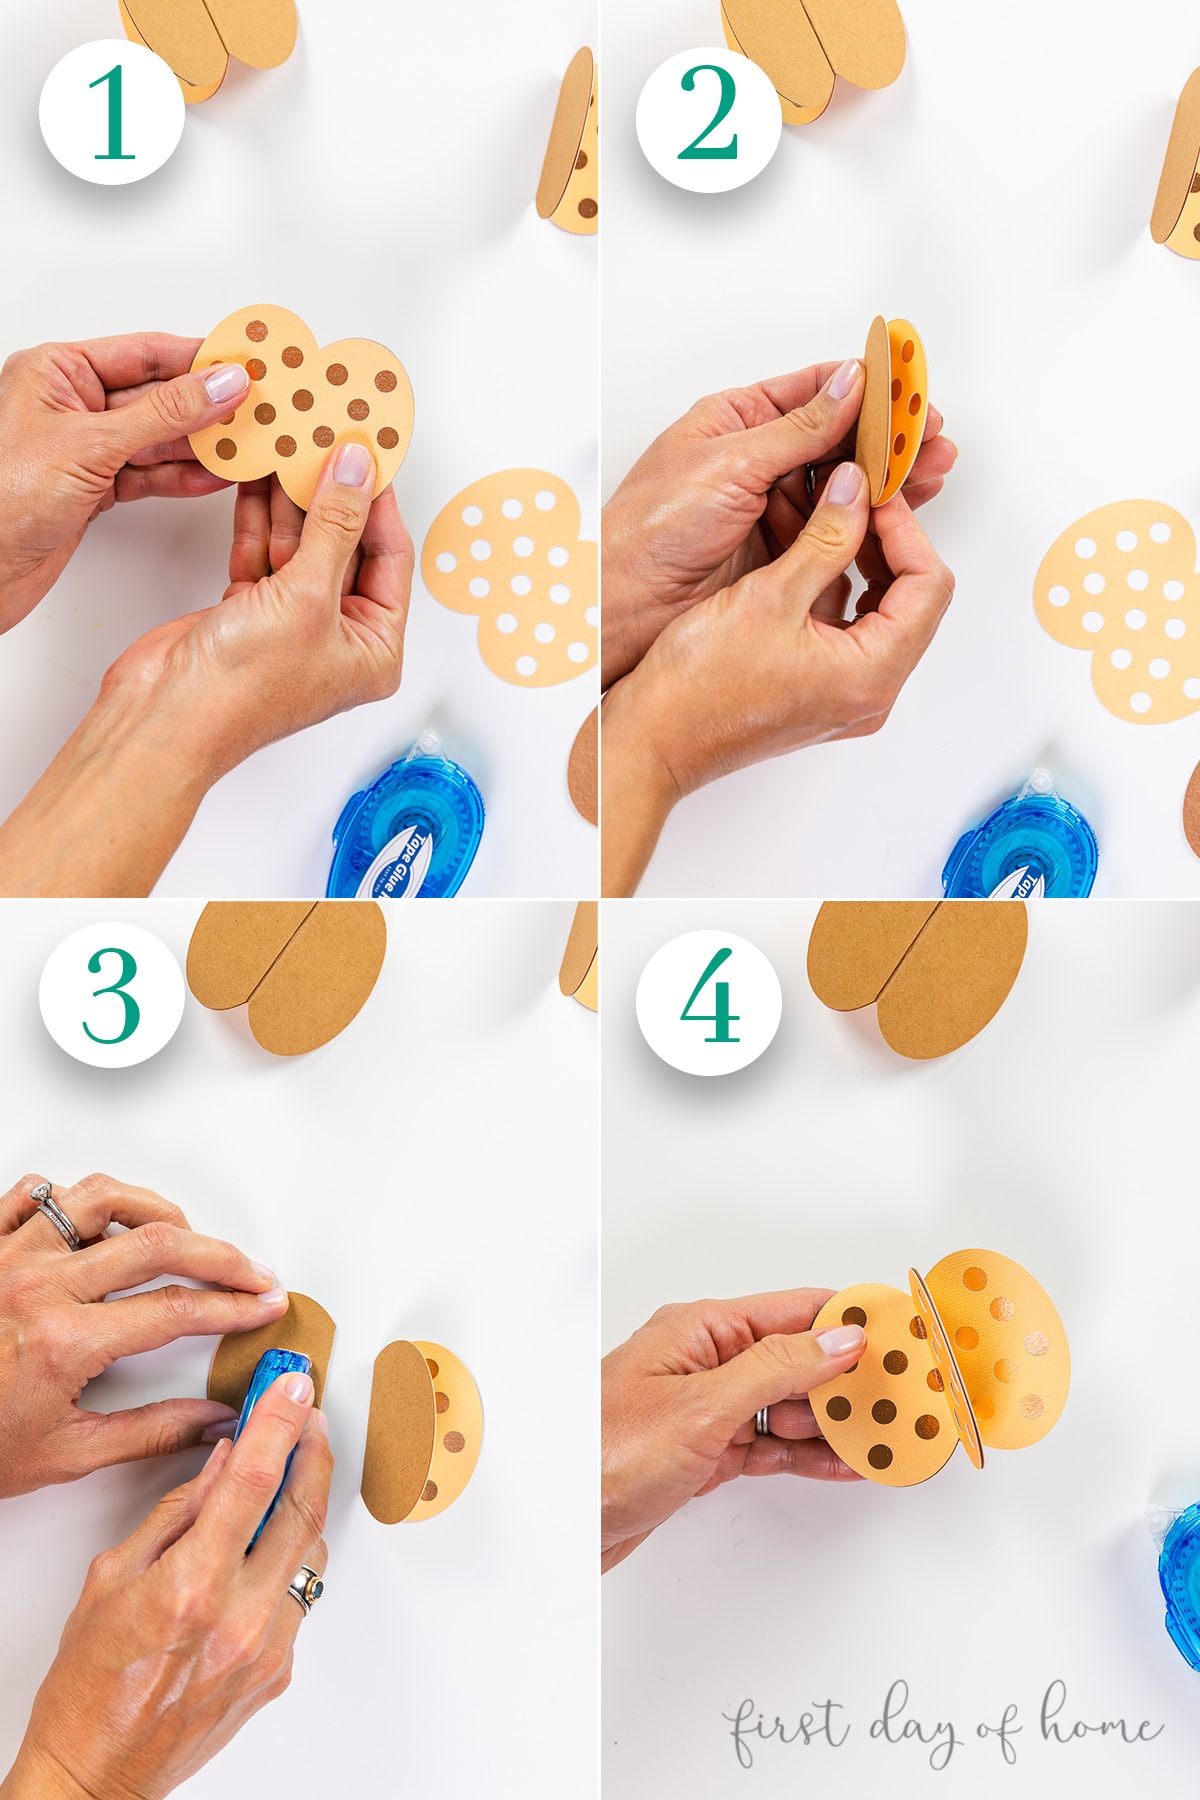
- Begin by gluing the top and bottom layers together to form 6 layered pumpkins. You can use a glue tape roller, craft glue, or hot glue (with adult supervision).
- Fold each pumpkin shape in half.
- Add glue to one half of the folded pumpkin shape.
- Glue each folded pumpkin together, lining up all edges.
Repeat the process until you have a 3D pumpkin shape. Be sure to leave room at the top to add the stem and leaves.
If you’re interested in more paper pumpkin crafts, check out my decoupage pumpkin tutorial.
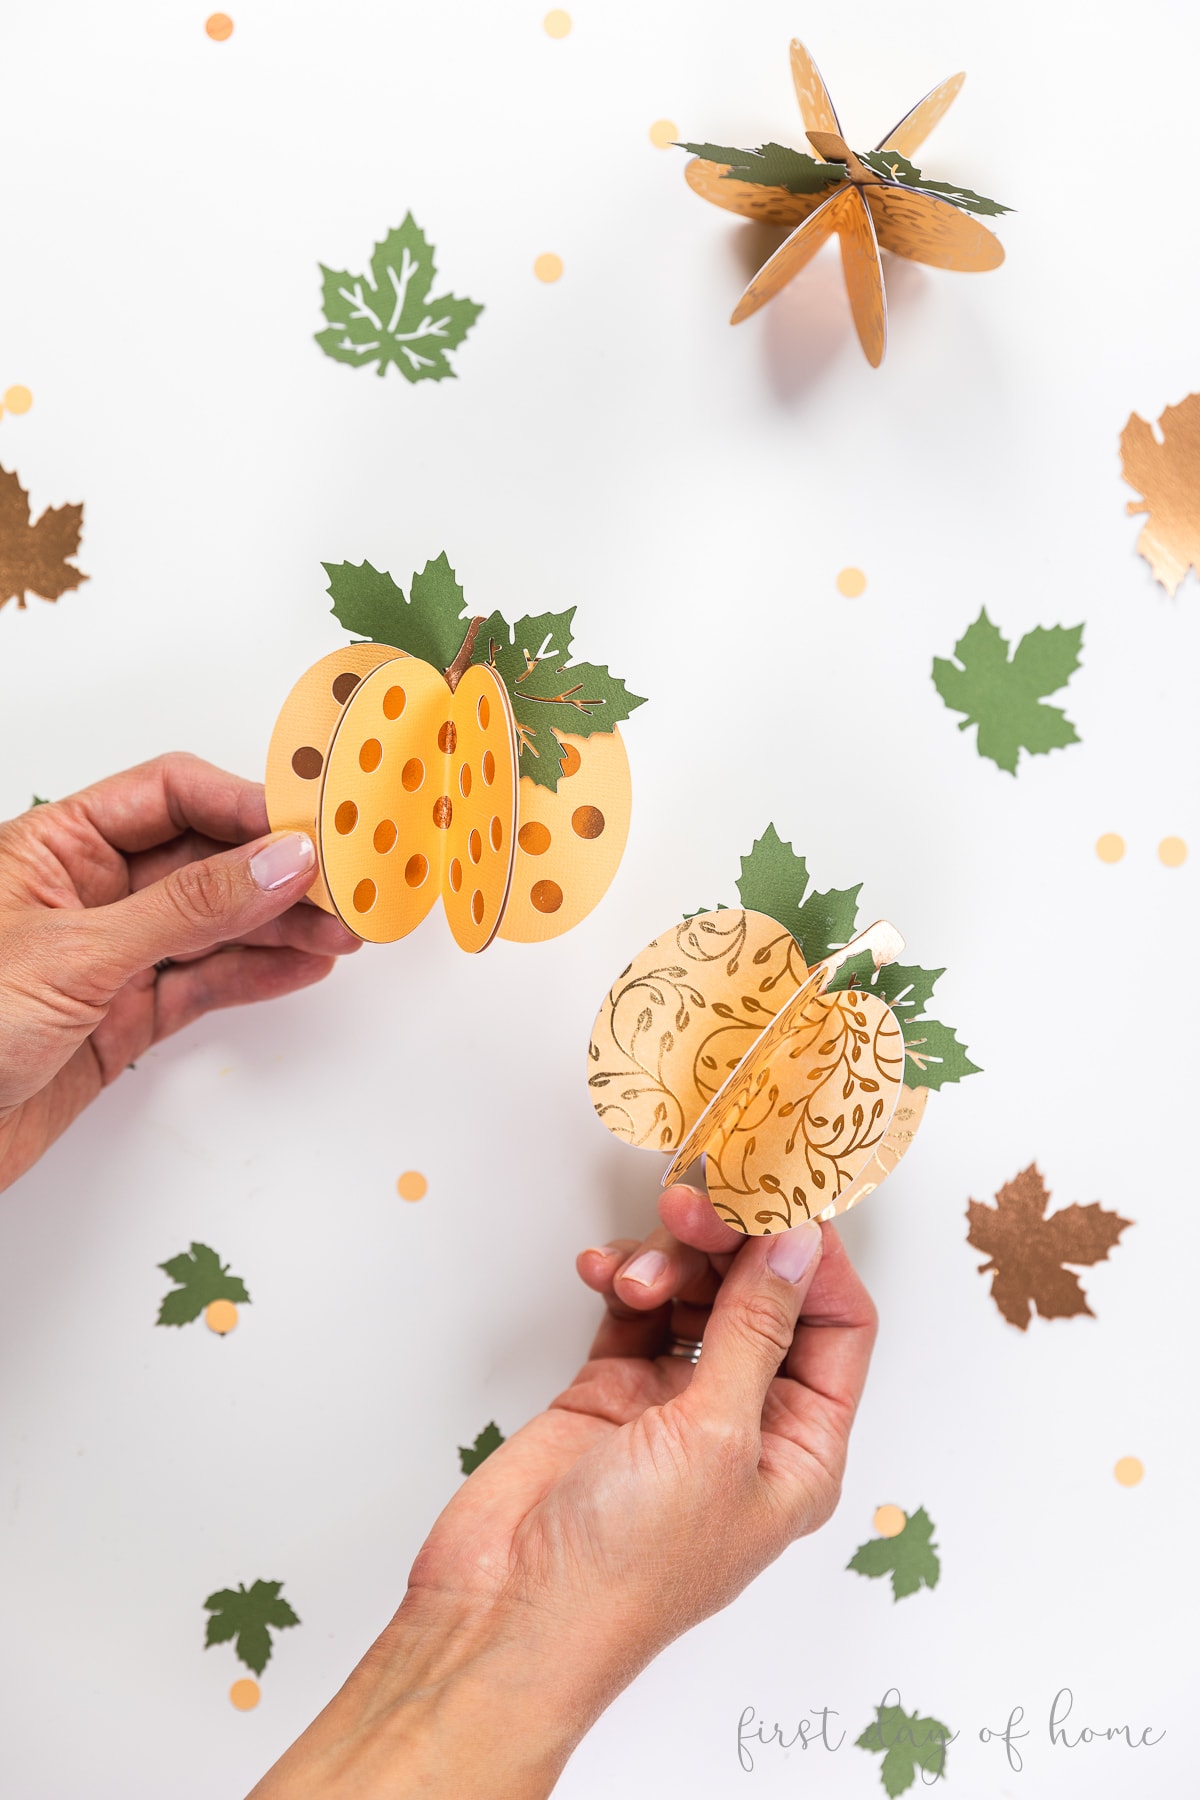
Step 3: Add stem and leaves
To finish your pumpkins, insert a stem in the middle and attach as many leaves as you would like. I’ve included two leaf patterns (one solid and one with veins) for more variety.
Decorating with Paper Pumpkins
These paper pumpkins look so sweet when using different patterns that coordinate.
I highly recommend getting a scrapbook paper booklet to help mix and match colors that already coordinate. While I love traditional orange pumpkins, part of the fun is pushing the limits on your autumn color palette.

If you’re feeling a little “extra” you can also add ribbon, twine, cinnamon sticks, or any other fall embellishment.
How about spooky paper pumpkins for Halloween? I love the MacKenzie-Childs vibe of these black and white checkered pumpkins paired with gold accents.
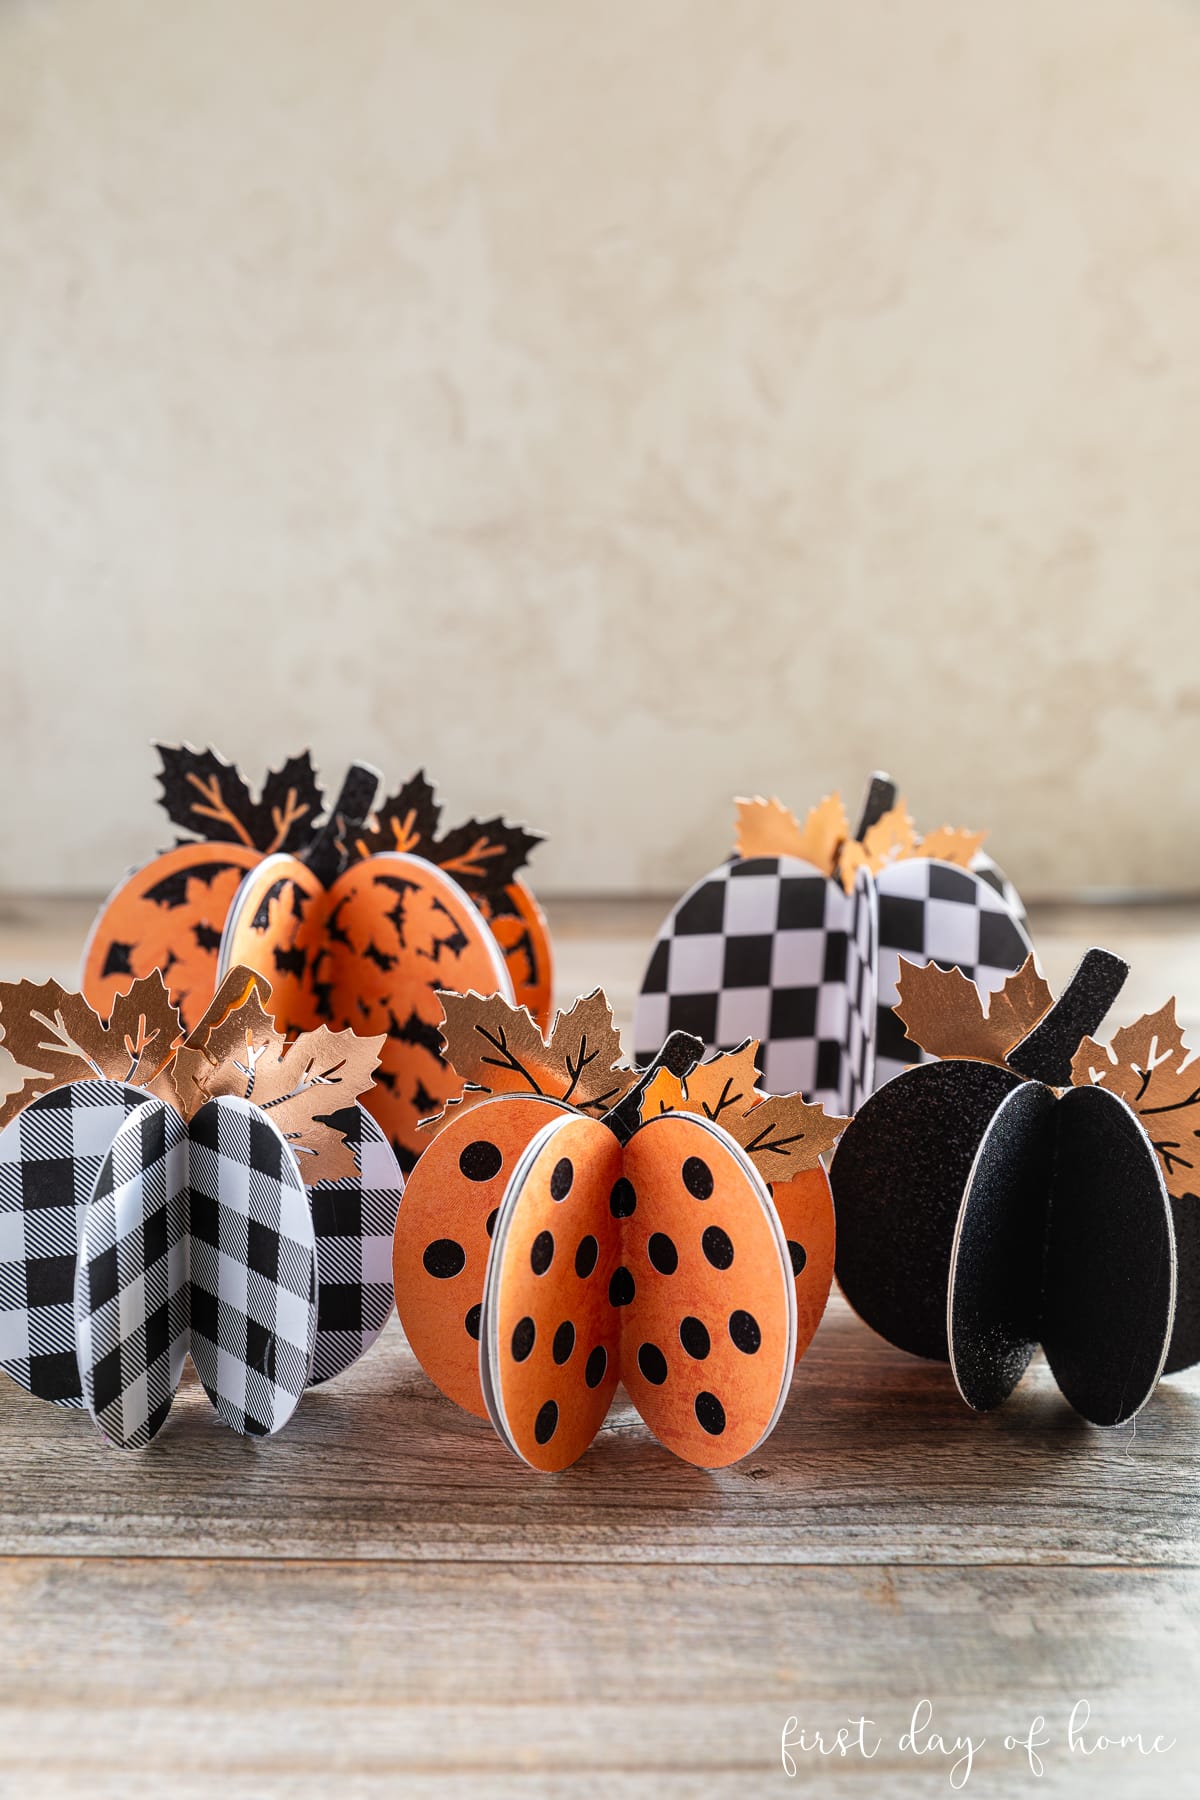
You can get creative by adding multiple layers to the leaves as well. This helps the designs to pop more.

Note: The pumpkin in the center above was an experiment and is not included in the free SVG file because the intricate design would not cut reliably when tested. Still, it’s cute, right?
Download the Free Paper Pumpkin SVG and PDF
Are you ready to get started? I’m happy to offer these paper pumpkin designs as a perk for my newsletter subscribers. When you sign up below, you’ll stay updated on new blog posts and be the first to know about other freebies and special offers.
These downloads are for personal use only and may not be sold, reproduced, bundled, or transferred without express permission.
I recommend downloading the files on a laptop or desktop computer and making a note of your download folder.
Pin it for later!


