Cricut StickerPix: Photos and Stickers Made Easy
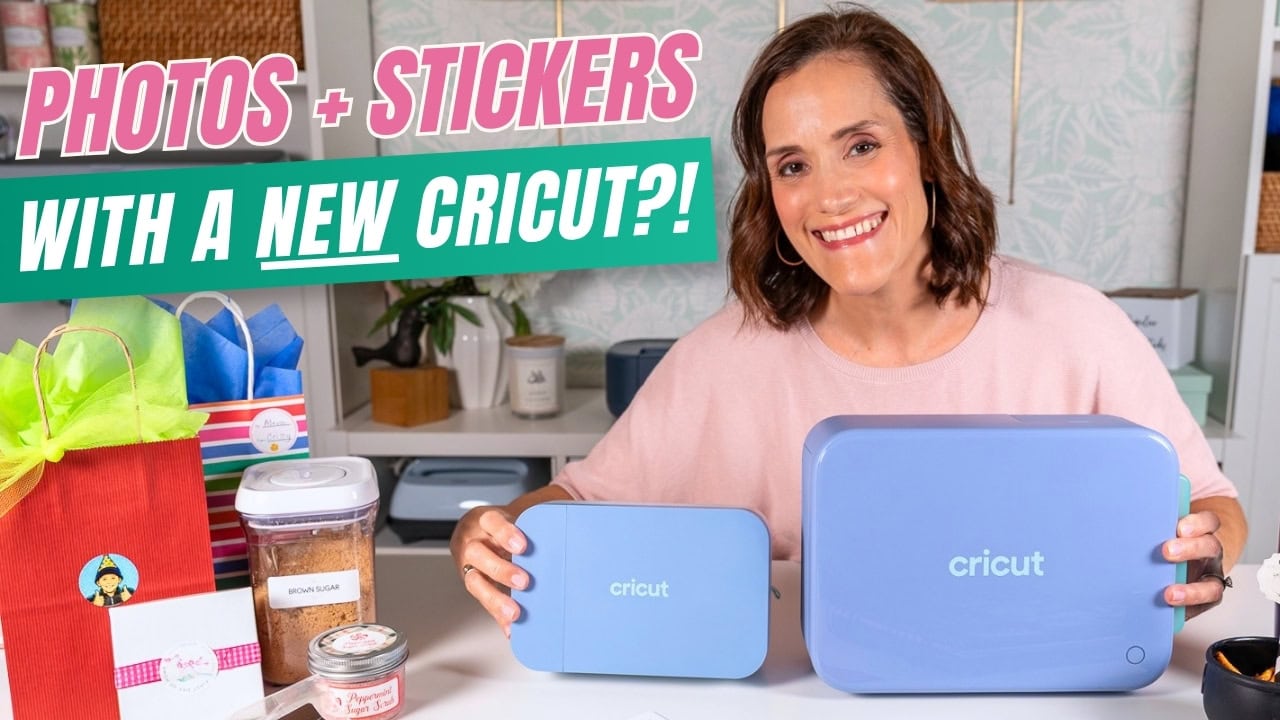
Making custom stickers and photos just got easier with the new Cricut StickerPix machines. In this Cricut StickerPix review, you’ll get the full scoop on how this new line differs from traditional cutting machines. You’ll also get real project examples to help you decide whether this is the right photo and sticker printer for you.
This post contains affiliate links, and I will be compensated if you make a purchase after clicking on my links. For more information, please see my disclosures.
Watch this StickerPix Review on YouTube
Printing Photos and Stickers Today
If you need a photo printed ASAP, you can order photos online at the nearest Walgreens or CVS. Then you’ll have to run to the store and wait for “assistance needed in the photo department.” Otherwise, you can order online and wait a few business days for your photos to arrive.
If you want custom stickers, you can order from a specialty sticker company, assuming you already have the artwork done. You may face a minimum order quantity or pay a hefty shipping fee, and you’ll have to wait a few days.
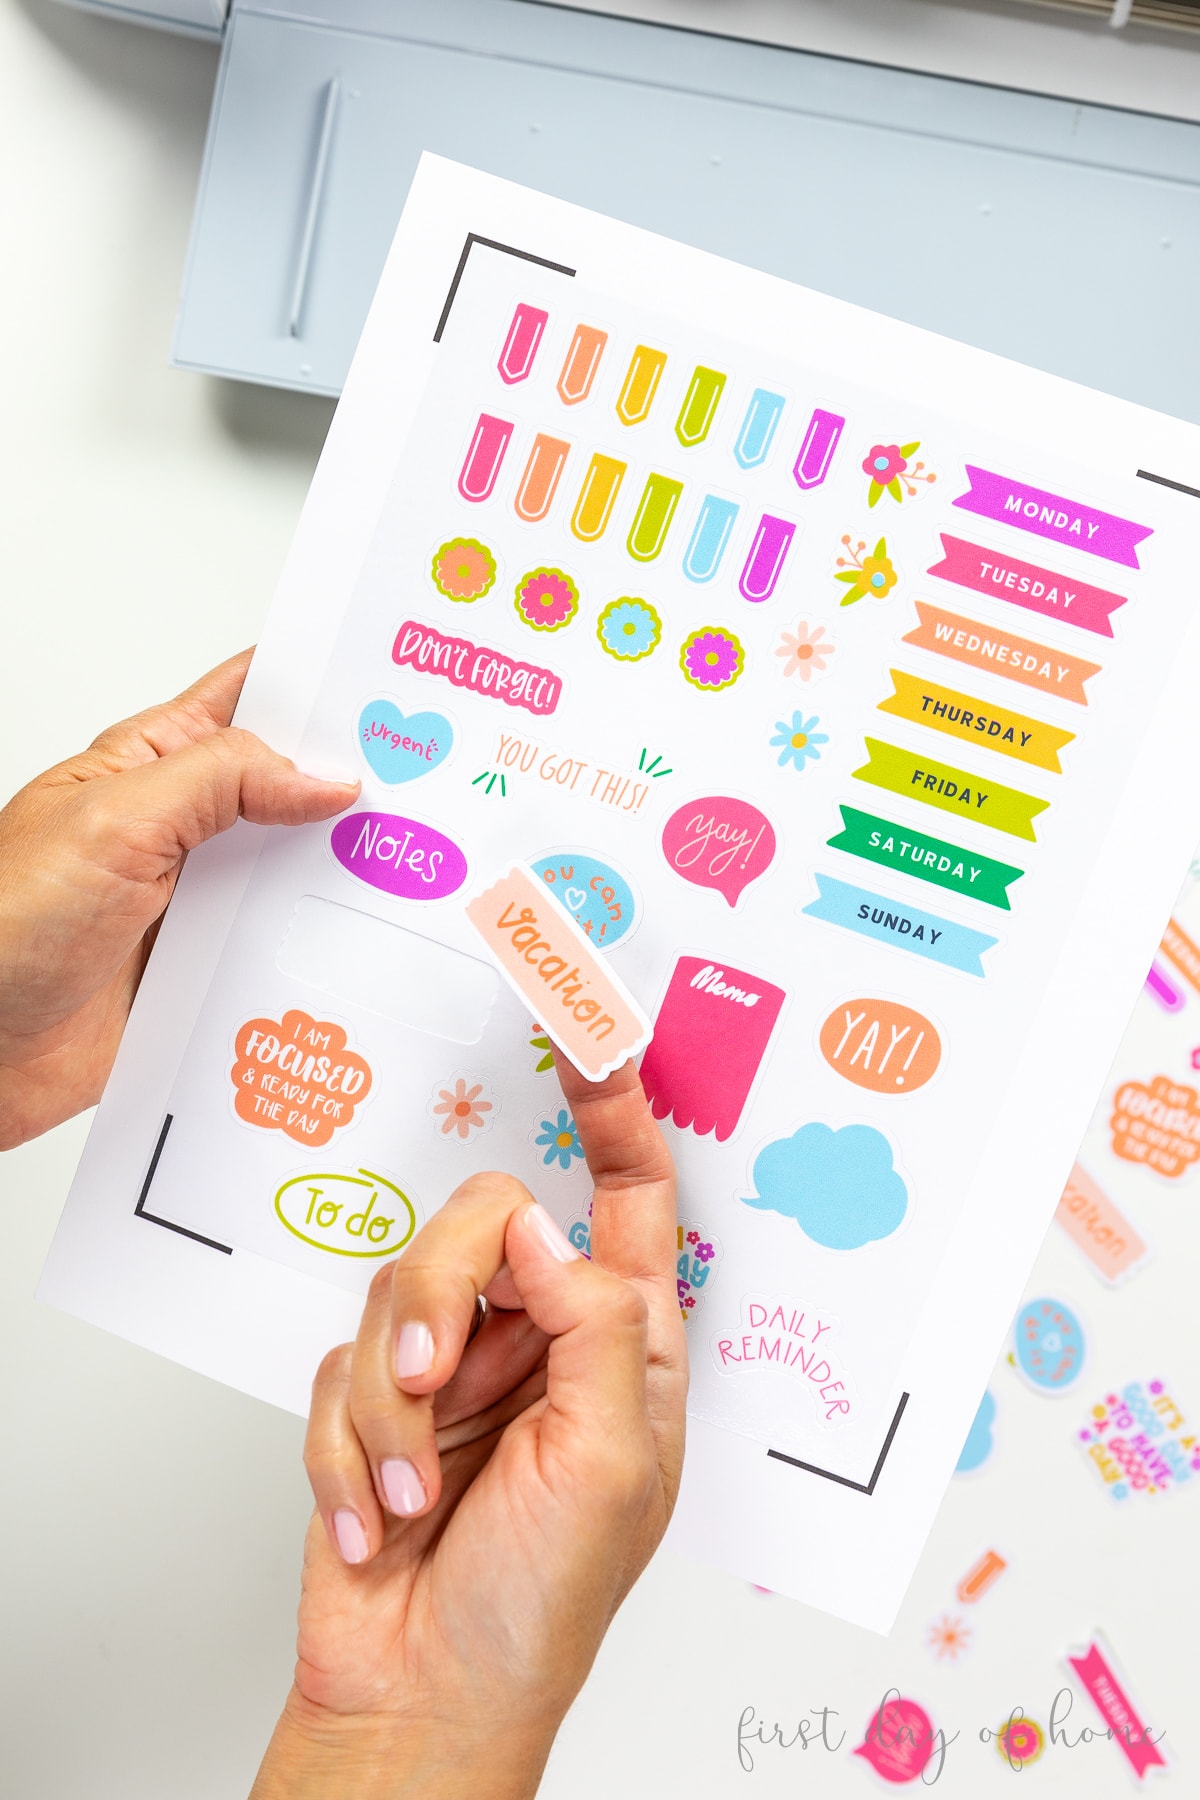
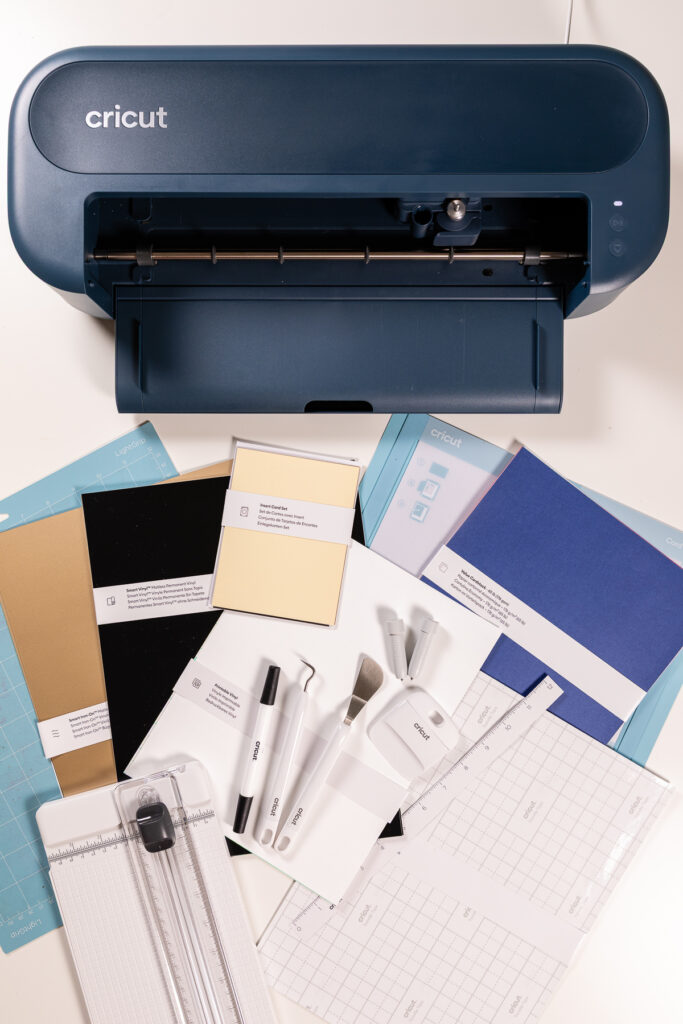
Of course, you can also learn how to make stickers with Cricut. There are plenty of great sticker designs in Cricut Design Space, but you’ll need both a cutting machine and an inkjet printer to do this.
What is the StickerPix, and how is it different?
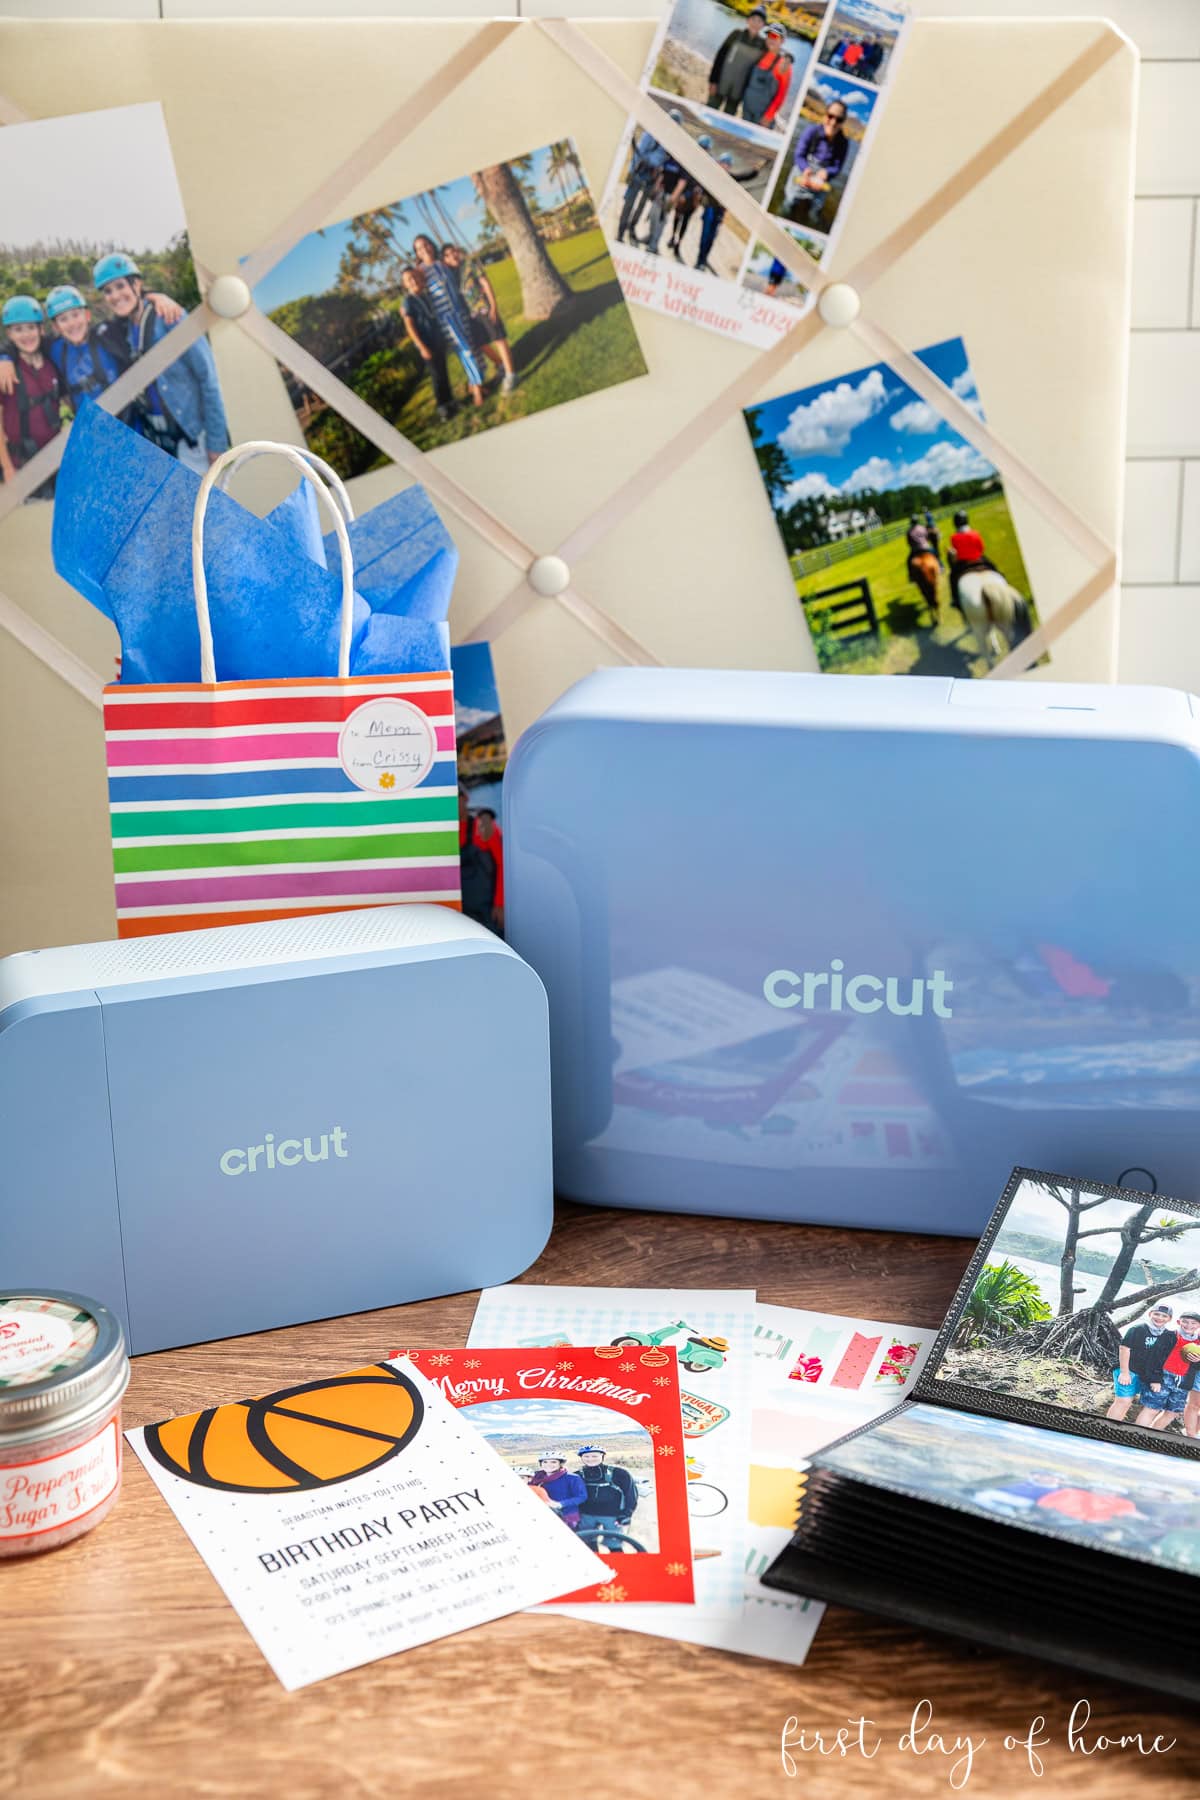
Cricut’s StickerPix Print and StickerPix Print + Cut machines simplify printing photos and stickers at home. Both machines print full-color photos and stickers using dye sublimation technology, with no separate printer or cutting mat required.
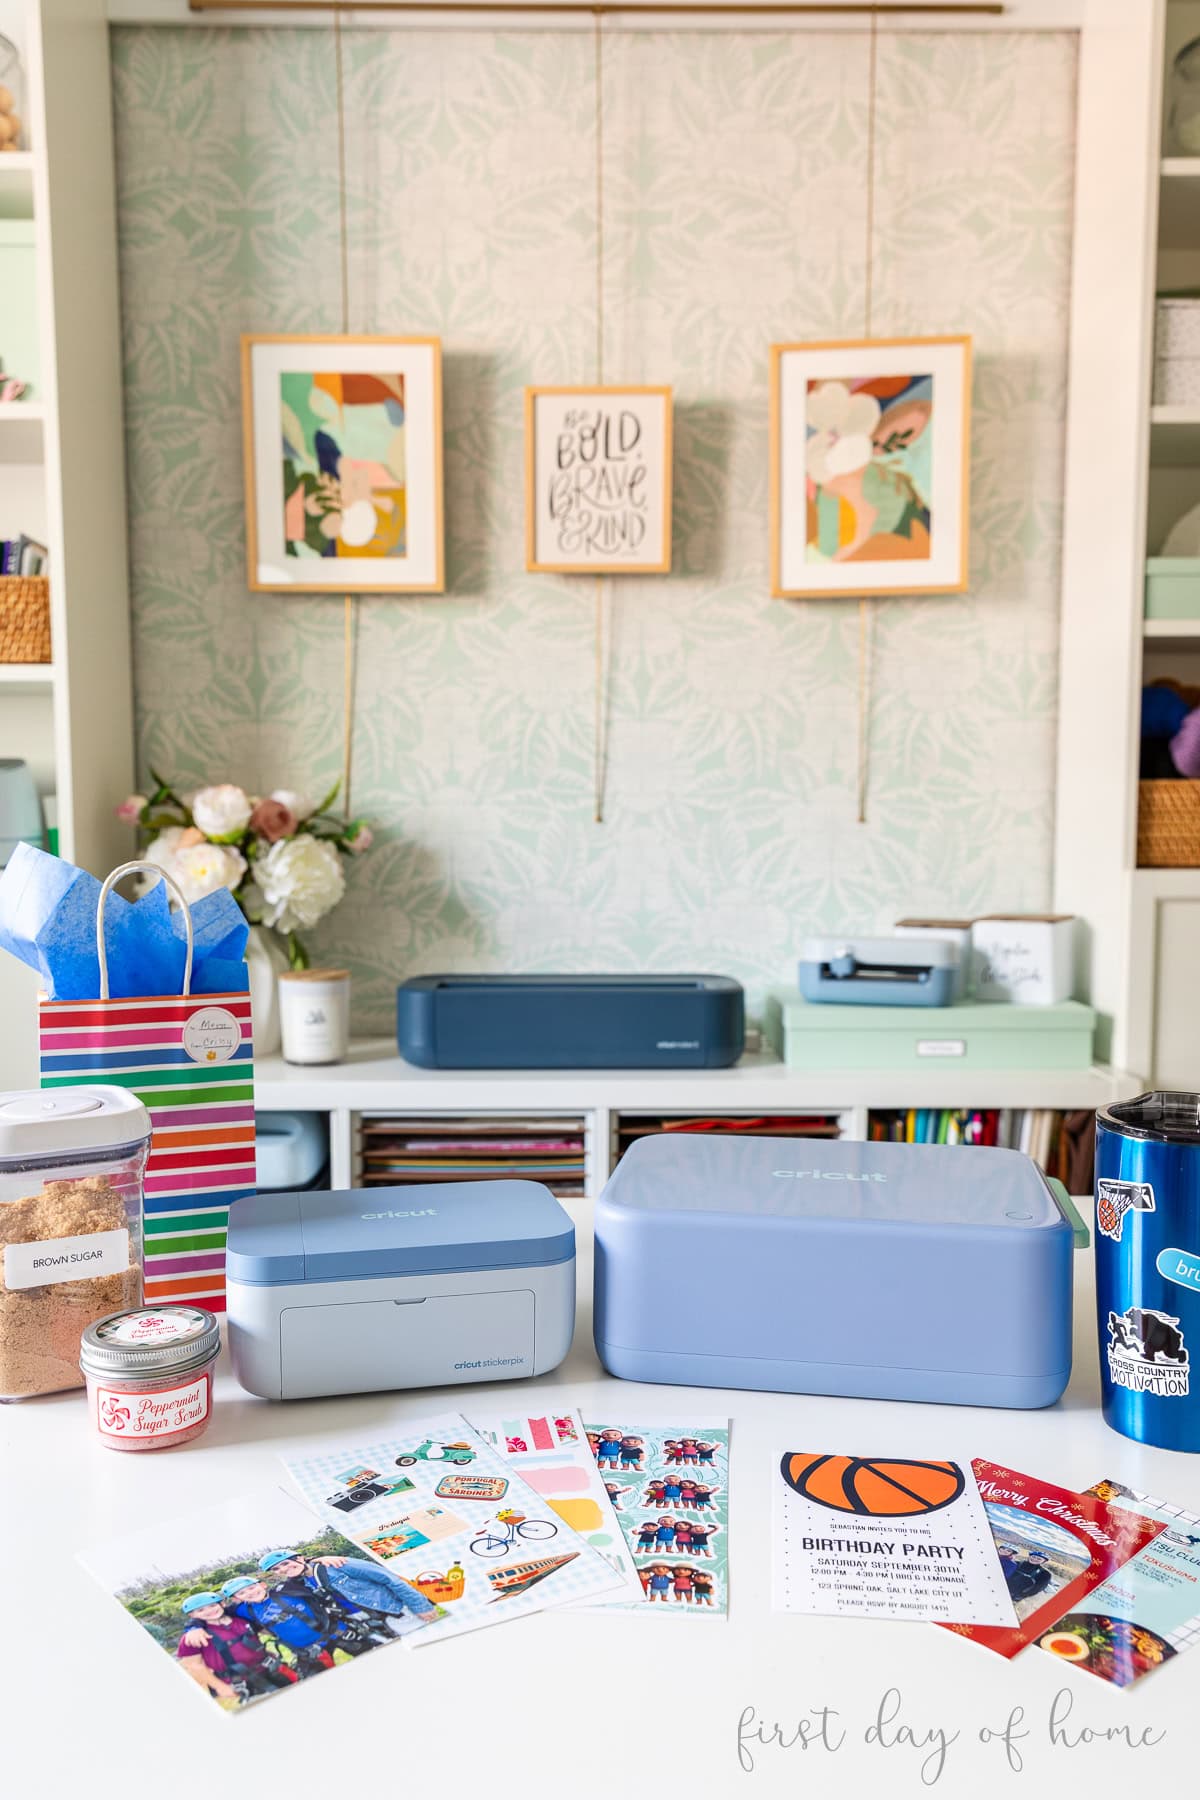
I reviewed both machines before they launched, so I’ve put them to the test making all types of photo and sticker projects. I’ll also compare them to a similar machine I’ve reviewed, the Lienne PixCut S1.
Here’s a quick overview of each StickerPix machine.
StickerPix Machine Comparison
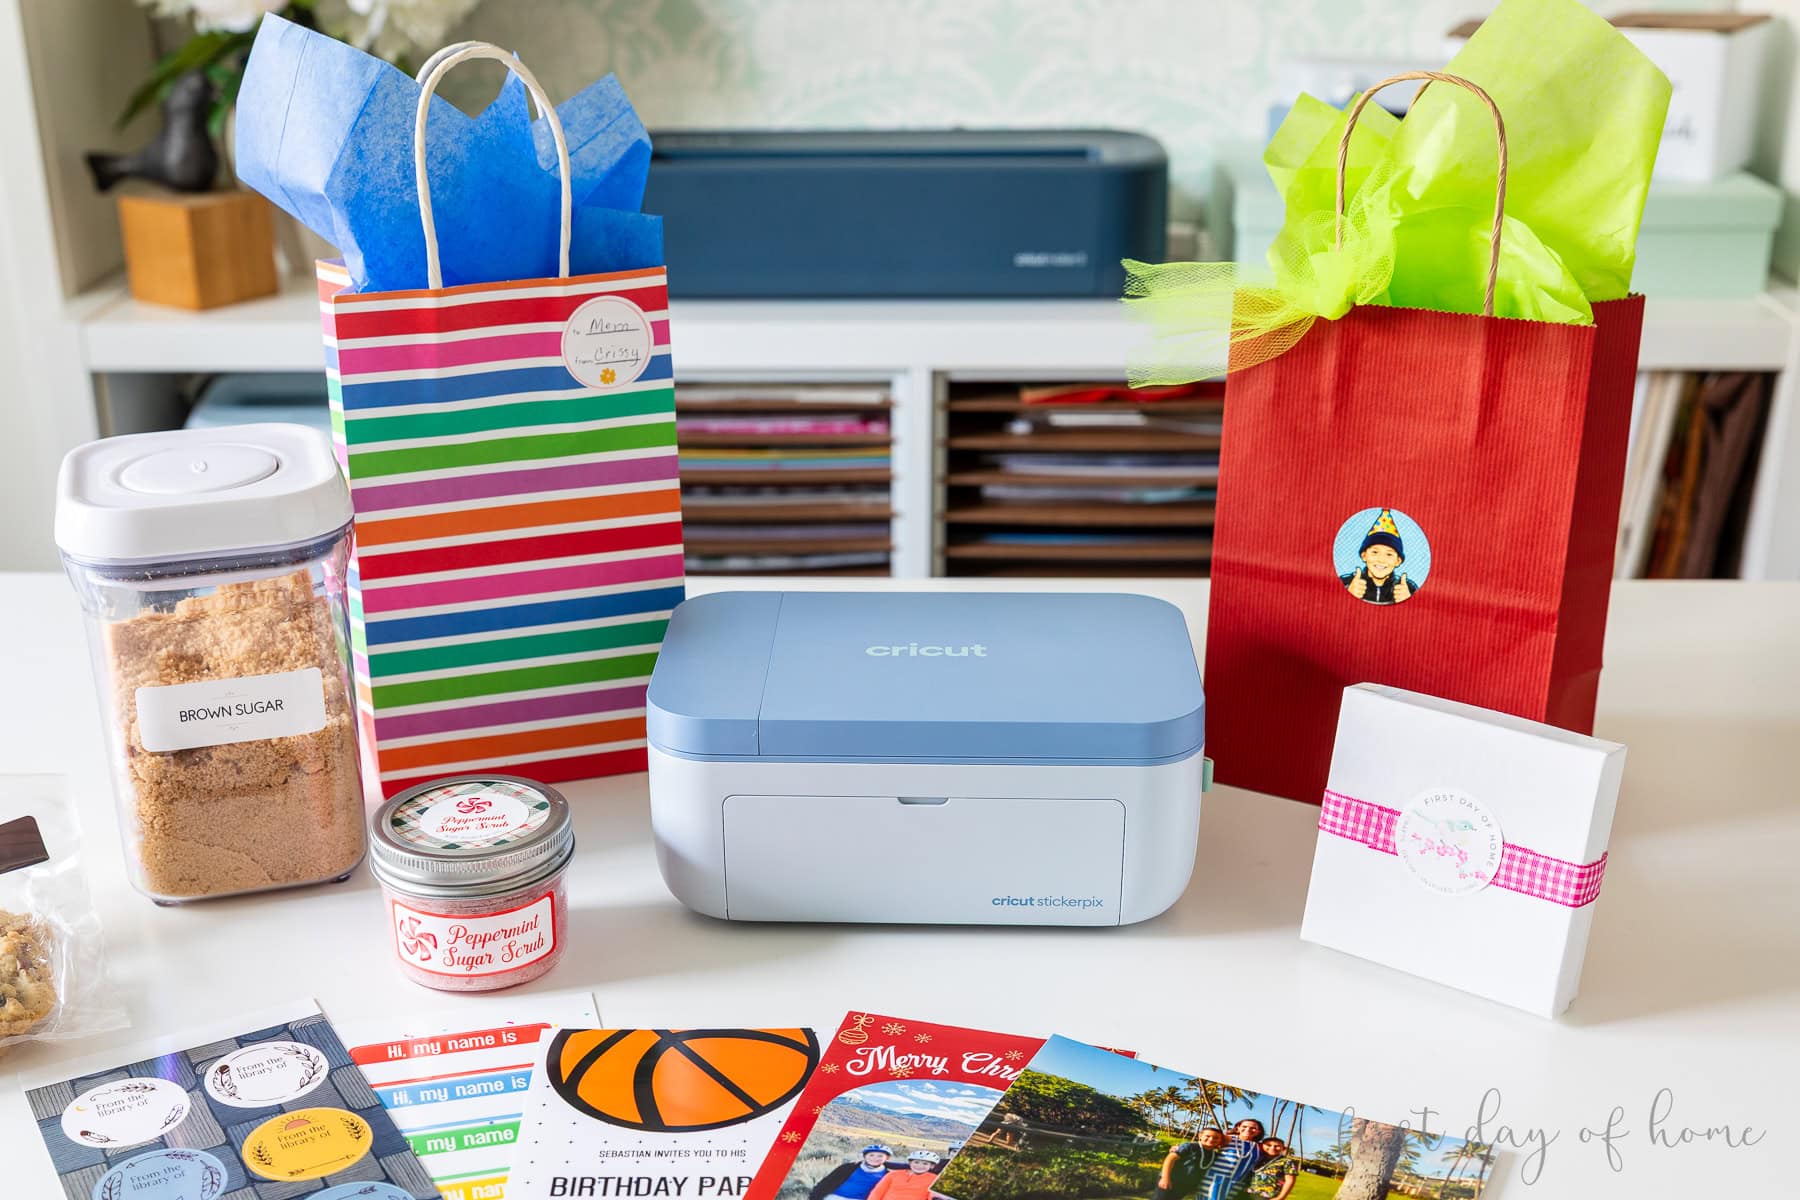
StickerPix Print
- Prints and laminates images
- Full-color photo printing (4 x 6 inches)
- Pre-cut sticker printing (4 x 6 inch sheets with circles, squares, or rectangles)
- Connects via Wi-Fi
- Includes ink cartridge for 54 prints
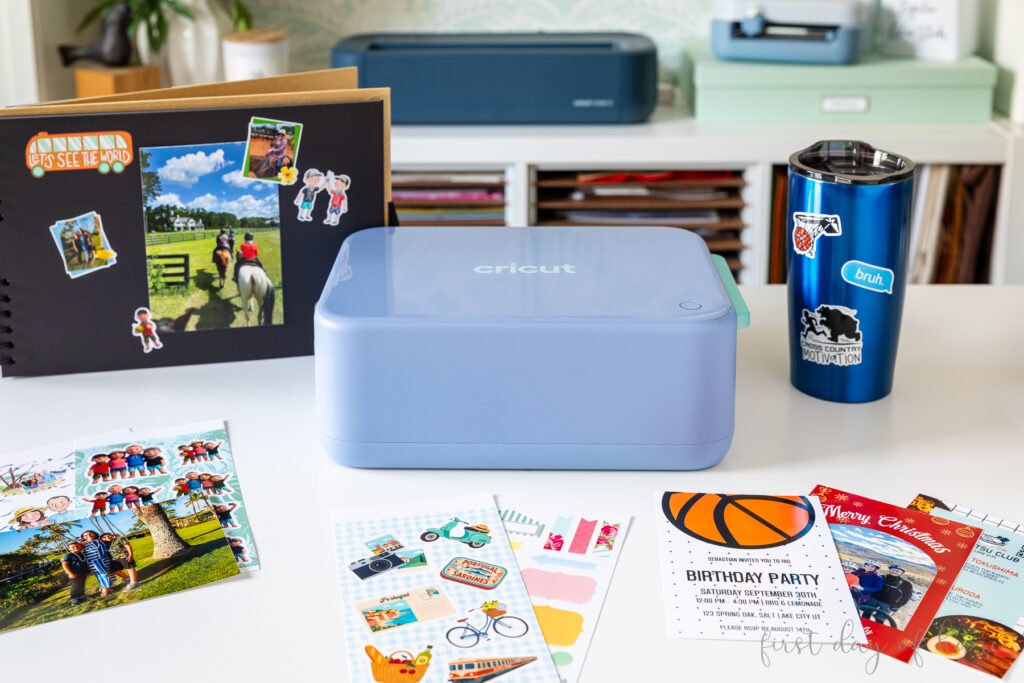
StickerPix Print + Cut
- Prints and laminates images
- Full-color photo printing (4 x 6 inches)
- Custom shaped sticker printing (4 x 7 inch sheets)
- Connects via Bluetooth
- Includes ink cartridge for 36 prints
Both StickerPix machines work with any desktop, tablet, or mobile device, on both iOS and Android.
They also use the same Cricut Design Space software you may already know from other Cricut machines. This is a huge advantage over similar photo and sticker printers on the market, since Design Space offers over 1.8M designs, as well as the ability to upload your own images.
The main difference between the two machines is how they make stickers. I’ll cover that below. First, let’s talk photos.
Printing Photos with StickerPix
With either machine, you can snap a photo within the app or upload one from your library, then print. You can only print one photo at a time, but you can start the next project while the machine is printing. The actual photo printing process takes less than two minutes.
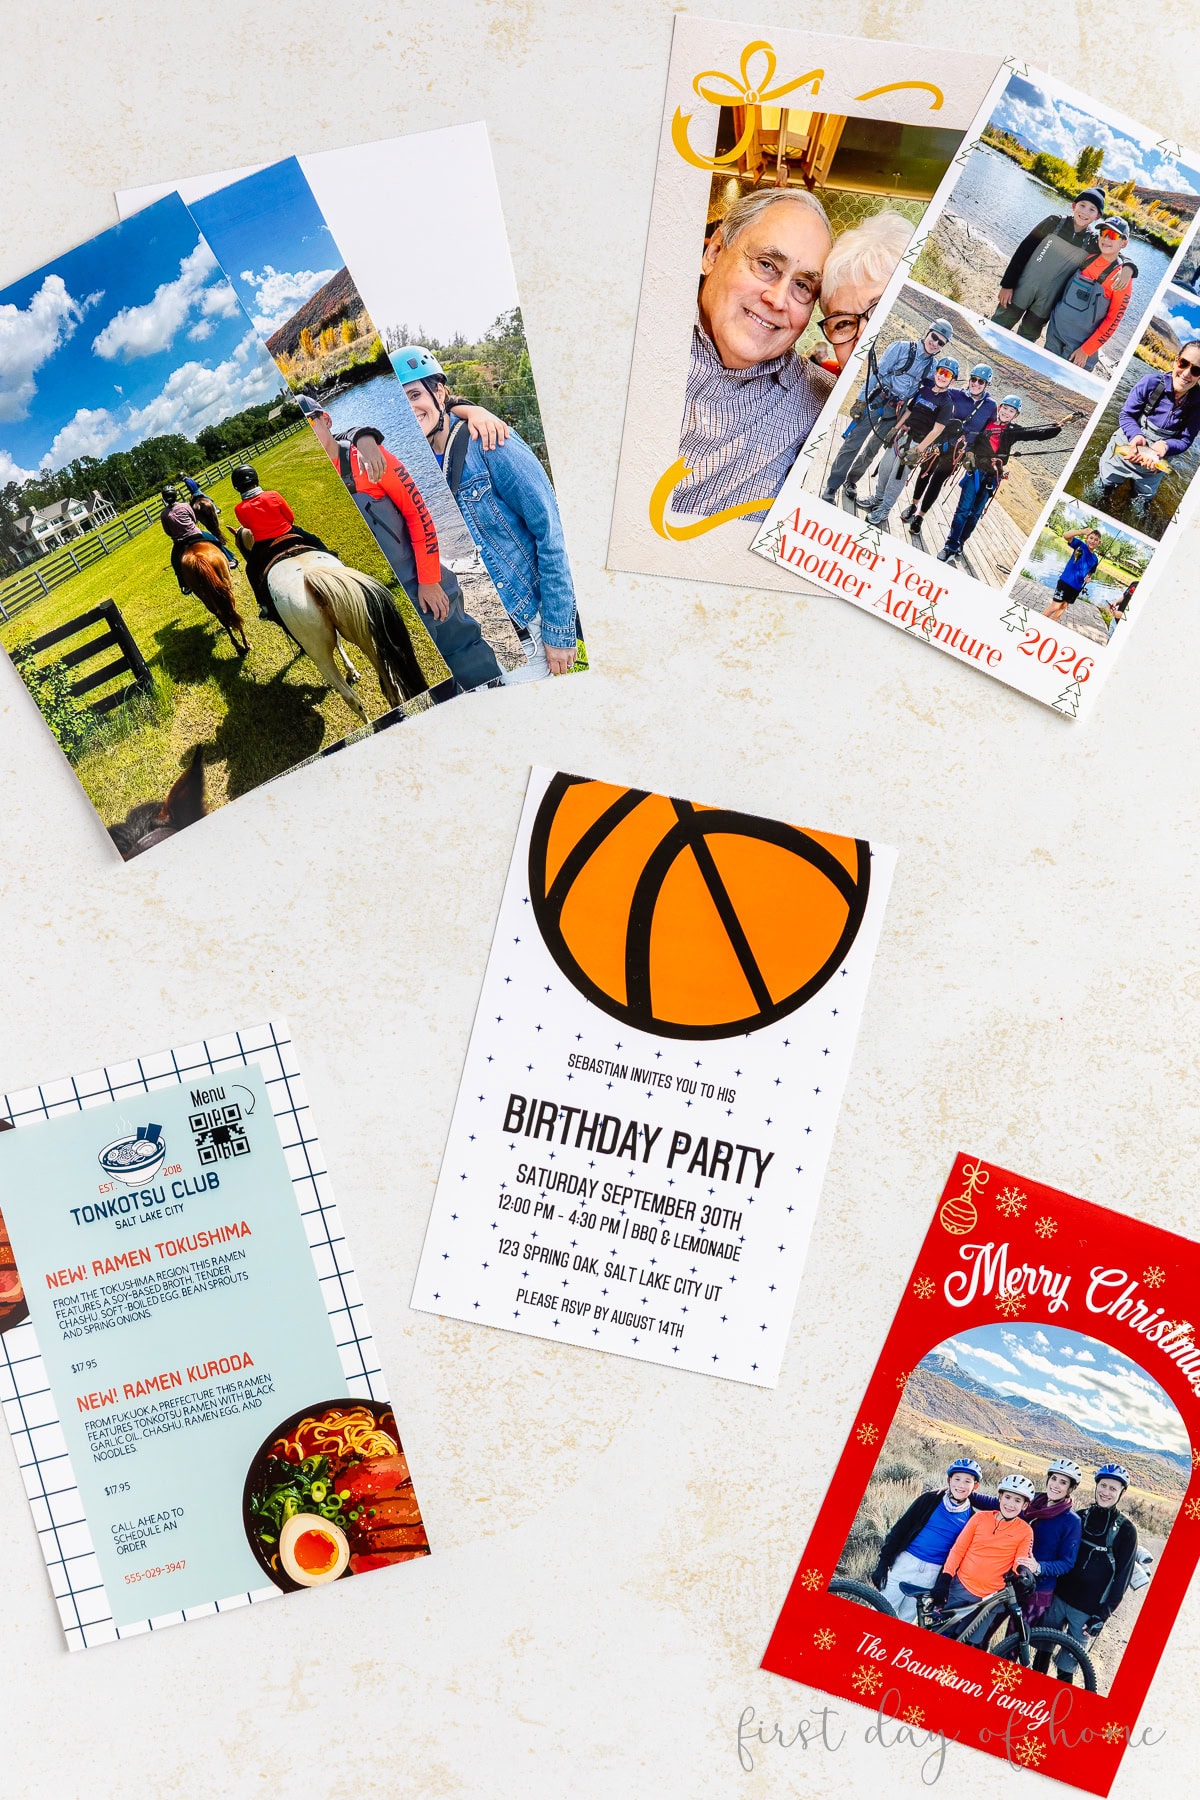
Both machines print photos in layers (yellow, magenta, and cyan) before adding a laminate coating. Once the photo is printed, you just snap off the tabs on each end, and voila! I tested the photo quality against my local pharmacy, and the results were identical.
The best part is that you’re not limited to just photos. You can make photo collages, menus, holiday cards, birthday invitations, or add decorative borders to photos. I mocked up a basketball-themed party invitation and Christmas cards. The results were outstanding!

Note: The machines include an ink cartridge that lasts long enough to print the included photo paper and sticker sheets. You will need to purchase replacement cartridges and paper/sheets when those run out.
Making Stickers with StickerPix: Print vs. Print + Cut
The main difference between the two StickerPix machines is how they make stickers.
StickerPix Print (Pre-cut Shapes)
If you’re primarily interested in making stickers and labels in standard sizes, the StickerPix Print model will suffice. This machine creates stickers using pre-cut circles, squares, or rectangles.
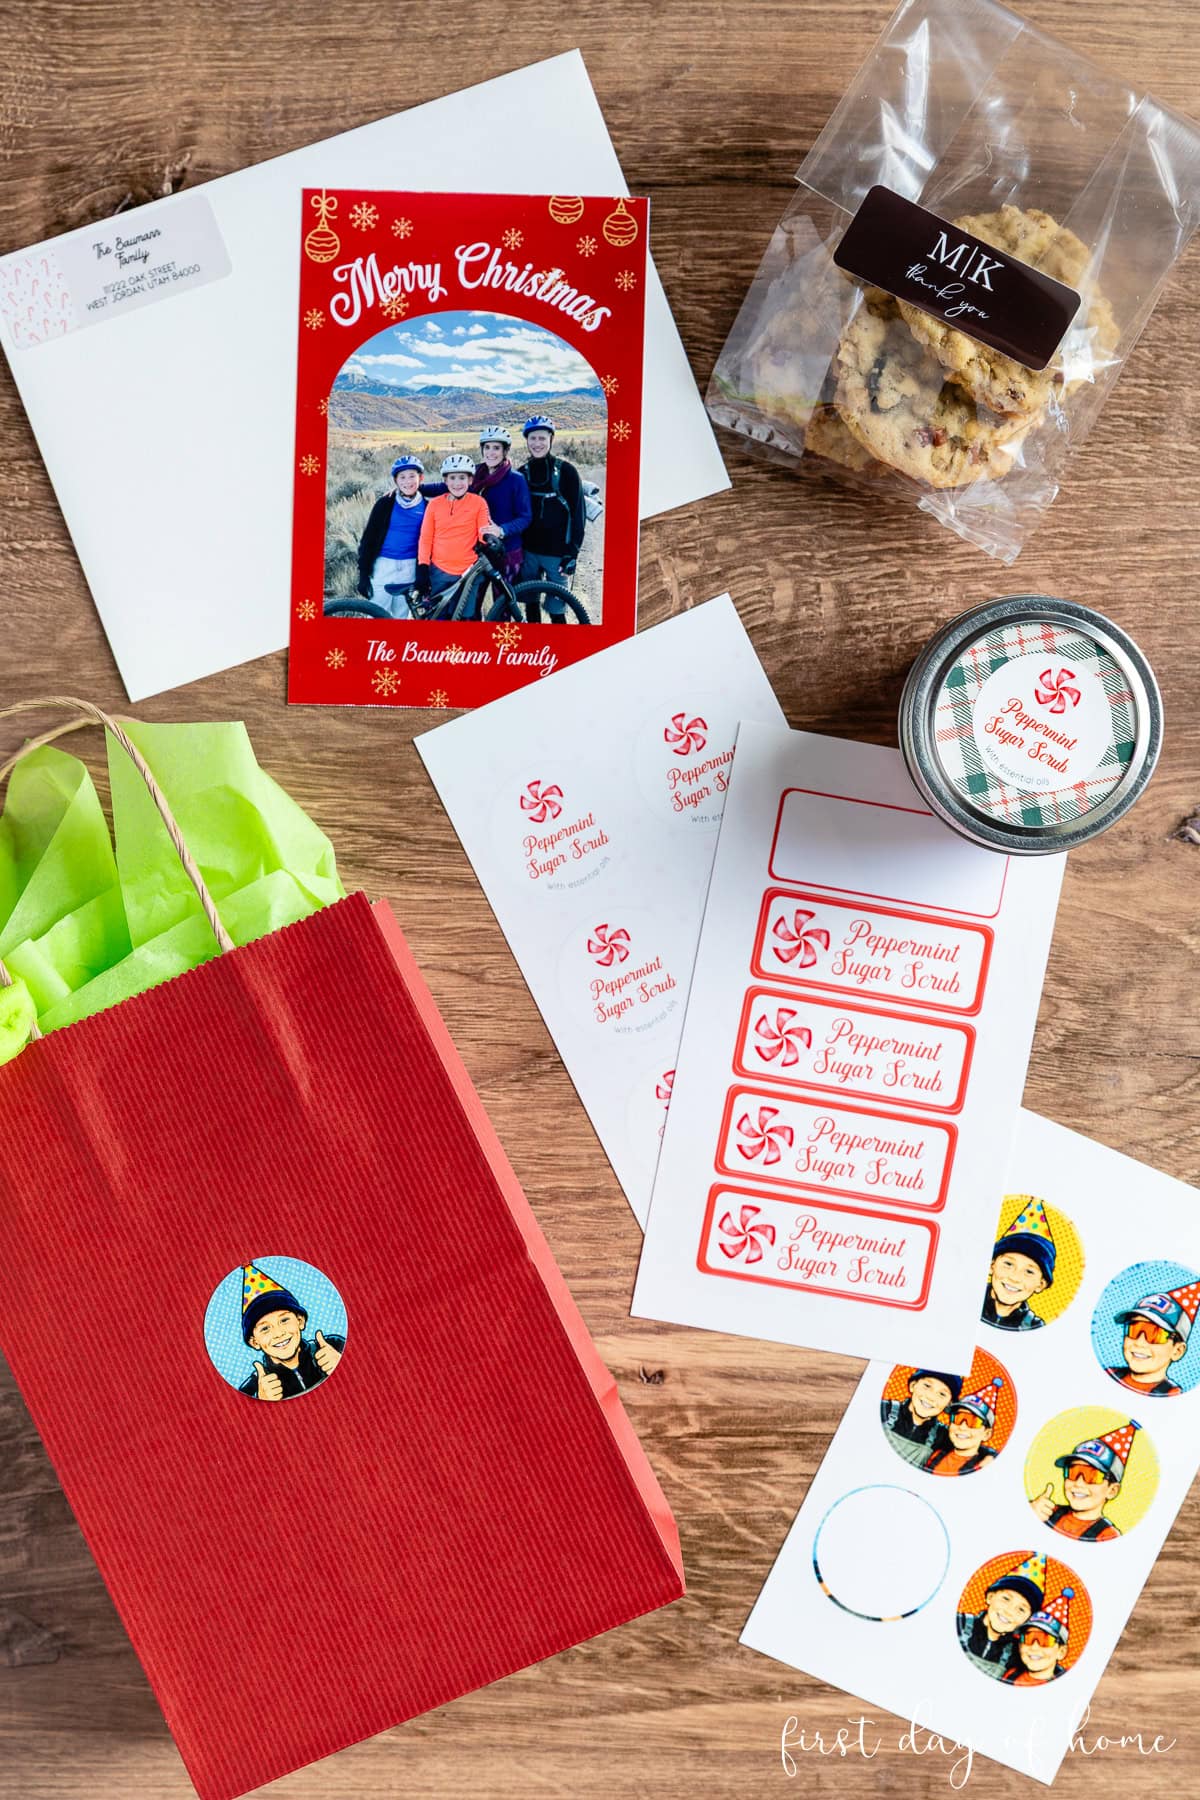
I used it to label pantry items, create party favors, and add custom packaging for a homemade peppermint sugar scrub. It can also make custom address labels for holiday photo cards.
StickerPix Print + Cut (Custom Shapes)
The StickerPix Print + Cut model has a built-in blade to create custom sticker shapes — hence the name. You can fill an entire 4 x 7-inch sticker sheet with any shape you desire, and the machine will print and cut it in 2-3 minutes.
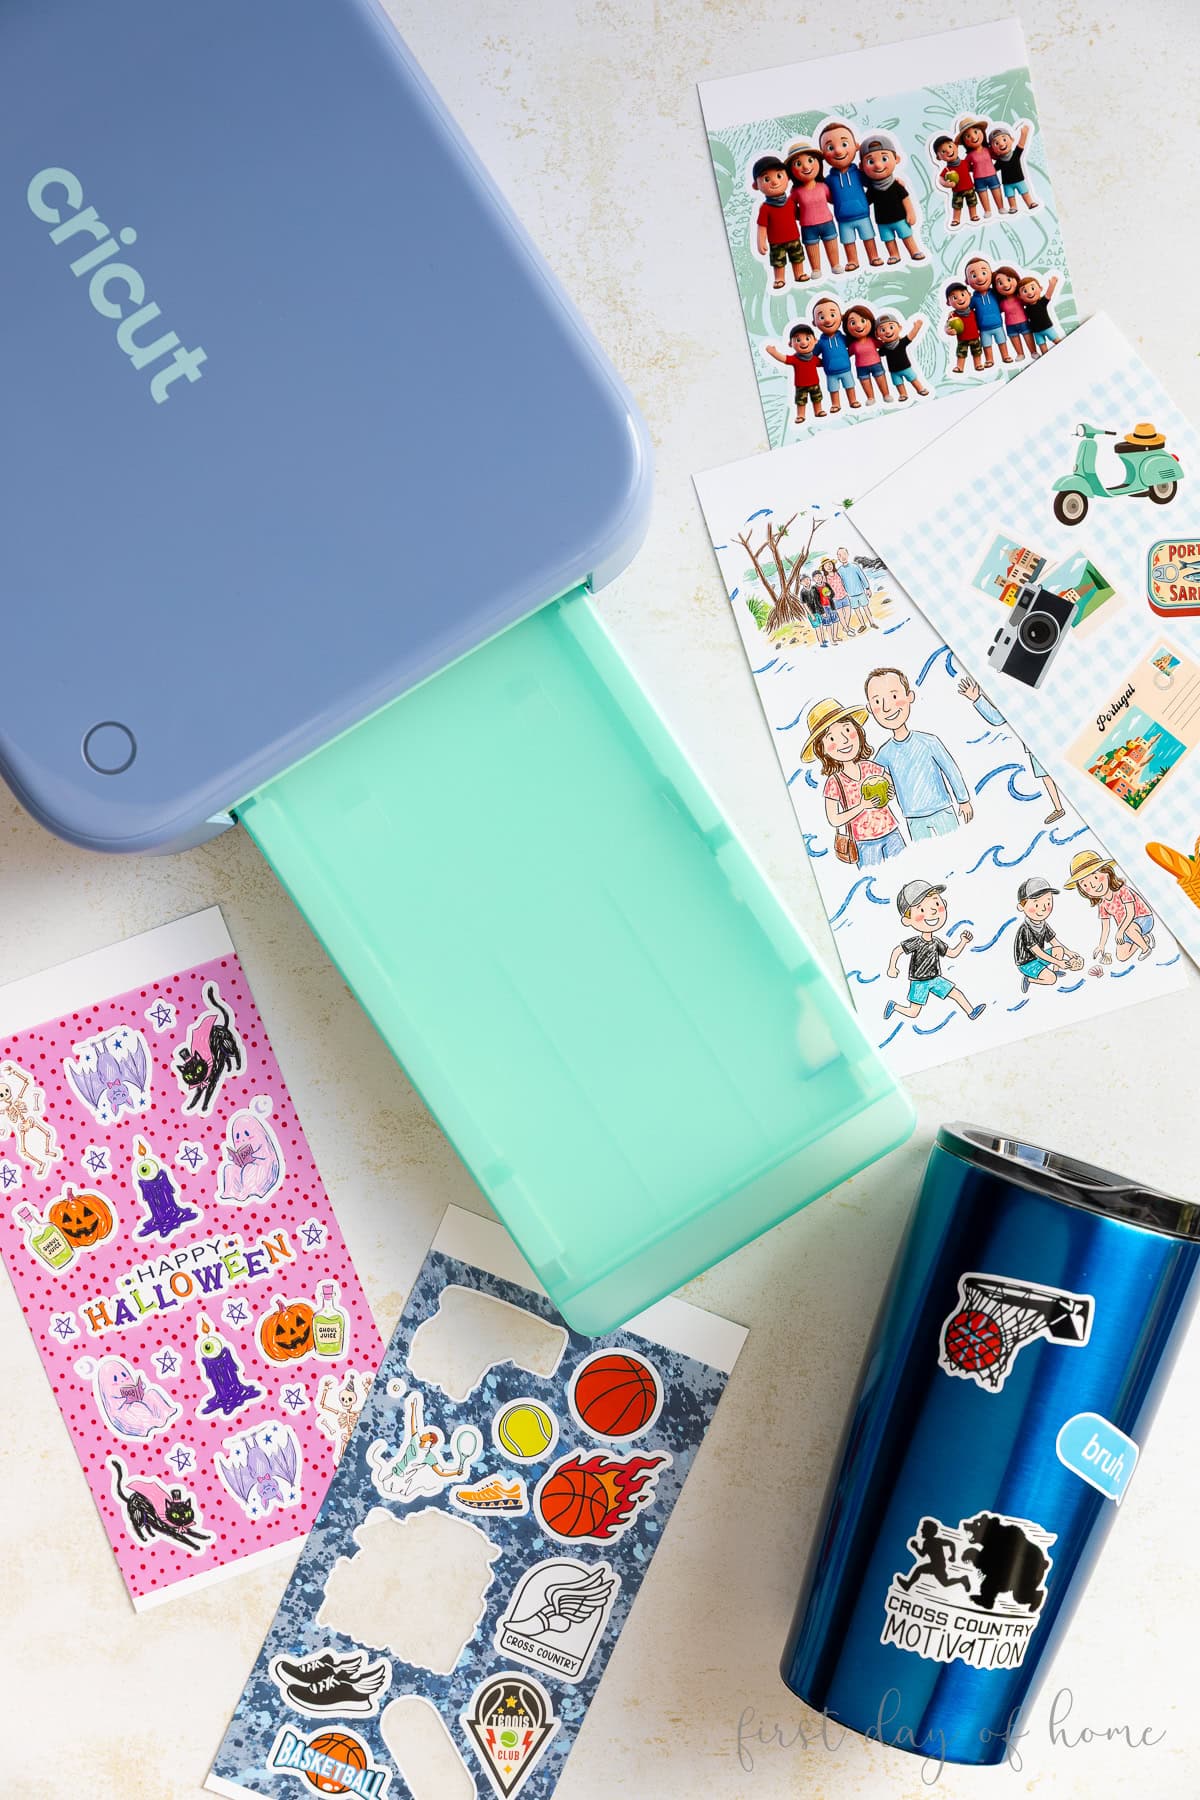
I made a batch of stickers using uploaded photos, Cricut Design Space images, and AI-generated images. You can see above how perfect these custom-shaped stickers are for water bottles, seasonal crafts, and scrapbooking.
The machine only makes kiss-cut stickers you can peel from a sticker sheet, but I love the fact that you can add colorful backgrounds and patterns to make the sheet look attractive. If you need die-cut stickers, however, you might see this as a limitation.
My absolute favorite design elements were the AI-generated sticker effects, like the 3D stickers and crayon sketch stickers I made from a family vacation photo (shown above). I’ll share more about the AI tools in the software section below.
What can you make with Cricut StickerPix?
If you love physical keepsakes and memory keeping or want to market your small business, StickerPix offers a convenient solution.
Memory Keeping & Scrapbooking
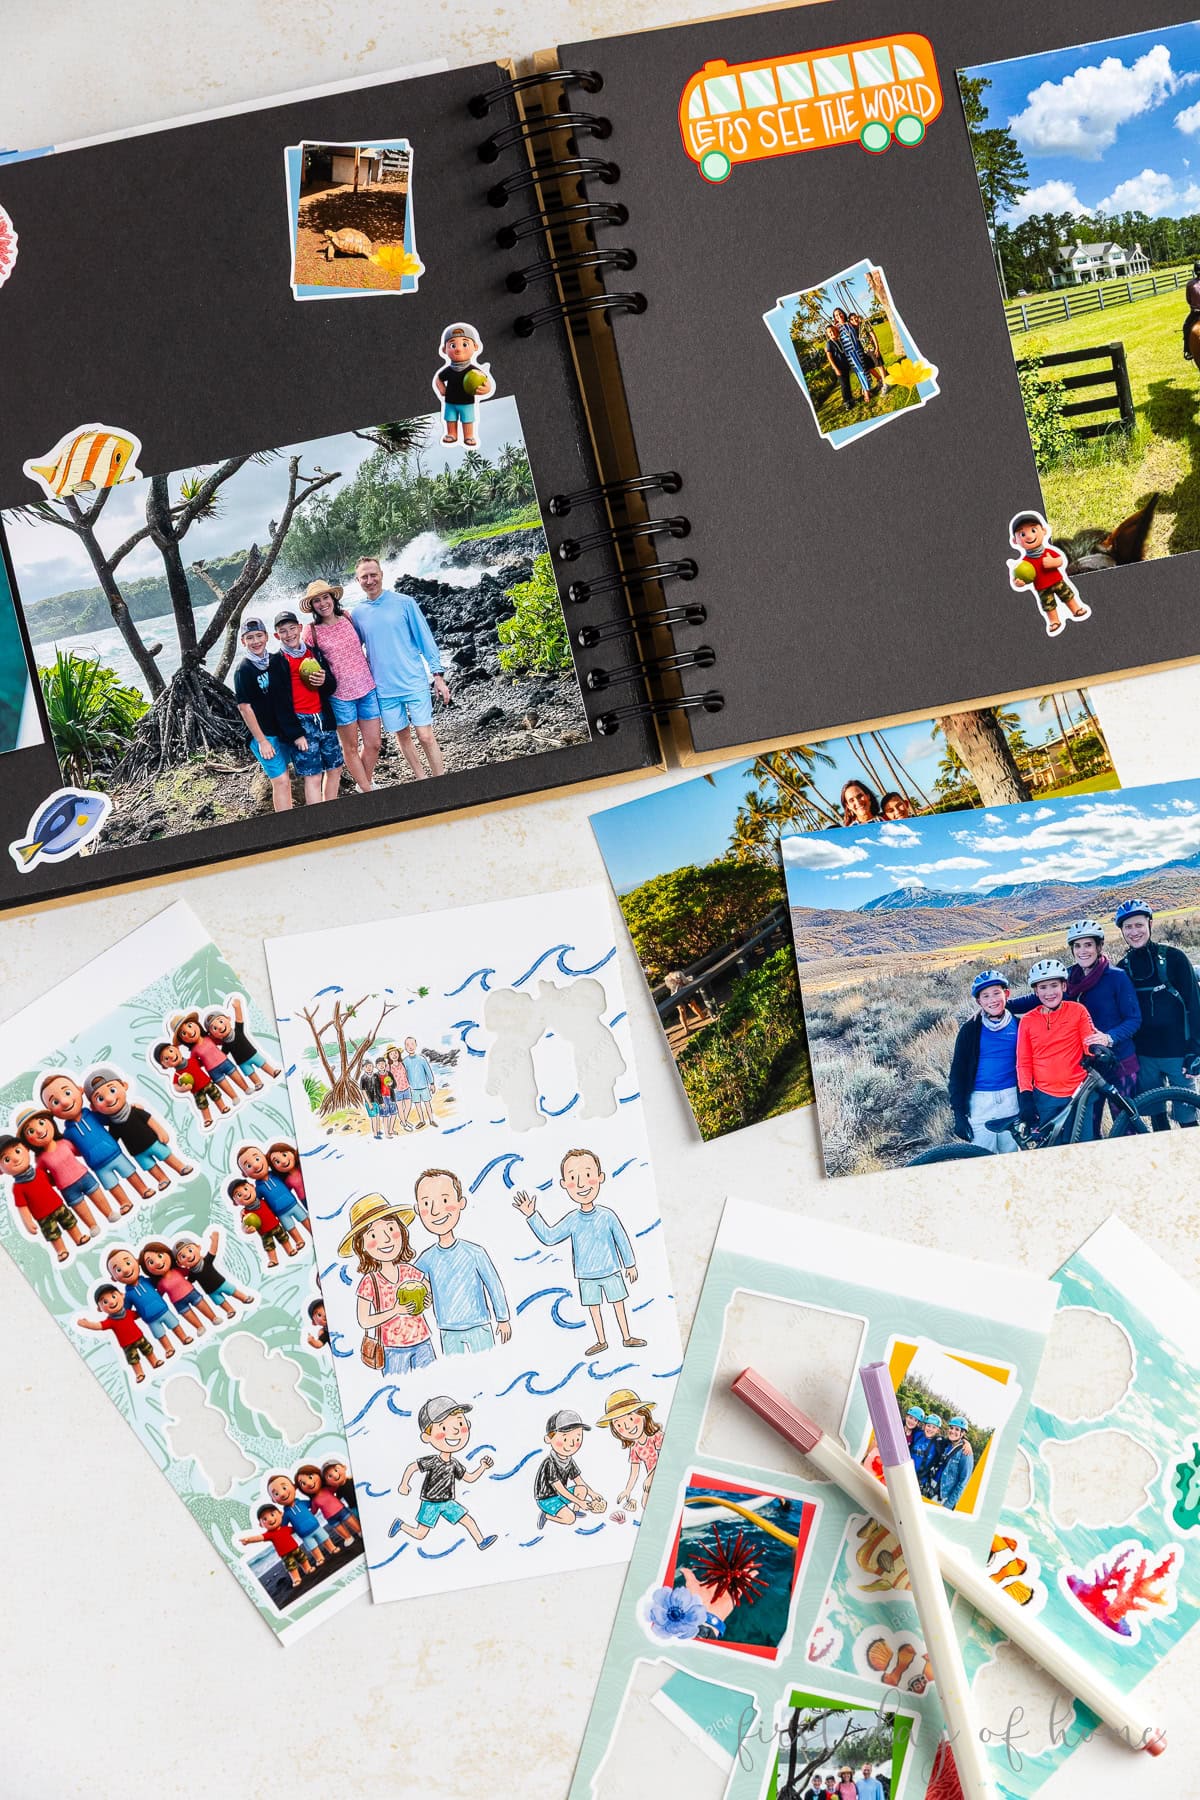
I was impressed with the pre-built sticker sheets in Cricut Design Space. I found some adorable travel-themed sticker sheets and transformed my vacation photos into unique sticker designs for scrapbooking. This is where the Print + Cut machine really stood out.
Party Planning
If you’re planning a party, the Cricut StickerPix machines can help with everything from printing invitations to decorating party favors. I’m planning to make a photo banner for an upcoming party using the StickerPix.
You could even take photos on the fly and print them at the party. It’s like a modern Polaroid camera, only better quality!
Small Business Marketing
If you sell on Etsy or at craft fairs, the StickerPix Print can help with branding.
I uploaded my logo and used the app’s autofill feature to fill a sticker sheet in minutes. Now I can add a sticker to my packaging for a more professional look. This is where the StickerPix Print machine comes in handy with standard pre-cut sticker shapes.
Beyond logos, you could print ingredient lists, care instructions, or QR code stickers that link to your website or a menu.
Cricut Design Space – Photo and Sticker Designs
Cricut Design Space now includes additional features to make it easy to create stickers and photo designs. You can start with a template or design your own layout on a blank canvas.
There’s a background remover tool for photos, which is handy for simple images. I especially liked the AI generation tools that can create stylized photo sticker sheets, from watercolor effects to caricatures.
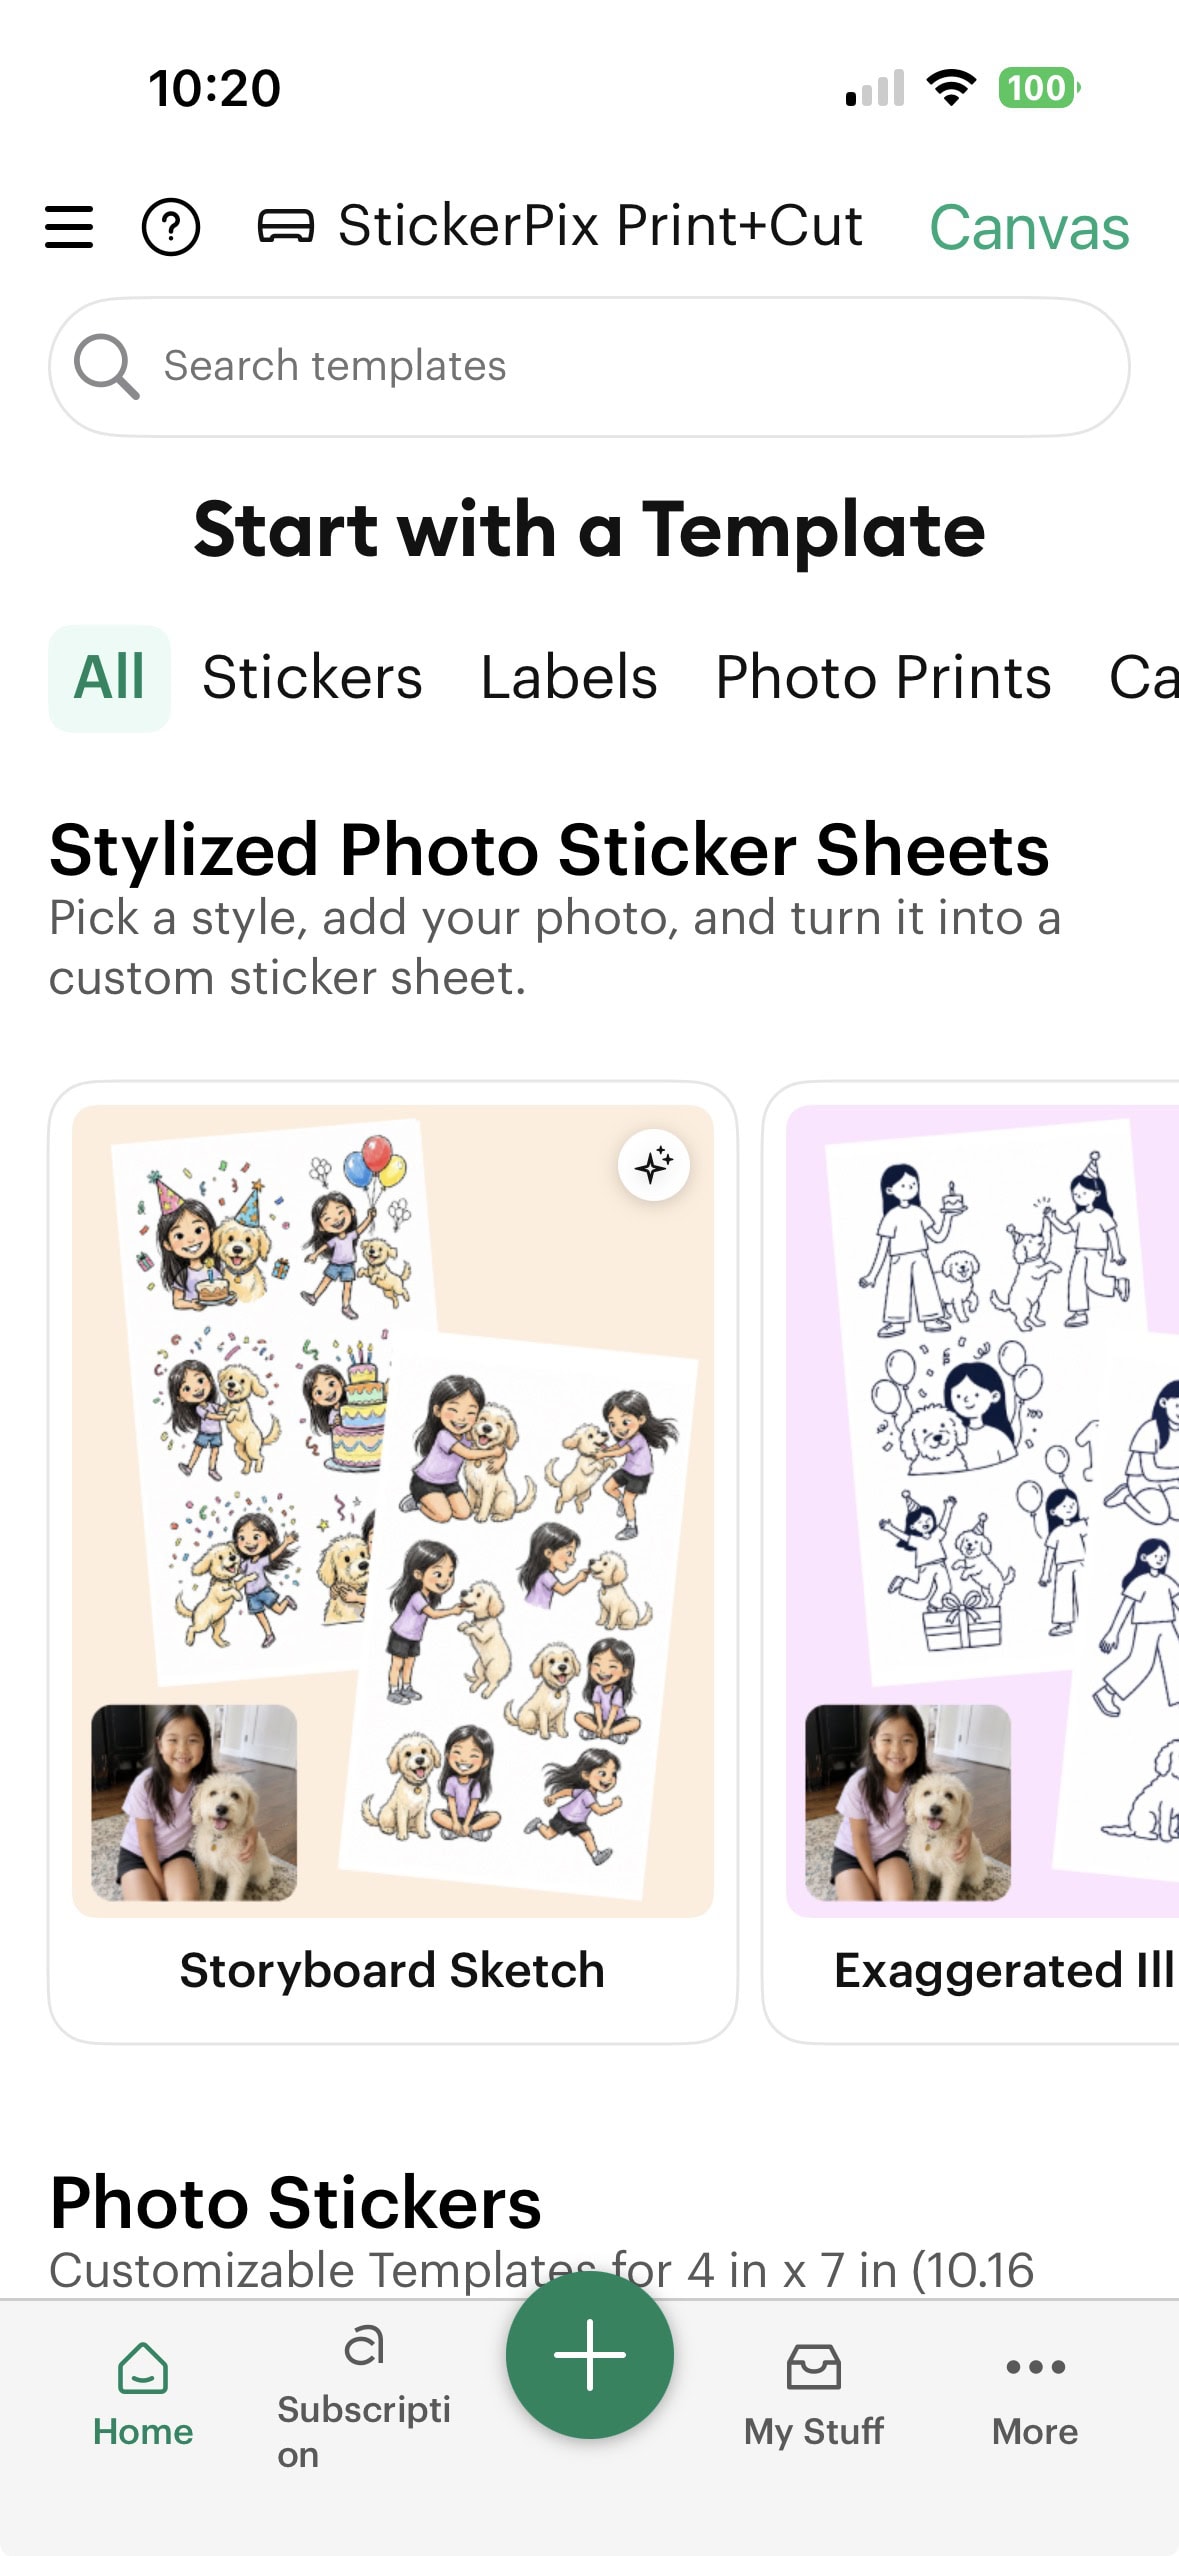
Formatting the designs feels intuitive, and the alignment and centering tools work well. Overall, the design library feels more extensive than others on the market.
Many templates in Cricut Design Space are free, and every member receives a monthly AI credit allowance. Cricut Access subscribers get even more images and a higher AI credit allowance.
Limitations of StickerPix: What to Know Before Buying
If you’re deciding between StickerPix and a traditional Cricut cutting machine or other craft technology, keep these points in mind:
- Cricut materials only – Both machines work exclusively with Cricut-branded photo and sticker sheets. You can’t substitute vinyl, cardstock, or other materials.
- Size limits – You can only print 4×6-inch photos and sticker sheets ranging from 4×6 to 4×7 inches, depending on the model.
- One print at a time – You can’t queue multiple photos or sticker sheets at a time, though you can start designing your next project while the current one prints.
- Kiss-cut only. These machines produce kiss-cut stickers (i.e., sticker sheets), not die-cut stickers. Since neither machine uses a cutting mat, there’s no easy workaround to make die-cut stickers.
StickerPix: What’s Included in the Box?
The StickerPix Print Essential Bundle retails for $169 and includes 18 photo sheets, 18 circle sticker sheets, 18 rectangle sticker sheets, and an ink cartridge supply for all of those prints. It comes in Blue (pictured here) or Teal.
The StickerPix Print + Cut Essential Bundle retails for $299 and includes enough photo sheets, sticker sheets, and ink for 36 prints, with a pre-installed cutting blade. The machine comes in a Powder Blue color (pictured here).
Cricut hasn’t announced the replacement cost for ink cartridges or sticker sheets yet, but I’d expect it to be in line with competitors.
How does StickerPix Print + Cut compare to Liene PixCut S1?
I’ve gotten a lot of questions about how the StickerPix Print + Cut stacks up against the Liene PixCut S1, since it’s a popular photo-and-sticker printer on the market right now. Both use dye-sublimation printing with a laminate layer for water, scratch, and fade resistance, and both connect to software via Bluetooth.
Software
The biggest difference is in the apps that power the machines. The StickerPix Print + Cut uses Cricut’s vast template library and AI generation tools within Cricut Design Space.
The Liene PixCut S1 feels more limited in its templates, fonts, and backgrounds for sticker sheets. However, the Liene app now includes some impressive AI-generated photo effects.
In some ways, the Liene software feels faster for simple photo and sticker projects, but StickerPix gives you more design control.
With StickerPix Print + Cut, you can design on any device, including a desktop, and easily switch between devices. The Liene PixCut S1 is designed exclusively for mobile phones and tablets, which can be a challenge if you like designing on a bigger screen.
I also appreciated Cricut’s Autosave feature within the app. I rarely lost a StickerPix project I started, whereas the Liene software requires actively saving your design if you want to explore other templates.
Ink Cartridges and Materials
Both machines use proprietary paper and ink cartridges from their own brand, though the material dimensions (both photo paper and sticker paper) are nearly identical.
Liene claims its photo and sticker materials are “waterproof” while Cricut’s materials are labeled “water-resistant.” However, I’ve found that removing Cricut’s stickers from a water bottle took quite a bit of effort. In general, I found Cricut’s sticker material harder to remove from surfaces than Liene’s.
Pricing
The machines are priced similarly, with the PixCut S1 typically listed around $279–$299 compared to $299 for the StickerPix Print + Cut.
If you’re deciding between the two machines, the PixCut S1 offers minimal design work, while the StickerPix Print + Cut gives you more creative control, especially if you’re already invested in the Cricut ecosystem.
Which StickerPix should you buy?
If you already own a Cricut Joy 2, Joy Xtra, Explore, or Maker and don’t mind the extra step of printing separately and loading a cutting mat, you might consider holding off on StickerPix unless photo printing is high on your priority list.
If you’re into memory keeping, scrapbooking, home organization, or party planning, either StickerPix machine can unlock new possibilities and cut down your design time significantly. For photos, I didn’t see any difference in quality between the two models, so that shouldn’t be a deciding factor.
If you want something compact and portable and you’re happy with basic circle, square, or rectangle stickers, the StickerPix Print is a great fit.
For custom-shaped stickers with ultimate design flexibility, the StickerPix Print + Cut is a great option. It’s a bit larger than the Print-only machine, but it’s still small enough to fit on a shelf.
Final Cricut StickerPix Review Thoughts
This is a completely new direction for Cricut as it’s the first time the company has introduced printing technology.
The photo quality on both models was truly impressive, and the sticker-making process was easy to master. I especially love the design flexibility and template selection.
Check out the FAQ section below for answers to common questions about StickerPix, and don’t forget to pin this article to share it with others!

Pin it for later!
Frequently Asked Questions (FAQs)
-
What’s the difference between StickerPix Print and StickerPix Print + Cut?
The StickerPix Print only creates pre-cut circle, square, or rectangle stickers, while the StickerPix Print + Cut has a built-in blade that cuts custom sticker shapes. Both print full-color photos identically.
-
Can I use my own paper or vinyl in these machines?
No. Both machines only work with Cricut-branded photo and sticker sheets.
-
How long does it take to print a photo or sticker sheet?
In my testing, photos came out in under two minutes on both machines, while stickers cut on StickerPix Print + Cut took 2-3 minutes.
-
Do I need a Cricut Access subscription to use these machines?
No, but Cricut Access members get more template images and a higher monthly AI credit allowance.
-
Can I print multiple photos or sticker sheets at once?
Not yet. There’s no print queue, so you can only print one sheet at a time. However, you can design your next project while the current one is printing.
-
Are the stickers waterproof and fade-resistant?
The lamination layer on both machines makes stickers scratch-resistant, water-resistant, and fade-resistant but not officially “waterproof.”
-
Are the stickers permanent, or can I reposition them?
Once applied, the stickers are difficult to remove without damaging the laminate layer. You can remove them, but you can’t easily reposition them.
-
How accurate is the custom cutting on the StickerPix Print + Cut?
Compared to Cricut’s Print Then Cut feature on existing cutting machines, StickerPix Print + Cut delivered better image alignment and didn’t require machine calibration before printing and cutting.
-
How much do replacement sticker sheets and ink cartridges cost?
Cricut hasn’t announced replacement pricing yet, but it’s expected to be comparable to other competitors on the market.