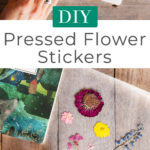
Easy Pressed Flower Stickers
Pressing flowers has been a lifelong passion, so I’m always searching for creative ways to use preserved flowers in craft projects. I recently stumbled upon a nifty trick to make pressed flower stickers in less than five minutes. If you haven’t tried this, I invite you to hop on the bandwagon!

This post contains affiliate links, and I will be compensated if you make a purchase after clicking on my links. For more information, please see my disclosures.
Where to Get Pressed Flowers
If you’re new to pressing flowers, I have countless resources to get you started. You can either press your own flowers or buy preserved flowers online.

My personal preference is always to press flowers at home. You know the song “Sentimental Mood”? That’s pretty much my resting state of mind. Picking flowers from a backyard garden or on a special trip can bring back sweet memories for years to come.
In a world where attention spans run short, pressed flower crafts can force you to slow down and enjoy the journey.
Option 1: Pressing Flowers at Home
In my comprehensive guide on how to press flowers, you’ll find these four easy methods for beginners:
- Pressing flowers in a book
- Pressing flowers in a microwave
- Making a DIY flower press
- Pressing flowers with an iron
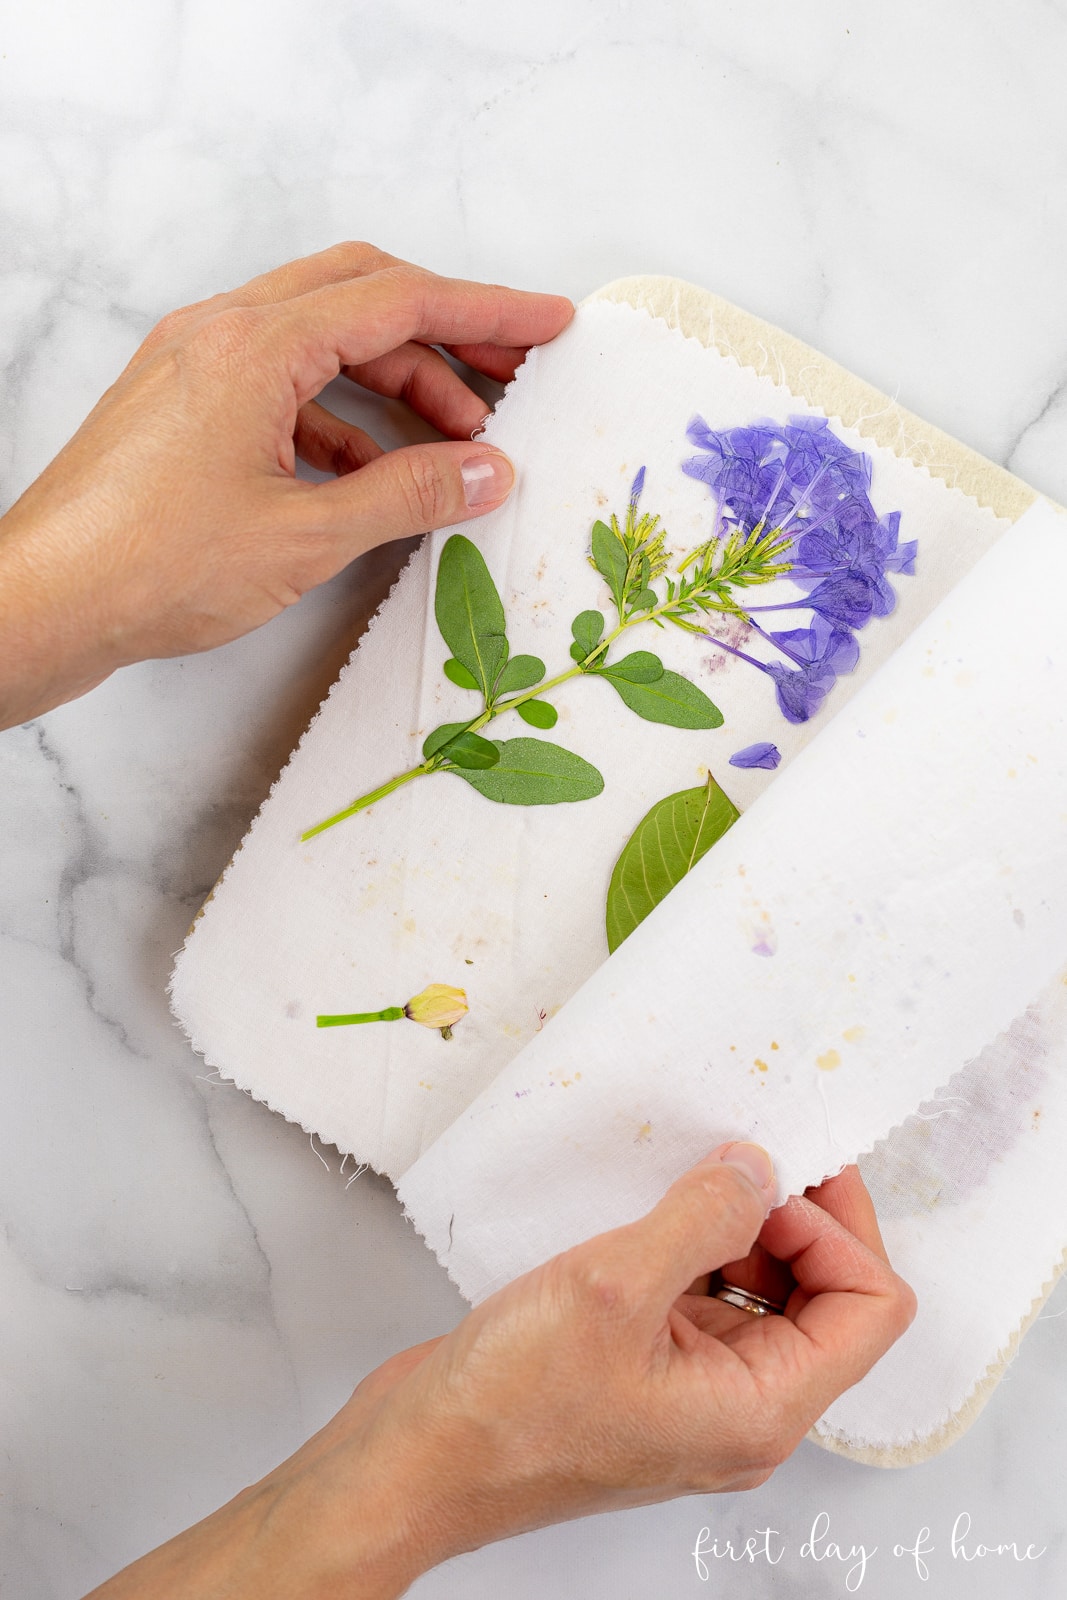
The quickest of these methods while maintaining quality is a microwave flower press. I’ve used the Microfleur Max for many years. Big fan here!
I also partnered with them to illustrate how to make pressed flower art. You can use my Microfleur discount code below for 10% off your purchase.
Get 10% off your entire order of Microfleur products with the code FIRSTDAYOFHOME. Limit one per customer.
Option 2: Buying Dried Flowers
Sometimes time is of the essence, and the two-day shipping option from Amazon Prime comes in handy. Buying real flowers online has the added benefit of choosing a specific color combination and variety of flowers.
Below are a few options for pressed flowers that I’ve tested and enjoyed.
Shop for Pressed Flowers

How to Make Pressed Flower Stickers
I have great news! These pressed flower stickers take very little time to make and won’t break the bank. You’ll need only a few household supplies that I’m sure you can find in a junk drawer.
Watch This Tutorial
Click the video below to watch this tutorial in action. The video will start after a brief ad, which helps support my photography equipment, web hosting, and crafting habits so I can bring you more great DIY projects. Thank you!
Supplies

- Pressed flowers
- Wax paper
- Clear packing tape
- Scissors
- Optional: tweezers
- Optional: weeding tool
Step 1: Apply a single layer of packing tape to wax paper
To begin, cut a square sheet of wax paper, and place strips of packing tape to cover the sheet. The tape should be placed with the sticky side down, attached to the wax paper.
Tape down the edges of the wax paper to prevent it from shifting during this step.
Step 2: Place pressed flowers on the taped paper
Carefully place the pressed flowers on the packing tape layer, with the blooms facing up. Avoid placing the flowers between the strips of tape if possible.
Tweezers often come in handy when working with delicate pressed flowers.
Step 3: Apply a top layer of packing tape

Once the flowers are placed, apply a top layer of packing tape to cover the pressed flowers.
Again, it’s best to ensure the flowers are centered in the strips of packing tape. However, you may need to overlap strips of tape for larger blooms.
Step 4: Cut out the flower stickers
Cut a small border around each pressed flower, keeping the wax paper backing. You can store these stickers for safekeeping later or use them right away. (I love the idea of including a few DIY stickers in birthday cards.)

When you’re ready to use the stickers, simply peel off the wax paper liner. If you have trouble peeling the paper away from the tape, you can use a
Step 5: Decorate with pressed flower stickers
Pressed flower stickers can dress up a junk journal, travel journal, or handmade card. I used a combination of pressed roses, crape myrtle blooms, zinnias, and other small flowers for my stickers.

I also collected a few bluebonnets on a recent trip to the Texas Hill Country, and they are among my favorite stems for journaling stickers.

These stickers also work well for bullet journaling, greeting cards, picture frames, gift wrapping, posters, mobile phone cases, notebooks, bookmarks, and more.
If you’re planning to give these stickers as a gift, consider making some adorable pressed flower bookmarks to accompany them. You can also create pressed flower lanterns with any leftover flowers.
I’d love to know how you plan to use them for your creative projects! Leave me a comment below to tell me more.
More Sticker Ideas
If you need more journaling ideas, check out my tutorial on how to make stickers with Cricut. You’ll find an example of a full sheet of journal stickers that you can access in my
Pin it for later!


This is such a fun idea, Crissy. And so creative! I’m excited to share a link to your tutorial in my weekly recap post tomorrow.
Happy Easter!
Thanks so much, Jen! That’s very kind of you to include the tutorial in your post. I hope you had a wonderful Easter with your family!
What a cool idea! I am definitely going to try this. Sounds like it couldn’t be easier and I have almost all of the supplies. Thank you for a great tutorial!
I’m so glad you like it, Tess! The wax paper can be a bit tricky to remove at first, so that’s my only caveat. It’s a super simple craft, though. Have fun!