Easy DIY Wooden Door Hanger
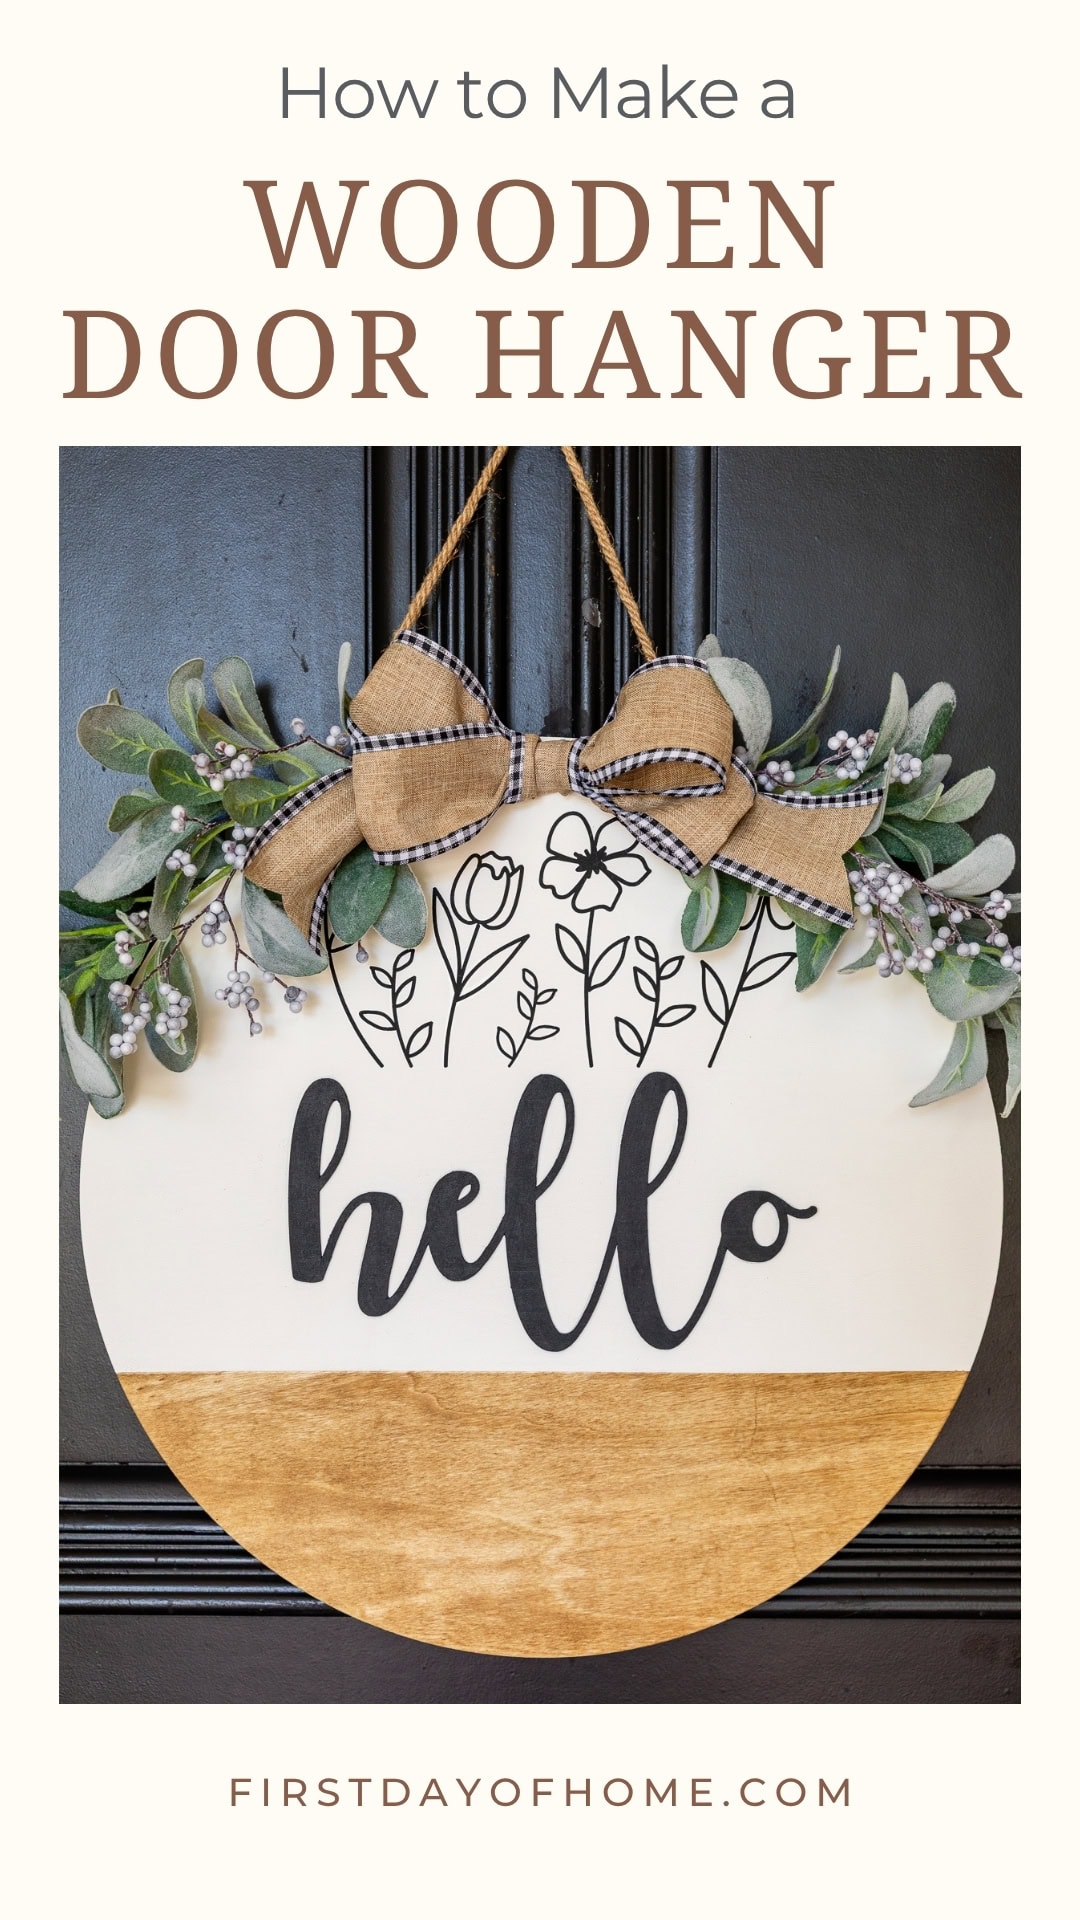
Stop swooning over door hangers you see on Etsy! In this tutorial, you’ll learn how to make a DIY wooden door hanger that’s worthy of selling online or at craft markets. If you own a Cricut Maker machine, you’ll be excited to see how it can make your life easier, but I’m sharing non-Cricut tips too.
This post contains affiliate links, and I will be compensated if you make a purchase after clicking on my links. For more information, please see my disclosures.
Making DIY Door Hangers: Where to Begin
Just because this is a “DIY” project doesn’t mean you have to make everything from scratch. You can buy round wood signs online or at your local craft store. I bought mine at Hobby Lobby, but I’ve linked similar ones below for your convenience.
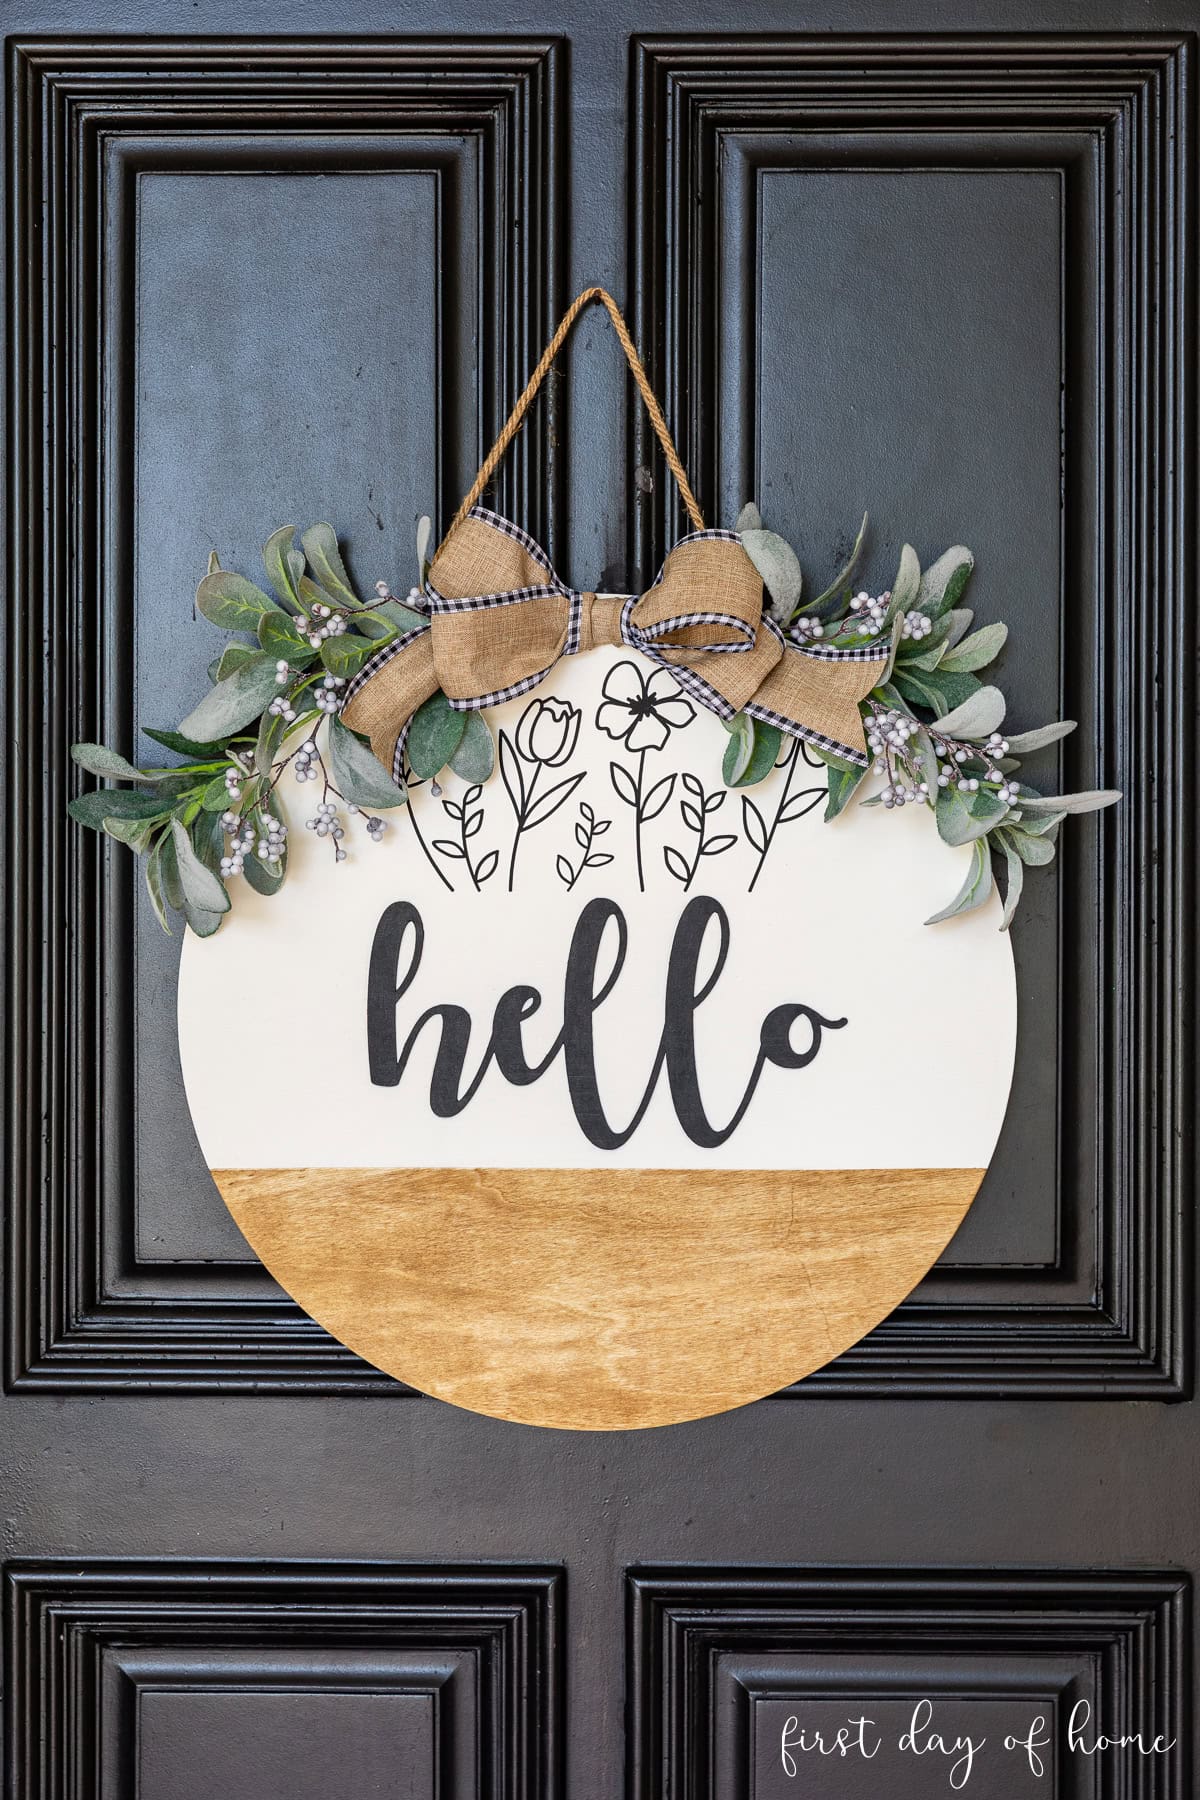
The most important decision is whether to cut and/or paint your decorative accents. For my “hello” sign, I used a combination of iron-on vinyl and basswood. I also stained and painted the unfinished wood before adding any embellishments.
I’ll show a few different options in this tutorial so you can decide which approach works best for you.
Supplies
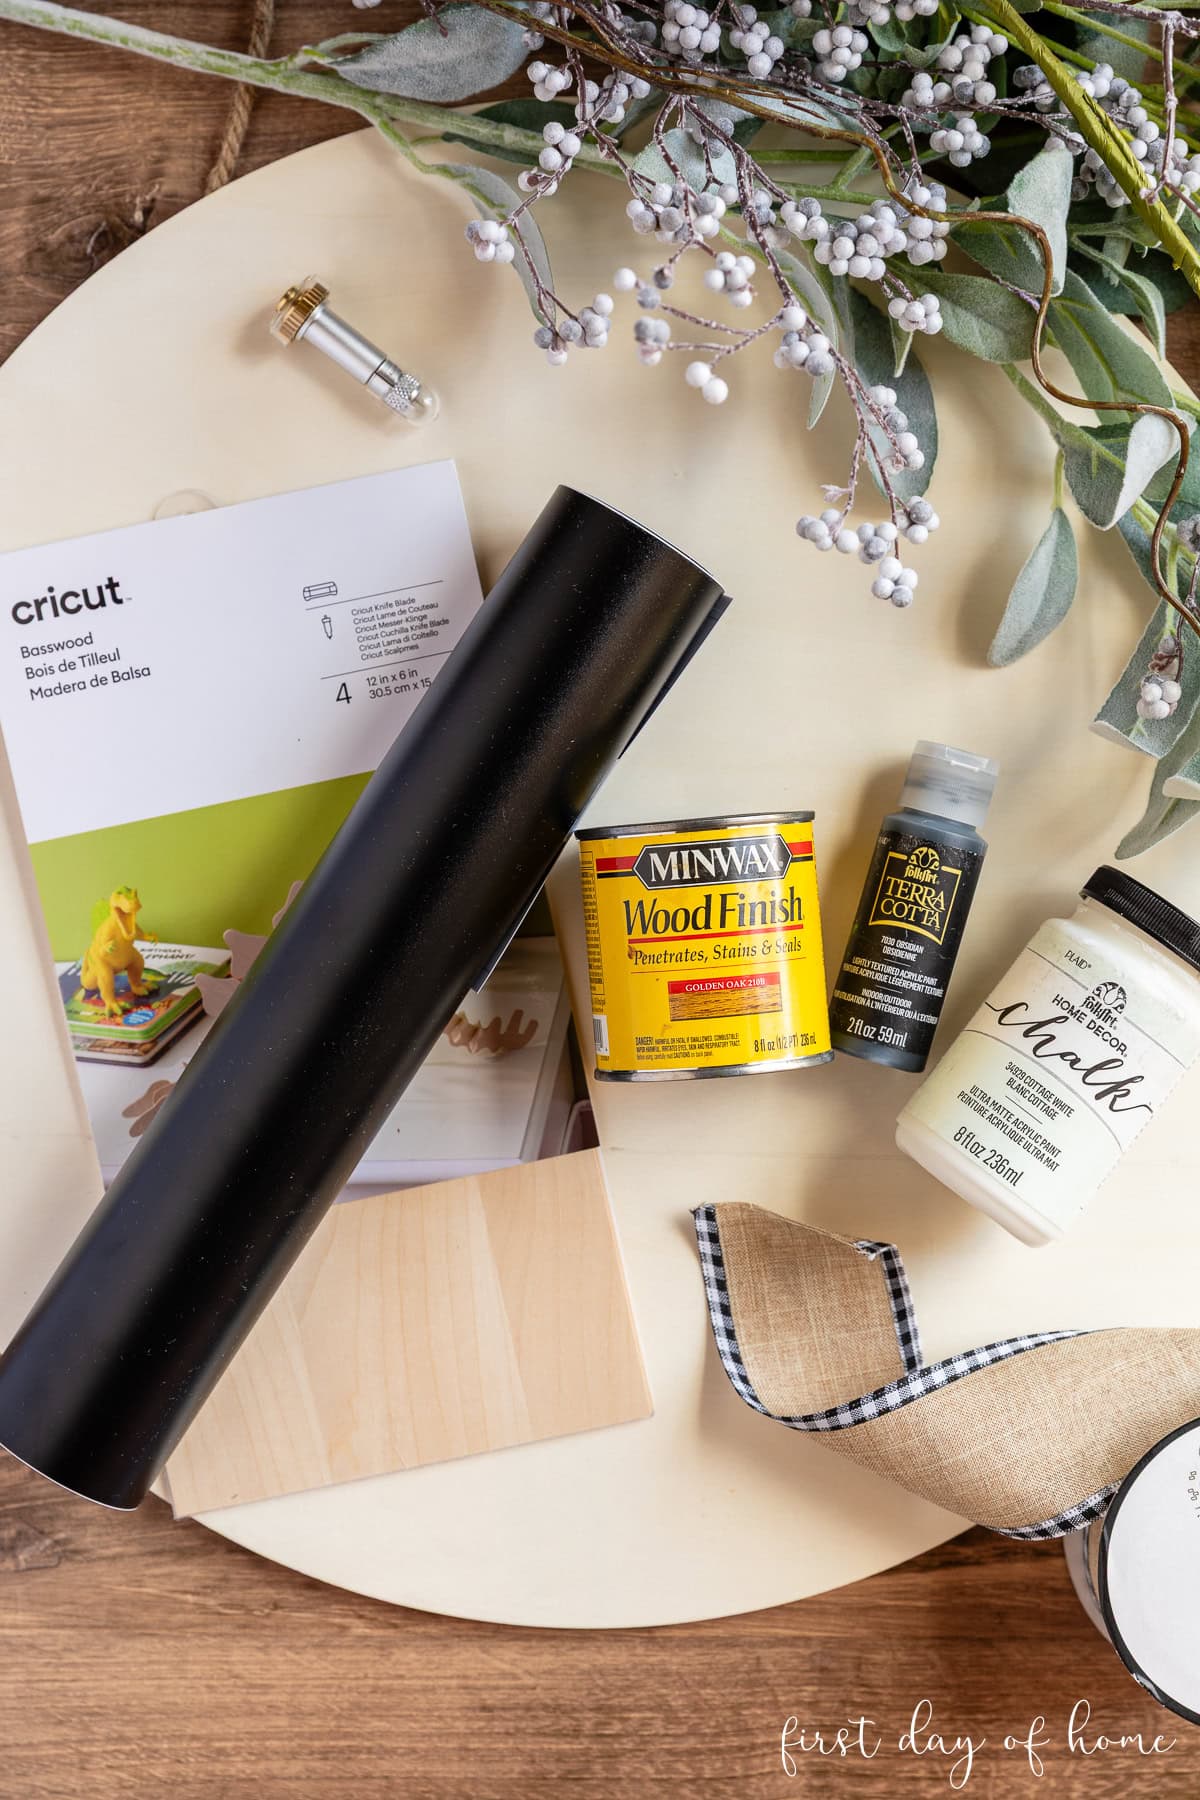
- Cricut Maker
- Cricut Knife Blade
- Cricut EasyPress (optional)
- Wood round sign
- Wood stain
- White acrylic paint
- Iron-on vinyl or permanent vinyl (optional)
- 1/16 in basswood plywood* (optional)
- Multi-surface acrylic paint (optional)
- Faux floral stems (lamb’s ear and frosty green berry stems)
- Ribbon or bow
- Mod Podge Spray Sealer (optional)
*If cutting basswood with the Cricut Knife Blade, you must ensure the wood is no wider than 11 inches.
DIY Wooden Door Hanger: Preparing the Design
This wood hanger design includes four main steps that I’ll cover below, but feel free to customize the process and make it your own.
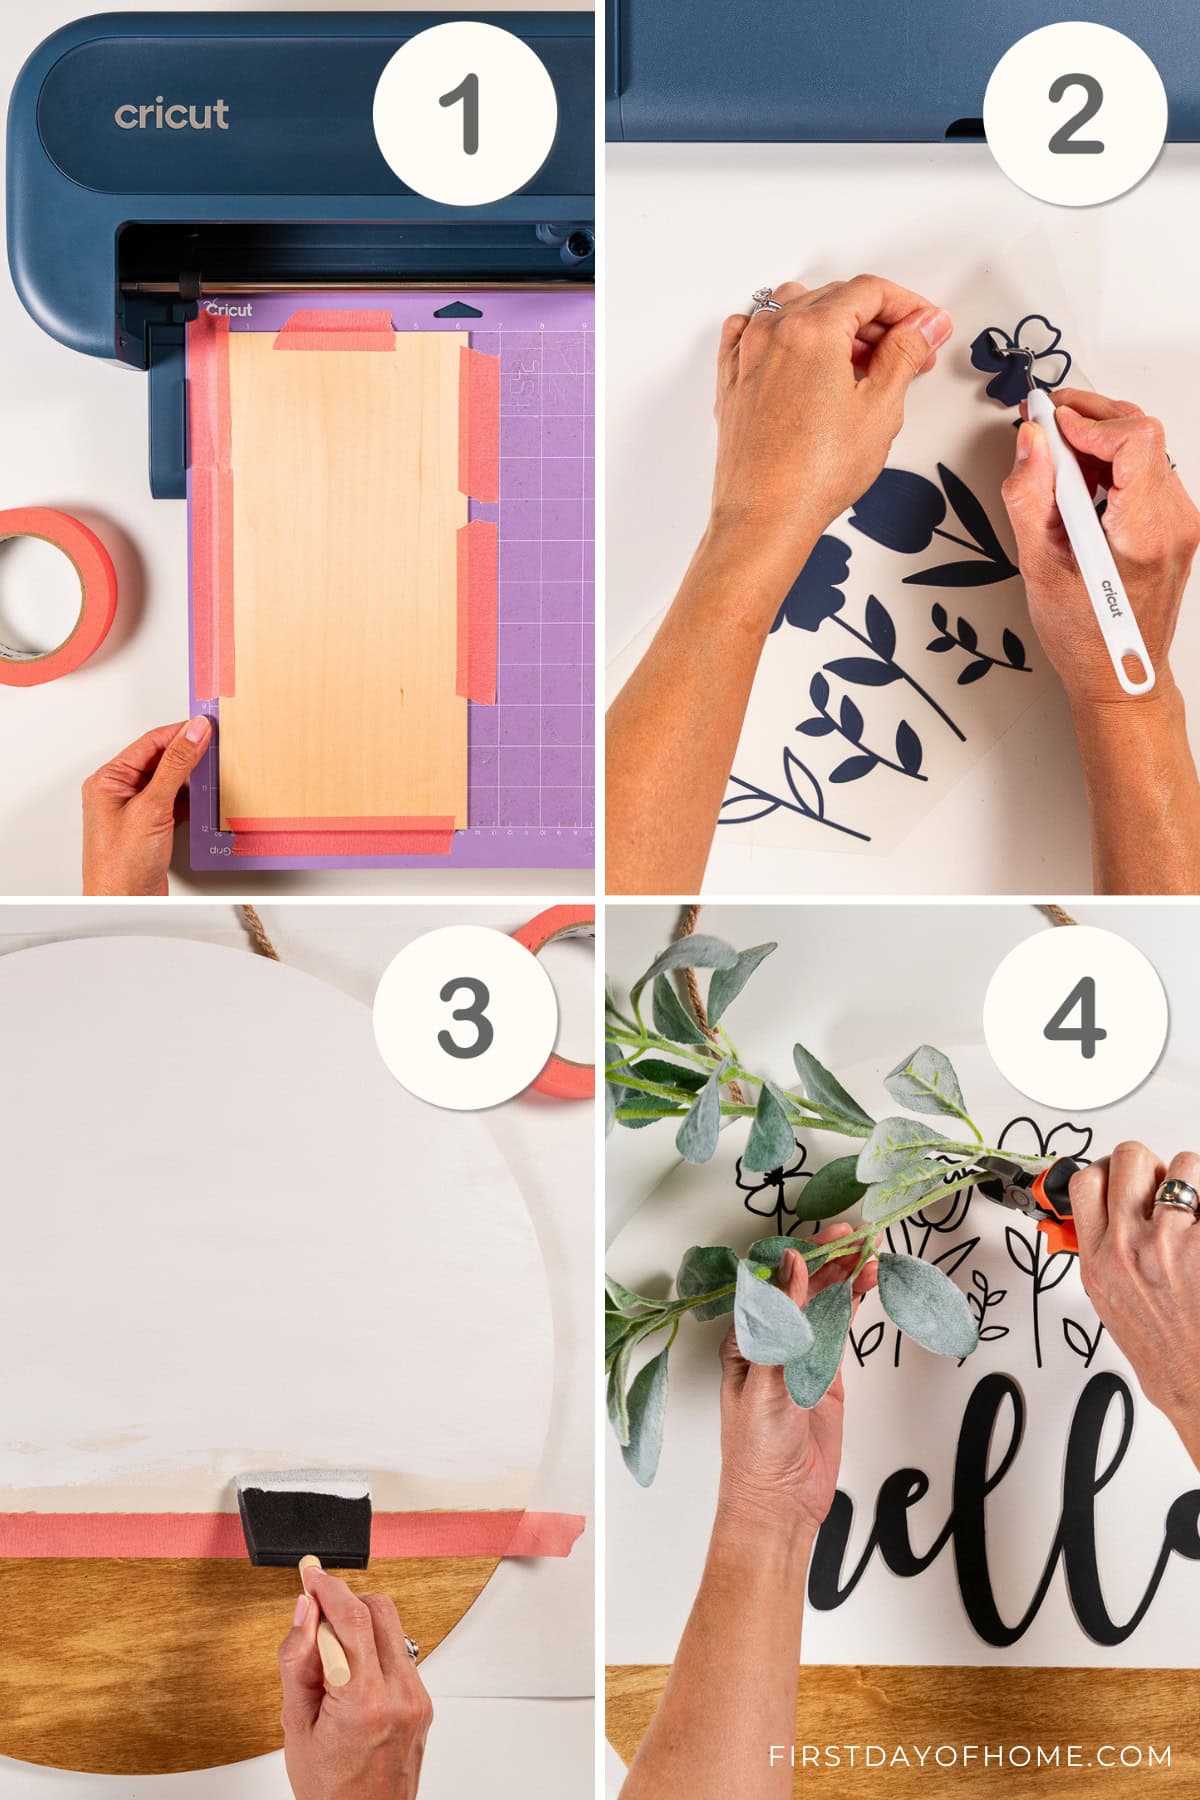
1. Cut wooden words or phrases (optional)
Use a Cricut machine to cut a phrase of your choice out of either basswood (Maker machine only) or vinyl. I used my Cricut Maker 5 to cut the word “hello” with the Knife Blade on 1/16mm basswood using a Strong Grip Mat.
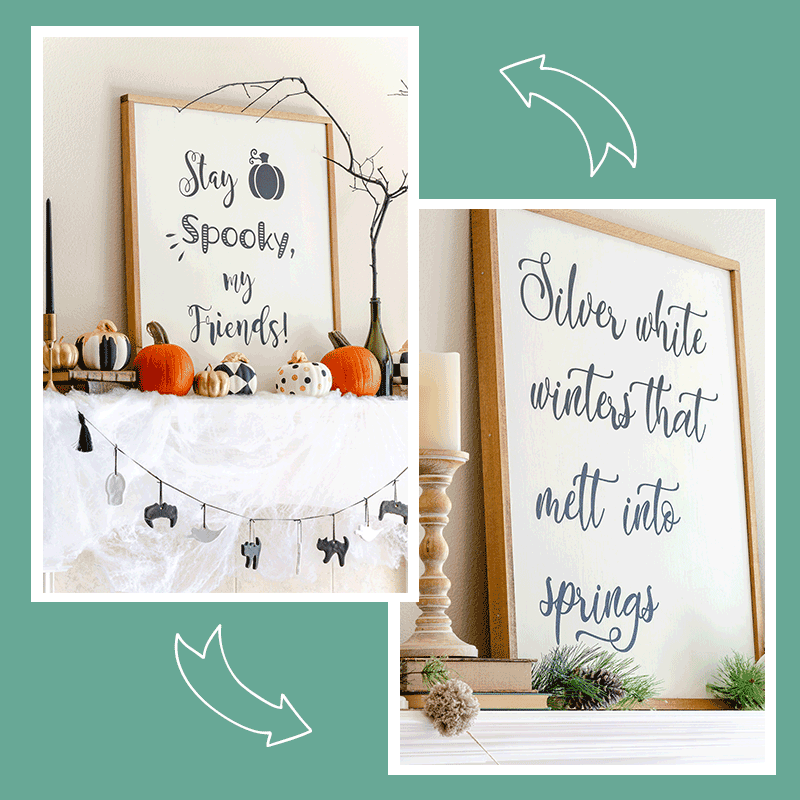
I chose a font called “Autumn in November” from my free fall fonts collection.
Tips for Cutting Basswood with Cricut
My “hello” phrase had intricate cuts that pushed my Cricut machine to the limits. I paused my Cricut several times to remove cut pieces and prevent the blade from getting stuck.
The default cut setting for 1/16mm basswood is 13 passes, and you cannot adjust this setting in Cricut Design Space. Don’t be afraid to pause the machine and cancel the job if the design is fully cut. Otherwise, you risk the Knife Blade cutting through your mat.
After cutting out your wood phrase, you can paint it with outdoor acrylic paint.
Non-Cricut Options for Adding Phrases
If you want highly detailed words or phrases on your sign, you could also use a laser machine like the xTool P2 or xTool M2. Feel free to read more about laser cutting on the blog.
For a low-tech option, you can also hand-paint your lettering. I walk through the pencil transfer method in my tutorial on making a DIY farmhouse sign. With that method, you can print your text on a home printer and then trace the outline directly onto the wood before painting.
2. Cut additional vinyl details
You can also add decorative details with iron-on vinyl or permanent vinyl, especially if you don’t want to cut basswood.
In the past, I used permanent vinyl for wood signs, but my favorite material is now iron-on vinyl. The results are so smooth and clean.
I found a pretty set of flower graphics in Cricut Design Space to add above the “hello” text. I love the combination of the wood lettering and vinyl flower details.
3. Paint or stain the unfinished wood sign
Most signs or wood blanks will come unfinished, meaning they have no paint or stain applied. I love the look of a color-blocked sign with stain and paint. It looks so charming and classic.
Start by marking off your segment with painter’s tape. Then, apply stain to the segment, waiting at least 6 hours between coats. I aligned all of my pieces first to preview where I wanted to stain vs. paint (see below).
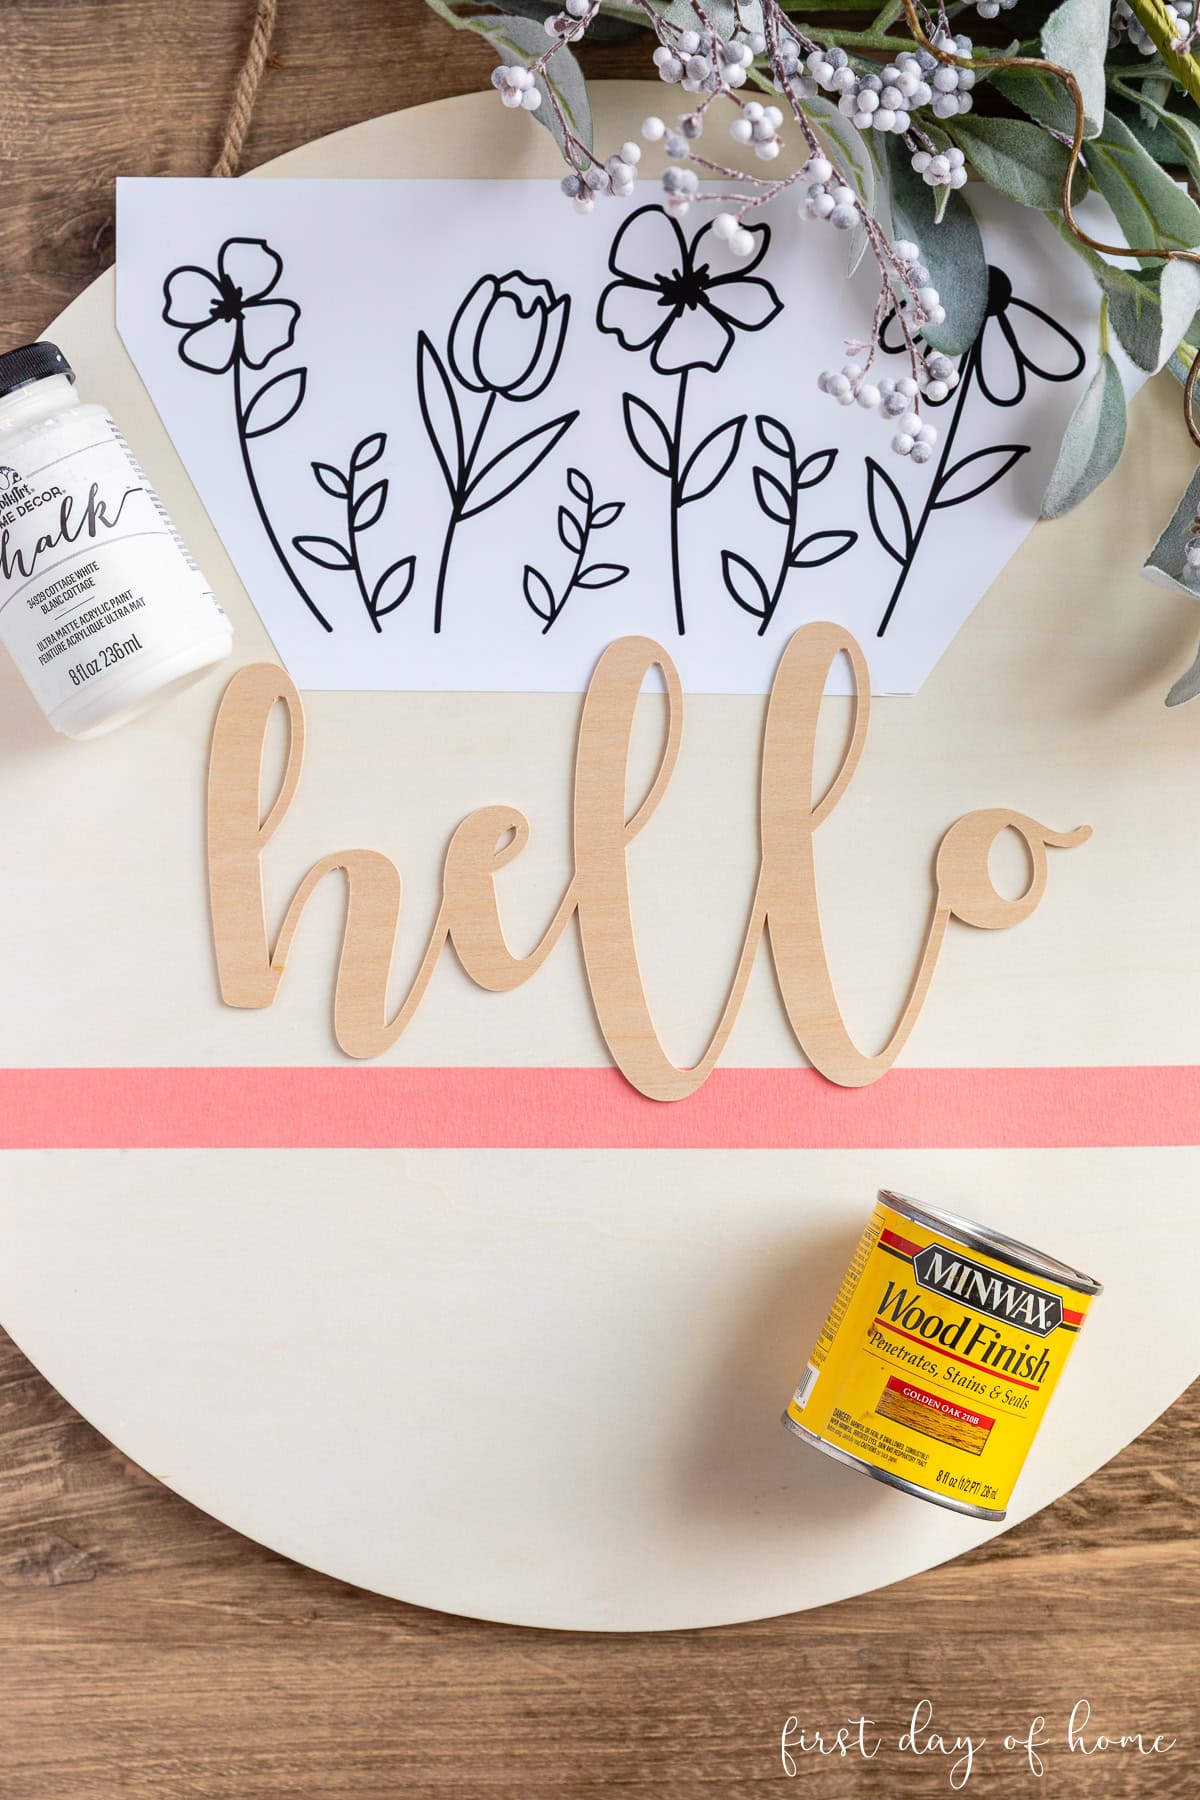
I applied two coats of wood stain in Golden Oak, which has a warm tone that contrasts nicely with my black front door.
After staining, I used painter’s tape again to mark off the area I wanted to paint white. For this step, it’s helpful to use Mod Podge along the edge of the tape and let it dry before applying paint. This helps “seal” the edge and prevent bleeding.
4. Prepare floral stems, greenery, and ribbon
Use wire cutters to trim floral stems for a finishing touch at the top of your door hanger. I added a combination of lamb’s ear and berries for a farmhouse look. For assembly instructions, see below.
Assembling the Wooden Door Hanger
For the iron-on vinyl, I used my Cricut EasyPress 3 and the settings in the Cricut Heat app. I suggest pressing the vinyl before adding wooden lettering to the sign.
I used wood glue to attach the basswood “hello” to the painted sign. You can also use a heavy-duty superglue. Place a heavy object on the lettering while the glue dries, and let the sign cure for 24 hours before placing it outside.
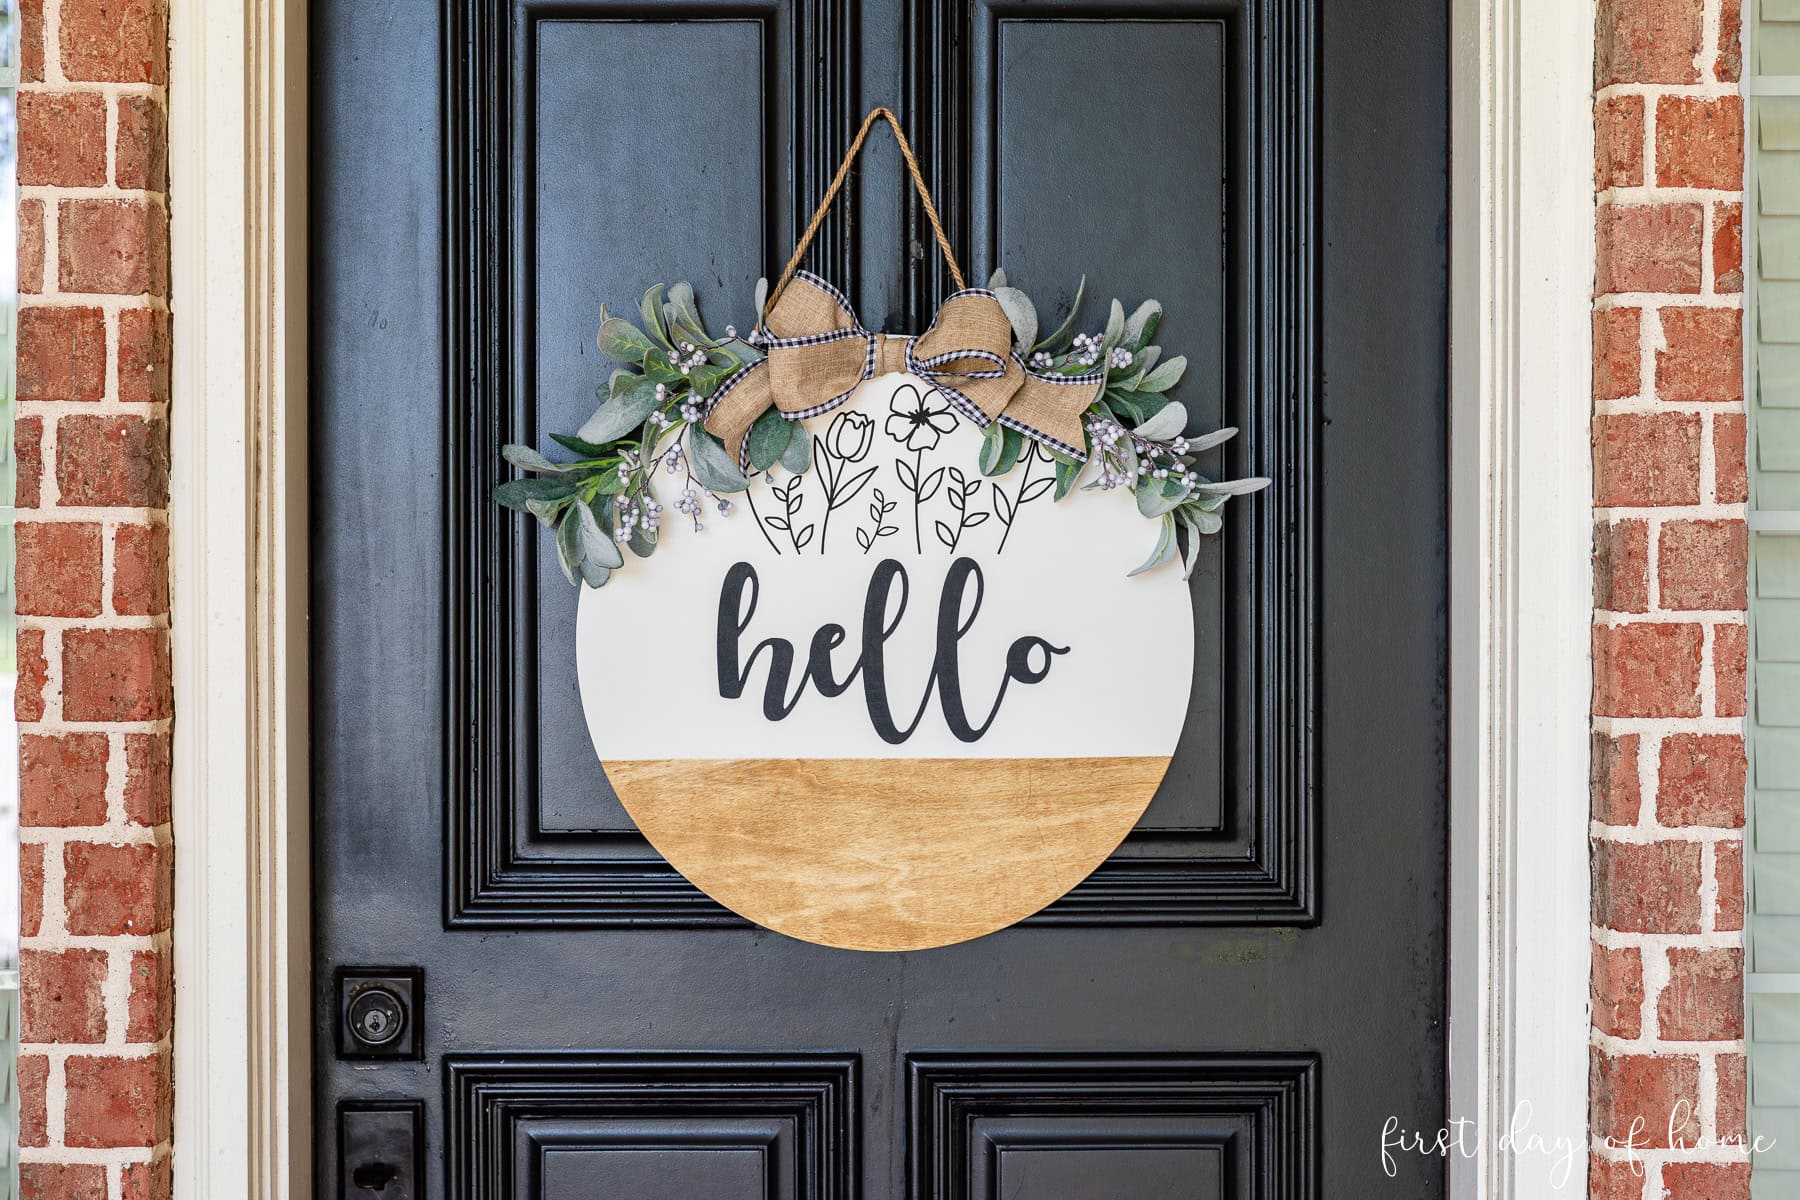
The final step is adding floral stems and ribbon. I used a staple gun for the stems and Gorilla hot glue to place the bow in the center. Staples tend to work better than hot glue for heavier items like faux florals.
Sealing Your DIY Wood Sign
Before adding floral details and ribbon, you may want to seal your wooden door hanger, especially if you plan to leave it outdoors. My favorite sealer for iron-on vinyl projects is Mod Podge Spray Sealer, which comes in both matte and glossy finishes.
You can imagine how many possibilities there are to customize a DIY wooden door hanger. I want to make one for every season! Don’t forget to pin this post for later and share it with others before you leave.

Pin it for later!