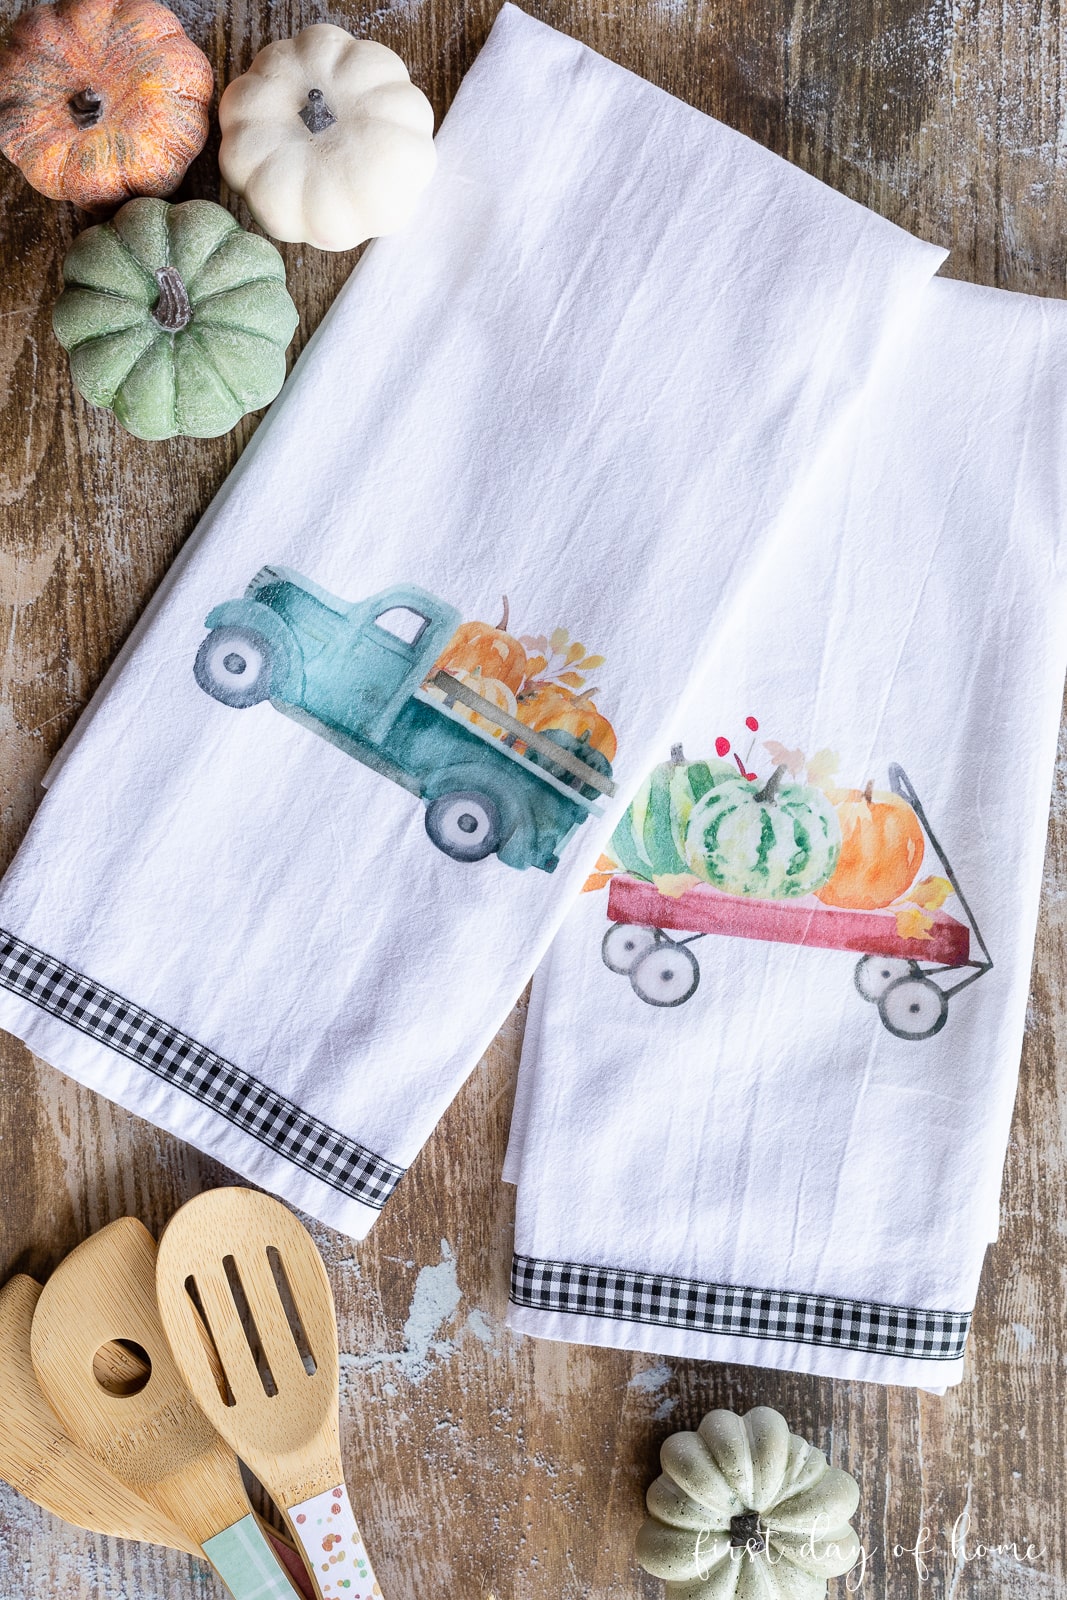
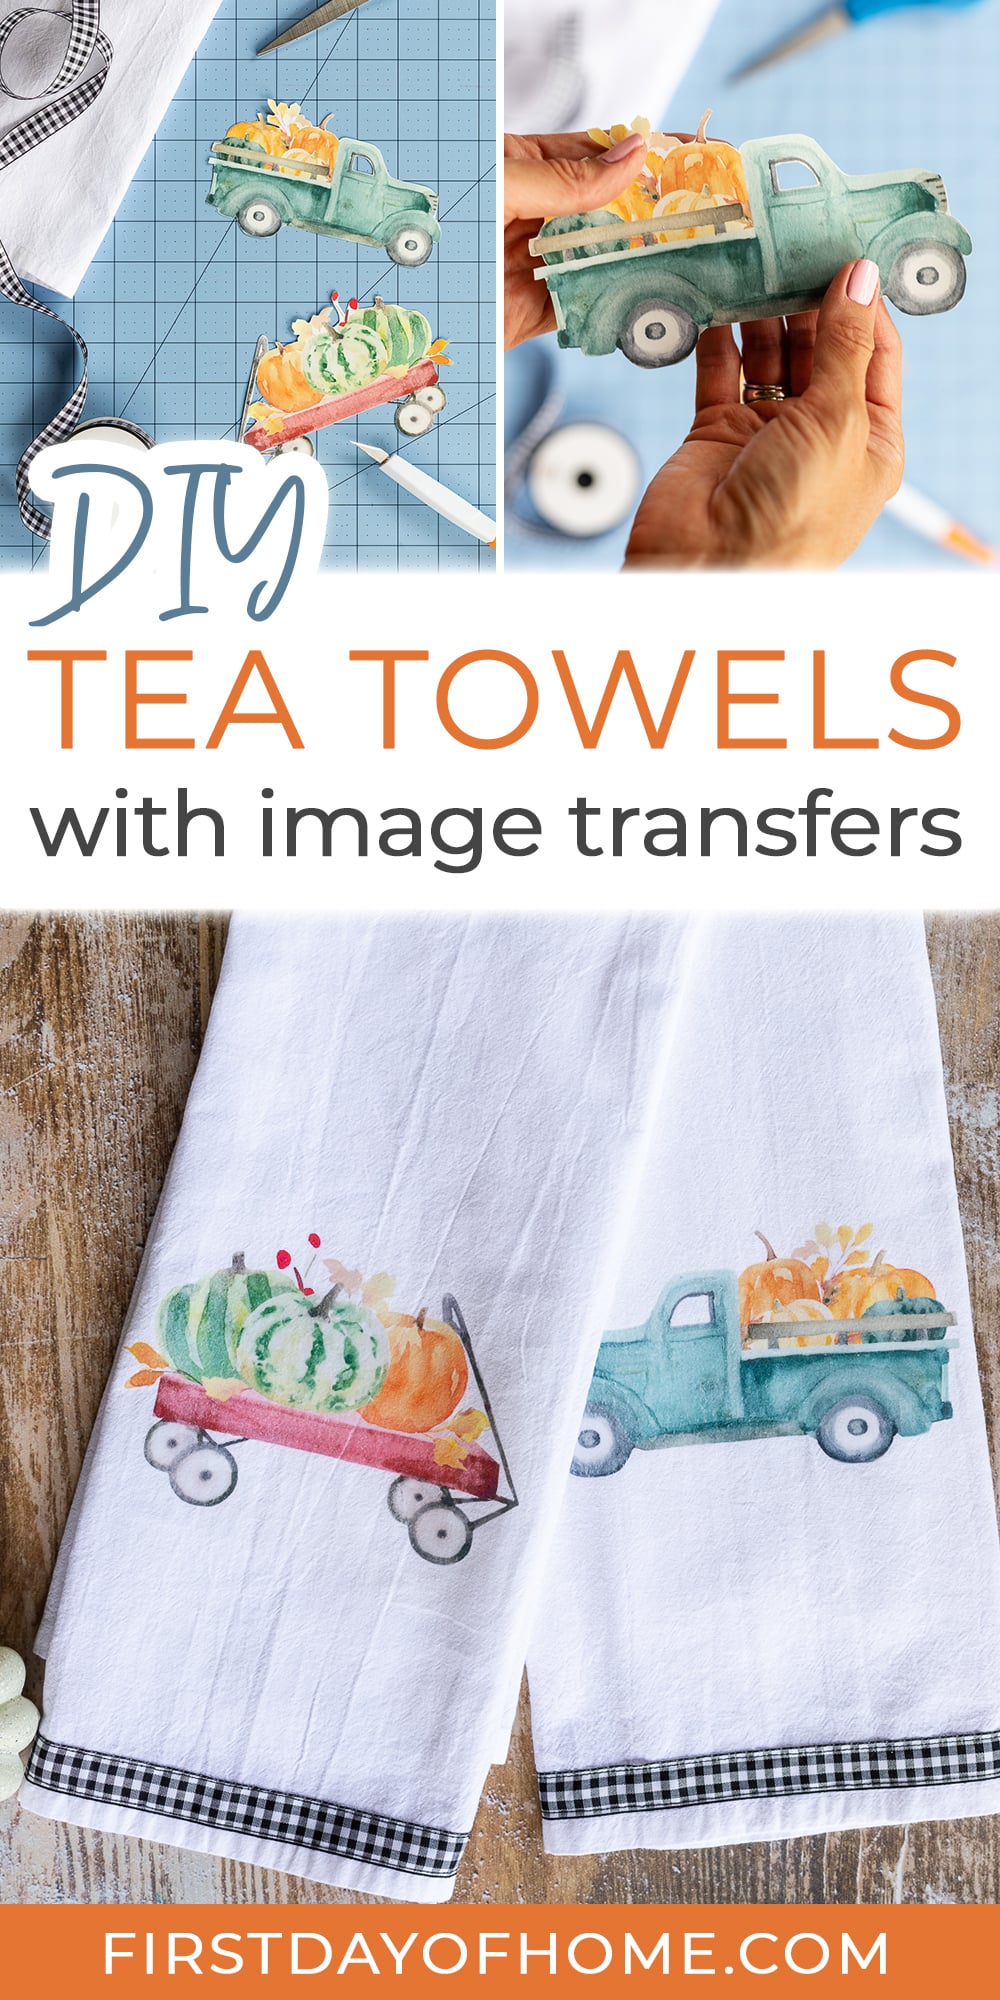
How to Make DIY Tea Towels for Fall Decor
When fall comes around, I love swapping out my kitchen linens to celebrate the new season. A few years ago, I stumbled upon a unique way to make DIY tea towels without breaking the bank. These custom towels will add just the right amount of farmhouse feels to your fall decor.
This post contains affiliate links, and I will be compensated if you make a purchase after clicking on my links. For more information, please see my disclosures.
Fall Pumpkin Crafts
Today, I’m joining a wonderful group of fellow bloggers to bring you a variety of pumpkin-related crafts for fall. Thanks to Kippi at Home for hosting this fun collaboration!
You’ll find links to my friends’ posts at the end. I hope you’ll stop by to see their wonderful creations!
How to Make DIY Tea Towels
For this easy craft, you’ll need an inkjet printer and a few budget-friendly supplies.
As for the design…the sky’s the limit! I’ll link to a great source for graphics below. However, you can customize your tea towels with any image.
So if you’re dying to immortalize an Instagram image or family photo on a tea towel, have at it!
To watch me make these towels step-by-step, check out the DIY Tea Towels video on my YouTube channel.
Supplies for DIY Tea Towels
- Image or graphic art (I used this fall graphic art bundle)
- Inkjet printer
- Image transfer sheets
- Flour sack towels
- Iron
- Buffalo plaid ribbon (optional)
Get the Fall Graphics
Step 1: Wash and iron the dish towels
Before beginning, you should wash and iron the tea towels to make sure the image transfers will adhere smoothly.
Step 2: Print the image transfer
Make sure your image transfer sheets are made for ink jet printers. If you saw my tutorial for wood slice ornaments with Mod Podge Photo Transfer, you’ll remember that project requires a laserjet printer. Not so with this craft!
You can use any editing software like Word, Photoshop, PowerPoint, or even Canva to size your graphics. I used Microsoft Word to click and drag the image to the appropriate size (about 6-inches wide).
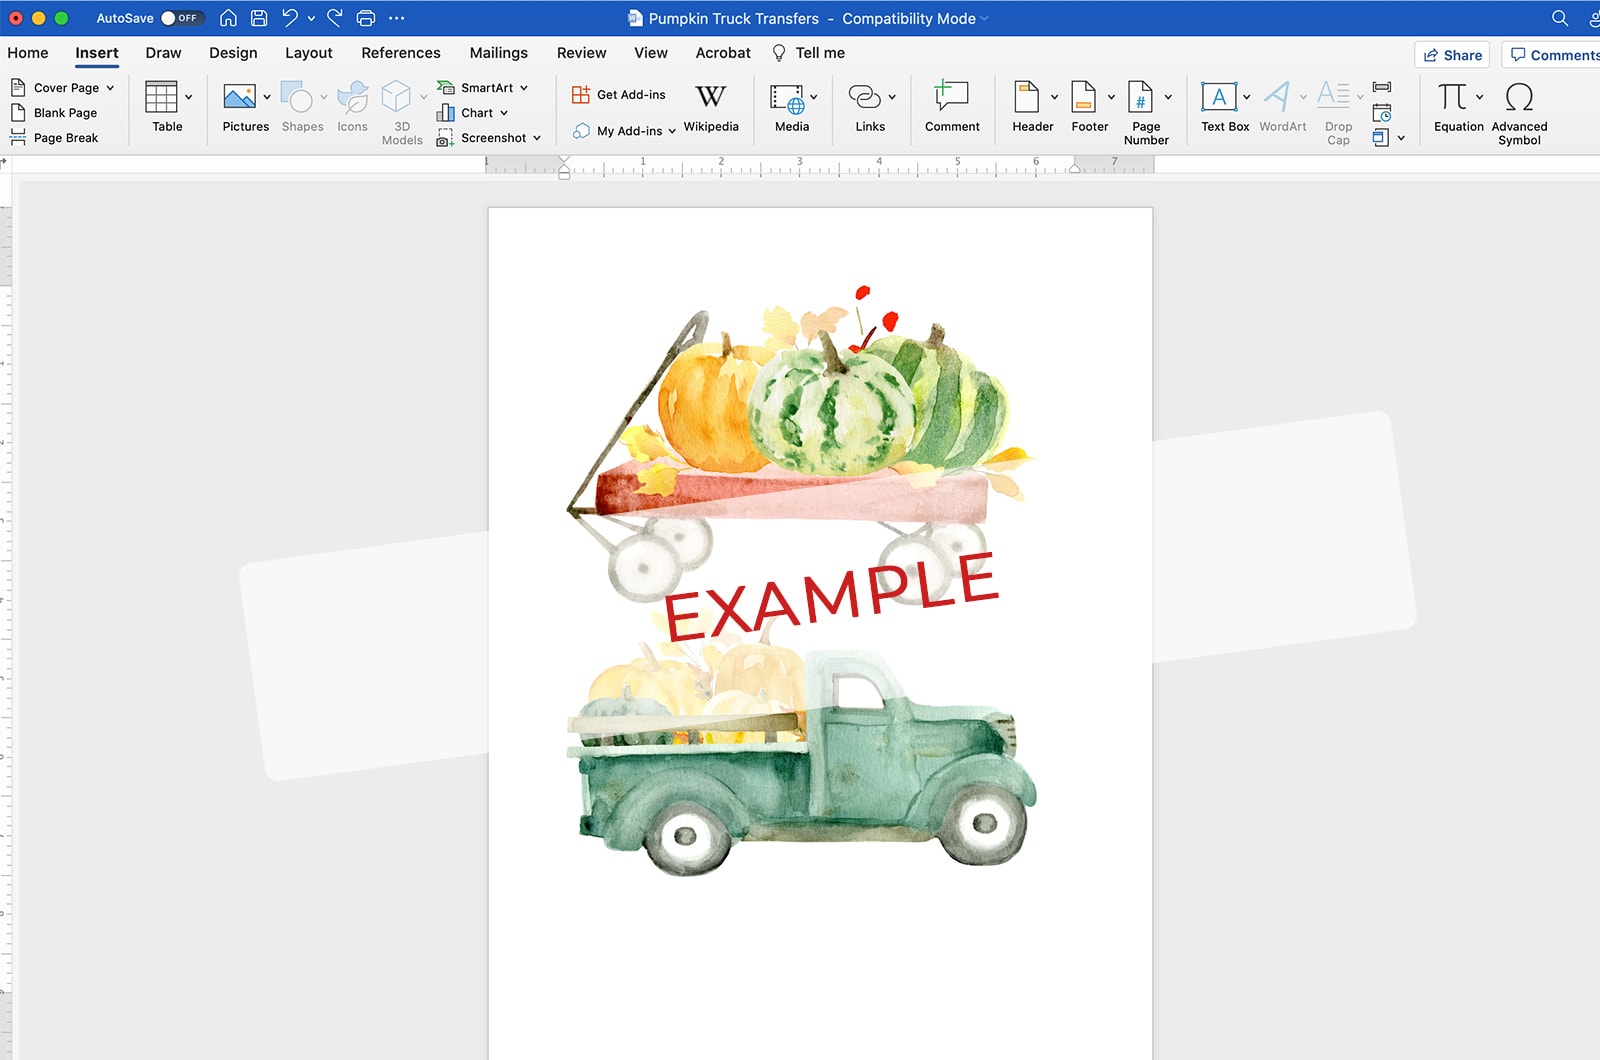
Be sure to reverse your image (if necessary) by flipping it horizontally. In many cases, the image would look fine either way, but you especially want to pay close attention if there are words on your design.
Before printing on the transfer sheets, do a few test prints on plain printer paper to see if your design looks proportionate to your tea towels.
Finally, print your design on the blank side of the transfer sheet with the highest quality or “photo” settings.
Note
Keep in mind there are different types of image transfer sheets. For light-colored fabrics, make sure you buy the appropriate light transfer sheets. The same is true for dark fabrics.
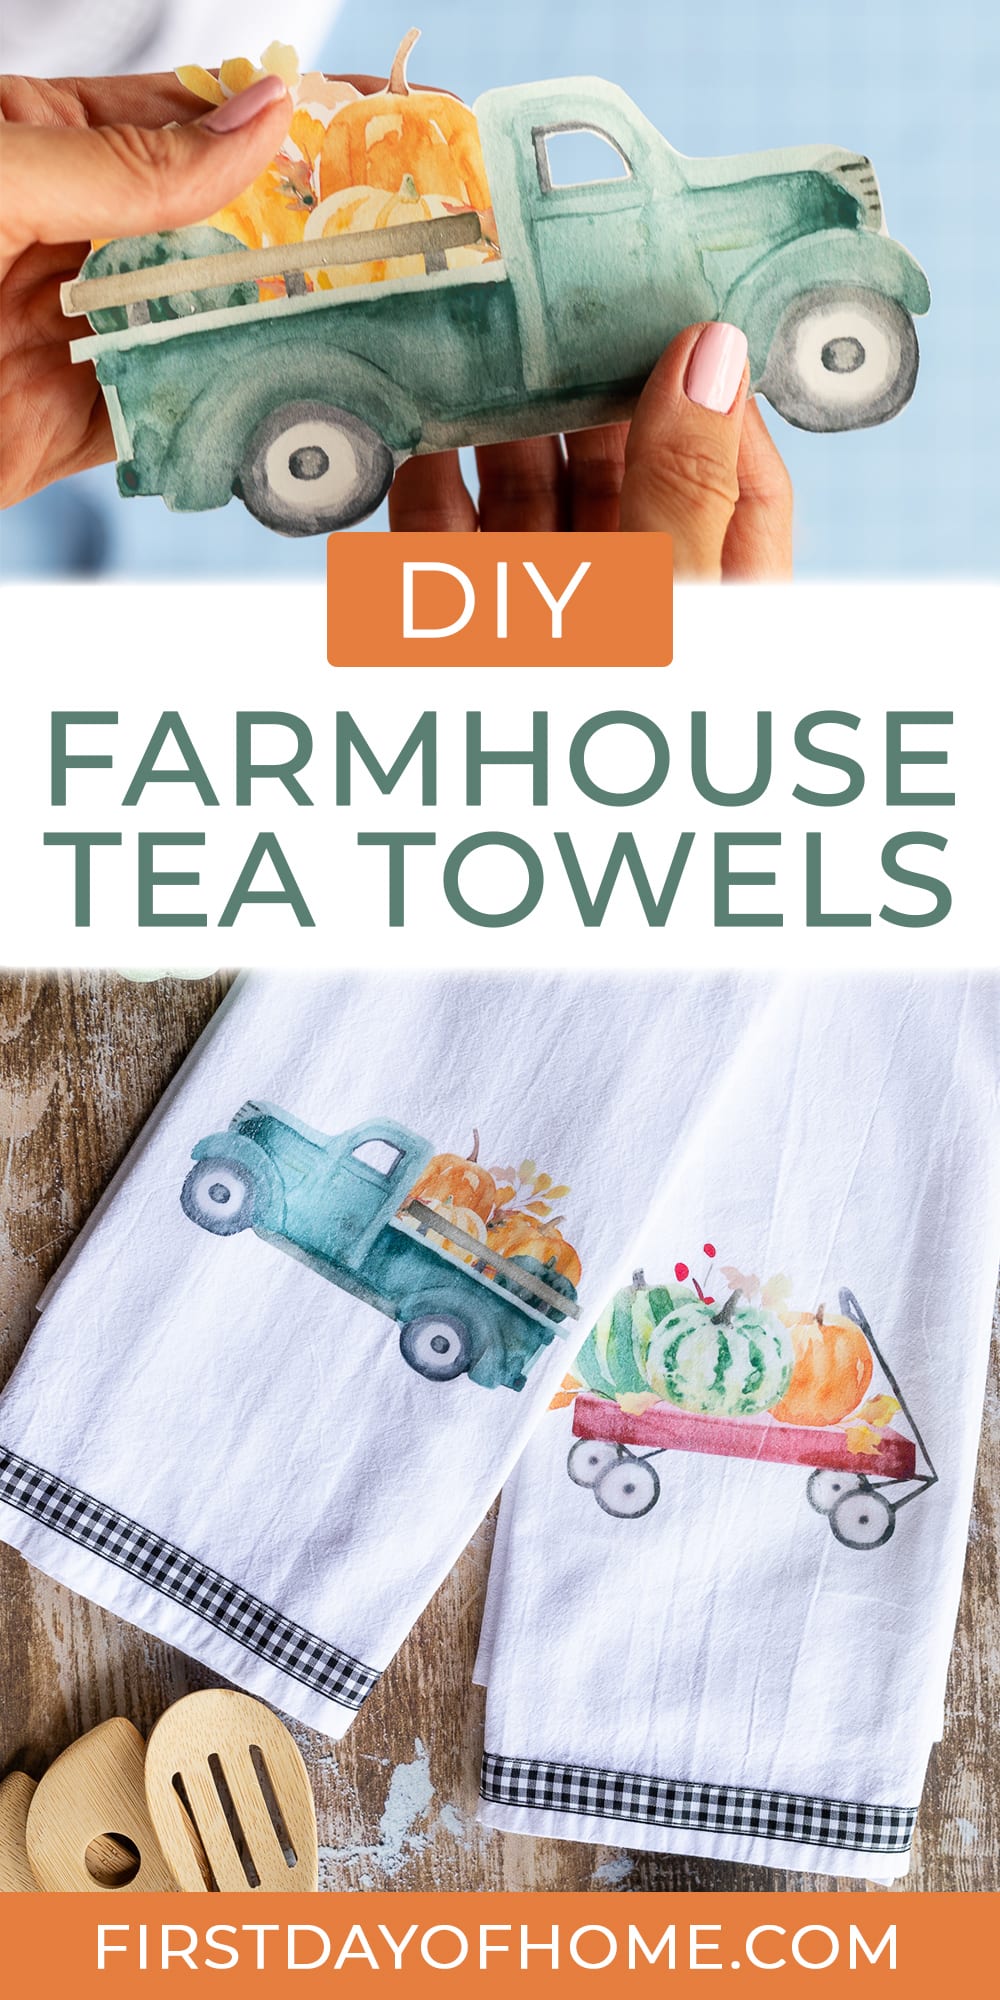
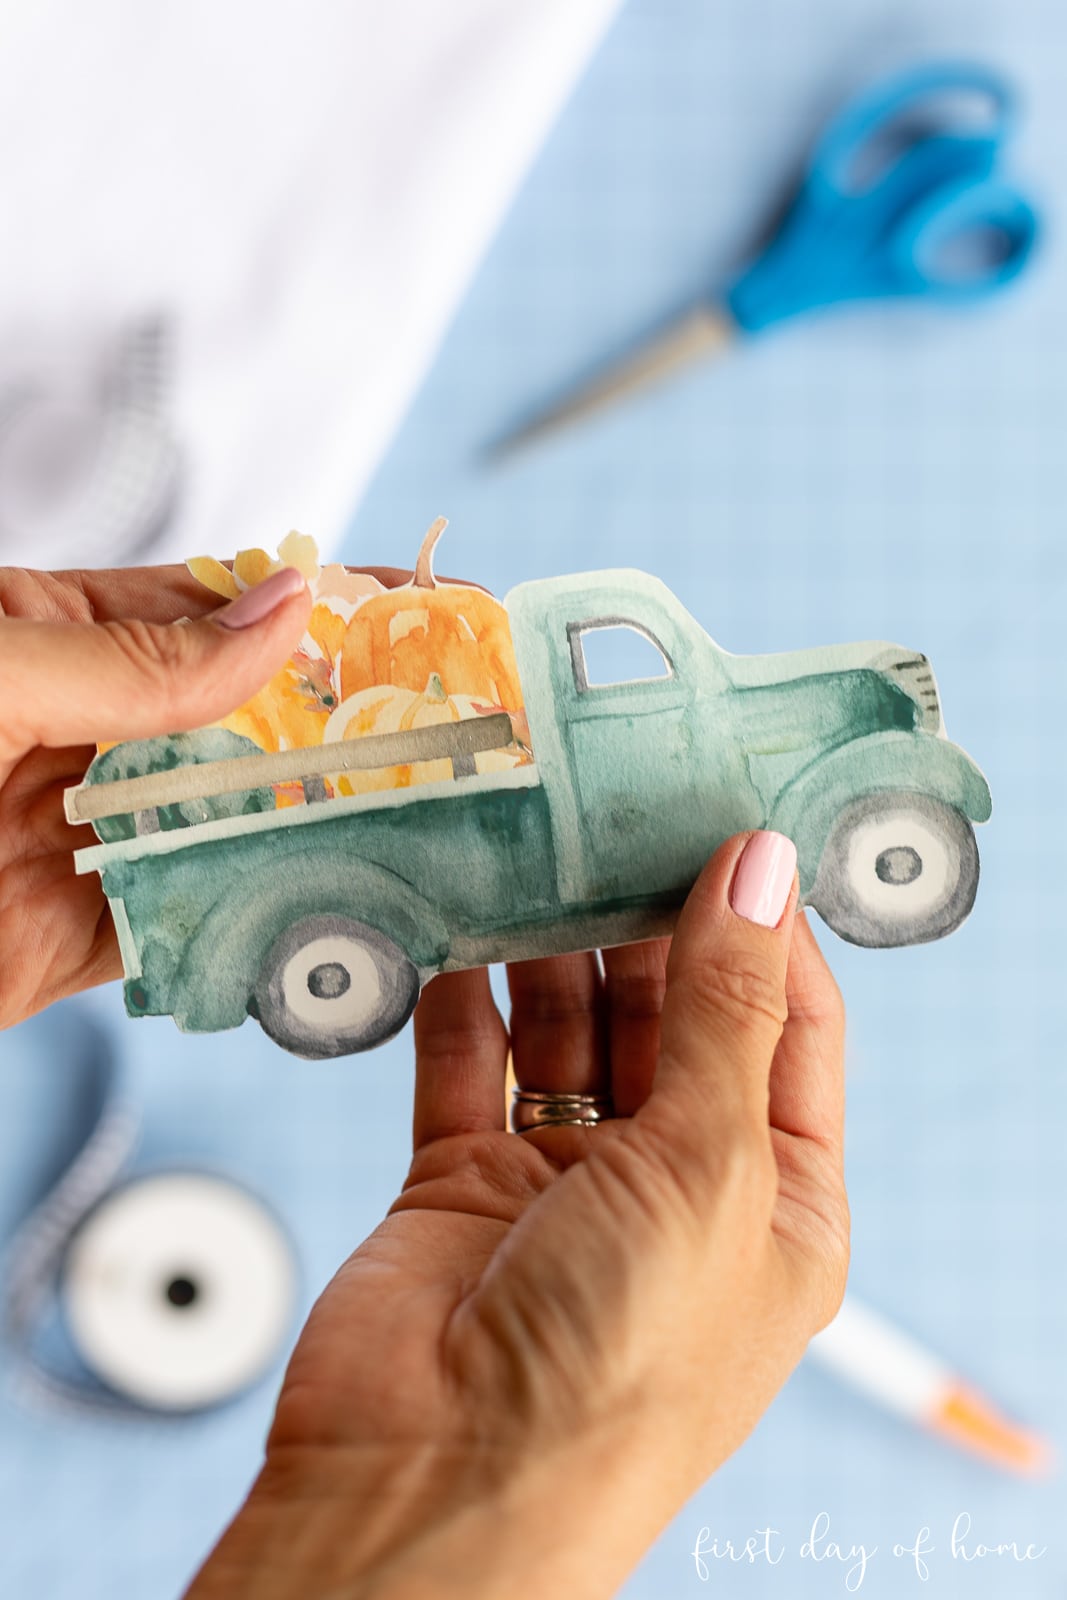
Step 3: Trim the edges of the design
If your design does not fill the entire transfer sheet, you’ll need to trim around the edges of your graphic.
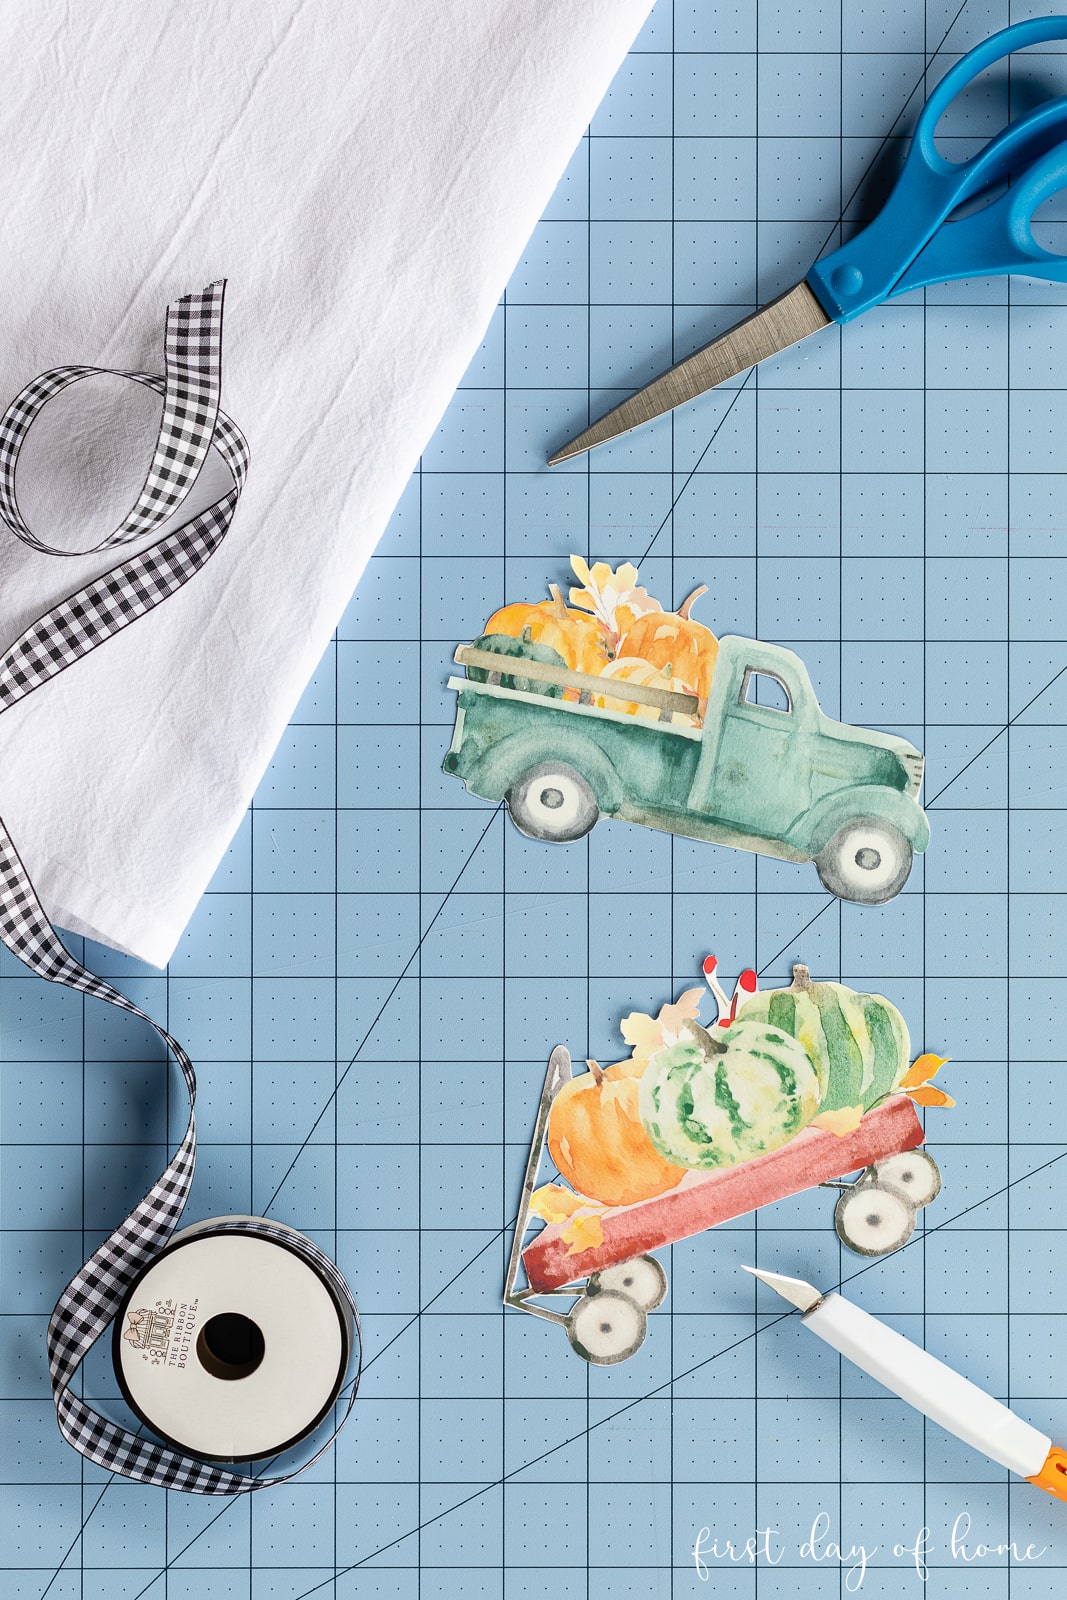
I used a craft knife to cut out some of the finer details of the farmhouse truck and wagon.
Step 4: Iron the image transfer onto the towel
Make sure the ink on the transfer sheet has dried 30 minutes before ironing.
To transfer the images to the towels, heat your iron with the following settings:
- Highest heat (usually cotton or linen)
- No water
- No steam
Your iron must be well heated before applying the images. Beware of any auto shut-off features while your iron is preheating.
Try to remove as many wrinkles as possible before transferring your image. Then, place the image face-down on the tea towel and iron slowly in a circular motion.
Continue heating the transfer backing paper according to the manufacturer’s instructions. Typically, it only takes 1 to 1.5 minutes for the image to transfer.
Step 5: Peel the transfer backing paper
After the image transfer has completely cooled (about 1-2 minutes), gently peel back the transfer backing paper. If the image appears to stick to the paper, run the iron over the image for another 15-30 seconds.
Repeat the process until you can safely remove the backing sheet.
Step 6: Attach or Sew Decorative Ribbon (Optional)
These DIY tea towels are beautiful enough without embellishment, but you can always choose to add ribbon along the bottom for an extra finishing touch.
I quickly sewed a simple buffalo plaid ribbon to the bottom of each flour sack towel to complete the fall farmhouse look. You can also use fabric glue to attach the ribbon, though I like the finish of a sewn hem better.
I think these towels would pair nicely with my decoupage wooden spoons for a seasonal hostess gift or teacher gift.
What kind of design will you choose for your DIY tea towels? While you’re deciding, scroll down to see the great pumpkin-themed projects my friends are sharing today!
Pin it for later!
More pumpkin-themed crafts
Be sure to visit my friends below to see the pumpkin crafts they have for fall!
DIY Paper Pumpkin Hoop
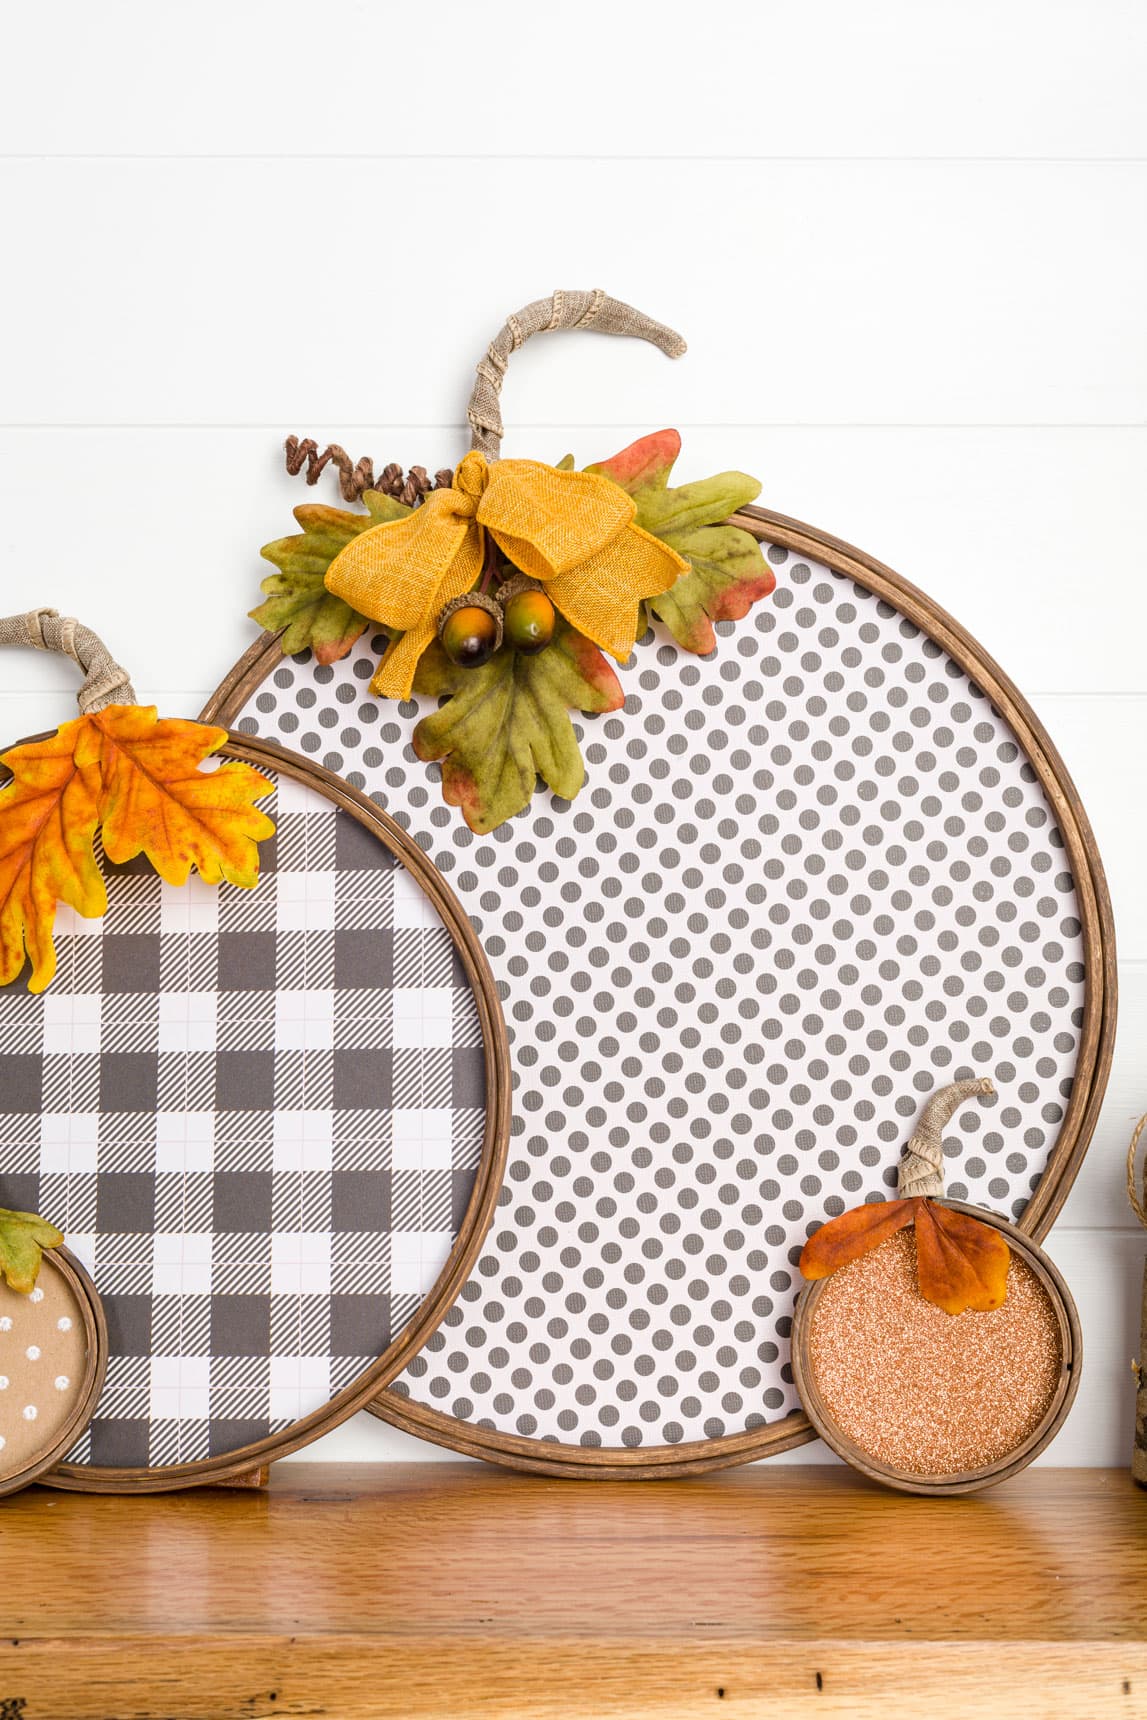
These cute hoop pumpkins from Kippi at Home are perfect to decorate your mantel, kitchen counter, buffet table, and more.
DIY Yarn Wrapped Pumpkins
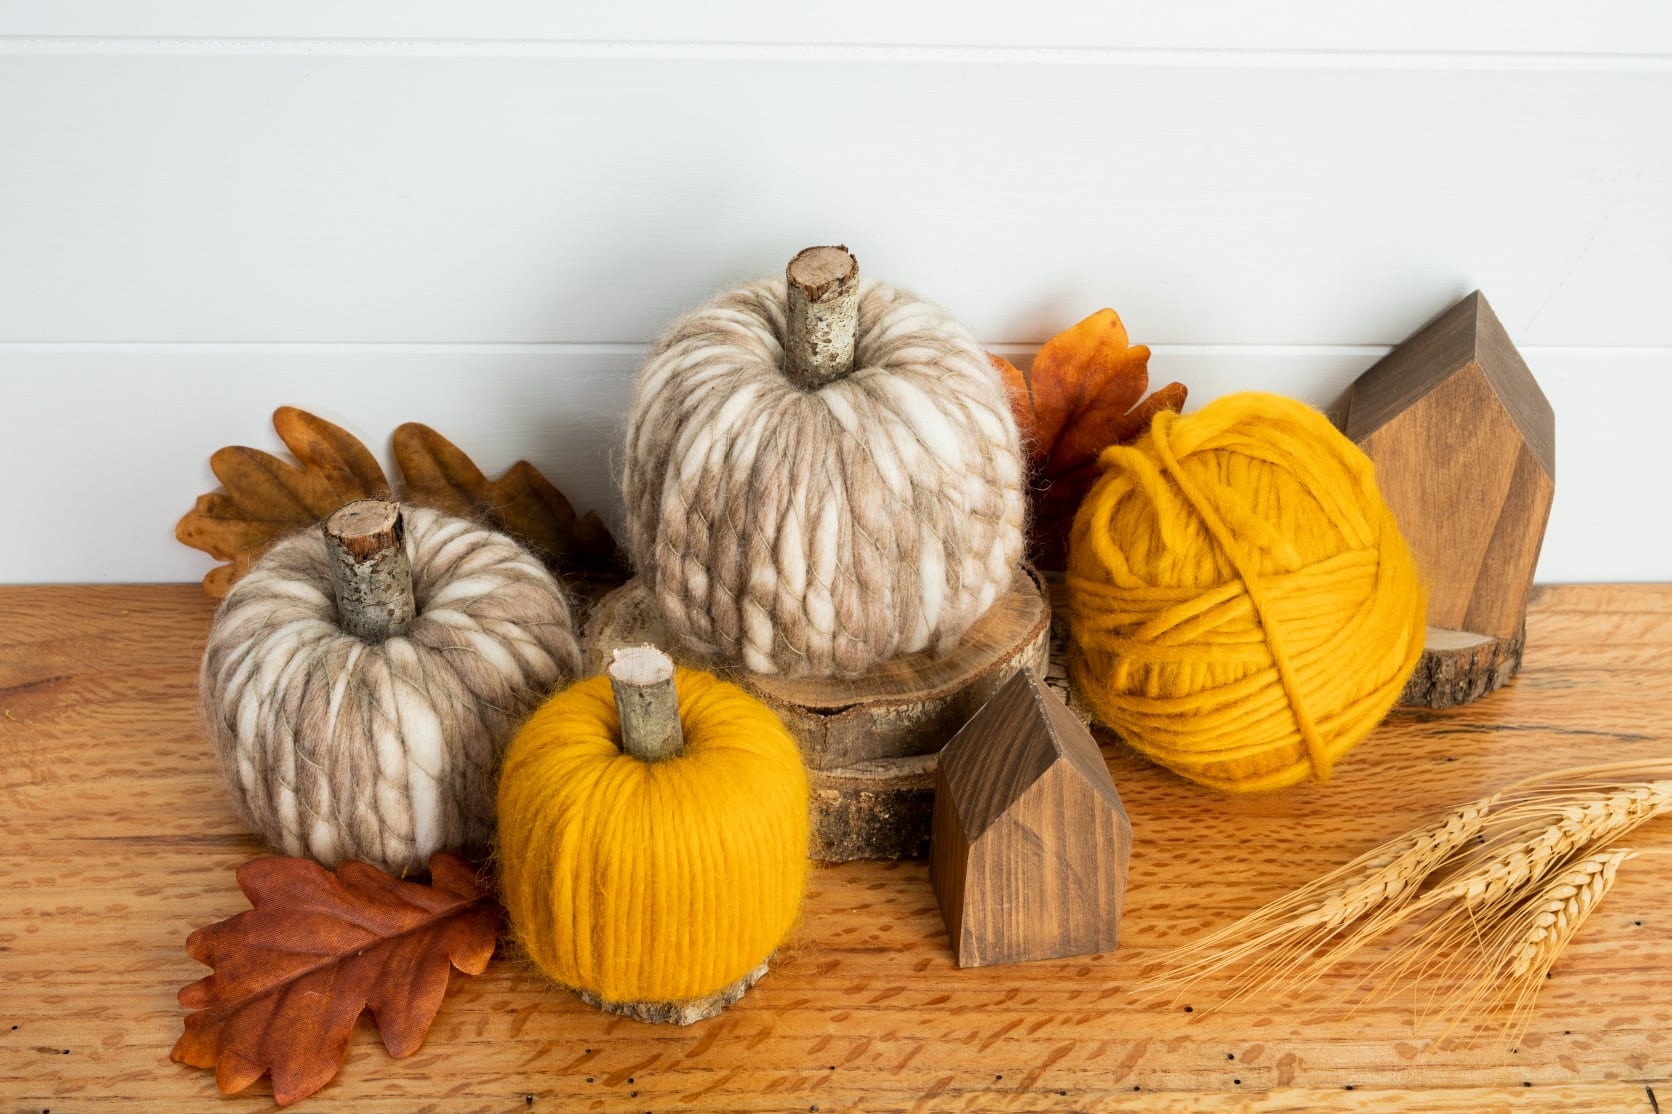
These yarn-wrapped pumpkins from oliviaohern.com are the perfect way to add cozy charm to your fall home decor. It’s the ideal craft for hygge vibes.
Sequin Craft Pumpkins
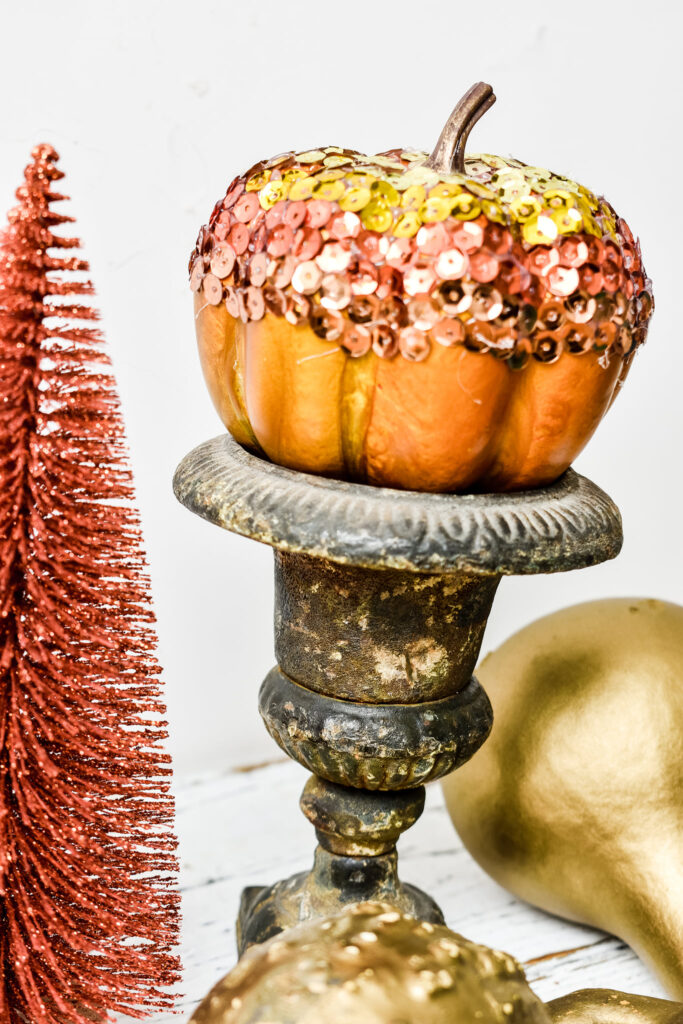
Make these pumpkins with sequins to add a “glam factor” to your fall home decor! Learn how to get the perfect ombre effect with your sequin pattern in this tutorial by Zucchini Sisters.
Chunky Yarn Pumpkins
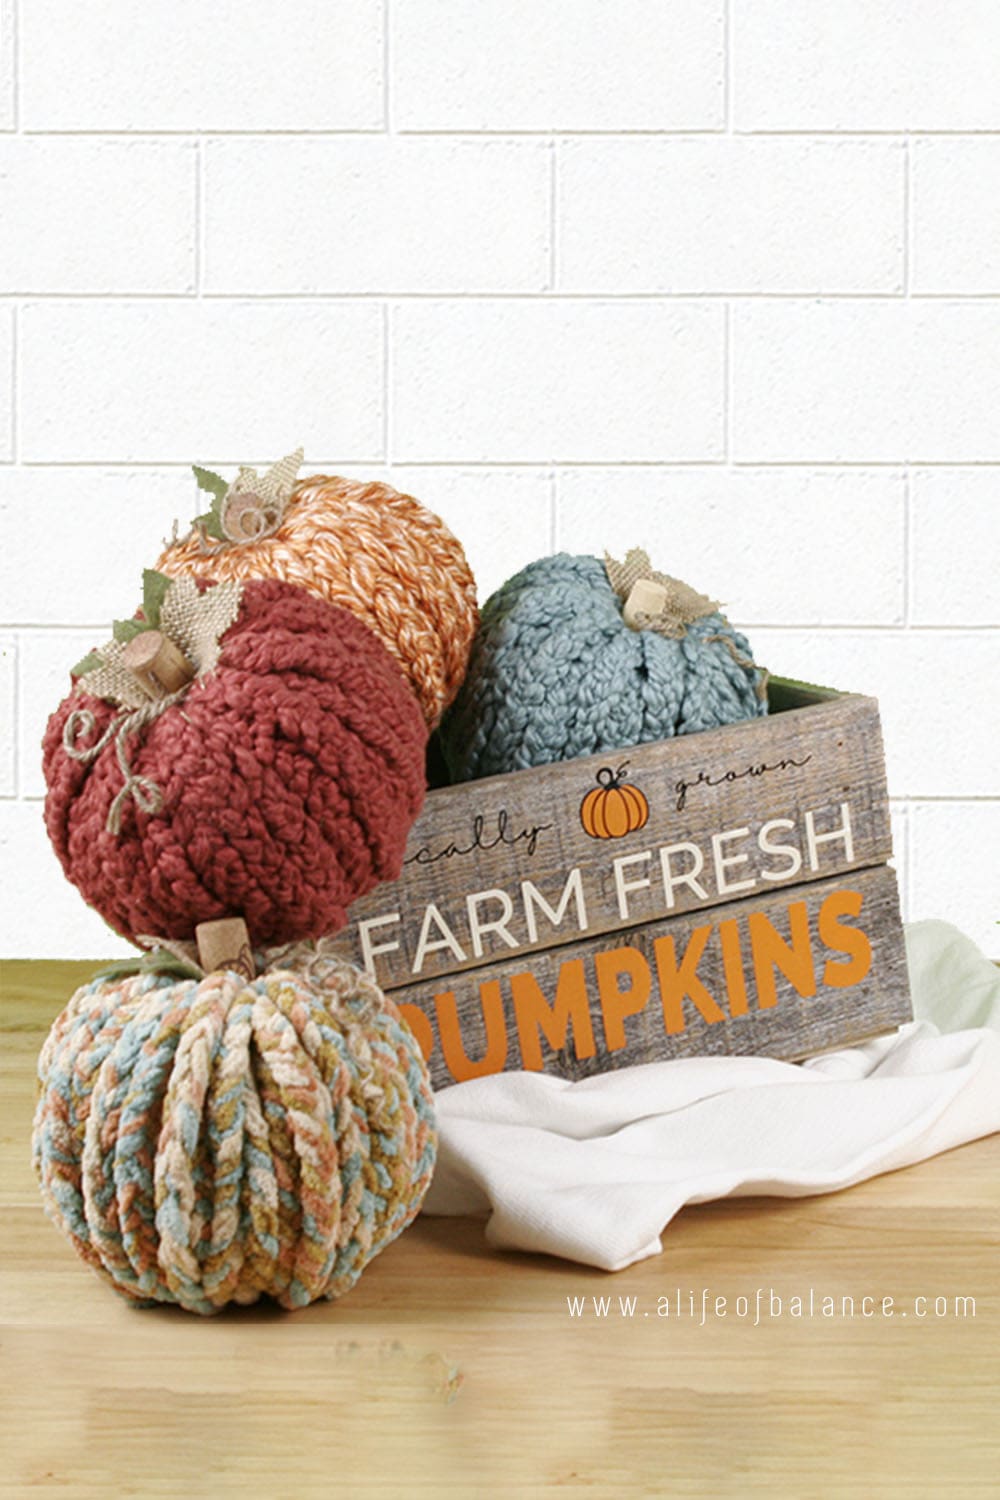
Turn Dollar Tree foam pumpkins and yarn into easy DIY pumpkins for your fall decor. These chunky yarn pumpkins have lots of texture making them the perfect fall decoration. A Life of Balance has the complete tutorial.
Chalk Painted Pumpkins
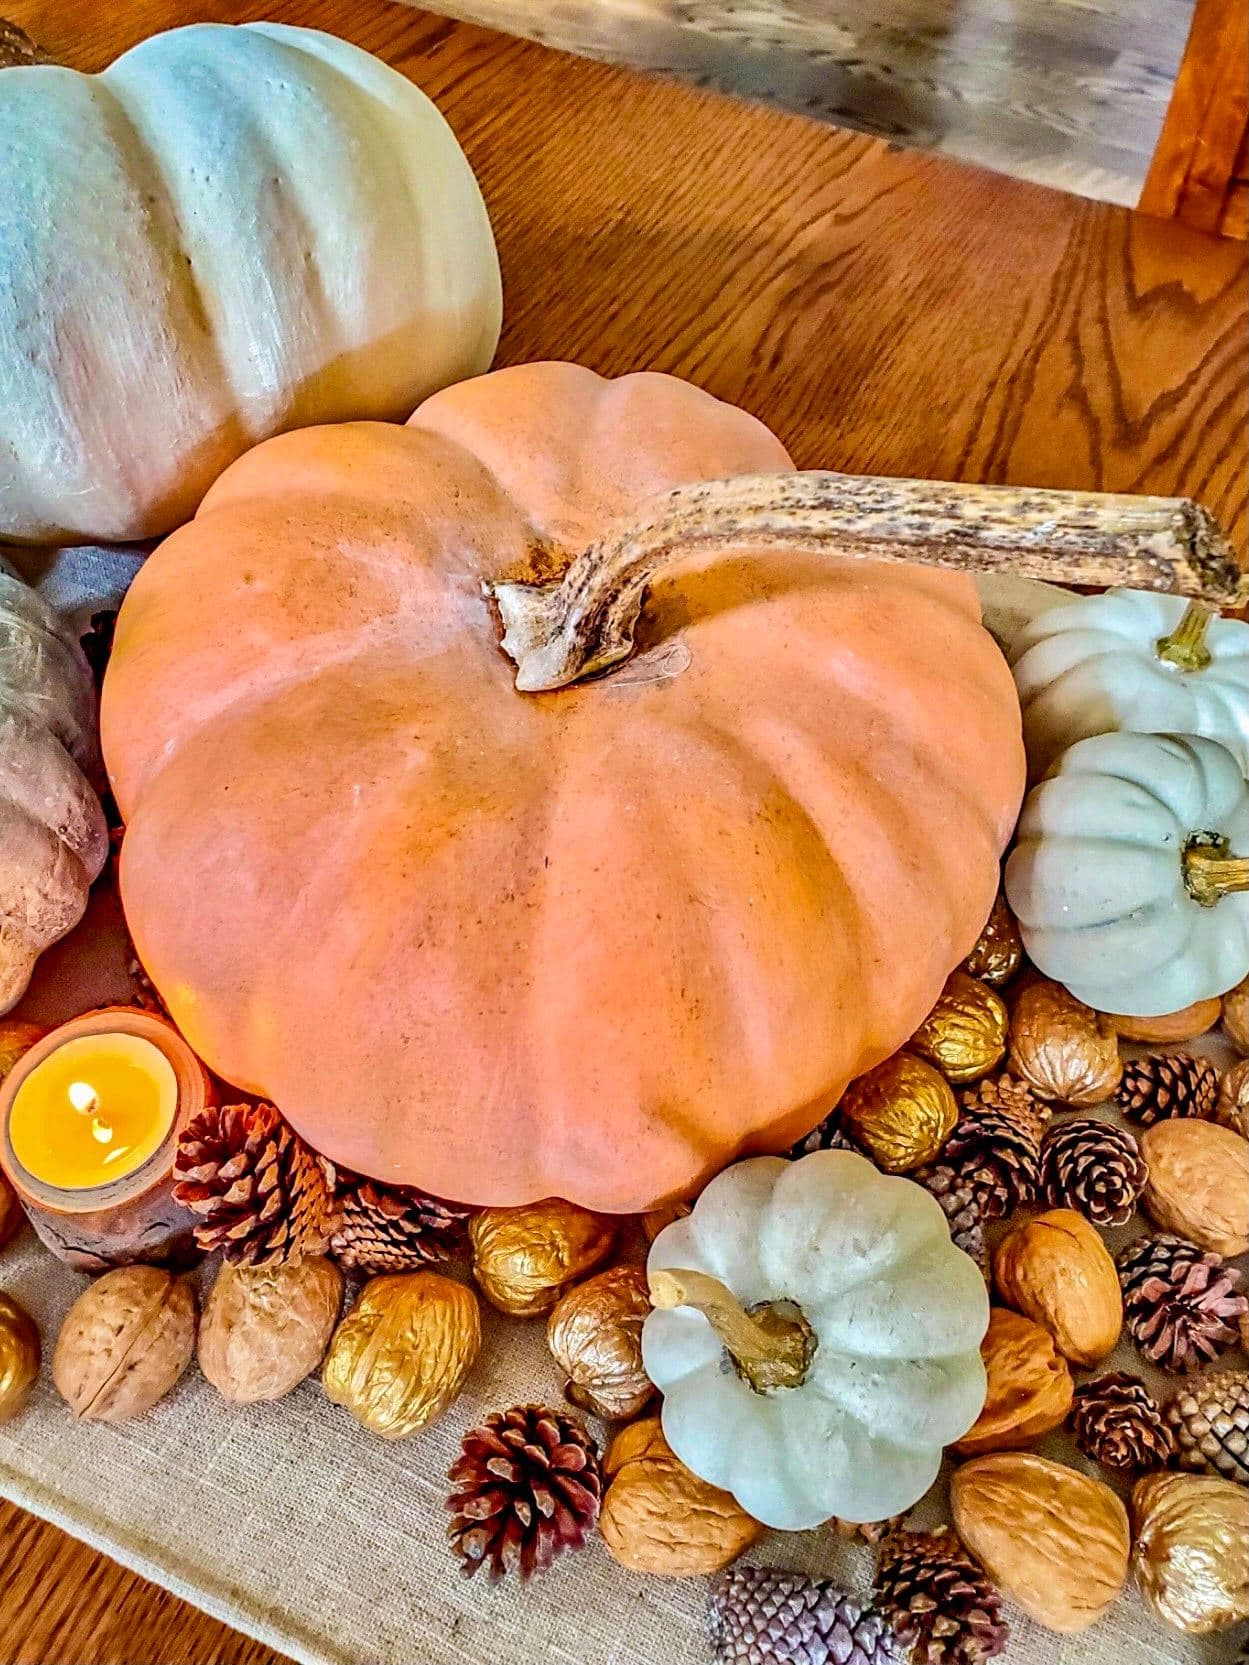
Chalk painting pumpkins is a great way to make fake pumpkins look real. Get tips from Cloches and Lavender on how to mix colors and add real stems for beautiful results.
Easy Fabric Pumpkins
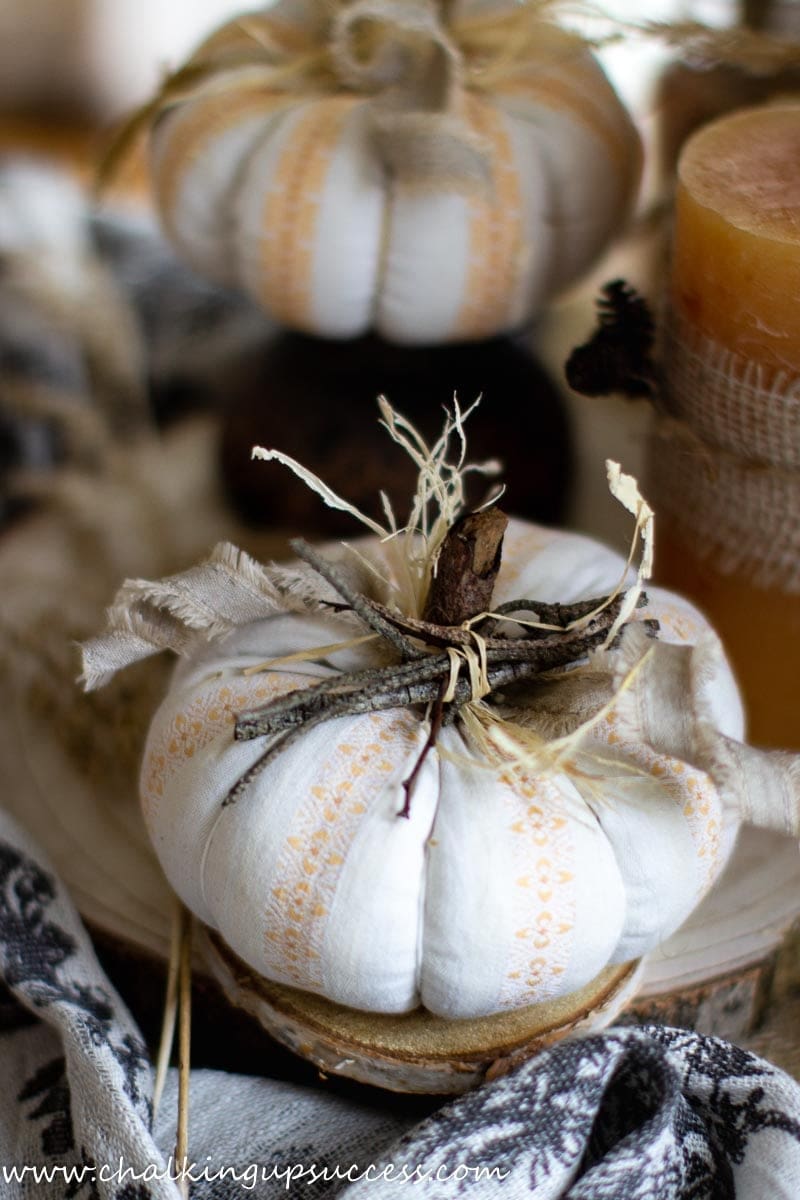
Learn how to make a fabric pumpkin with this easy, step-by-step sewing tutorial from Chalking Up Success! Use these DIY pumpkins to decorate for fall, Halloween, and Thanksgiving.
Beach Style Pumpkin Decor
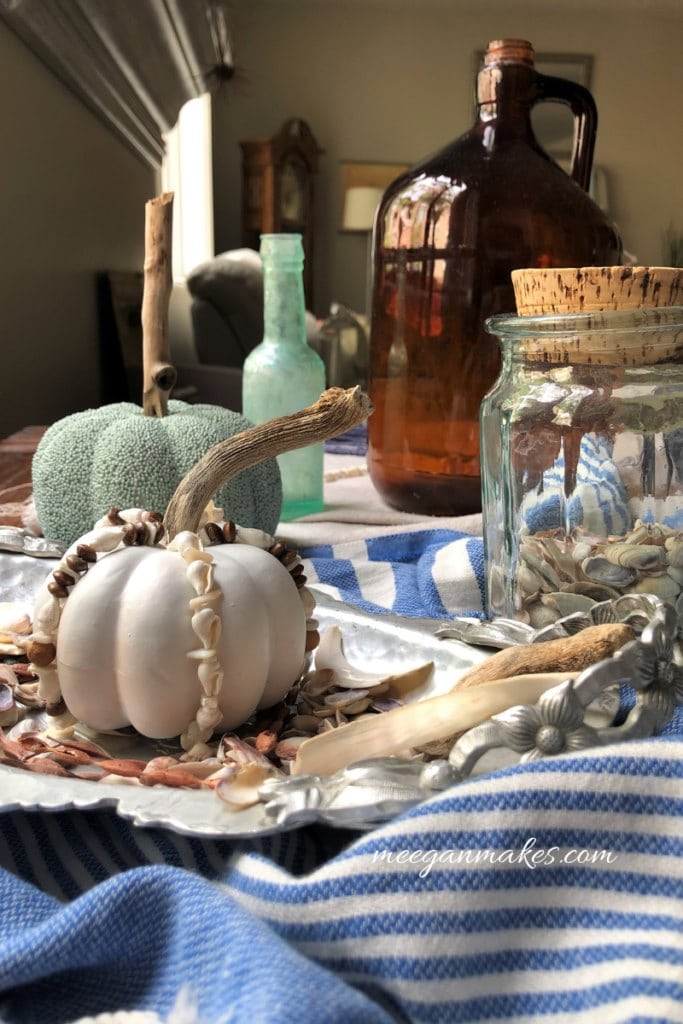
Create a unique, beach-style pumpkin with seashells and a piece of driftwood as a stem. What Meegan Makes shows you how to make this fabulous fall decor accent.
Chunky Knit Yarn Pumpkin
Add cozy vibes with a beautiful chunky knit yarn pumpkin. With this easy tutorial from My Uncommon Slice of Suburbia and about 45 minutes, you will end up with a beautiful rustic-looking farmhouse pumpkin.

How to Make DIY Tea Towels with Image Transfers
Equipment
- Inkjet printer
- Iron
- Ironing board or padded ironing surface
Supplies
Instructions
- Before beginning, wash and iron the tea towels to make sure the image transfers will adhere smoothly.
- Use editing software like Word, Photoshop, PowerPoint, or Canva to size your graphics to match the size of your towels.
- Reverse your image (if necessary) by flipping it horizontally in the software. (You will be placing the image face-down on the towels for the transfer.) You especially don't want to skip this step if there are words on your design.
- Print your design on the blank side of the transfer sheet with the highest quality or “photo” settings. Let the ink on the transfer sheet dry 30 minutes before ironing.
- Trim around the edges of your graphic, using a craft knife for finer details, if needed.
- Preheat the iron on the highest setting (cotton/linen) without water or steam. Then, place the image face-down on the tea towel. Begin ironing slowly in a circular motion for about 1 to 1.5 minutes. (Note: Always follow the manufacturer's instructions for the image transfer sheets, if it varies.)
- After the image transfer has completely cooled (about 1-2 minutes), gently peel back the transfer backing paper. If the image sticks, try ironing again for 15-30 seconds in the trouble spots. Then, let the towel cool and try to peel again.
- For a finishing touch, you can sew a ribbon or trim along the edge of the towel.
Notes
If you try making these towels, share your photos and tag @firstdayofhome on Instagram!
Loving these tea towels Crissy! Thanks for sharing – pinned! 🥰
Thanks so much, Cindy! They are fun to personalize. I hope you’re doing well, my friend!
I love your fall-themed tea towels and agree that they would be a great gift with a wooden spoon. If I were you, I would make them for all seasons so my stove handle would always be decorated for the season.
Thank you so much, Paula! Yes, that’s what I love about this method…you can customize it for any holiday! Thanks for stopping by.
Wait… I didn’t comment on this yet? That is SO weird! Well, I love these so much (and they look great with your decoupaged wooden spoons!), that I’m featuring your DIY tea towels at Tuesday Turn About! Woot! Pinned… several times!
Yahoo! I’m thrilled to be featured, my friend! Thanks so much for your support and the kind words. Big hugs!
Darling tea towels. Love the flour sacks. They are the best. Will be making them soon. Thanks for the idea.
Thank you so much, Paula! It really makes my day to get sweet comments like this. I hope you have fun making your tea towels! Best wishes, Crissy
So pretty!!
Thanks so much, Spela! It’s so wonderful to hear from you, my musical friend. I hope you’re doing well!
What a fun project, Crissy. These turned out so cute!
Thanks so much, Jen! I appreciate you stopping by, my friend!
These are cute and so easy. They would look great in my kitchen.
Thank you, Janet! Yes, it’s nice to add a little touch of fall in the kitchen.
These tea towels came out so gorgeous! I will definitely be trying out those transfer sheets soon. Thank you for sharing.
Thanks, Olivia! I think you’ll have fun with the transfer sheets. Great hopping with you again!
These are so darling! Thanks for sharing the full tutorial and all the details. They would make fun hostess gifts for any Fall event. Pinned.
Thanks, Meegan! That’s a great idea about a hostess gift. I enjoyed hopping with you!
Your fall pumpkin themed tea towels are so cute, Crissy! I’ve never seen this transfer method before. I’d definitely like to give it a try! Thanks for sharing. It was fun pumpkin crafting with you!
Thanks so much, Rebecca! This method is a lot of fun. So many possibilities! It was fun hopping with you again.
I had no idea that making custom tea towels was easy. Thank you for the inspiration and tutorial.
Happy Fall,
Kippi
Thanks so much, Kippi! It was fun doing this hop with you. I appreciate you organizing it! Hugs, Crissy
These are adorable and look so cute. I love working with these transfer sheets
Thank you, Cindy! They are great.
Your towel is so cute, perfect for fall!
Thanks, Kristin!