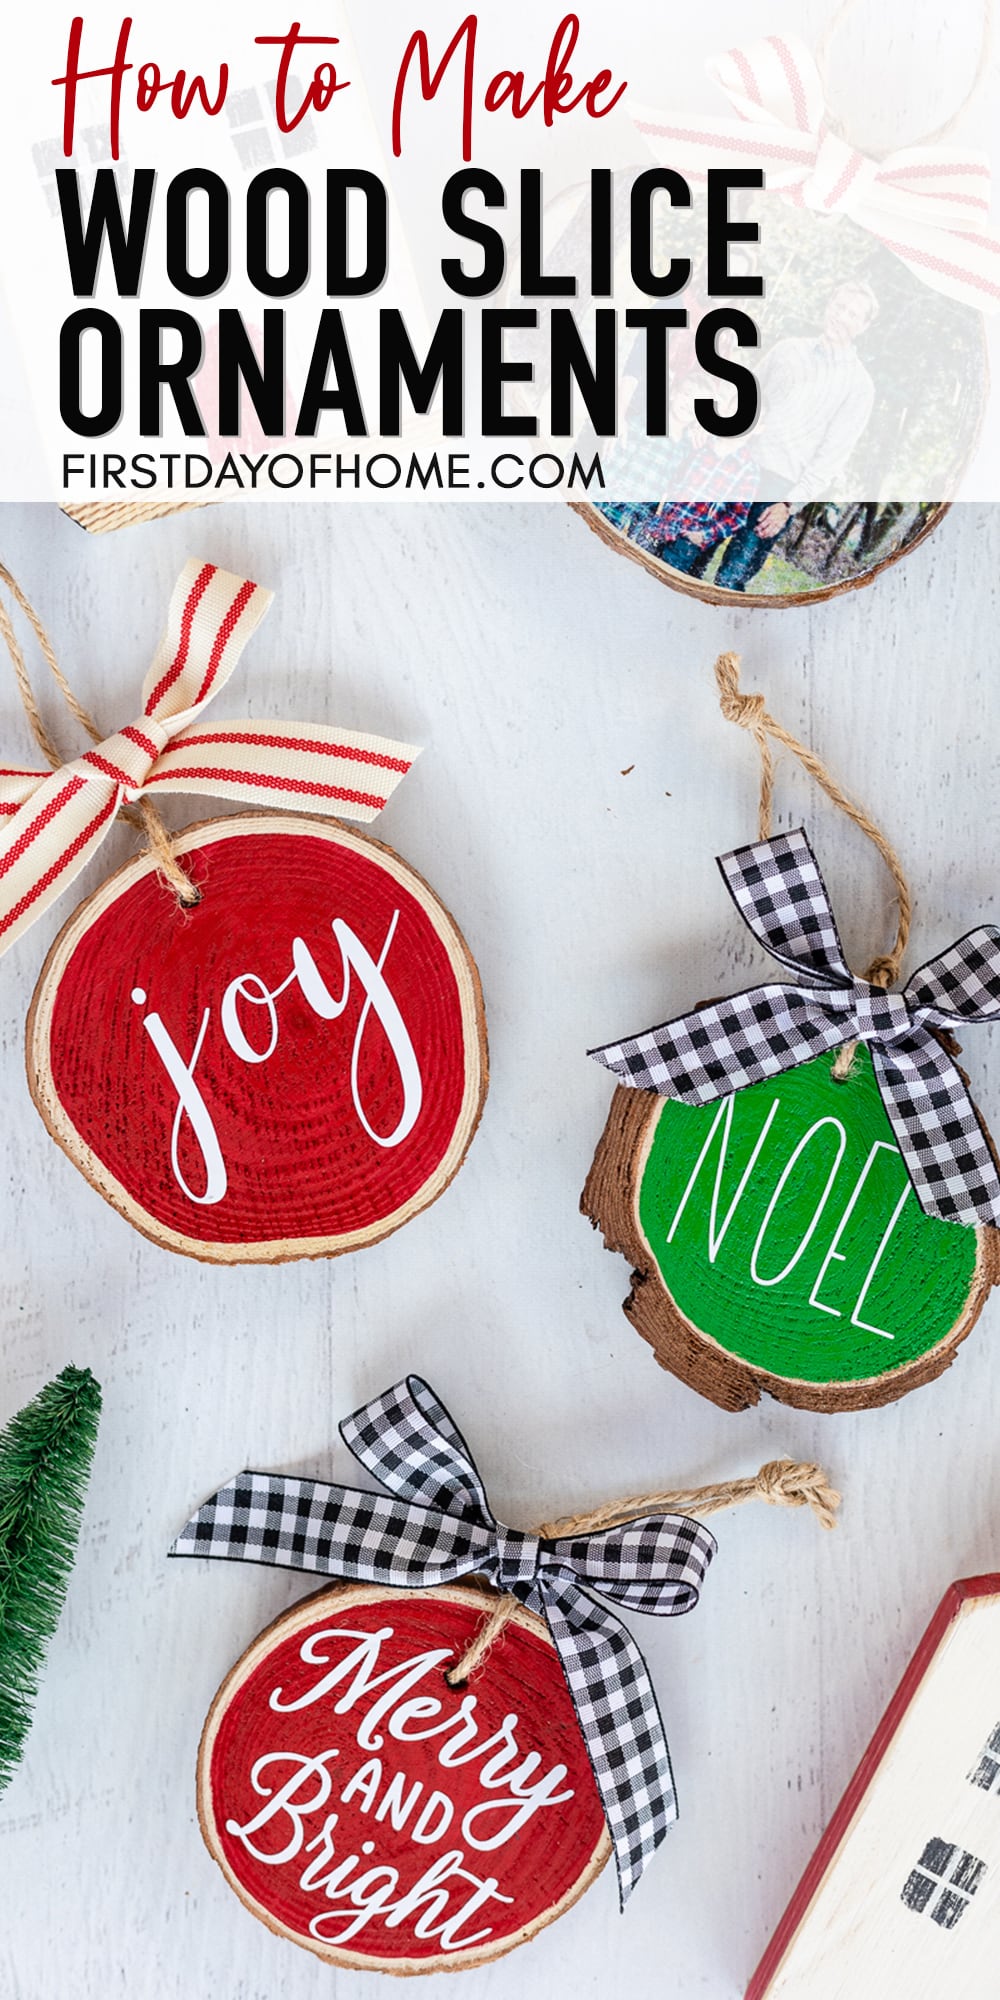
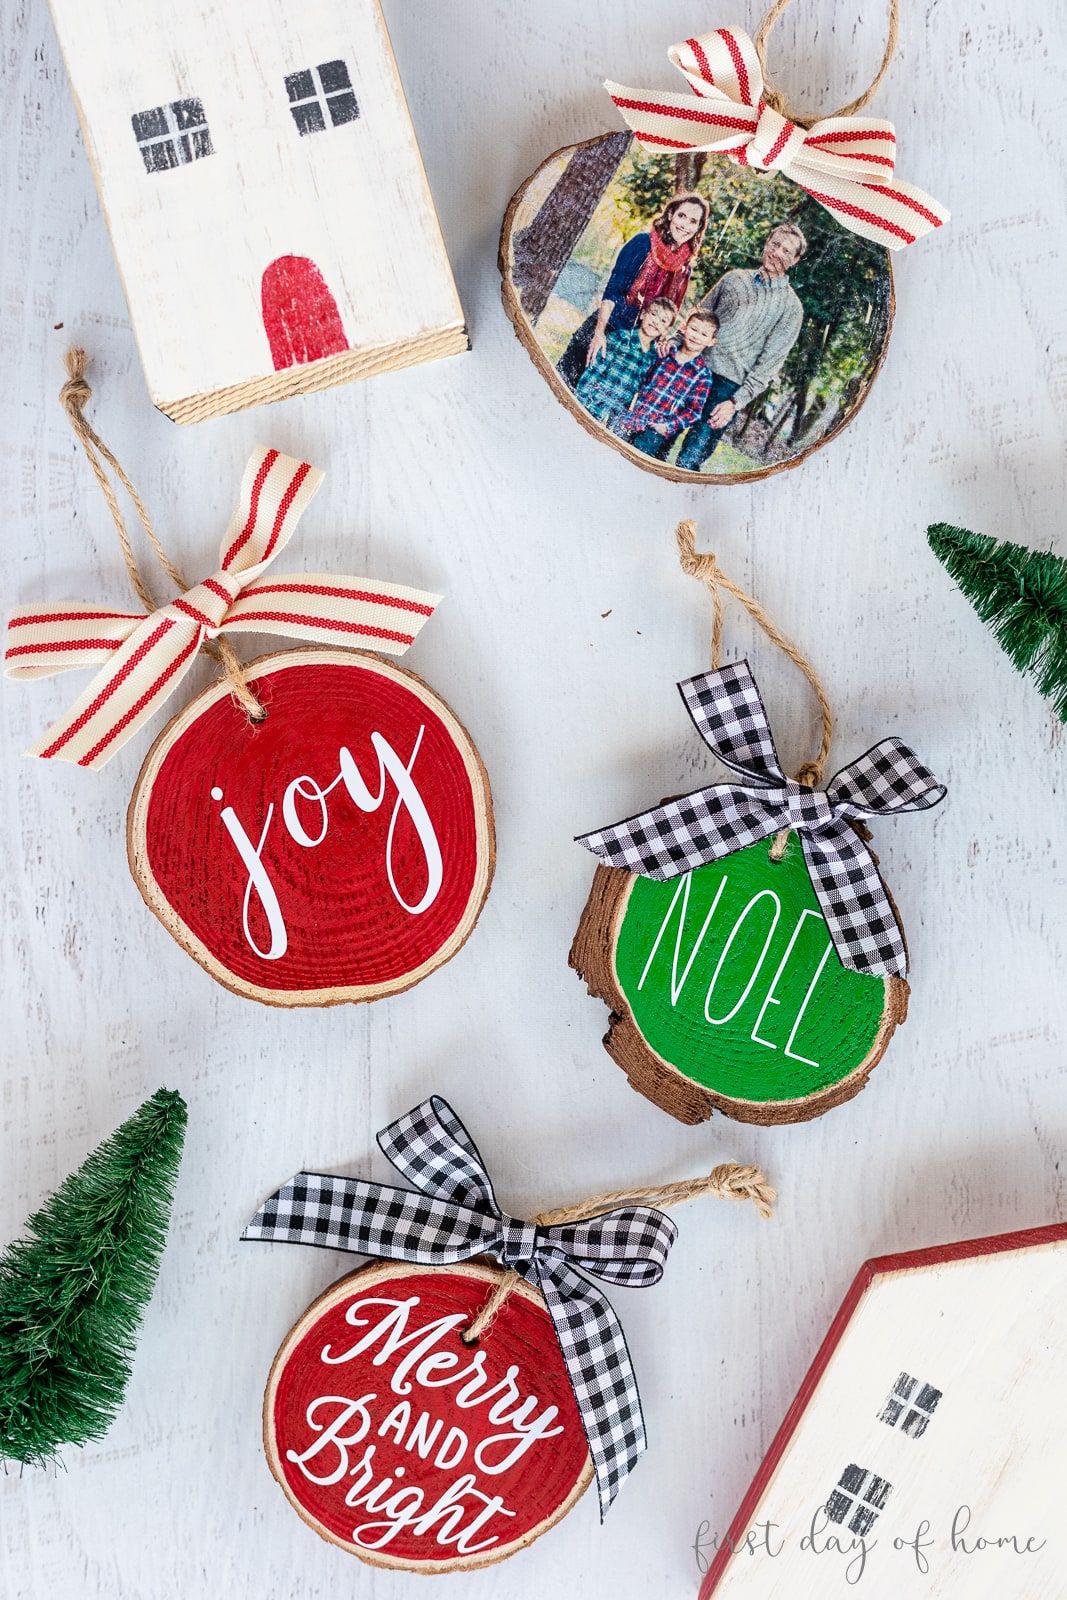
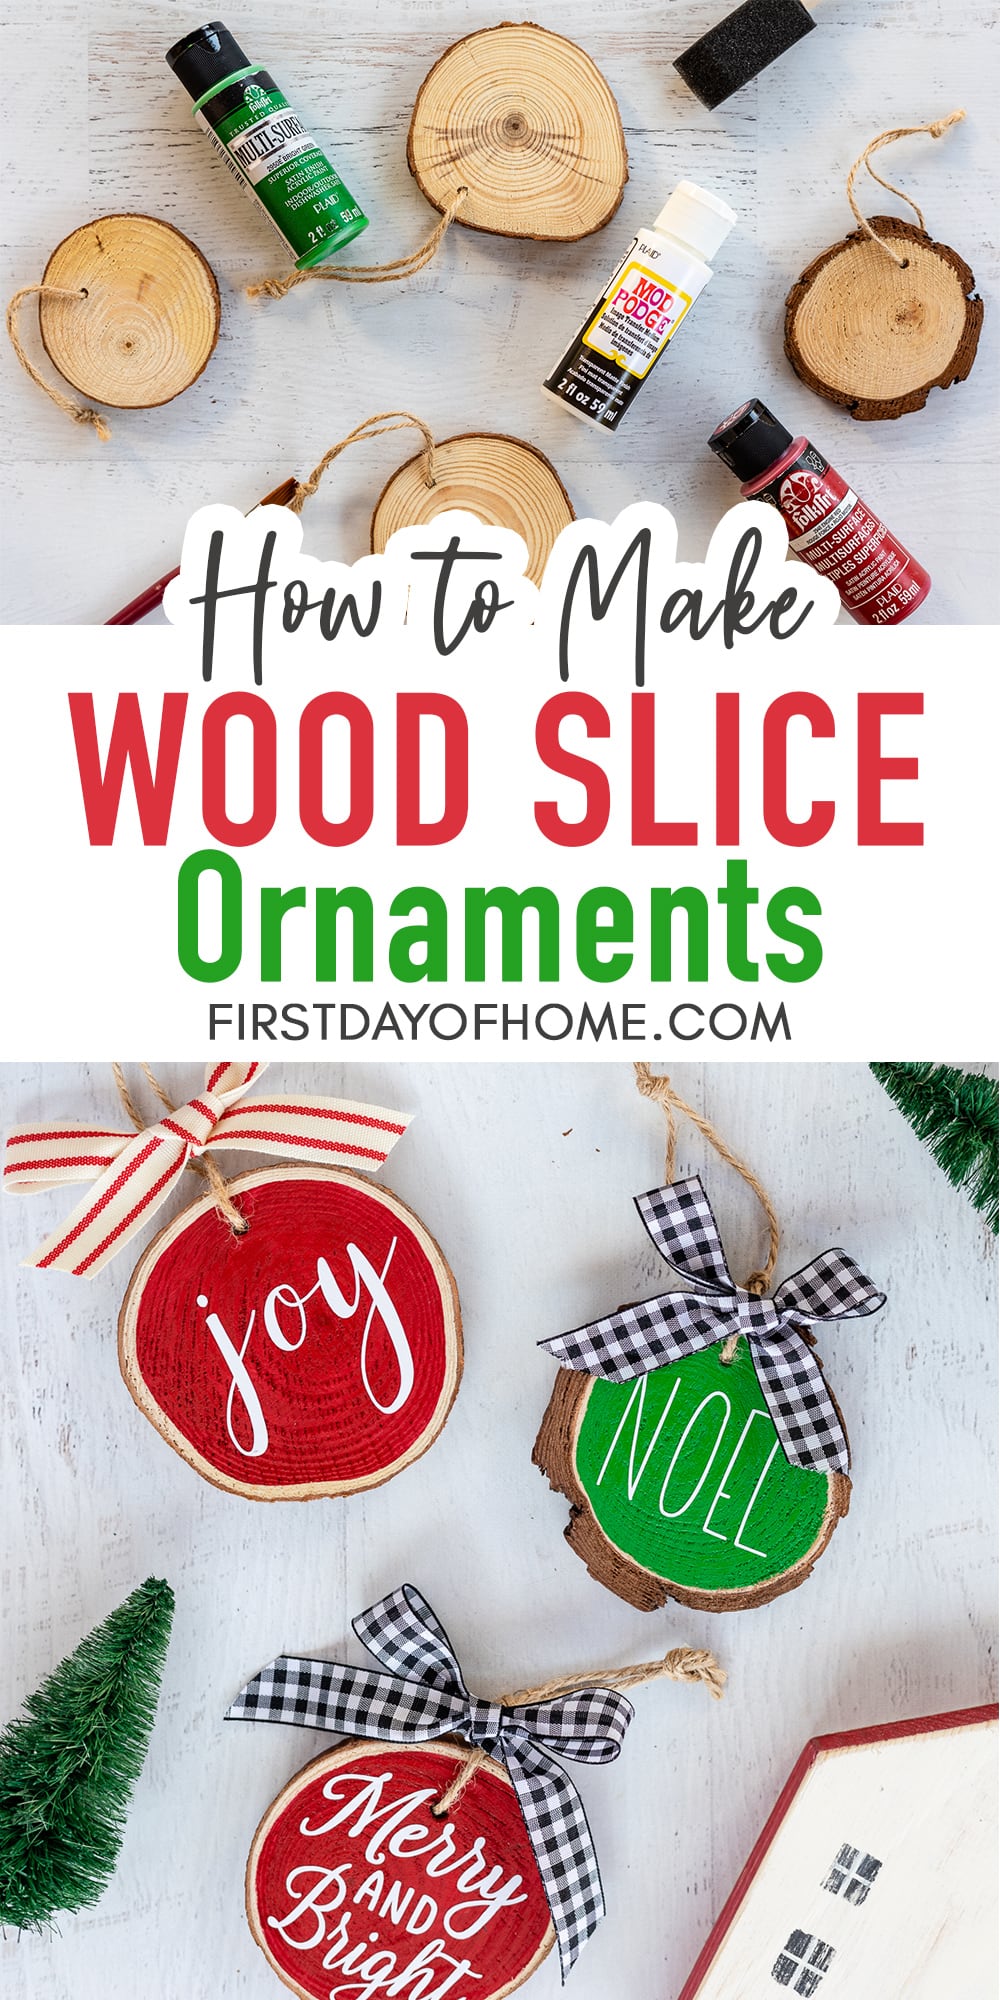
How to Make Easy Wood Slice Ornaments Two Ways
If you’re looking to add some rustic farmhouse charm to your Christmas decor this year, these easy wood slice ornaments are for you! I’m giving you two different methods to customize your designs to create unique DIY gifts or decorate your Christmas tree for the holidays.
This post contains affiliate links, and I will be compensated if you make a purchase after clicking on my links. For more information, please see my disclosures. Thank you to Plaid Crafts for supplying the Mod Podge and paints for these projects!
DIY Wood Slice Ornaments with Mod Podge Photo Transfer
I love creating personalized ornaments for the holidays, especially newlywed ornaments for recently married couples. These are the perfect DIY projects to honor a special couple and help them celebrate their first Christmas together.
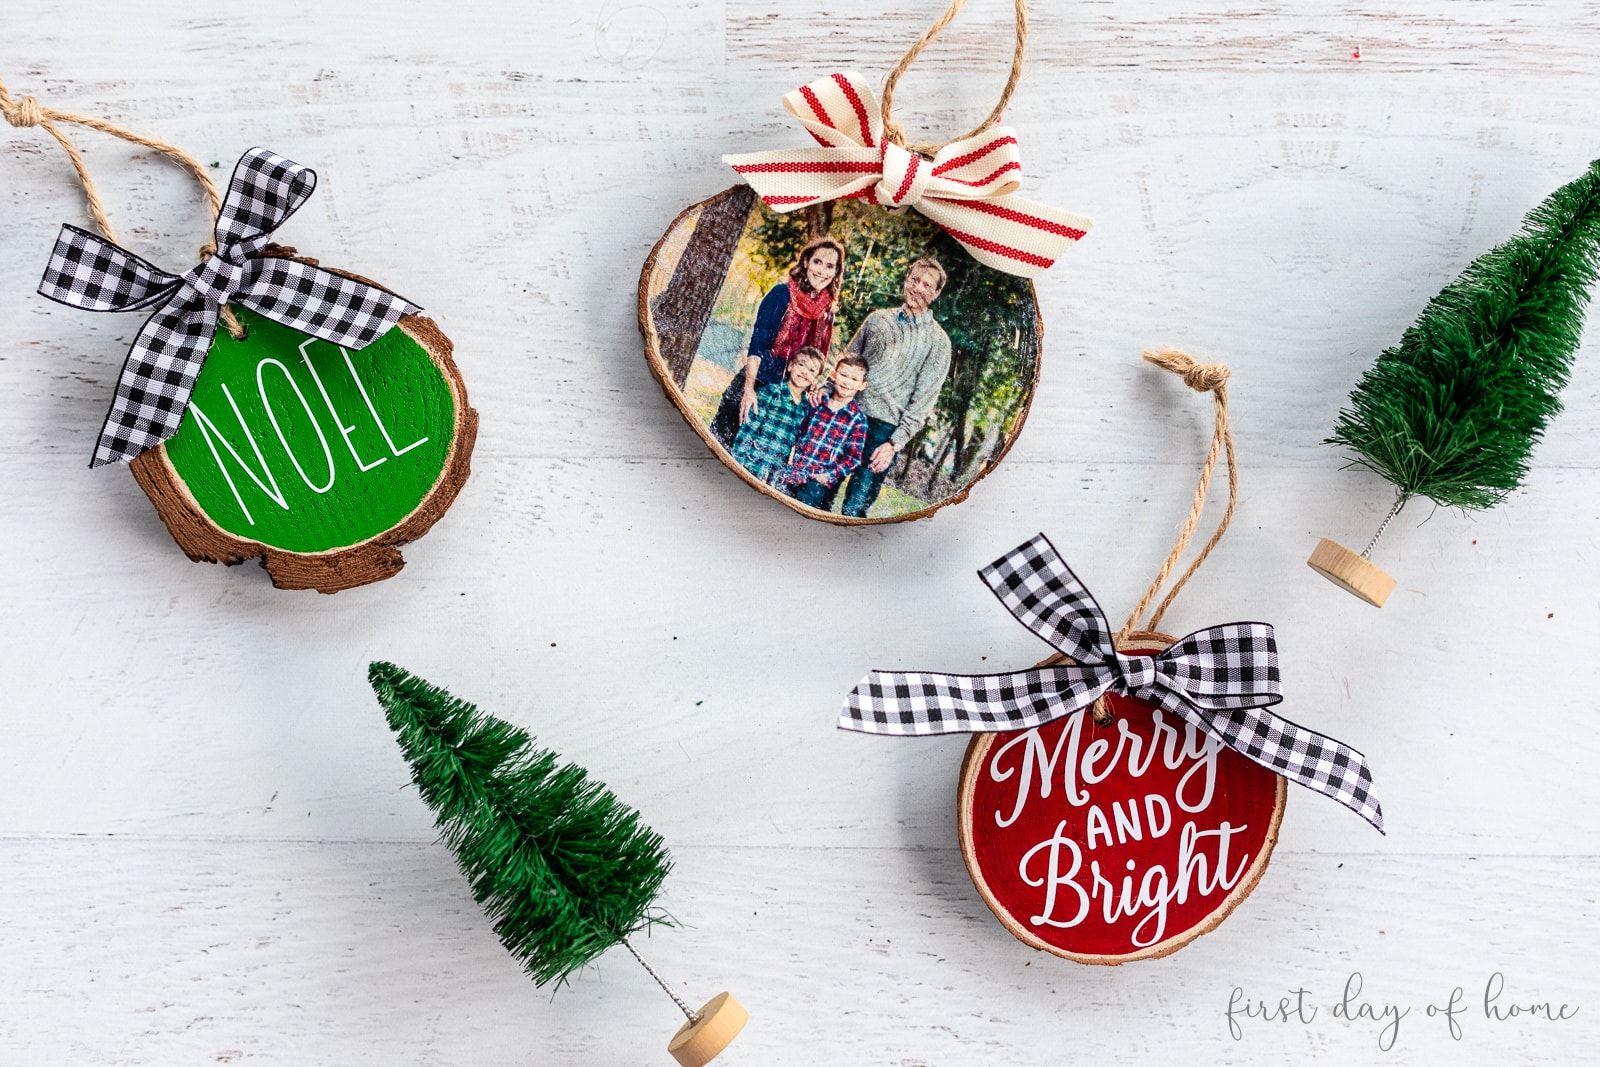
These custom ornaments also make great stocking stuffers for a spouse or other family members!
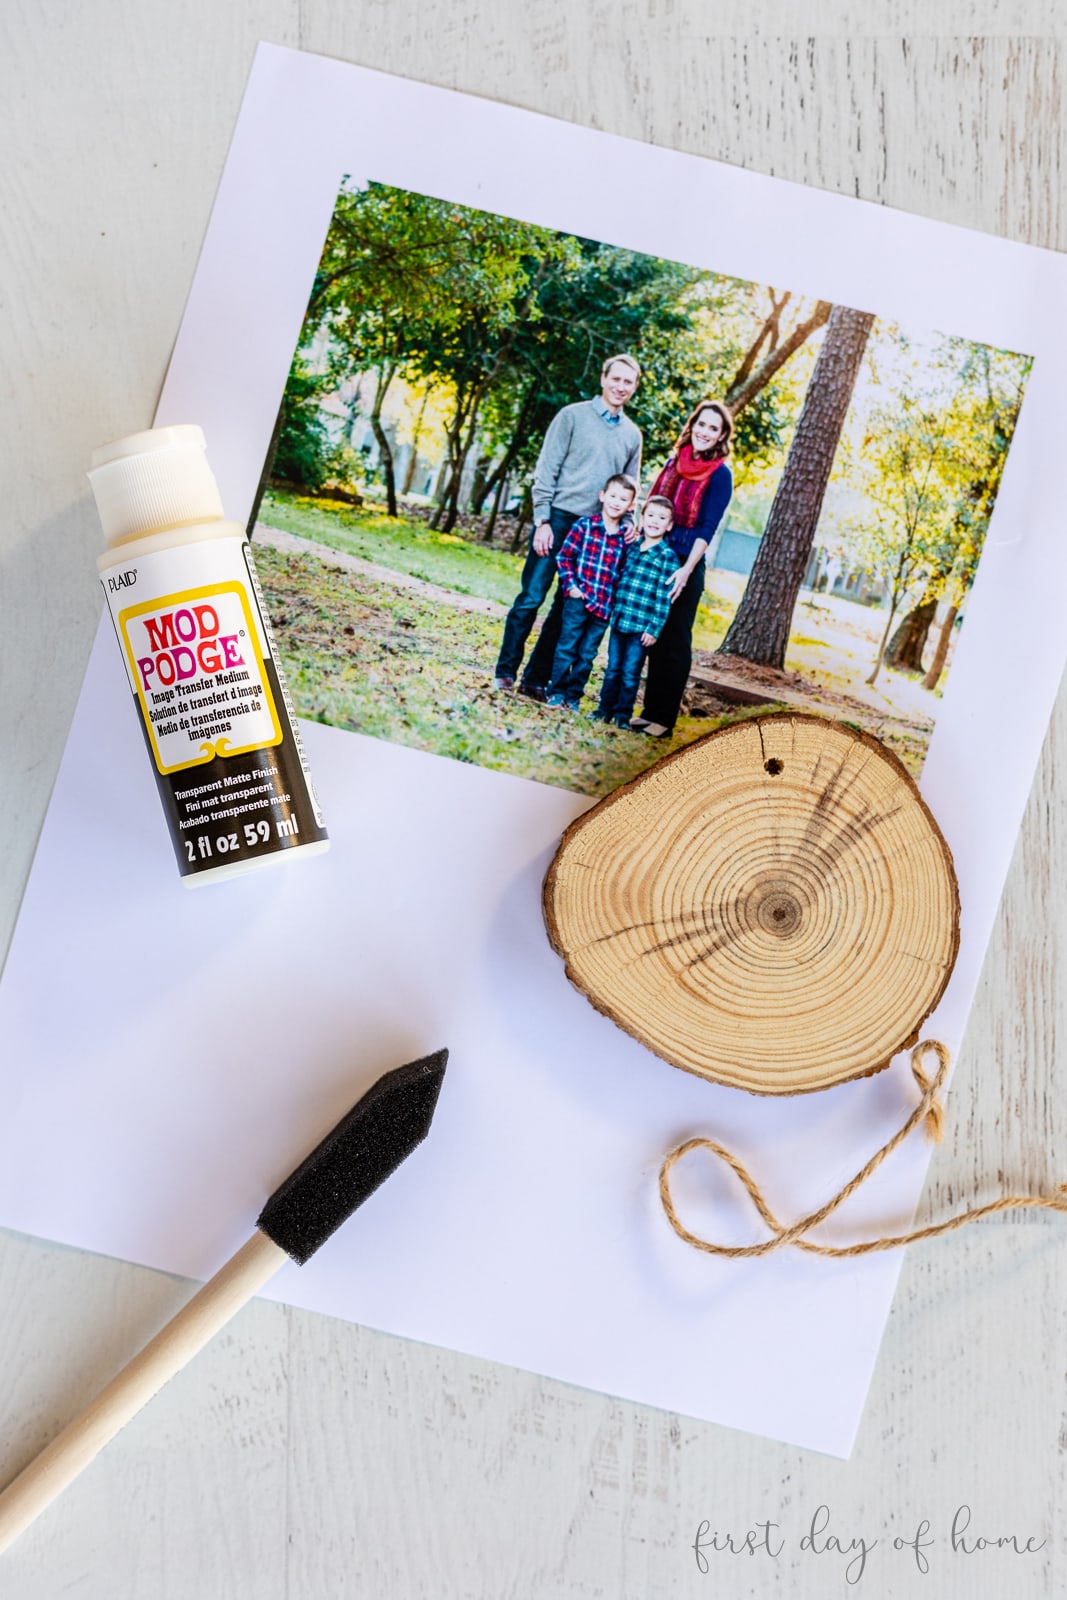
To make photo transfer ornaments, you’ll essentially “print” the photo directly onto the wood using a special formulation of Mod Podge. Compared to other decoupage methods, this technique prevents bubbling and wrinkles.
You can see this complete tutorial in my YouTube Christmas crafts video, along with 9 other Christmas DIY projects.
Supplies
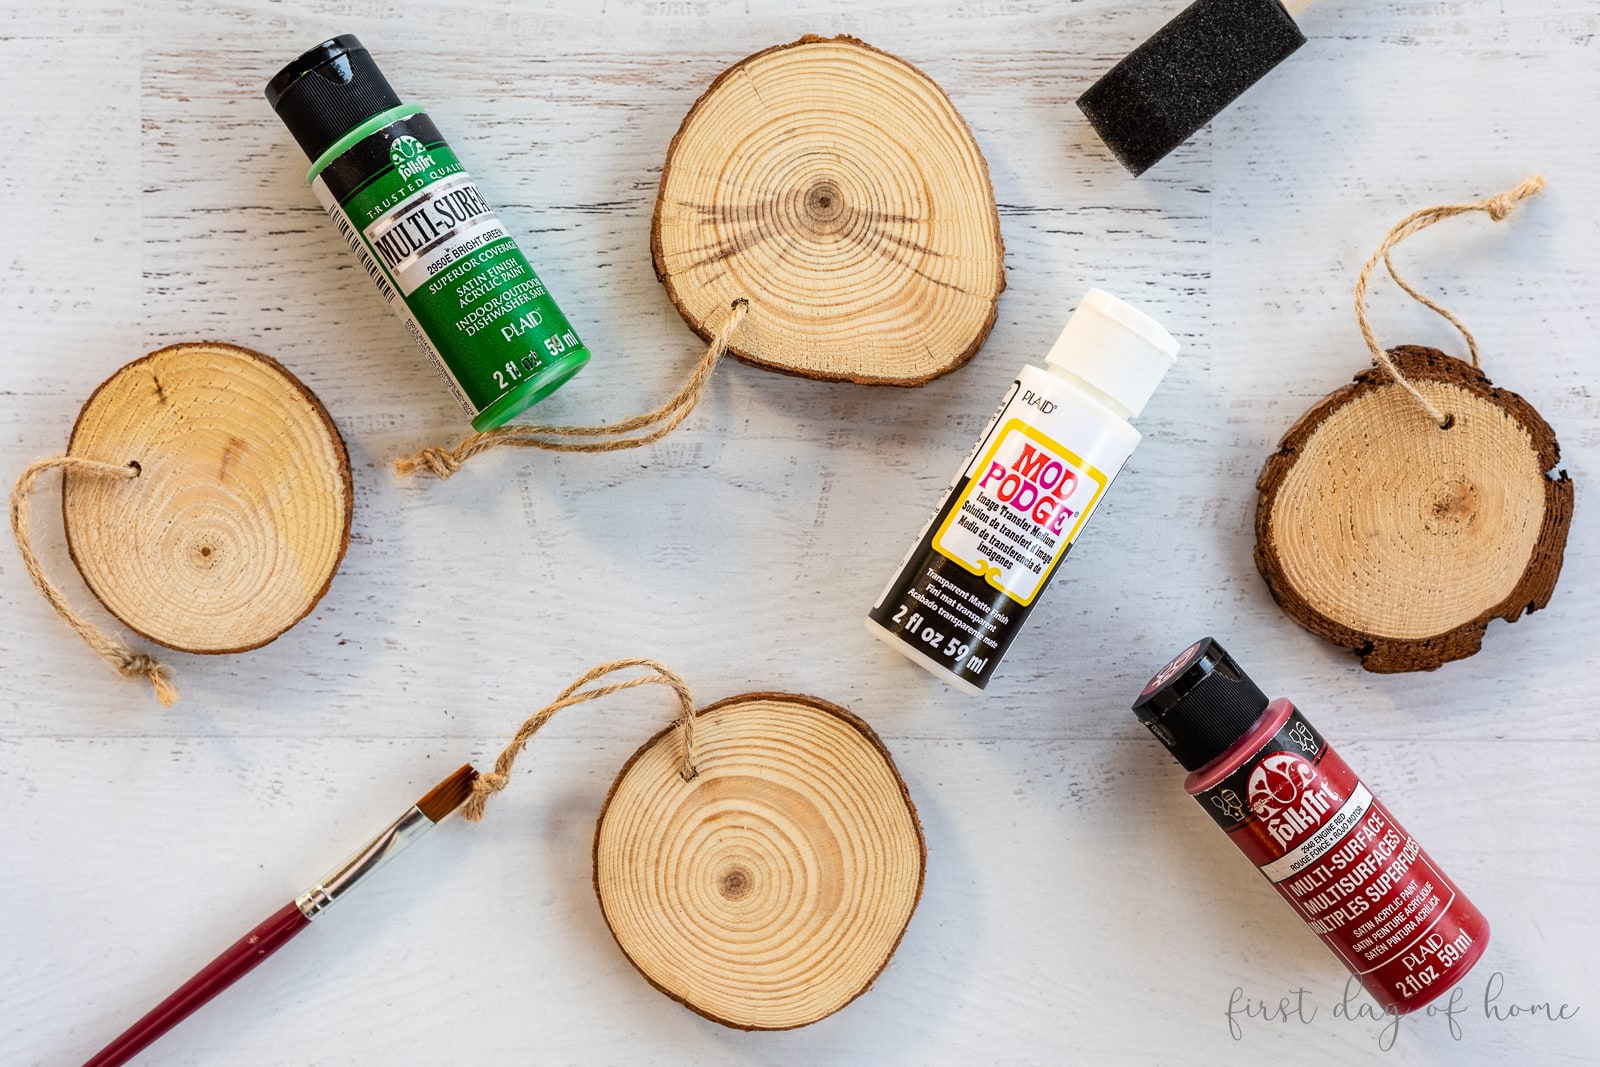
- Wood slice ornaments
- Mod Podge Photo Transfer Medium Kit
- Photo printed with laserjet printer or dry ink toner printer (not ink jet)
- Hole punch
- Ribbon (optional)
Step 1: Print photo with laserjet or dry ink printer
The most critical detail in transferring photos to wood is using the right type of photocopy.
An inkjet printer will not give the same results as the recommended laserjet printer. You definitely don’t want to use a real photo either.
If you’re stressing about not having the right type of printer, I highly recommend sending the job to FedEx. You can place your order online and have prints ready to go within a few hours.
Select “Copies and Custom Projects” on the FedEx site to get started. You can insert your photos into a Word document to upload.
Tip: Your image will be reversed on the wood, so make sure you flip the image horizontally before printing, if necessary.
Step 2: Cut photo to size
Before you begin, you may want to sand the surface of your wood slices, depending on the roughness of the texture. I picked mine up at the craft store, so they were fairly smooth already.
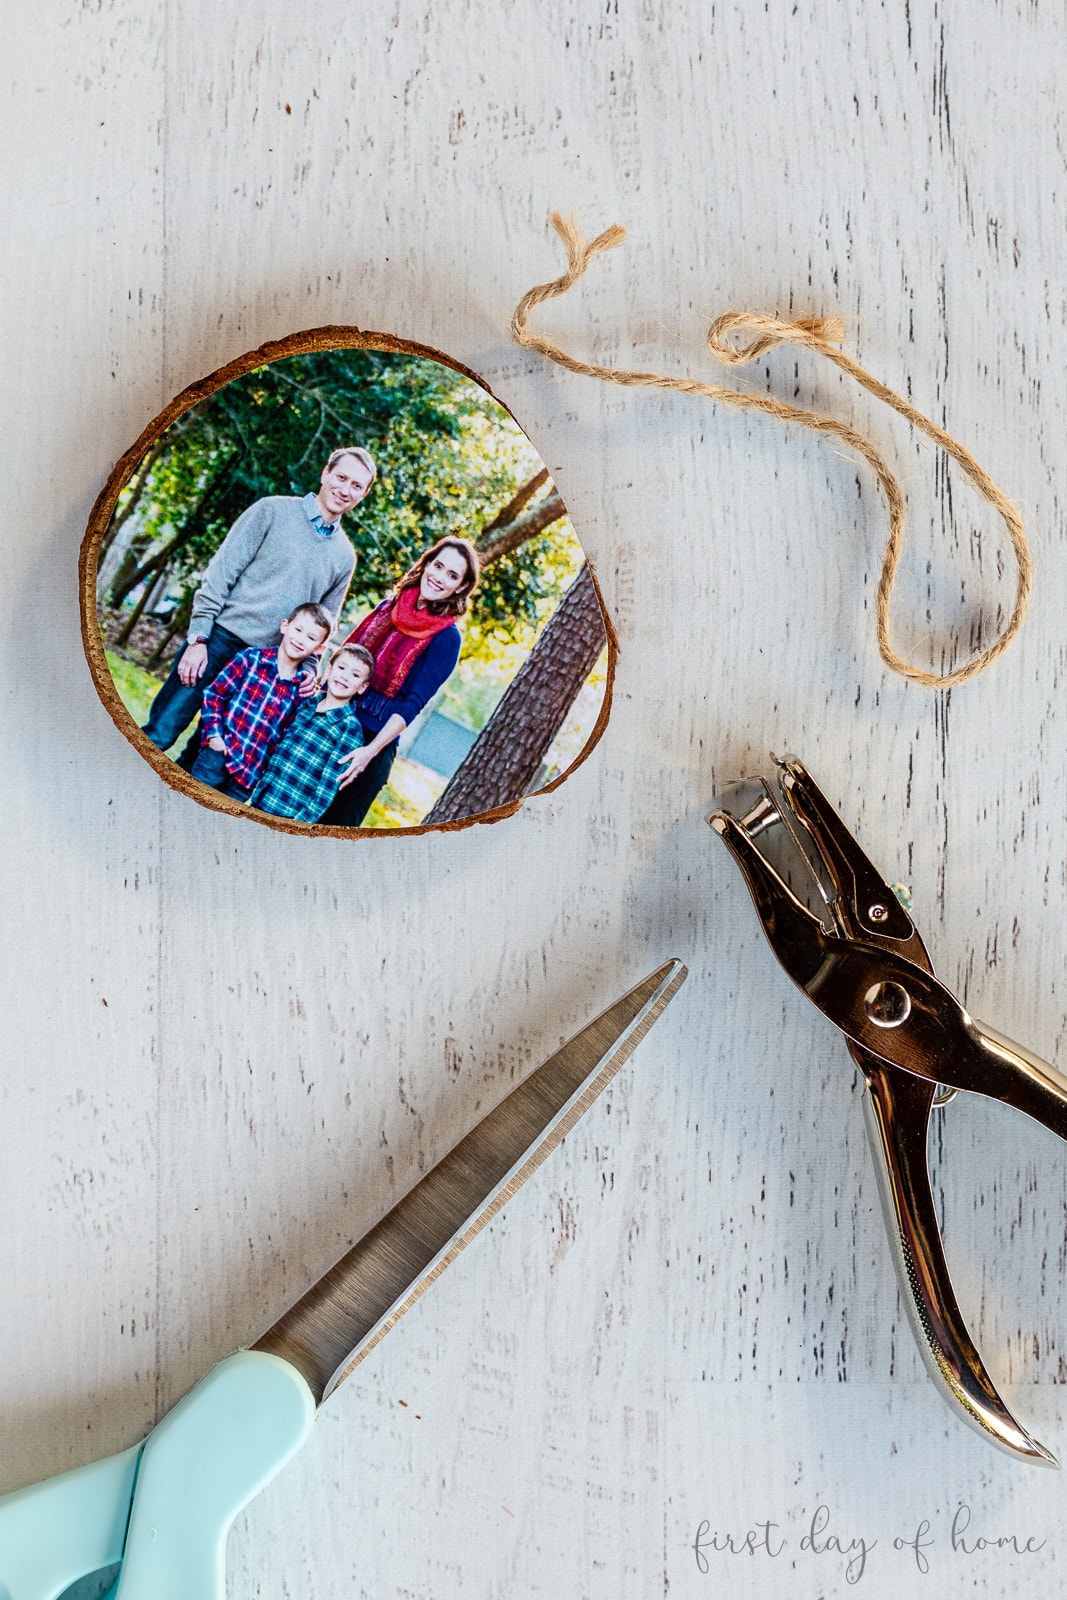
Then trace an outline of the ornament onto the photo you’ll be using.
Once you’ve cut the photo to size, trace the hole of the ornament onto the paper. Use a hole punch to create a hole in the photo matching the ornament.
Step 3: Apply image transfer medium
With the photo facing up, apply a generous amount of the Photo Transfer Medium using a foam brush. You can use wax paper or a plastic food storage wrap underneath to ensure you cover all edges well.
Now here’s where the magic happens! Place the photo on top of the wood slice, face down.
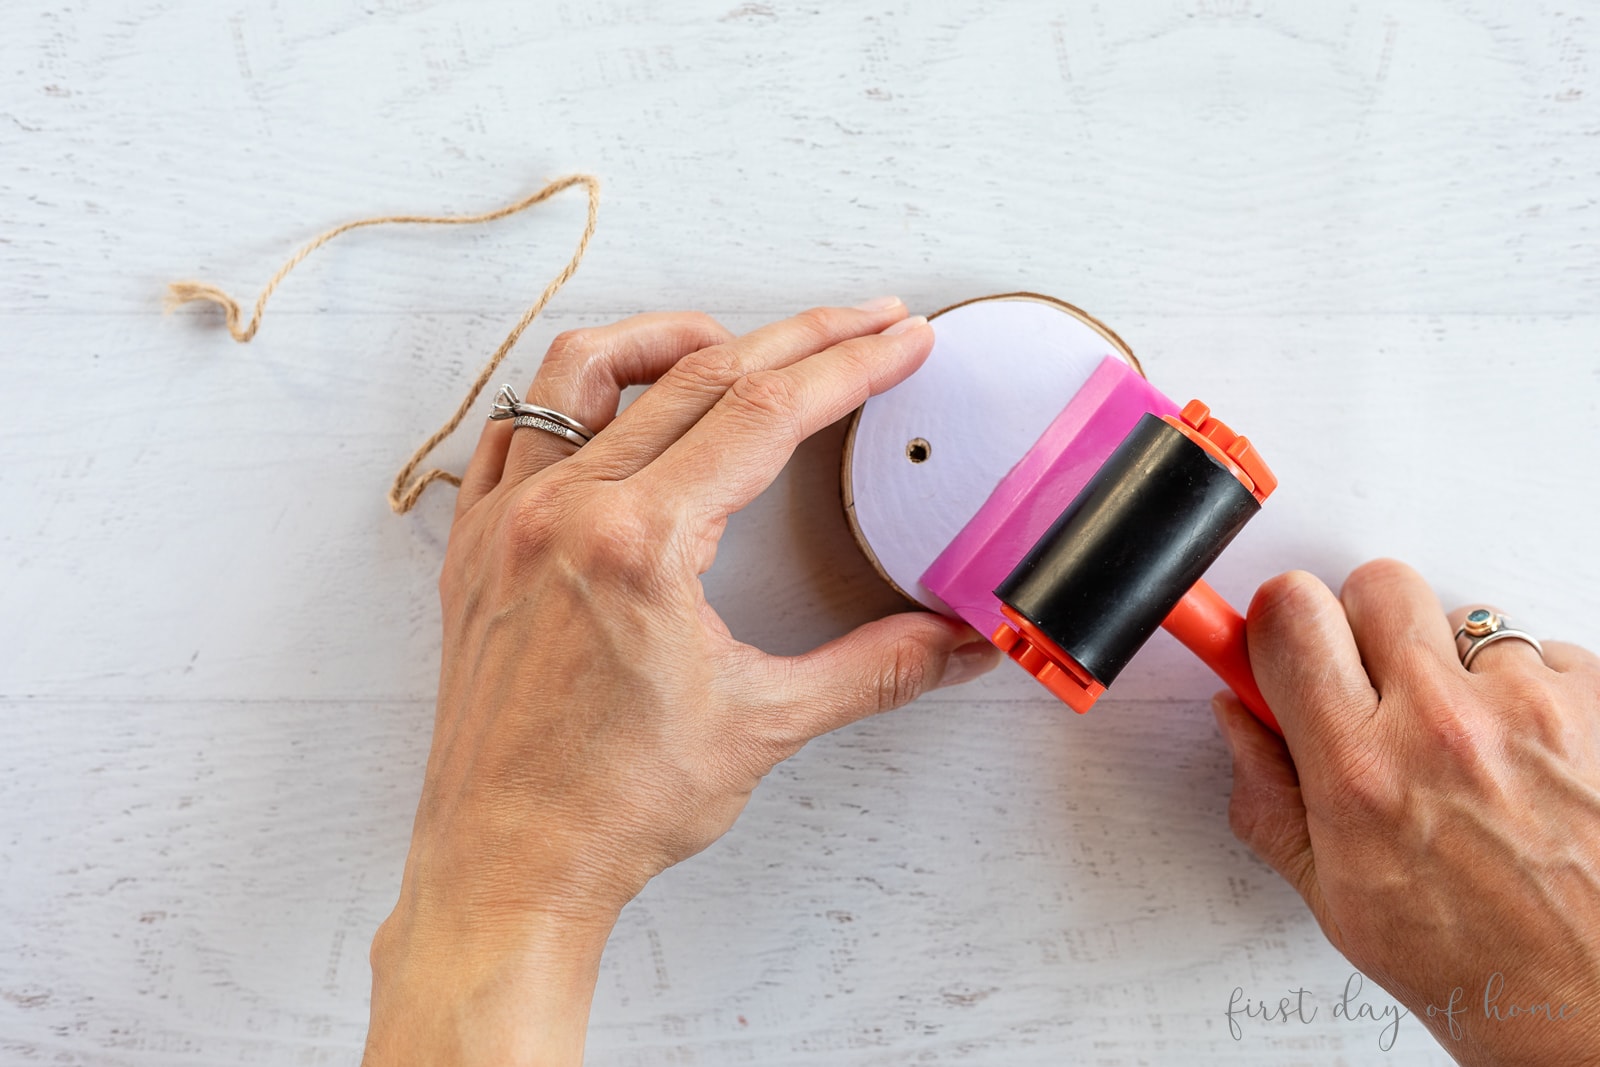
Smooth the photo down using a brayer or squeegee. I love this smoothing tool for this purpose. If any of the liquid seeps out around the edges, you can use a damp cloth to clean it up.
After your photo is attached to the wood ornament, wait 24 hours to let it dry completely.
Tip: Make sure you rinse your foam brush completely while it’s still damp.
Step 4: Use a wet sponge or cloth to remove paper
After the image transfer is completely dry (24 hours later), use a damp cloth or sponge to begin wetting the paper. Wait about 2 minutes before gently removing the paper with the same sponge/cloth or your fingertips.
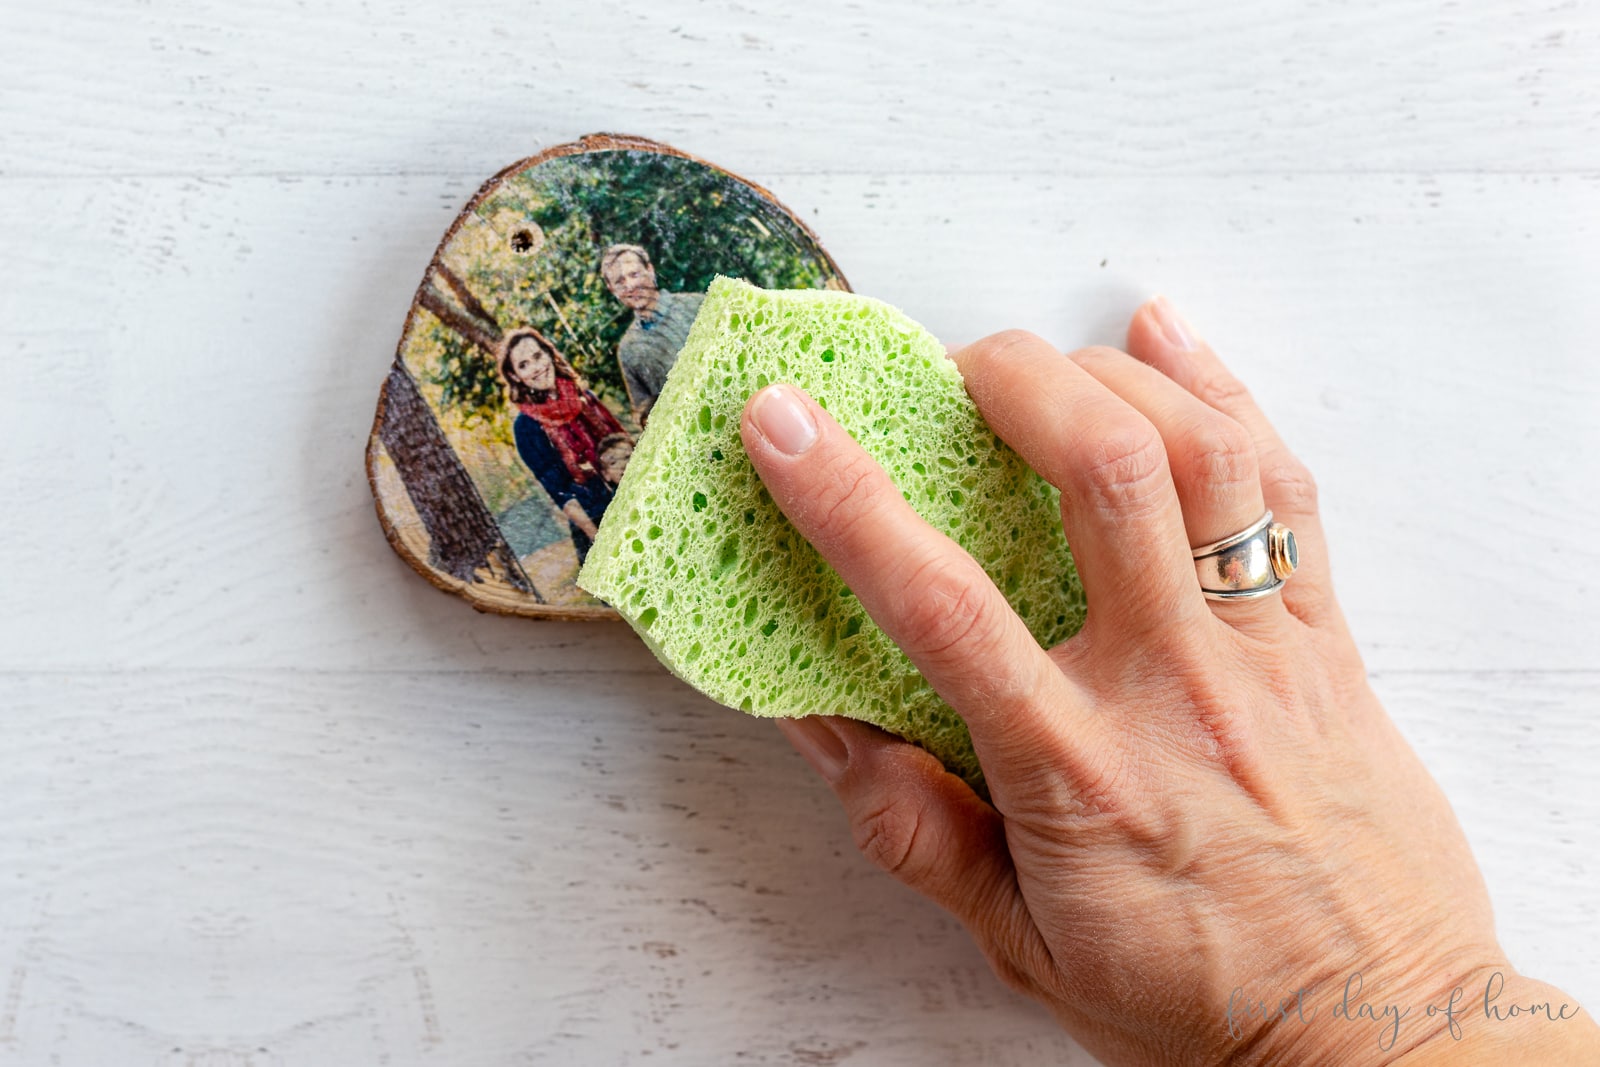
Take it from me, you’ll want to be extra careful how hard you rub to avoid pulling up the final image. I recommend testing the photo transfer Mod Podge on a scrap piece of wood to get comfortable with the product.
If some paper fibers remain, you can rewet the image and repeat the process.
Step 5: Seal the finished image transfer (optional)
After you’ve revealed your final image, you can seal your project using the same photo transfer medium, or you can choose another Mod Podge product of your liking.
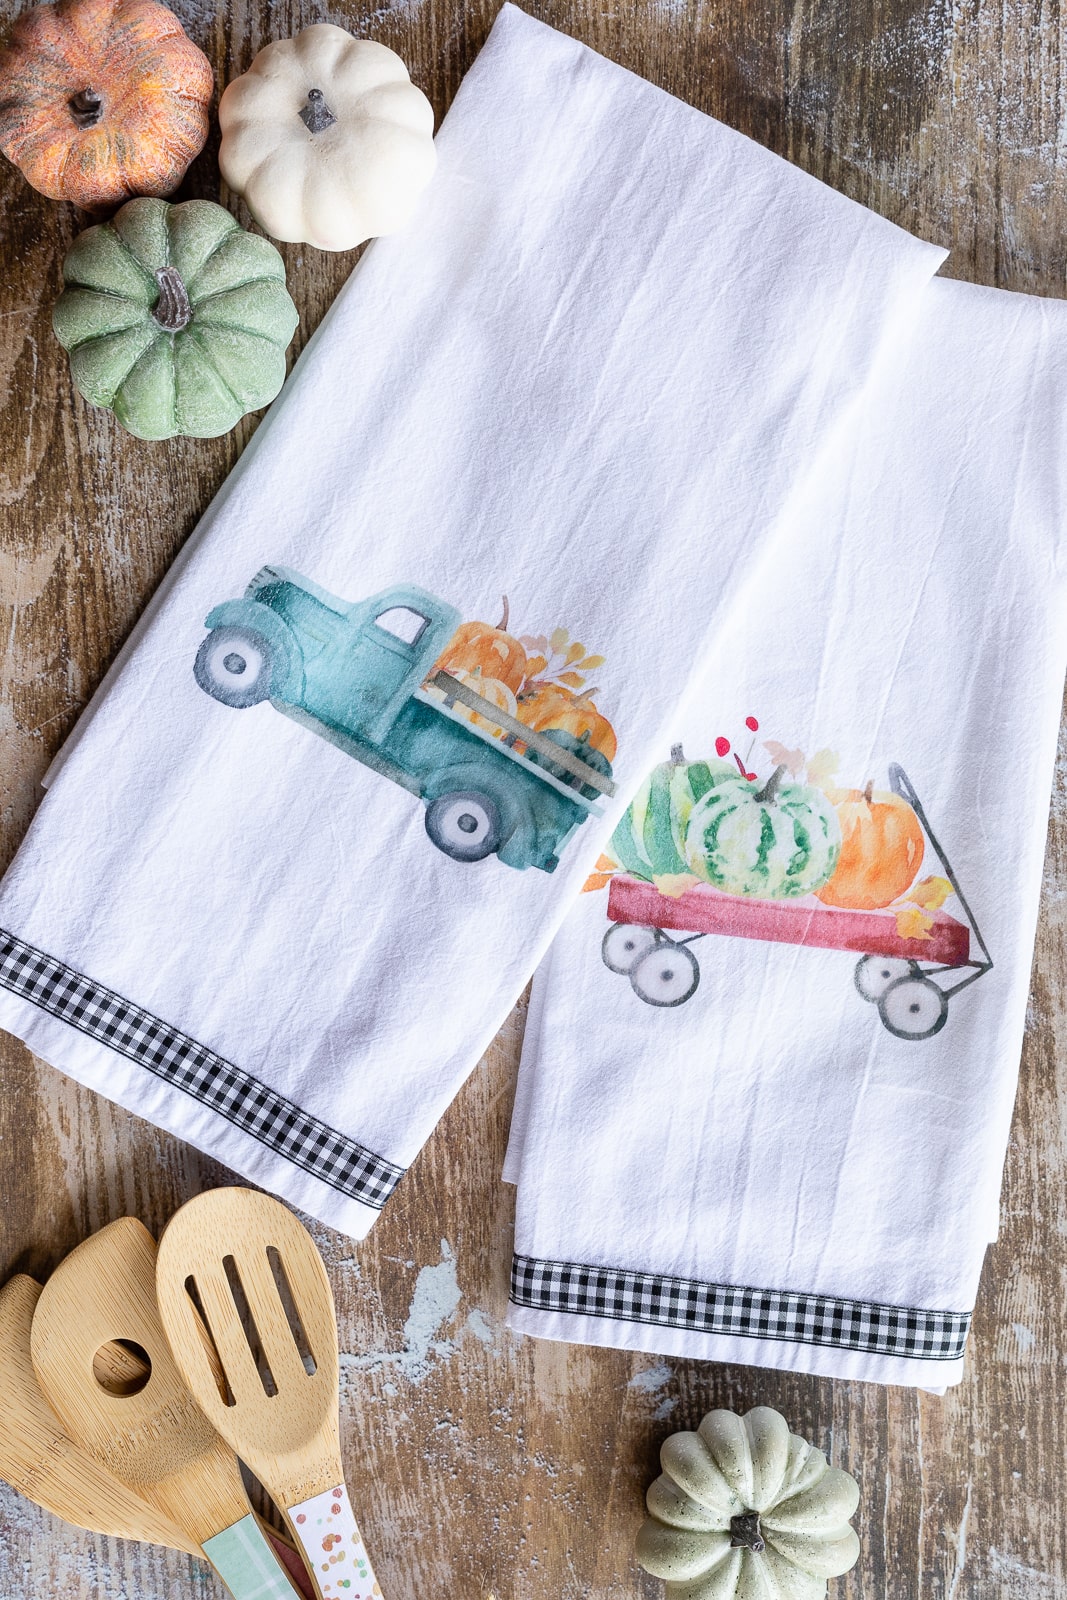
Another DIY Image Transfer Project
For another type of image transfer project, try making these DIY tea towels! You can learn everything you need to know about transferring images on fabric without fancy machines.
Wood Slice Christmas Ornaments with Cameo or Cricut Designs
For a more farmhouse look, try making these painted wood slice ornaments with matte vinyl lettering.
Below are instructions for using a Cricut or Cameo cutting machine, but you can always hand-paint your letters as well.
Supplies
- Wood slice ornaments
- Acrylic paint
- Matte vinyl
- Transfer tape
- Cameo or Cricut cutting machine
- Ribbon (optional)
Step 1: Paint a base coat on ornament
Before you paint the ornament, you may want to lightly sand the wood slice. Then, apply one coat of paint and let dry 1 hour.
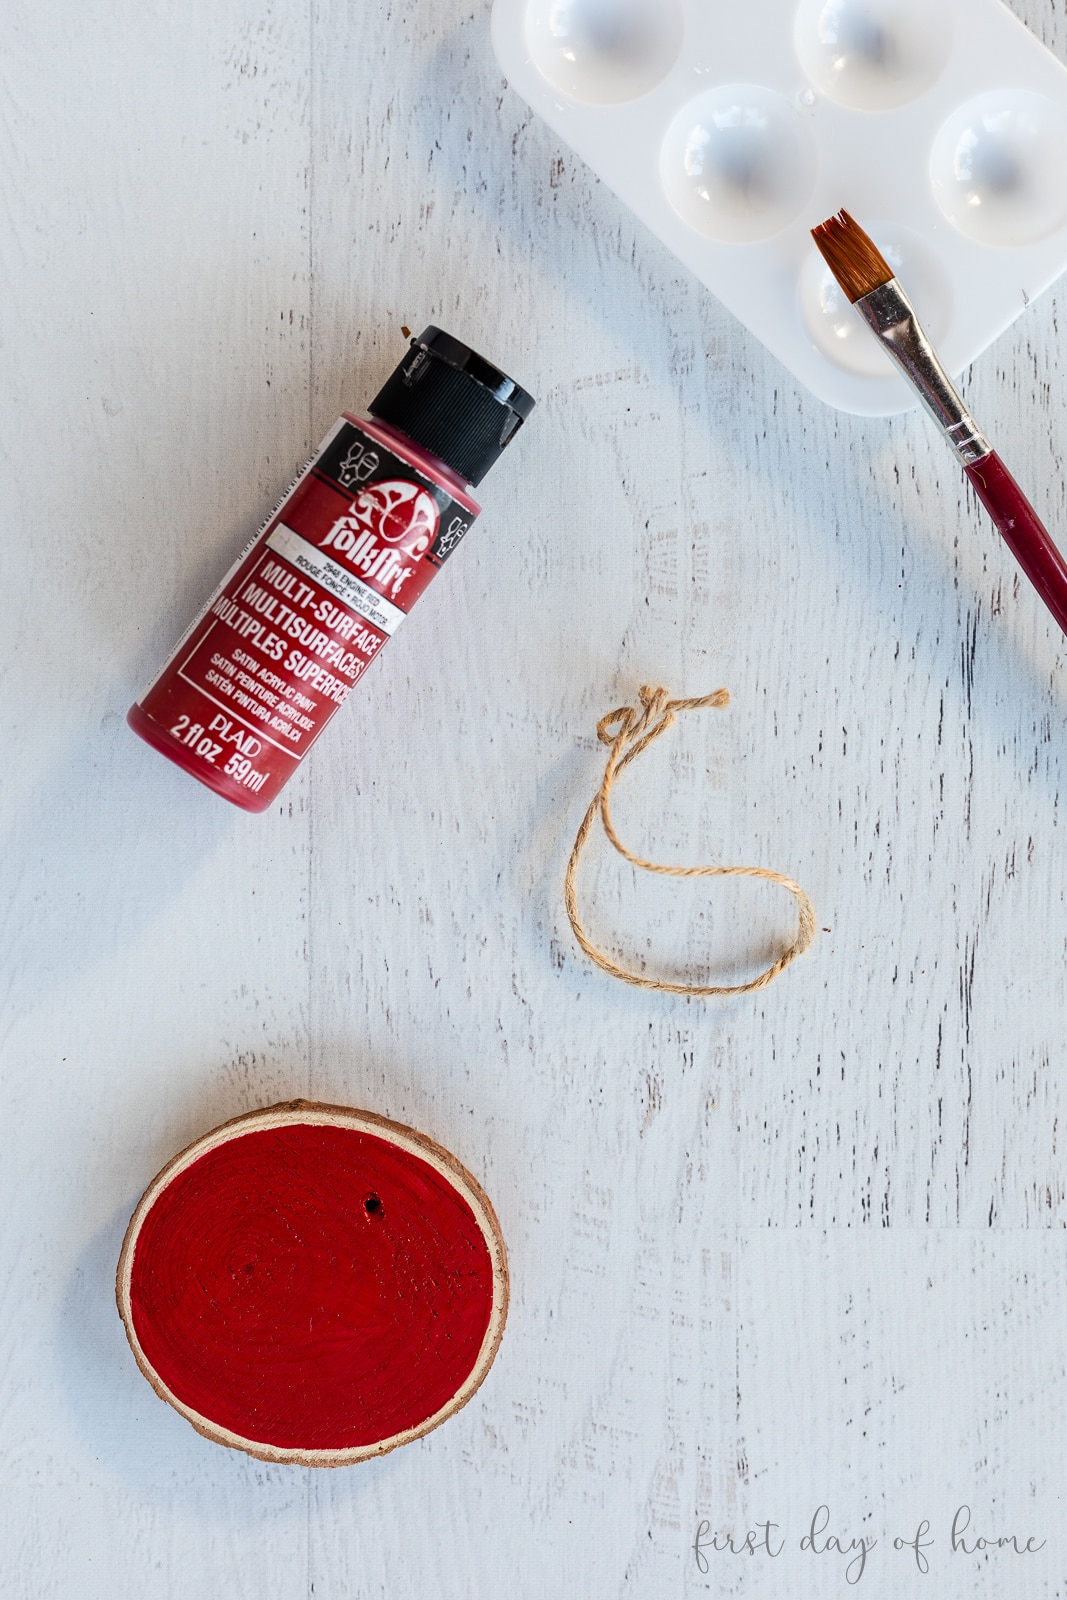
I like to leave a small ring of the natural wood around the edges to set off the color better.
Step 2: Cut and weed vinyl design
I designed my own font phrases in Silhouette Studio Business Edition. (Keep reading for the specific fonts I used.) You can also use a
Tip: In Silhouette Studio, use the warp tool to bend the lettering to fit the shape of your wood slice.
You’ll want to size the design to fit the shape of your ornament. I printed off a mockup of the design on my home printer before cutting it with my Silhouette Cameo machine.
Once the design is cut, you’ll want to weed (remove) the excess vinyl to reveal only the lettering.

Step 3: Apply design to ornament
To transfer your design to the ornament, place a piece of transfer tape over your vinyl to “pick up” the letters. Then place the phrase on your wood slice and gently peel back the transfer tape.
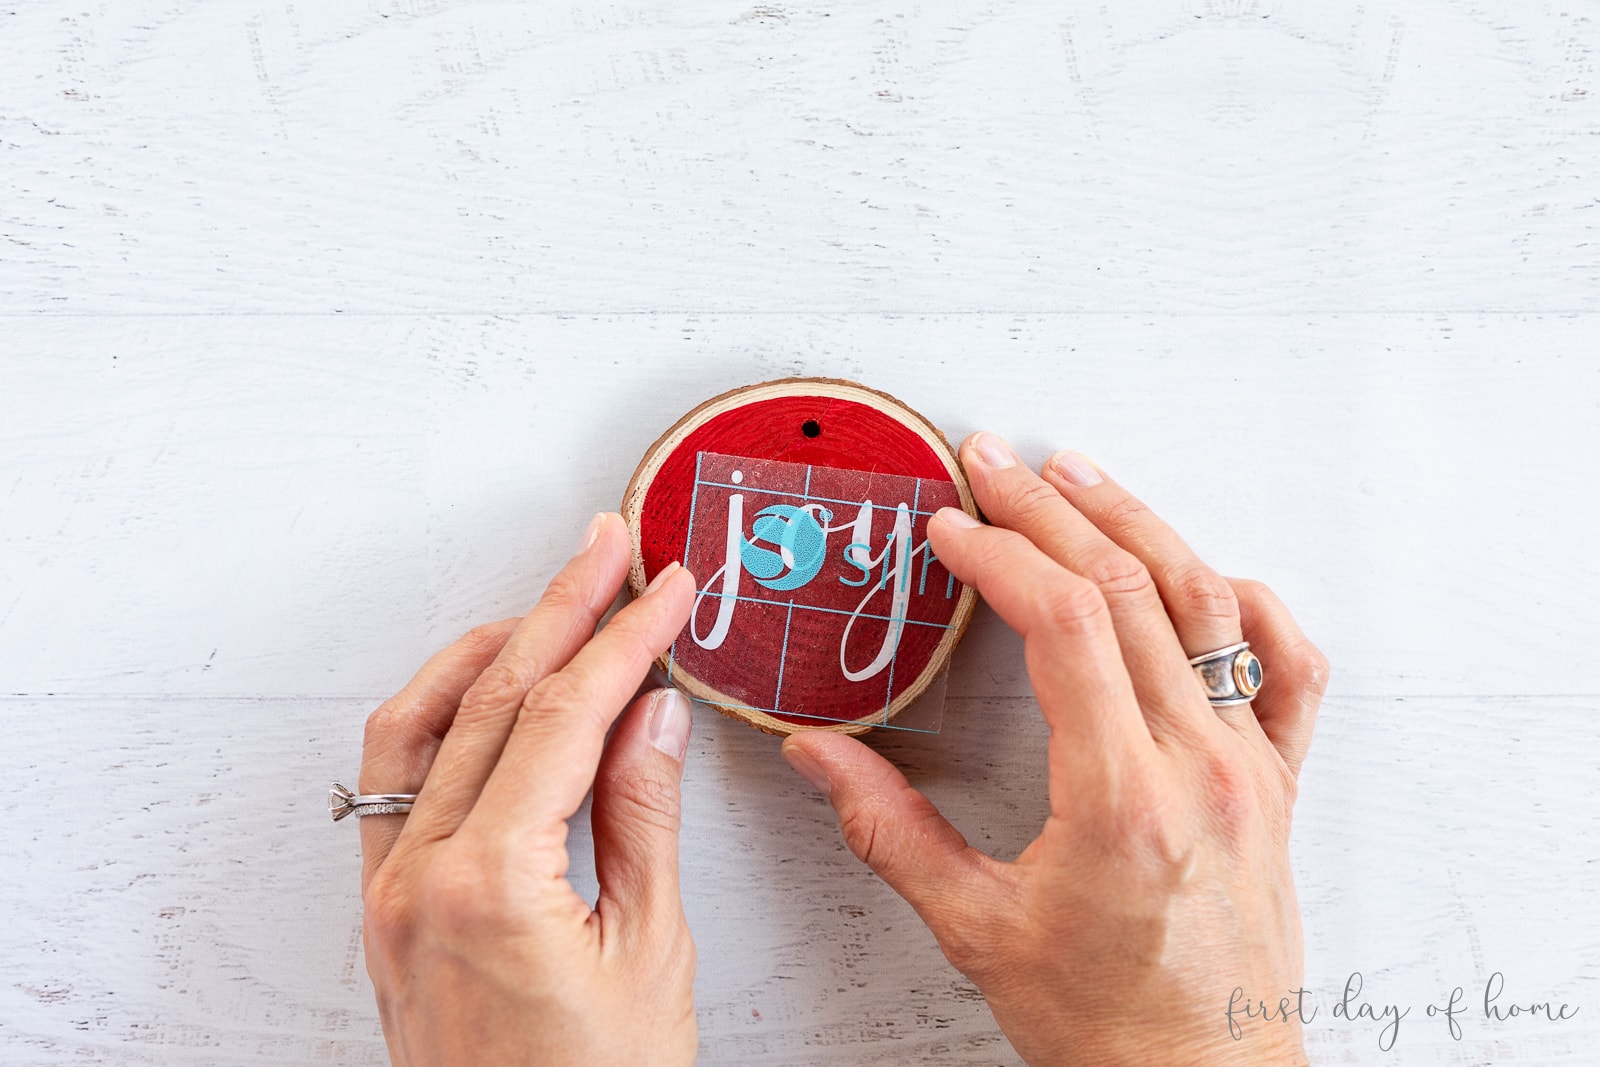
You can transfer literally any phrase as long as it’s sized appropriately. My bundle of wood slices had many different sizes and shapes, so beware you might have to resize the phrases a bit.

To embellish your ornaments, you can add a fun farmhouse buffalo plaid ribbon or striped cotton ribbon. You can try experimenting with wood burned designs on the opposite side as well. (A tutorial on that is coming soon!)
Fonts used for ornaments
- Merry and Bright
- Joy
- Noel (See Pumpkin Pie Lattes font in this free fall font collection)
Pin it for later!


Hi, I’ve saved this page for awhile, and now I’m making the ornaments. My wood rounds are from a pine tree we had to cut down. I’ve painted and applied my decal (used cricut vinyl). Do I need to seal the front of it, and do I need to seal the bark around my “round”. Can I use mod-podge for both. I don’t want the bark or the vinyl to fall off in a few years.
Hi Diane! I’m glad you came back to make the ornaments. I haven’t sealed mine, and they’ve held up well. However, you could definitely use Mod Podge as a sealer for extra protection. The matte or glossy formula would work, whichever you prefer. I wouldn’t worry too much about the bark around the edges if it were me. Enjoy! -Crissy
Dang… I totally missed this post! Sorry! I saw the video and forgot to hop on over here. I always love your DIYs, Crissy, and these wood slice ornaments are no exception. I also need to put a Cricut on my wishlist! Pinned!
Thanks, Julie! I so appreciate you stopping by and pinning as well! Yes, I think you’ll have fun with a Cricut! Hugs, Crissy
I love your pretty wood slice ornaments! I didn’t know you could transfer an image to a wood slice! Awesome!
Thanks, Lauren! The image transfer takes a little practice, but it’s so fun to do. Happy Holidays, my friend!
Crissy I wish I would of seen this post sooner, I just purchased similar ornaments and now wish I would of saved some money and made some like you shared today. Love your ornaments.
Thanks so much, Terrie! These ornaments are fun, aren’t they? I can’t wait to see how yours turn out as well. Thanks for stopping by!
I just luv your painted wood ornaments
They will be a great addition to the holiday spirit in my home this year. I’m going with Joy
Or Merry & Bright
Can’t wait to get started
Thanks for the sweet comment, Donna! Let me know if you have questions as you get started. I know your ornaments will be great! Best wishes, Crissy