How to Make Reversible Farmhouse Signs – DIY Guide
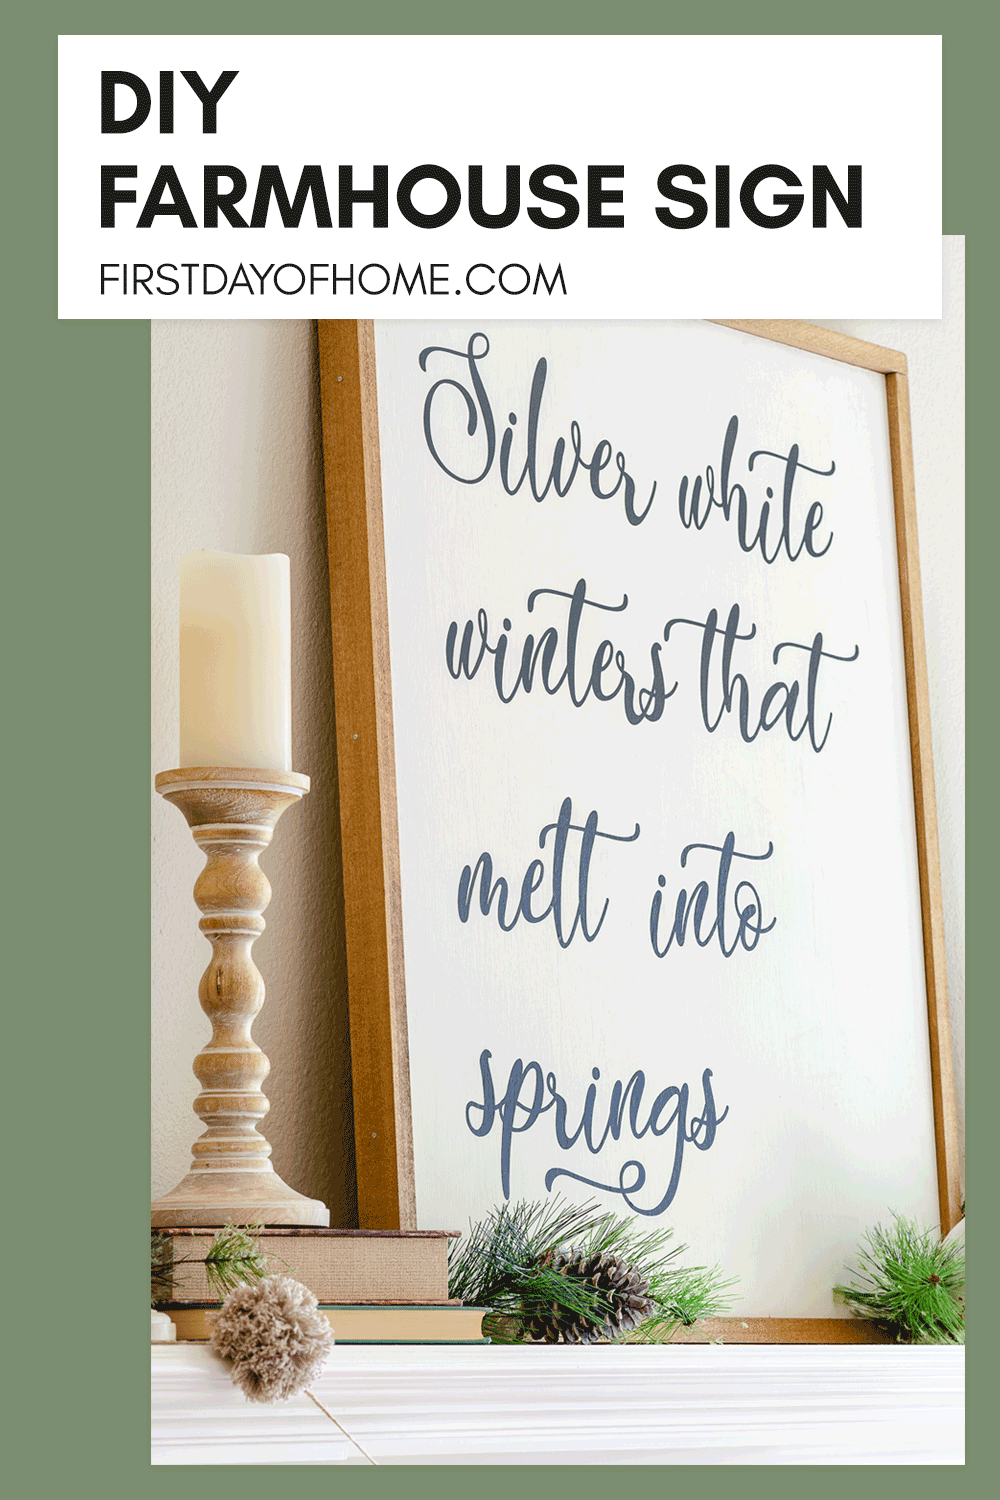
You’ve seen them everywhere…farmhouse signs! Have you admired them from a distance but feel like you can’t afford them? Well, I’m here to say Yes. You. Can! I’ll show you exactly how to make a DIY farmhouse sign with this complete beginner’s guide.
This post contains affiliate links, and I will be compensated if you make a purchase after clicking on my links. For more information, please see my disclosures.
Making a Farmhouse Sign for All Seasons
You may remember the DIY farmhouse sign I made for my fun black-and-white Halloween mantel one year.

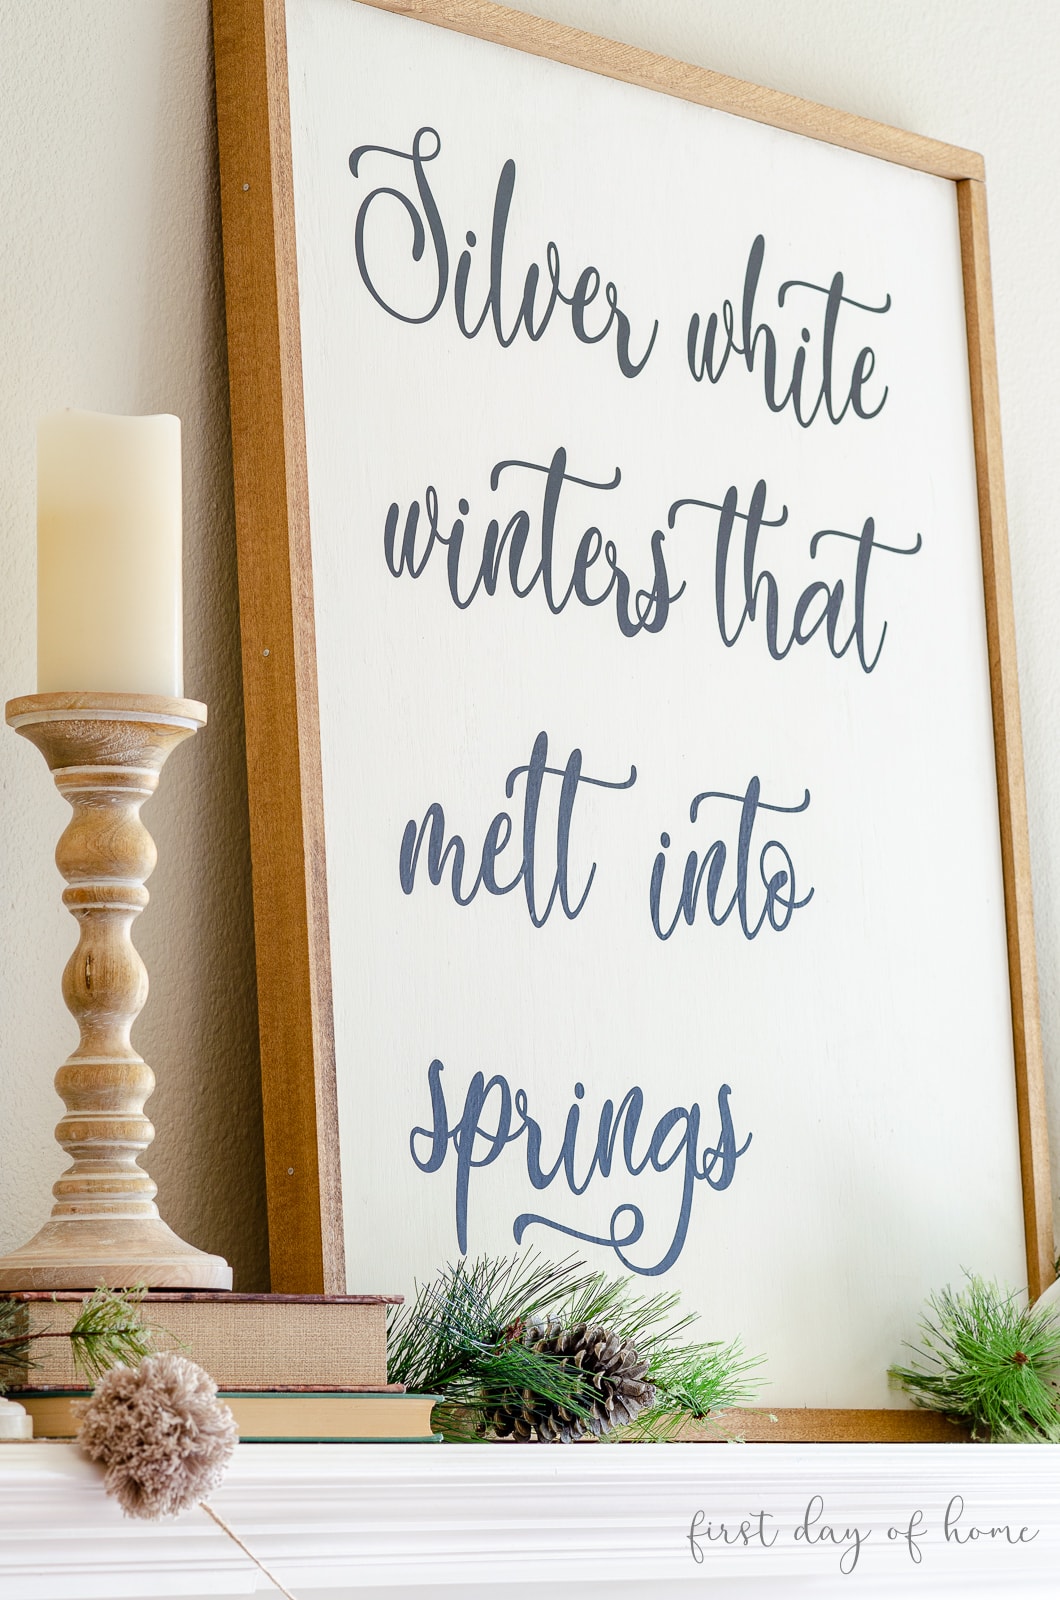
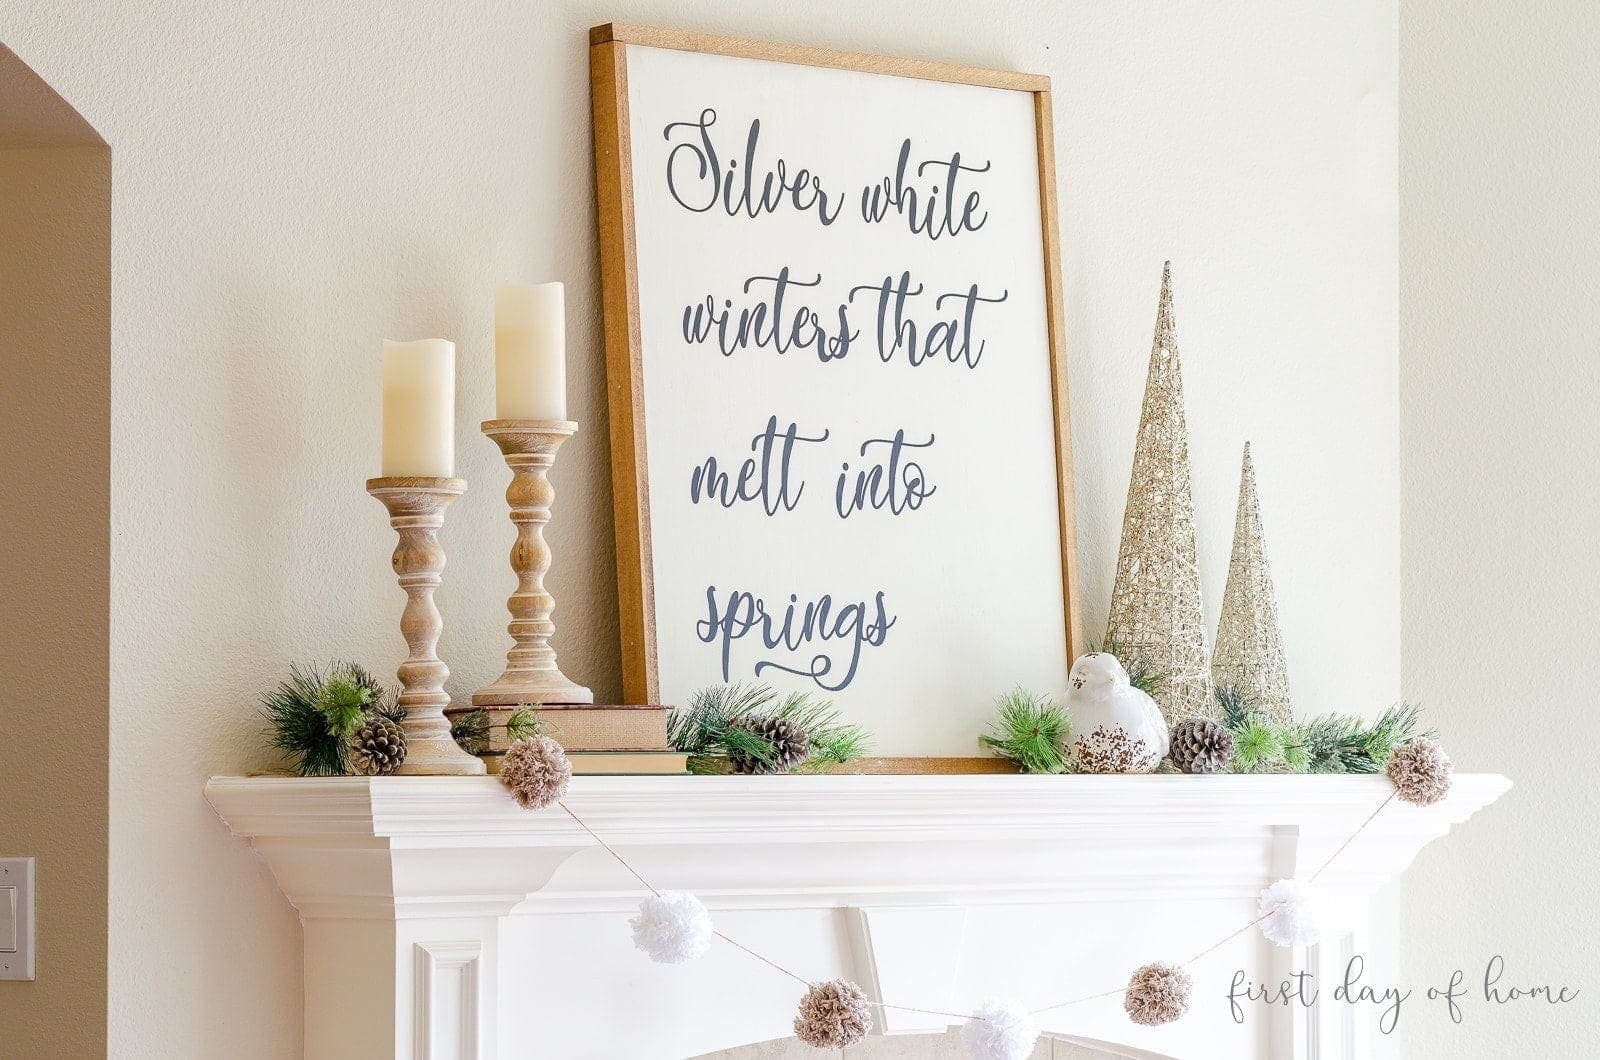
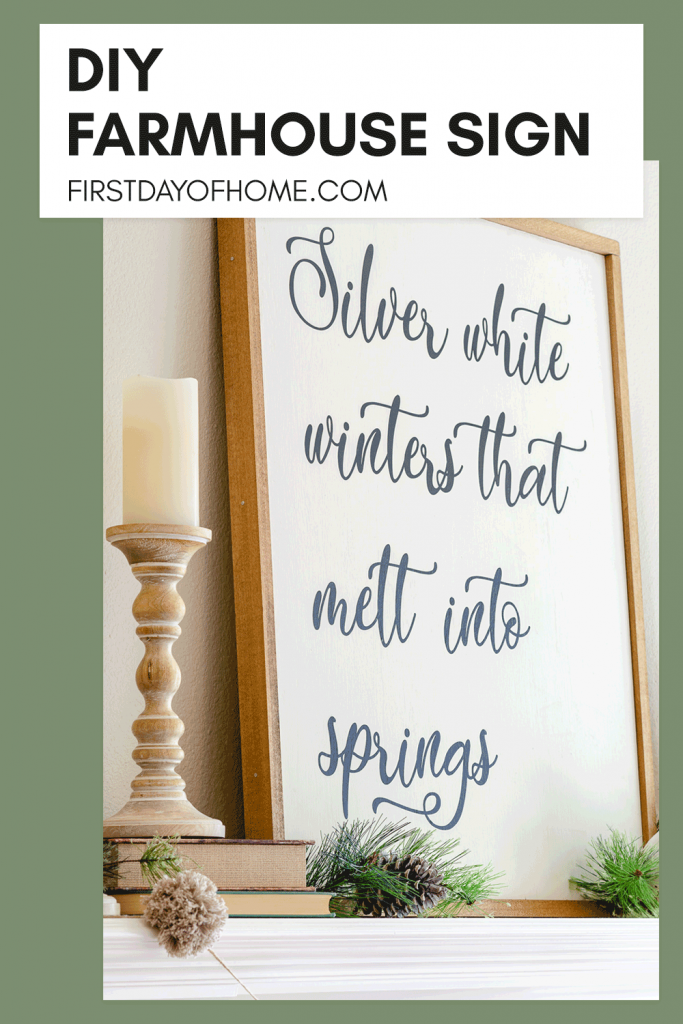
For my winter mantel decor, I decided to use the reverse side of the sign because…why not?!
I chose a fun phrase from the song My Favorite Things to set the mood. (Can’t you just hear Julie Andrews singing?)
In case you didn’t catch that, this sign is reversible and changeable! Don’t believe me? Here’s a look at the same sign I repurposed for another Christmas.

If you like to change your mind as often as this girl does, you’re in for a real treat!
You can get all the details in this YouTube video where I walk you through each step, including what to consider when creating your wooden sign.
DIY Farmhouse Signs – Do I Need a Cricut?
Okay, I know some of you don’t own a Cricut or Cameo. I got ya covered!
I’ll give you another alternative for hand-drawing your sign below.
First, let me explain why you’d want to use a Cricut or Cameo instead of manually drawing each letter.
- It’s much faster and less tedious.
- You can easily increase/decrease the font size.
- You can always remove the vinyl and start over.
Have I convinced you yet?
Check out more of my Silhouette Cameo projects if you need more convincing, or get started with the bundle below.
Fall Graphics Bundle
If you’re looking for more designs for your fall crafting, check out these digital downloads in my new store. These are compatible with Cricut, Cameo, and xTool machines.
How to Make a DIY Farmhouse Wood Sign

For this tutorial, I’ll share the exact dimensions for my sign, but please don’t feel like you have to stick to the script. This is your baby!
Supplies
- Plywood (30.25 x 26 inches, at least 1/2-inch thick)
- Furring strips (0.75-in x 1.5-in x 8-ft)
- Wood stain
- Chalk paint*
If you have a Cameo or Cricut machine, you’ll also need the following:
Step 1: Prepare plywood for painting
I like to use scrap wood for projects like this, but (fun fact) Home Depot or Lowe’s will make a few cuts for free.
Note: For best results, get plywood with a decent finish that doesn’t require lots of sanding.
After cutting your wood to size, you’ll want to sand all edges and dust off the surface.
Next, apply 1-2 coats of this chalk paint. Chalk paint dries quickly, but you should still wait 20-30 minutes in between coats.
“Why use chalk paint,” you might ask? It gives a smooth, matte finish that looks like bonafide farmhouse decor.
*Pro Tip: My hubby and I use this chalky paint additive to turn any regular latex paint into chalk paint.
Step 2: Cut and stain the sign border panels
For this project, I used a pull saw to cut the furring strips for my frame.
I measured the top and bottom strips to extend beyond the plywood so the side strips would fit snugly inside (see below).

No fancy mitered corners here!
You can choose a dark stain or light stain for this project…whatever floats your boat. I went with this light-colored stain for a nice neutral look.
Tip: Be sure to stain all sides of the panels if you plan to make your sign reversible.
Step 3: Attach frame strips to plywood
To attach the frame to the plywood, you can use either wood glue or finishing nails. You could also use small screws if you pre-drill holes first to prevent splitting.
I hit the “easy button” and simply nailed the strips in three places on each side.
Step 4: Design farmhouse phrase
You can design your DIY farmhouse sign to include any phrase or image you like.
For both my Halloween sign and winter sign, I used a fun combination of farmhouse fonts, which you’ll find in my free fall fonts post.

If you want to get inspired with my library of free printables, you can sign up below!
Step 5: Use Cameo or Cricut to cut design (or skip to optional method)
Below is my view of the winter sign in the Silhouette Studio Designer Edition software:

Since my phrase was quite large, I decided to use this roll of removable vinyl to cut my design.
Here are three things to know if you’re using a roll like this with a Cameo:
- You’ll need to switch the orientation to landscape. (See photo above.)
- Make sure you adjust the width to be at least as long as your design. (Each square is about 1 inch.)
- There’s no need to use a cutting mat, but I do recommend advancing your roll forward/backward with the arrow keys on the machine to make sure it will feed properly.
The last point is reeeeally important. I messed up a few pieces of vinyl when the roll got off track because it wasn’t feeding properly. Argh!
Tip: Print your design on paper before cutting the vinyl, just to make sure the font size looks good.
Step 5: Remove the excess vinyl and transfer your design
Once you’ve cut the vinyl, you’ll want to “weed” the design, which means removing the negative space to reveal only your letters.
Don’t forget those small spaces inside the letters, especially when working with script fonts.

As you can see, I love using this weeding tool to get all the nooks and crannies.
After your design is ready to go, you’ll use transfer tape to “pick up” the letters from the carrier sheet and then place them on your sign.
Here’s an example of using transfer tape when I made a back-to-school chalkboard sign.
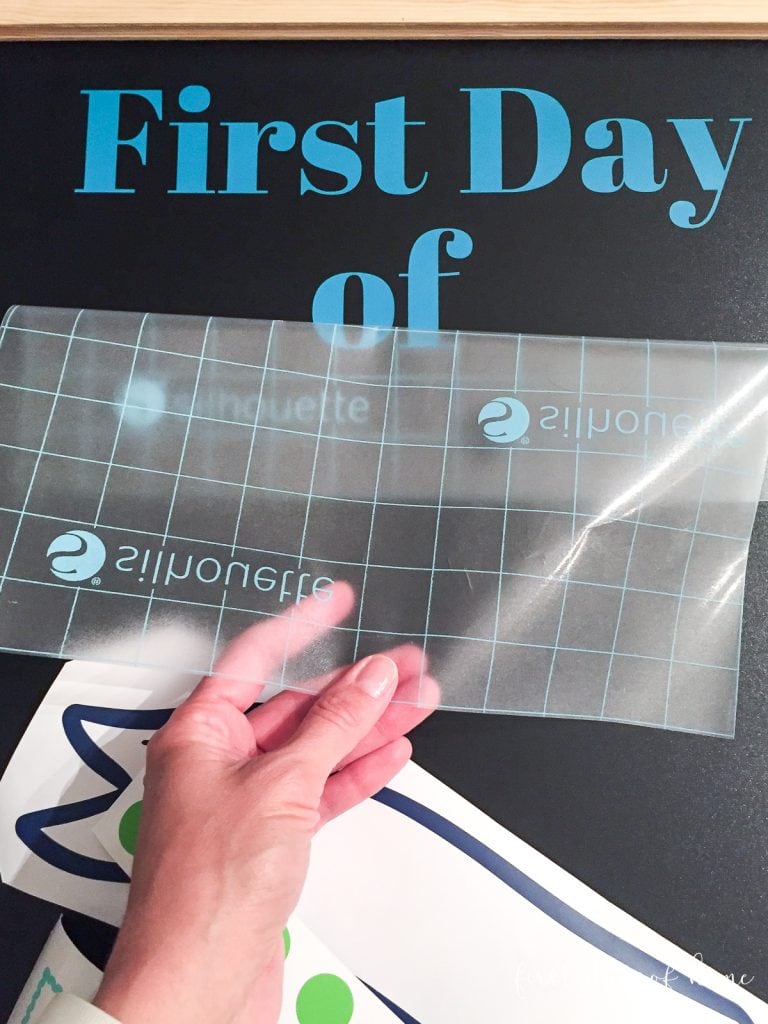
You simply line up the letters on your surface, press down firmly, and lift away the transfer tape.
Tip: Measure the distance from the top of your sign to the top of the letters to make sure the phrase is aligned properly.
Optional Method: Pencil Transfer or Carbon Paper
No Cricut/Cameo? No problem. Try one of the methods below to make a DIY farmhouse sign!
Pencil transfer method:
- Print your design on computer paper.
- Turn the paper over, and scribble pencil marks over the areas where the text is printed.
- Place the paper on your surface (design facing up) and trace an outline of the printed letters with a pen. (The pencil on the other side will make faint marks on your wood.)
- Remove the paper and fill in the text with a permanent marker or black paint.

Carbon paper method:
- Print your design, as in Step 1. under pencil transfer method.
- Place a sheet of carbon paper (shiny side down) on the wood surface.
- Cover the carbon paper with your printed design (design facing up). Then, trace the letters with a pen, making sure you press hard enough to transfer your design.
- Fill in the traced letters with a black marker or paint.
Final Look: DIY Farmhouse Sign Project
Well, how do you like your DIY wood sign?

If you change your mind with the seasons (like me), you can always remove the temporary vinyl or repaint the sign.
Hopefully, you’ll get to enjoy it a while before then!
Pin it for later!
Happy DIY-ing!

Farmhouse Signs DIY Tutorial: Complete Guide
Equipment
Supplies
- Plywood (30 1/4 x 26 inches)
- Furring strips (1 x 2-inch strips, usu. 8-ft long)
- Wood stain
- Chalk paint
- Black removable vinyl
- Transfer tape
Instructions
Cut and paint plywood
- After cutting your wood to size, sand all edges and dust off the surface.
- Apply 1-2 coats of chalk paint. Chalk paint dries quickly, but you should still wait 20-30 minutes in between coats.
Cut, stain, and attach border panels
- Cut the furring strips for the frame using a pull saw or other woodworking tool. (Home Depot or Lowe’s will usually make a few cuts for free.)
- You can measure the top and bottom strips to extend beyond the plywood so the side strips fit snugly inside.
- Apply a stain color of your choice to the strips before attaching them to the sign.
- Attach the frame to the plywood using either wood glue or nails.
Option 1: Create a farmhouse phrase and cut with Cameo/Cricut
- If you use a Cameo/Cricut, cut your design on removable vinyl (preferably) or permanent vinyl.
- Weed the design by removing all negative space you do not want to be transferred.
- Apply the design to the wood using transfer tape.
Option 2: Print and transfer design using pencil
- Print your design on computer paper.
- Turn the paper over, and scribble pencil marks over the areas where the text is printed.
- Place the paper on your surface (design facing up) and trace an outline of the printed letters with a pen. (The pencil on the other side will make faint marks on your wood.)
- Remove the paper and fill in the text with a permanent marker or black paint.
Option 4: Print and transfer design using carbon paper
- Print your design, as in Step 1. under pencil transfer method.
- Place a sheet of carbon paper (shiny side down) on the wood surface.
- Cover the carbon paper with your printed design (design facing up). Then, trace the letters with a pen, making sure you press hard enough to transfer your design.
- Fill in the traced letters with a black marker or paint.
More DIY Projects
How to Make Easy Decoupage Wood Signs
Learn how to make an easy decoupage wood sign for any occasion.

How to Decoupage on Wood with Perfect Results
Get tips for decoupage on wood to get perfect results every time.


DIY Birdhouse Plans: Easy Tutorial for Beginners
Get simple woodworking plans to build a DIY birdhouse.
Hello there,
When creating your design how do you know how big to make your wording?
Thank you,
Donna
Hi Donna, This is a great question. I always start with my sign and measure the width and height to figure out roughly how much space I want the words to take up when centered. I always leave a few inches on each side as a margin. Then, in my software I roughly size the lettering knowing each square on the grid is approximately 1 inch. I’ll often print out the design first to see how it looks before cutting the vinyl. Sometimes the design is large, so I’ll have to print in sections and tape the papers together. I hope this helps! -Crissy
Hi Crissy, Yes, it does.
I have been struggling with the words being way too small , even after measuring my sign, I end up having my paragraph fit inside my sign, but the print ends up being so small, you can’t see it. It’s been so incredibly frustrating. Thank you for your help and response. I really appreciate it!
Sincerely,
Donna
Wonderful, Donna. Printing it out really helps me to size things correctly. It’s a real challenge with lettering. Also, I’ve found sometimes I have to rearrange the words for cutting and then put them back in order when I transfer them to the sign. Good luck! Best wishes, Crissy
Now I know what I want for Christmas! The Cameo 4!!! Thanks for the article Crissy!
Ha! Yes, you won’t regret it, Peter! Thanks for stopping by, and have fun with your Cameo!
Being reversible makes this farmhouse sign even more perfect Crissy. I love the easy to follow tutorial too!
Thank you for sharing how to make farmhouse signs at Create, Bake, Grow & Gather this week. I’m delighted to be featuring this post at tonight’s party and pinning too.
Hugs,
Kerryanne
Hi Kerryanne! Thank you so much! I’m thrilled to be featured and appreciate your support. I’ll be stopping by the party to say hello. I hope you had a wonderful Valentine’s Day! Hugs back, Crissy
These look amazing. I have a ton of farmhouse signs like these saved for when I finally get some free side money to buy them, I’m totally going to give this a try instead.
Thank you so much, Stephanie! I hope you have fun with it! I’m already planning to reuse my sign for everyday use. I love the fact you can keep changing it up. Thanks for visiting!
Crissy, I adore the sentiment on your farmhouse sign and love the impact of its size! I’m just learning the ropes of my Cricut Maker and so excited to use it for making signs. Pinned
Thank you, Marie! I have a feeling you’ll be an expert with your Cricut in no time. I’ve seen your expertise in other areas and know you’ll be making beautiful things with your machine. Thank you for pinning! Also, congrats on being the monthly featured blogger over at Waste Not Wednesday! So well deserved!
You’re so sweet! xo
Your farmhouse sign is wonderful and even more so because its two sided. That’s a great idea.
I love that you shared the various ways to make it, I have a Silhouette but prefer to do signs using carbon paper. Especially for big signs.
Thanks so much, Leanna! Yes, I love that there are multiple ways to make these signs, especially since I know every person has a different preference or might not have a cutting machine. Would you believe I’ve already removed the Halloween side to remake it into something new! It never ends, does it? LOL
Love that you showed two methods to do this! Beautifully done.
Thank you, Amy! Yesterday, I removed the Halloween vinyl letters to make something new. Ha! It’s nice I have the option to change my mind. I appreciate you visiting!
Love this idea, Crissy! Great video and tutorial! I just got a Cricut for Christmas and plan to make my first sign next week. Pinned!
Thanks for the kind words, Lynne! Yay! I’m excited you got a Cricut! I have a Cameo, but both work really well for blogger projects. I hope you have fun with it. Thanks for pinning!
You did such a great job making this sign. I love that it is reversible! Less to store and you can enjoy it for two different seasons.
Thank you, Paula! Yes, I decided I need to get smarter about the way I design things so I don’t have so much clutter. I’m already thinking of redoing the Halloween side of the sign. Ha!