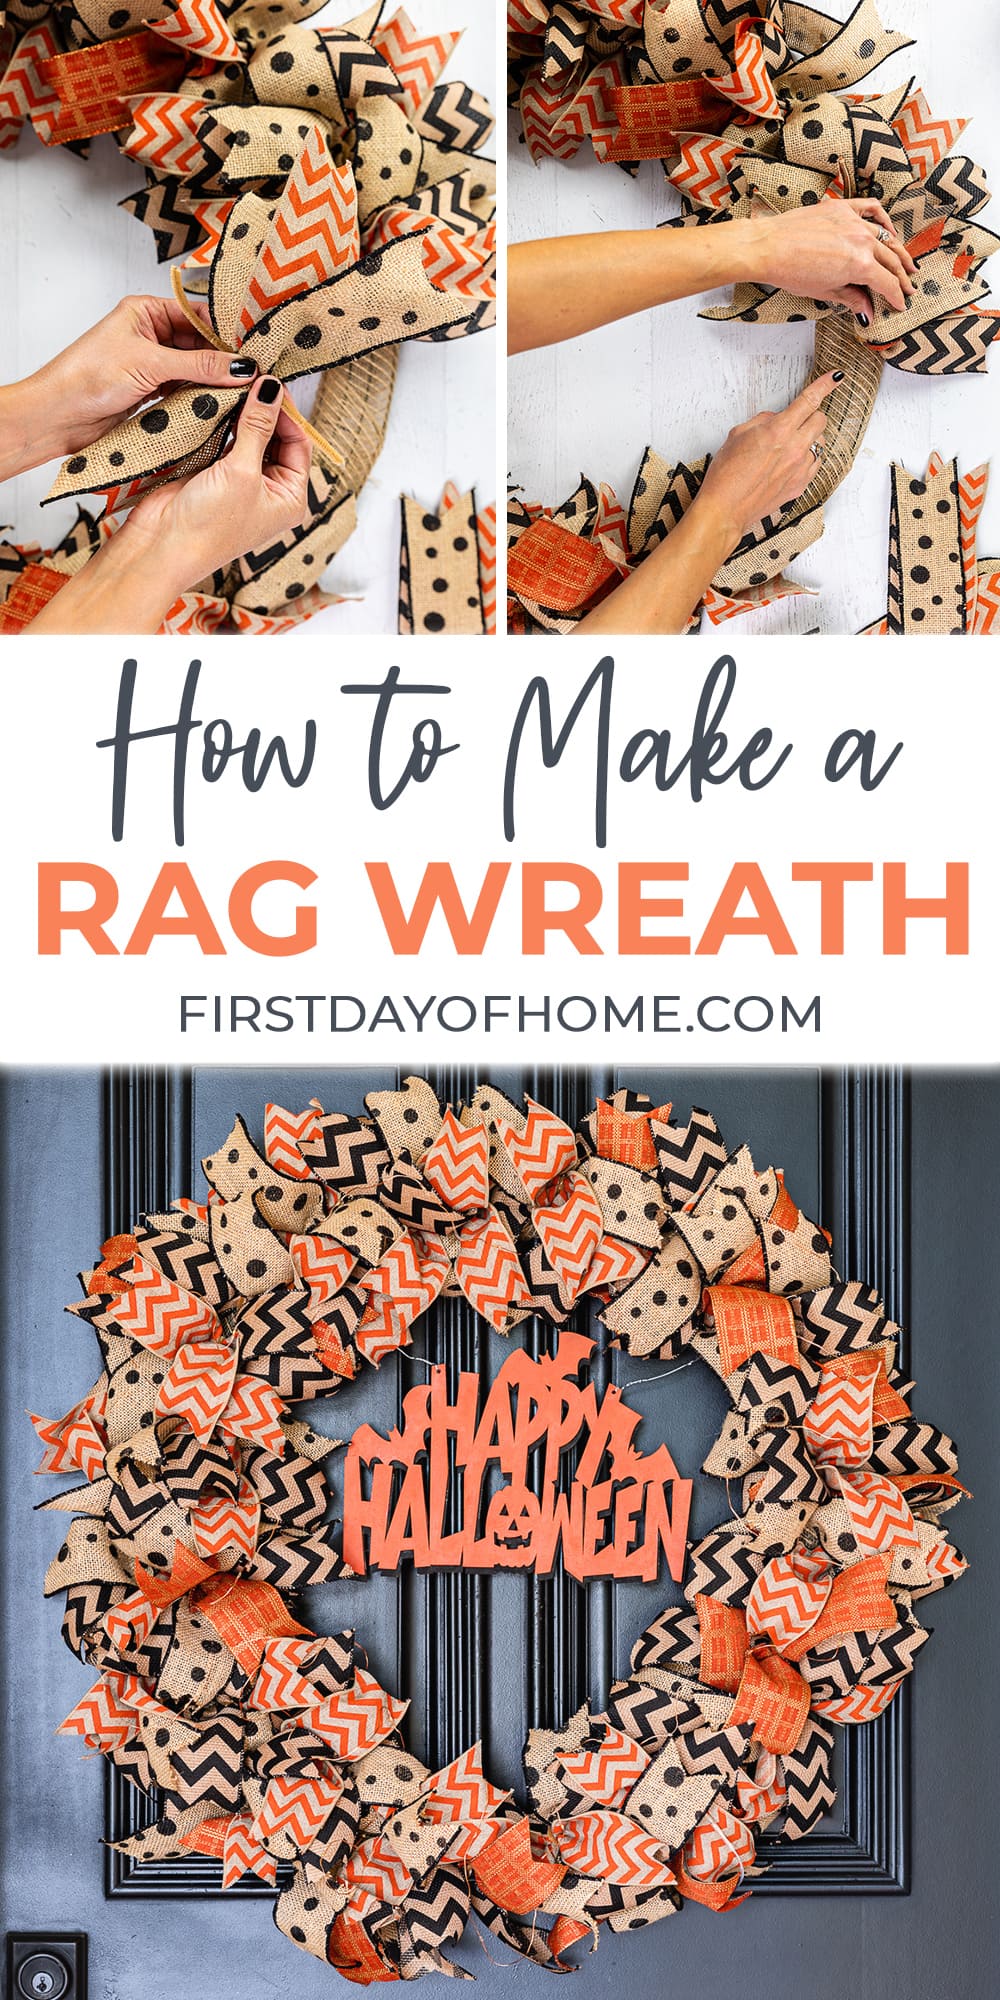
Easy DIY Rag Wreath Tutorial
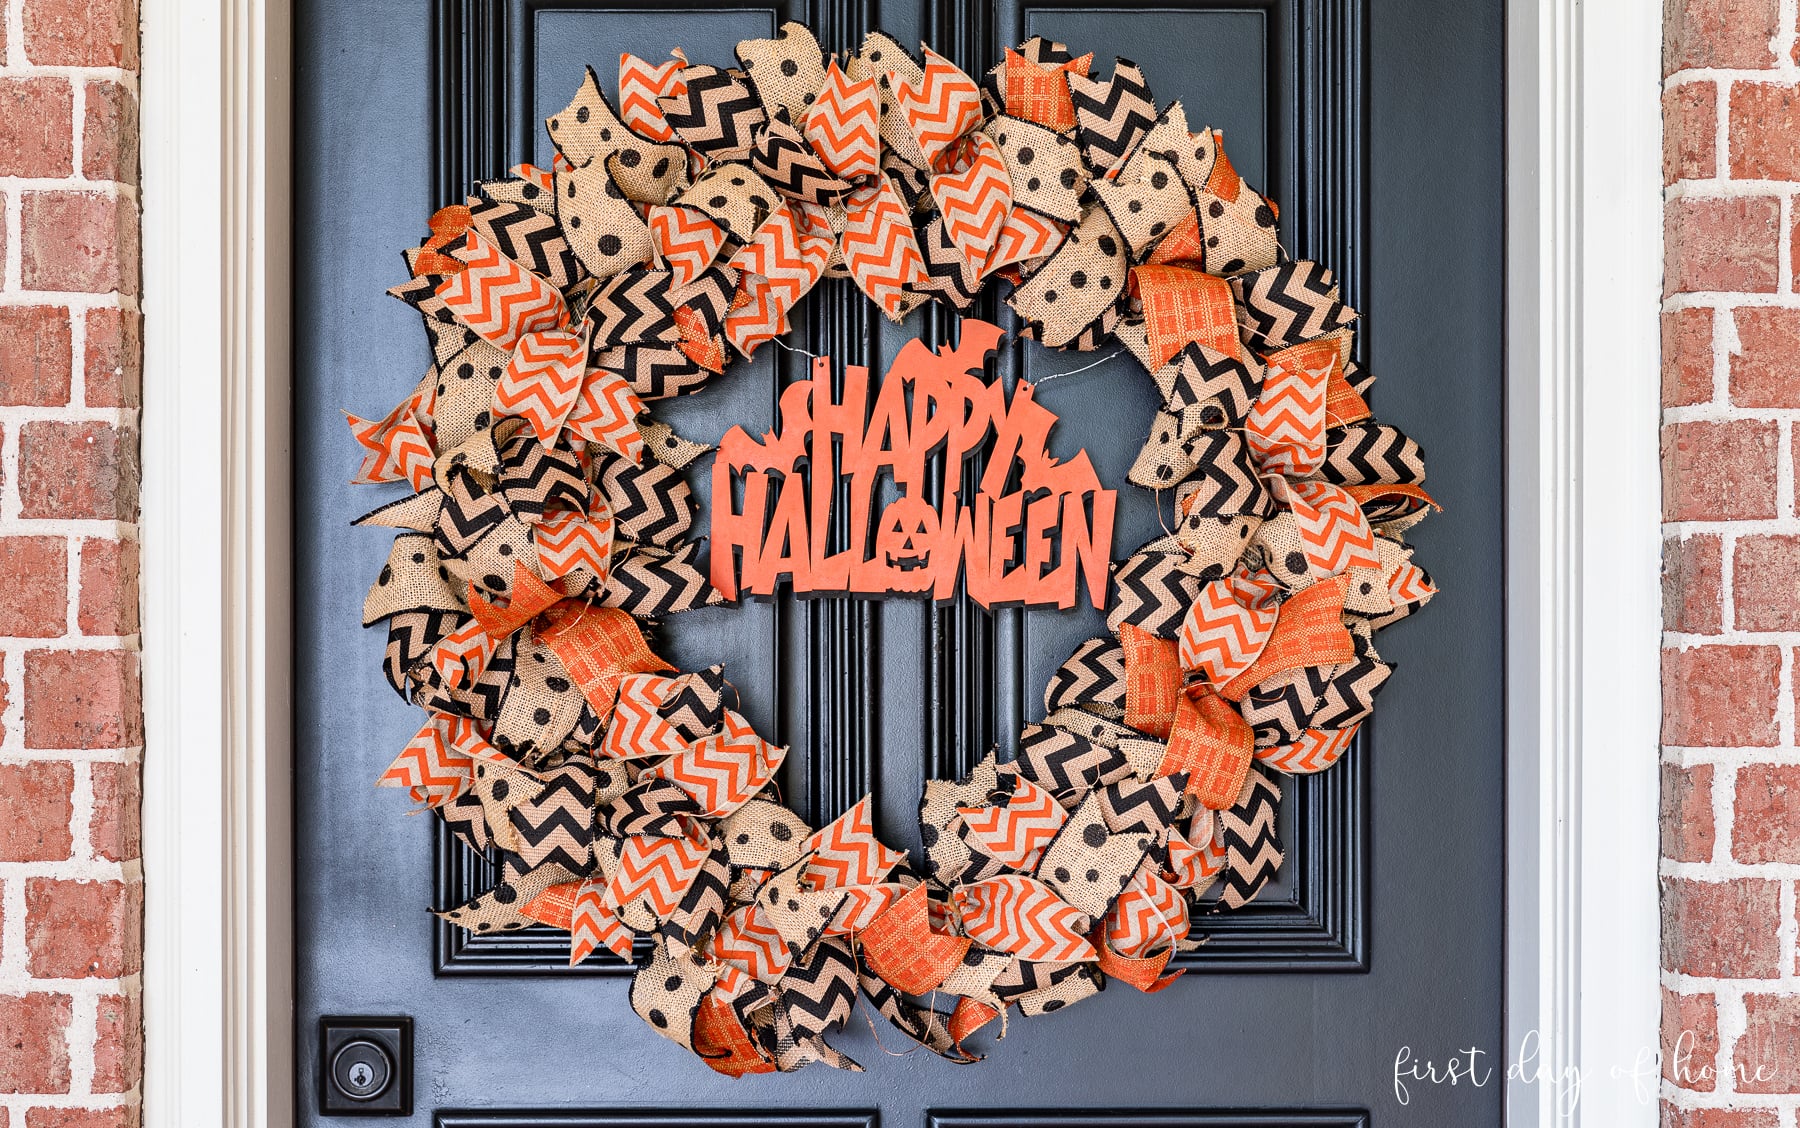
Once you learn how to make a DIY rag wreath, you’ll be hooked! It’s so easy to create a wreath for any holiday or special occasion with this simple technique. In this tutorial, I’ll be making a Halloween rag wreath, but you can swap out any ribbon you like.

This post contains affiliate links, and I will be compensated if you make a purchase after clicking on my links. For more information, please see my disclosures.
How to Make a Rag Wreath from Scratch
A rag wreath is one of the most popular choices for a wire wreath form. If you can tie bunches of ribbons together with a pipe cleaner, you can make a rag wreath!
This wreath is similar to my other DIY burlap wreath, but there’s more cutting involved. The benefit is that you can mix and match many different styles of ribbons.
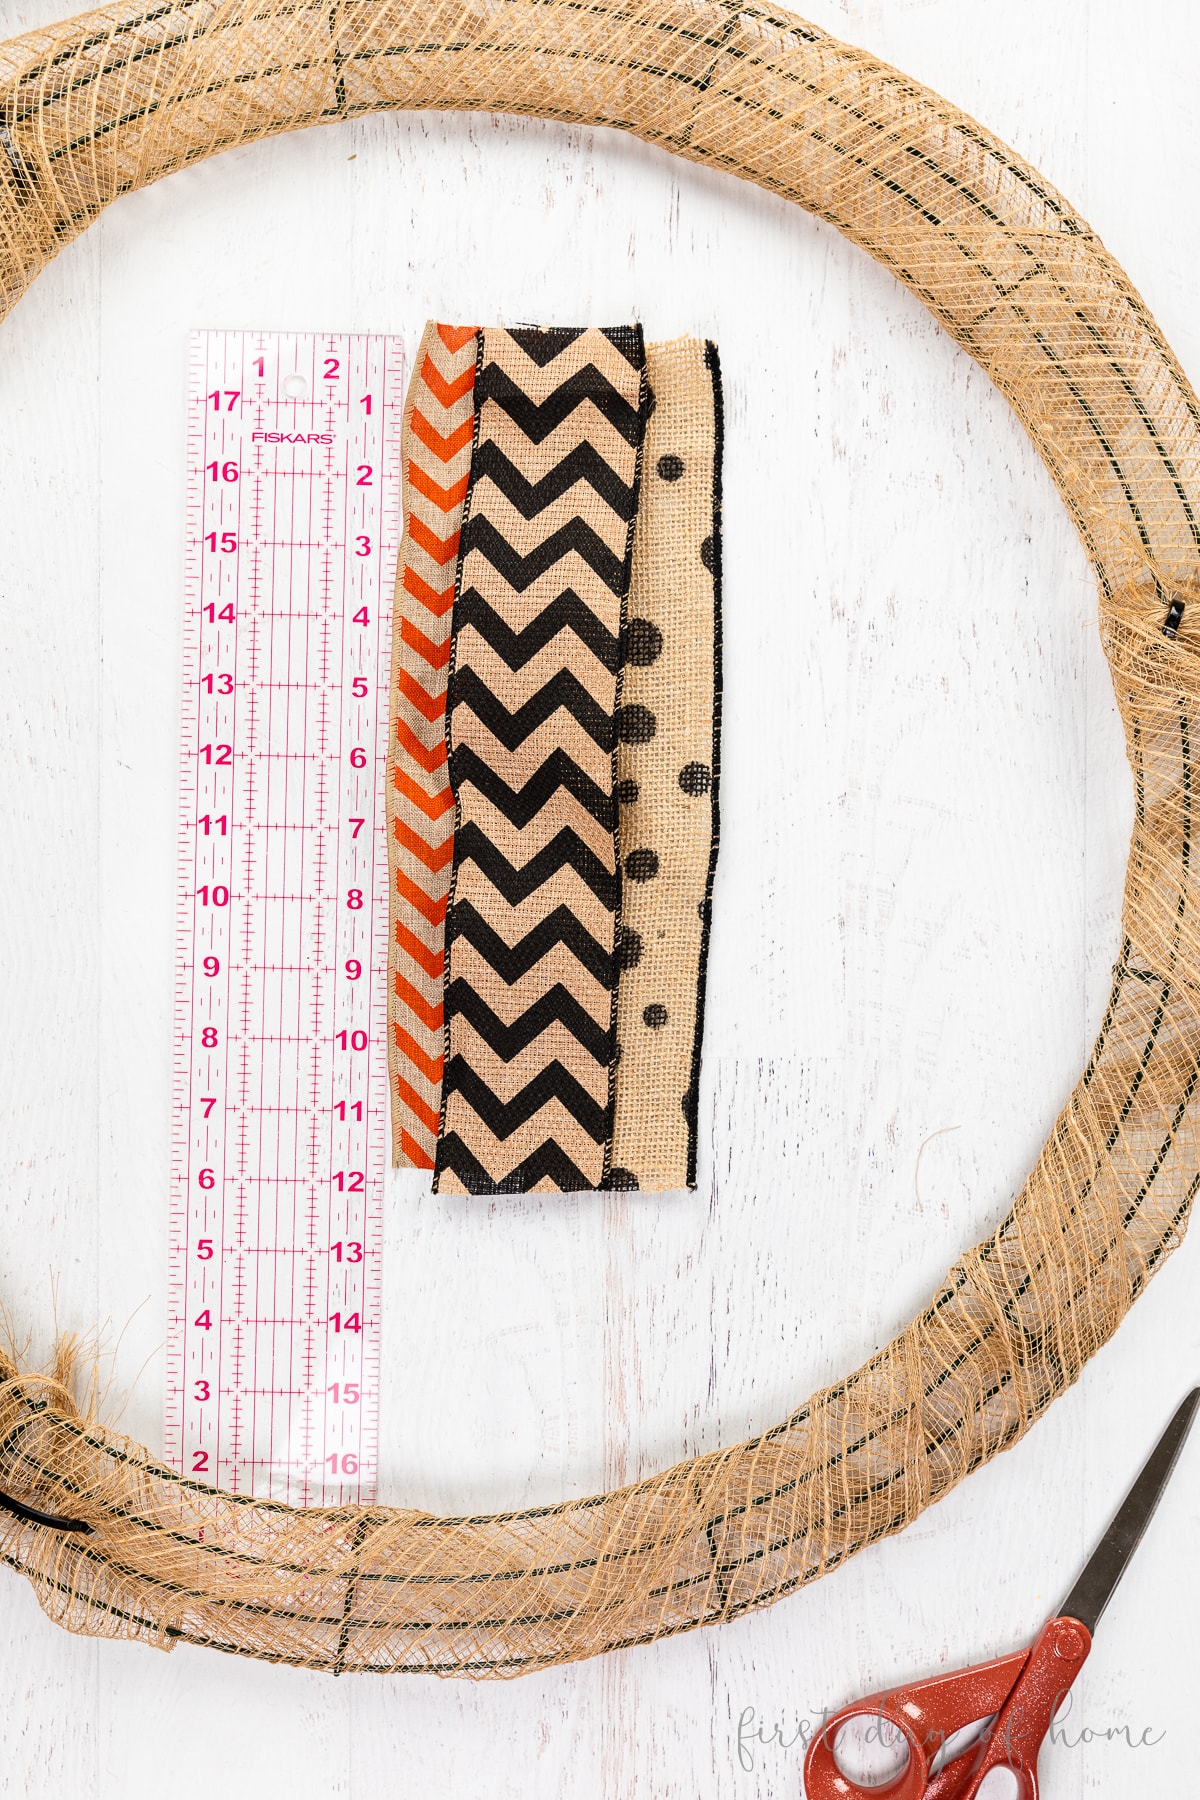
Think about the color scheme you want, and choose any combination of 3-5 ribbons or fabric scraps to get started. Feel free to mix and match different widths and patterns for more variety. I used four different patterns of ribbon with black, natural burlap, and orange patterns.
I’ll be using a large 24-inch wire wreath frame, but you can choose a smaller size if needed. Just size the ribbon strips down a bit to be proportional to your frame.
Watch This Tutorial
Supplies
- Wire wreath frame
- Ribbon (3-5 rolls of different colors, 10 yards each, 2.5-inch width, preferably wired)*
- Pipe cleaners (15-20 pieces)
- Burlap ribbon or similar (to wrap wreath frame)
- Wooden plaque (optional)
- Acrylic paint for plaque (optional)
- Fairy lights (optional)
*Note: Many rag wreaths use fabric scraps for a more shabby-chic look. In this tutorial, you can substitute strips of fabric from fat quarters or old clothes if you prefer.
Shop These Supplies

Step 1: Cover the wreath form with burlap or neutral ribbon
To save on the amount of ribbon you’ll need and provide more stability, I suggest wrapping the wreath frame with a neutral ribbon like burlap.
You’ll need about 2-3 yards of ribbon for this step. I used burlap ribbon scraps that I already had on hand and zip-tied them to the wreath frame.
Step 2: Cut strips of ribbon and dovetail the ends
For a 24-inch wreath frame, I suggest cutting your ribbon to 12 inches in length. If you’re using a mix of ribbon widths, you can cut the narrower ribbons shorter and place them in front for a more layered look.
I chose to create groups of three ribbons, but you can gather up to five ribbons in one group depending on your preference.
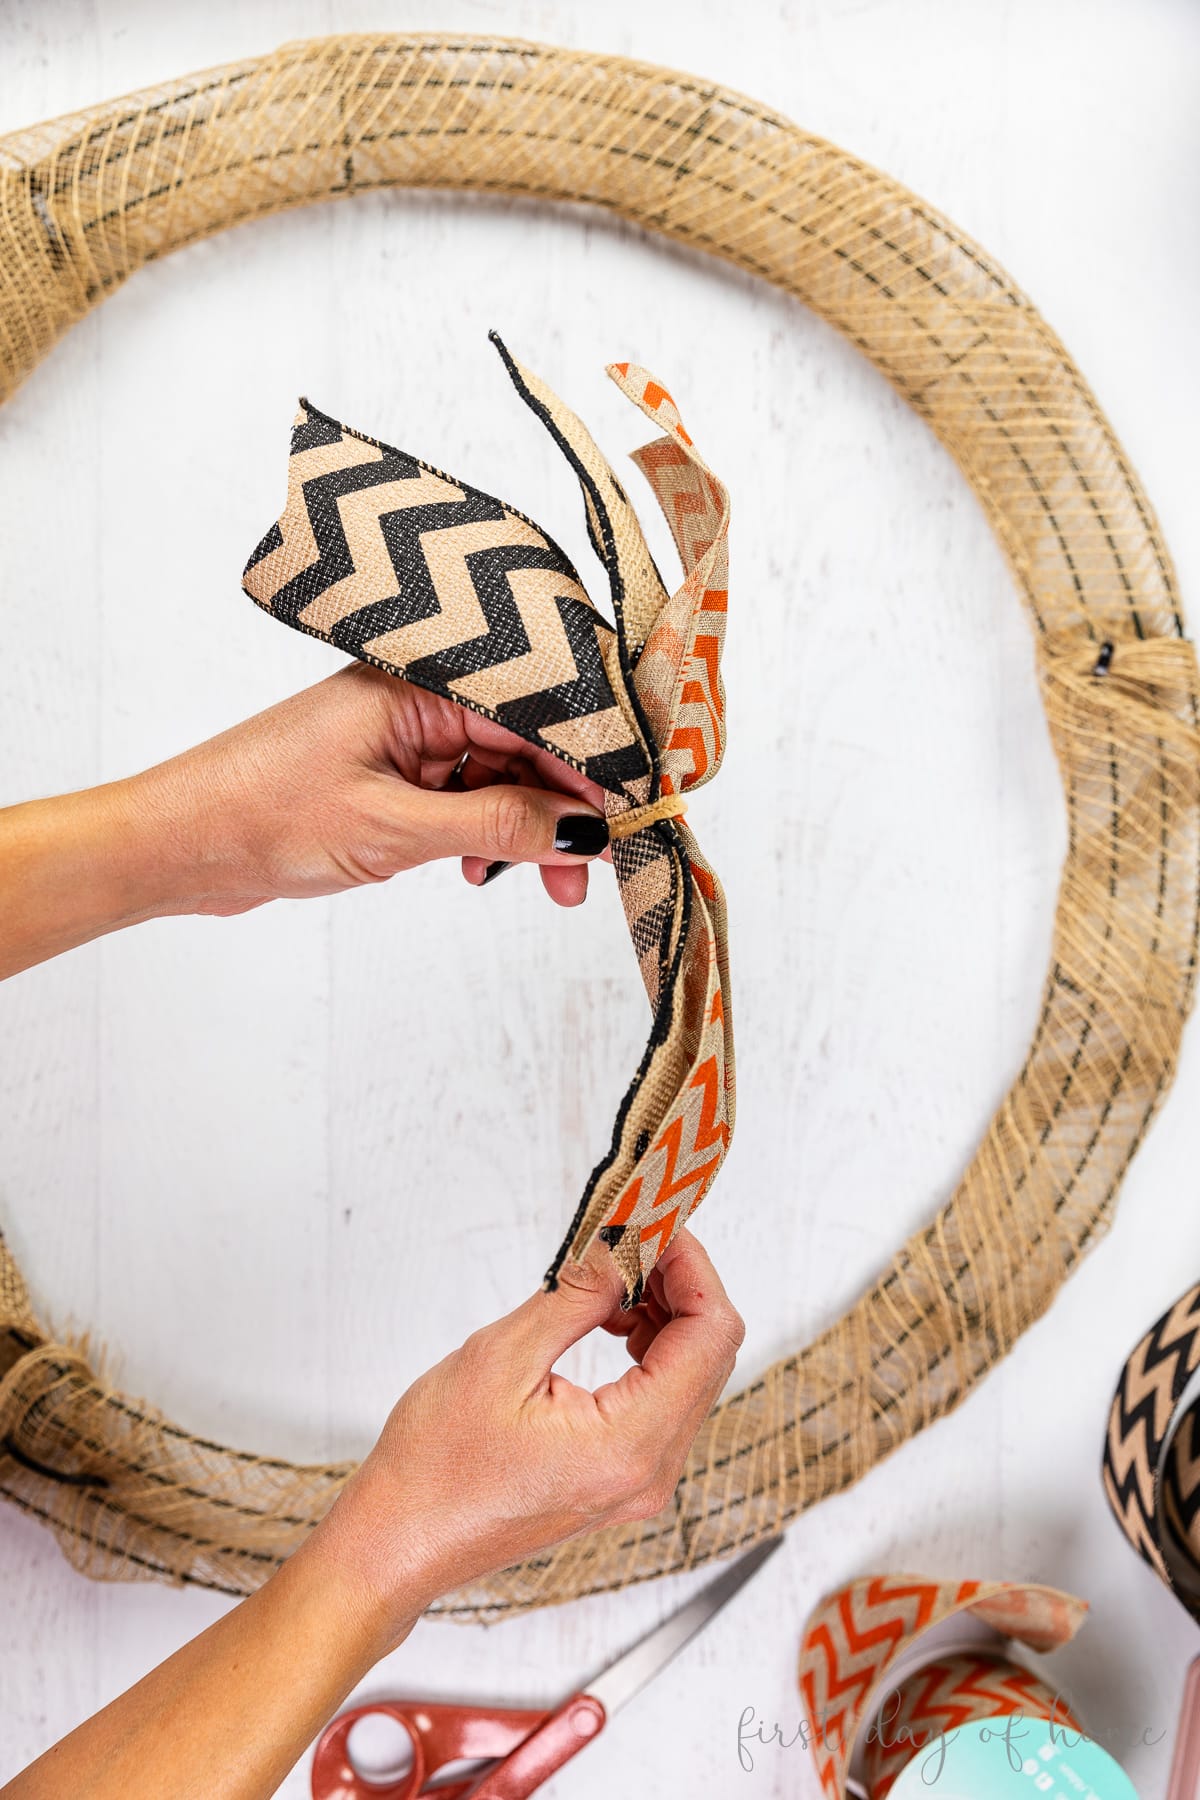
To finish the tails of the ribbon, make a chevron (or dovetail) on each end. You’ll want to alternate which ribbon is on top of each group for a more balanced look.
Step 3: Pinch the middle of the ribbons and secure them with pipe cleaner
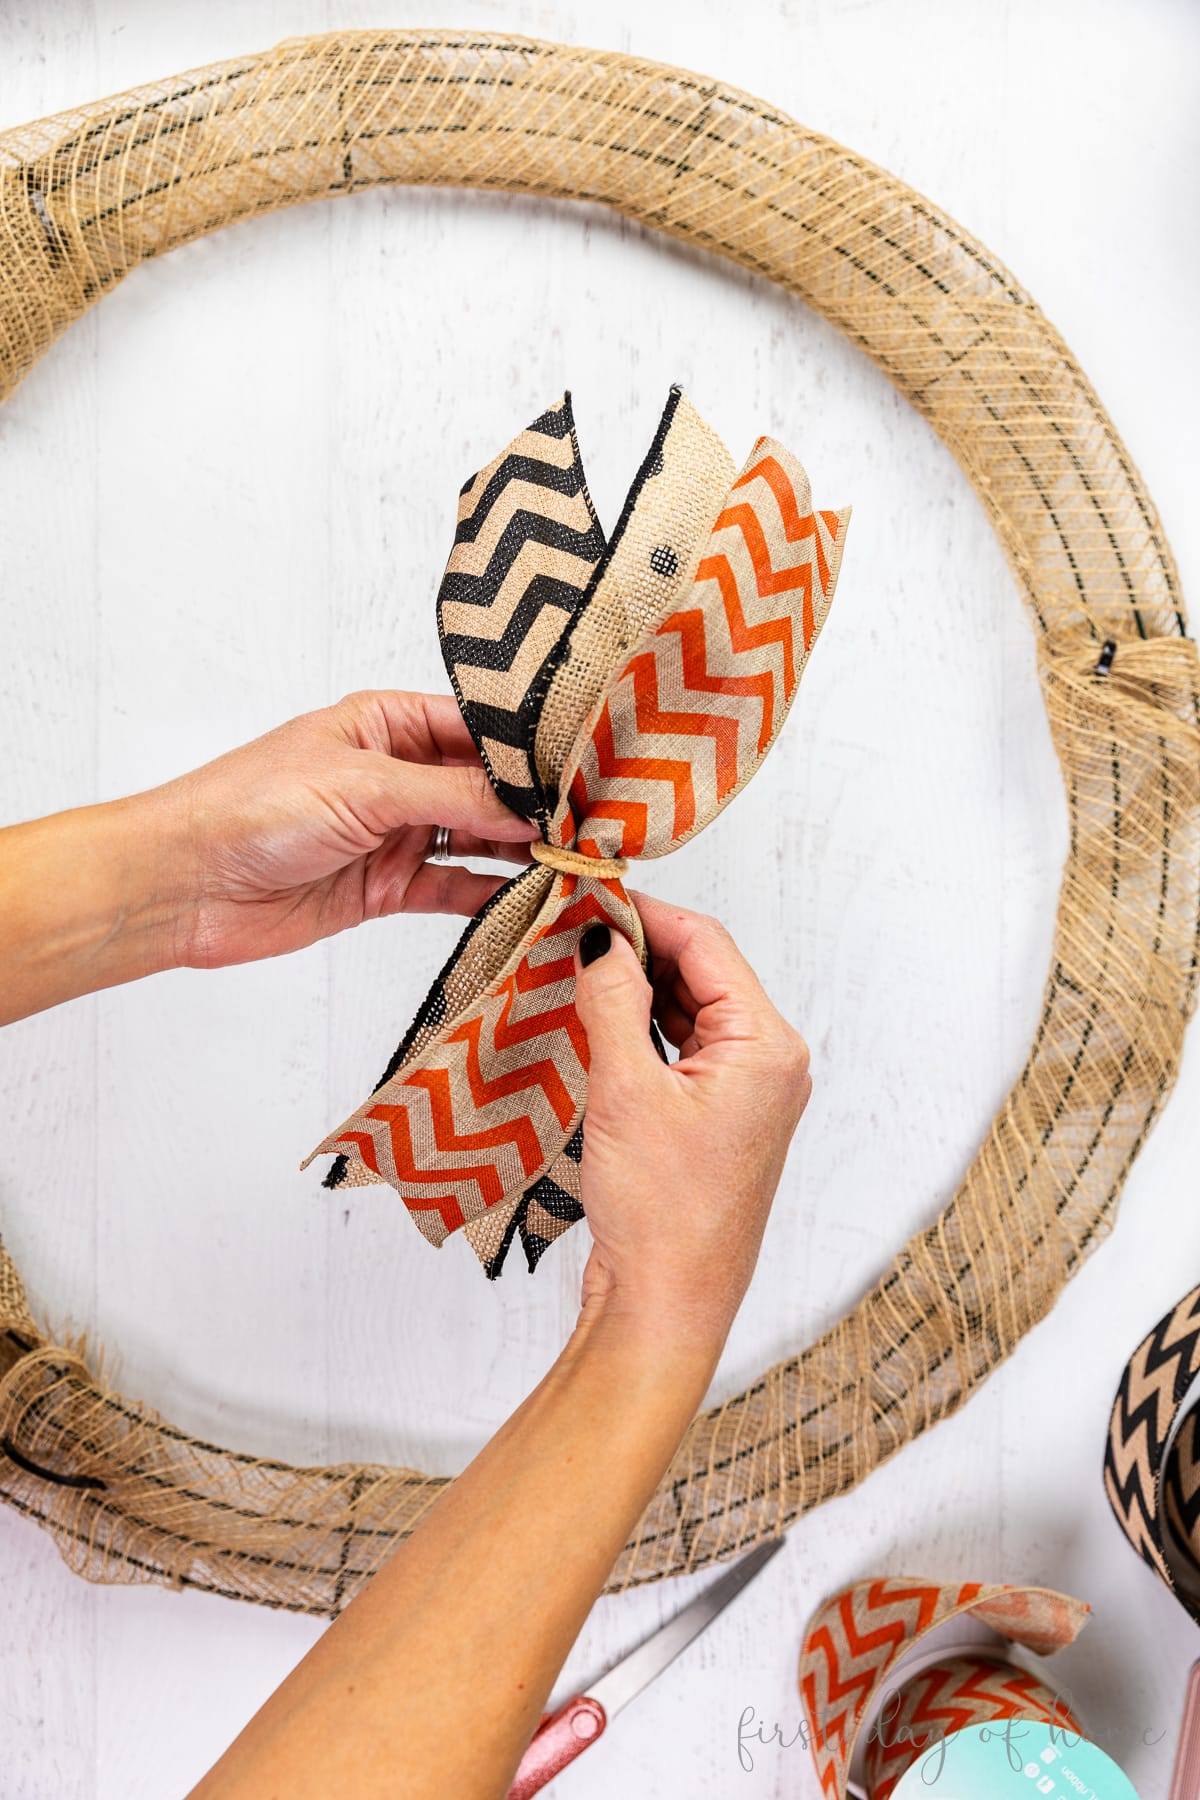
Once your ribbons are cut, pinch them together in the center, and twist a pipe cleaner around them. I cut my pipe cleaners in half to make them go farther and prevent bulk.
My final wreath had 32 groups of ribbons. A lot will depend on how wide your ribbons are and how closely you space them.
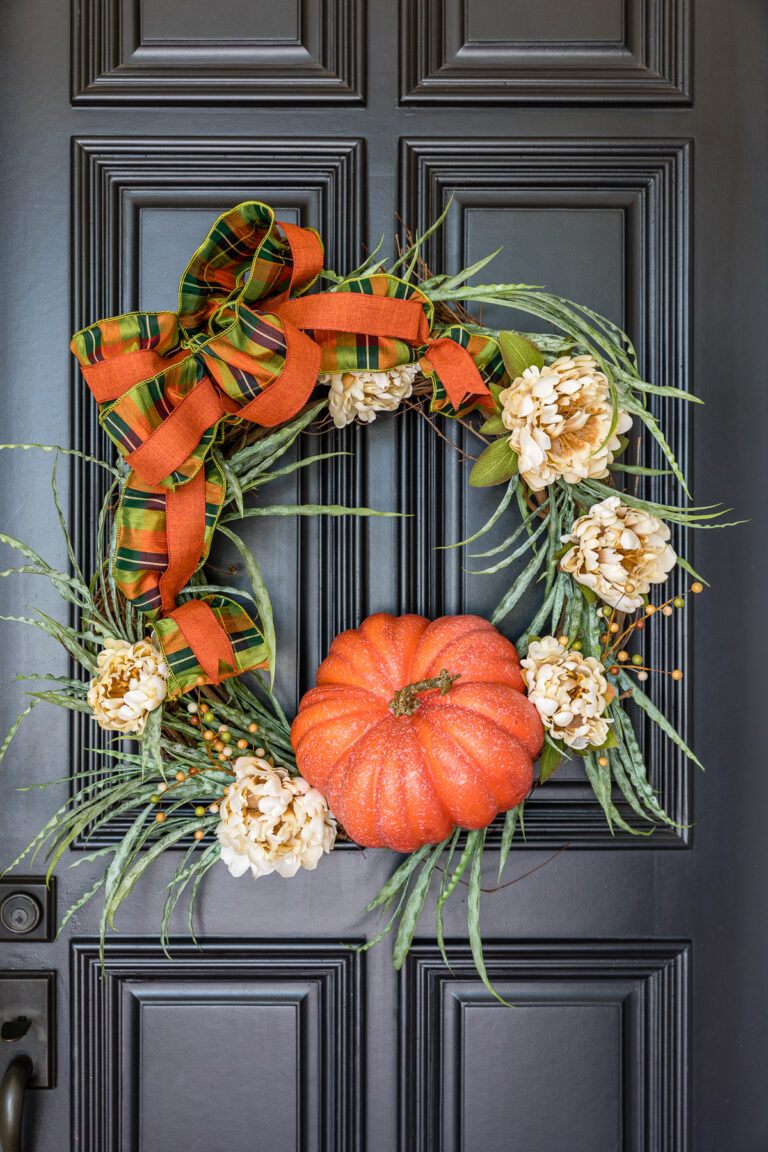
Related: How to Make a Traditional DIY Fall Wreath
Step 4: Attach ribbons to the wreath frame
To attach the ribbons, wrap the ends of the pipe cleaner around one of the center rings on your metal wreath frame.
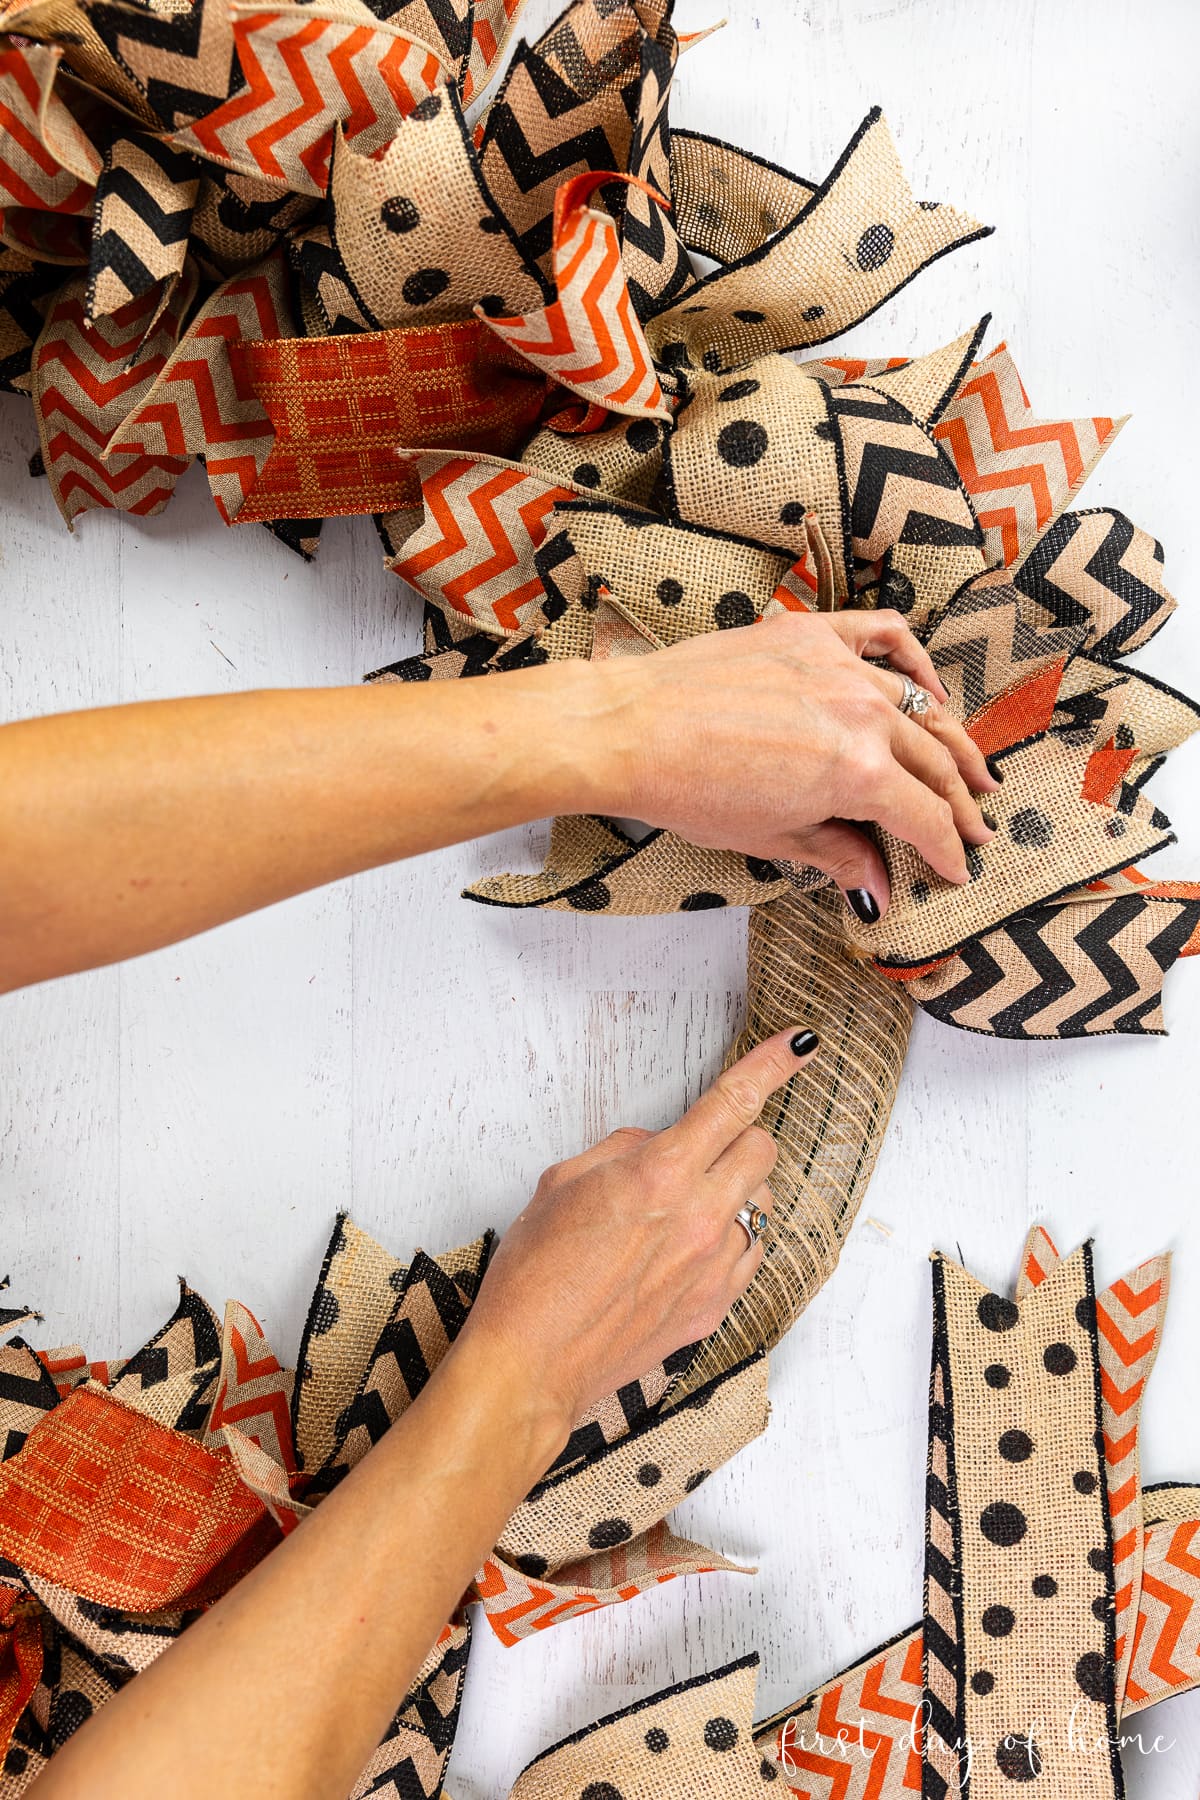
Space each group of ribbons about 2 inches apart, and alternate between the 2nd and 3rd inner rings of the wreath form. This will help create a balanced rag wreath.
On the back, you can tuck the pipe cleaners into the wreath form or cut off any excess wire if needed. Using neutral-colored pipe cleaners (a.k.a. chenille stems) helps to disguise all the magic.
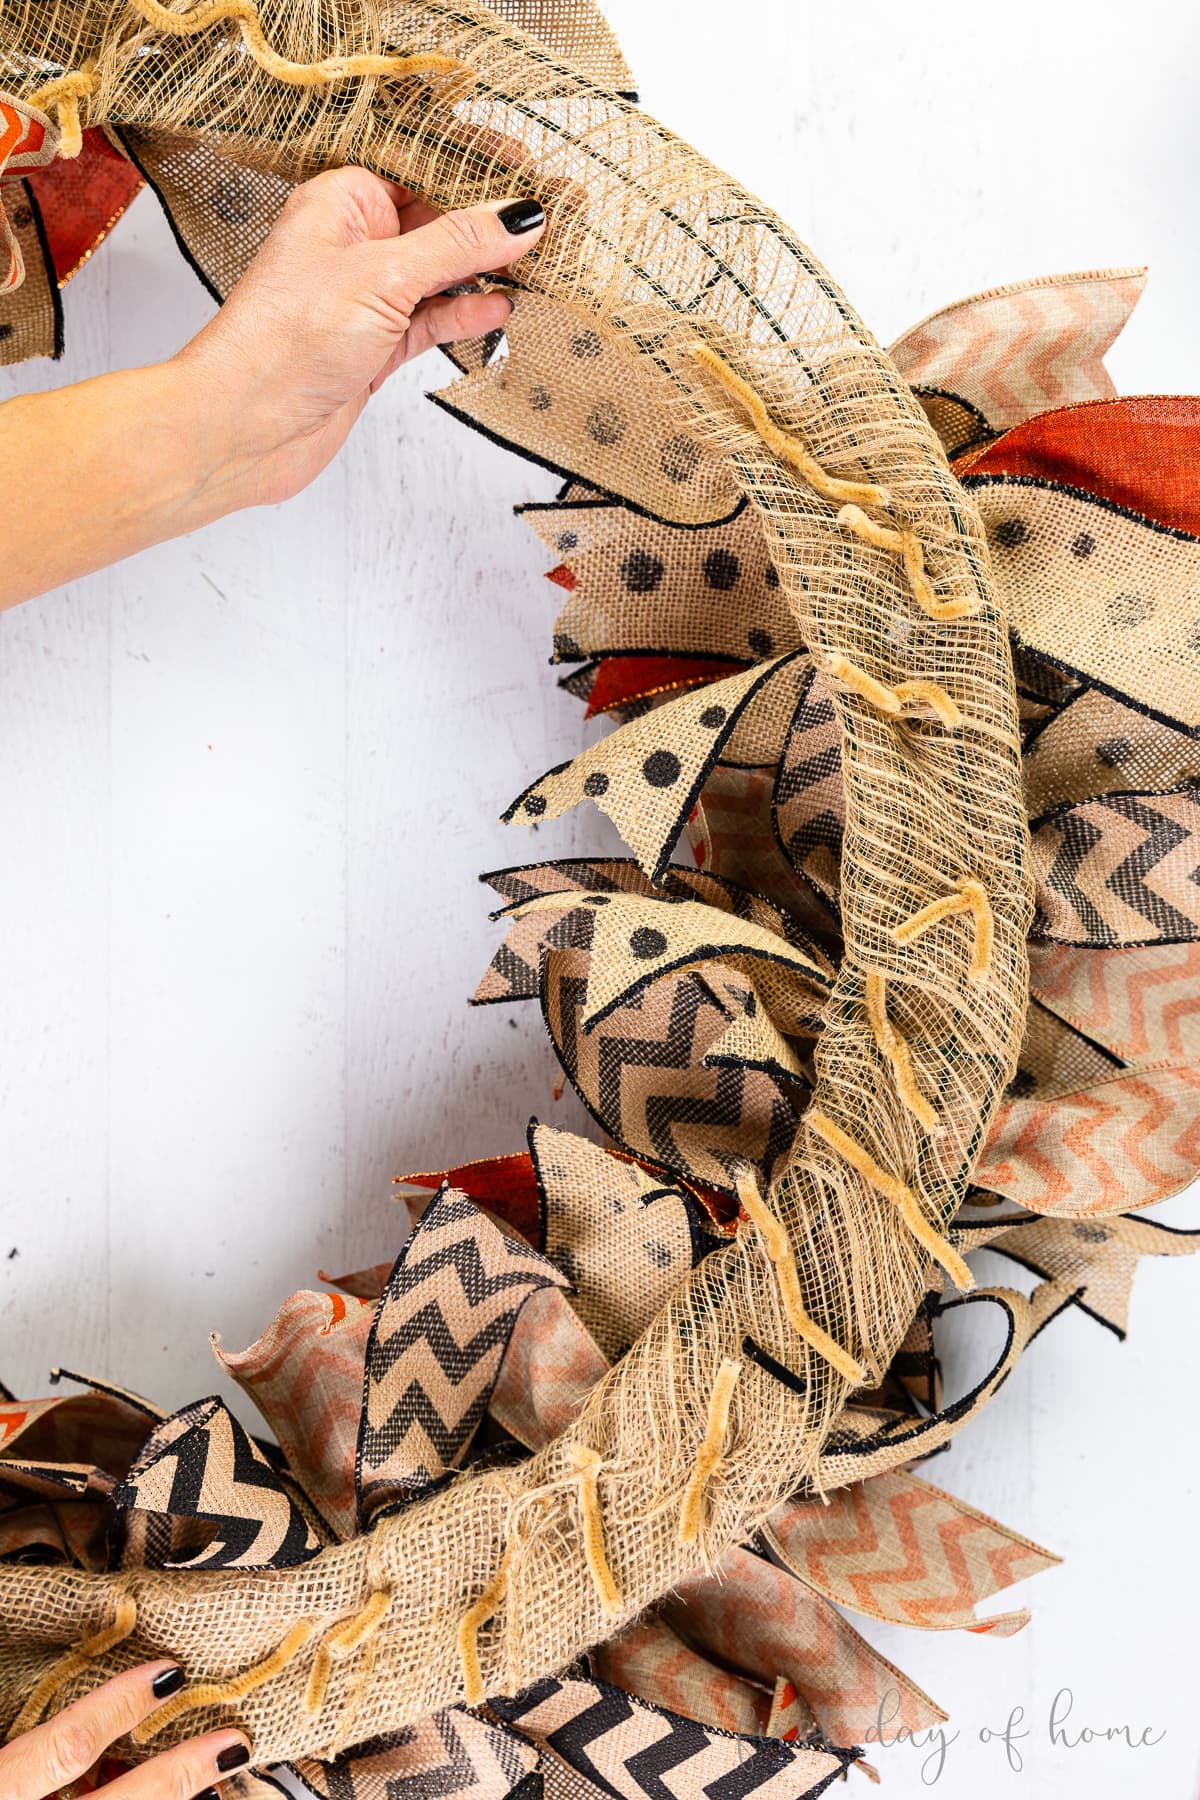
Step 5: Adjust ribbons as needed
Once you have all the ribbons placed, you can fluff up your wreath to make it look fuller. It helps to use wired-edge ribbon to keep your ribbon tails in place.
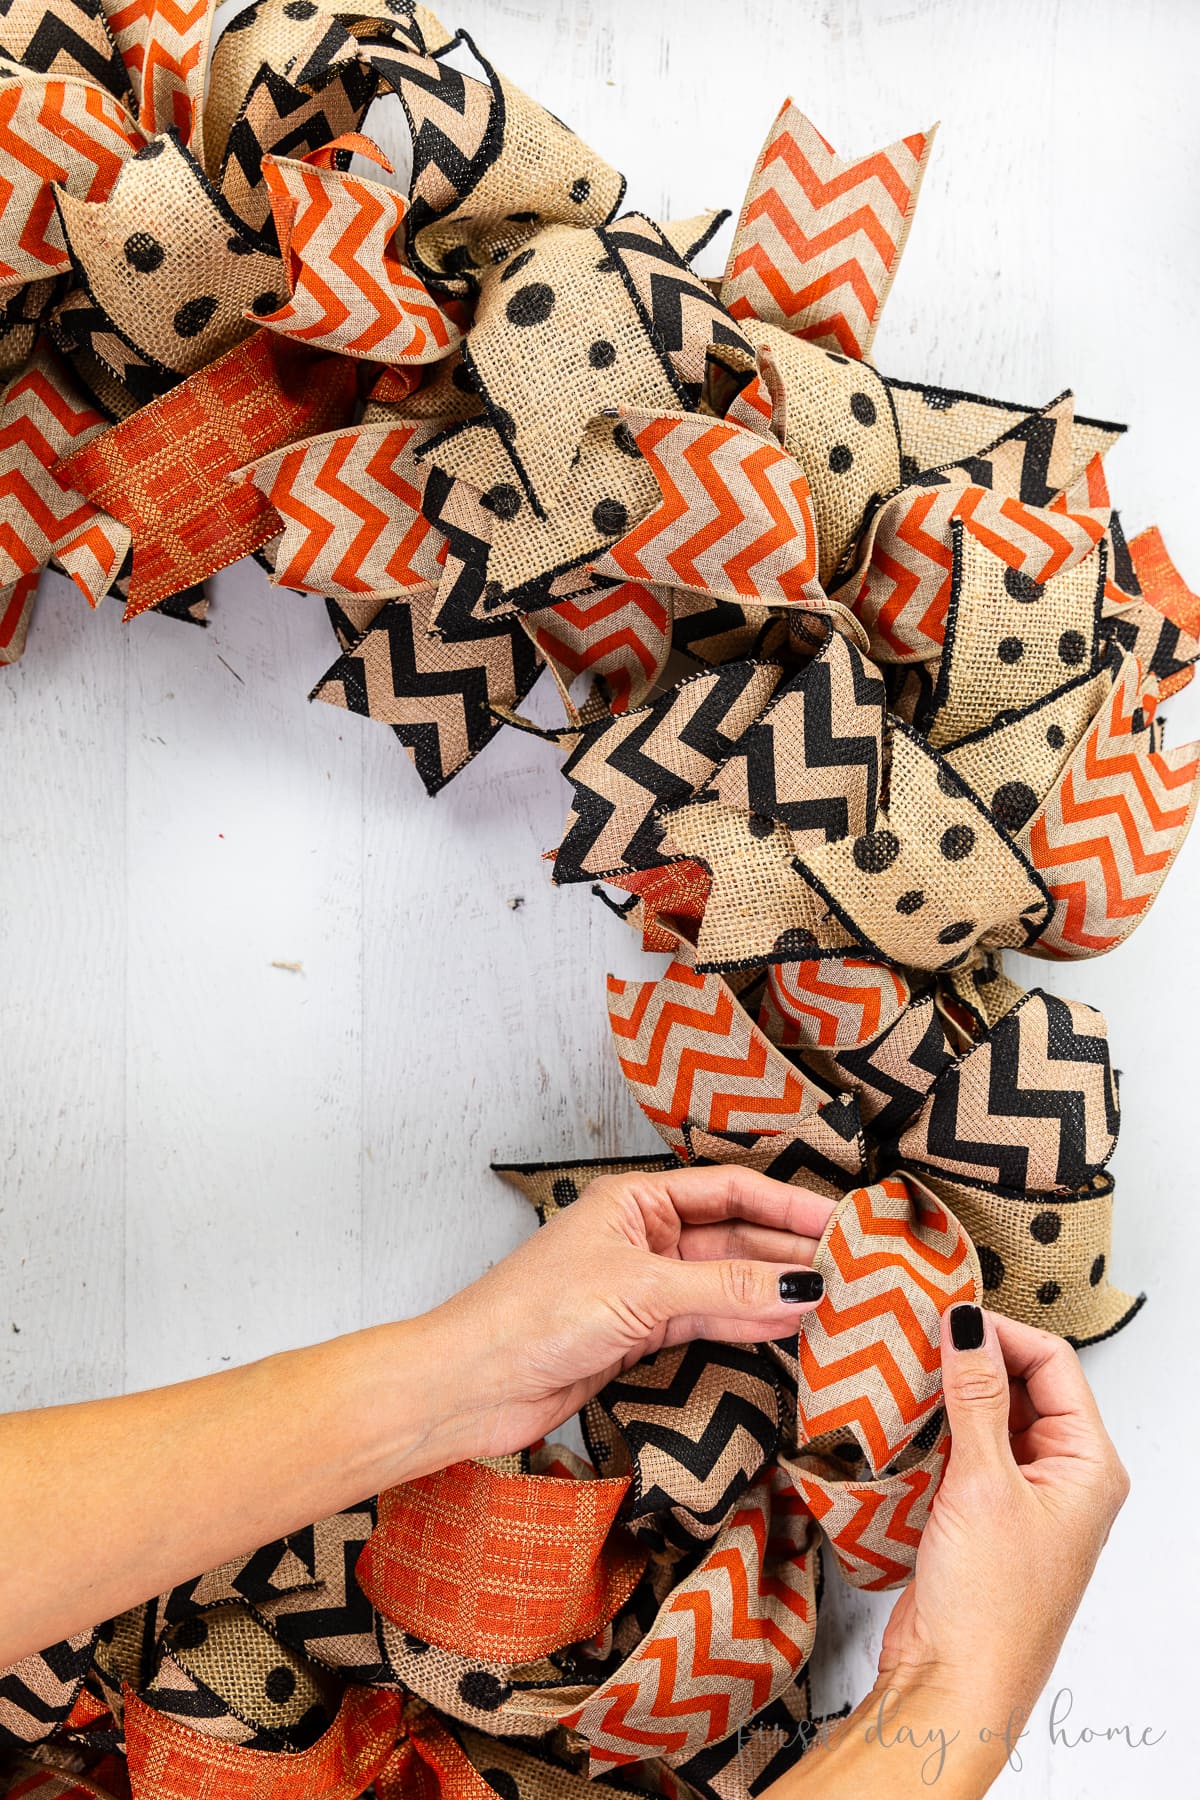
Make sure the pipe cleaner is nicely tucked and hidden too. (We don’t want to reveal our secrets.)
Step 6: Add wooden cutout (optional)
I was inspired by a Williams-Sonoma wreath that had a wooden “Happy Halloween” cutout in the middle. Lucky for me, Dollar Tree had wooden cutouts that fit the bill.
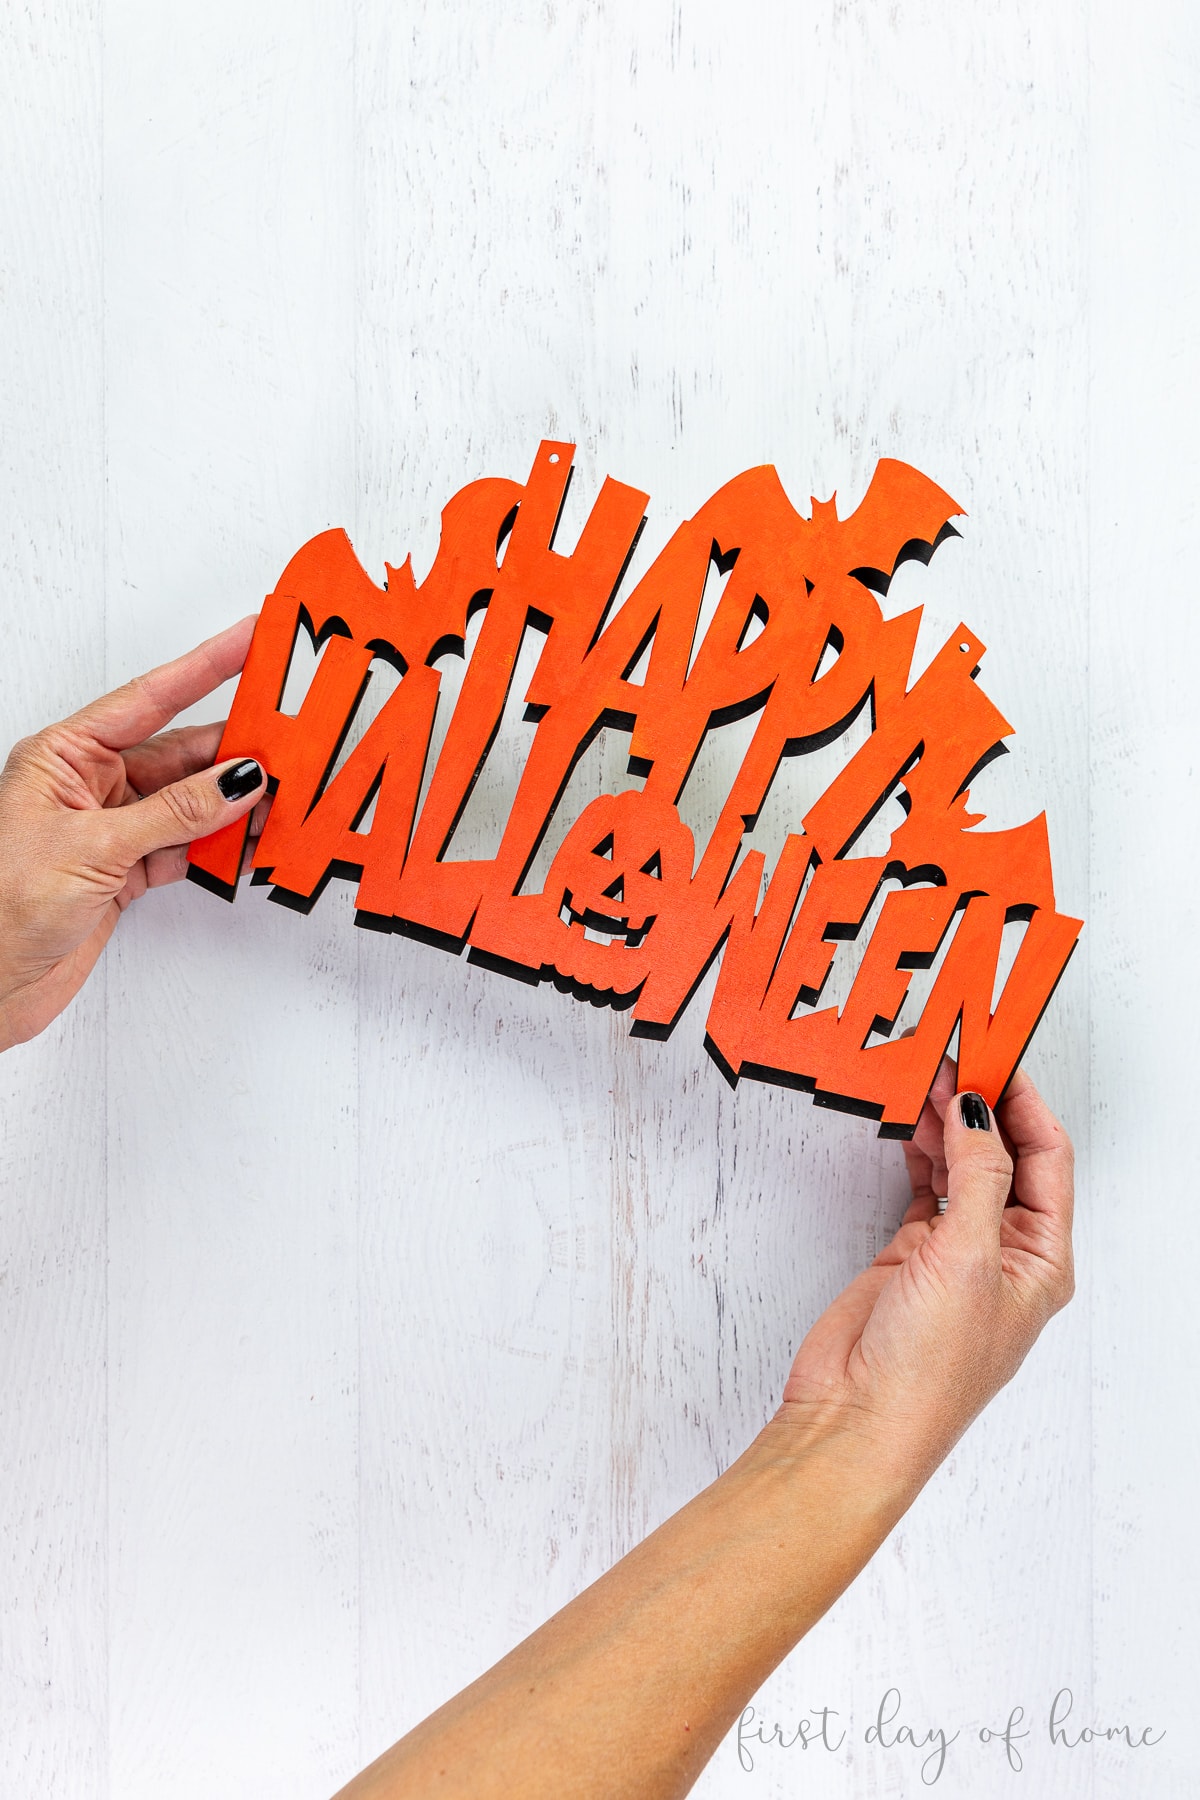
I decided to purchase two cutouts and paint one orange and one black for a layered look. I then used hot glue to attach them.
As you’ll see below, the black “shadow” effect gets a little lost on our black front door, but I still love the way it looks. Maybe next time I’ll paint it beige instead!
DIY Rag Wreath: Final Look
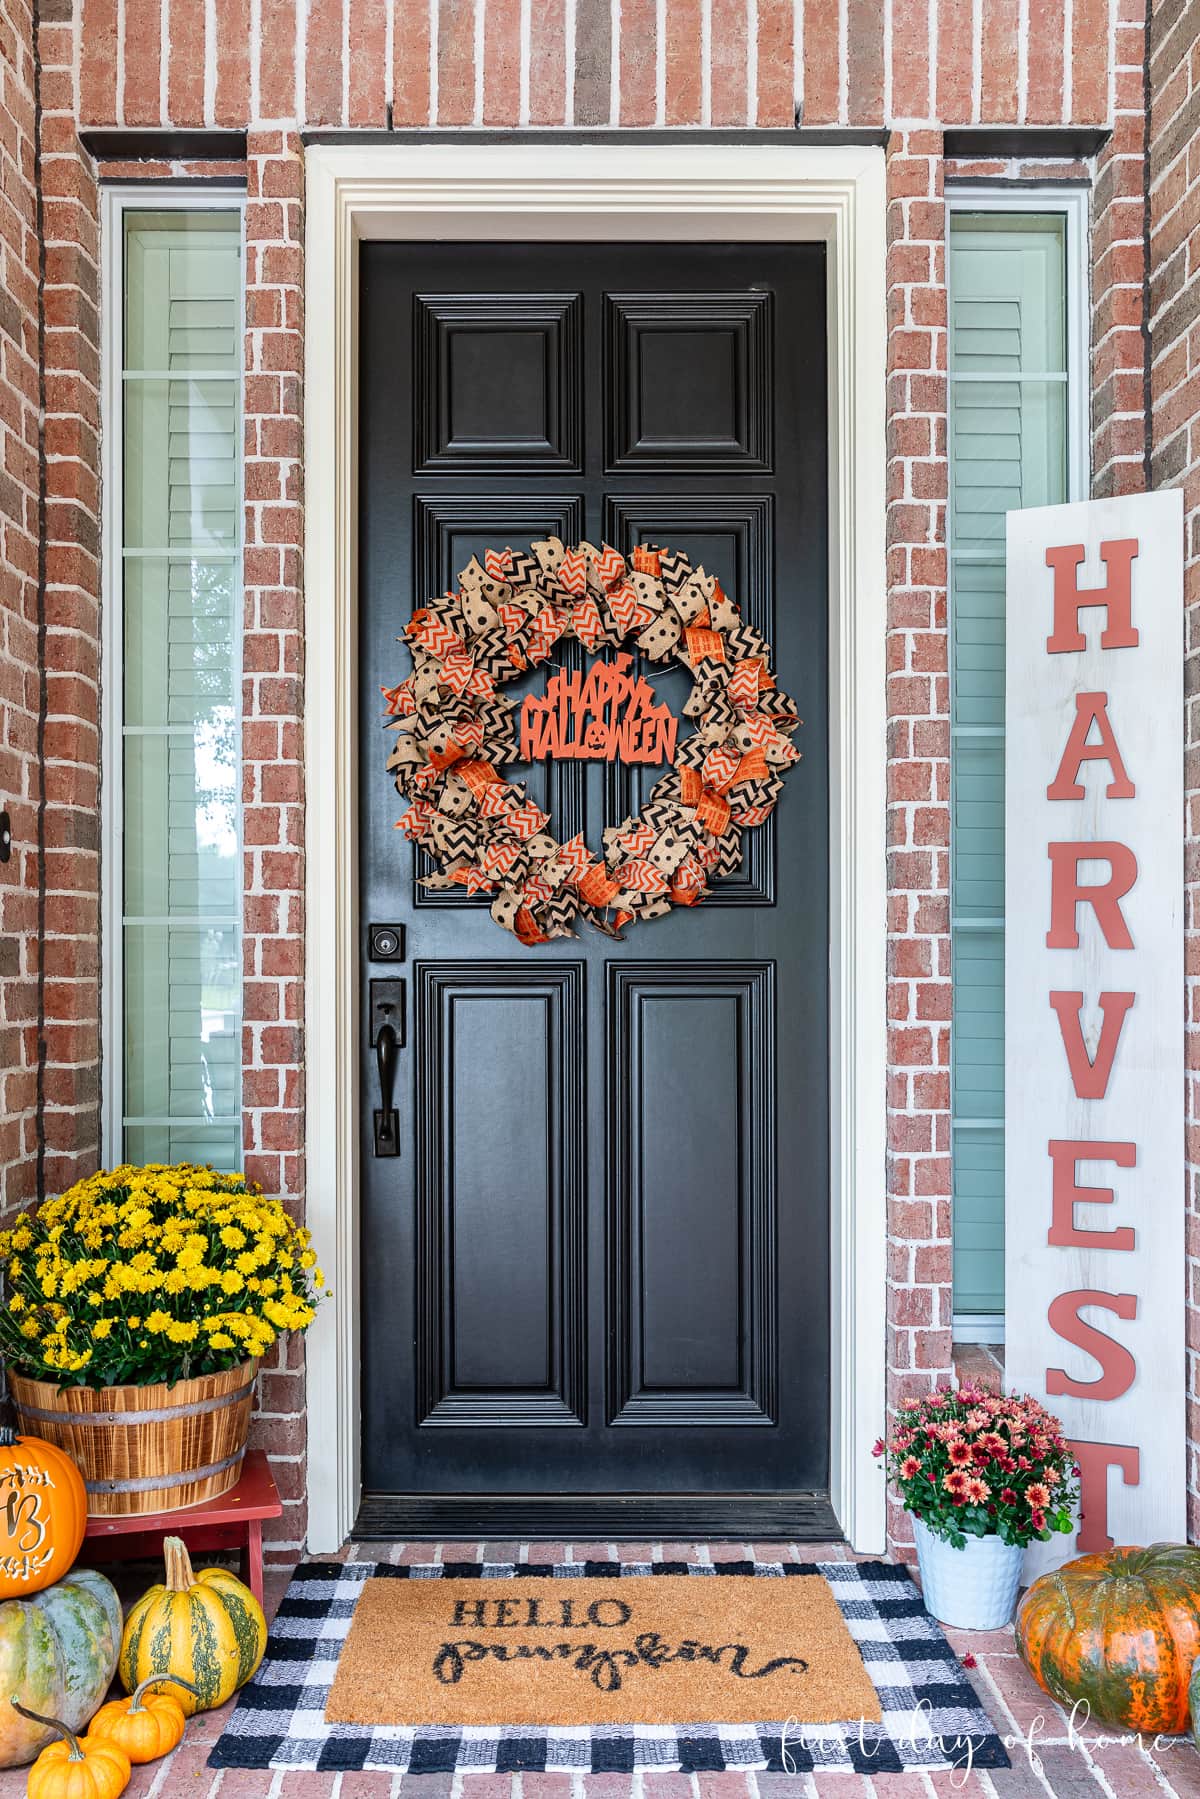
To give one final spooky effect to my Halloween-themed porch, I decided to add fairy lights to the wreath, which is a great option for either fall or Christmas wreaths.
I can’t wait to decorate more DIY rag wreaths for future holidays. If you end up making a wreath with this tutorial, be sure to tag me on Instagram (@firstdayofhome)! I’d love to see what you create!
Pin it for later!
If you’d like to learn more about making wreaths, check out the craft tutorials below!