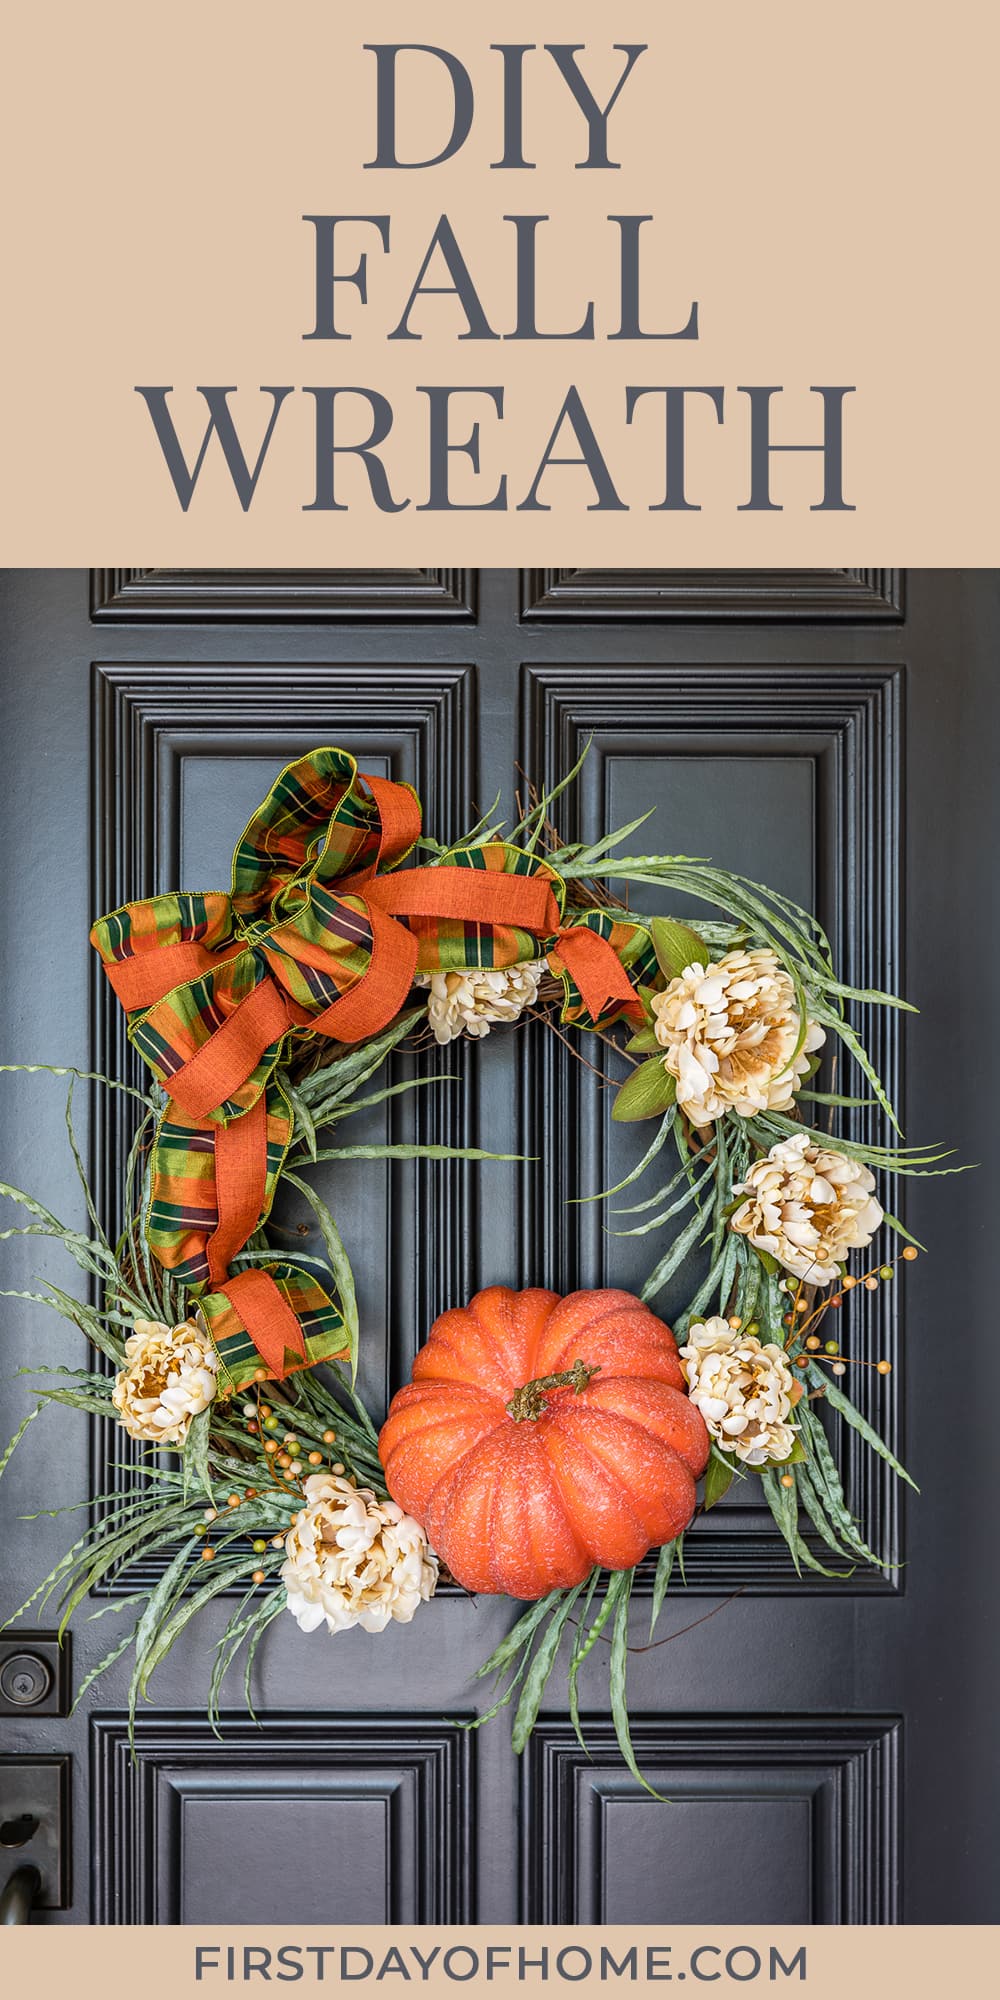
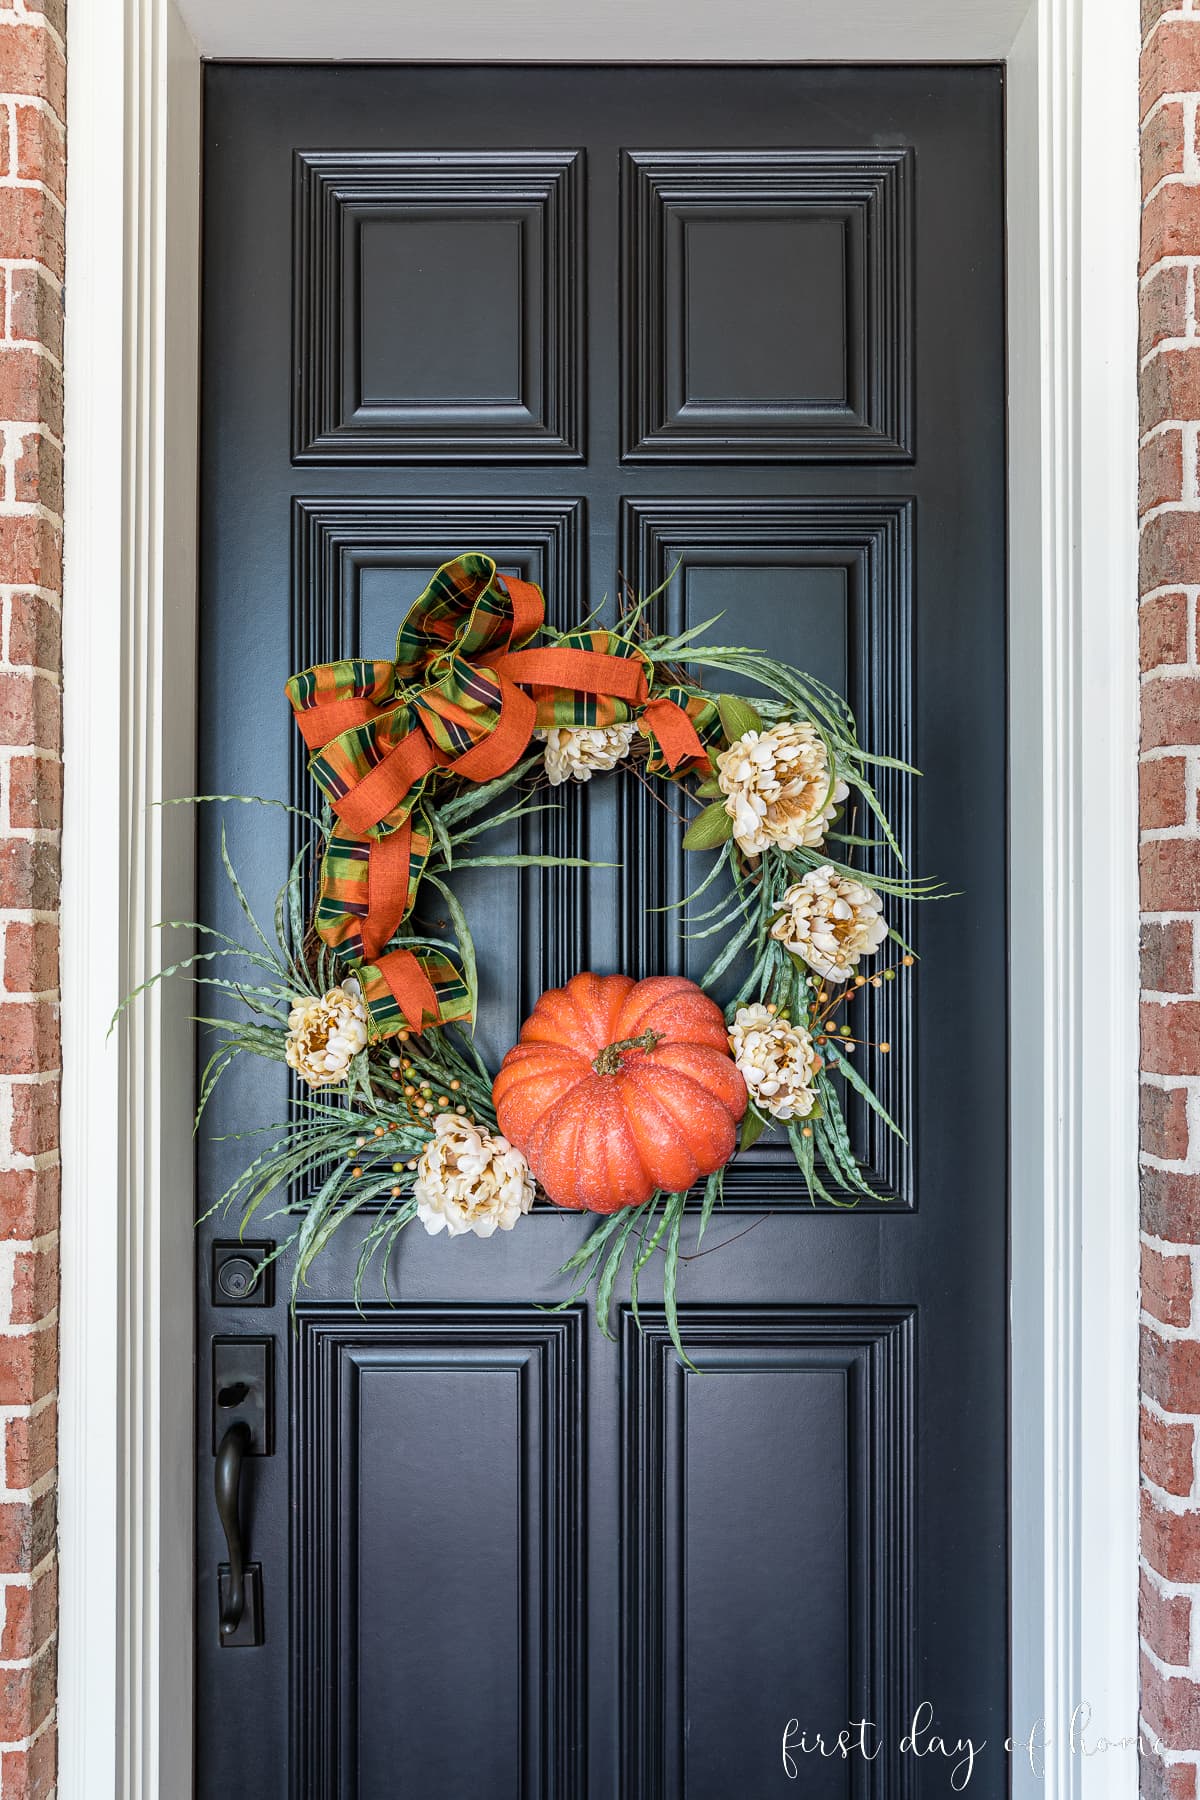
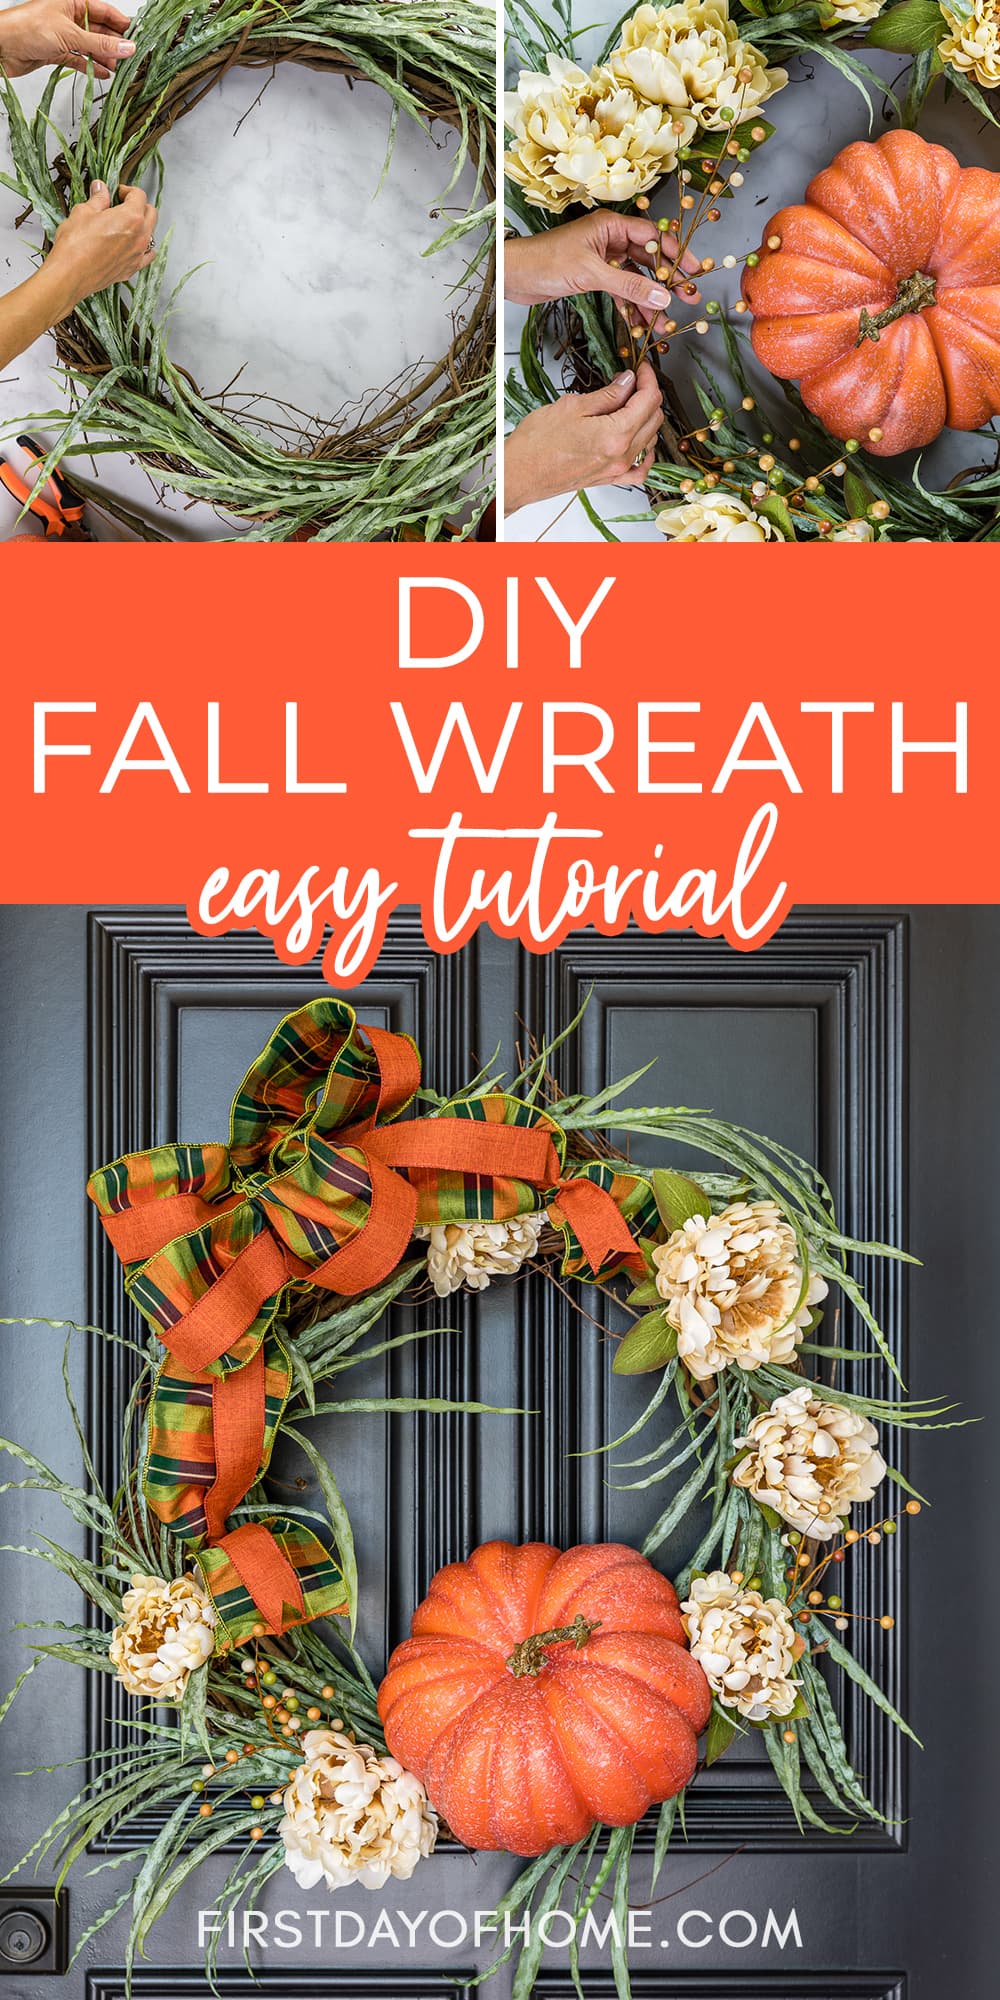
Easy DIY Fall Wreath in 10 Minutes Flat
Wreath-making can be intimidating, but this DIY fall wreath doesn’t take much skill or money to pull together. You’ll love how it dresses up your front door. The great news is that it takes only 10 minutes to make!
This post contains affiliate links, and I will be compensated if you make a purchase after clicking on my links. For more information, please see my disclosures.
How to Make a DIY Fall Wreath
I love this style of wreath because it’s whimsical, messy, and asymmetrical…just like me! Autumn wreaths are a great way to celebrate the start of fall or the Thanksgiving season.
When you tackle this project, I suggest starting with the ribbon in mind. Then you can bring in statement elements (like my giant pumpkin) before adding the floral pieces.
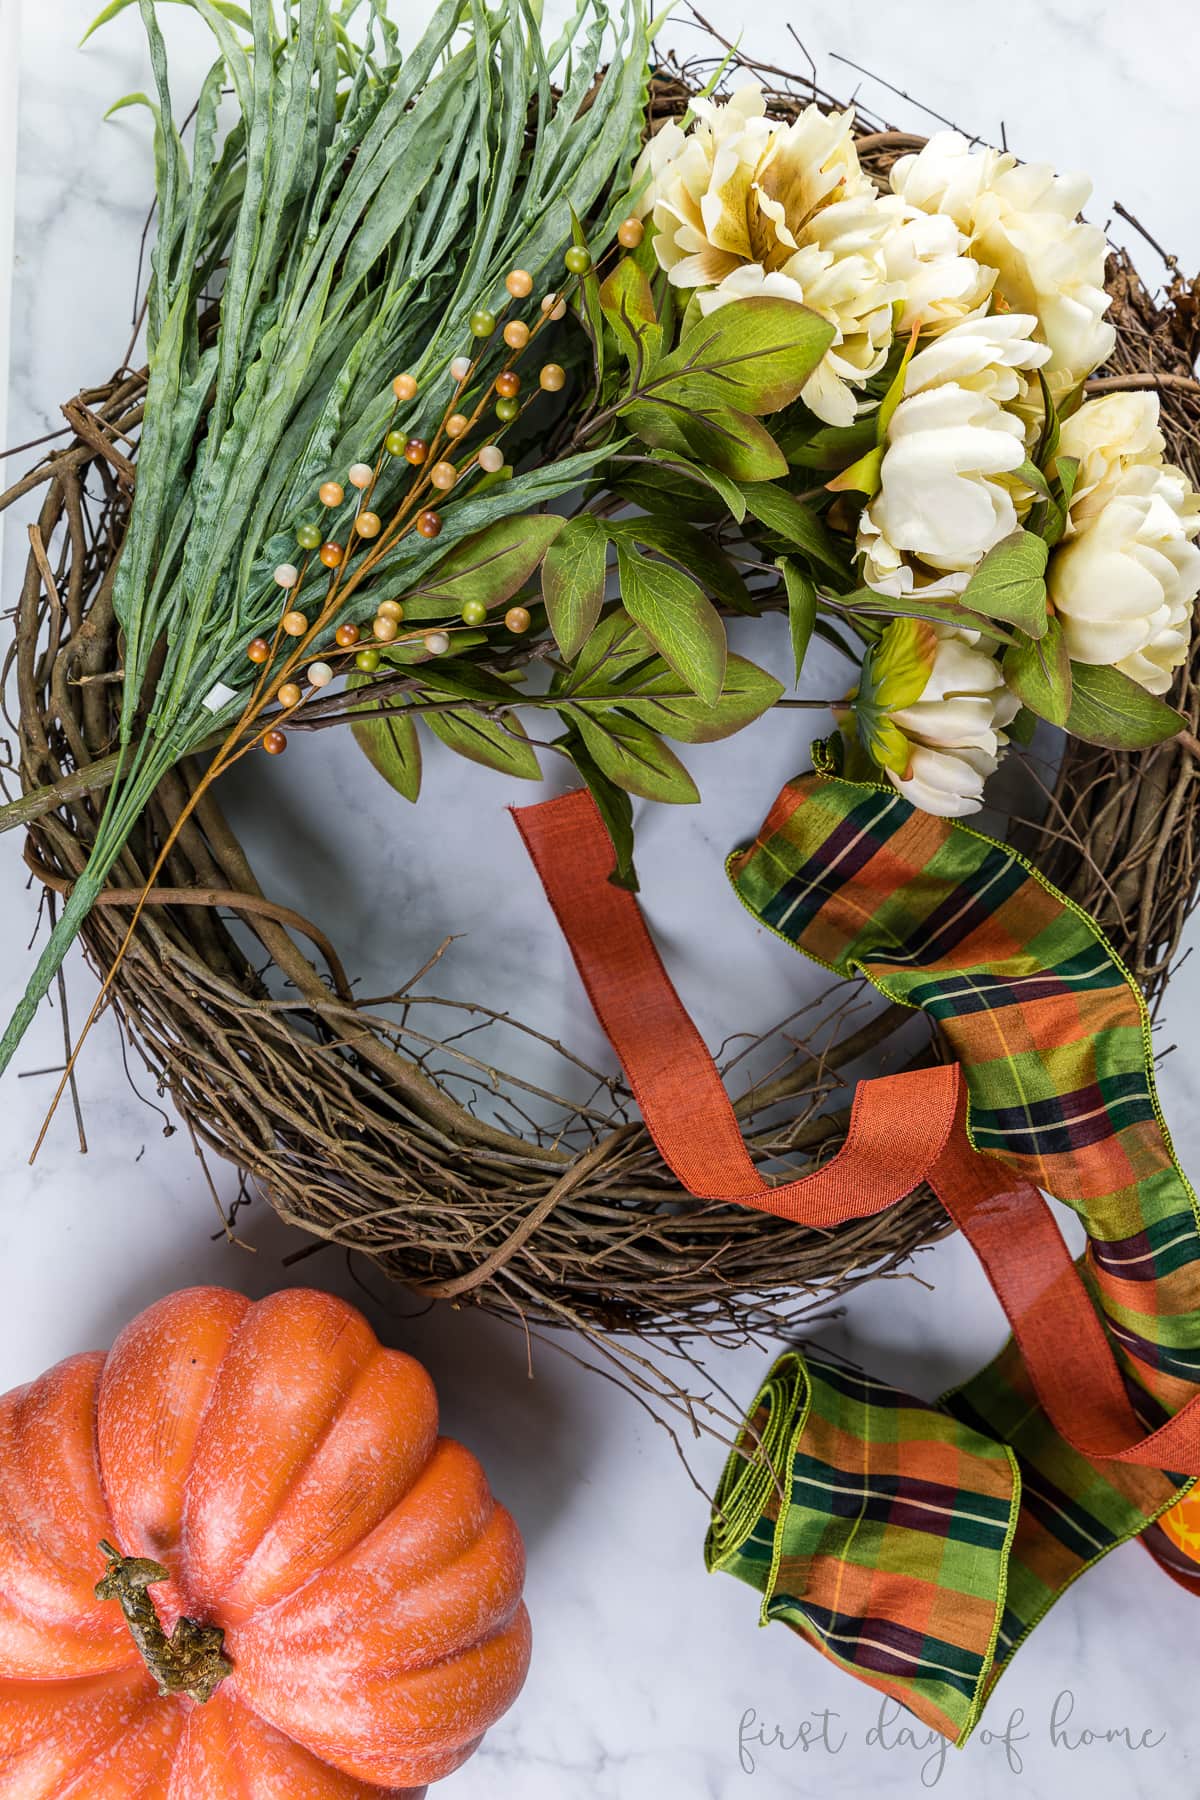
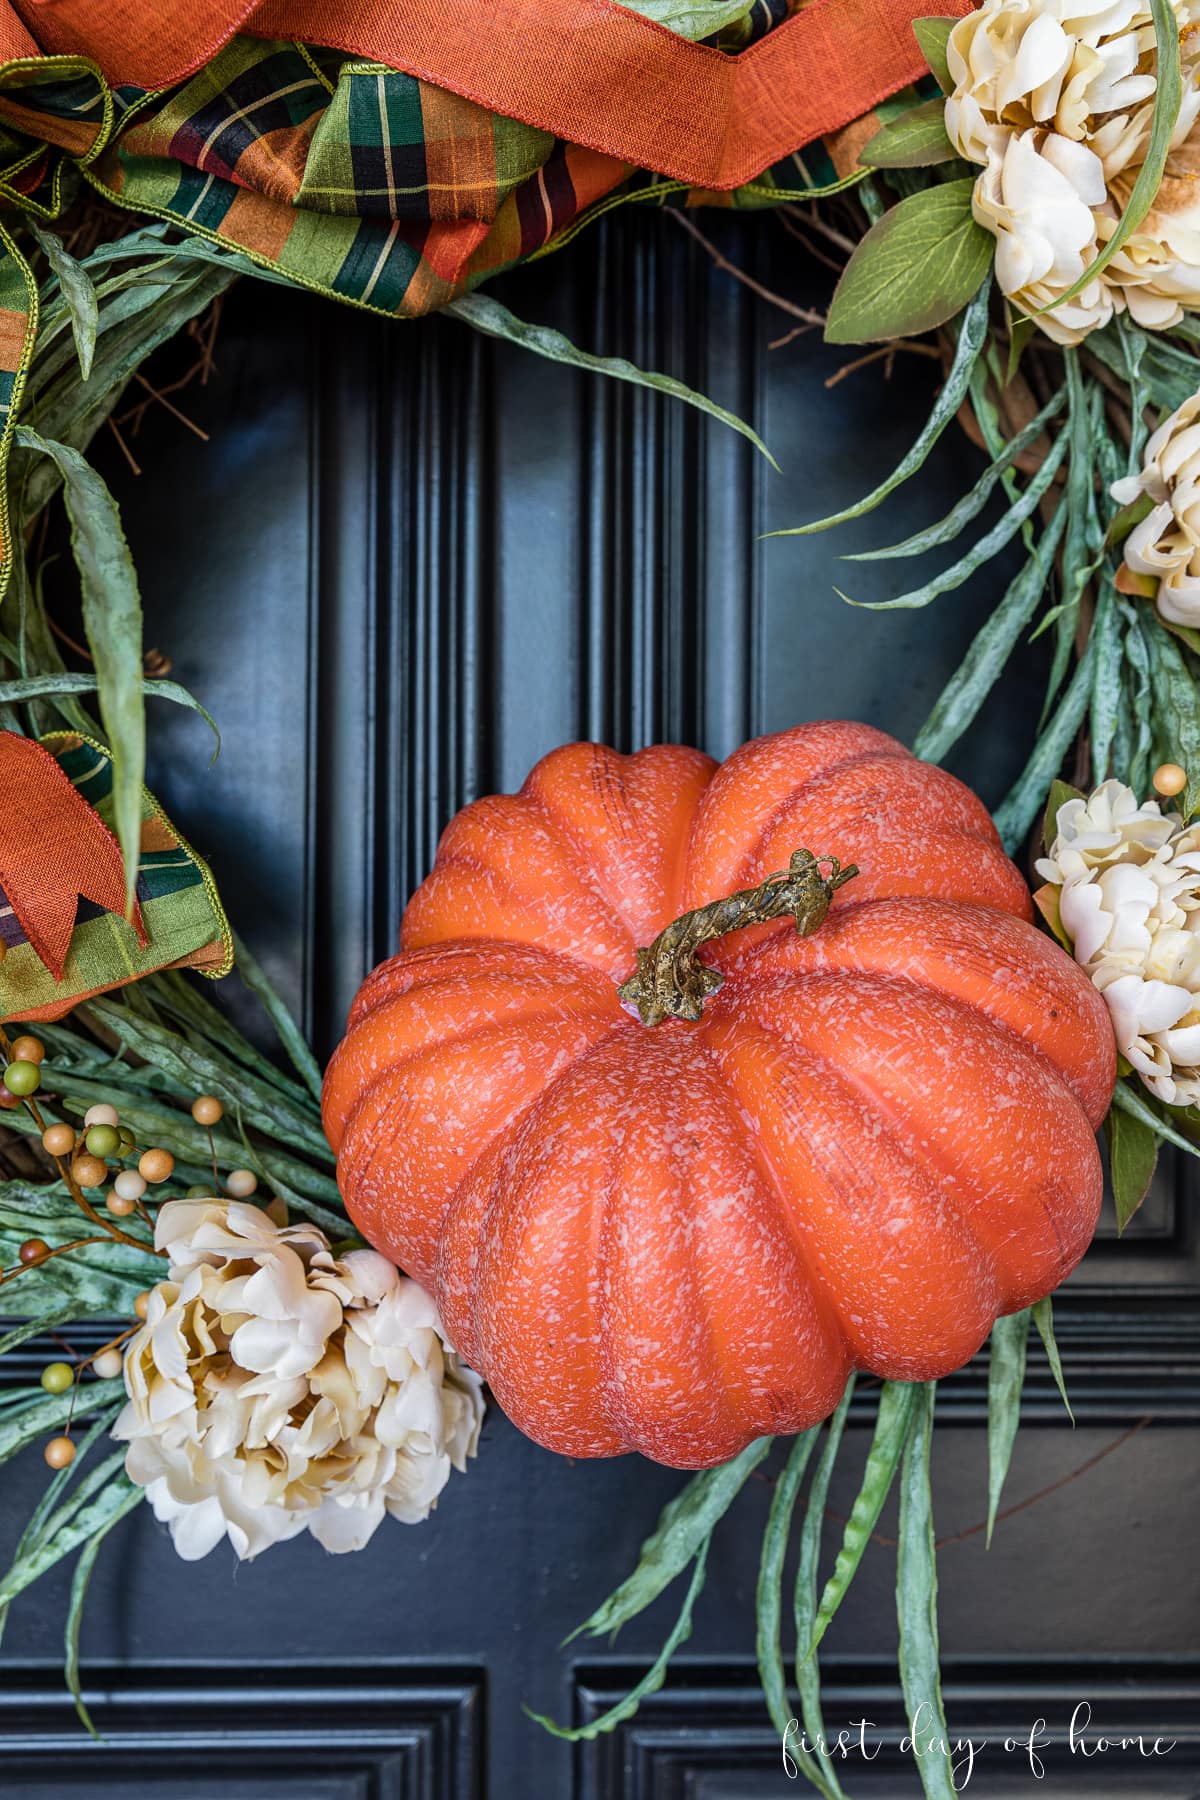
I found this amazing dupioni ribbon that I’ve had in my stash for a full year just waiting to become a door decoration. I love the fall colors that are a bit brighter than the traditional orange and yellow.
With my color scheme settled, I chose an oversized pumpkin, greenery, and peonies to cover the grapevine wreath form.
Watch this Tutorial (1-minute)
Supplies
- Grapevine wreath (18-24 inches in diameter)
- Main ribbon (4-inch wide)
- Accent ribbon (2-inch wide)
- Faux pumpkin
- Greenery
- Peony bush
- Berry spray
- Pipe cleaner (a.k.a. chenille stems)
- Floral wire (optional in place of pipe cleaner)
- Hot glue
- Wire cutters
- Staple gun
Note: I picked up the artificial flowers for this craft at Hobby Lobby, but they are not currently available online.
Step 1: Cover the grapevine wreath with greenery
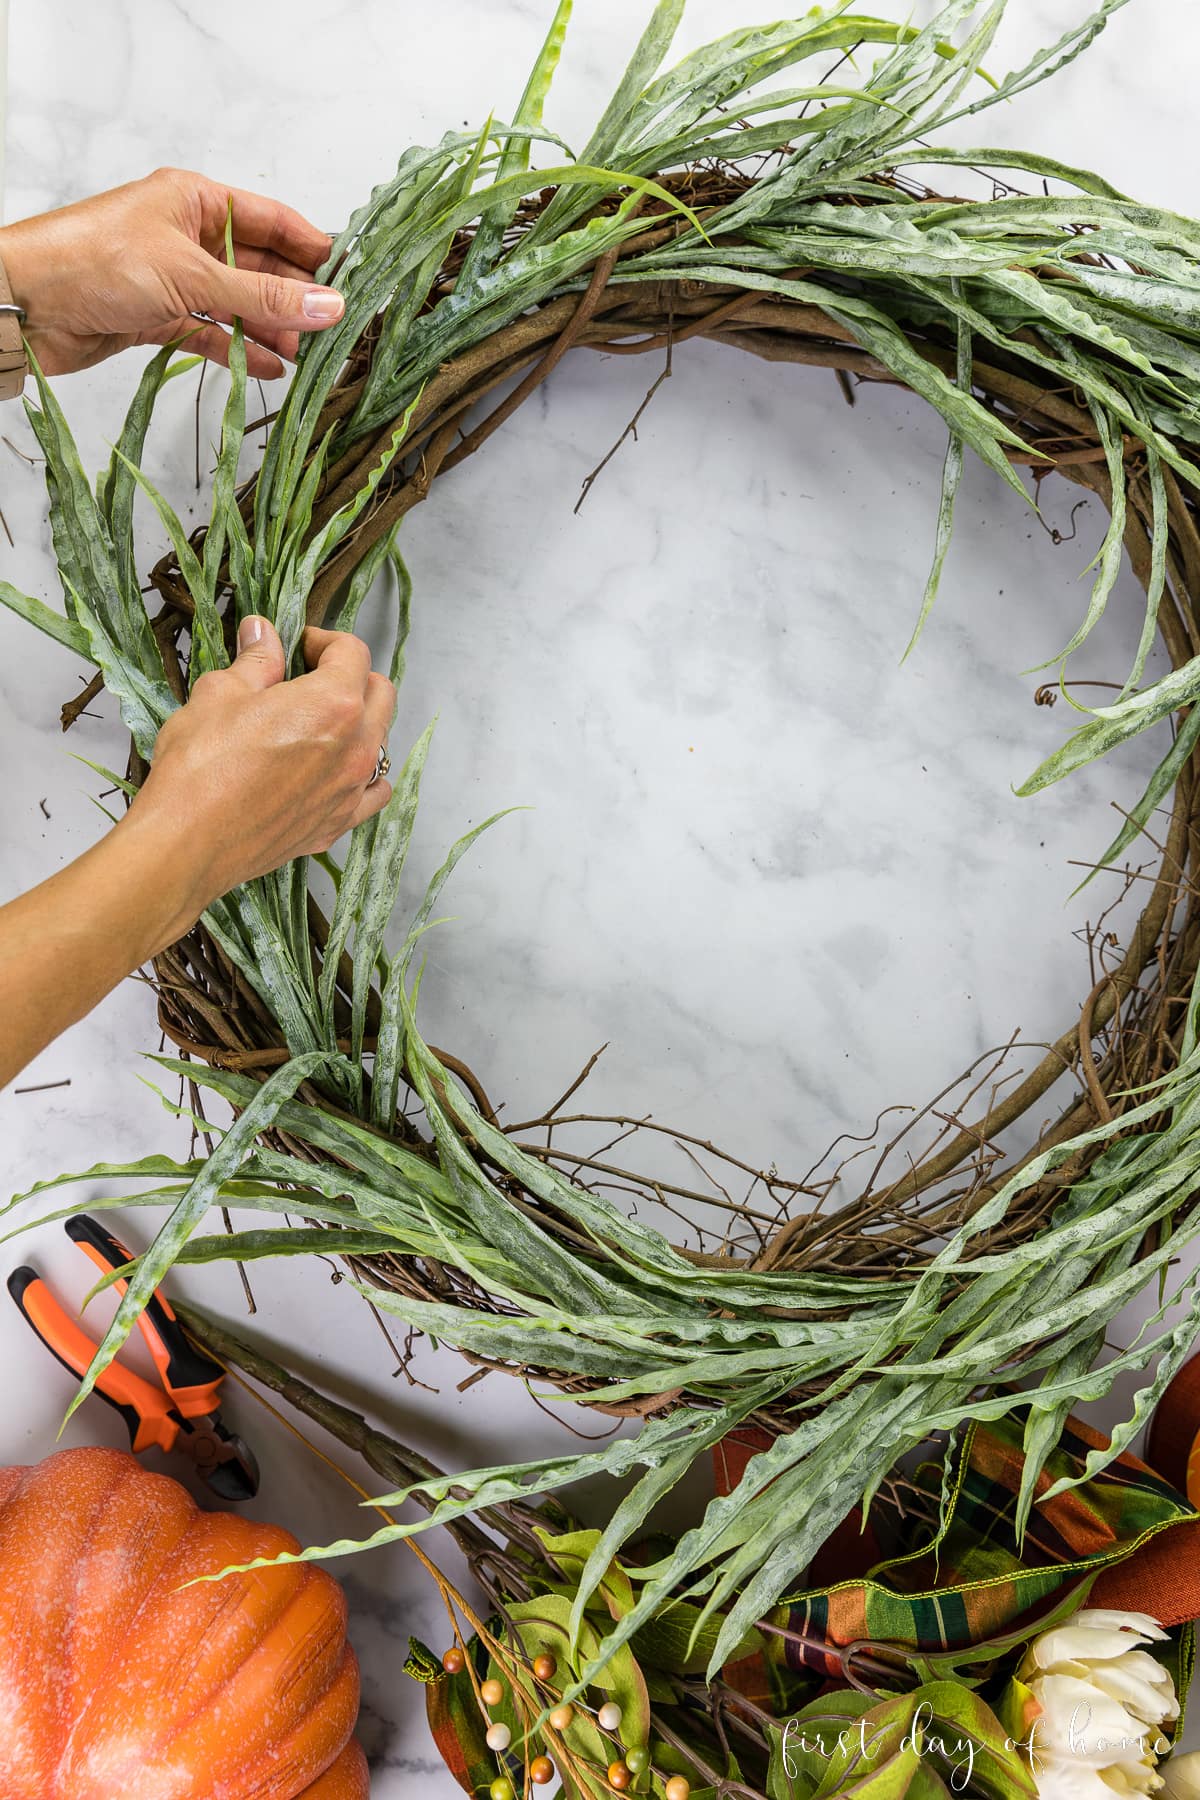
I used a frosted green birdnest grass bush to cover the grapevine wreath form. You can use wire cutters to trim the branches off of the bush and insert them in a spiral pattern.
Another option for adding color and texture is interspersing natural elements like faux fall leaves. Magnolia leaves are among my favorite as a backdrop for a fall wreath.
I suggest playing with the positioning before attaching the stems with hot glue, pipe cleaners, or floral wire. You might find they stay in place without any adhesive or wire at all.
Note: Although this tutorial uses a grapevine wreath form, you can substitute a different wreath base like a foam wreath form. You can also use a wire wreath frame and even pick up a budget-friendly one at Dollar Tree.
Step 2: Insert artificial flowers
One spray of cream peonies was enough to add a floral accent to this fall wreath. You’ll want to trim the florals down leaving about 2-3 inches of the stem to insert into the grapevine wreath. Use a glue gun to secure your florals after inserting them.
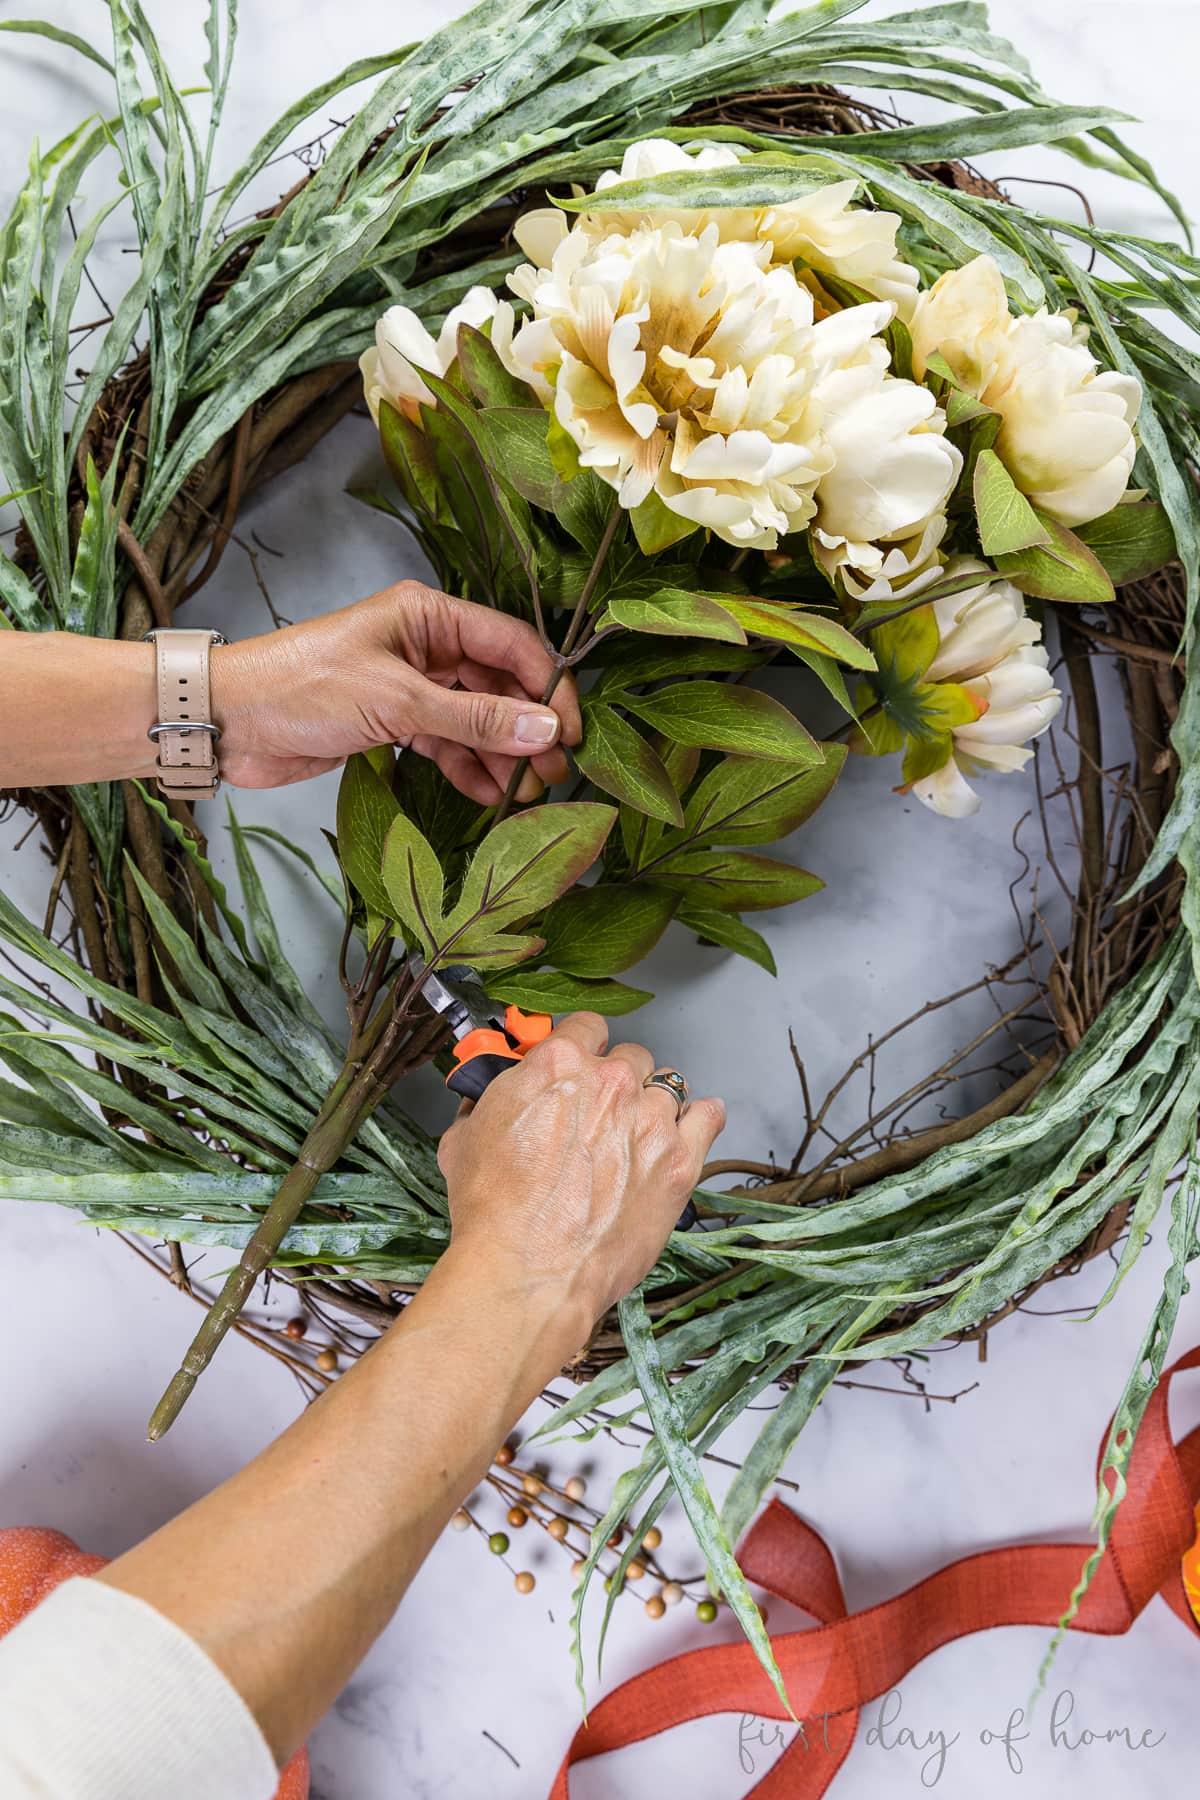
You can keep a few leaves with the flowers for added texture. I spaced my flowers out about every 6-8 inches around the entire wreath.
Again, play with the position of the flowers to find a balance that suits you before gluing anything down. Once you add the ribbon and accent pieces, you might want to rearrange things a bit.
Step 3: Insert accent berries
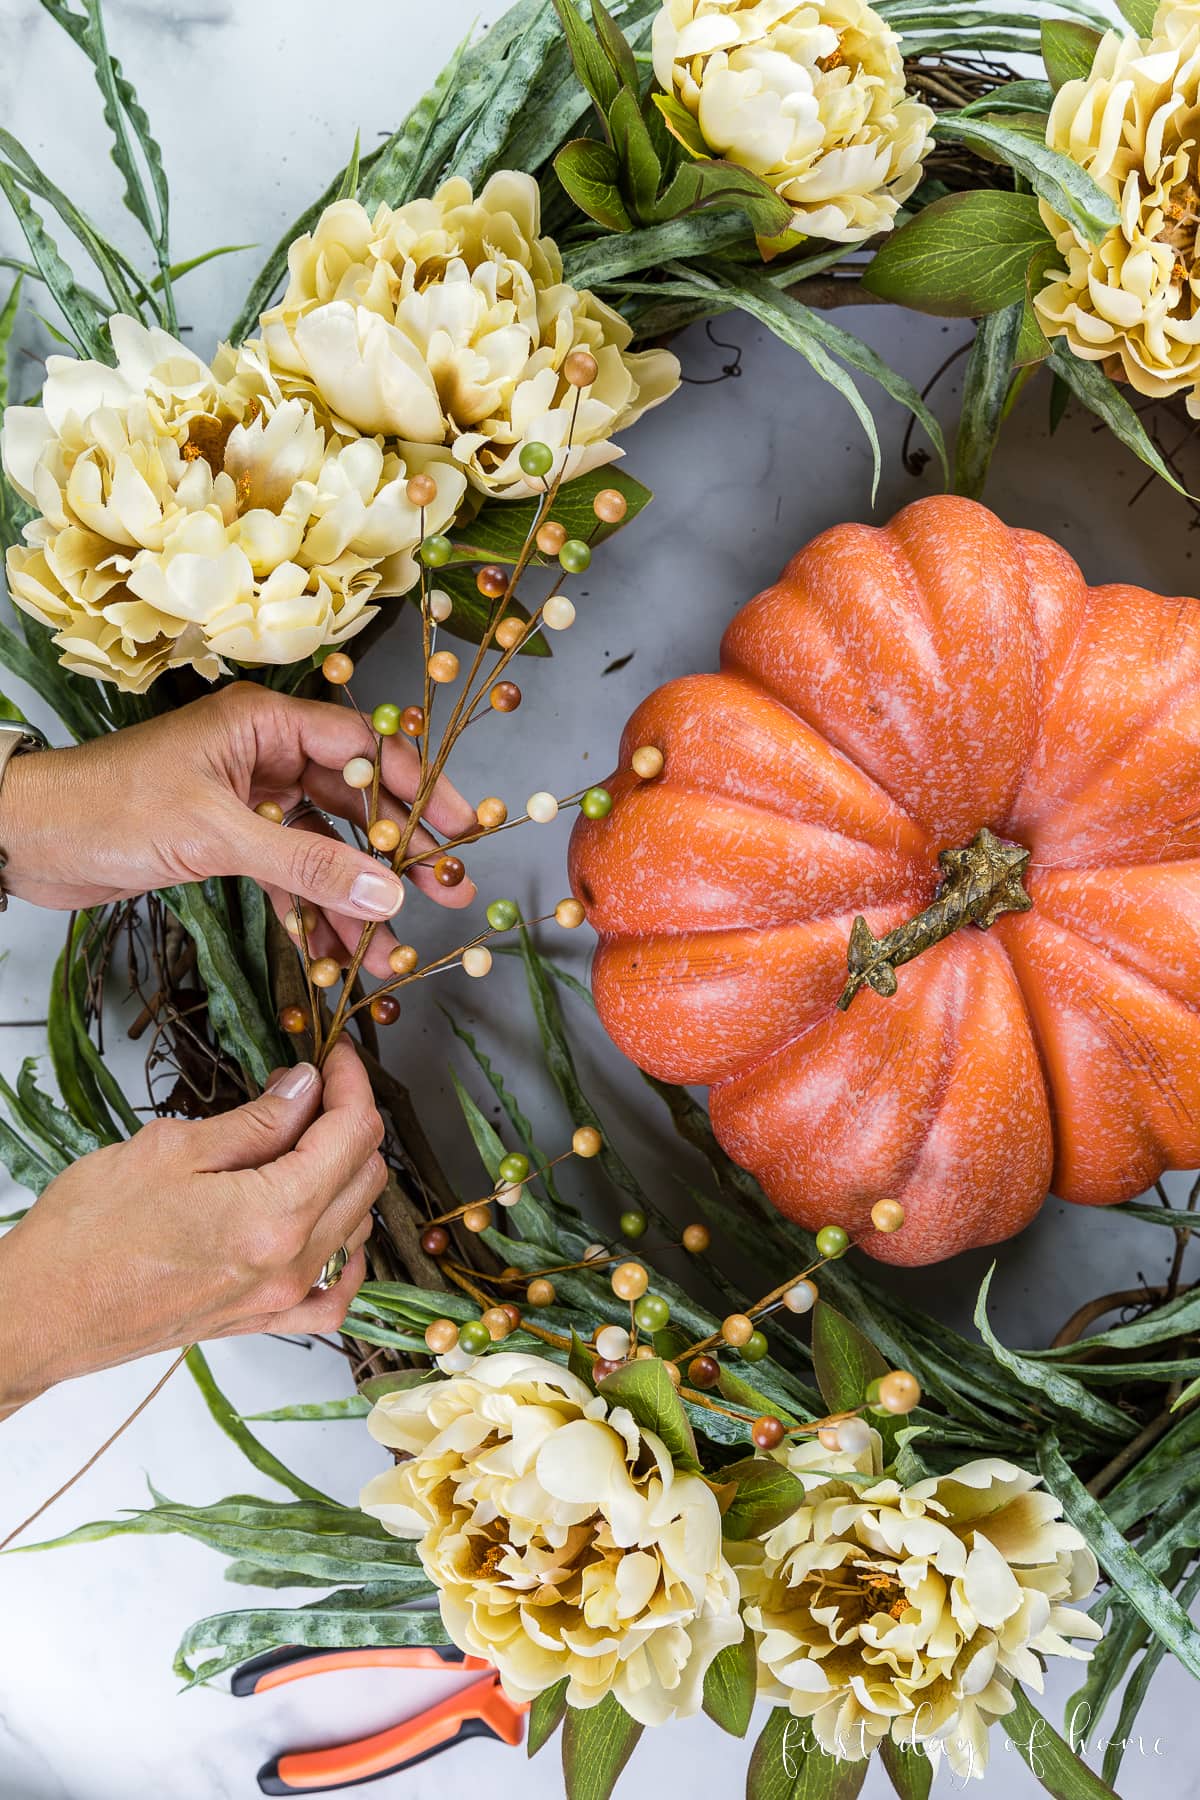
To add more texture to this DIY wreath, I included a few autumn berry stems that I picked up at Hobby Lobby. You can usually find these at any local craft store.
I used two berry stems in opposite directions on the lower right portion of the wreath leaving some space in between to place the pumpkin. Consider including accents of various sizes for more visual interest like pinecones, acorns, or twigs.
Step 4: Attach the pumpkin to the wreath
Attaching a pumpkin this large took a bit of trial and error. I love going “big” with a statement piece like this, but this gourd caused some challenges!
First I tried attaching the pumpkin to the wreath with hot glue and a ribbon base, but that failed miserably.
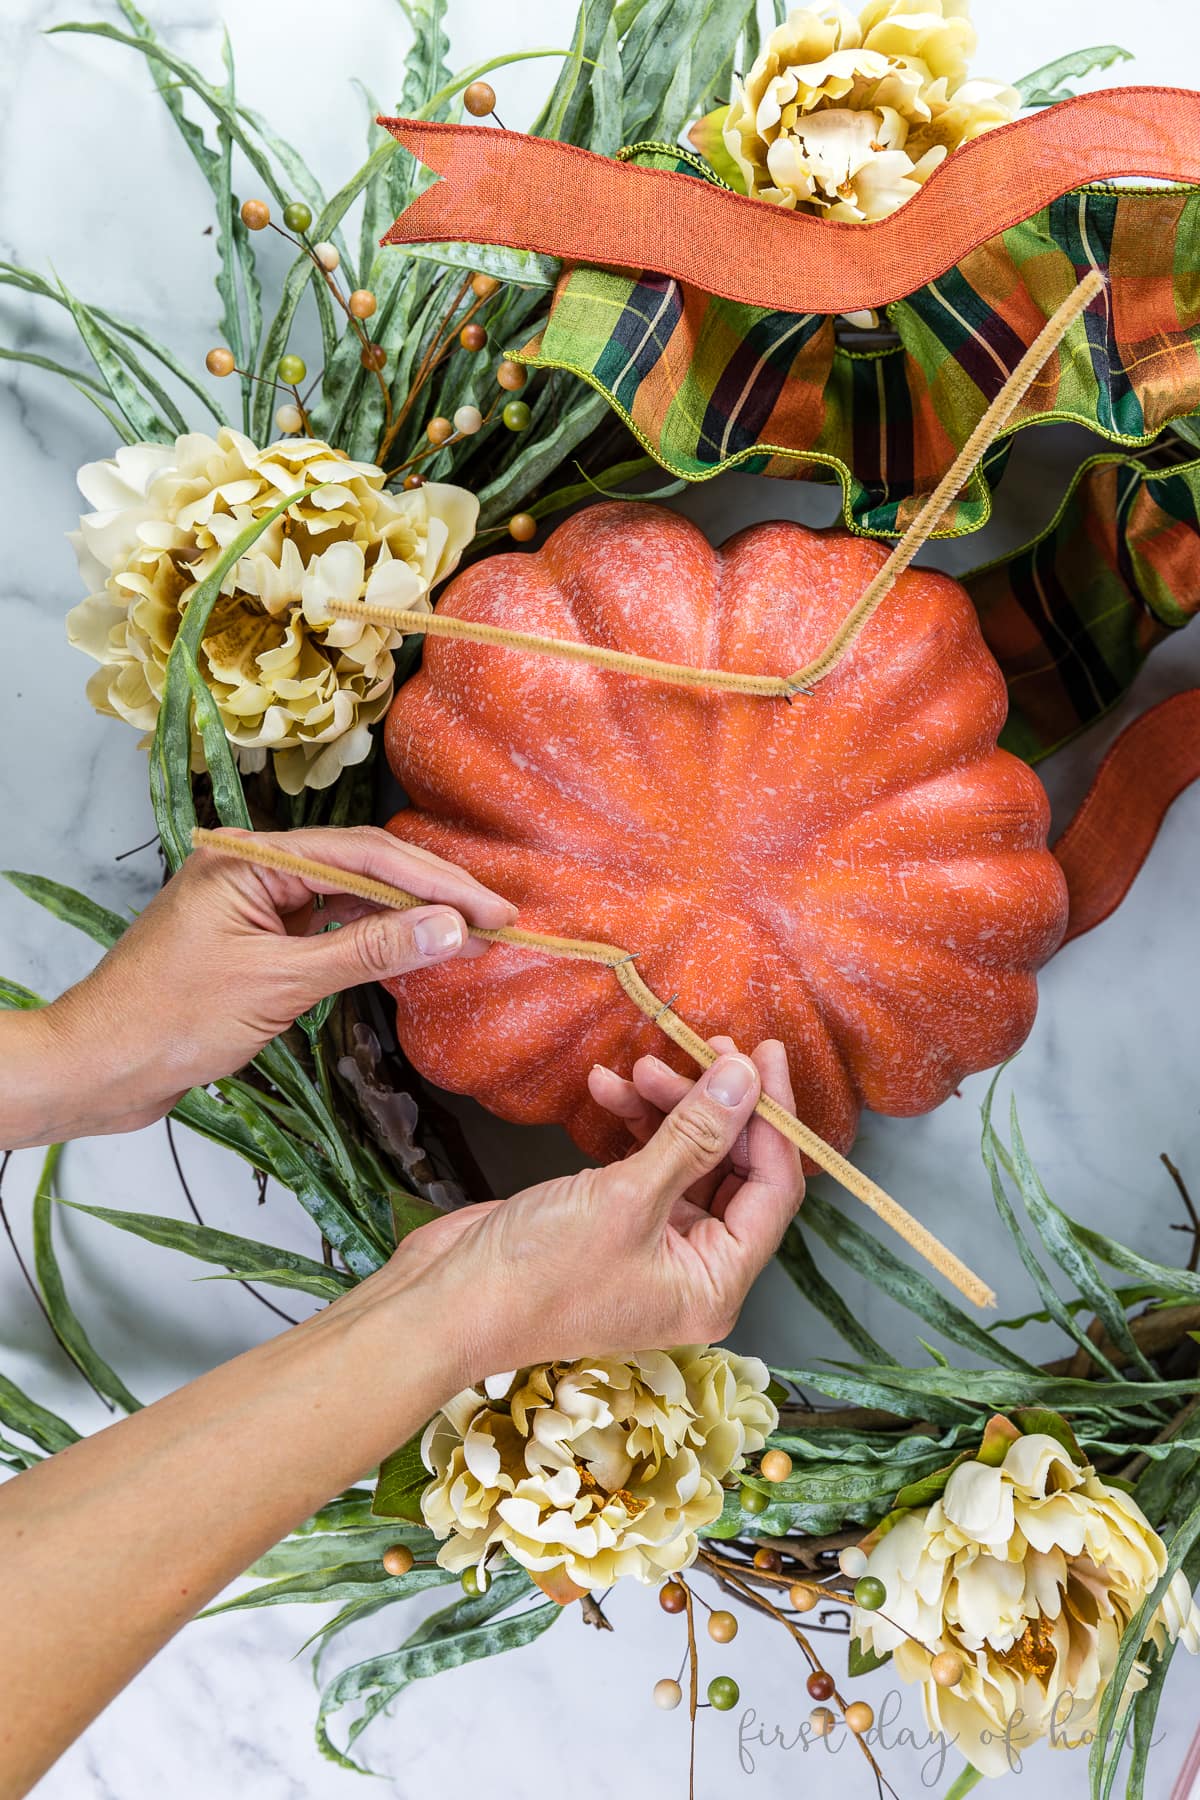
The best way to attach a large pumpkin to a wreath is by using a heavy-duty staple gun and several pipe cleaners. If you go this route, you’ll definitely want to be generous with the staples to make sure they don’t fall out.
Before you attach the staples, it’s helpful to hang your wreath and mark the spots where you think the pumpkin will need to be attached. I marked one spot near the top of the pumpkin and one spot near the bottom for two points of contact.
Wreath-hanging Tip
To hang your wreath, you can attach a pipe cleaner to the top of your wreath to form a loop. Often, it’s helpful to attach this loop once most of the florals are attached but before placing the ribbon.
Step 5: Attach the accent ribbons
To form a relaxed bow, simply loop your two ribbons together 3-4 times using a pipe cleaner to tie them together. Leave two long tails on each end.
You can secure the tails to the wreath using more pipe cleaners, or you can let them hang naturally. I felt that attaching them to the wreath looked better considering all of the wispy pieces sticking out with the greenery already.
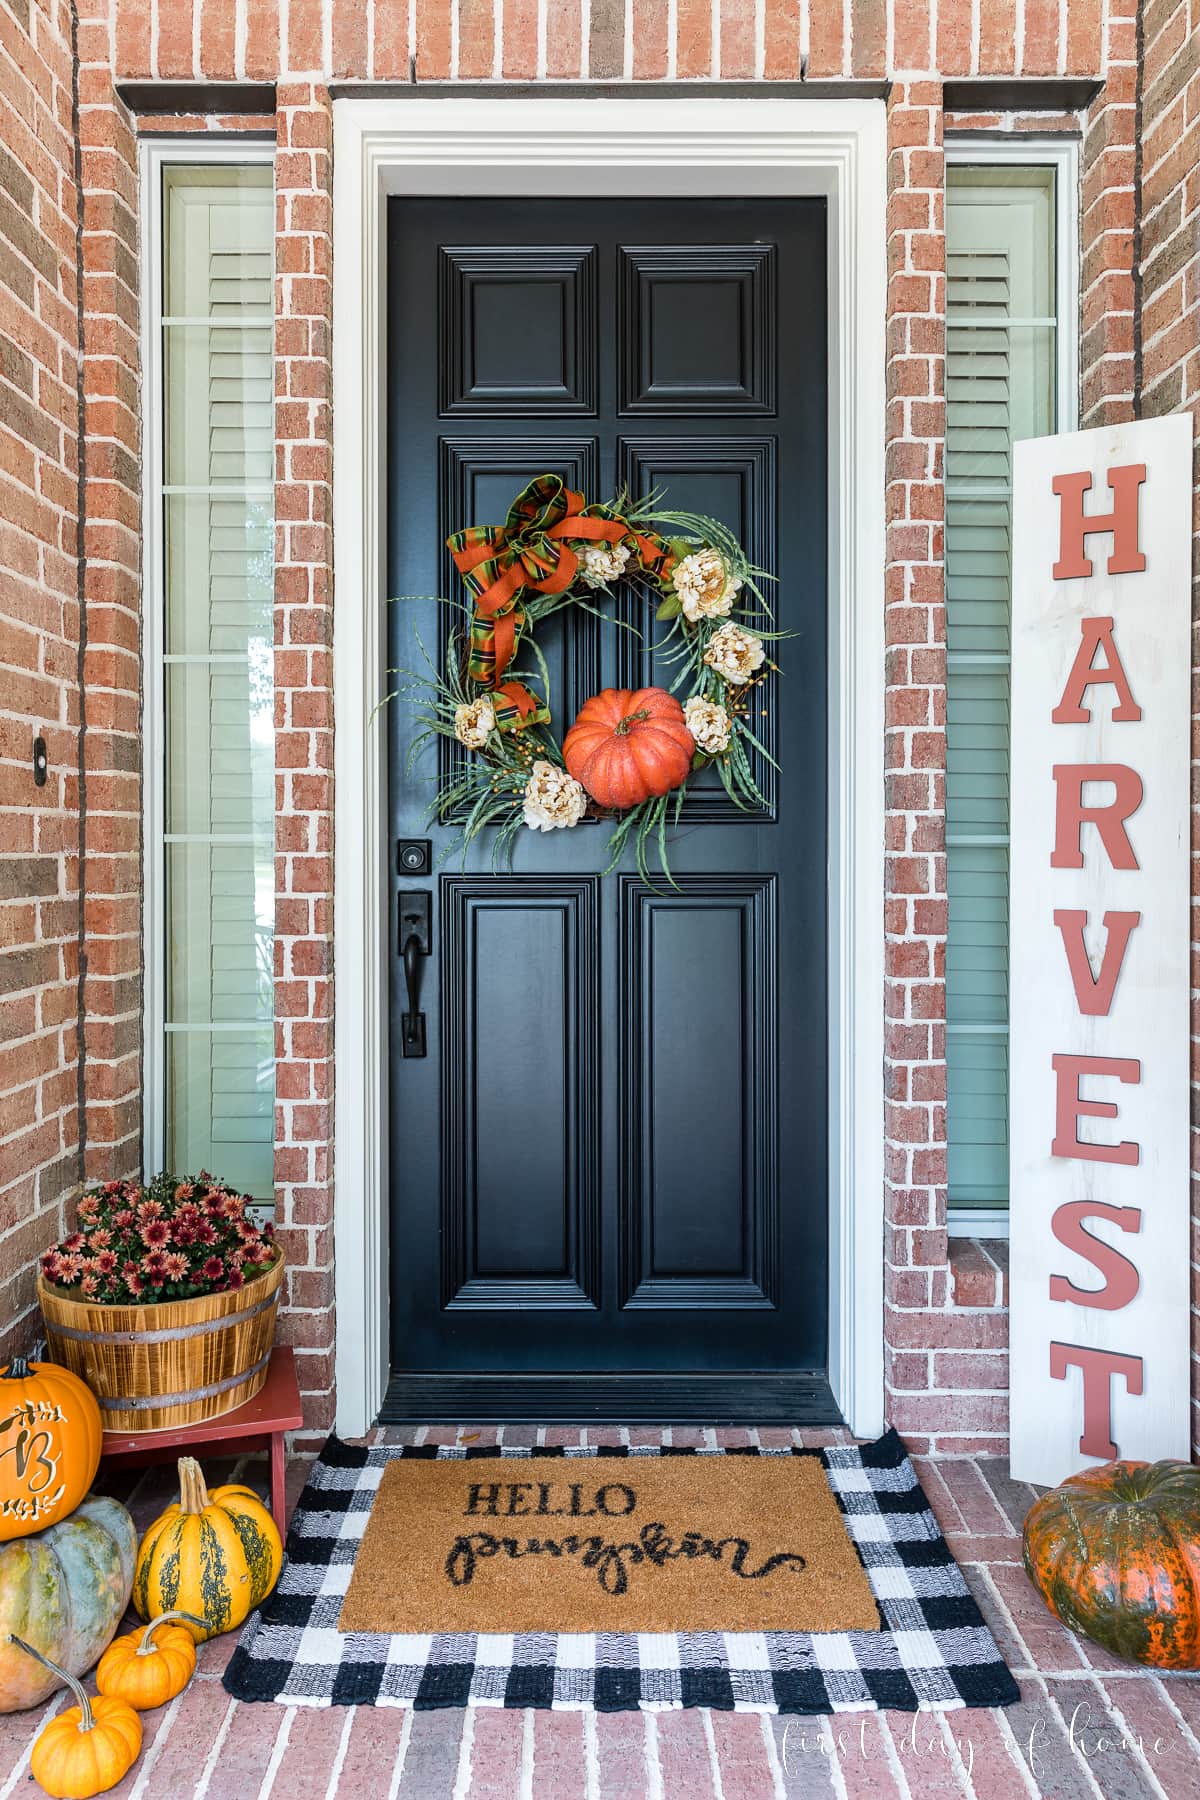
This was a fun and QUICK project to add charm to my front porch and welcome guests for fall. If burlap is more your style, you can also check out my Halloween rag wreath. It’s a budget-friendly spin on a beautiful fall wreath I saw at Williams-Sonoma.
Below you’ll find more inspiration for fall decorations and crafts. Then once you’re ready to transition into Christmas, check out my DIY winter wreath with real greenery.
Don’t forget to pin this project on Pinterest. You can also share your creations with me on Instagram!
Shop this Post

Pin it for later!


Love this wreath Crissy! Simple is my kind of project! Pinned 🙂
Thank you, Cindy! Yes, I need more simple DIYs in my life! Thanks for pinning too.
Hi! Your fall wreath looks amazing! I hope you enjoy a wonderful fall with your family!
Thanks, Lauren! Same to you and your family, my friend!
I love the design you created. it’s a great and elegant project.
I’ve been looking for information on this topic, and this article delivered perfectly.
Thanks, Lori. I’m glad it was helpful!
So beautiful! I love this easy and elegant project.
Thanks, Renae! It really is so easy to put together. That’s my favorite kind of project.
Adorable, Crissy!! Super clever to use the larger pumpkin for a focal point. Thanks for letting me add this one to my round-up, I love your style.
Thanks, Jennifer! I’m thrilled to be included. Thanks for the kind words too. I look forward to seeing the post. Love your style too!
What a fun wreath! You’ve inspired me! I think I have all the supplies (minus that cute ribbon) to put one together. My front entrance is as narrow as yours and you always create great designs to fit it! I’m looking forward to your other works to come!
Thanks, Jan! I’m so glad you’re getting inspired to make one of your own. That’s the best compliment. Have fun with it! I’m adding a video soon as well, in case it helps.