How to Make a Burlap Wreath for Valentine’s Day
Have you seen those frilly, romantic burlap wreaths and wondered how in the world people make them? Mystery solved! Today, I’m sharing a quick and easy beginner tutorial on how to make a burlap wreath for Valentine’s Day (or any other holiday).
This post contains affiliate links, and I will be compensated if you make a purchase after clicking on my links. For more information, please see my disclosures.
DIY Burlap Wreath Tutorial
I recently shared a step-by-step video showing exactly how to make this type of wreath for Valentine’s Day…
If you need to make a wreath for a different holiday, stick around! I’ll tell you more about customizing your wreath so you can use it all year round in your home decor.
By the way, if you don’t want to miss more fun craft ideas, DIY projects, and easy recipes, click below!
How to Make a Burlap Wreath
Wreath Supplies
- Wire wreath frame
- Roll of burlap ribbon
- Accent ribbon
- Floral wire
Banner/bunting Supplies:
- Cardstock
- Jute string
- Cameo or Cricut cutting machine
Steps for Making a Burlap Wreath
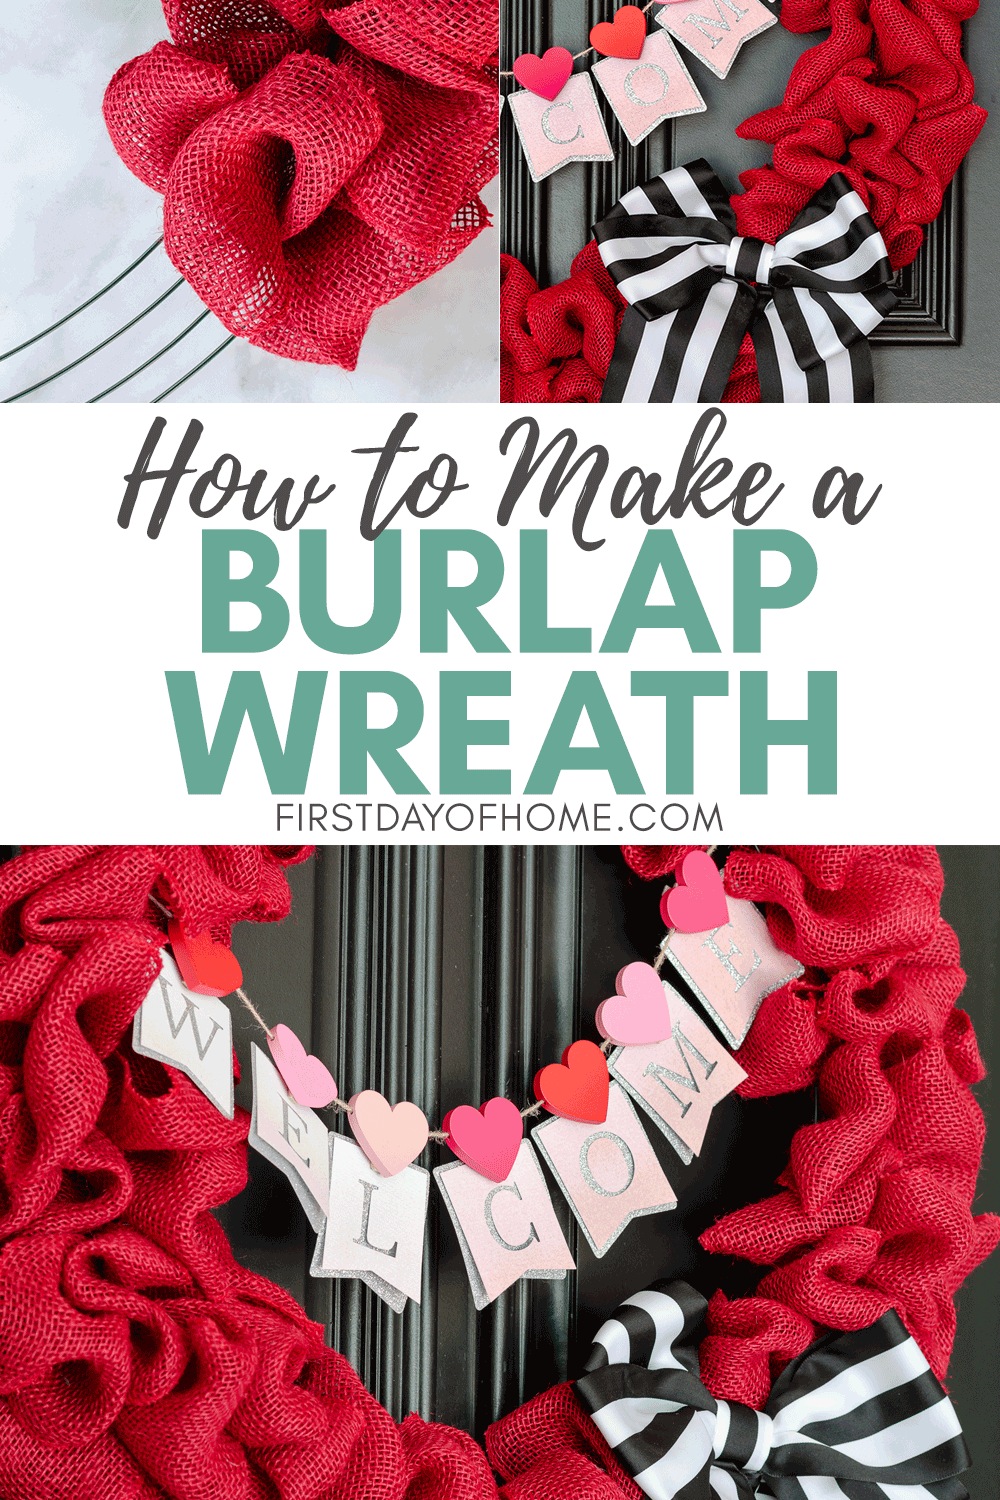
- Start by folding one end of the burlap ribbon in half twice. Then, attach it to the wreath form with floral wire or pipe cleaner.
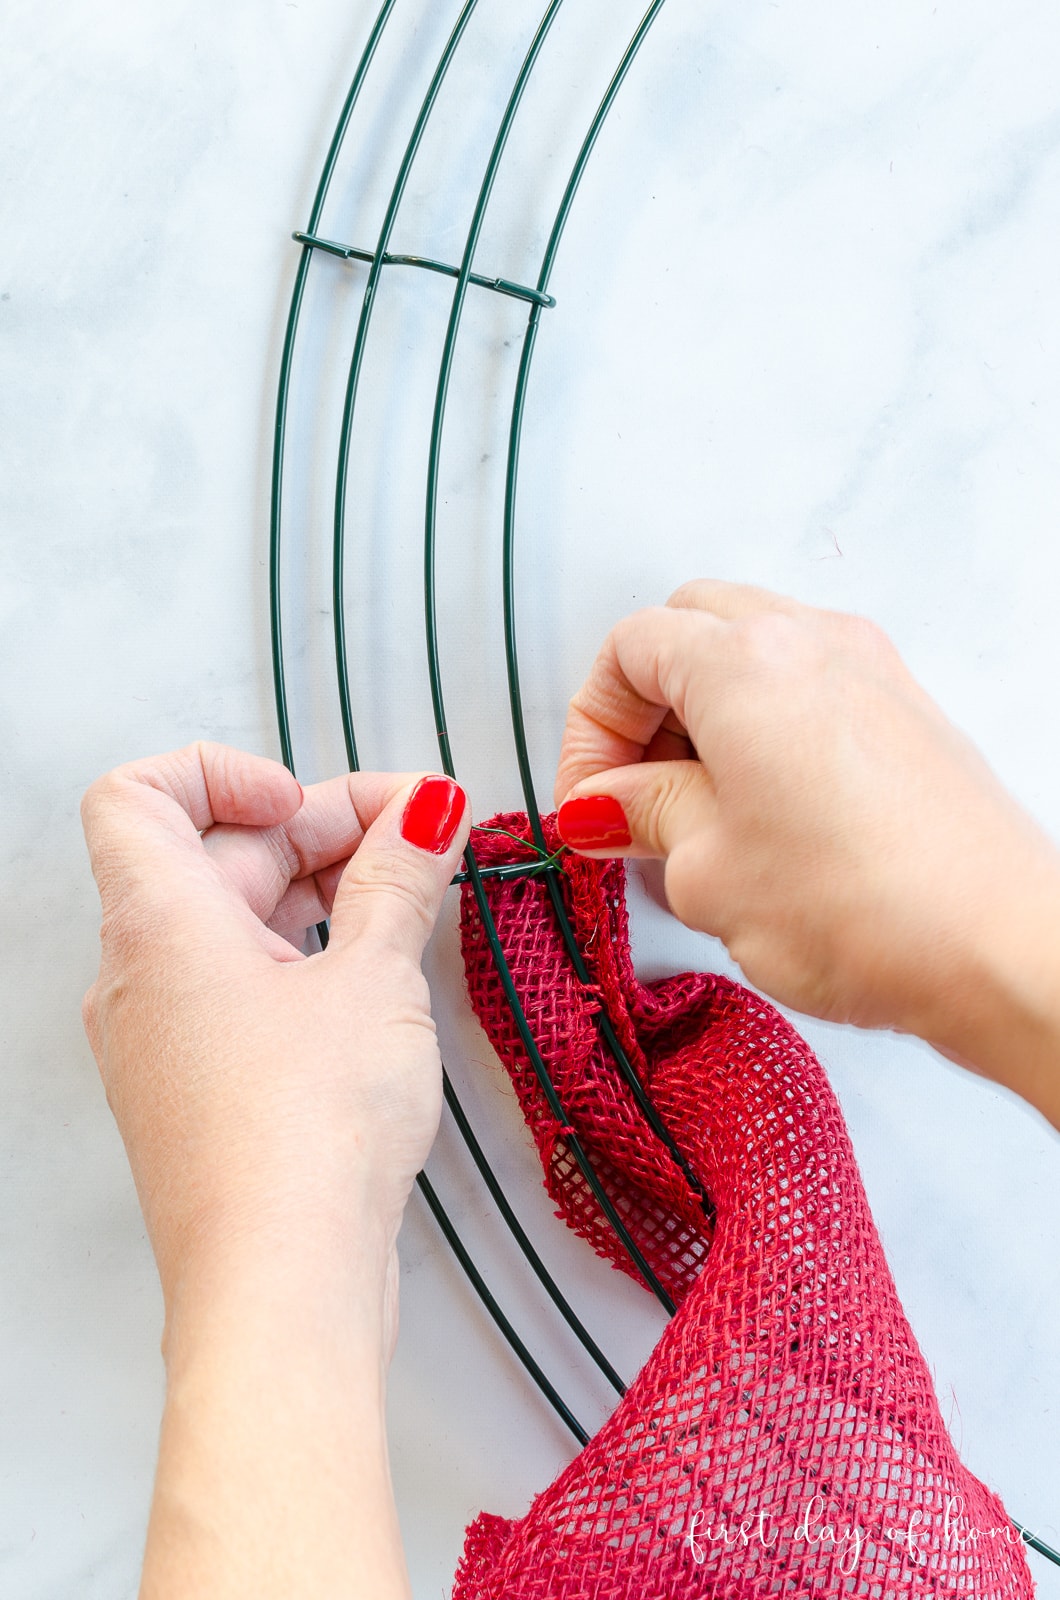
2. Form three loops of equal size beginning with the innermost ring of the wreath frame.
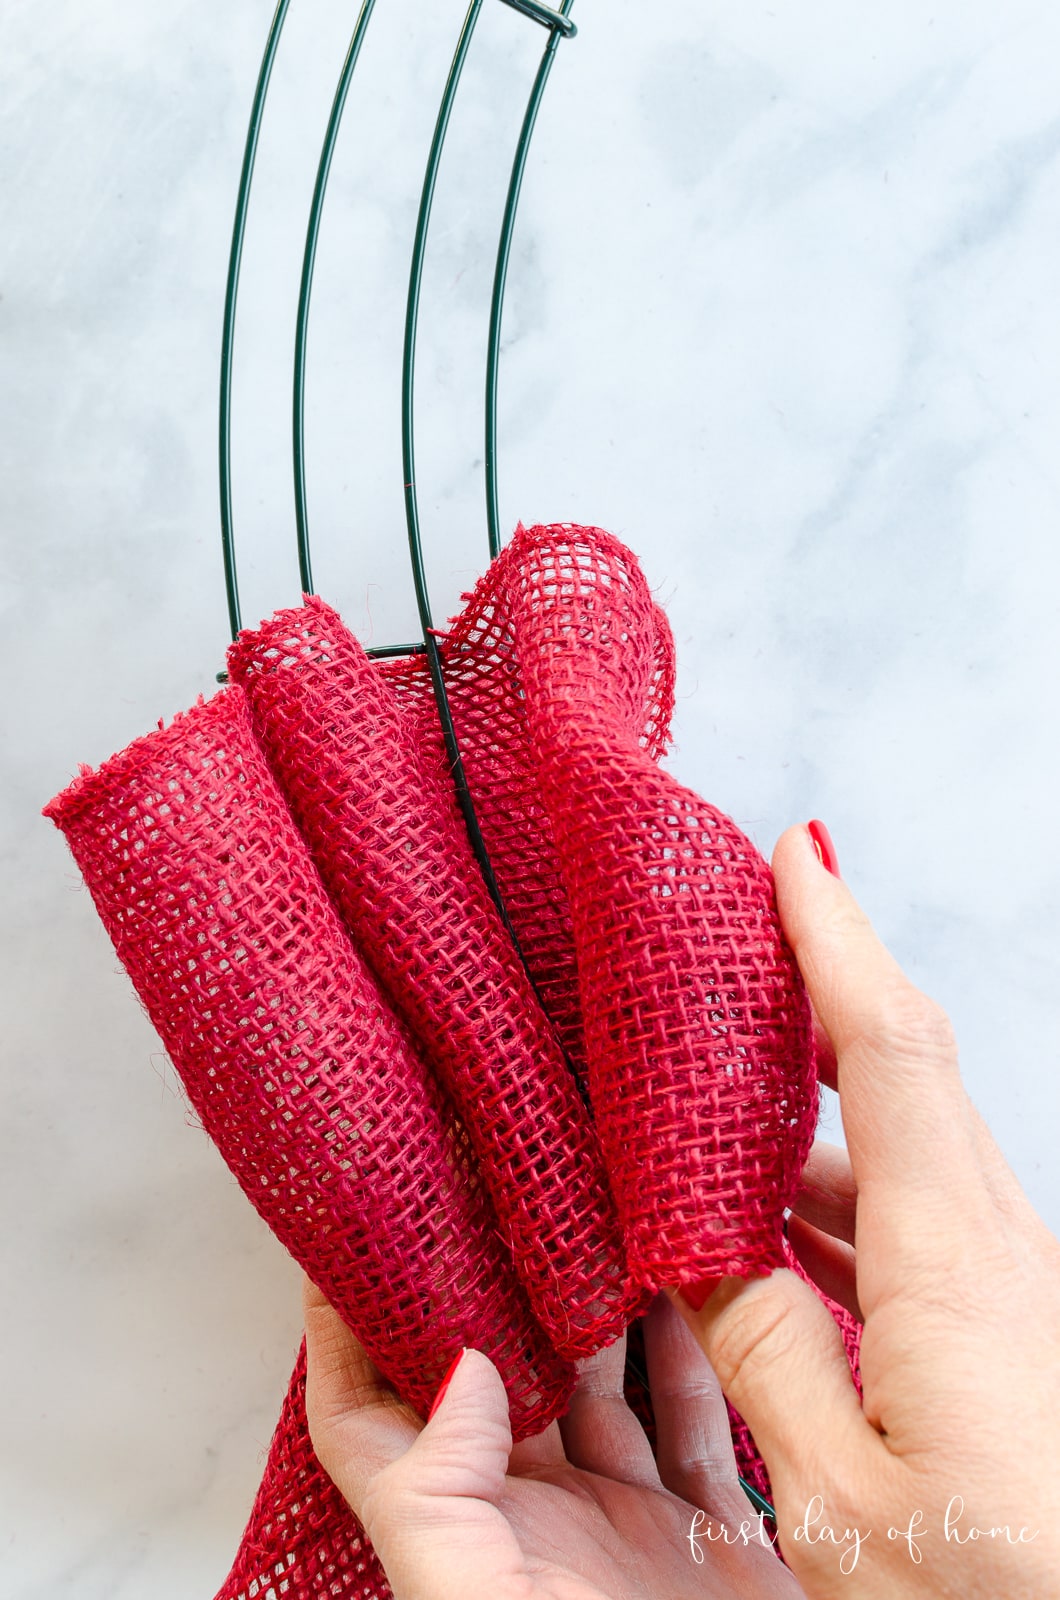
3. Scrunch up the loops and push toward one of the vertical bars of the wreath frame. Then twist the ribbon roll twice counter-clockwise (on the back side of the frame) and repeat step 2.
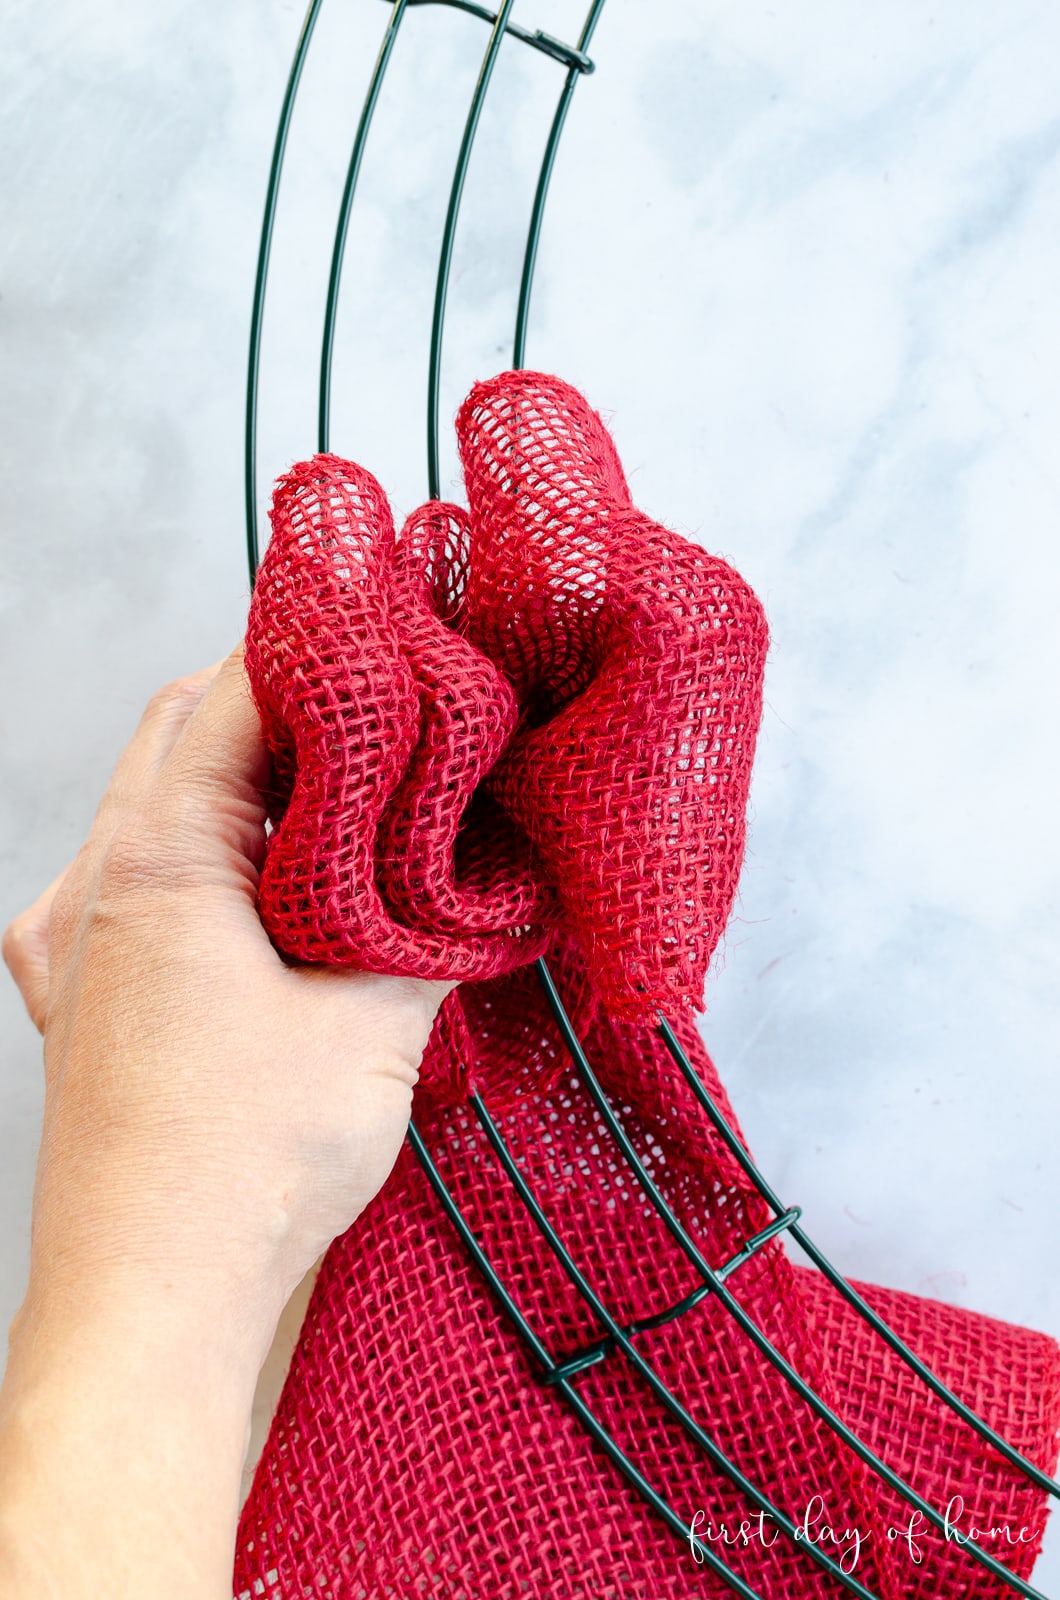
Note: Always begin with the innermost ring and work your way outward.
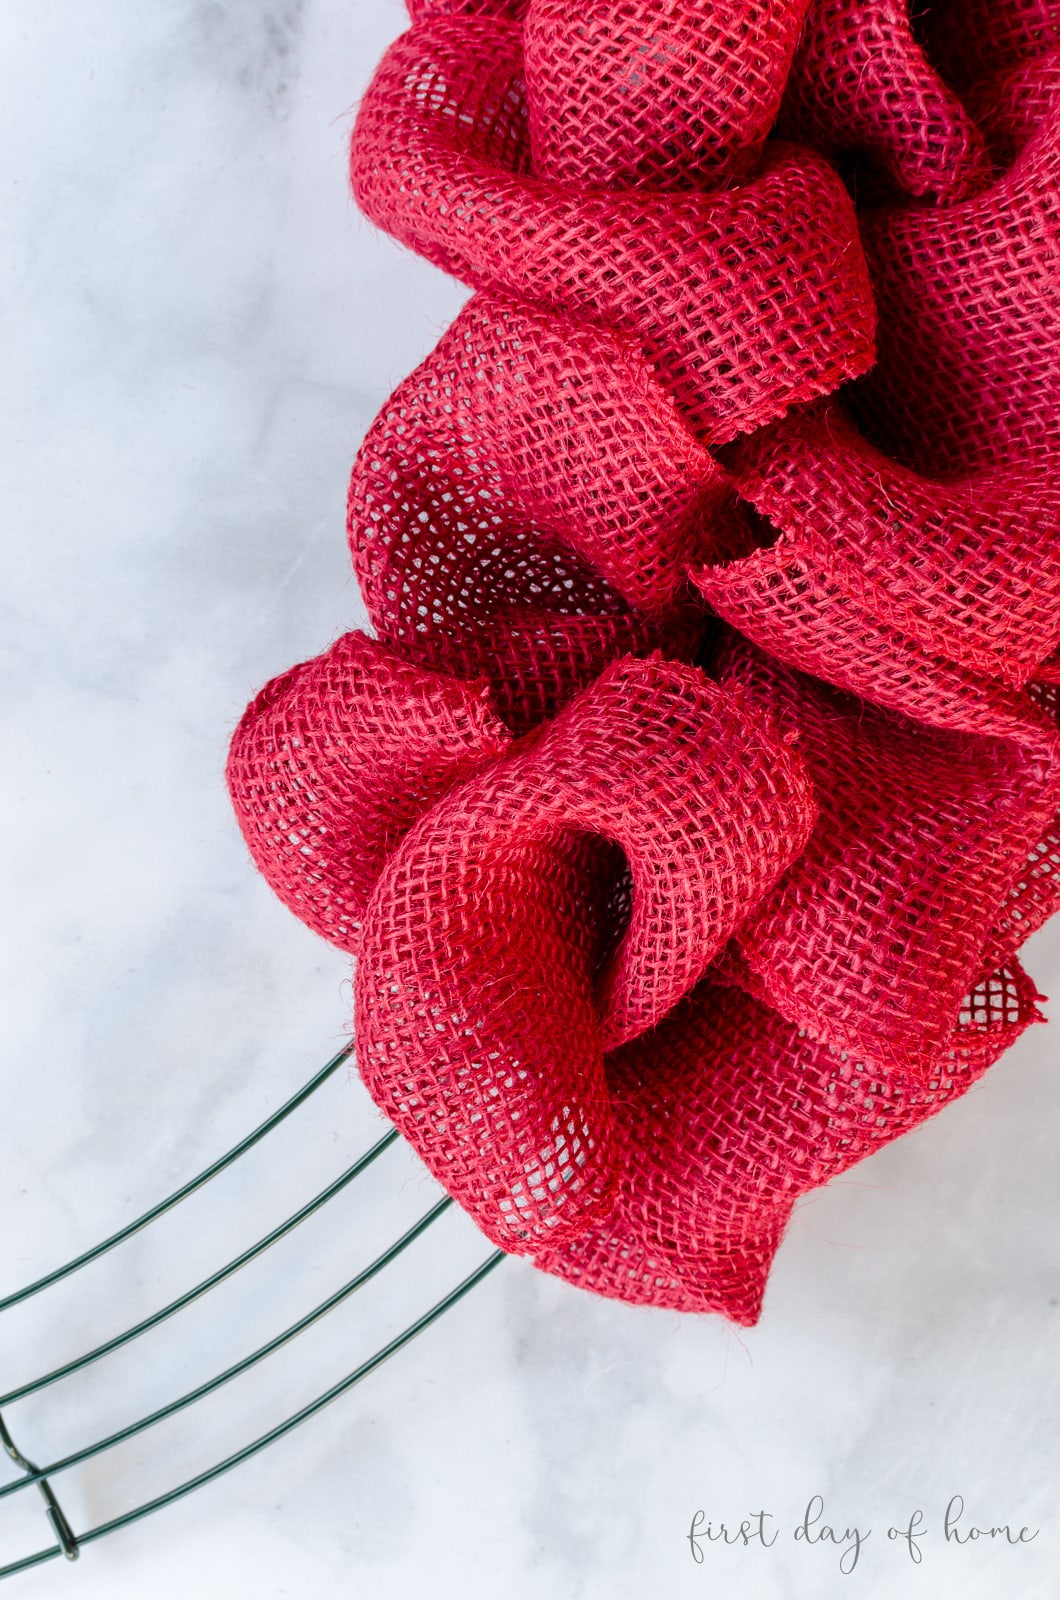
To finish off your wreath, simply trim off any excess ribbon and attach the end of the ribbon to the frame like you did in Step 1.

DIY Rag Wreath Option
If you want another burlap wreath option, try making this multi-colored rag wreath.
I’ll walk you through all the steps and supplies you’ll need. Customize it for any season!
Customizing Your Wreath
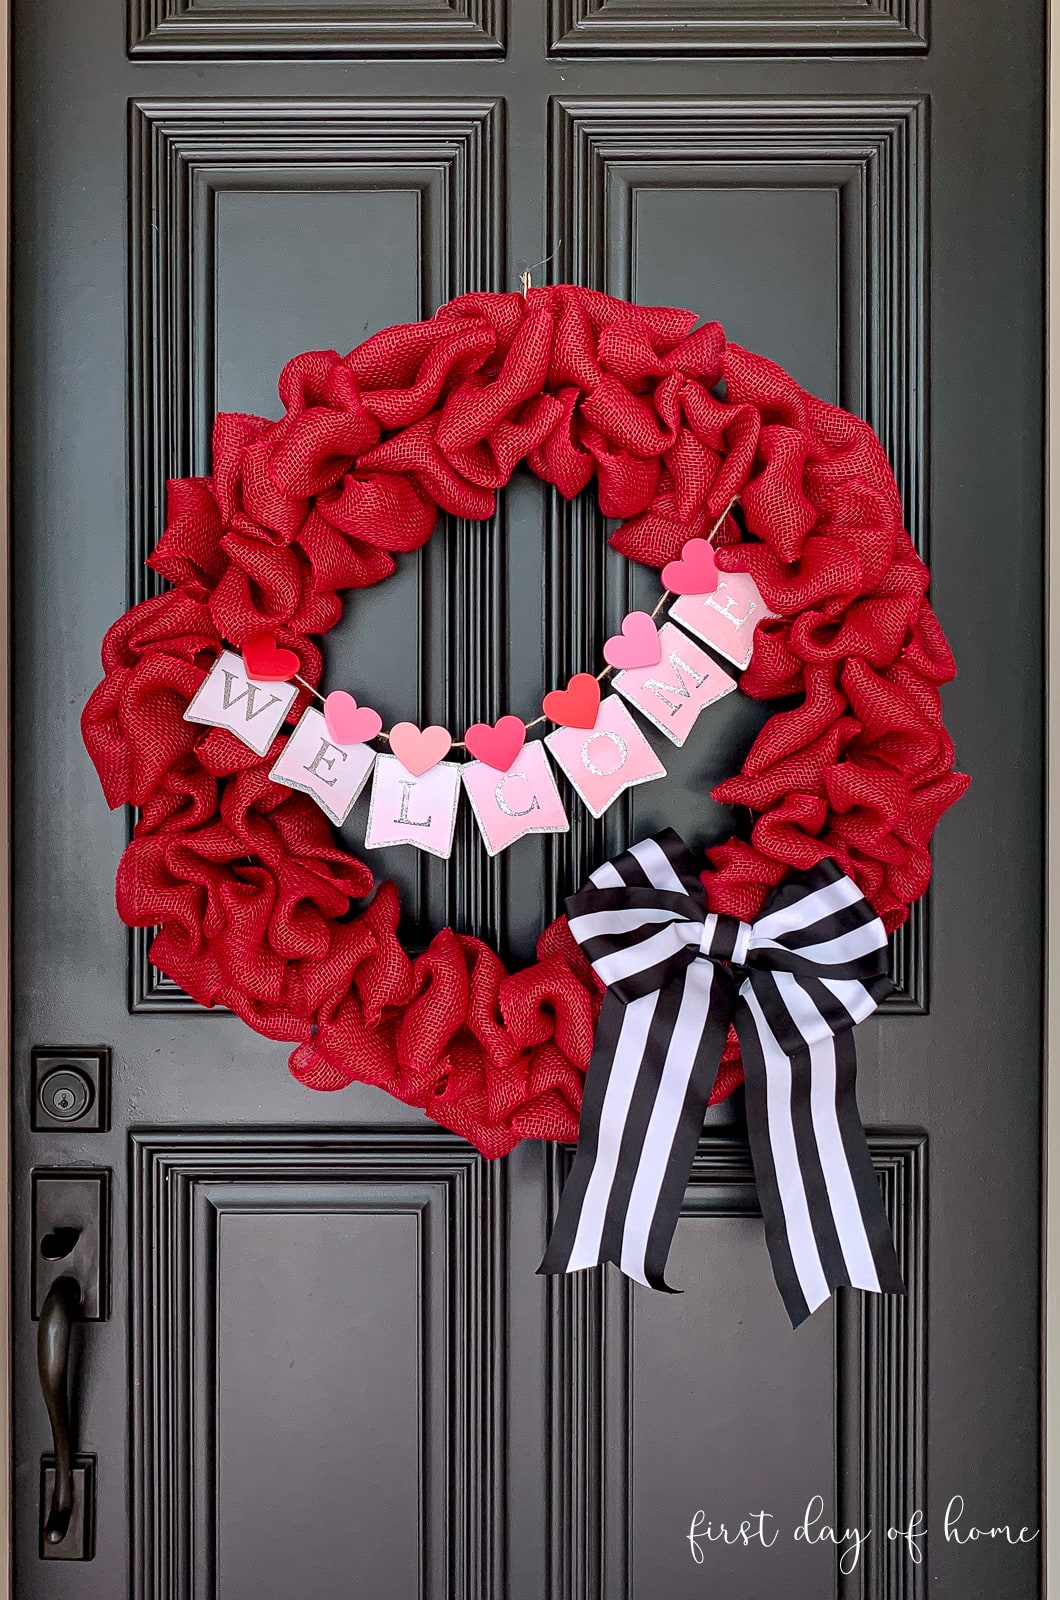
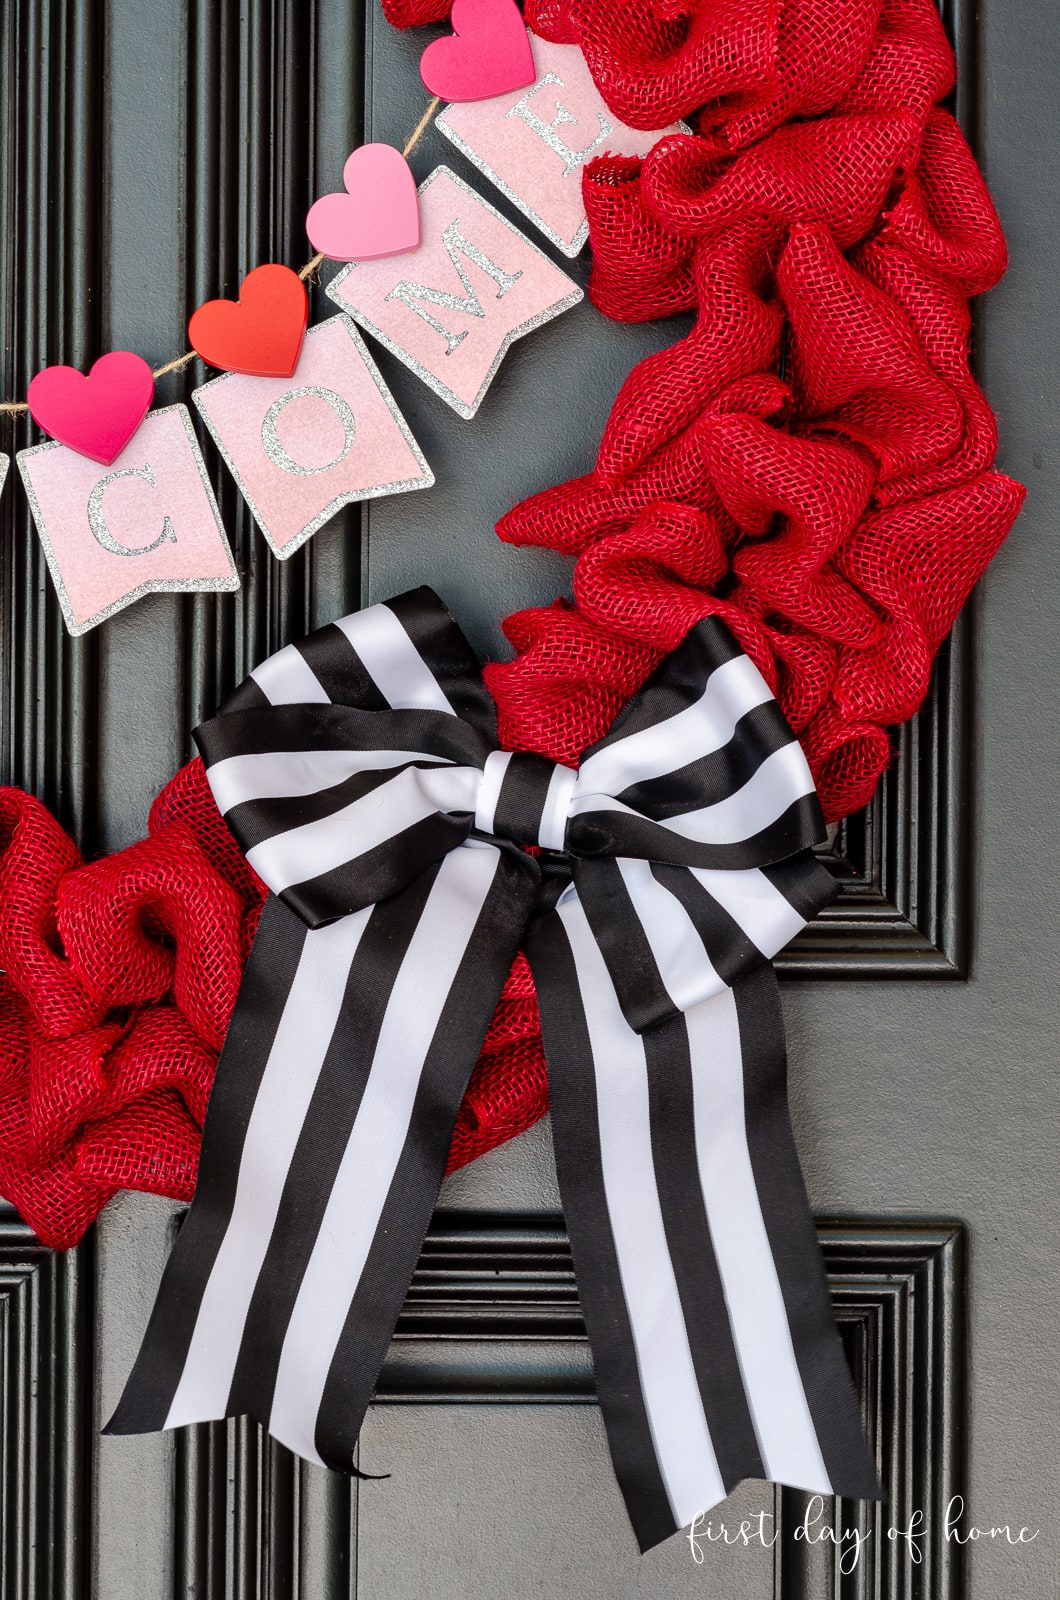
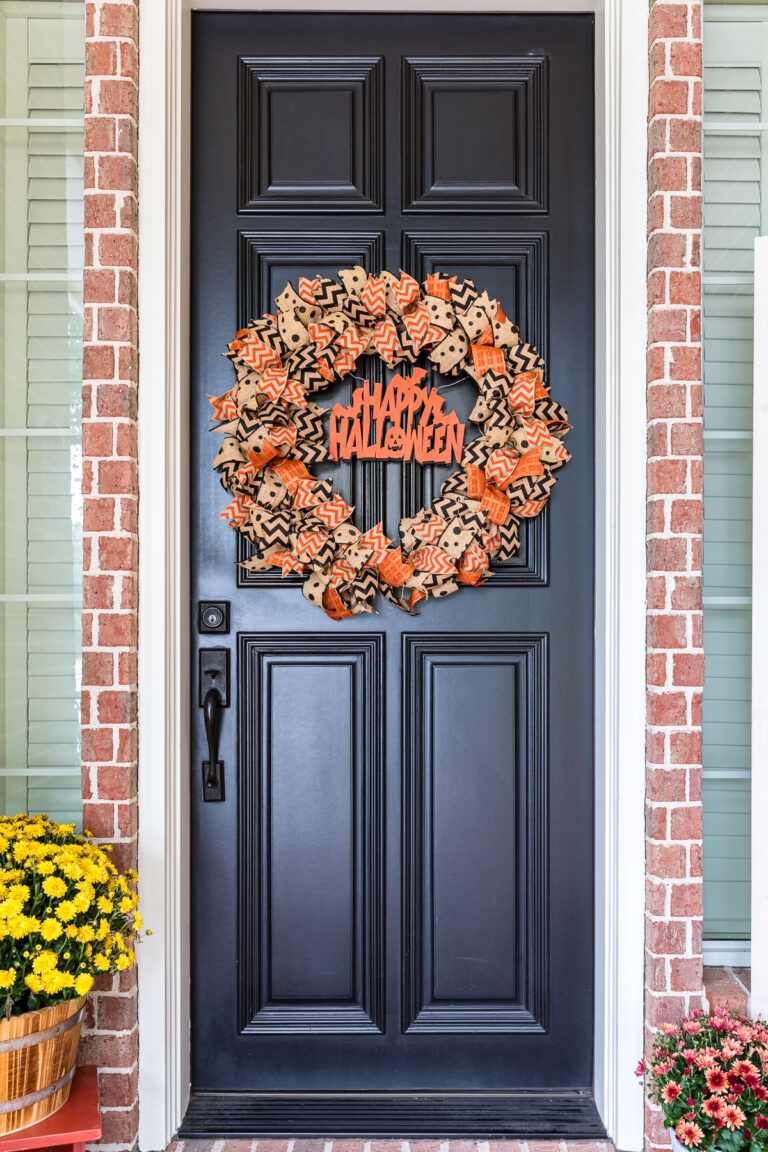
To jazz up my wreath for Valentine’s Day, I decided to add an accent bow and a sweet pennant banner. I love the way the wreath pops against my black front door.
If you’re interested, I have the full details of how to make this bow in my YouTube video above.
You can also keep scrolling for a printable version of this DIY wreath tutorial.

To create the same “Welcome” banner and download a free SVG or PDF file, simply fill out the form below:
Tips on Making Your Burlap Wreath
- After you finish attaching the burlap ribbon, remember to create a “hook” on the wreath form. Alternatively, you can hang your wreath with a piece of ribbon over the burlap.
- Don’t skimp on the burlap. I used three rolls of wide burlap ribbon for a total of about 45 feet on my large wire wreath frame.
- If you have trouble keeping the burlap placed where you want it, try hot-gluing pieces to the wire wreath frame.
More Burlap Wreath Ideas
As I show in my video, there are countless ways to decorate your wreath throughout the year. You can attach different ribbons to the wreath to match any occasion.
Think of it as vanilla ice cream waiting for some hot fudge or sprinkles!
That’s why I love these solid-color burlap wreaths so much!
How about these options?
- July 4th or Veteran’s Day wreath with patriotic ribbon
- Burlap sunflower wreath
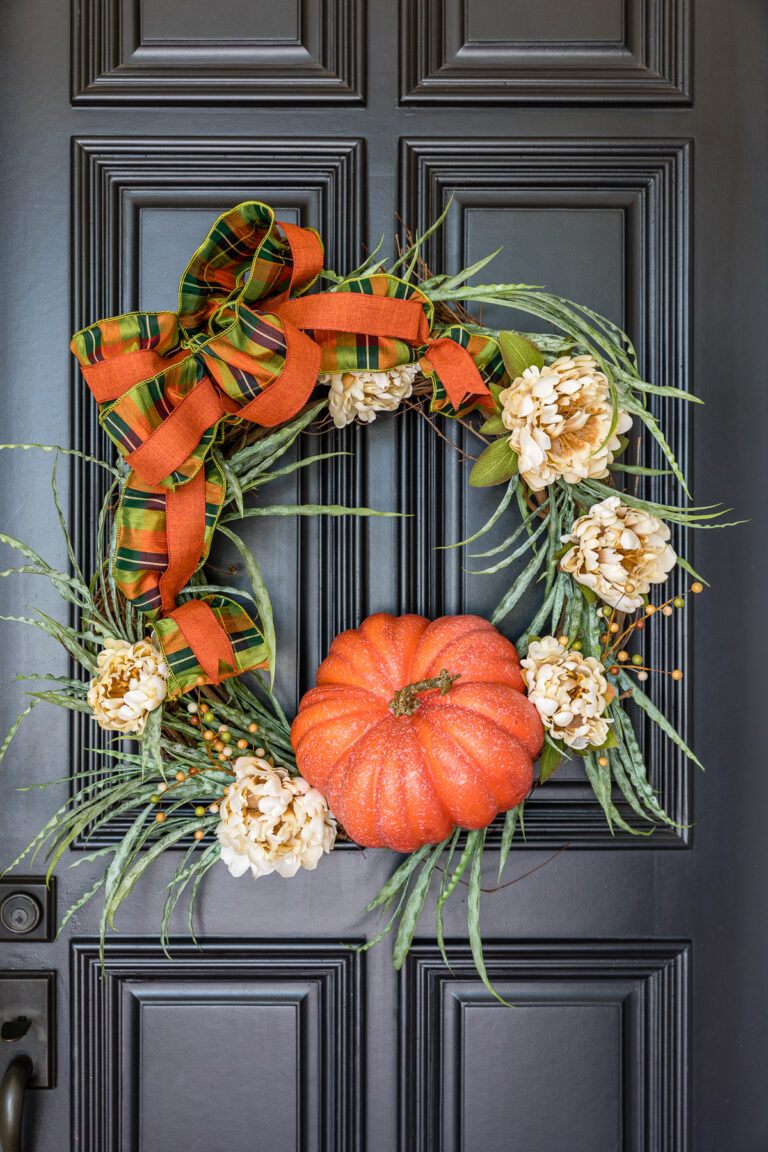
- Fall wreath with orange burlap, pumpkins, and gourds
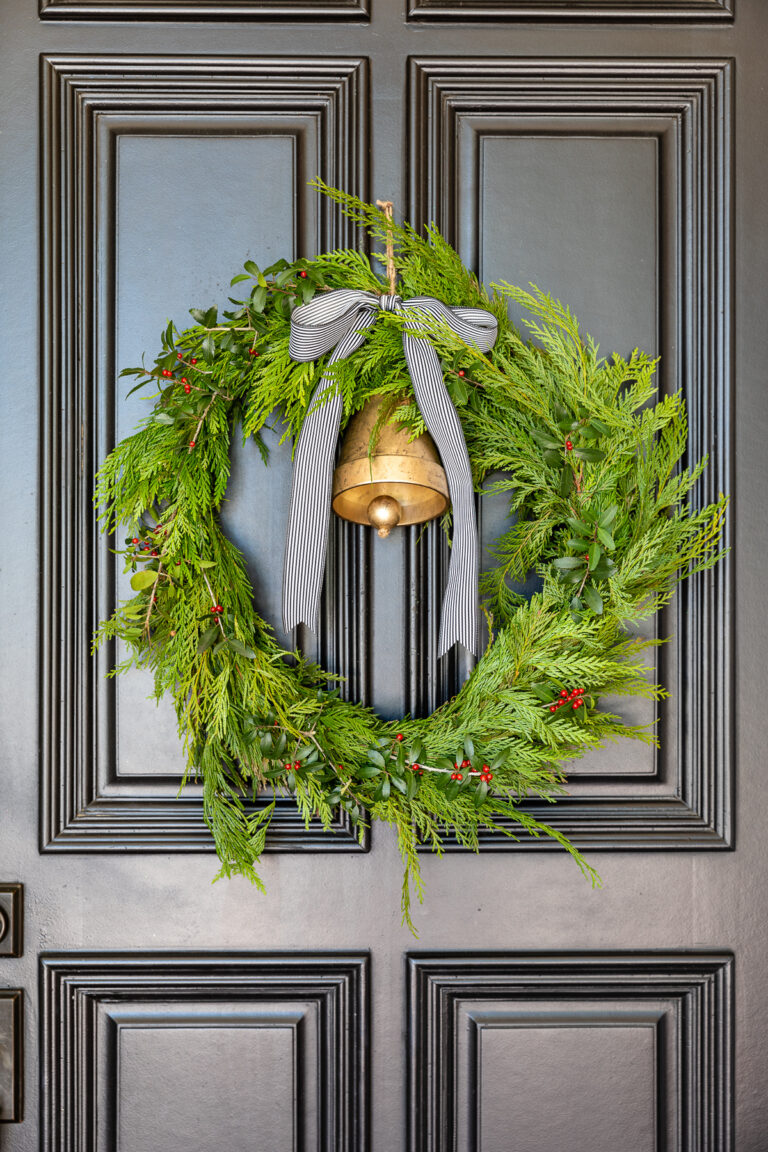
- Christmas wreath with ornaments
Pin it for later!
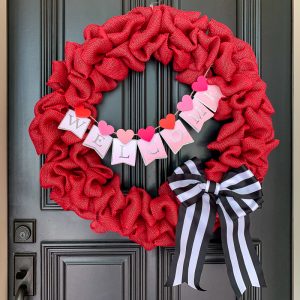
How to Make a Burlap Wreath – Valentine’s Day Craft
Equipment
Instructions
- Begin by folding one end of the burlap ribbon in half, then in half again.
- Attach the end of burlap ribbon to the innermost ring of the wreath frame using floral wire and push the ribbon edge counter-clockwise until it meets a vertical bar.
- Pull the ribbon through the first section of the frame to form a loop, then repeat in the middle and outer sections to form three equal loops.
- Once you reach the outermost ring, twist the ribbon twice counter-clockwise and "scrunch" the loops toward the vertical bar of the wreath frame. Then repeat step 3.
- If you run out of ribbon, simply begin with a new roll wherever you stopped.
- Once the entire wreath is full, cut any remaining ribbon off and attach the end to the wreath form as in steps 1-2.
- To create a banner/bunting for your wreath, simply download the SVG (for Cricut/Cameo) or JPEG files on my website at firstdayofhome.com. Use hot glue or clips to attach it to jute twine to hang.
More DIY Wreath Tutorials
If you’re looking for inspiration for other seasons, try the tutorials below!
Enjoy making your wreath, and leave a comment below letting me know how you plan to customize yours! You can also tag me on Instagram to share your creations!
You Might Also Like…
I have wanted to make one of these wreaths for a while. FINALLY someone explained the steps clearly enough!! Thank you! The “sewing” of the ends of the burlap makes all the difference!
I’m so glad this was helpful for you! It’s really not hard to make once you get the hang of it. I love how you can customize it for any holiday, too. Have fun making your own! -Crissy
Thank you for sharing this project at Create, Bake, Grow & Gather this week. I’ve pinned it to our party board.
Hugs ~ Kerryanne
That’s very kind, Kerryanne. Thank you! I hope you have a lovely week! Hugs, Crissy
Your Valentine wreath is so pretty, Crissy! I love the bold black & white ribbon against the bright red. The two cute banners are the icing on the cake! Pinned
Thanks, Marie! I struggled to find the right ribbon for this one, but I did fall in love with the black and white. I’m glad you like it. Thanks for pinning!