Easy DIY Winter Wreath with Bells
I’ve finally found the easiest way to make a fresh wreath without foraging in the woods! This DIY winter wreath looks naturally beautiful and doesn’t take long to make. I’m also sharing a hack to make DIY Christmas bells using an item found at your local garden center.

This post contains affiliate links, and I will be compensated if you make a purchase after clicking on my links. For more information, please see my disclosures.
I’m a fan of winter decorations that make it all the way through the Christmas season and into January. My winter mantel decor keeps me cozy all season long, and this DIY holiday wreath is a great new addition.
With a simple painted bell and farmhouse ribbon, this wreath looks great on a front door, above a Christmas mantel, or hanging on a cabinet. Plus the gardener in me just loves repurposing everyday supplies as decor. You’ll see what I mean in a moment.
Supplies for DIY Winter Wreath

For fresh greenery, check your local nursery to see if it sells garland by the foot. About four feet of garland is perfect for this DIY project. You can often find natural berry stems growing locally or use faux stems if you prefer.
How-To Video (1 minute watch time)
Watch this quick video to see a step-by-step tutorial for this DIY wreath.
How to Make a Winter Wreath with Bells
I chose fresh greenery for my wreath, but you could easily substitute a faux wreath or stems. Check out my tutorial for a DIY Christmas wreath to see a version with faux floral picks and mercury glass ornaments.
The main consideration in using natural greenery is that you’ll need to keep it cool and spritz it with water every 2-3 days. This spray can help to keep your Christmas greenery (including real trees) looking fresh.
NO TIME FOR FRESH GREENERY?
DIY Christmas Wreath: Faux Version
Make this DIY budget-friendly wreath inspired by high-end brands like Pottery Barn. Use faux branches and mercury glass ornaments for the win!
1. Create the wreath form
If you’re using fresh garland, you’ll simply attach the ends of the garland using floral wire. Overlap the ends together to create a circular shape. Then gently wrap about 2 feet of wire around the overlapping section. You can twist each end of the wire on the back of the wreath to hold it in place (like a twist tie).
The final wreath diameter will be approximately 18-20 inches if using 4 feet of garland
If you choose to use a wire wreath form, you can attach your greenery around the form using floral wire or chenille stems. Layer on 2-3 stems at a time, attach them to the wreath and then continue overlapping bunches of stems in a spiral pattern. The same process of bundling can be used with real or faux stems.
2. Insert berry stems or other greenery (optional)
If you want to add more texture and contrast to your fresh greenery, you can insert more floral picks. I love the look of the cedar garland alone, but I decided a few berries from a local tree would look pretty for Christmas.
3. Paint DIY bells for the wreath
To create a DIY bell for this Christmas wreath, paint a terracotta flower pot and one wooden bead with 2 coats of gold paint, waiting 1 hour in between coats. Make sure you paint about 1/3 of the inside of the pot too.
I used a 4.5-inch pot, but you can use smaller pots to make multiple bells to hang.

For the perfect shimmer, I’m in love with this gold paint. I used it for my DIY bead garland, and I think it’s the best gold color on the market…not too yellow and not too orange.
Once all the paint has dried, you can add texture using a darker brownish-black paint. I combined muted gold paint and black paint to arrive at my ideal color. You can also buy this metallic brown paint to get the job done.
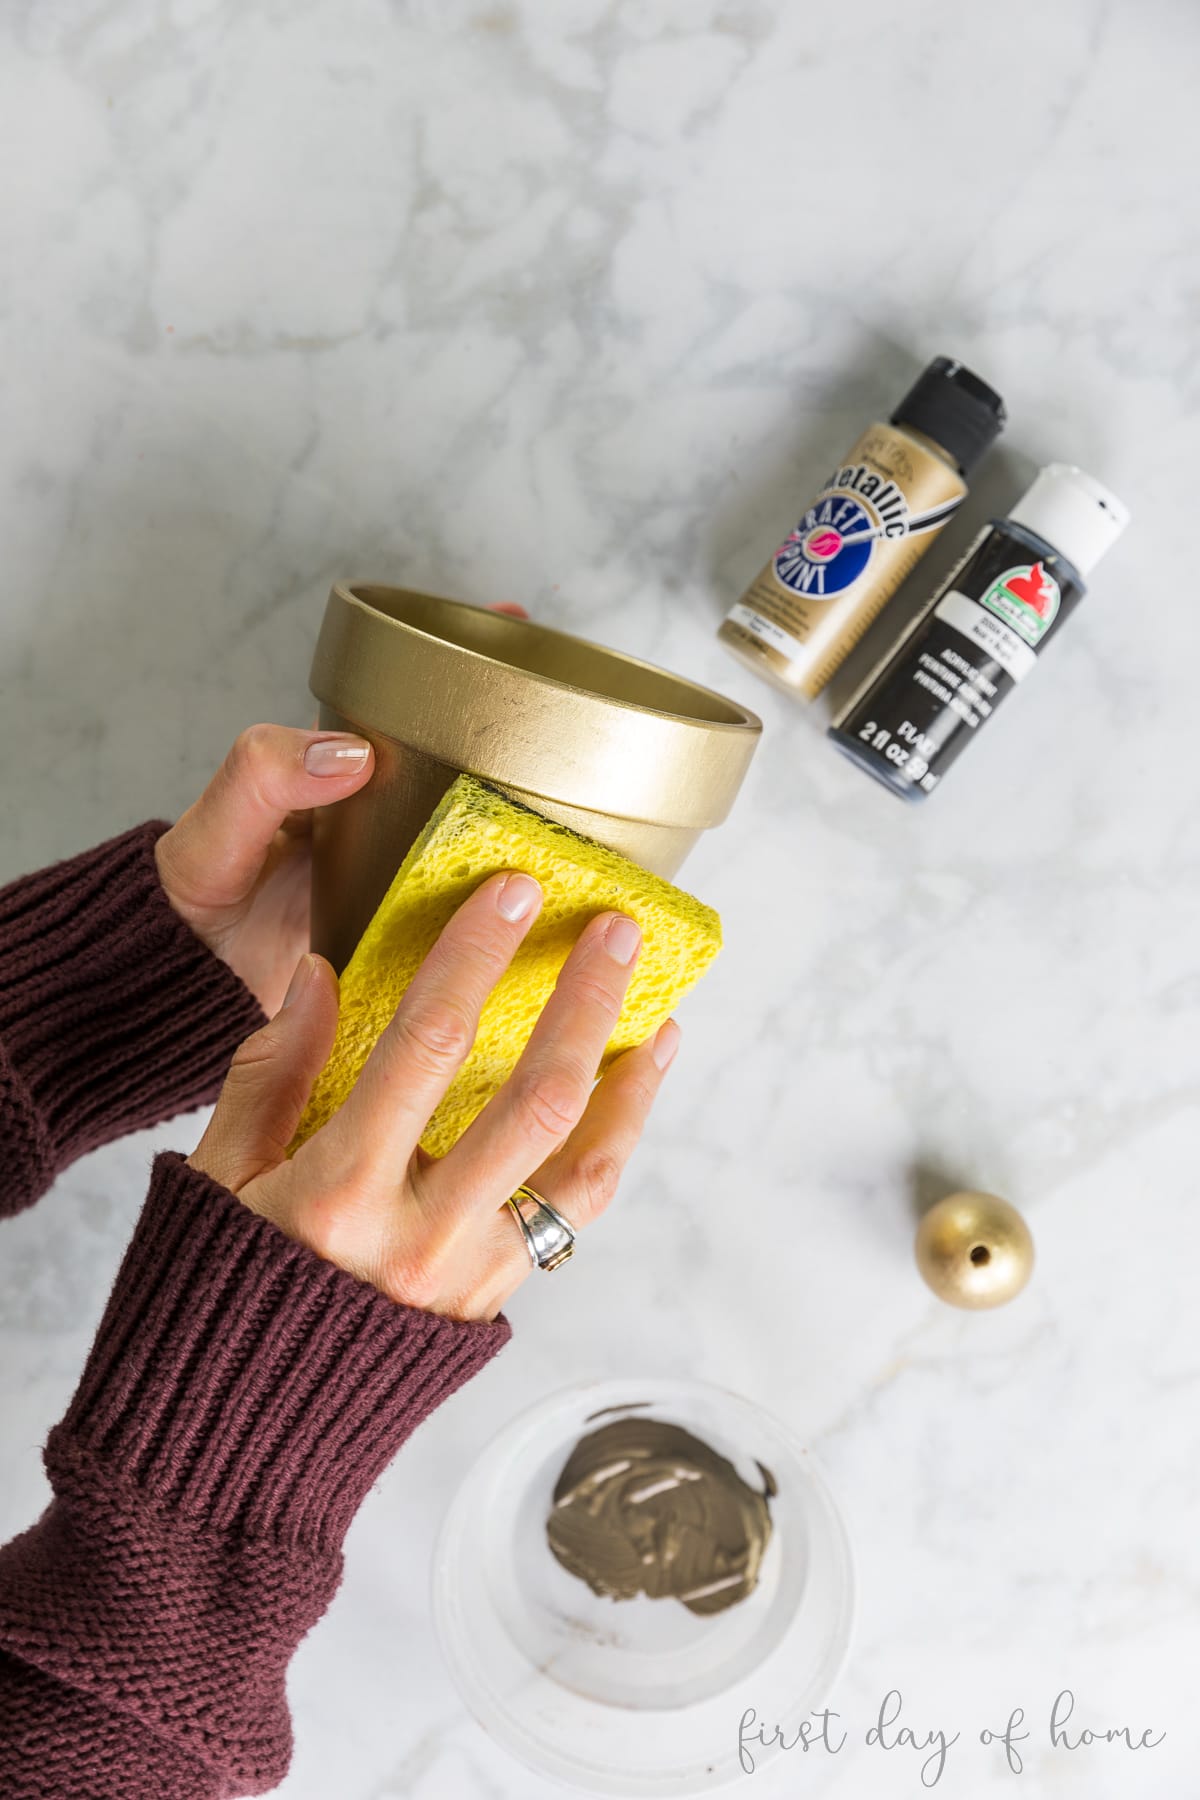
When adding texture, place a small amount of paint on the tip of a sponge. Then dab the sponge onto a paper towel until most of the paint is removed. Gently pat the sponge all over the pot and the wooden bead to create a vintage bell look.
4. Assemble the bell
To put the bell together, string two feet of jute twine through the hole in the flower pot. With about half of the string hanging inside, thread the unpainted wooden bead inside the pot, and tie off a knot to hold it in place. This will be the “stopper” to let the bell hang.

Measure the length of twine needed to hang the painted bead and have it visible when the bell is hanging. Mark the twine and tie off a knot to hold it in place. Depending on the width of your twine, you may need to tie several knots to prevent your beads from slipping through.
Cut off any excess twine once you finish assembling the DIY bell. Be sure to make another knot at the top of the twine to hang the bell on your door or wreath. (See my tips below for hanging the bell.)
Shop Christmas Bells

If you don’t have time to make your own DIY bells, you can shop some of my favorites above.
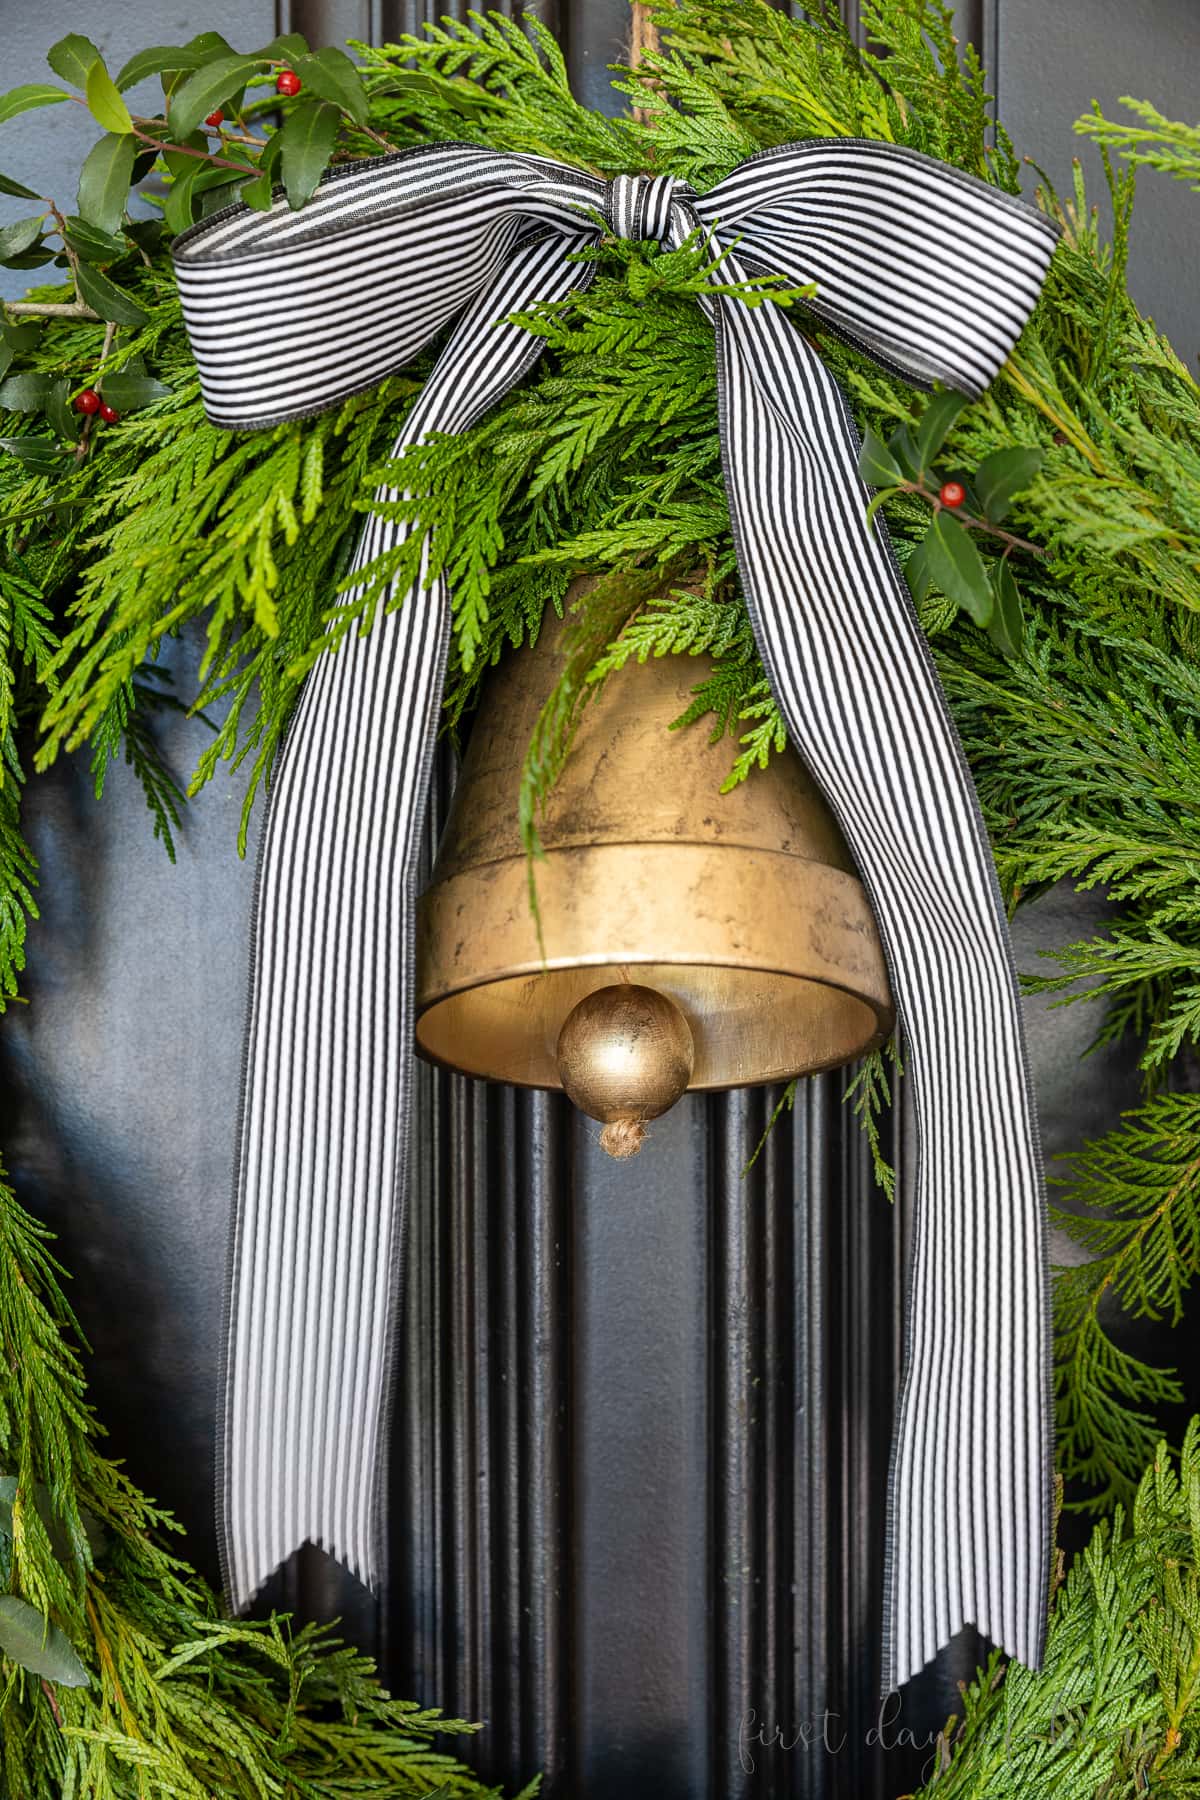
5. Add twine and ribbon to the wreath
The final step is adding twine to hang your wreath and inserting a ribbon. Using a piece of twine, create a slipknot to hang the wreath wherever it looks balanced and secure.

Insert the ribbon of your choice inside the jute twine to tie a bow on the front of the wreath. (If you need a visual, be sure to watch the 1-minute video earlier in this post.)
6. Hang the bells and wreath
You can use a strong hook or nail to hang your wreath, depending on the location. For fresh greenery, be sure to keep the wreath away from heat sources that might dry out the branches.

Tip: Rather than hanging bells from the wreath, hang them on the same hook behind the wreath. This prevents the wreath from being damaged due to the weight of the bell.
To prolong the life of your natural wreath, spritz it with water every other day or so. A well-preserved cedar or evergreen wreath will last 2-3 months depending on the conditions in the environment.

Be sure to share your finished DIY winter wreath with me! You can tag me on Instagram (@firstdayofhome) to show off your beautiful creations.
Pin it for later!


I love this project, Crissy! I am so excited to feature your post at this week’s Tuesday Turn About Link Party! Thank you so much for sharing! Happy New Year!
Thanks so much, Lynne! I’m excited to be featured at the party. Happy New Year!
Love this idea, Crissy! Such a fast project! Merry Christmas my friend!🥰
Thanks so much, Cindy! Merry Christmas to you and your family too, sweet friend!
Oh, what a creative idea. Thank you for this detailed guide. This year I also want to change the concept of crafting a Christmas wreath for myself. I really like your idea. I also love greenery more fresh than fake, dried plants but will it last until Christmas day?
Hello David. Yes, it should last until Christmas if you keep your fresh greenery moist and cool. I hope you try it. Enjoy the holiday season!