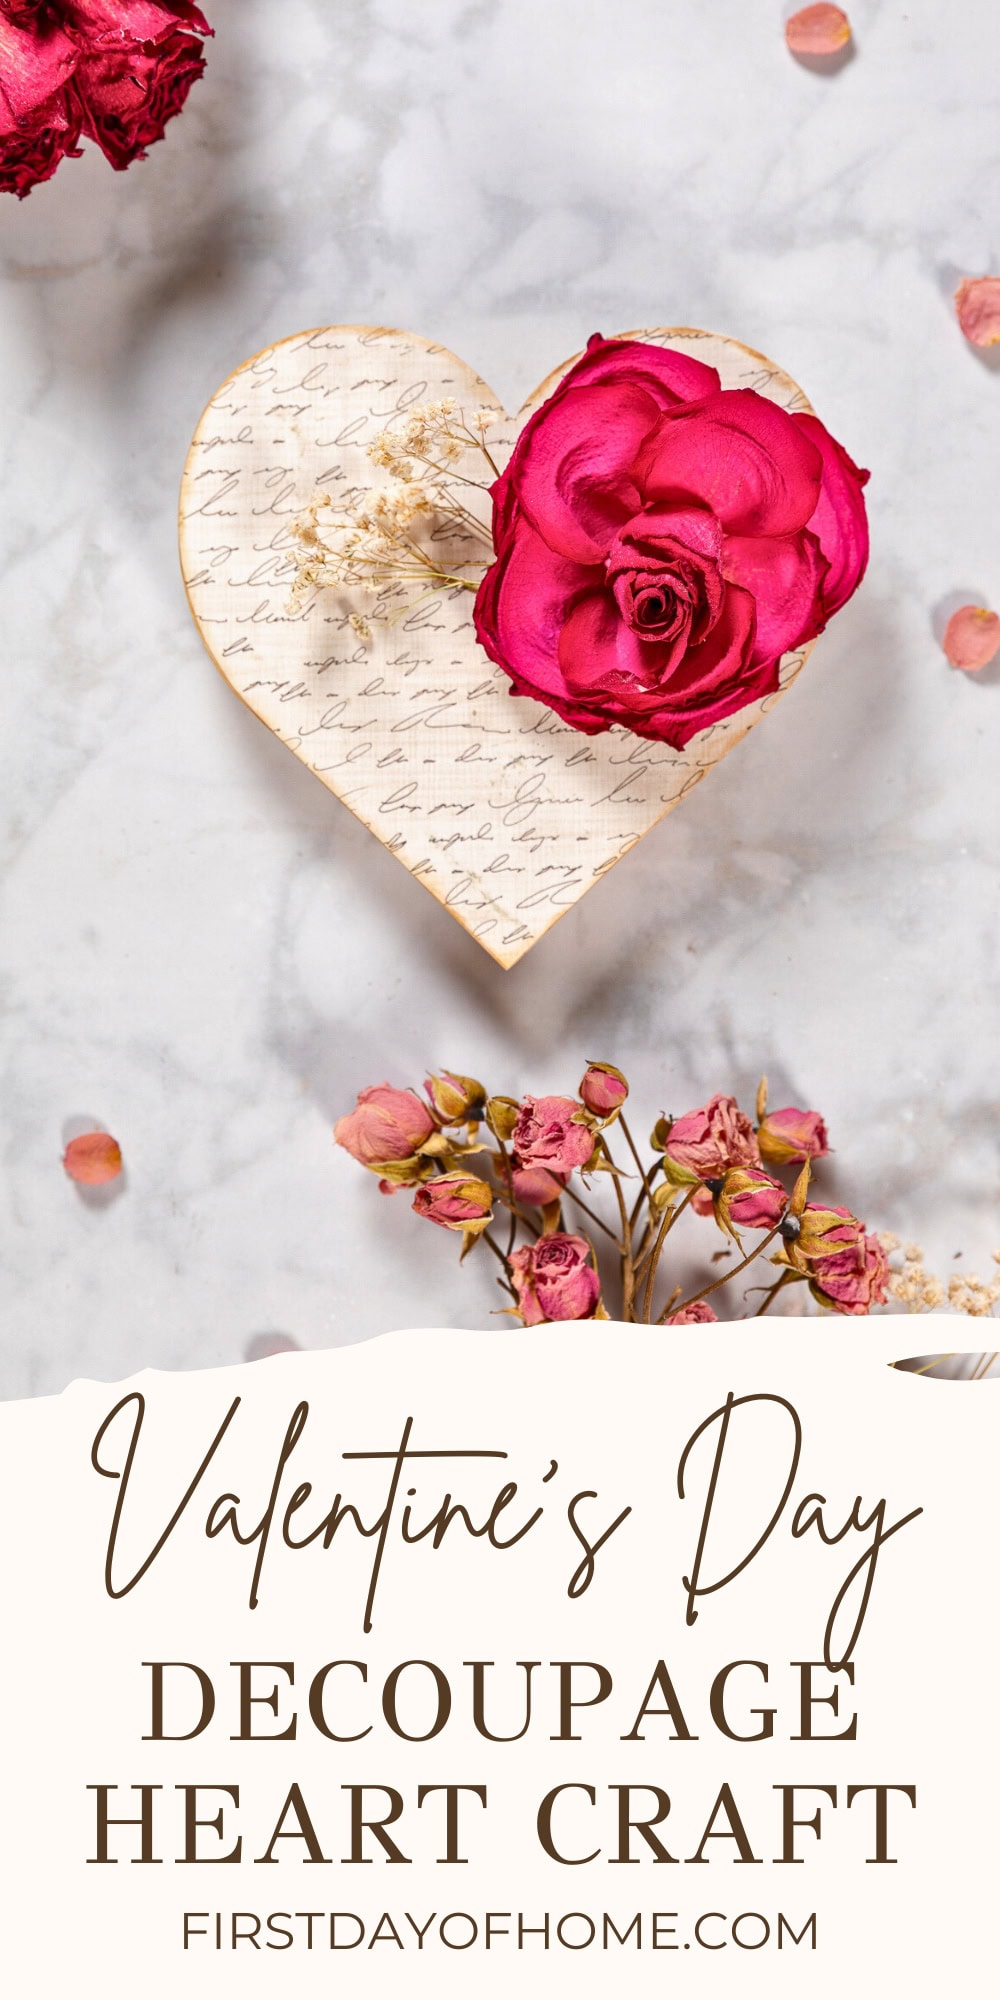
Decoupage Heart with Dried Flowers
This decoupage heart craft has a charming vintage vibe that adds a touch of romance and sweetness to a tiered tray or bookshelf. It takes only 20 minutes to make, and it’s simple enough for beginners. Add dried flowers or ribbon for a finishing touch.
This post contains affiliate links, and I will be compensated if you make a purchase after clicking on my links. For more information, please see my disclosures.
A Budget-Friendly Valentine’s Day Craft
I spotted the cutest wooden hearts at Target without a specific project in mind. (It’s hard to resist those little $5 treasures, isn’t it?!)
Unfinished wood is perfect for decoupage crafts, since you can easily transform it with napkins or scrapbook paper. In this case, I chose a sheet of scrapbook paper with a script font that reminds me of a love letter.
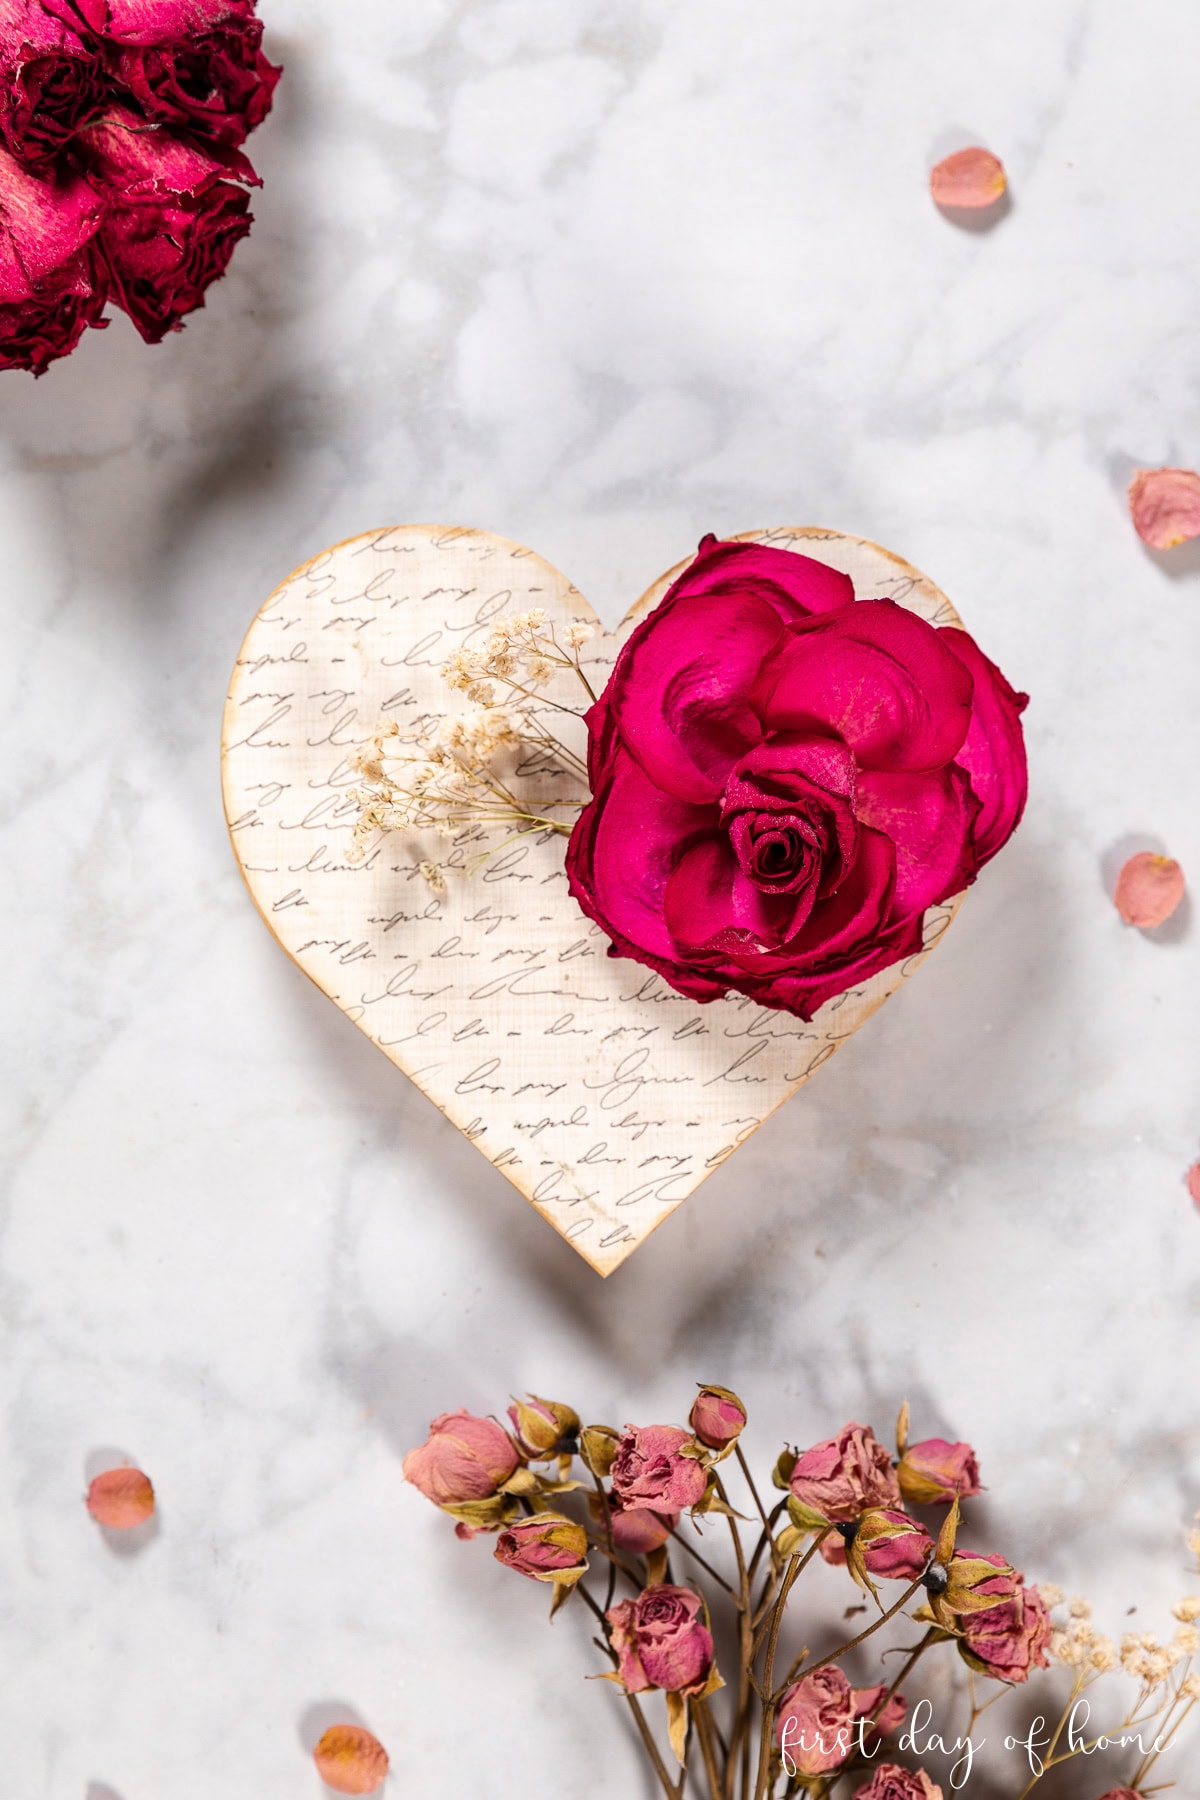
The flowers came from a dear friend who gifted me a beautiful birthday bouquet last year. I dried some of the blooms in silica gel and hung others to air-dry in our utility room.
I just knew the heart and flowers belonged together to create a unique shelf sitter or home decor accent.
How to Make a Decoupage Heart
If you’re new to decoupage, you’ll find great beginner tips and project examples in my guide to decoupage on wood.
For this simple project, it’s as easy as tracing, cutting, and gluing. To finish it off, we’ll add some embellishments with dried flowers.
Supplies
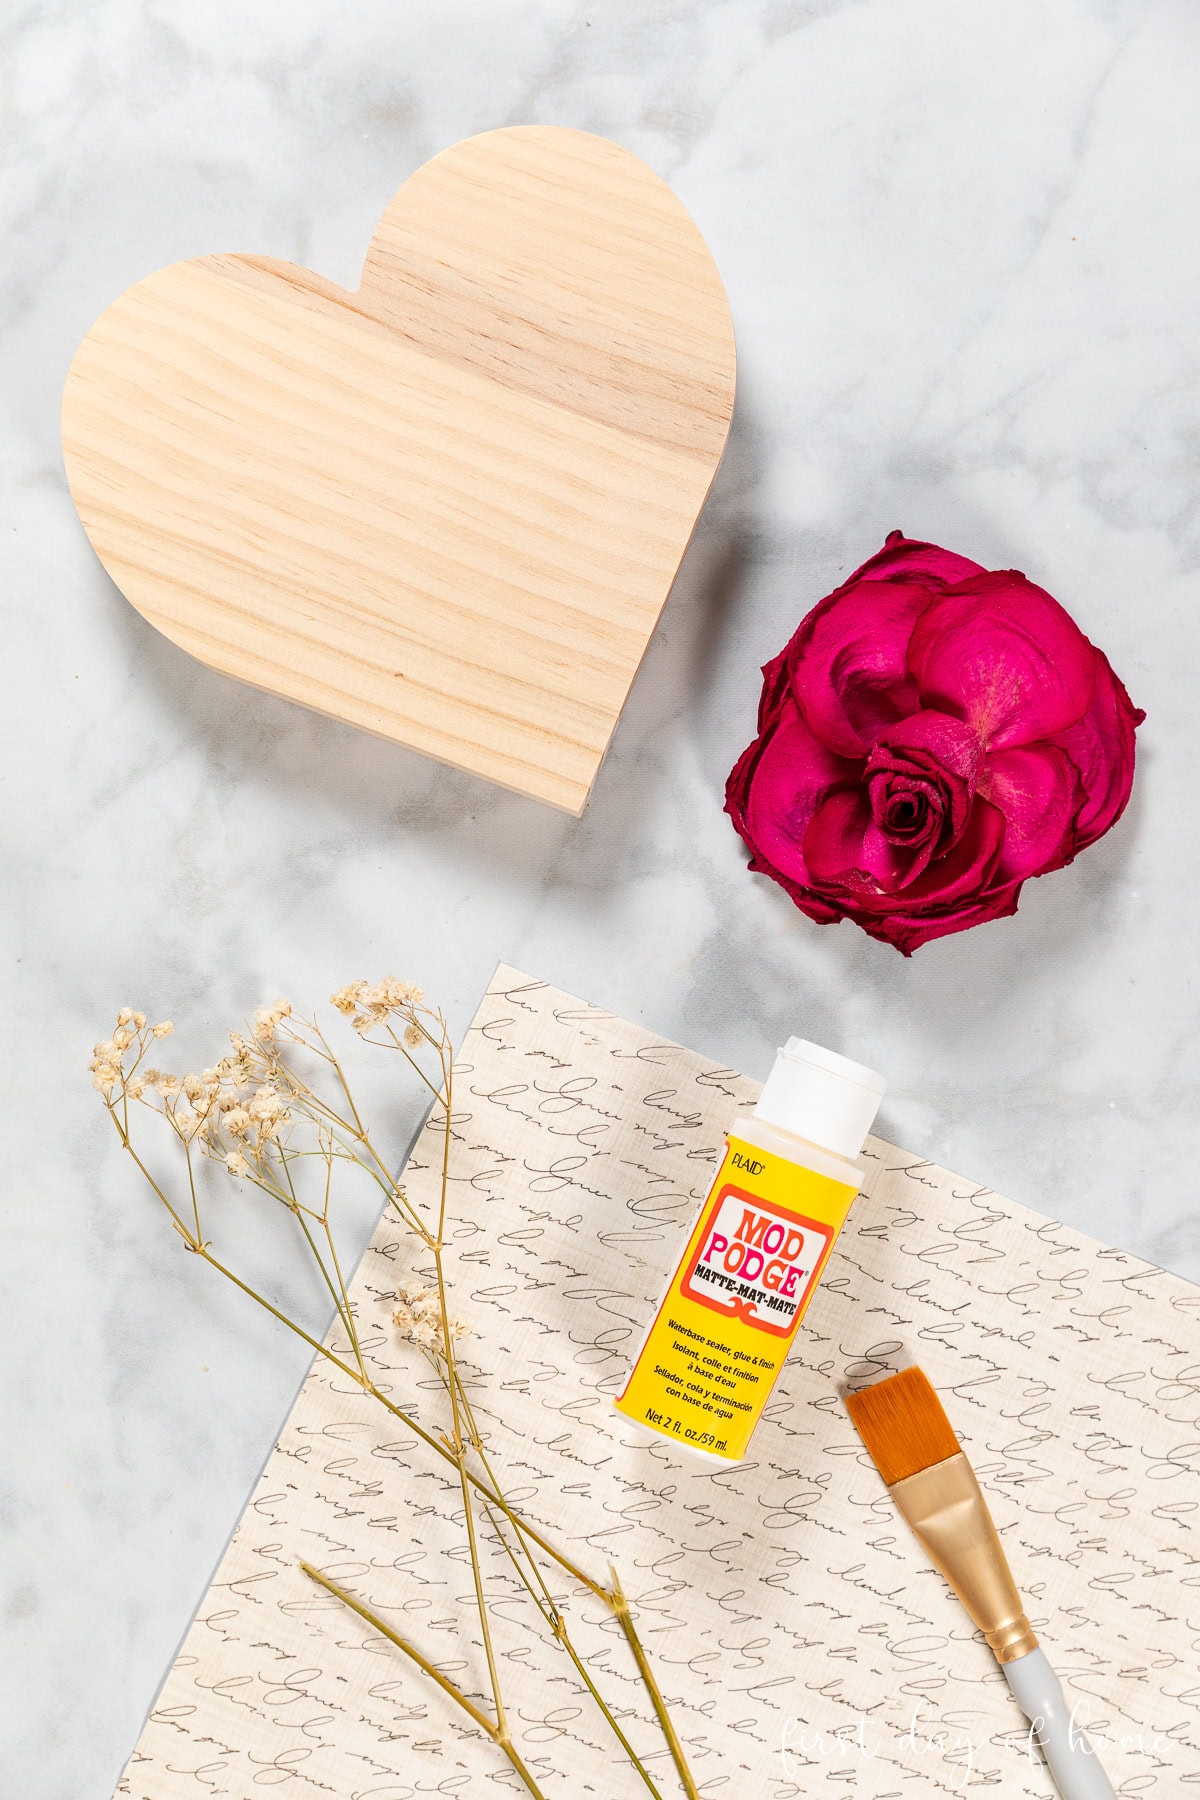
- Wooden heart
- Scrapbook paper
- Mod Podge Matte
- Dried flowers
- Hot glue
- Mini iron and parchment paper (optional)
- Distress Ink (optional)
- Blending brushes (optional)
- Twine (optional)
Step 1: Trace and cut the heart shape
Trace the shape of the heart onto the back of the scrapbook paper, and cut out the shape. Make sure the paper is oriented in the right direction if it has a distinct pattern or writing on it.
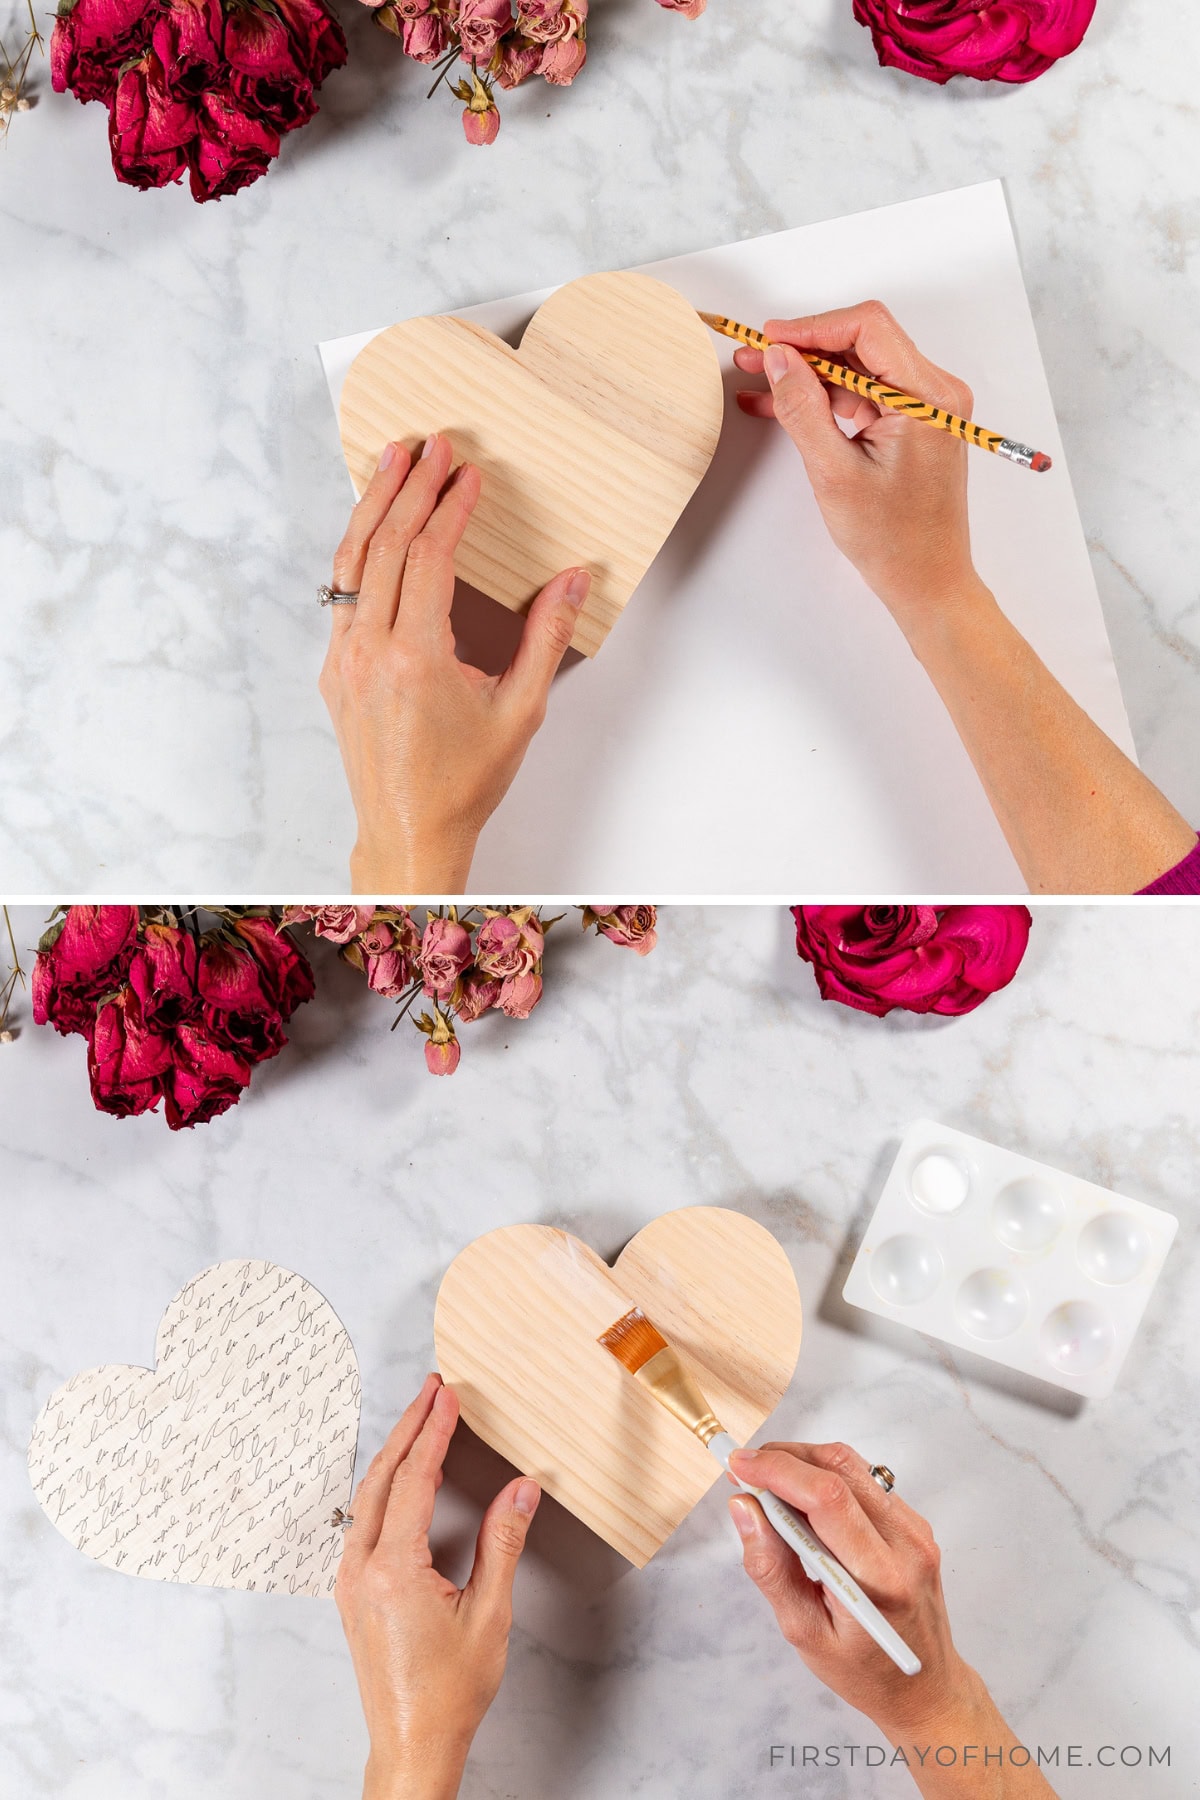
Step 2: Apply Mod Podge to the surface
Apply a thin coat of Mod Podge to the wooden heart. I typically use Mod Podge matte formula, but you can use any decoupage glue or even school glue watered down a bit.
Step 3: Apply the paper to the wood
You have two options for applying the paper: 1) place the paper onto the wood while the Mod Podge is wet, or 2) let the Mod Podge dry and use the iron-on method.
If you place the paper while the Mod Podge is wet, make sure you smooth it down with your fingers or a squeegee.
For the iron-on method, position the paper on the wood heart and cover it with parchment paper before using a small iron on low heat to adhere it.

Step 4: Distress the edges of the heart (optional)
After applying the paper, you can give the heart a vintage look by sanding and/or darkening the edges.
I love using distress ink to give the heart a more primitive, romantic look. Blending brushes work like a charm for this technique.
Step 5: Add dried flowers
For the final step, you can embellish the decoupage heart with dried flowers or ribbon. I experimented with a combination of roses, baby’s breath, and twine, using hot glue to keep things in place.
You can learn how to dry flowers in five different ways here on the blog. To preserve the open rose bloom, I used my favorite method, drying flowers with silica gel.
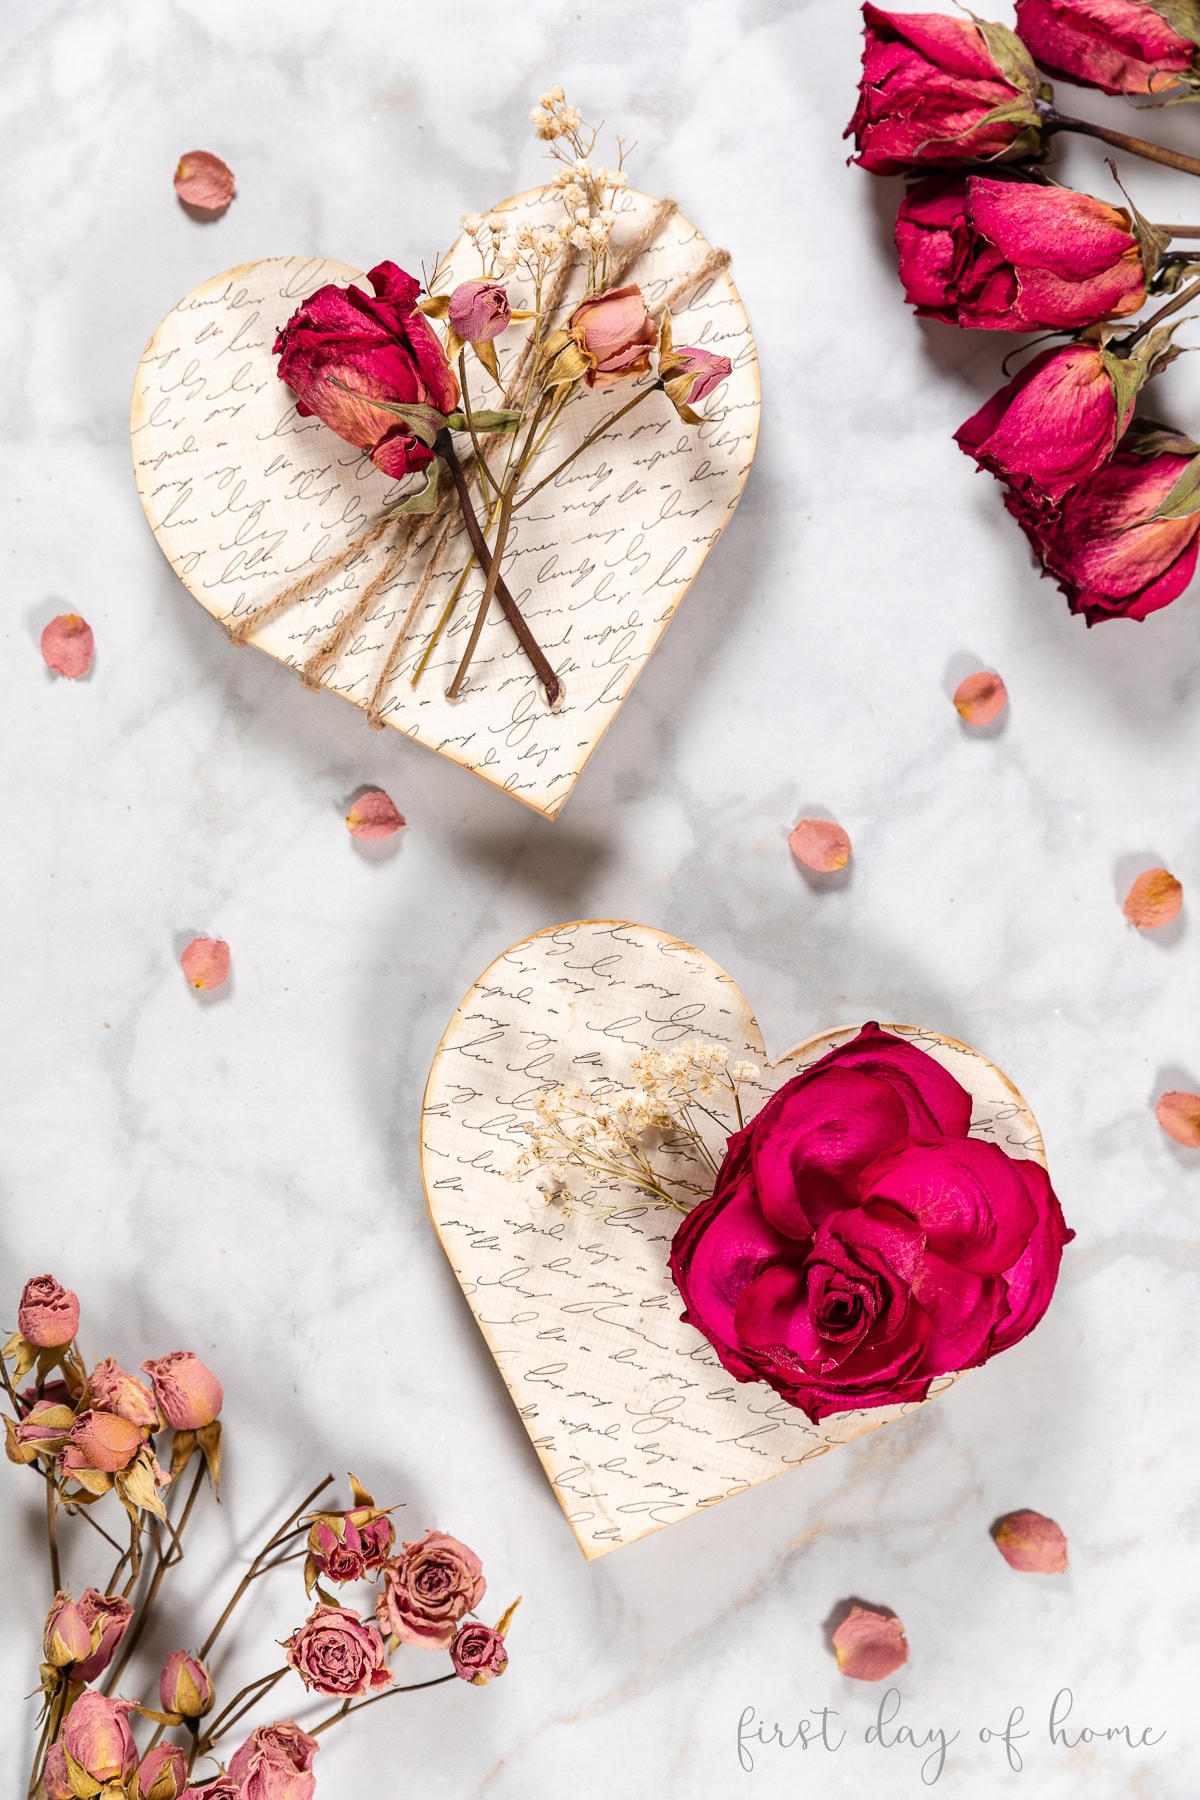
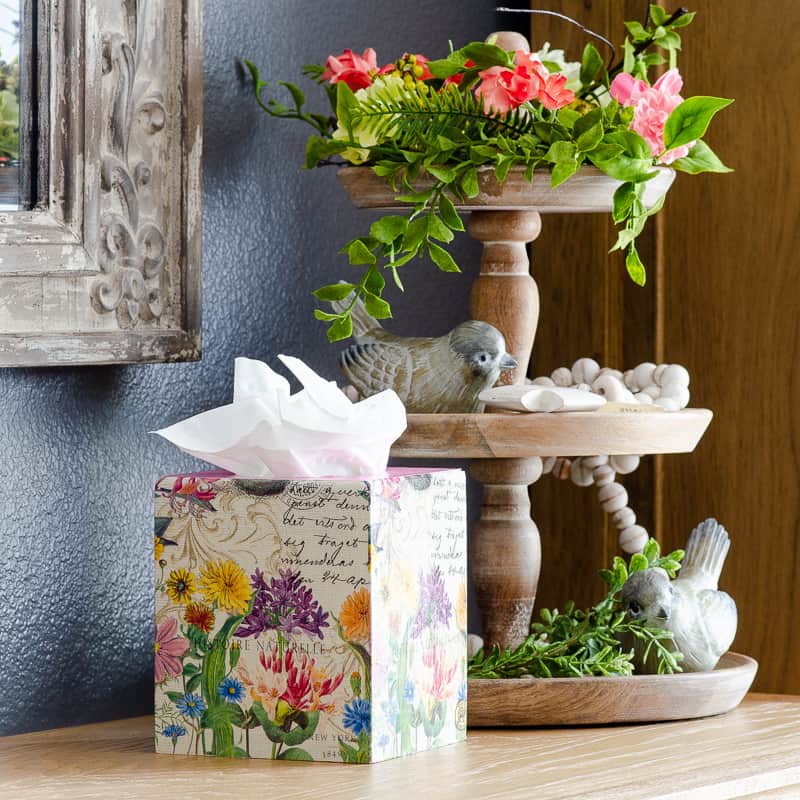
I can’t wait to display my vintage heart decor on the shelves in my office. My friend will be so pleased to see how I made her bouquet last well beyond my birthday month/year!
Pin it for later!