How to Decoupage: Ultimate Guide
Decoupage is a paper crafting technique that anyone can master. It’s one of the most versatile skills for creating unique gifts, home decor, and art. Plus, it’s budget-friendly and works on various media, from wood to glass. In this beginner’s guide, you’ll learn everything you need to know to start your first decoupage project.

This post contains affiliate links, and I will be compensated if you make a purchase after clicking on my links. For more information, please see my disclosures.
What is decoupage?
The word “decoupage” may sound intimidating, but it’s just a French word that means “to separate or divide by cutting.” You can get a complete definition here.
In today’s crafting terms, it means to cut up pieces of paper (or fabric) and glue them onto a surface. Once you learn the basics, you’ll be brimming with ideas, I promise!
You’ll often hear decoupage used as either a verb or a noun. It’s sometimtes used interchangeably with the word “Mod Podge” since that product is a popular decoupage glue (a.k.a. medium).
What do you need to decoupage?
For decoupage, you’ll need 1) an object or surface, 2) paper or fabric, and 3) a decoupage glue. It’s that simple! Of course, there are plenty of surfaces, papers, and glues to choose from, so I’ll cover those questions in more detail.
Decoupage Steps
- Preparing a surface by sanding, painting, and/or cleaning
- Applying a decoupage medium
- Adhering your choice of paper or fabric
- Sealing the project
- Embellishing the object as desired
You may decide to skip the last step or two depending on your artistic choice, but you get the general idea. To illustrate the art of decoupage, I’ve included a sample project at the end of this post using a simple wooden box.
What objects can you use for decoupage?
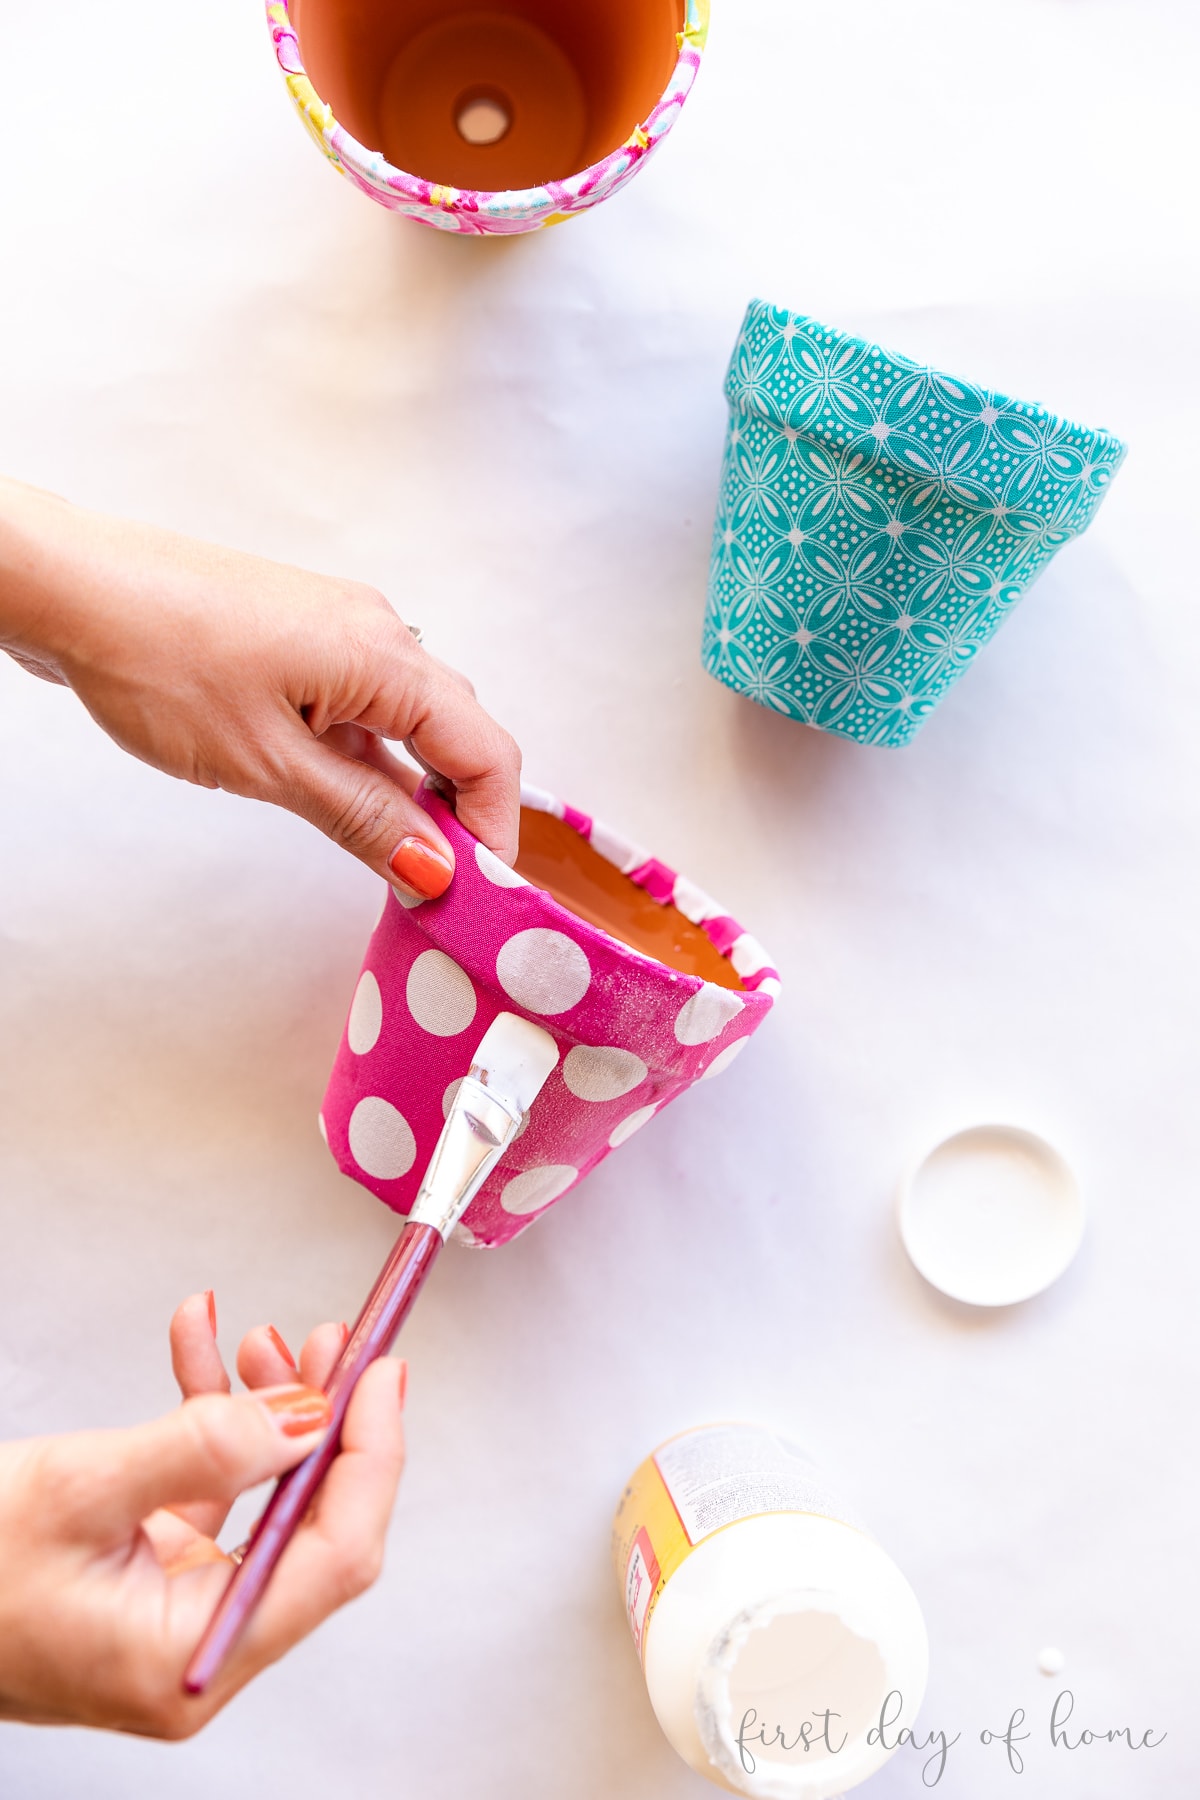
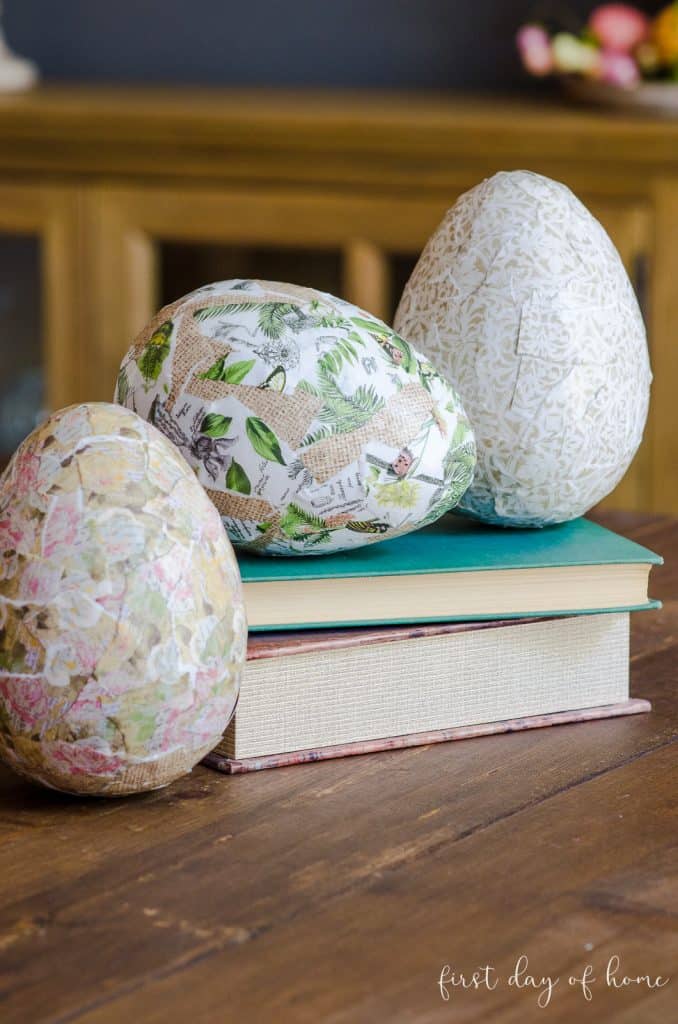
Over the years, I’ve decoupaged many different items, including wooden boxes, clay ornaments, paper mache eggs, glass, terra cotta, and metal.
Once you seal your project with the appropriate decoupage medium, it leaves a durable, smooth finish that can last decades.
Common items to decoupage
- Wooden furniture
- Frames
- Mirrors
- Trinket trays
- Oyster shells
- Glass pitchers
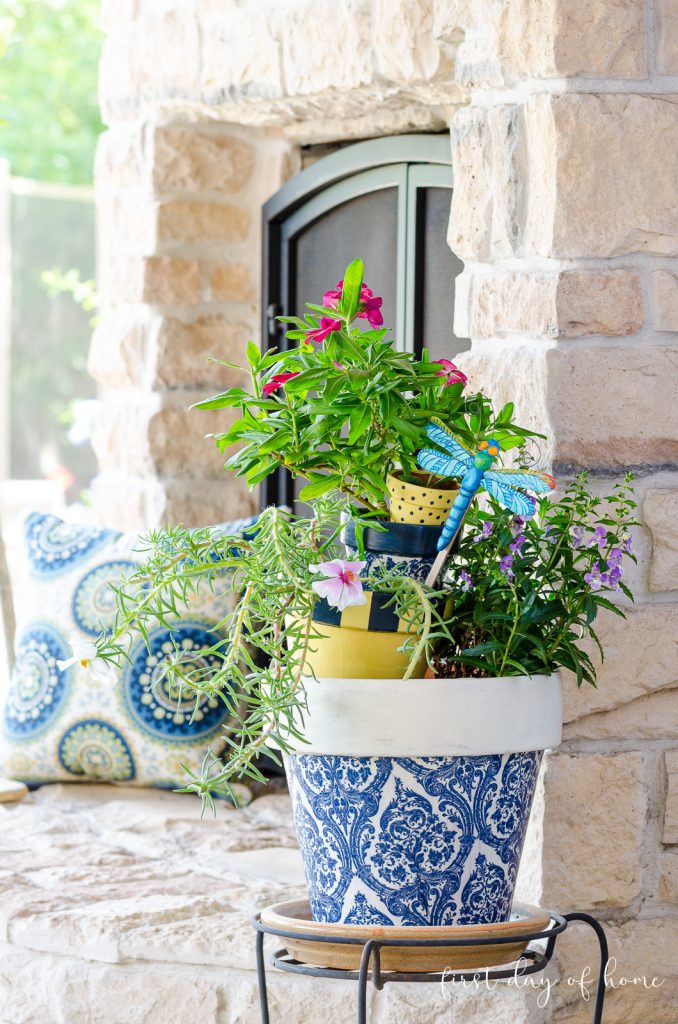
- Flower pots
- Cardboard
- Ceramic vases
- Fabric
- Tin cans
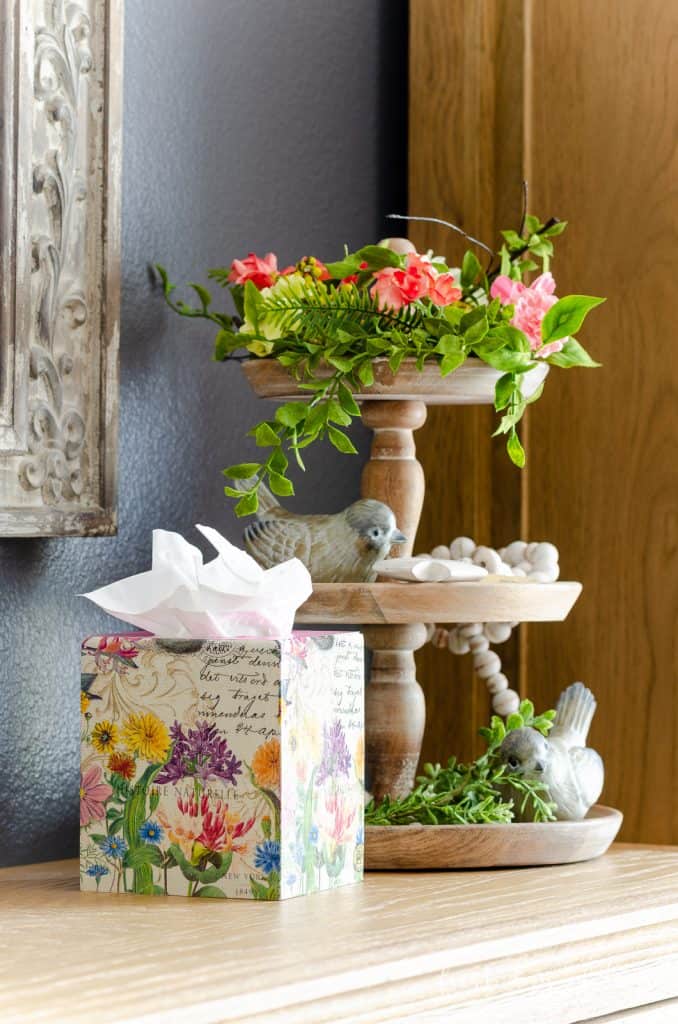
- Greeting cards

If you’re new to this craft, start with an object you already have on hand. As I mentioned, you can decoupage on wood, plastic, glass, metal, and many other surfaces.
Do you have an old piece of furniture that could use a makeover? Dollar Tree, Michaels, and Target also have budget-friendly items you can practice on, like mini wooden boxes.
What is the best type of paper to use for decoupage?
This is perhaps the question that gets asked most often, but there’s no right or wrong answer. I’ve used everything from tissue paper and napkins to scrapbook paper and bona fide decoupage paper.
Common paper options
- Decoupage paper or collage paper
- Rice paper
- Tissue paper
- Paper napkins
- Gift wrap
- Wallpaper
- Newspaper
- Magazine clippings
- Scrapbook paper
- Fabric scraps
How do you choose the right decoupage paper?
When you want a transparent design or you’re working with glassware, you’ll want thinner, more delicate paper. Collage paper works well if it comes as a thin sheet.
Tissue paper and napkins come with two or three plies that you can separate to isolate the top patterned layer. This also makes for a very sheer decoupage application. You’ll just need to consider that fine tissue paper may wrinkle more easily when applied over large areas.

If you have a design you want to print, you can buy printable rice paper that works with inkjet or laser printers. I also have a tutorial showing how to transfer photos to wood using a technique that is a different form of decoupage with copy paper.
For more artistic decoupage projects like mixed media greeting cards or scrapbooking, you might prefer slightly textured cardstock or clippings of fabric and magazines.
Types of decoupage glue
There are many formulas for decoupage glue. Choosing the right medium might be overwhelming when looking at the craft aisle. To get started, I recommend using Matte Mod Podge or a similar product like DecoPage. PVA glue and other acid-free glues may also work, depending on your project goals.

Most decoupage glues work as both an adhesive (to adhere pieces) and a sealer (to create a protective coat). Sometimes you can mix and match different formulas if you want a particular finish for the sealer coat. For instance, Mod Podge Hard Coat is specifically designed for furniture applications.
Once you get more comfortable with this art form, you can start to explore the various formulas. Here’s a quick breakdown of the most popular Mod Podge products I’ve used:
- Matte Mod Podge: great all-purpose formula
- Outdoor Mod Podge: makes outdoor projects weather-resistant
- Sparkle Mod Podge: adds shimmer with built-in glitter
- Dishwasher Safe Mod Podge: top-rack dishwasher safe for plates, mugs, and glasses
- Gloss Mod Podge: adds shine to finished projects
- Fabric Mod Podge: adheres fabric to fabric (home decor and wearables)
- Paper Mod Podge: acid-free formula good for paper and scrapbooking
This is just a small fraction of the formulas you can buy. If you have a project in mind, there’s a decoupage glue for it!
Decoupage Tools
To get started with decoupage, you don’t need many fancy tools beyond a good paint brush. Foam brushes work best to avoid brush strokes on your finished project.
Basic Tool Recommendations
- Foam brush
- Brayer tool or squeegee (for smoothing)
- Sharp scissors or crafting knife
- Sandpaper
I also like to have plastic food wrap handy for smoothing the surface after decoupage without making your fingertips sticky.
Decoupage Project for Beginners: Wooden Gift Box
To get started with decoupage, it’s helpful to try a small craft project like this little wooden box.
I’ll be using scrapbook paper in this tutorial since it’s a common item you can find in many patterns and motifs. You can also use a napkin instead.
Supplies

- Wooden box or object
- Mod Podge Matte
- Acrylic paint
- Scrapbook paper
- 200-300 grit sandpaper
- Foam brush
- Brayer and squeegee tool (optional)
Step 1: Sand and paint the box
To prep the wood box, start by sanding any rough edges to create a smooth surface. Bumps and ridges often cause wrinkles in decoupage projects, so the smoother the texture, the better.
Painting the wood is optional, but I find it helps the piece look more finished.


When using napkins, a base coat of paint can also provide more contrast to help a design stand out. You could also stain the wood to create a natural finish.
Step 2: Cut scrapbook paper to size
With decoupage, you can cut out shapes to isolate specific patterns, or you can trace entire shapes onto the paper. For this project, I’ll use the entire square shape to keep things simple.
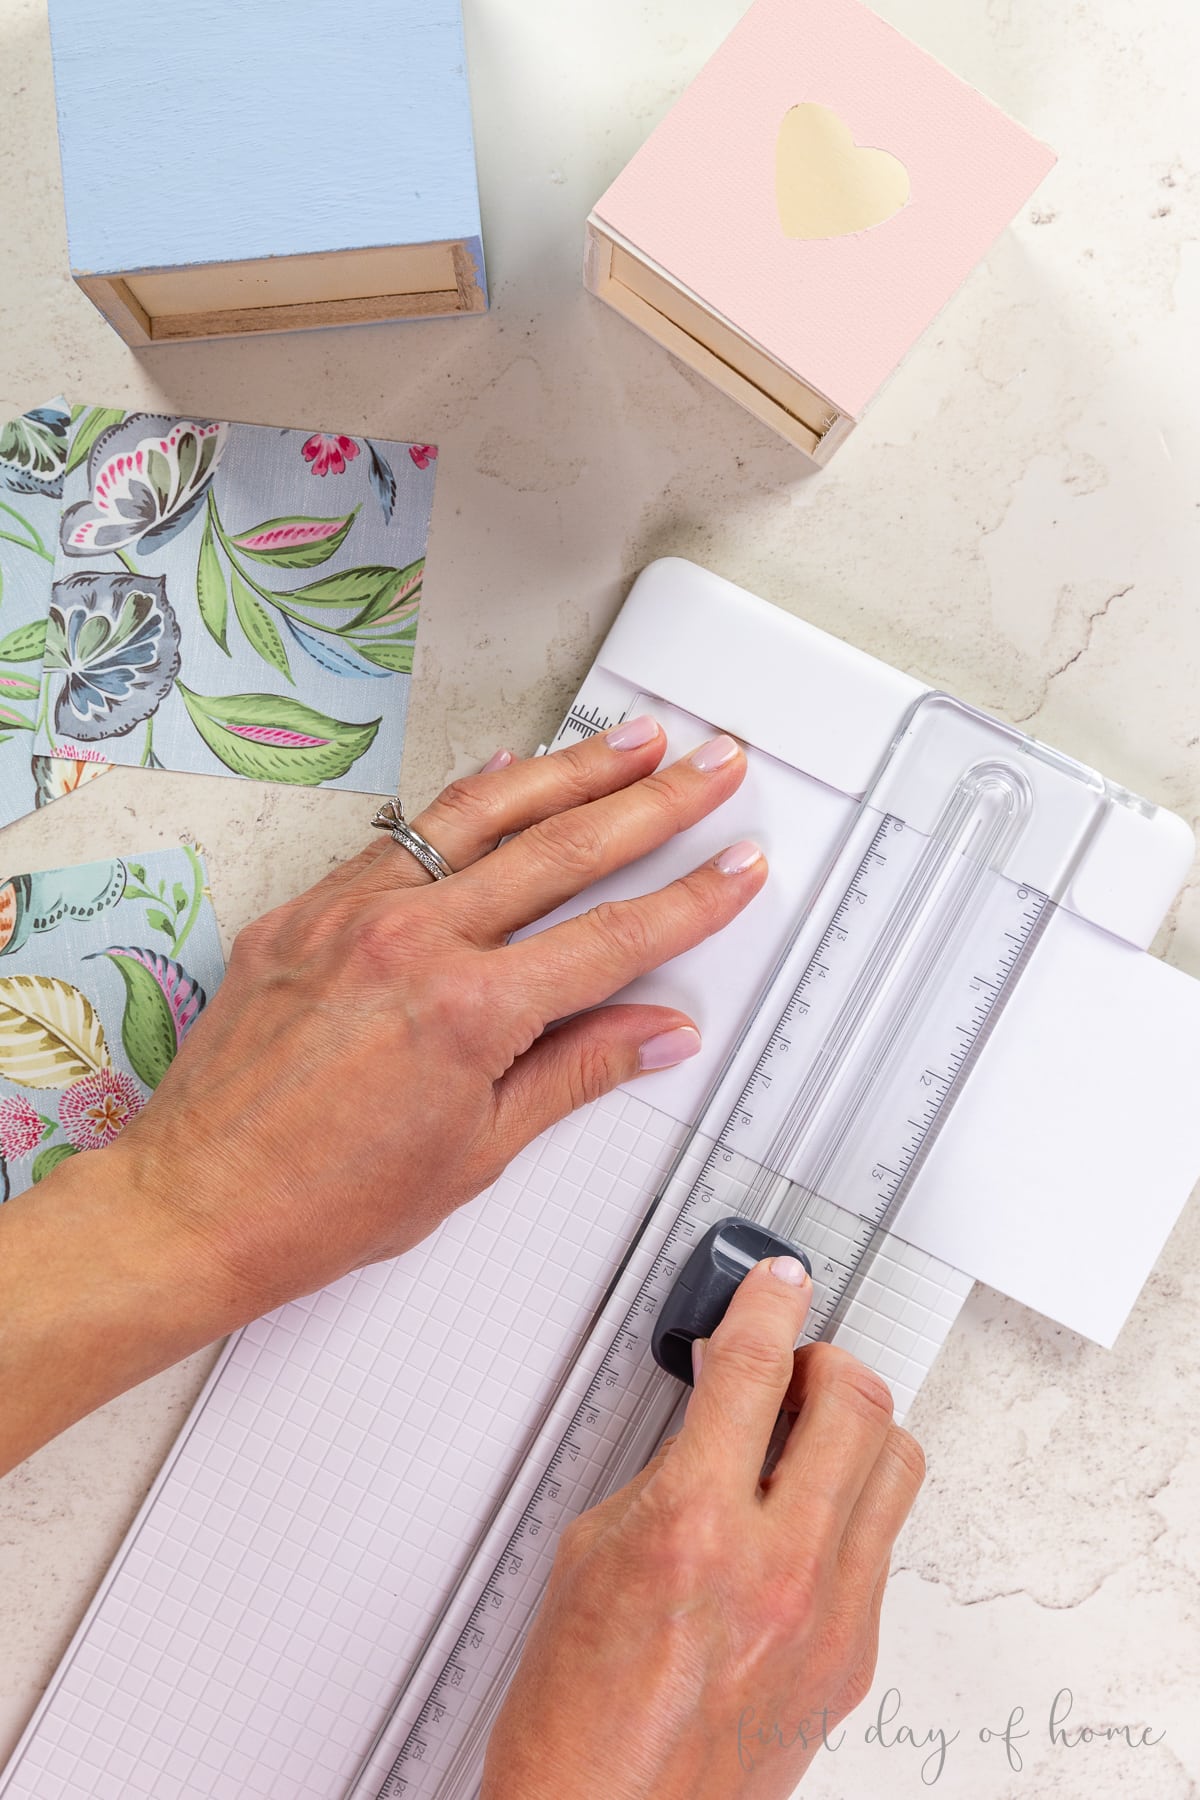
Note
If you’re using napkins, you’ll want to separate the layers (or plies) to isolate the printed pattern only. This will help ensure a smoother finish.
Step 3: Apply decoupage medium and glue the paper
Start by applying a thin coat of glue directly onto the wood. Since this is a small object, you can brush one side of the box at a time. For larger pieces, you may need to work in smaller sections.
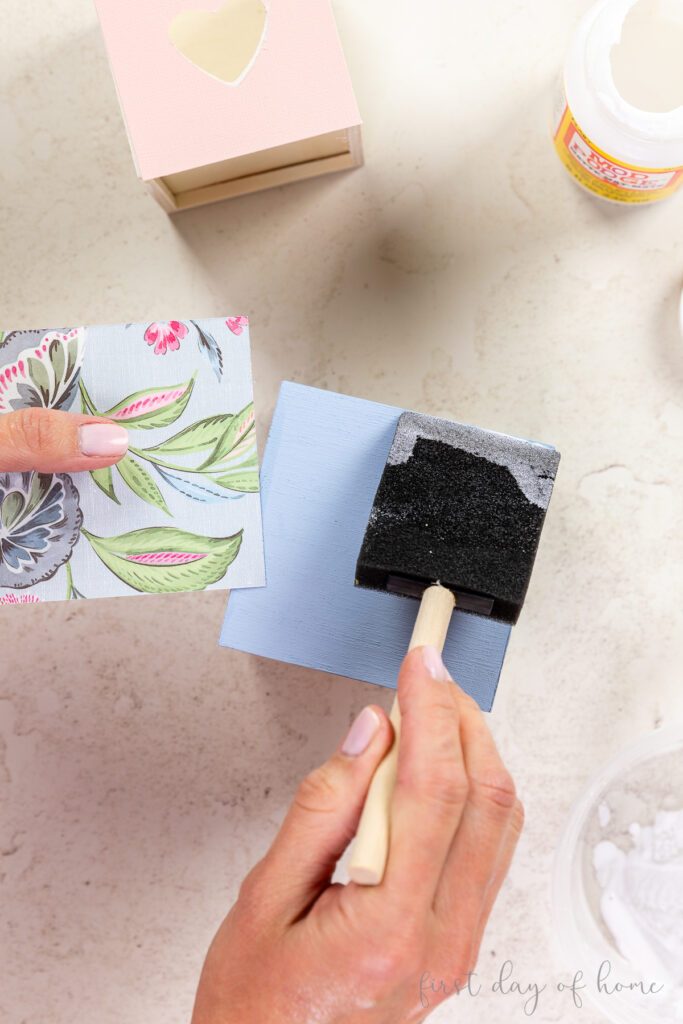

Starting in one corner, gently press the paper square onto the wood. A smoothing tool, such as a squeegee, comes in handy here.
I sometimes find it useful to smooth the surface using plastic food wrap. This little trick prevents your fingers from sticking when removing air bubbles. If you have excess glue seeping out, you can remove it with a damp sponge.
Alternative Method
Instead of immediately applying your decoupage paper, you can wait for the Mod Podge to dry, then place your paper down and use a small iron to heat the paper. This will reactivate the Mod Podge and result in a smoother finish.
Repeat these steps until the entire box is covered. Then let it dry about 20-30 minutes.
Step 6: Seal the decoupage project
After the first coat of glue has dried fully, apply another coat of Mod Podge to seal the piece. This top coat acts as a varnish, so you can choose to use a sparkle or gloss formula if you want a different finish.

You can sand the object again after the top coat has dried if you want a smoother finish. Then, repeat the process of sealing and sanding until you achieve the results you want.
I think this little box looks so sweet and could be the perfect box for a small gift. You could place candies or jewelry inside, and the decoupage box is a gift in itself!
Pin it for later

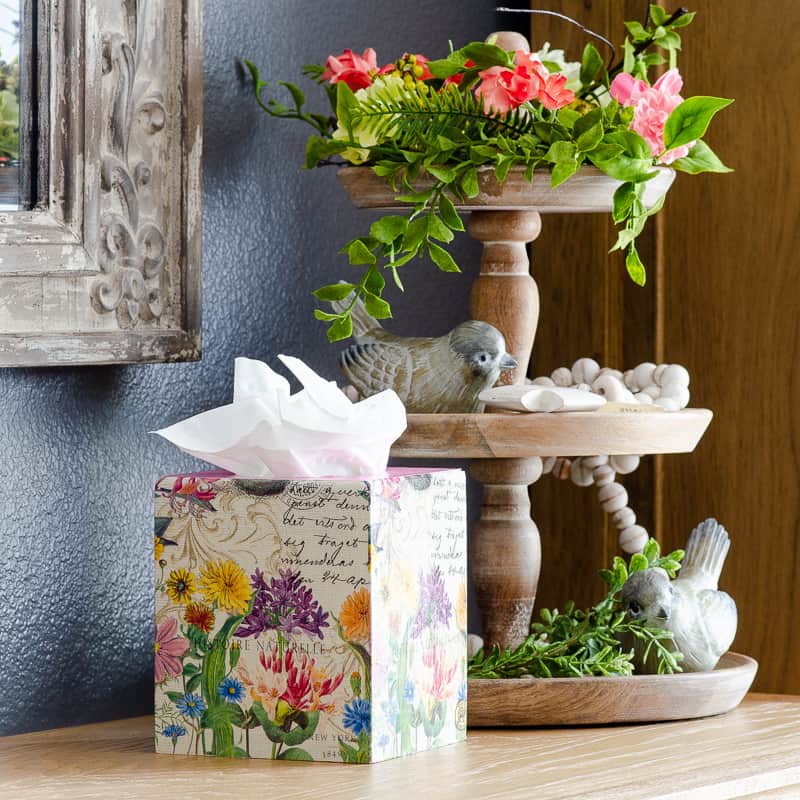
More Beginner Decoupage Projects
I hope your imagination is running wild with all the possibilities of using decoupage to upgrade your craft game. Here are a few more projects you might enjoy trying. Let me know in the comments what you’re going to try first!


Hi Crissy,
I just wanted to say – How Amazing Your Account Is – I’ve just stumbled upon this Fantastic crafts that you have created. I’m totally obsessed!! Thank you for your lovely creations. I’ve signed up to your emails. I’ve also bought the Easter bauble and the other gorgeous design. Thank you Lisa 🙂
Hi Lisa! You just made my day. Thank you so much for the kind words and for supporting my small business. I hope you enjoy crafting with the ornament designs. I did see your order go through today. Please reach out if you have any questions. Best wishes, Crissy