How to Make Budget-Friendly DIY Charger Plates
When you’re entertaining for the holidays, it can get expensive to decorate a table! I recently fell in love with a tartan plaid charger plate I saw at a high-end home decor store, but yikes–it was pricey! That’s when I decided to make DIY charger plates using Dollar Tree items.

This post contains affiliate links, and I will be compensated if you make a purchase after clicking on my links. For more information, please see my disclosures.
DIY Charger Plate Tutorial
To see this tutorial in action, check out my recent YouTube Christmas crafts video! It also includes 9 other DIY Christmas projects, like the white “Joy” plate pictured above.
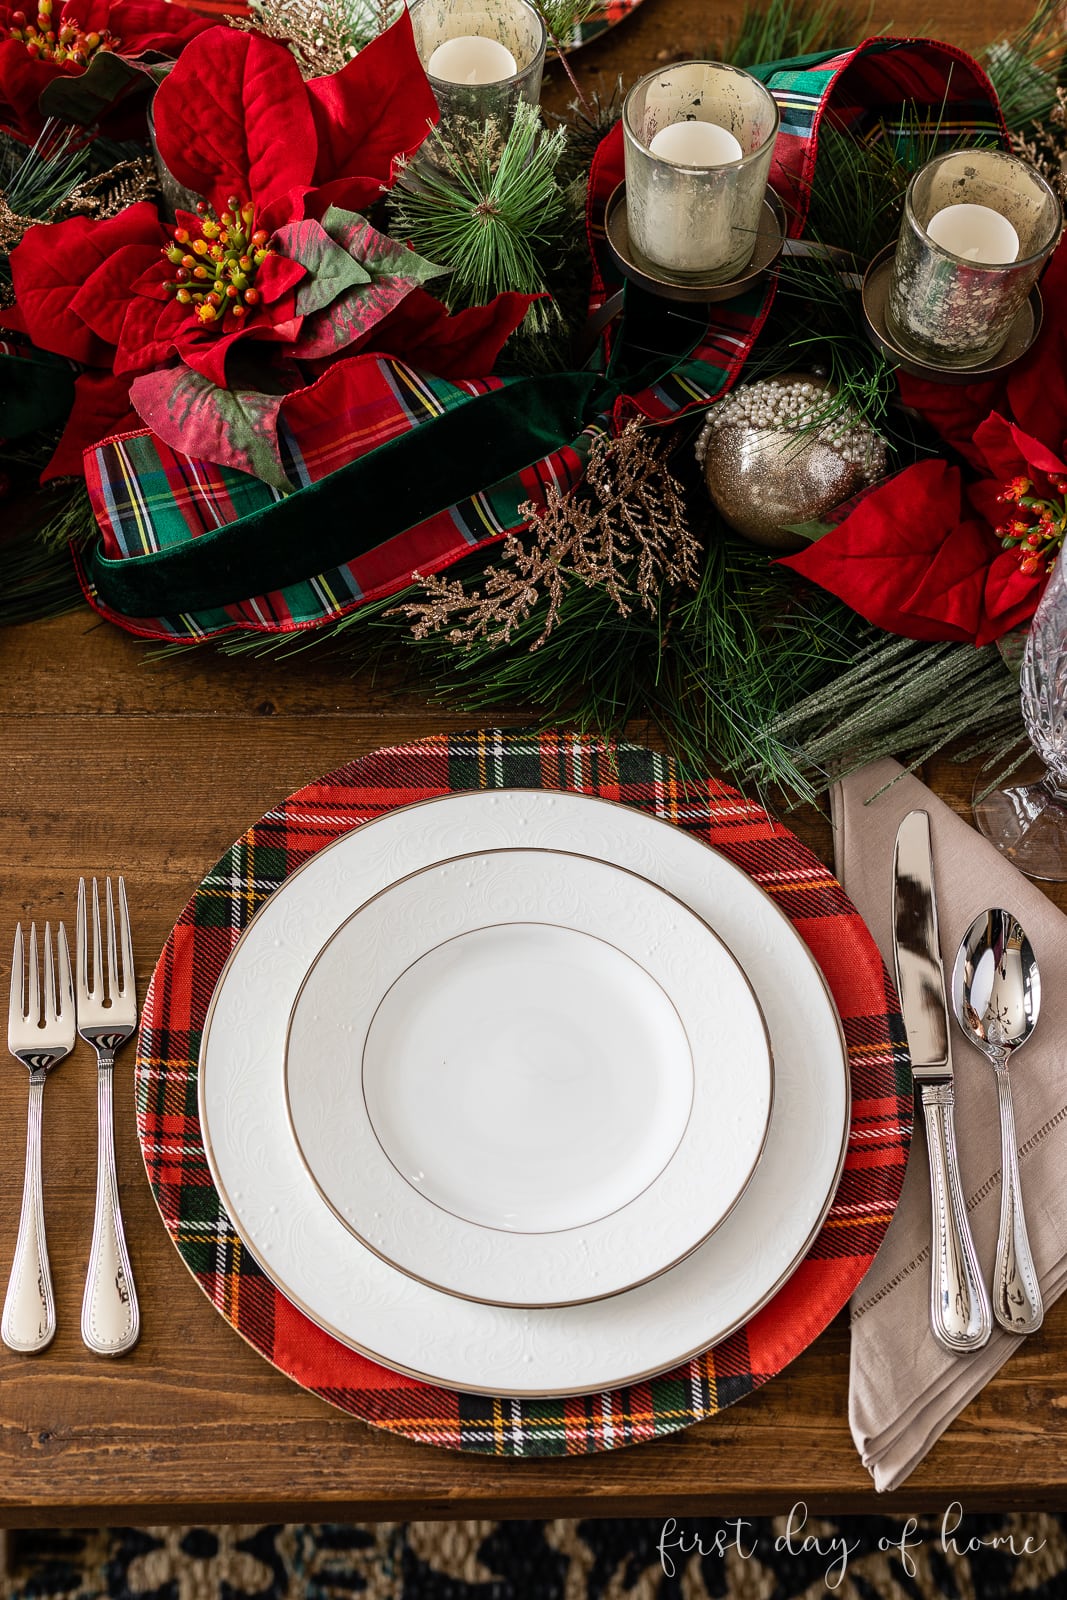
It’s so easy to make DIY charger plates with fabric, I predict you will fall in love with this craft! These are perfect for any dining room table or breakfast nook because you can customize the design to match your decor.
Watch This Tutorial (1 minute)
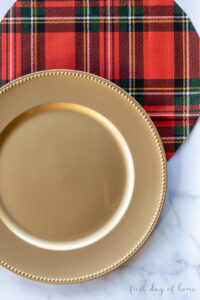
As soon as I saw charger plates at Dollar Tree, I snatched them up in multiple colors. I used gold charger plates when planning my niece’s bridal shower decor, but I was ready to give them a little update. You could also try using a wood charger for this tutorial.
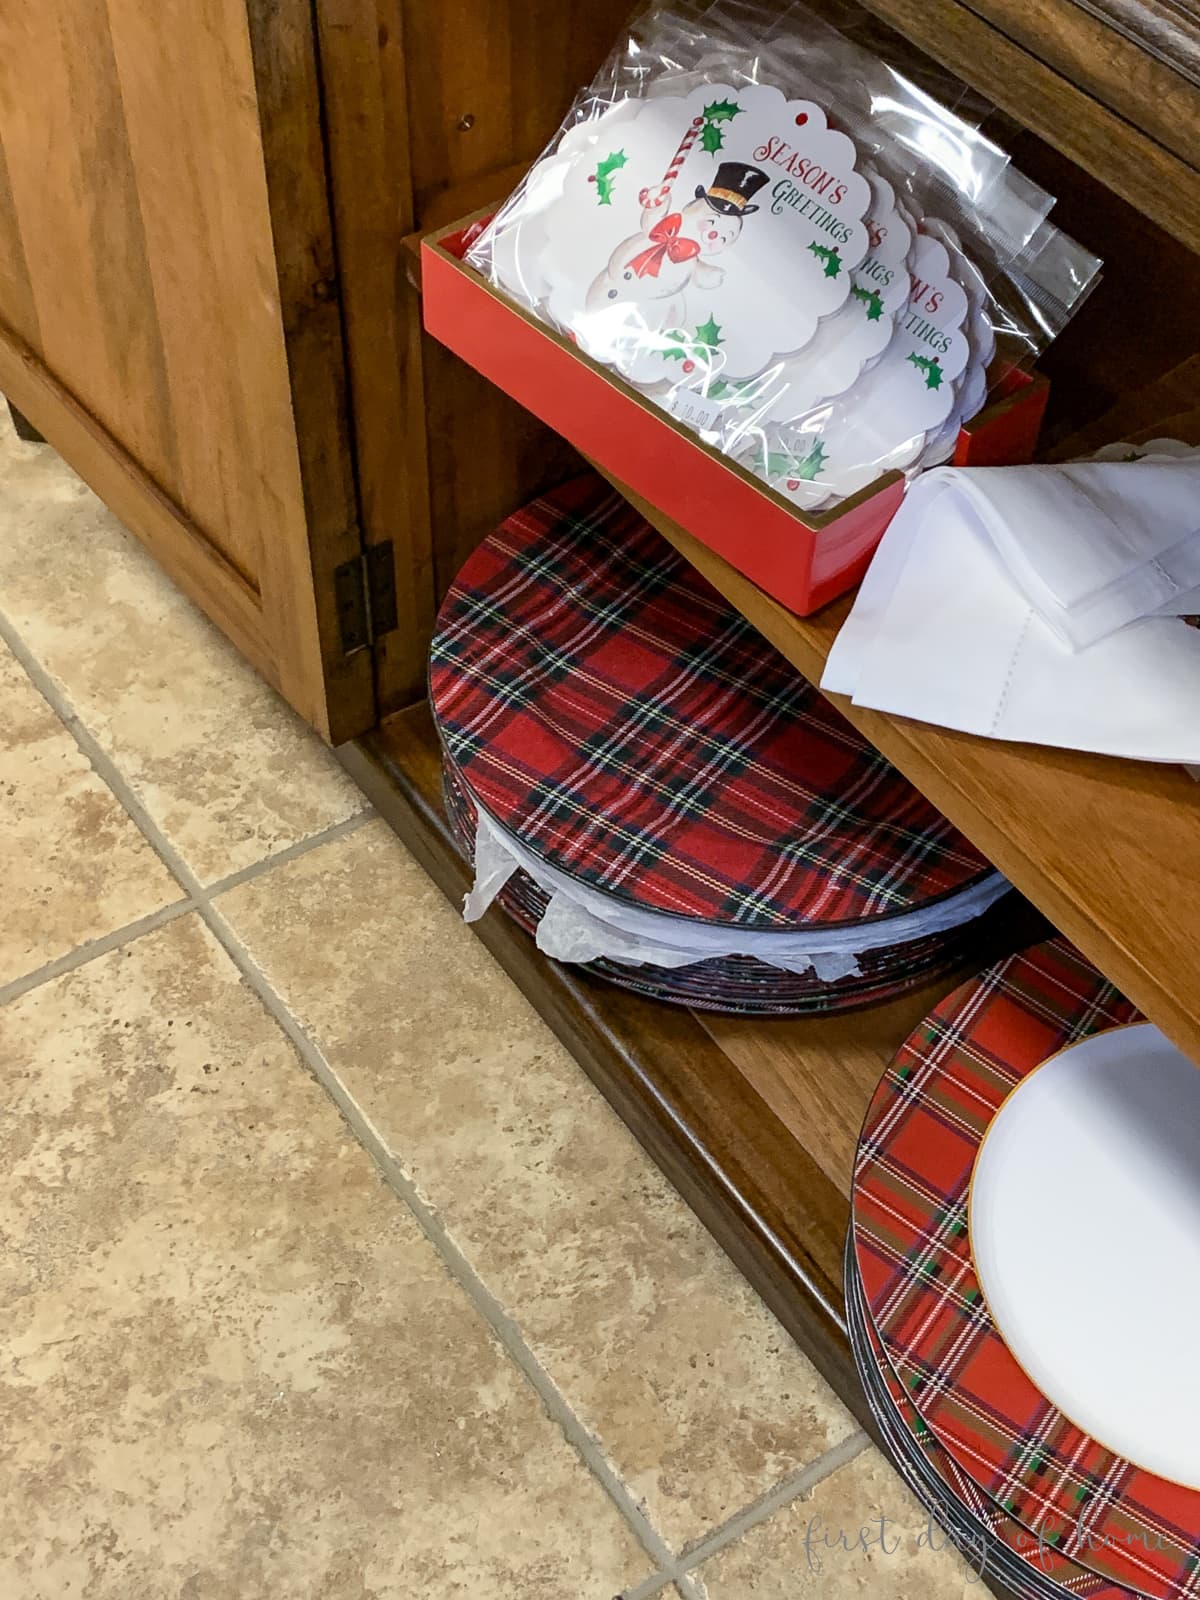
I saw the tartan plaid charger plates above on my holiday inspiration shopping trip, and a light bulb went off. After a very brief search, I found nearly the same exact plaid pattern at a craft store, and the rest is history!
Notes on Making DIY Charger Plates

Before you get started with this DIY project, it’s important to keep a few things in mind.
- Buy your charger plates before the fabric. This way, you can measure exactly how much fabric you’ll need. I measured about 1/4 to 1/2-inch “allowance” around the charger plate so I could make sure I had enough to push into the indented part of the plate.
- Don’t pre-wash your fabric. These charger plates are not intended to serve food directly, and you can’t launder them. That’s why I suggest not washing the fabric first. You don’t want the colors to fade before you display your pretty table setting.
- Seal the edges of the plates. After you trim away the excess fabric, you’ll want to apply a final dab of Mod Podge around the edges of the plate. This helps prevent the fabric layer from fraying.
Scrap Fabric Project
If you have leftover fabric, try making these DIY fabric Christmas trees. They look great as a Christmas decor accent, and you can download a free pattern to get started.
Options for Displaying Charger Plates
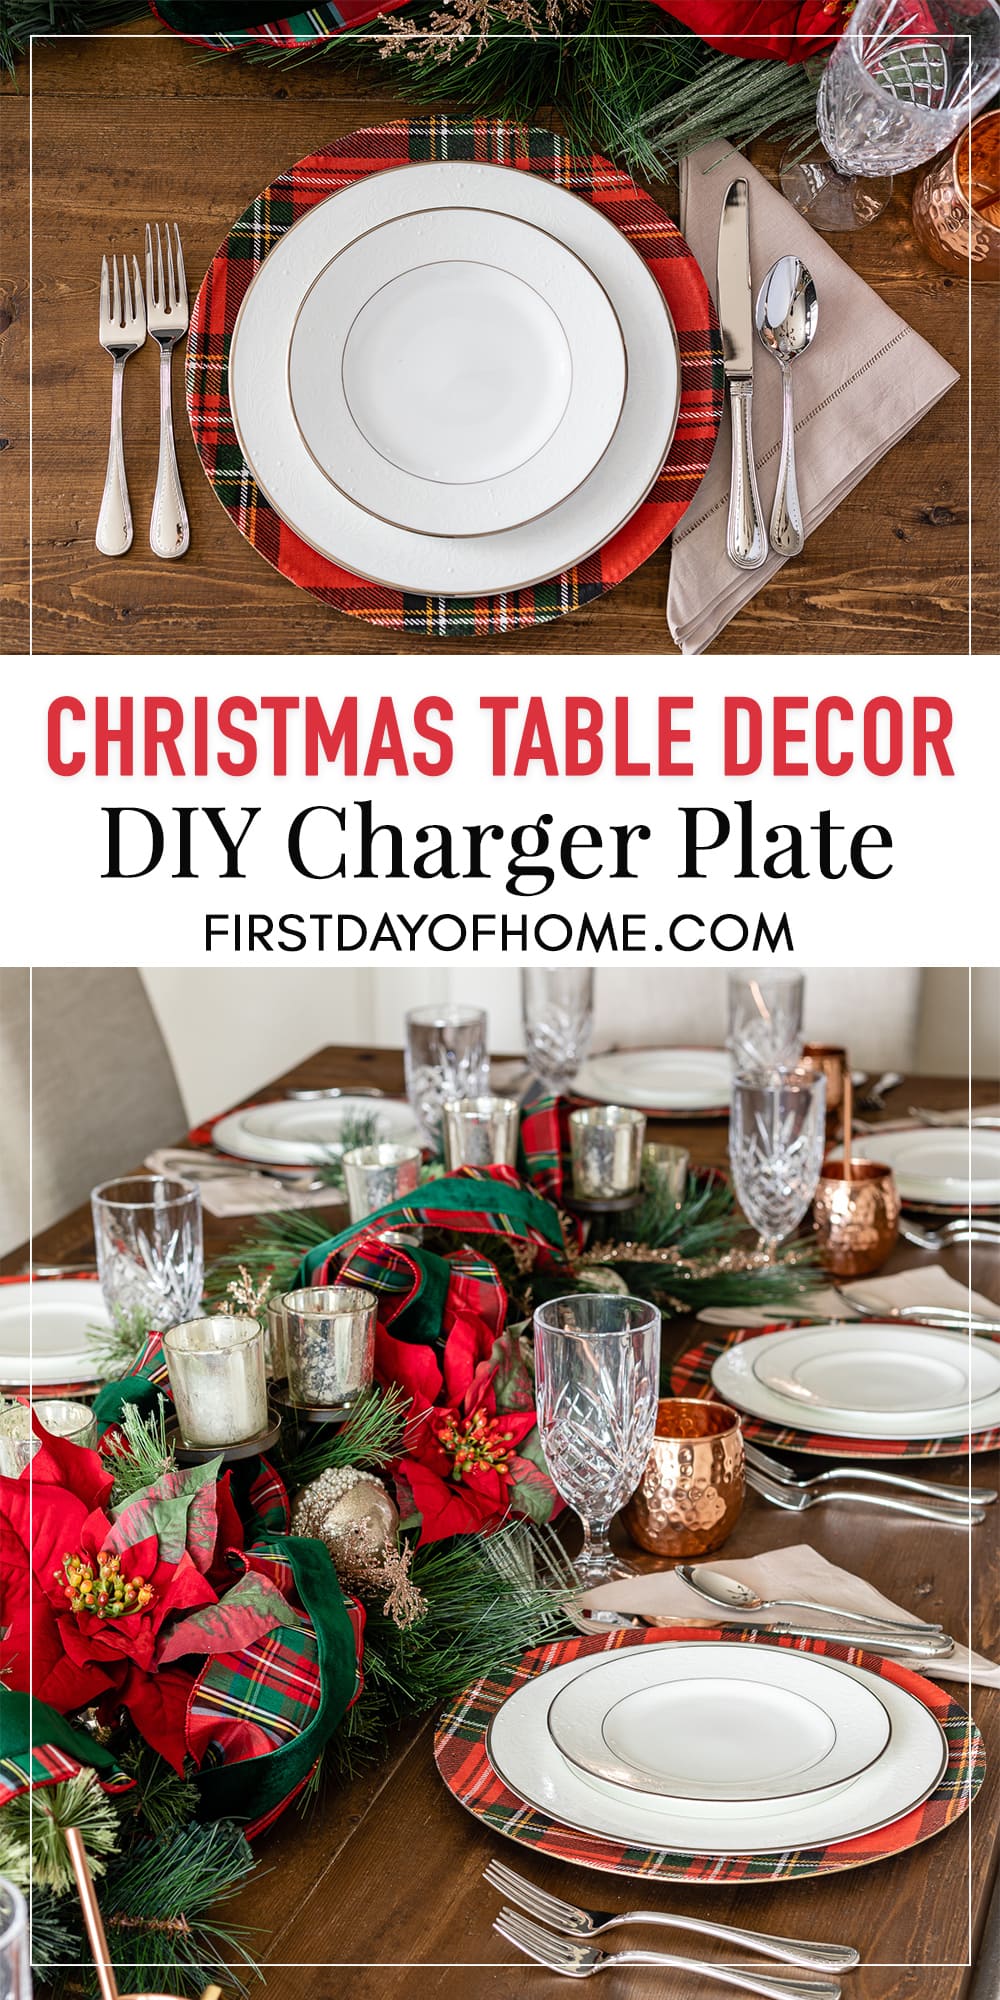
These pretty charger plates look great as part of your table decor, especially for Christmas or other special occasions.

You can see how they look in my Christmas decorations home tour above.
The charger plates set the theme for the table, so it was easy to coordinate a holiday centerpiece and other accents, like this plaid ribbon.
Shop the Post
You can purchase similar products to what you see here by clicking the links below. Thanks for supporting my small business through your purchase, at no extra cost to you!

Pin it for later!

DIY Charger Plates
Equipment
Supplies
- Plastic charger plates (6)
- 1 yard Cotton fabric
- Mod Podge (matte, not fabric formula)
Instructions
- Turn the charger plate over to roughly trace the perimeter onto the fabric, leaving about a 1/2-inch gap from the edge of the plate.

- Cut the fabric piece out. Don’t worry if some edges are roughly cut, since you will trim the edges later.
- Apply a thin layer of Mod Podge to the plate with a foam brush.
- Center the fabric circle over the plate, and firmly press the fabric onto the plate. Use food plastic wrap as a "glove" to smooth down any edges. This prevents the fabric from sticking to your fingers.
- Trim around the edges of the plate to remove any excess fabric.

- Apply more Mod Podge to the edges, if needed, to prevent fraying. Let the plate dry completely (20-30 minutes) before using.


Very pretty! Love your DIY chargers and your beautiful holiday table! 🎄
Thank you, Lauren! I’m getting excited for Christmas already, though I know it’s still months away.
Crissy, your table looks gorgeous and I never would have guessed the chargers were homemade. They look like you bought them at a high end boutique. I can’t wait to try making my own! Pinning!
Thank you so much, Michelle! There are so many possibilities with these. I can’t wait to see how yours turn out! Thanks for stopping by and pinning too! Hugs, Crissy
What an amazing transformation for your charger plates. I am inspired to try out this project too.
Merry Christmas,
Kippi
Thank you so much, Kippi! It really makes a big difference! Merry Christmas to you, too. Hugs, Crissy