DIY Patriotic Wood Signs in 10 Minutes
These patriotic wood signs make a big statement without taking up a lot of space. They’re the perfect DIY decor for the 4th of July and look great on a side table or tiered tray. Fortunately, you only need 10 minutes to make them!

This post contains affiliate links, and I will be compensated if you make a purchase after clicking on my links. For more information, please see my disclosures.
Project Overview
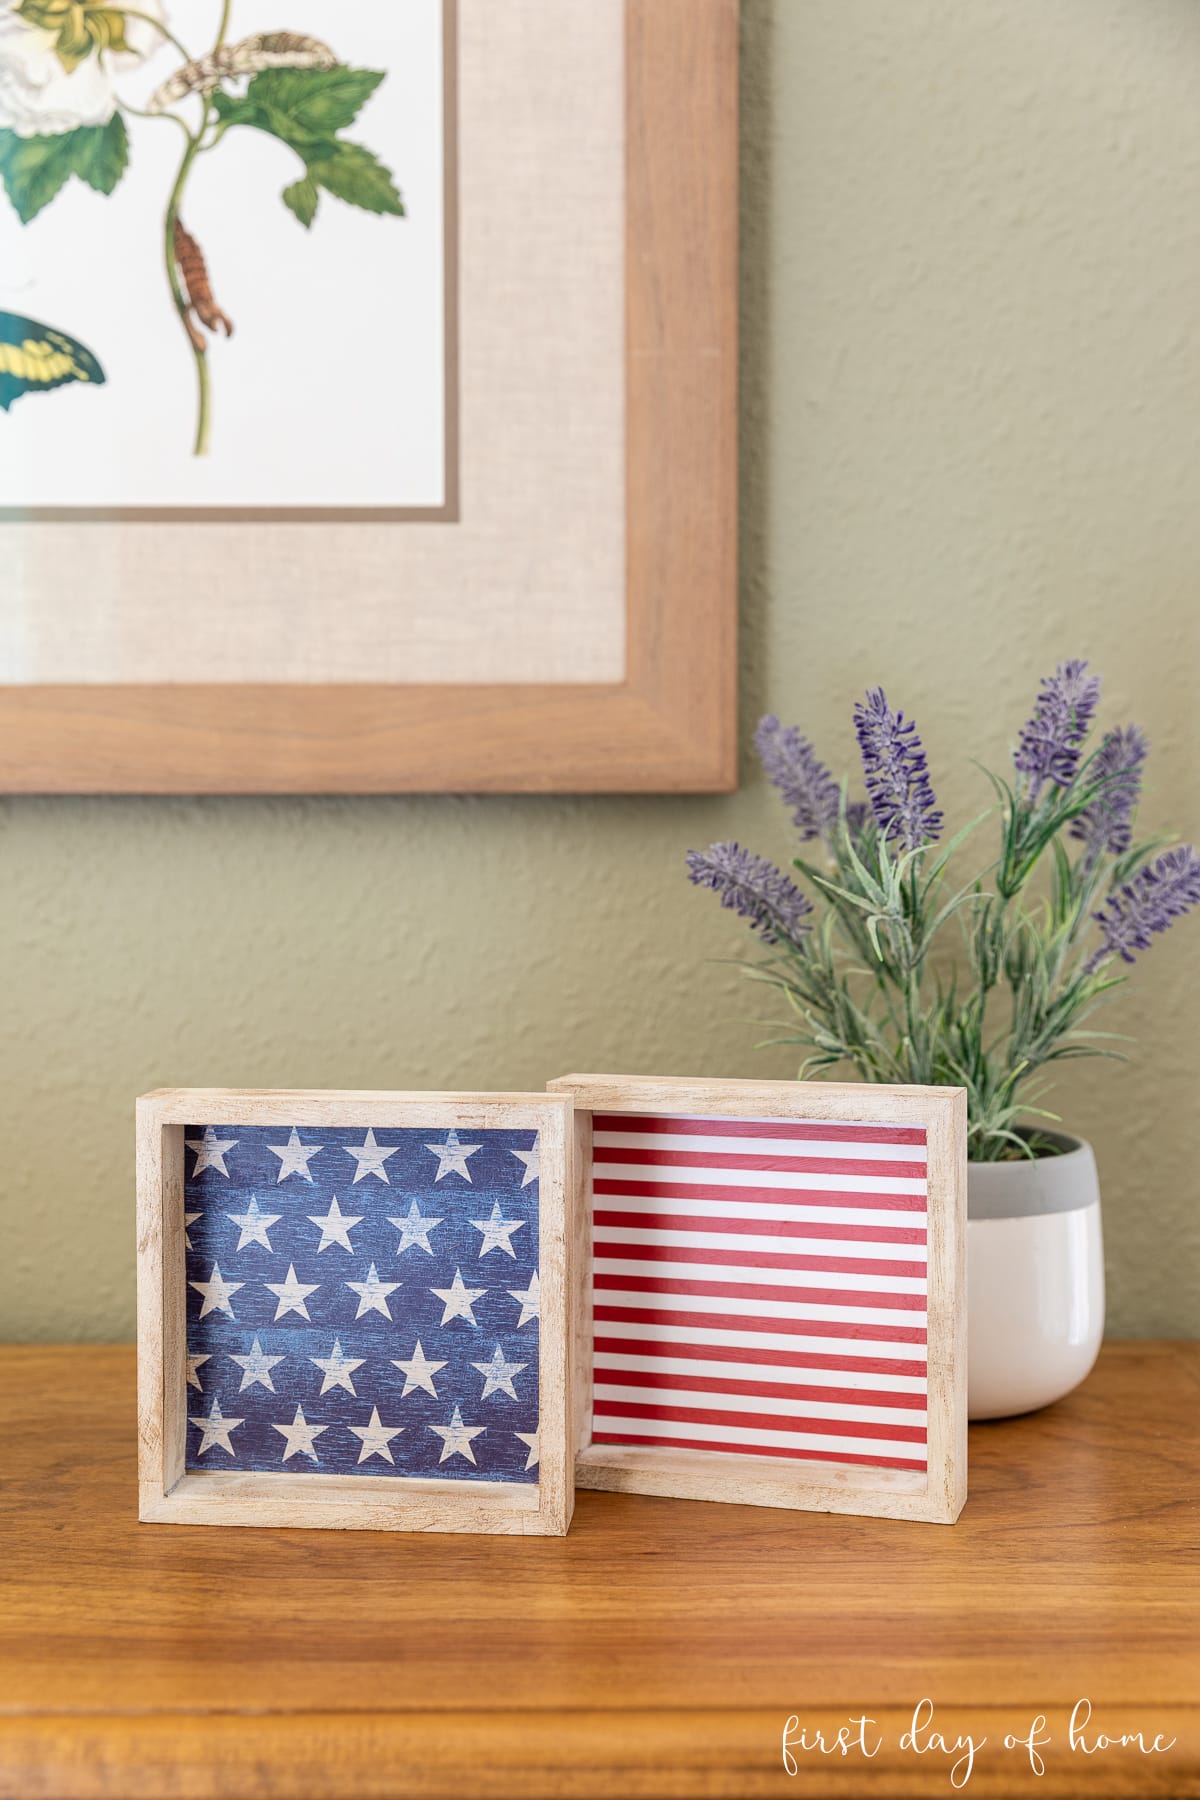
Sometimes the simplest crafts can turn out to be the most elegant. I love how this “deconstructed” flag looks perched on our side table. In fact, this project is near the top of my favorite decoupage projects to date.
If the word “decoupage” is new to you, be sure to visit my beginner’s guide to decoupage on wood for more project inspiration.
Supplies
Do you know those bins of wooden knick-knacks near the checkout at Michaels? That’s where I scored the wooden box frames for this DIY project. You can also find wooden objects for crafting at Dollar Tree. I’ve linked similar boxes in the supplies list below.
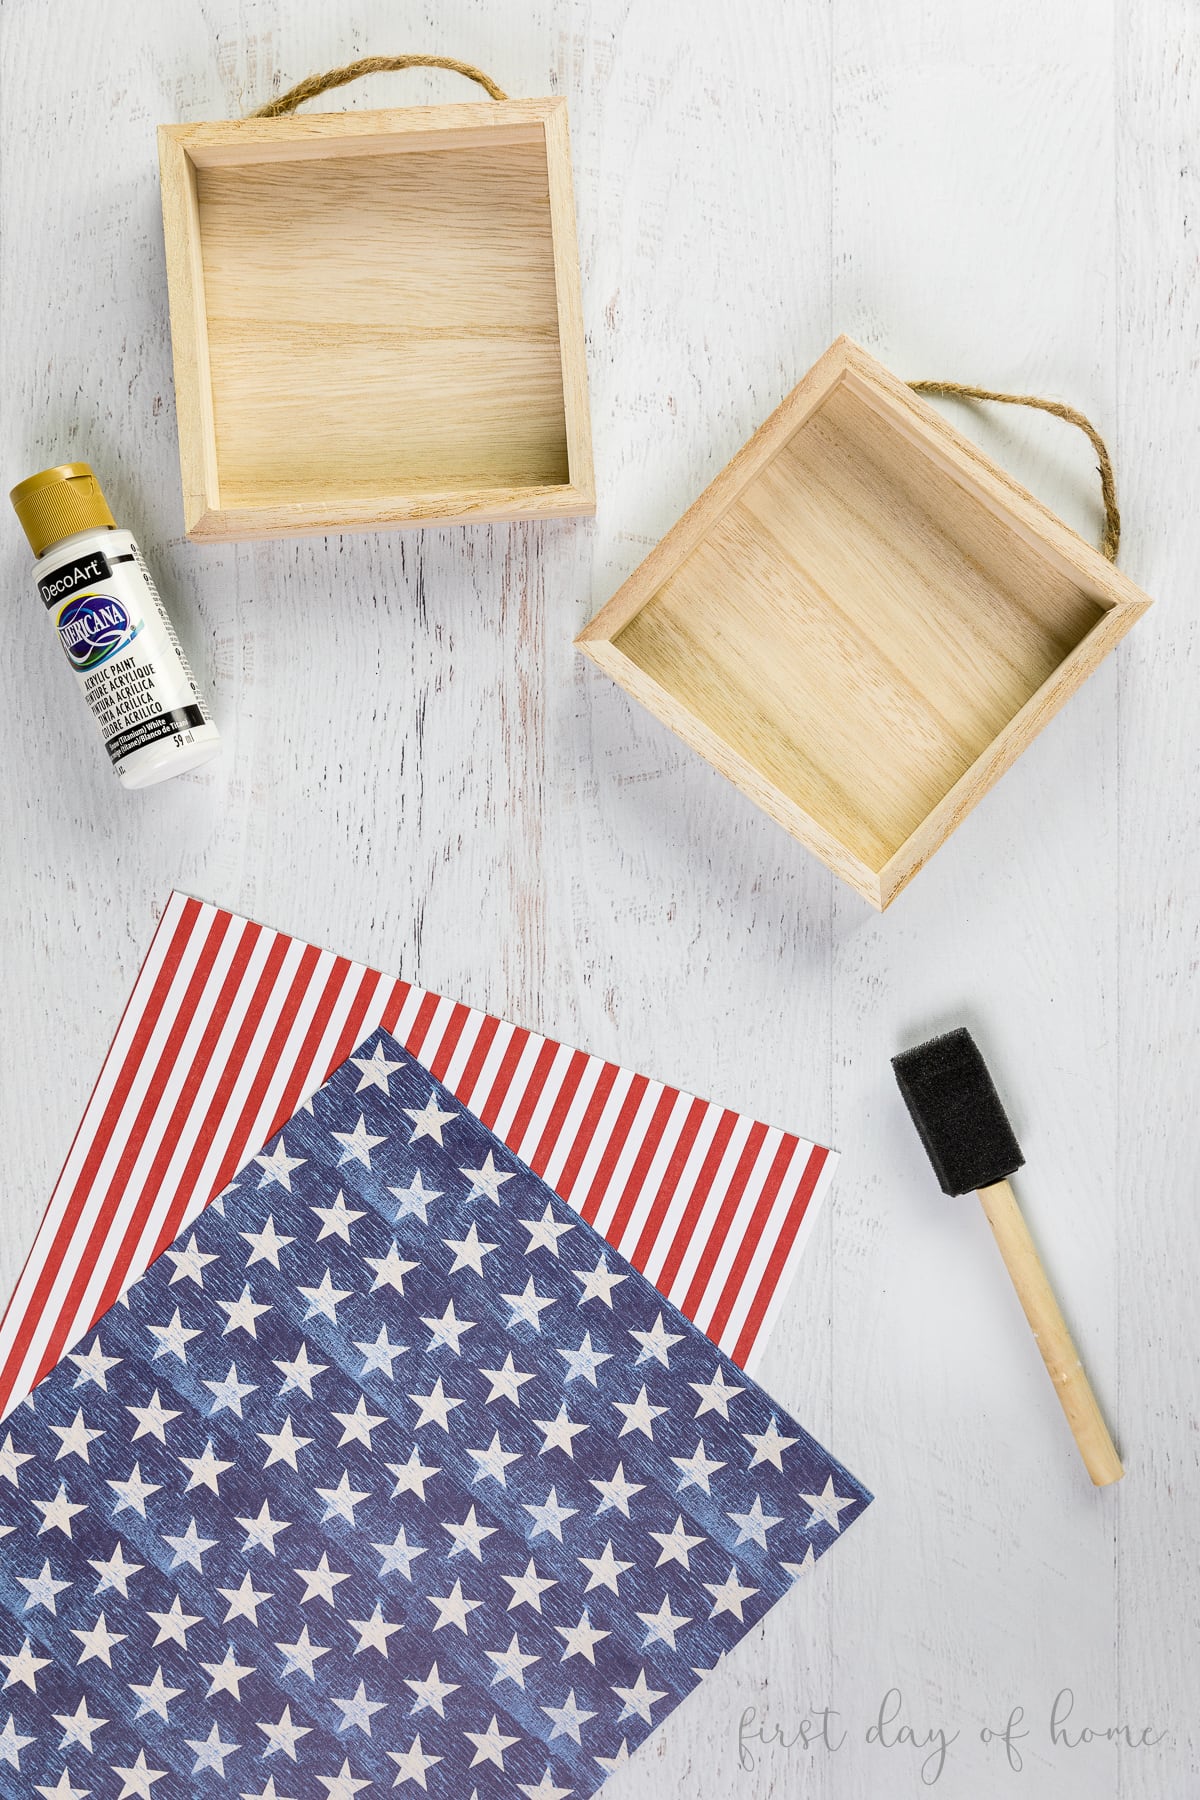
- Wooden frames or boxes
- Patriotic scrapbook paper
- Mod Podge
- White acrylic paint
- Foam brush
- Clear wax (optional)
- Dark wax (optional)
- Bristle brush (optional)
For your convenience, you can find all of these supplies together in my Amazon shop.
How to Make Patriotic Wood Signs
Step 1: Paint a base coat on the wood frames
If your piece of wood has rough edges, begin by sanding it down with fine-grit sandpaper. You can also remove any hooks on the back of your frames if you don’t plan on hanging them. (My wooden boxes had rope stapled onto the back that I quickly removed with pliers.)

With a foam brush, apply a thin coat of white acrylic paint or another color of your choosing. I decided to dilute my paint for a more whitewashed effect. You can do the same by placing your paint in a shallow dish and adding a few drops of water.
Note: You can also use a bristle brush, but I prefer foam brushes for whitewashing techniques. It’s easier to wring out any excess moisture.
Step 2: Cut scrapbook paper to size
After the paint has dried, measure the shape of your frames against the sheets of scrapbook paper. I suggest making a few tick marks and then cutting the paper with a paper trimmer if you have one.

I decided to keep it simple by having one frame with stars and the other with stripes to give the impression of a U.S. flag. However, you can get creative with other patriotic patterns. This scrapbook paper pack has loads of fun options in red, white, and blue.
Leftover scrapbook paper?
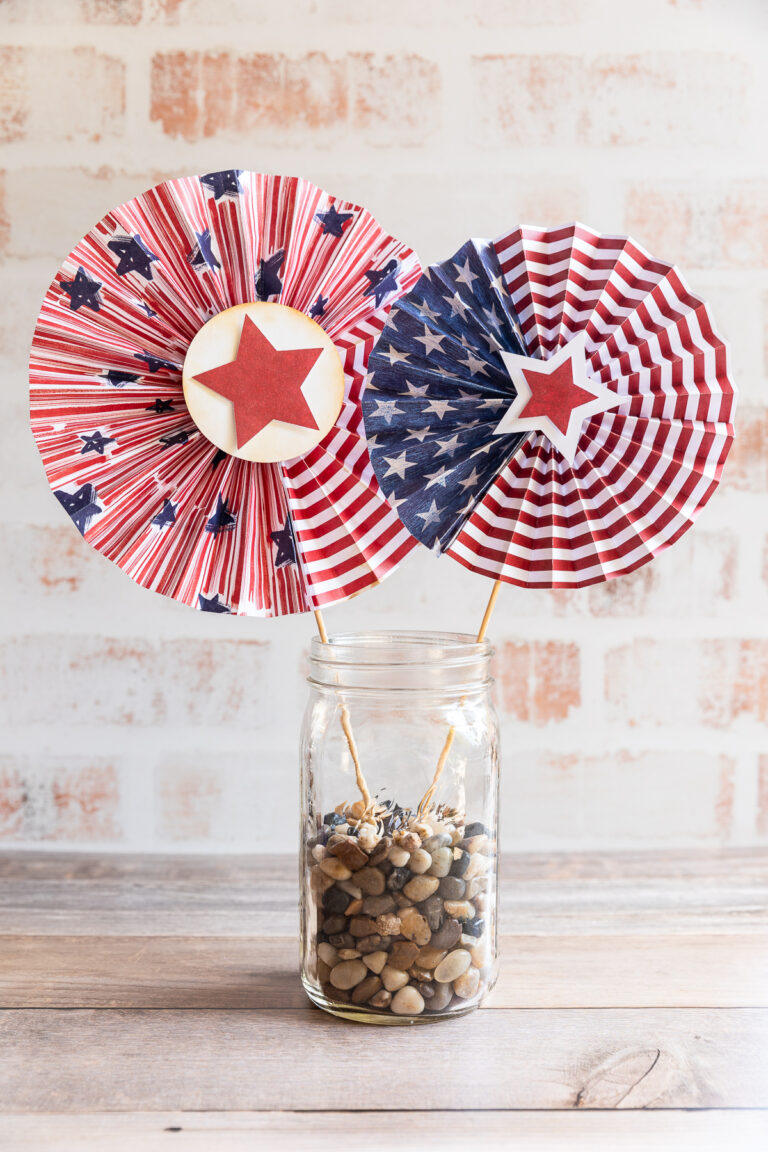
If you have any leftover scrapbook paper, try making these DIY garden stakes to dress up your patio. You can also make adorable DIY paper fans with a patriotic theme.
Step 3: Use Mod Podge to attach the paper to the frames
Next, apply a thin coat of Mod Podge inside of the frames and place your paper down. Be sure you’ve measured your squares well since the paper gets stuck pretty quickly and is hard to shift around…or so I’ve heard (wink).
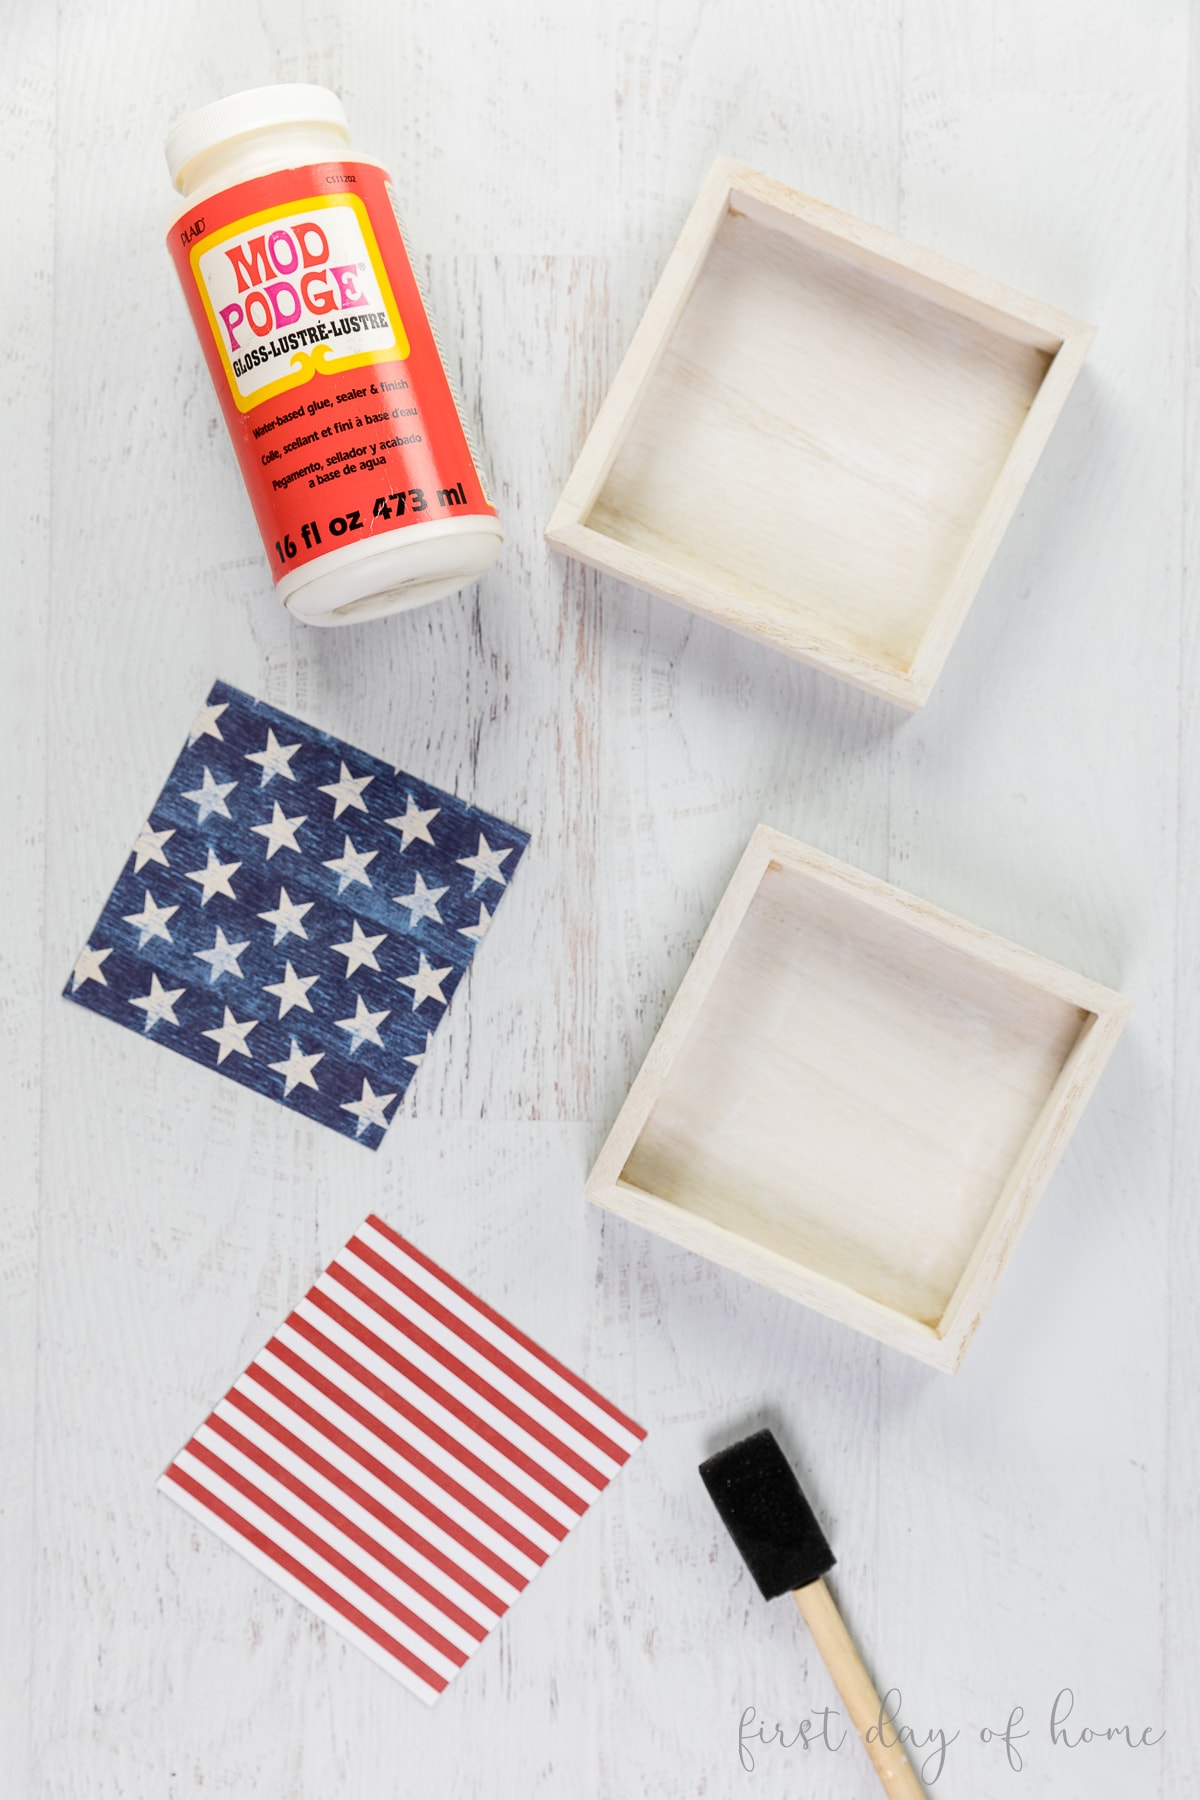
Use a brayer tool or credit card to smooth down any air bubbles that might appear.
Step 4: Apply a top coat of Mod Podge
Wait for the paper to dry for 20-30 minutes before applying a top coat of Mod Podge. This helps seal the paper in place and prevent discoloration later.
Step 5: Apply antiquing wax (optional)
If you want your Old Glory signs to look a little more weathered, you can use antique wax to add some distressed edges. This gives the signs an Americana or farmhouse vibe that adds more character, in my opinion.

I like to begin with the clear wax to prime the piece, followed by the dark wax. When applying the dark wax, make sure you start with a light coat using a bristle brush and wipe away any excess with a soft cloth. In the photo above, you can see the subtle difference the wax makes around the edge of the wooden box.
Decor Ideas with Patriotic Wood Signs
I placed my patriotic signs on a side table in our breakfast room, but this decor accent is small enough to place just about anywhere.
Consider adding patriotic wood signs in these familiar spots:
- Fireplace mantel
- Tiered tray
- Table centerpiece
- Coffee table
- Shelves
- Desk
- Bathroom
If you end up making this project, please share your creations with me over on Instagram! You can tag me @firstdayofhome.
Pin it for later!