How to Use Cricut Infusible Ink: Complete Guide
Once you learn how to use Cricut infusible ink, your crafting game will be forever changed! It’s my favorite way to get professional-looking results on everything from t-shirts to mugs. Don’t be intimidated by the fancy name. I’m sharing all of my tips (and mistakes to avoid) in this new Cricut series.
This post contains affiliate links, and I will be compensated if you make a purchase after clicking on my links. For more information, please see my disclosures.
What is infusible ink?
If you’re familiar with heat-transfer vinyl (HTV), think of infusible ink as its cool cousin. It’s another method of using heat to transfer a design to a base material (called a “blank”). The sublimation ink becomes fused with the blank, so it looks professionally dyed or printed with no change in texture.
Infusible Ink at a Glance
- MACHINE COMPATIBILITY: Cricut Maker, Cricut Explore, Cricut Joy (for smaller projects)
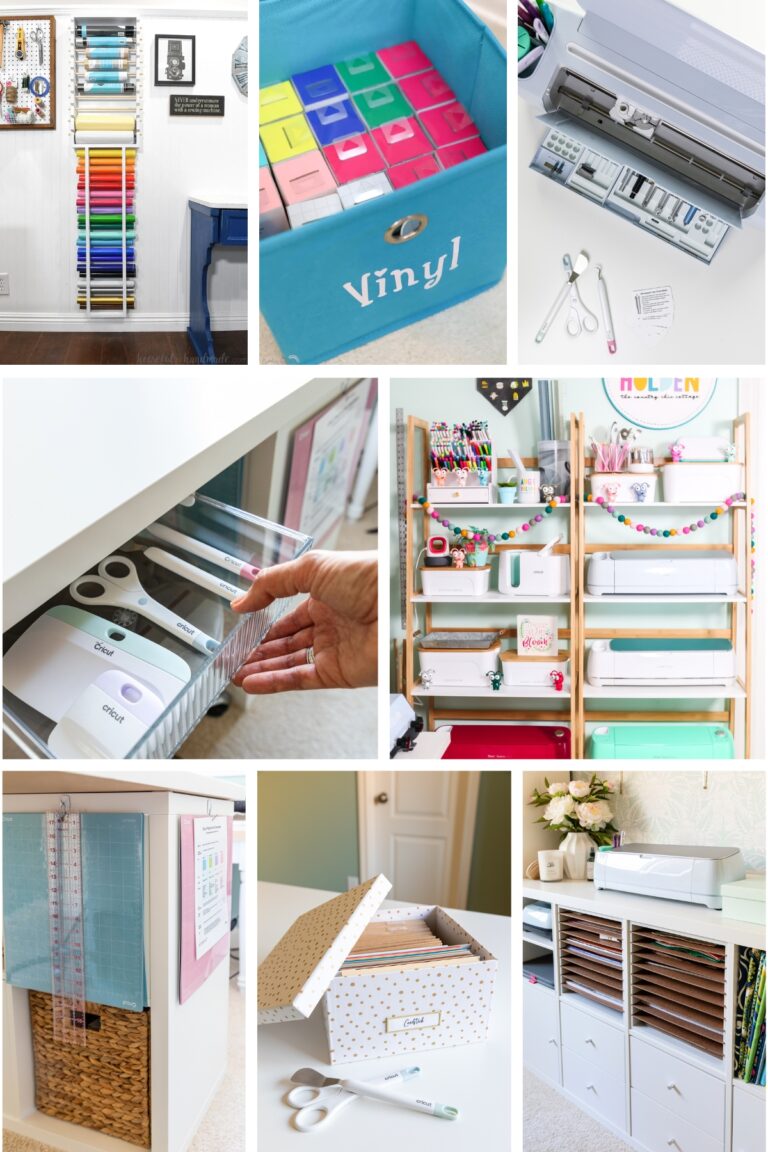
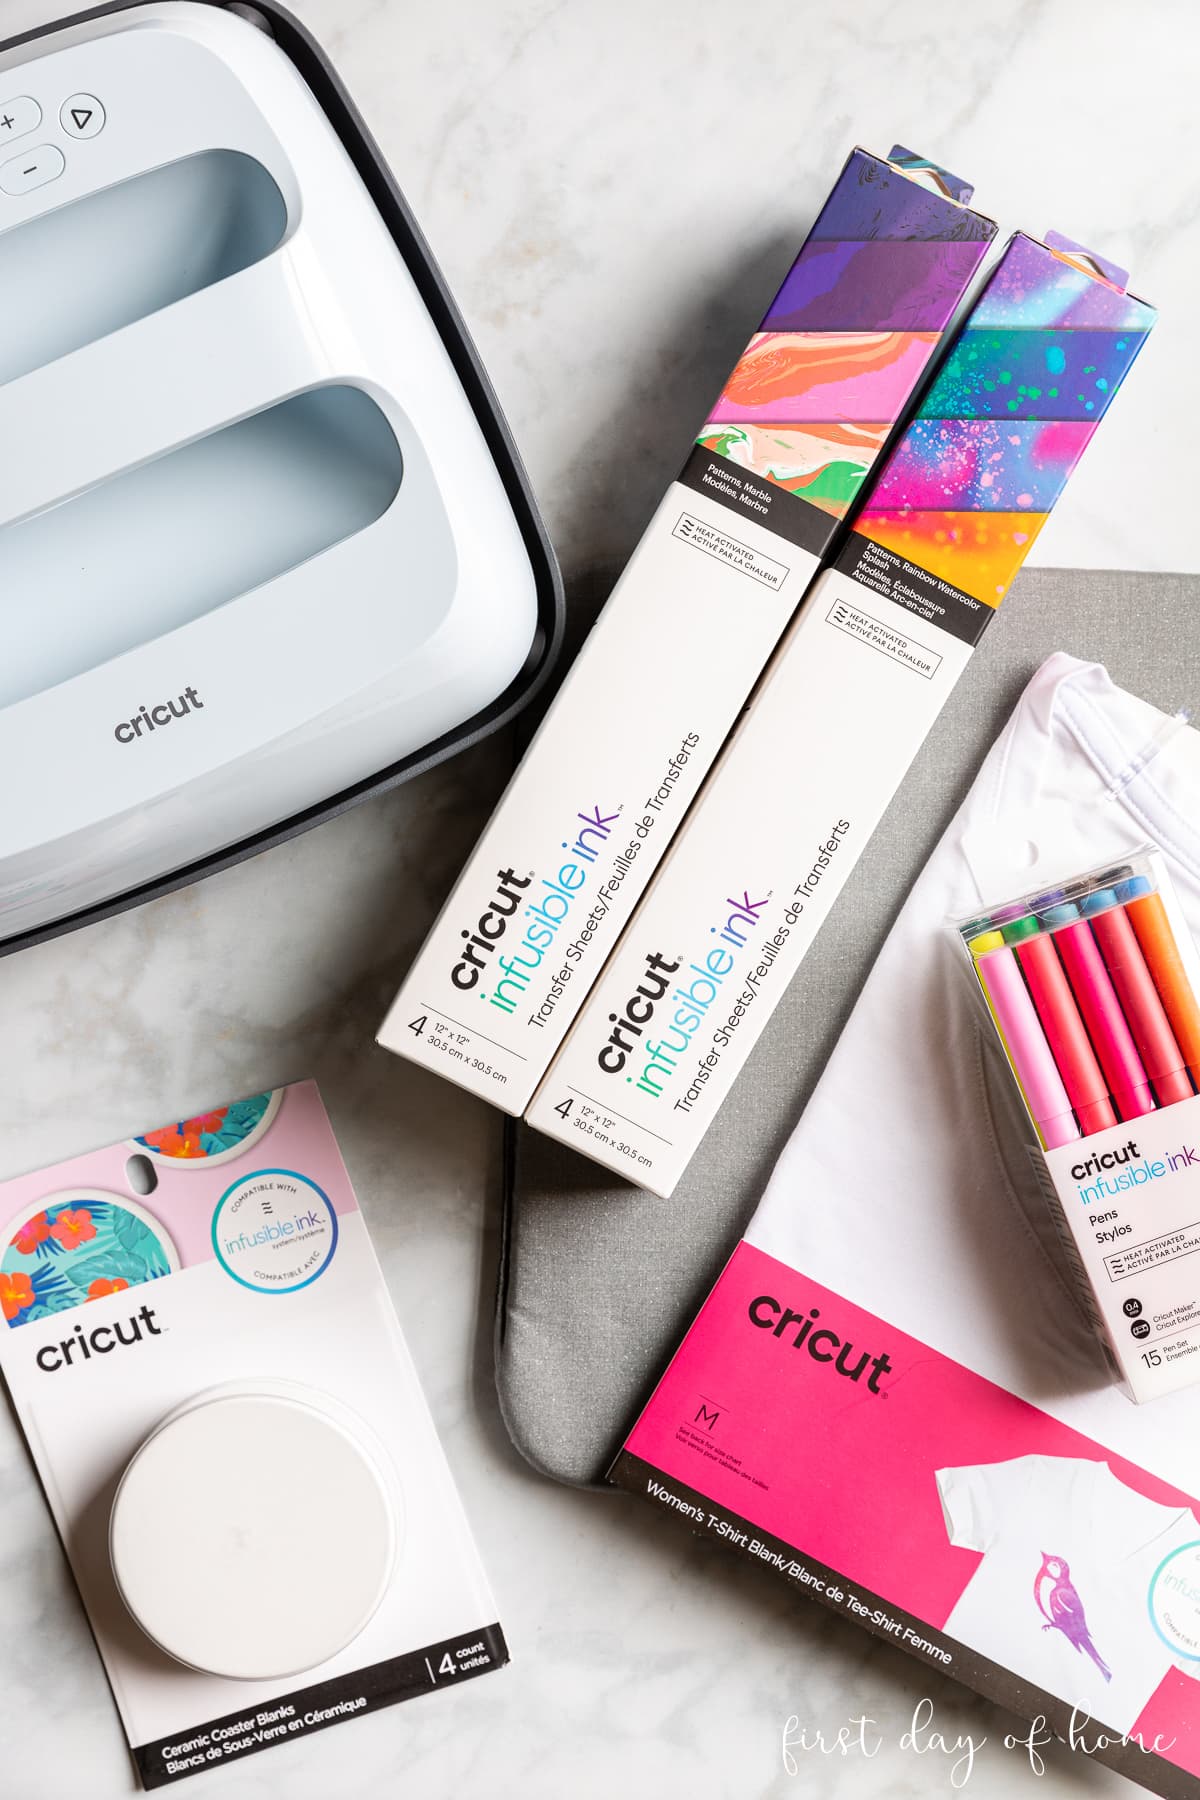
- SUPPLIES NEEDED: Infusible ink transfer sheets or pens, Cricut blanks (t-shirt, coasters, cosmetic bags, mugs), heat press or mug press, butcher paper, white cardstock, pressing mat, lint roller, heat-resistant tape (optional for small projects)
- PROJECT COST: $10-20 for infusible ink and blanks
Cricut Infusible Ink Shirt Tutorial (Watch time: 1 min)
Watch this short video to learn how you can use infusible ink to make a t-shirt.
How is infusible ink different from iron-on vinyl?
While both materials use a heat press to transfer your design, there are some key differences between infusible ink products and iron-on vinyl.
Color and Texture
The key difference with infusible ink vs. heat-transfer vinyl (a.k.a. HTV or iron-on) is that there’s no adhesive involved. The design transfers seamlessly to the base material, whether it’s a t-shirt, mug, or coaster.
The color options with infusible ink transfer sheets and pens are also more vibrant compared to HTV. The transfer sheets come in both solid colors and beautiful patterns like marble, geometric, or watercolor. However, infusible ink doesn’t have the textures that come with some iron-on, like glitter, holographic, or foil.
Infusible ink vs. HTV Guide
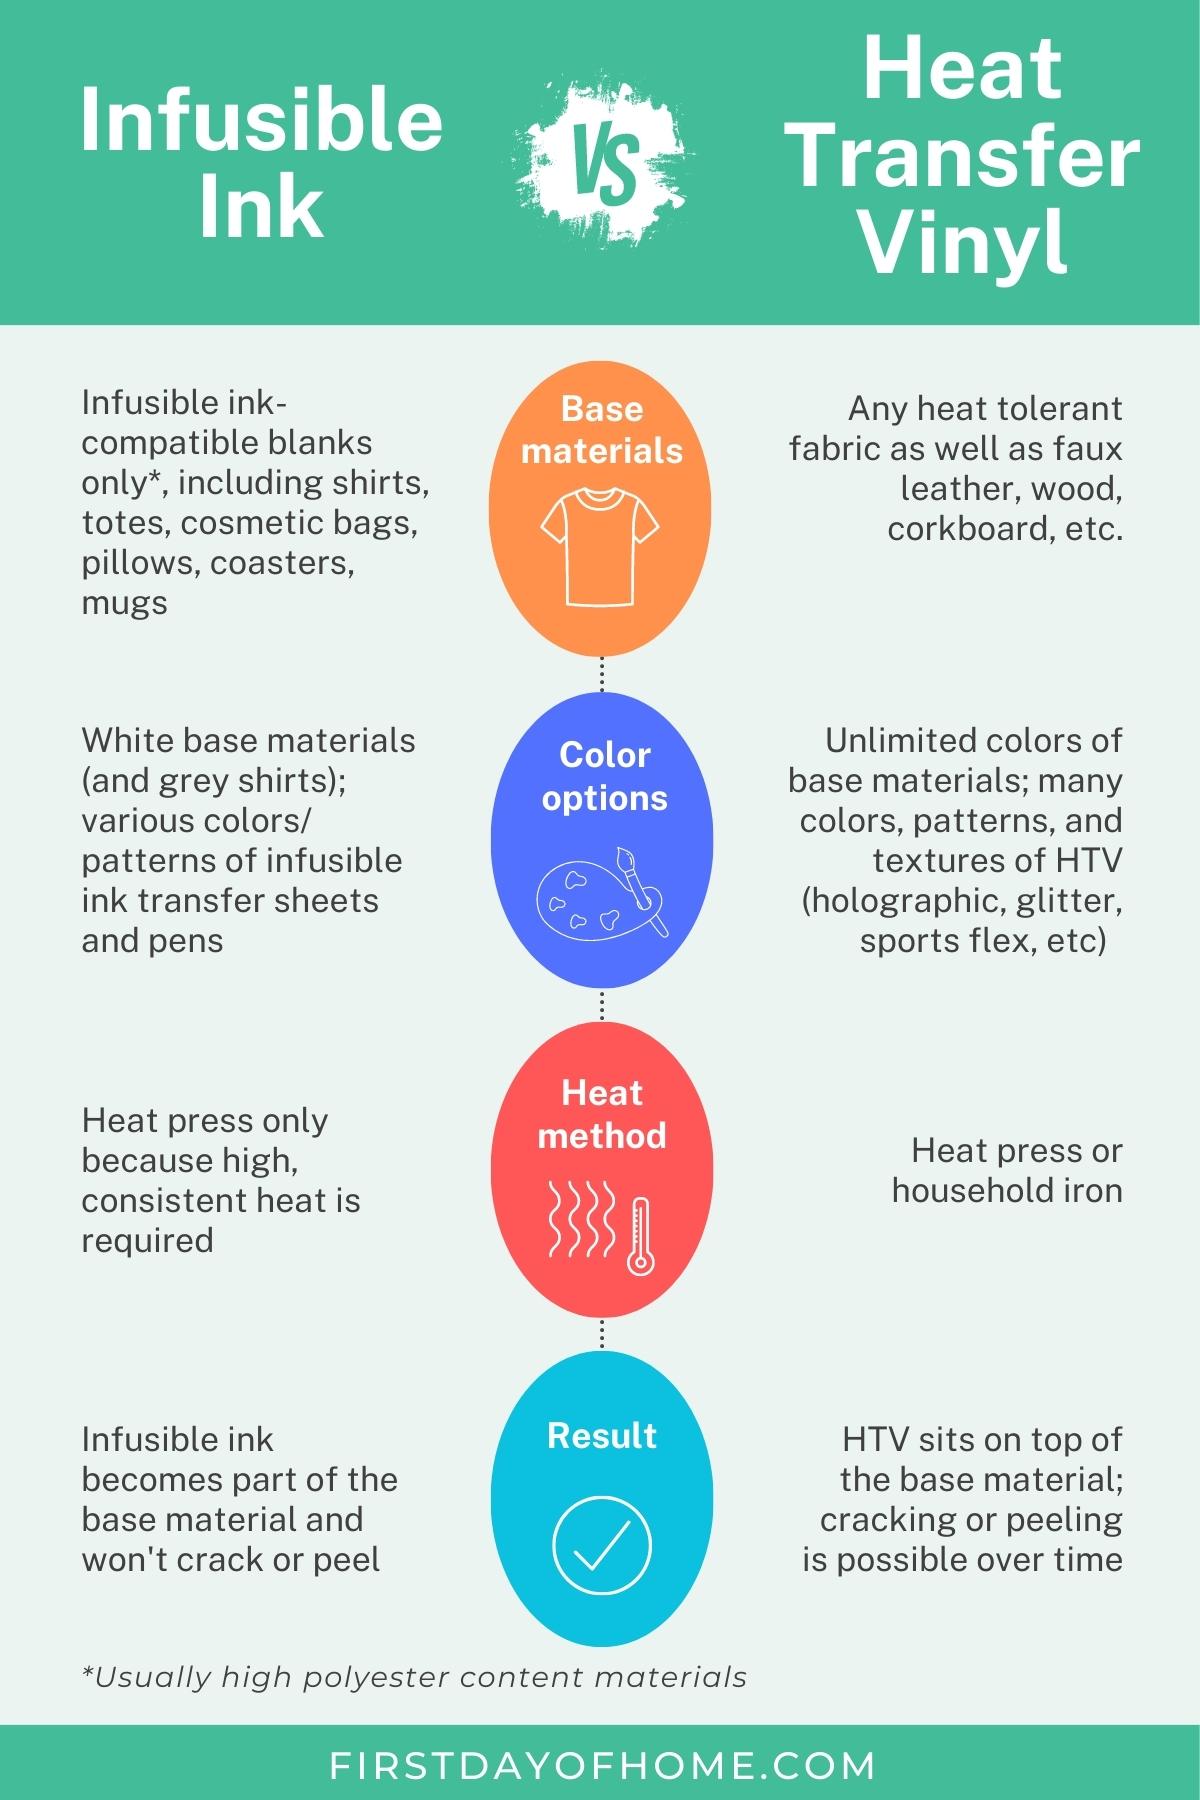
A major plus is that infusible ink won’t crack or peel over time since it fuses with the base material. It also stretches more easily than HTV on fabric projects.
The end result with infusible ink is similar to a screen-printed design but doesn’t require the extra step of a frame, squeegee, inks, and vinyl.
Base Materials Required
With infusible ink, you will have to invest in compatible infusible ink blanks with a high polyester content or finish. You can stay on the safe side with Cricut brand blanks, or you can experiment with products from other manufacturers that are listed as “infusible-ink or sublimation compatible.”

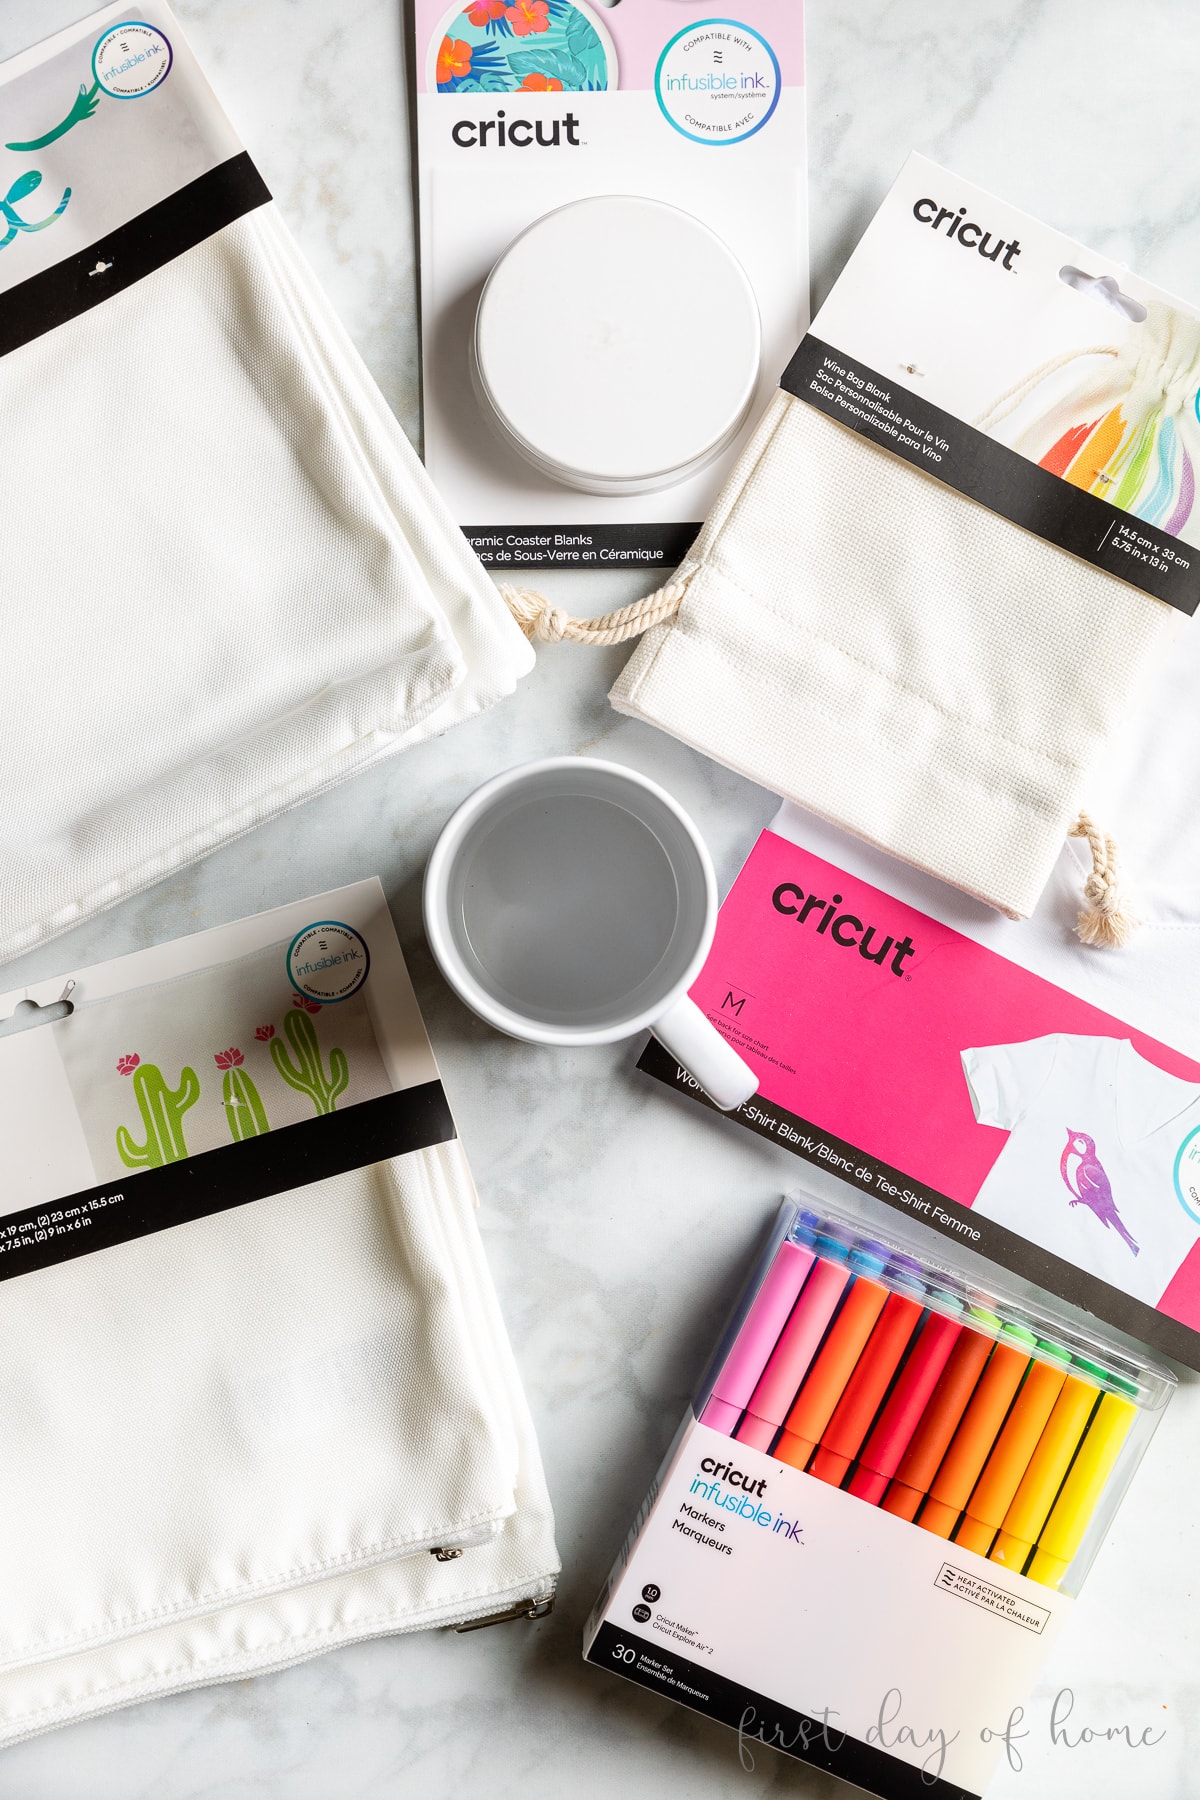
Base Material Color Options
Unfortunately, you don’t have many color options when it comes to base materials for infusible ink (see photo below). Compatible shirts come in white or grey, though you’ll find a handful of cute raglan shirts with black sleeves. Most other blanks come in white, though some mugs have a colored interior.
Heat Press Requirements
To get a successful ink transfer, you’ll need a heat press, like an EasyPress 2, EasyPress 3, or Autopress. I have a complete EasyPress 3 Guide if you want to learn more.
Older models of EasyPress may work but with varied results. The EasyPress Mini will also work, though you’ll want to use heat-resistant tape to prevent your design from shifting.
In the FAQs below, I’ll explain why a household iron won’t work with infusible ink. However, any heat press with uniformly distributed heat will work as long as it goes up to 400°F (205°C).
To make infusible ink mugs, you’ll need the Cricut mug press, and for hats, you’ll need the Cricut hat press.
Project: How to Make Cricut Infusible Ink Shirts
Let’s make a quick t-shirt together! Once you finish your first shirt, you’ll be hooked on exploring what else you can make with infusible ink.
For this project, we’ll be using Cricut infusible ink transfer sheets. I cover Cricut infusible ink pens in a separate tutorial to make infusible ink coasters since that process requires laser copy paper.
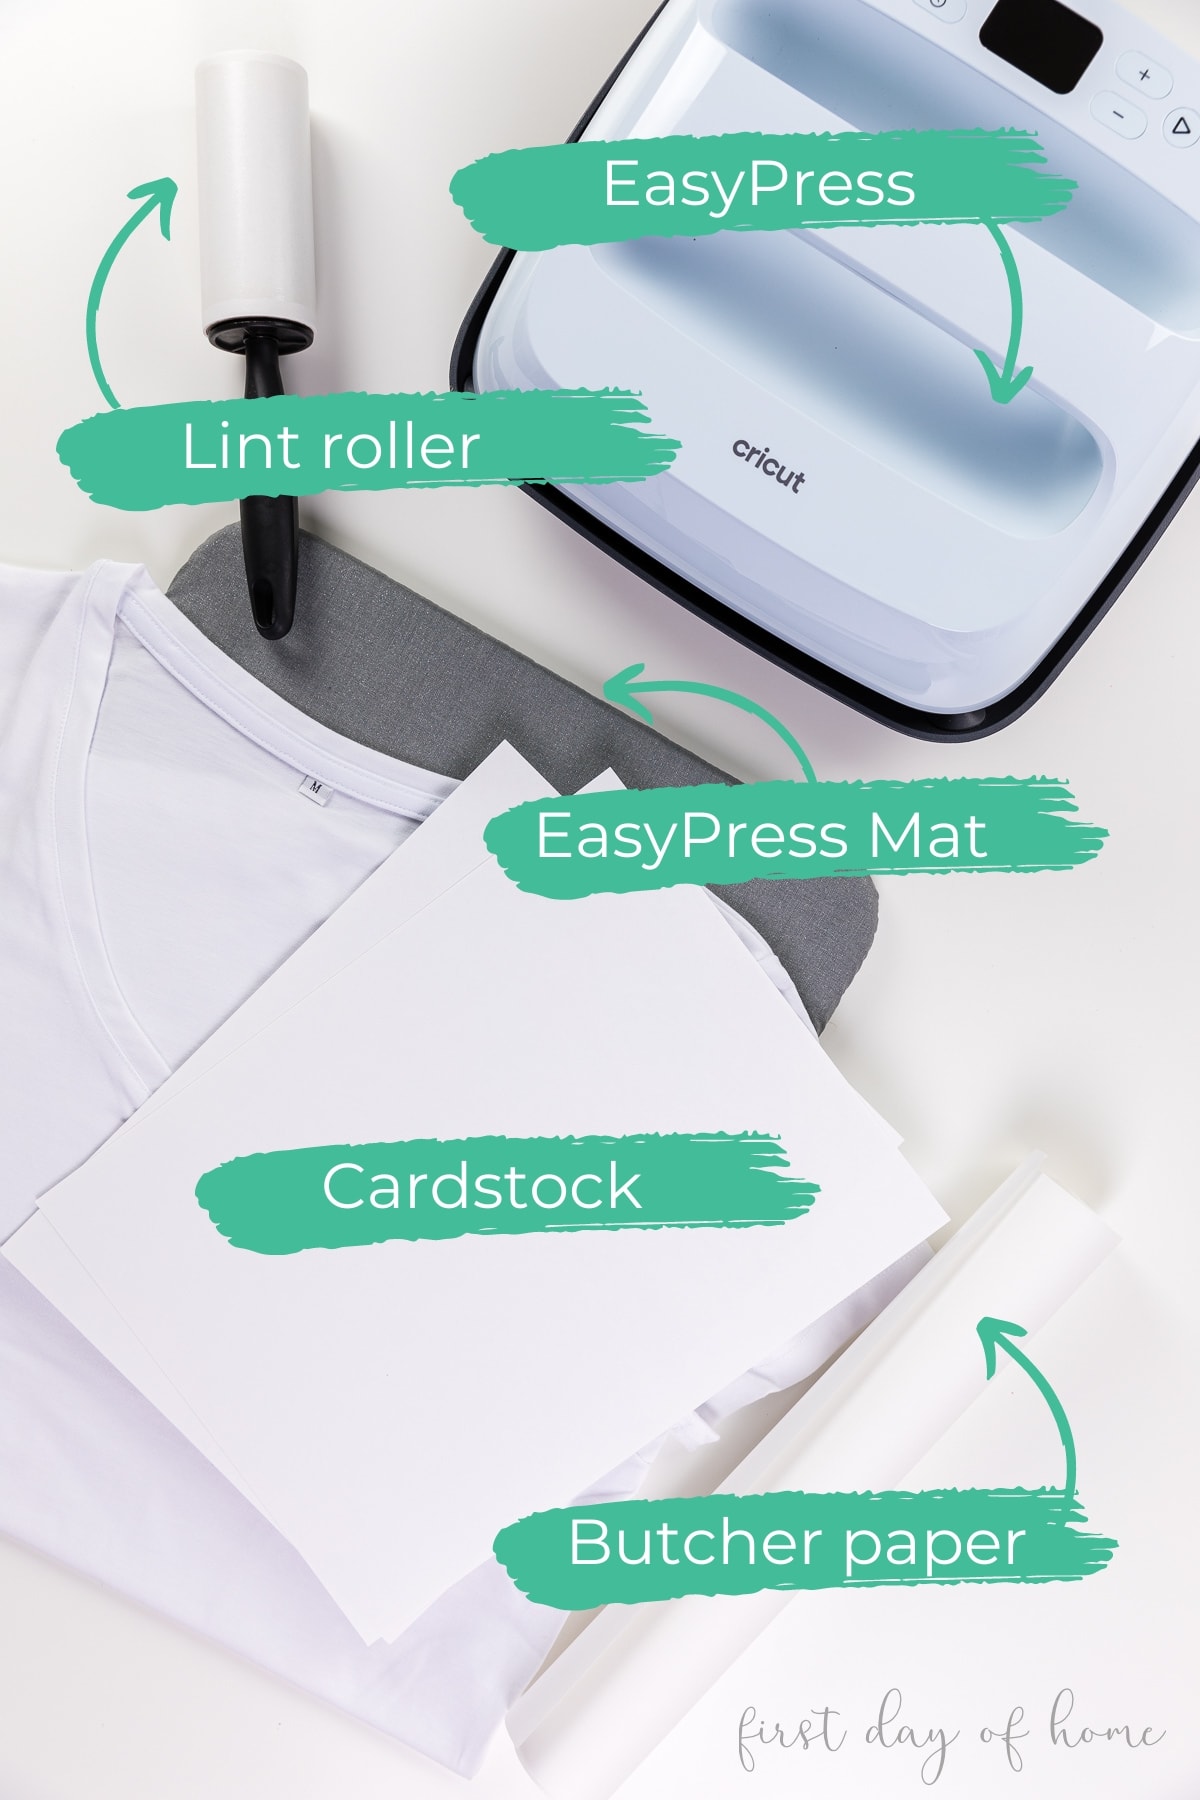
Infusible Ink Supplies
- Cricut machine (Maker, Explore or Joy)
- Standard grip machine mat (green mat)
- Heat press (EasyPress 2, EasyPress 3, or similar)
- Cricut EasyPress mat (*highly recommended for smooth transfer)
- Infusible ink shirt blank
- Infusible ink transfer sheet
- Butcher paper (included with infusible ink transfer sheets)
- White cardstock
- Lint roller
A paper trimmer or scissors may also come in handy to save any excess infusible ink after cutting.
Step 1: Create and cut the infusible ink design.
In Cricut Design Space, I suggest using the templates tool to size your design. I chose a heart design (#M49F5C80E in Design Space) and resized it to roughly 9×9 inches. You can also create your own design using these free Cricut fonts or another SVG file.
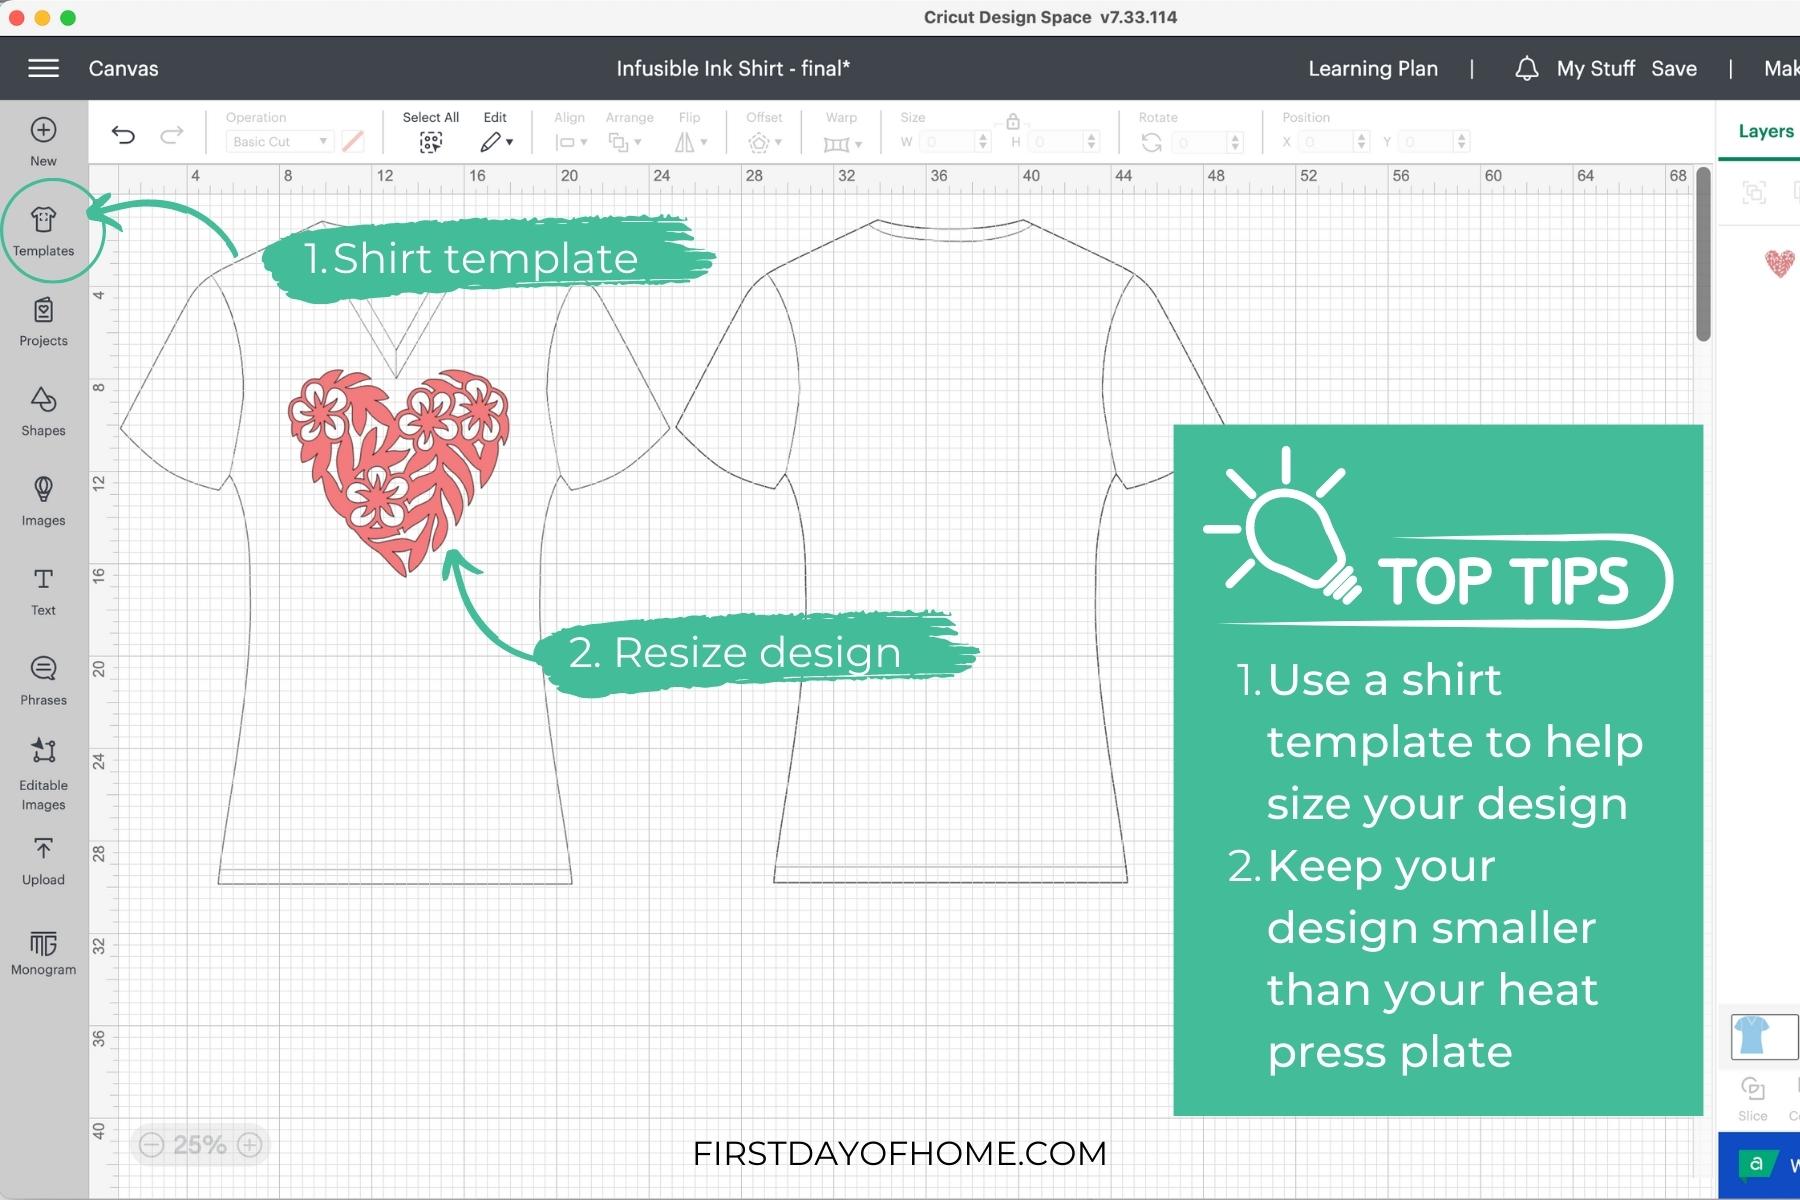
Keep the size of your design smaller than the size of your heat press to ensure you won’t have issues later! In hindsight, I might have gone a tad smaller on my heart image.
With infusible ink, you’ll need to press the full design at once. Moving the heat press around will result in blurry lines, so I don’t recommend starting with a large design. The one exception is if you’re working with an EasyPress Mini. In that case, your design can be 2X the size of the Mini but requires heat-resistant tape to prevent shifting.
Try to choose a single-color design to start. In a future tutorial, I’ll show how to layer infusible ink. We’re taking baby steps today!

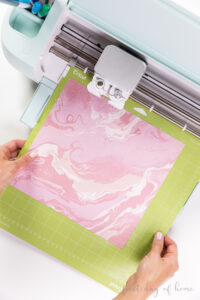
To cut the infusible ink transfer sheet, place the shiny side down (pattern facing up) on the cutting mat. Use a brayer tool or scraper to help iron out any wrinkles before cutting.
Follow the steps in Cricut Design Space to select infusible ink as your base material. Be sure to mirror the design just as you would for iron-on vinyl. Then send the design to cut.
Step 2: Weed the design
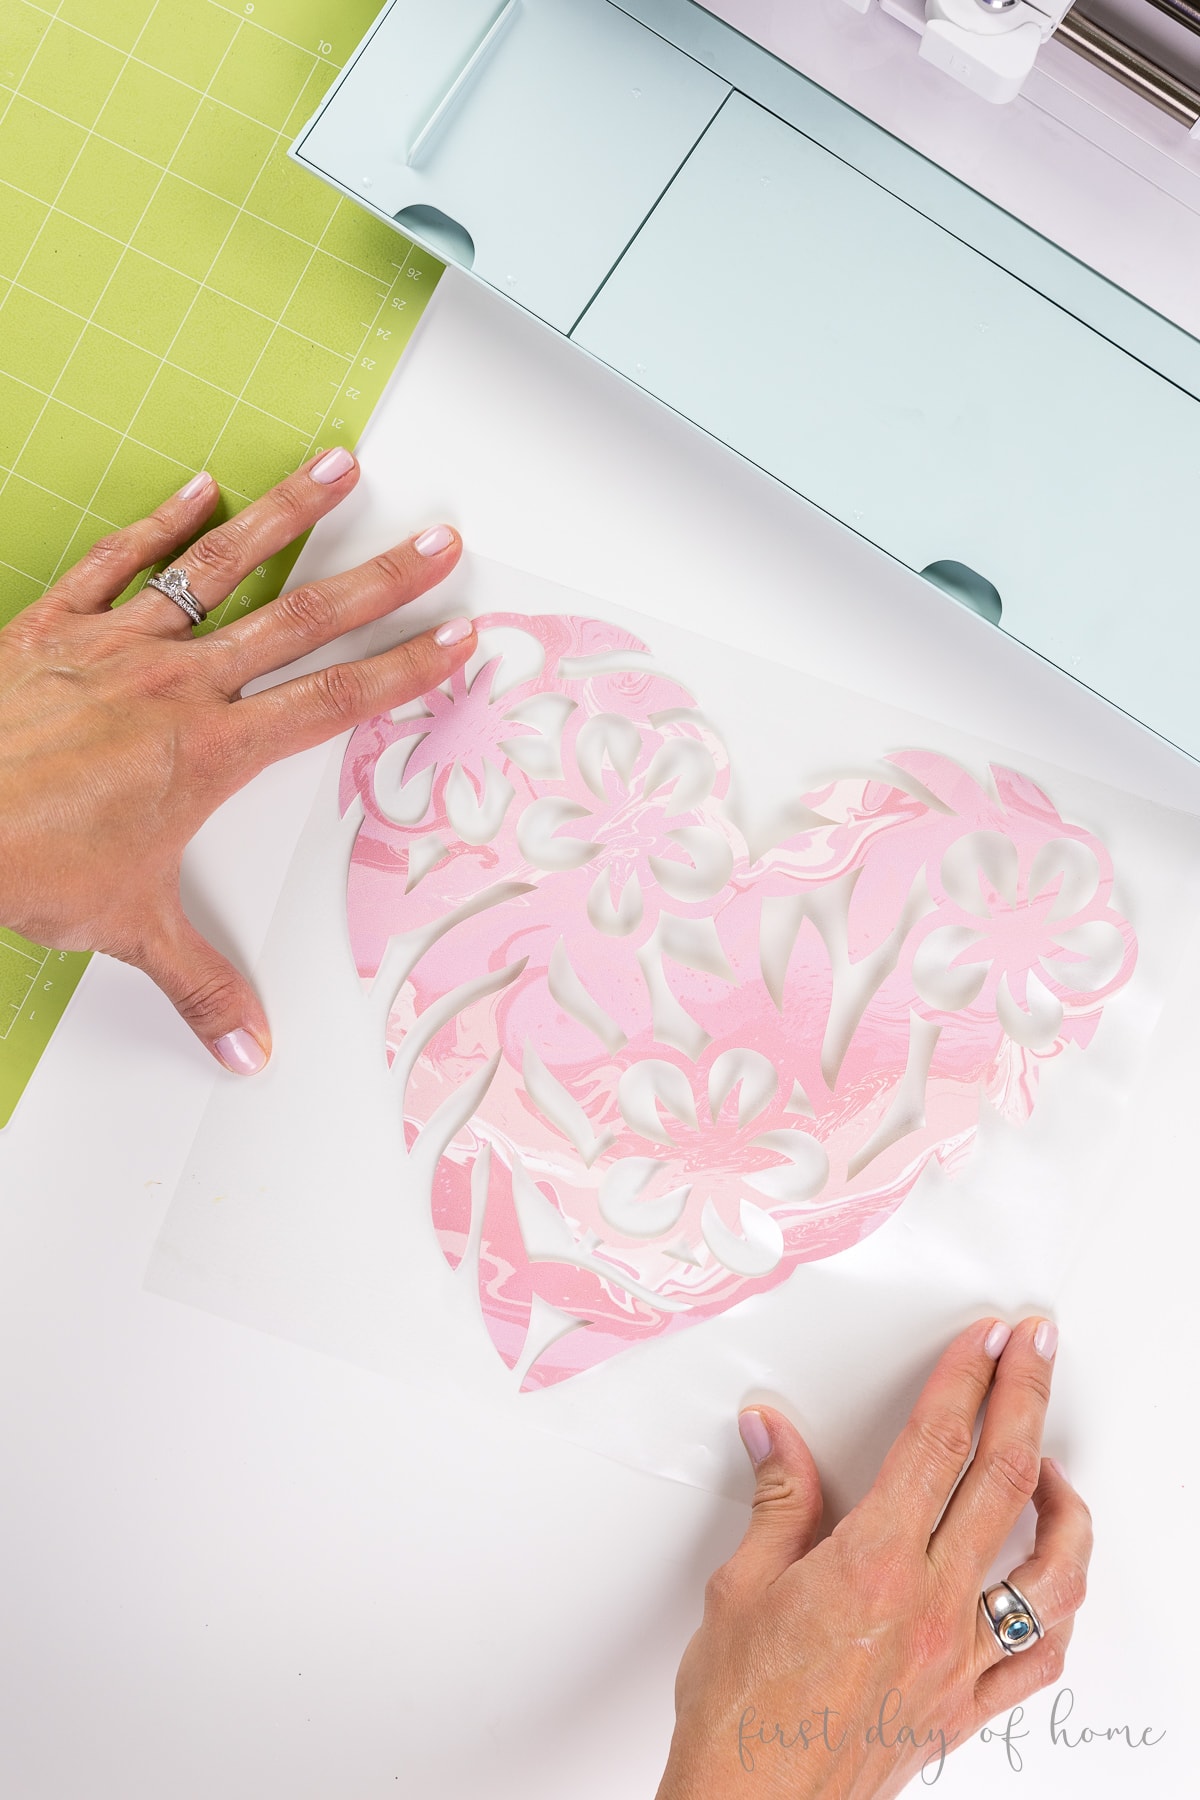
Start by trimming any uncut portions of your infusible ink sheet. You can save those pieces for future projects! Then begin removing the excess pieces with your fingers so only your design remains.
Avoid using sharp weeding tools with infusible ink transfer sheets. Cricut warns this could result in unwanted ink transfer or damage to the design.
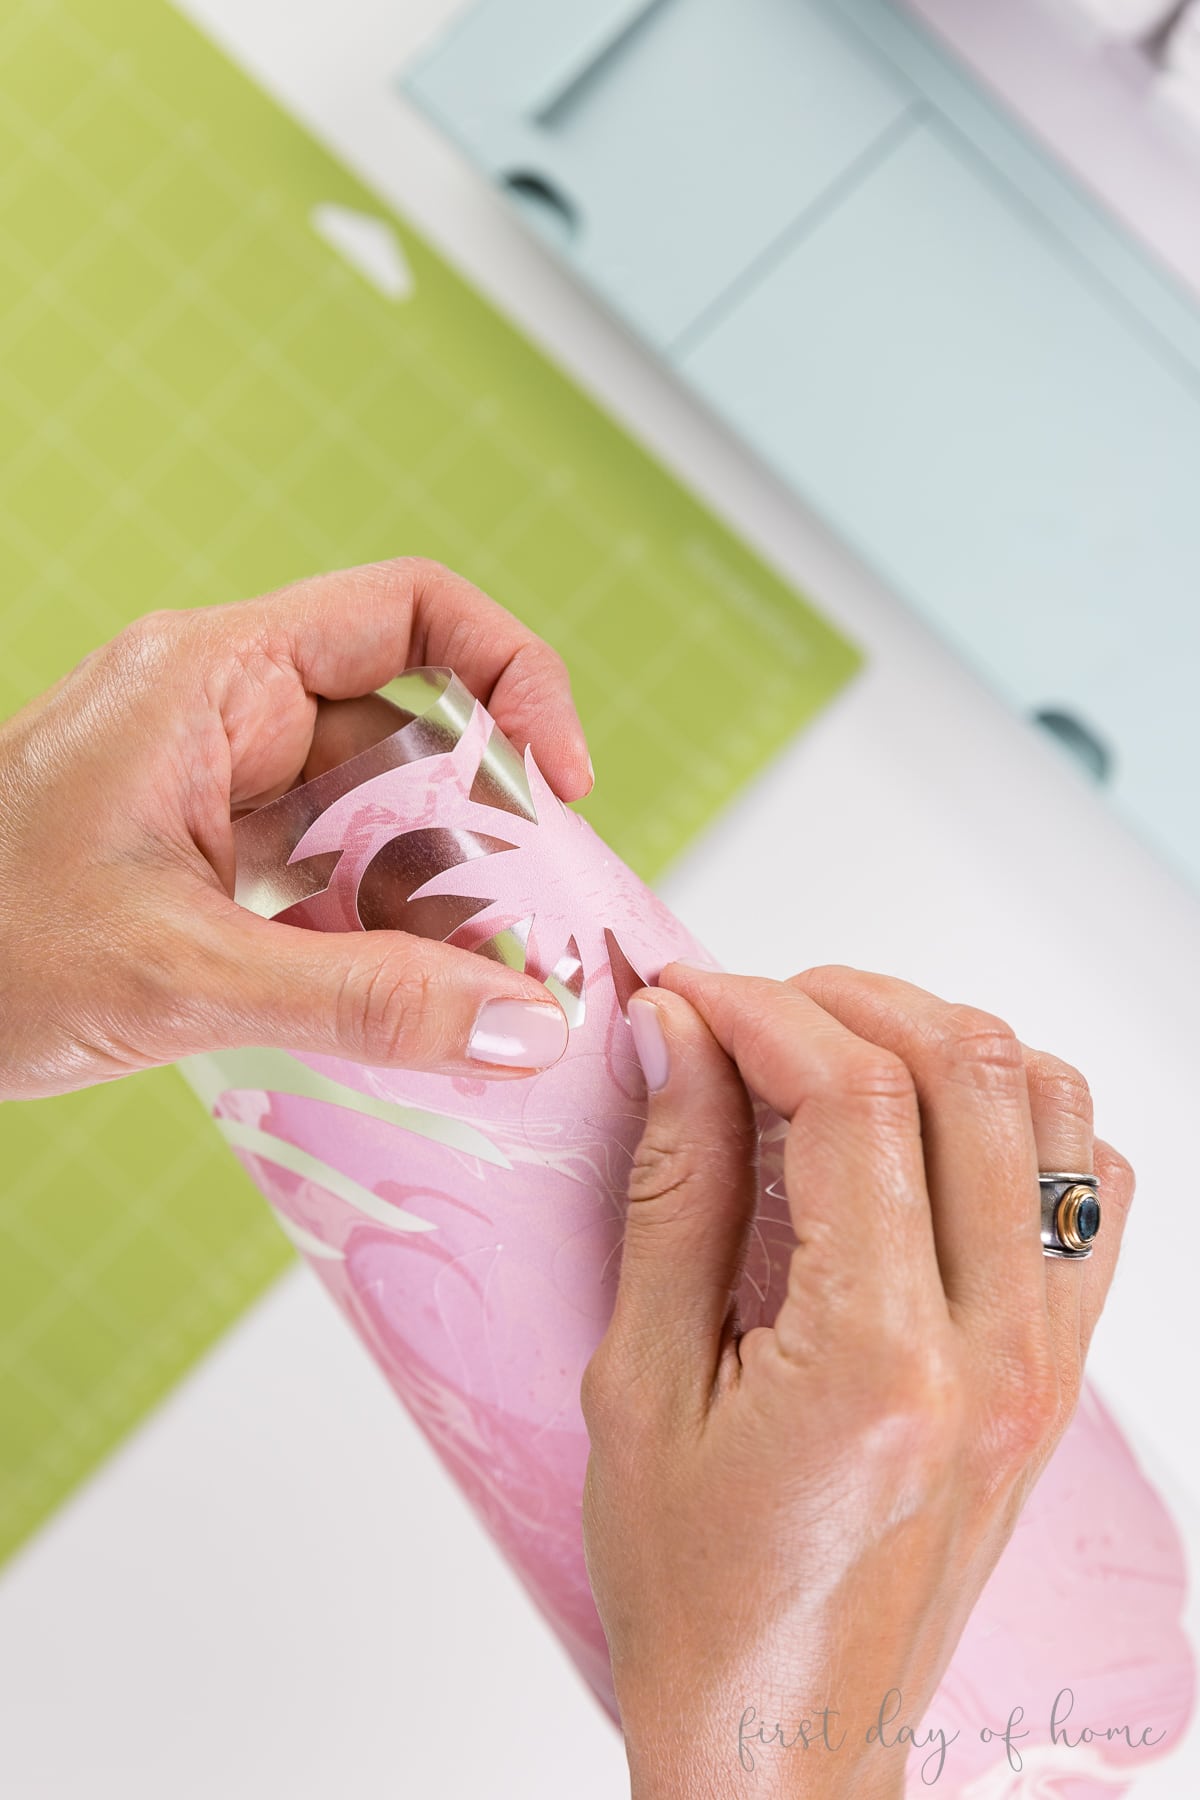
I like to use the cracking method to remove pieces from the liner. Just gently roll the transfer sheet to release an edge that you can peel up with your fingers. Unlike heat transfer vinyl, the texture of infusible ink sheets is more like paper and doesn’t stretch as you remove it.
Step 3: Press the design
I always feel like I’m going to forget a critical piece of the infusible ink transfer process, so I created a handy diagram below to help guide you.
Infusible Ink Pressing Checklist
Do not prewash your shirt before applying infusible ink. (Yay, I always love it when I have less prep work involved.)
Open the Cricut Heat mobile app on Apple or Android (for EasyPress 3) or use the online Cricut Heat Guide (for other Cricut heat presses).
Infusible Ink Heat Press Instructions
Heat Pressing Tips for Success
In place of cardstock, you can also insert 4 layers of butcher paper inside the shirt. Just make sure this protective layer is large enough to cover the design completely. I needed two pieces of cardstock to match the area of my heart design.
The lint roller is also key to a successful transfer with infusible ink. Even small fibers can prevent the ink from being absorbed during the heat transfer process.
Pro Tip
Don’t move the heat press around while pressing the design. The liner tends to curl with heat, so shifting the press can lead to blurriness and smudges.
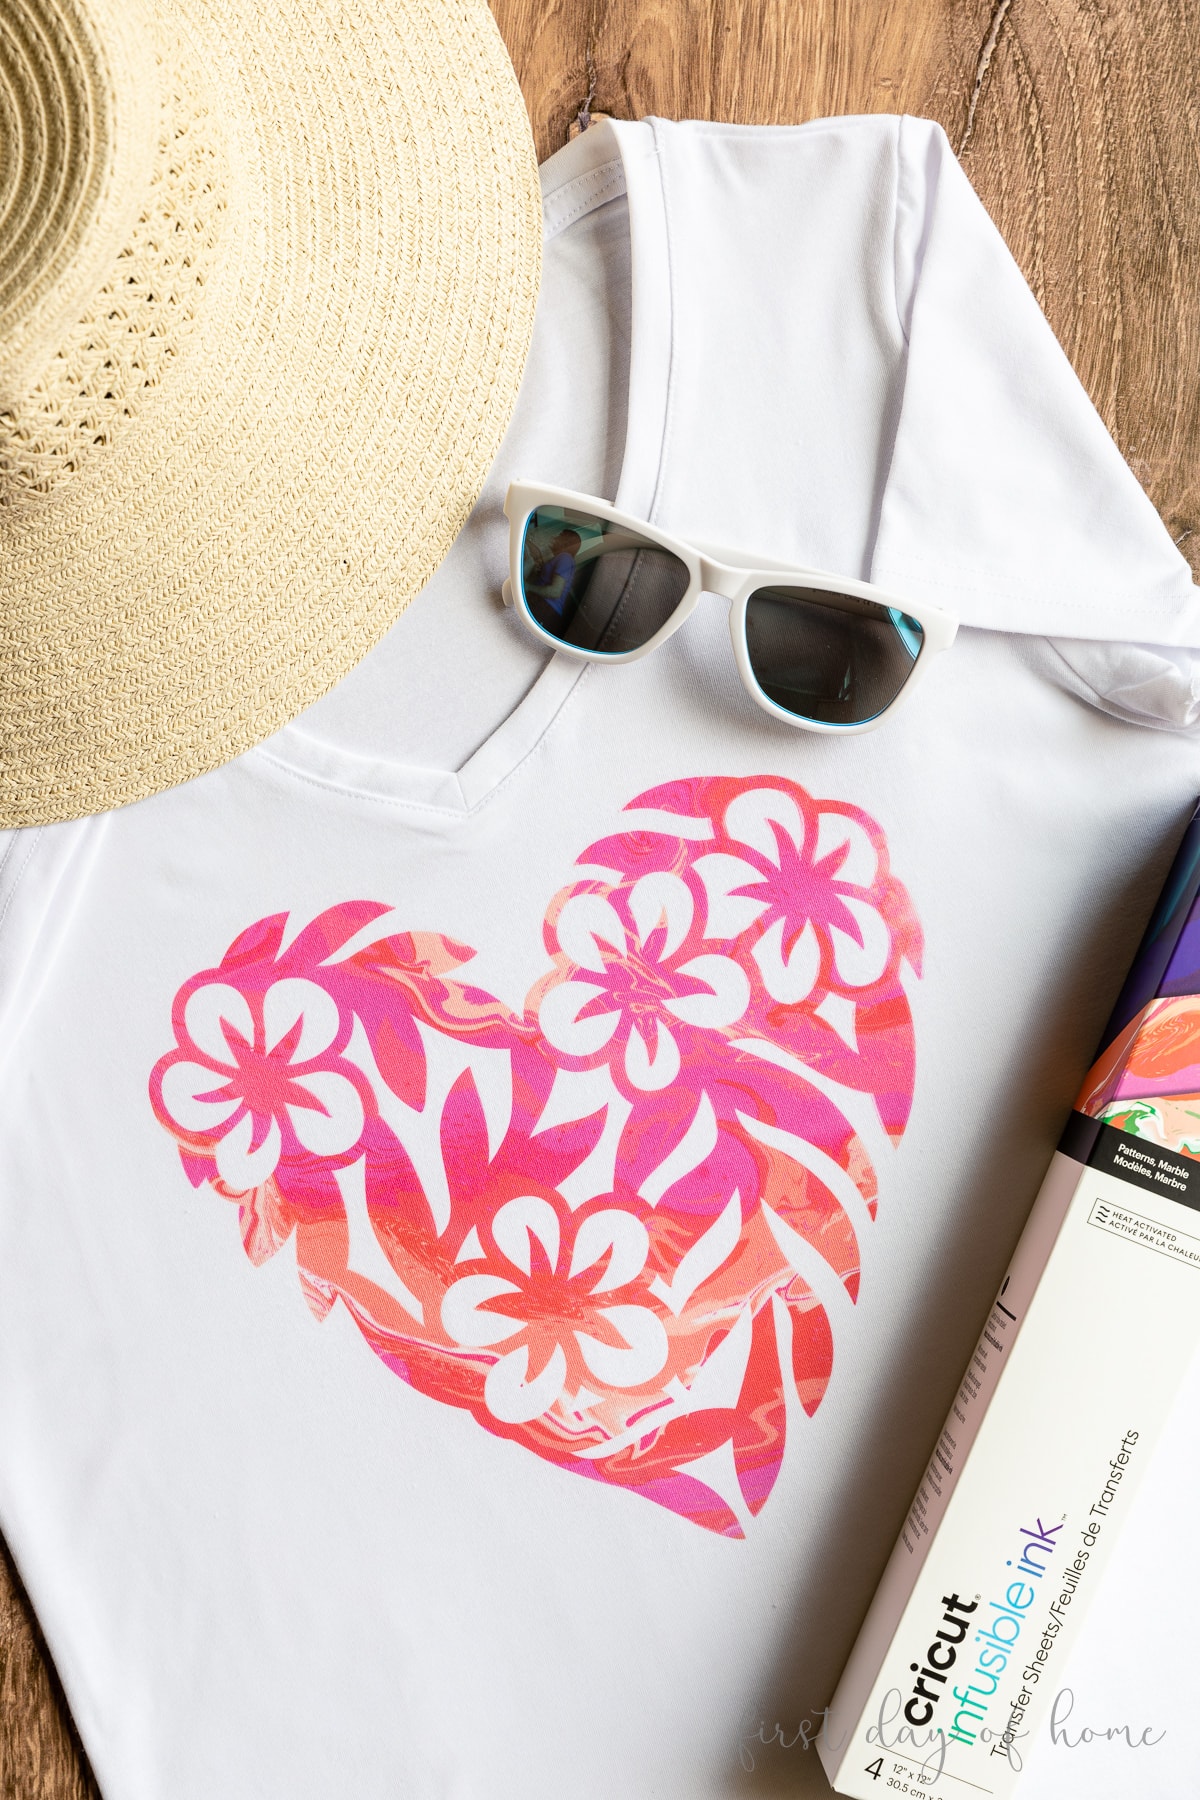
After the heat transfer, the colors on an infusible ink transfer sheet will appear much bolder. Cricut transfer sheets come with a small scrap of test fabric so you can see how the finished design will look on the scrap before committing to a whole project.
Care Instructions for Infusible Ink Shirts
Infusible ink does not need to cure and will be ready to wear right after cooling. According to Cricut, you can machine wash infusible ink shirts inside out with cold water and mild detergent. Do not use a fabric softener. I like to wash mine on delicate and hang dry the shirt, but you can also tumble dry low.
Finished Cricut shirts and other infusible ink blanks are safe to iron or steam at low temperatures. High temperatures may reactivate the ink and cause bleeding.
Be sure to subscribe to get tutorials for other infusible ink products sent straight to your inbox! In the next post, we’ll be covering Cricut infusible ink markers to make custom coasters.
Pin it for later!
If you decide to give this tutorial a try, be sure to tag me over on Instagram! I’d love to see your creations!
FAQs about infusible ink
-
Do I need a heat press for infusible ink projects, or can I use a household iron?
Unfortunately, you can’t use a household iron with infusible ink transfers. Infusible ink requires a high, uniformly distributed heat, and the steam vents in a household iron will cause some areas of infusible ink to not transfer properly.
-
Is parchment paper the same as butcher paper?
No, parchment paper often has a coating that may interfere with the infusible ink transfer, so Cricut recommends using butcher paper to cover your design. Cricut brand infusible ink transfer sheets come with a few sheets of butcher paper to get started.
Cricut also recommends not reusing butcher paper after transferring your design. -
Should you prewash shirts before using infusible ink?
No, Cricut recommends not washing your infusible ink shirt before transferring your design.
-
Why did my infusible ink transfer have blurry or smudged edges?
Smudges or blurred edges (called “ghosting”) can occur when a design shifts during the infusible ink transfer. Lifting the heat press and repositioning it during the process can cause ghosting. To minimize the risk of smudges, tape the design to your blank using heat-resistant tape, and avoid moving the heat press during the transfer.
You can also prevent a ghost effect by ensuring the design is smaller than your heat press plate. Also make sure you don’t place your design too soon after pre-heating your blank. -
Will pressing the infusible ink longer result in bolder colors?
No, pressing the infusible ink for longer than instructed can actually cause damage to the pigments. Follow the exact pressing times listed on the Cricut Heat app or Cricut Heat Guide website for best results.
-
Can you layer Cricut infusible ink?
Yes! To layer infusible ink, you’ll want to manually place the layers on the same transfer sheet without any overlap, if possible, or layer your darkest colors last. To layer with iron-on vinyl, first apply the infusible ink before adding the iron-on since the temperature for infusible ink is much higher.
-
Why did some parts of the design not transfer completely?
To get an even transfer, make sure any thick parts of your blank are lying off the pressing mat (like the cord on wine gift bags). Sometimes you can reapply a small section of infusible ink that didn’t transfer the first time, but run the risk of ghosting (blurry lines) each time you lift up the heat press.
-
Can you use a towel or ironing board instead of an EasyPress mat?
Cricut does not recommend using a towel or other surface for infusible ink transfers. The EasyPress mat is designed to eliminate moisture and concentrate the treat on the blank.

How to Use Cricut Infusible Ink (DIY Shirt Tutorial)
Equipment
- Cricut machine Maker, Explore, or Joy (for small projects)
- Cricut EasyPress EasyPress 3 or EasyPress 3 work best
Supplies
Instructions
Cutting Instructions for Infusible Ink
- Create and resize your design in Cricut Design Space to fit the shirt and your heat press dimensions. To prevent smudges, you will need to heat the design in one press rather than moving the heat press in sections.

- Place the shiny side of the infusible ink transfer sheet onto the standard grip mat. (The pattern side should be facing up.) Use a brayer to flatten any bubbles in the transfer sheet. Be sure to mirror the design before sending it to the cutting machine.

- After cutting the design, trim any excess and weed the design by gently bending the transfer sheet to release the edges (cracking method). Avoid using weeding tools to lift the edges, since this can damage the infusible ink design.


Heat Press Instructions
- Use the Cricut Heat Guide or Cricut Heat mobile app to input the correct settings on your heat press. For a shirt, the heat press should be set at 385ºF.
- Place the shirt on the EasyPress mat, and insert cardstock inside to prevent bleedthrough. Then use a lint roller over the top of the shirt to remove any particles before placing butcher paper on top.
- Preheat the shirt for 15 seconds as indicated in your heat guide or app.
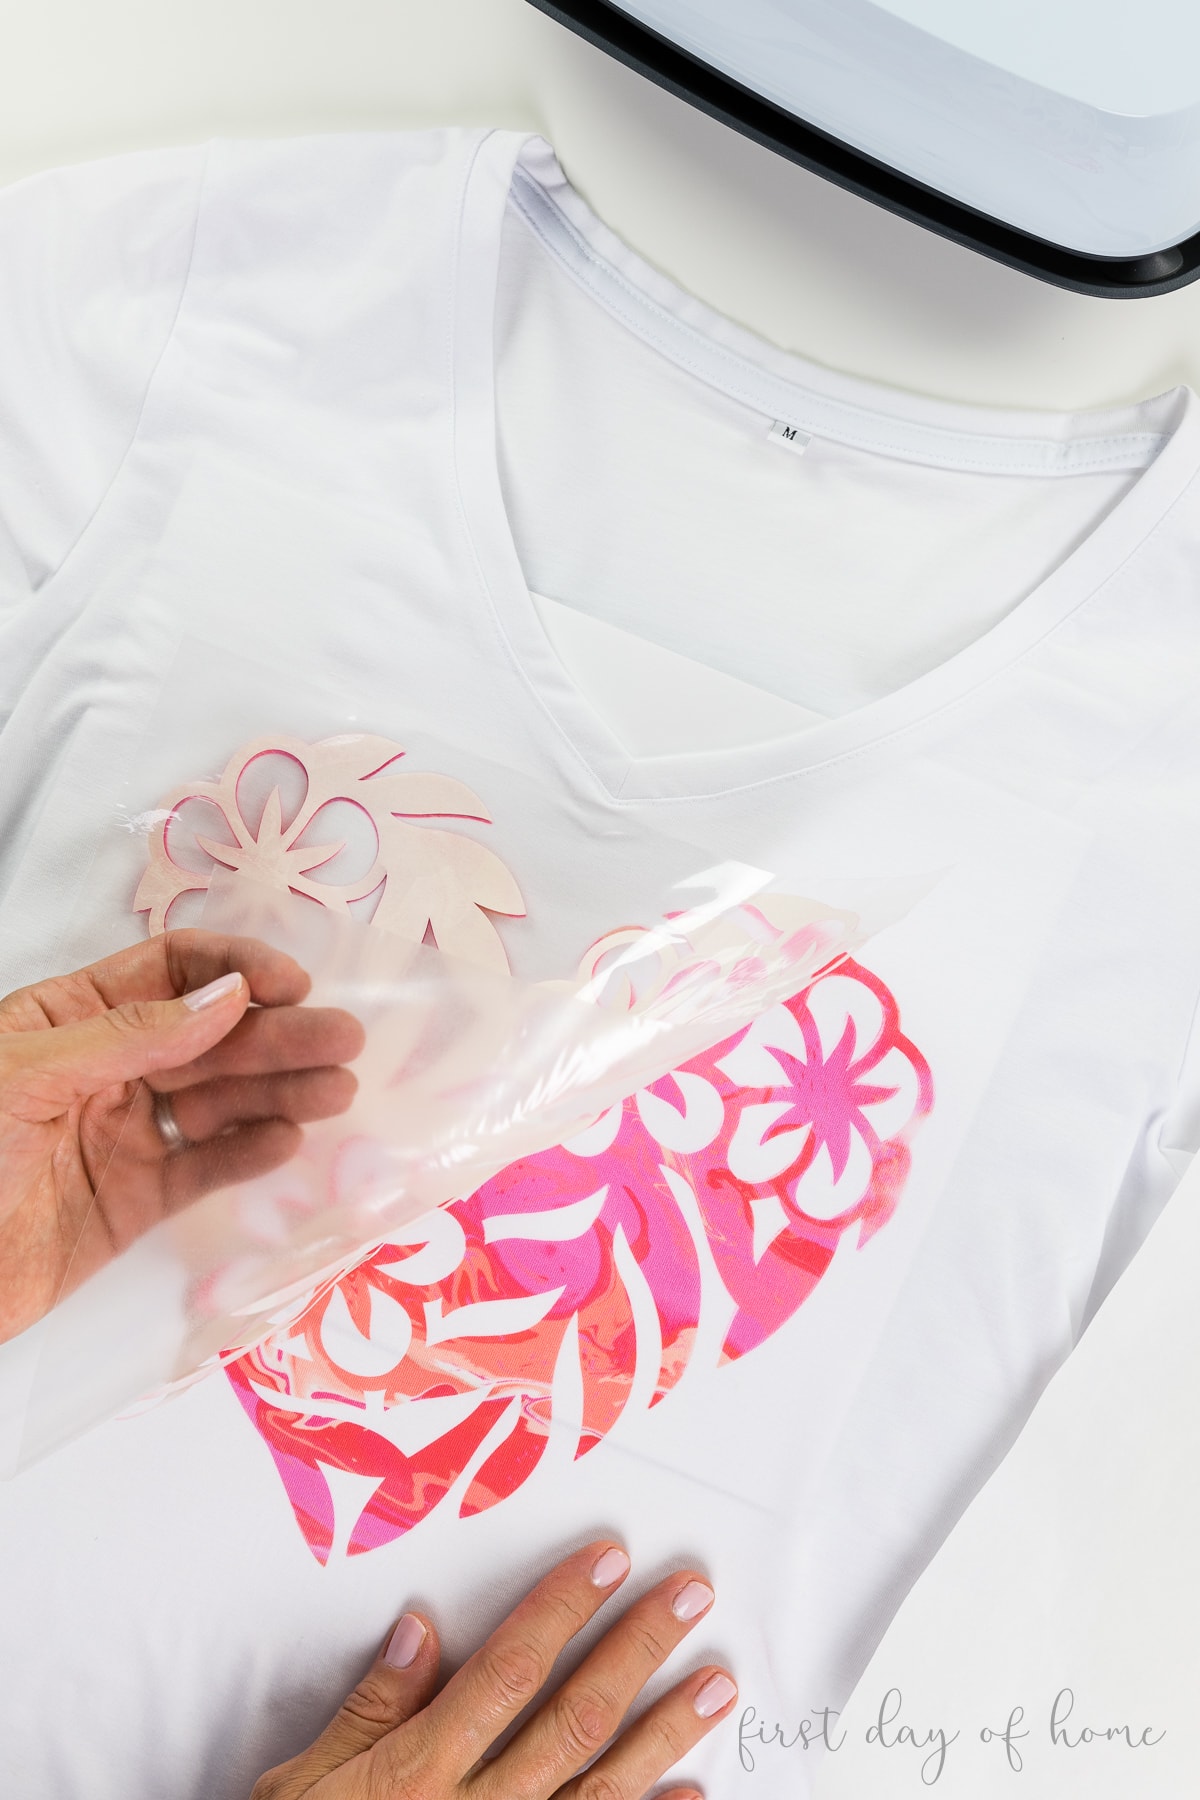
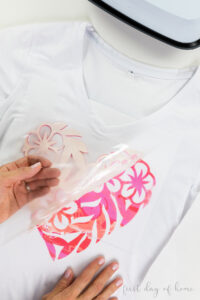
- Remove the butcher paper, and let the shirt cool before placing the infusible ink design face down on the shirt.
- Cover the design with butcher paper and press the shirt for 40 seconds. Avoid moving the heat press during this time, since that can cause smudges. Once complete, carefully remove the butcher paper and peel away the infusible ink liner while warm. Take care that the surface of the shirt will be hot immediately after pressing.
- The shirt will be set immediately and does not need time to cure. Wash the infusible ink shirt inside-out in cold water and tumble dry low.
Notes
More Cricut Crafts