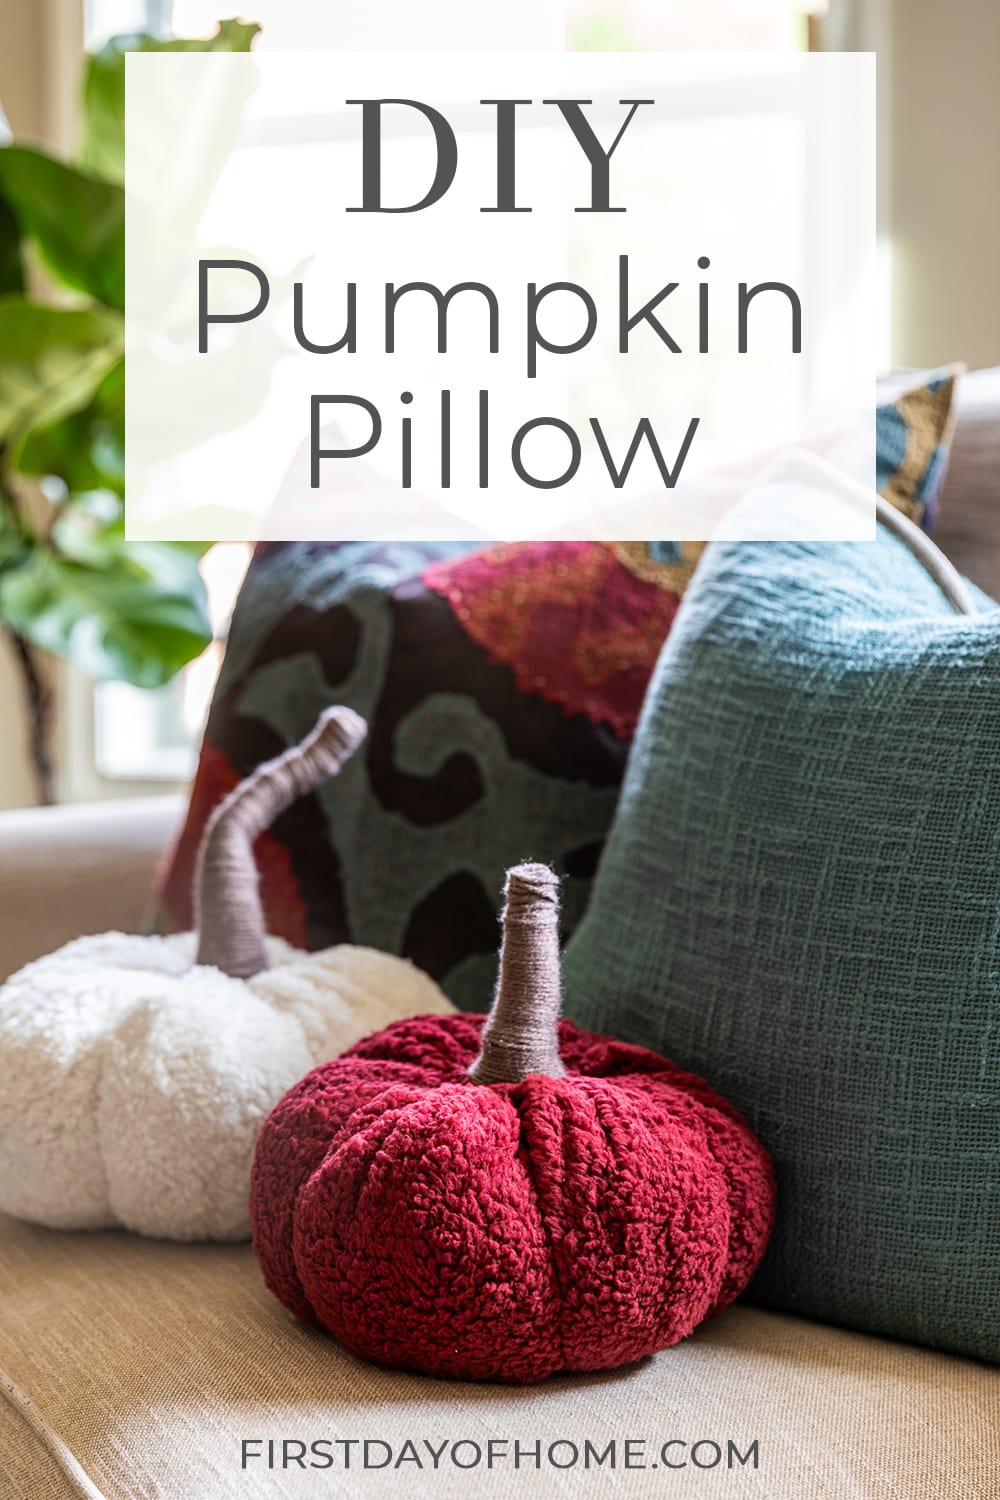
How to Make DIY Pumpkin Pillows
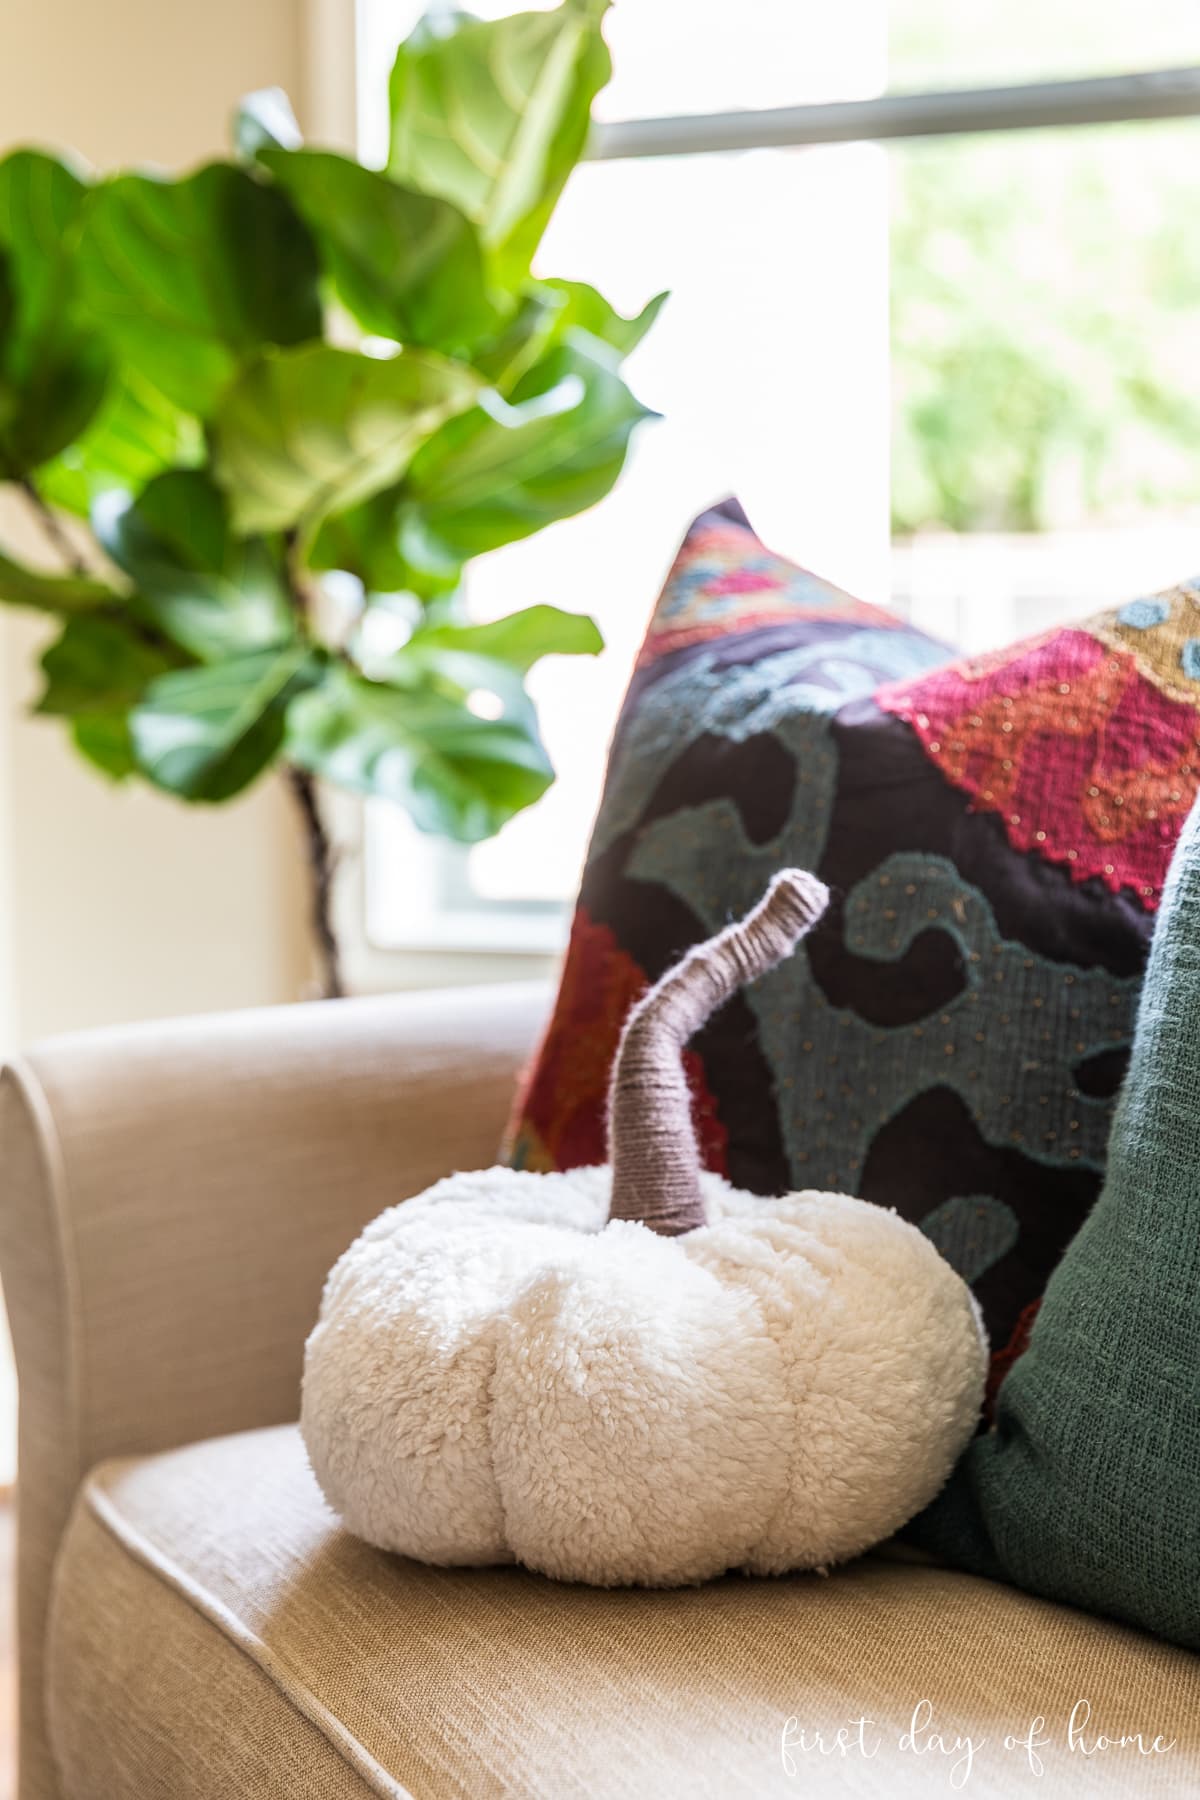
If you’ve admired Pottery Barn’s sherpa pumpkin pillows but didn’t like the price, you’ll love these DIY pumpkin pillows. In this tutorial, I’ll show you how to create these fall accents in minutes using a few pieces of fabric, yarn, and stuffing.
This post contains affiliate links, and I will be compensated if you make a purchase after clicking on my links. For more information, please see my disclosures.
Project Overview
I love all types of pumpkin crafts, and I’ve been wanting to try this Pottery Barn dupe for ages now. The fun part about this project is that you can make DIY pumpkin pillows in all shapes and sizes. I made a variety of these plush pumpkins to match my fall living room decor, but they also look adorable in a bedroom.

You have two options when making DIY pumpkin pillows: sew and no-sew.
For a no-sew option, you’ll replace the sewing with a rubber band and simply wrap yarn around the stuffed fabric.
If you want a more polished look, you can use an embroidery needle to stitch your pumpkin closed. (There’s no sewing machine involved, so don’t be intimidated.)
I’ll cover both methods in the instructions below. If you want to see the hand-sewing option in action, watch this short video.
Watch This Tutorial
How to Make a Pumpkin Pillow
I chose a mix of neutral fabrics and one bold burgundy fabric to go with my home decor. You can also use orange fabric for a more traditional fall color scheme. All of the supplies are linked for your convenience. It seems faux sherpa is all the rage this season!
Supplies

- Faux sherpa fabric (about 3/4 yard)
- Polyester fiber fill stuffing
- Large upholstery needle
- Yarn, jute twine, or embroidery thread
- Fabric marker or pen
- Hot glue gun or fabric glue
- Rubber band (optional)
- Fabric scissors
Step 1: Cut fabric to size
Begin by cutting your fabric into a circle. There’s no rule about how large to make your pumpkin, but I have a trick for making a perfect circle. Fold the right sides of the fabric together, since we will be cutting a half-circle shape.

Tie a piece of twine to a pen and attach the other end to a fabric pen or marker. Place the first pen in the center along the folded edge, and use the other marking pen to draw a half circle (top photo above).
Then cut along the arc that you drew, making sure you cut through both layers of fabric.
Remember when you thought you’d never use a compass after middle school geometry?
I cut some fabric pieces with a diameter of about 25 inches and others with a diameter of 20 inches. If you start with a circle of 25 inches, the finished pumpkin will be about 11 inches wide and 6.5 inches tall, just to give you a sense.
Step 2: Gather the top edges of the fabric
You have two options for gathering the top of your fabric circle.
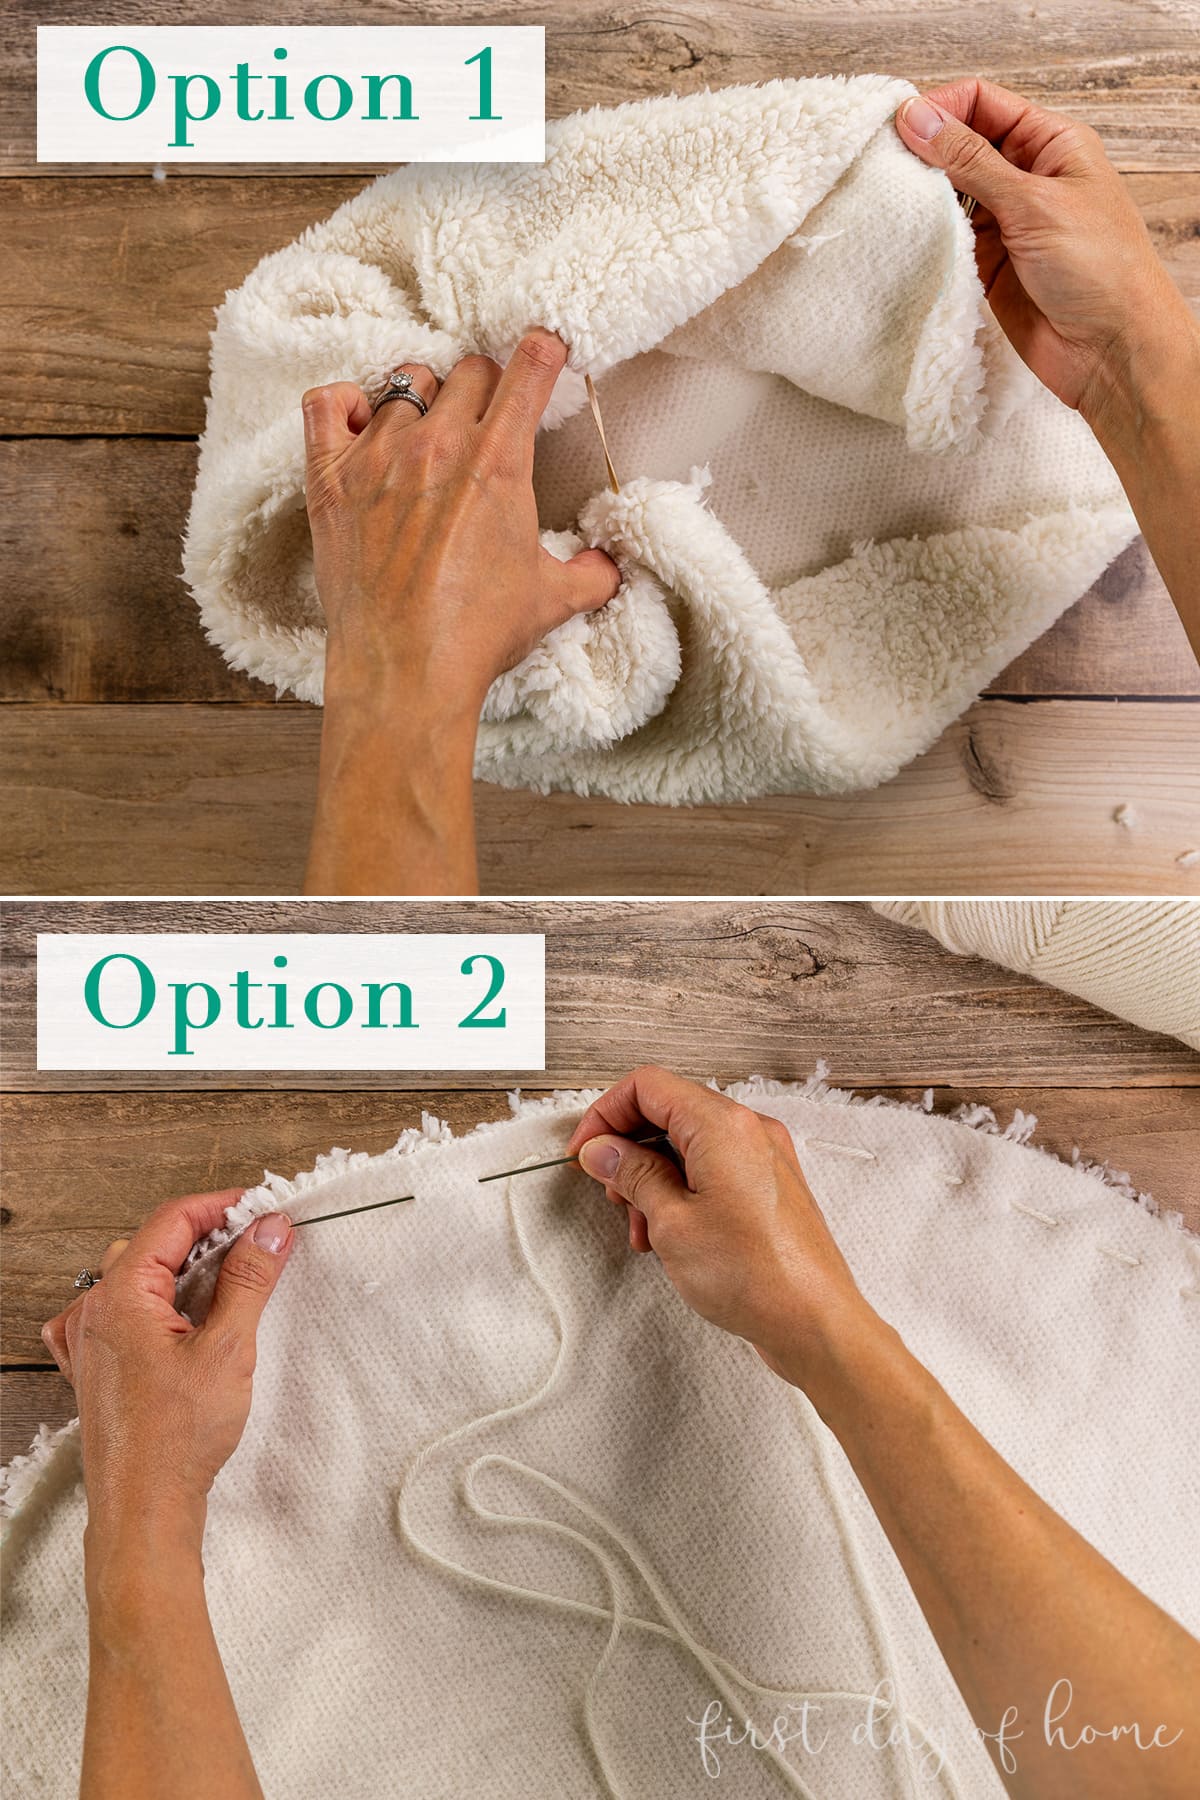
Option 1. Hold a rubber band in one hand and tuck the edges of the circle inside. Add a dab of hot glue as you fold the edges over to help keep the fabric in place.
Option 2. Make a loose stitch 1/2 inch from the edge using an embroidery needle. This is often called a basting stitch. The embroidery needle has an eye large enough to fit yarn, and it worked like a charm with this sherpa fabric.
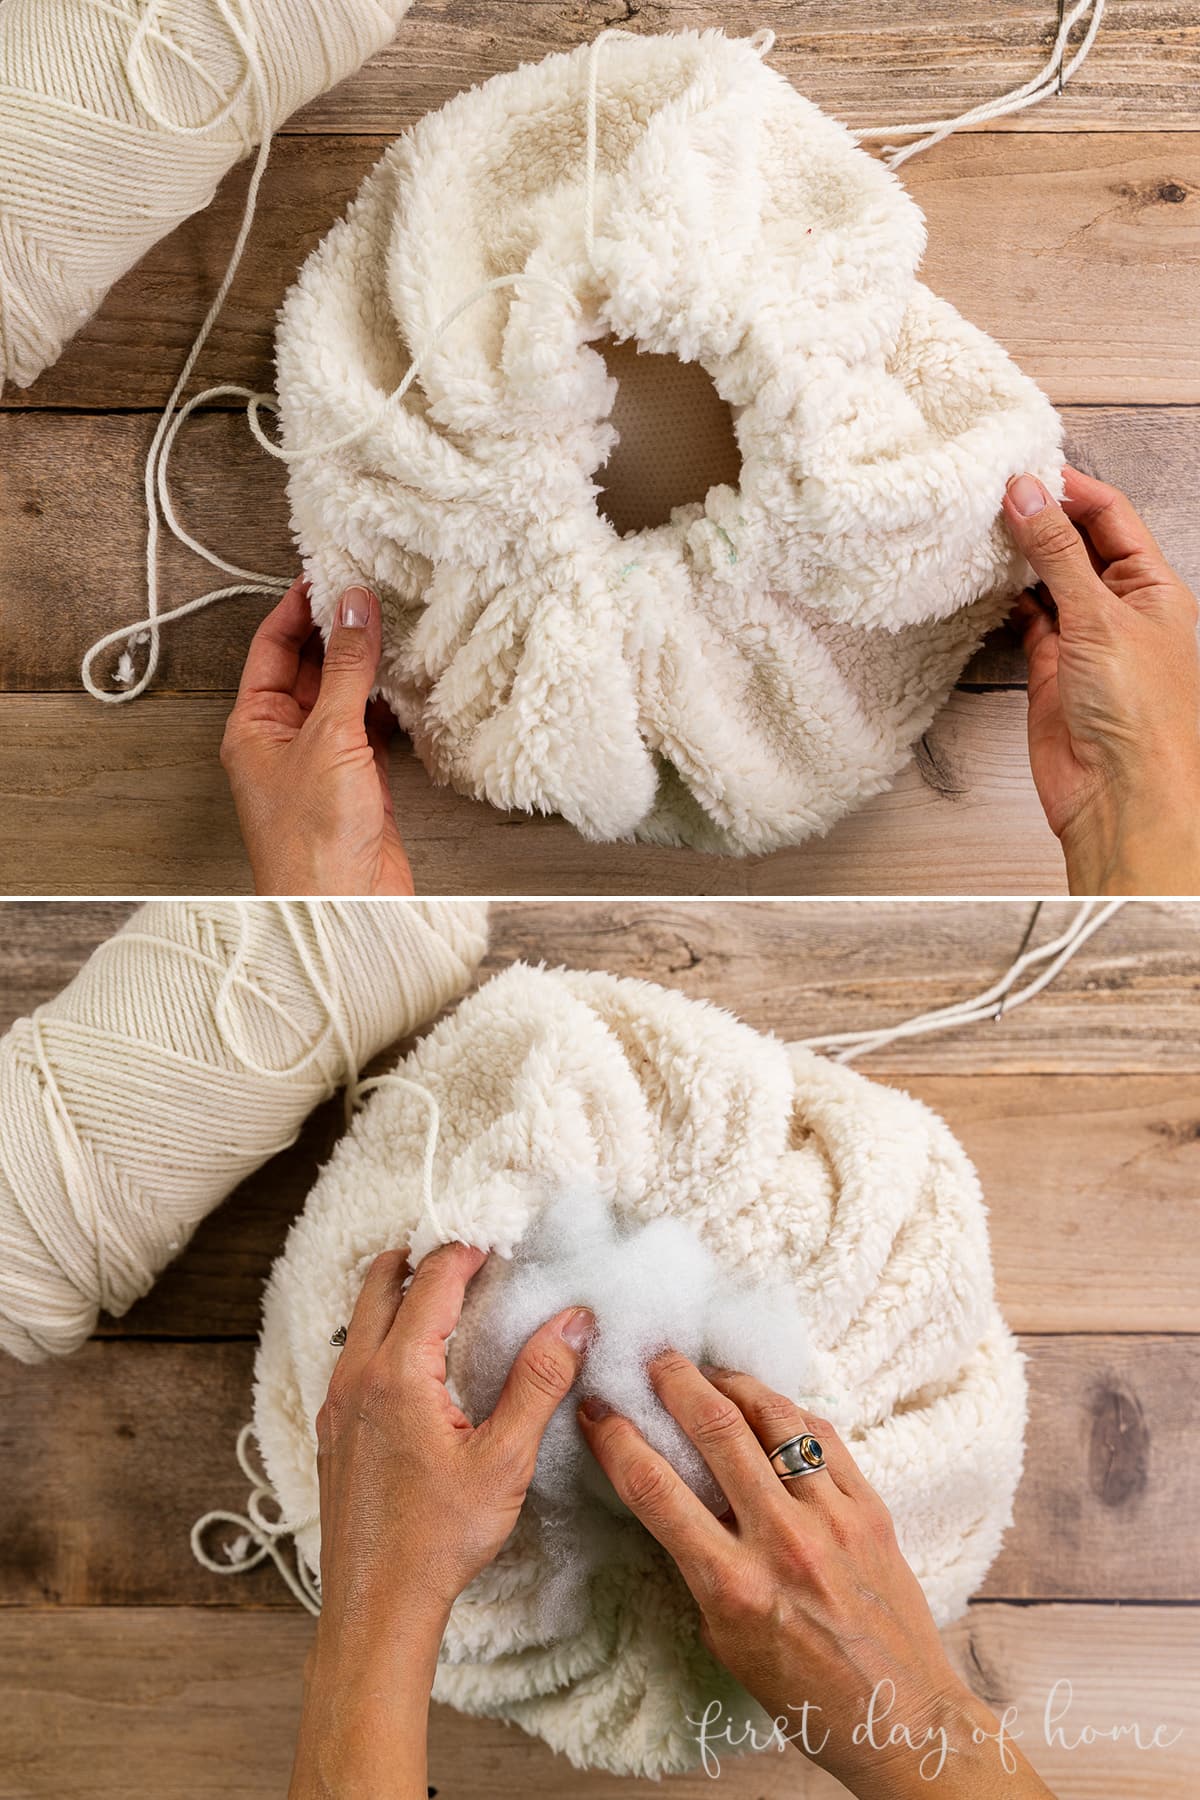
Step 3: Stuff the fabric circle
If you used a basting stitch, pull each end of the yarn to cinch the hole smaller. Don’t tie it off just yet, since we want to stuff our pumpkin first.
You can either buy a bag of Poly-fil or a small pillow form. I have a 32-ounce bag of Poly-fil, which is handy for sewing projects like my plush campfire set and tooth fairy pillow projects.
Stuff the pumpkin until you can no longer fit any more inside. You’ll want it nice and plump for the best results! I used about half of my bag for three pumpkin pillows.

Once your pumpkin looks like a proper gourd, use a needle or hot glue to close the top pieces of fabric together, as shown above. I like to slip the needle through the inside of the pumpkin (see top photo), going back and forth like opposing numbers on a clock.
Once your pumpkin is completely closed, you can tie off your string with a knot.
Step 4: Create the pumpkin segments

Once again, you have two options to create the pumpkin segments:
- Wrap yarn around the pumpkin, cross-crossing the yarn at the top and bottom of the pillow. Continue until you have 6 equal segments, and tie a knot when the two ends of the yarn meet at the top. OR
- Take an embroidery needle with yarn and pass it from the top of the pumpkin through to the bottom. Loop the yarn around the pumpkin and pass it through the top again. Repeat the process until you have 6 equal segments. Make sure you tie a knot once you’re done.
The first option is not quite as crisp as the second method, but it saves a little time. Here’s a closer look at option #2.

Step 5: Create the pumpkin stem
For the stem, roll up some excess fabric and use hot glue to keep it in place. I rolled mine up with the fuzzy side on the inside.

Then wrap the pumpkin stem with a darker color of yarn (or jute twine if you prefer). To get started, apply a small dab of hot glue near the base of the stem.
Continue adding dabs of hot glue as needed to keep the yarn in place. Once you reach the end of the stem, use hot glue to keep the coil in place.

To attach the stem to the pumpkin base, I found that hot glue worked better than trying to stitch it together. You may need to trim the edges a bit before applying the glue.
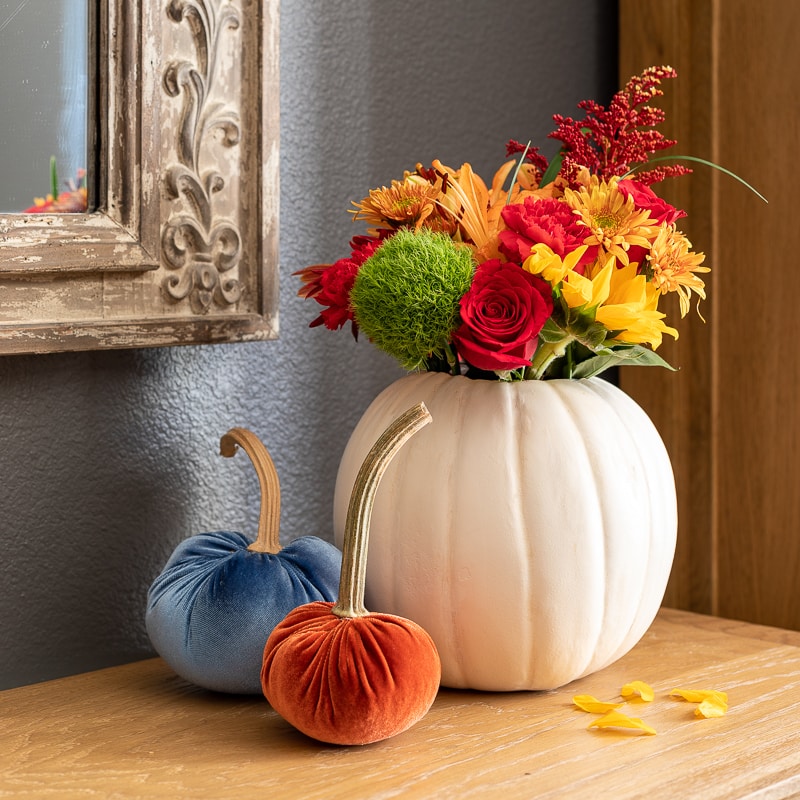
Using Fabric Pumpkins in Fall Decor
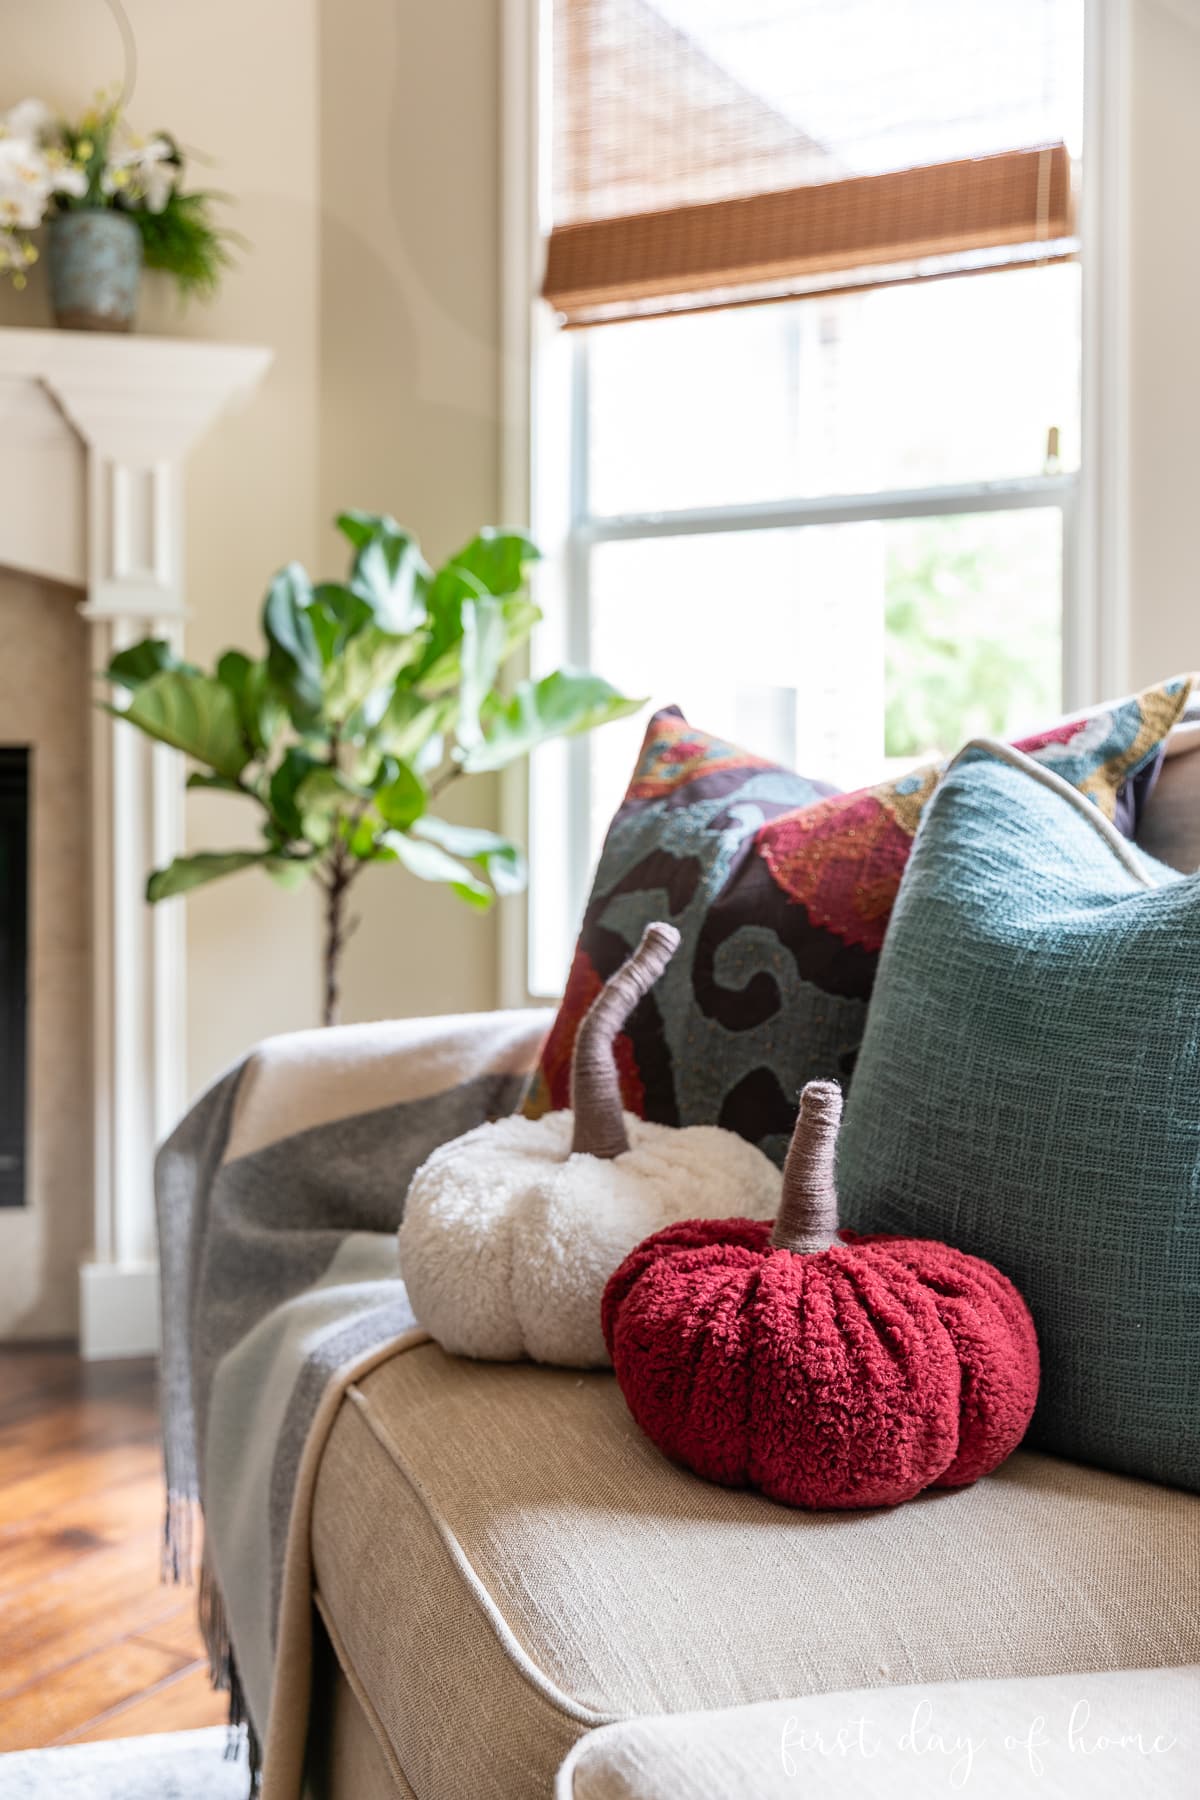
I love displaying my pumpkin pillows on my couch, but they also would look great in a basket or on a sideboard. The sherpa fabric has a cozy vibe that adds a nice contrast to my other throw pillows. I plan to use them all the way through Halloween and Thanksgiving.
For more ideas and inspiration, check out the other fall crafts and decor projects below.
Pin it for later!


Hi Crissy, I just saw your pumpkins and love them. You said 25 or 20 inches for the folded end but can you tell me how long the string measurement is for the pumpkins ?
Hi Gerry. I’m glad you like the pumpkins! Are you referring to the string needed to gather the top of the pumpkins? I leave the yarn attached to the skein as I sew along the top and just cut off the excess. I’d guess it might be about 10 inches or less. If you’re referring to the string I used to trace the arch of the circles, you would just divide the diameter of the circle in half. In other words, if I want a diameter of 20 inches, my string would be about 10 inches long to trace the half circle after folding the fabric in half. Let me know if that clears things up!
Thanks Crissy, if I had thought about it for a little while, I would have figured it out.
Feel free to ask questions any time! I probably made it sounds more complicated than it actually is. I hope you enjoy making some pillows!
I adore these pillow – so cozy for fall!
Thank you, Bethany! I appreciate you stopping by. Enjoy the cozy fall season!
I can’t believe I missed commenting on these! They are SO pretty! So happy to be featuring them on my 21 DIYS for fall!
Thanks so much, Julie! I appreciate you featuring them and can’t wait to see the other DIYs you have this year. Big hugs, Crissy
Looks so cozy! What a lovely idea.
Thank you, Jane! We love snuggling with them on the sofa.
Adorable DIY fall pillow idea.
Happy Fall,
Kippi
Thanks, Kippi! Happy Fall to you too!
I’ve always wanted to try making these! Your pumpkins turned very cute.
Thanks, Marie! They are so fun to make, and a little fabric goes a long way. Happy Fall!
These are super cute. Such a great idea. Happy Fall.
Thanks, Renae! I appreciate you stopping by. Happy Fall to you as well!
The pumpkin pillows are so beautiful, Crissy! I feel inspired to make some to display for the Fall season. Your instructions are clear, so should be easy to follow. Thanks for sharing your creative ideas!
Thanks so much, NC! I hope you try making some. They are such a cute accent for fall. We’re enjoying them in our living room this year.
Such a sweet pillow Crissy! I love the plush look. And the stem – what a great way to make an adorable stem! Pinned 🙂
Thanks so much, Cindy! I always appreciate you stopping by. Happy Fall! Hugs, Crissy