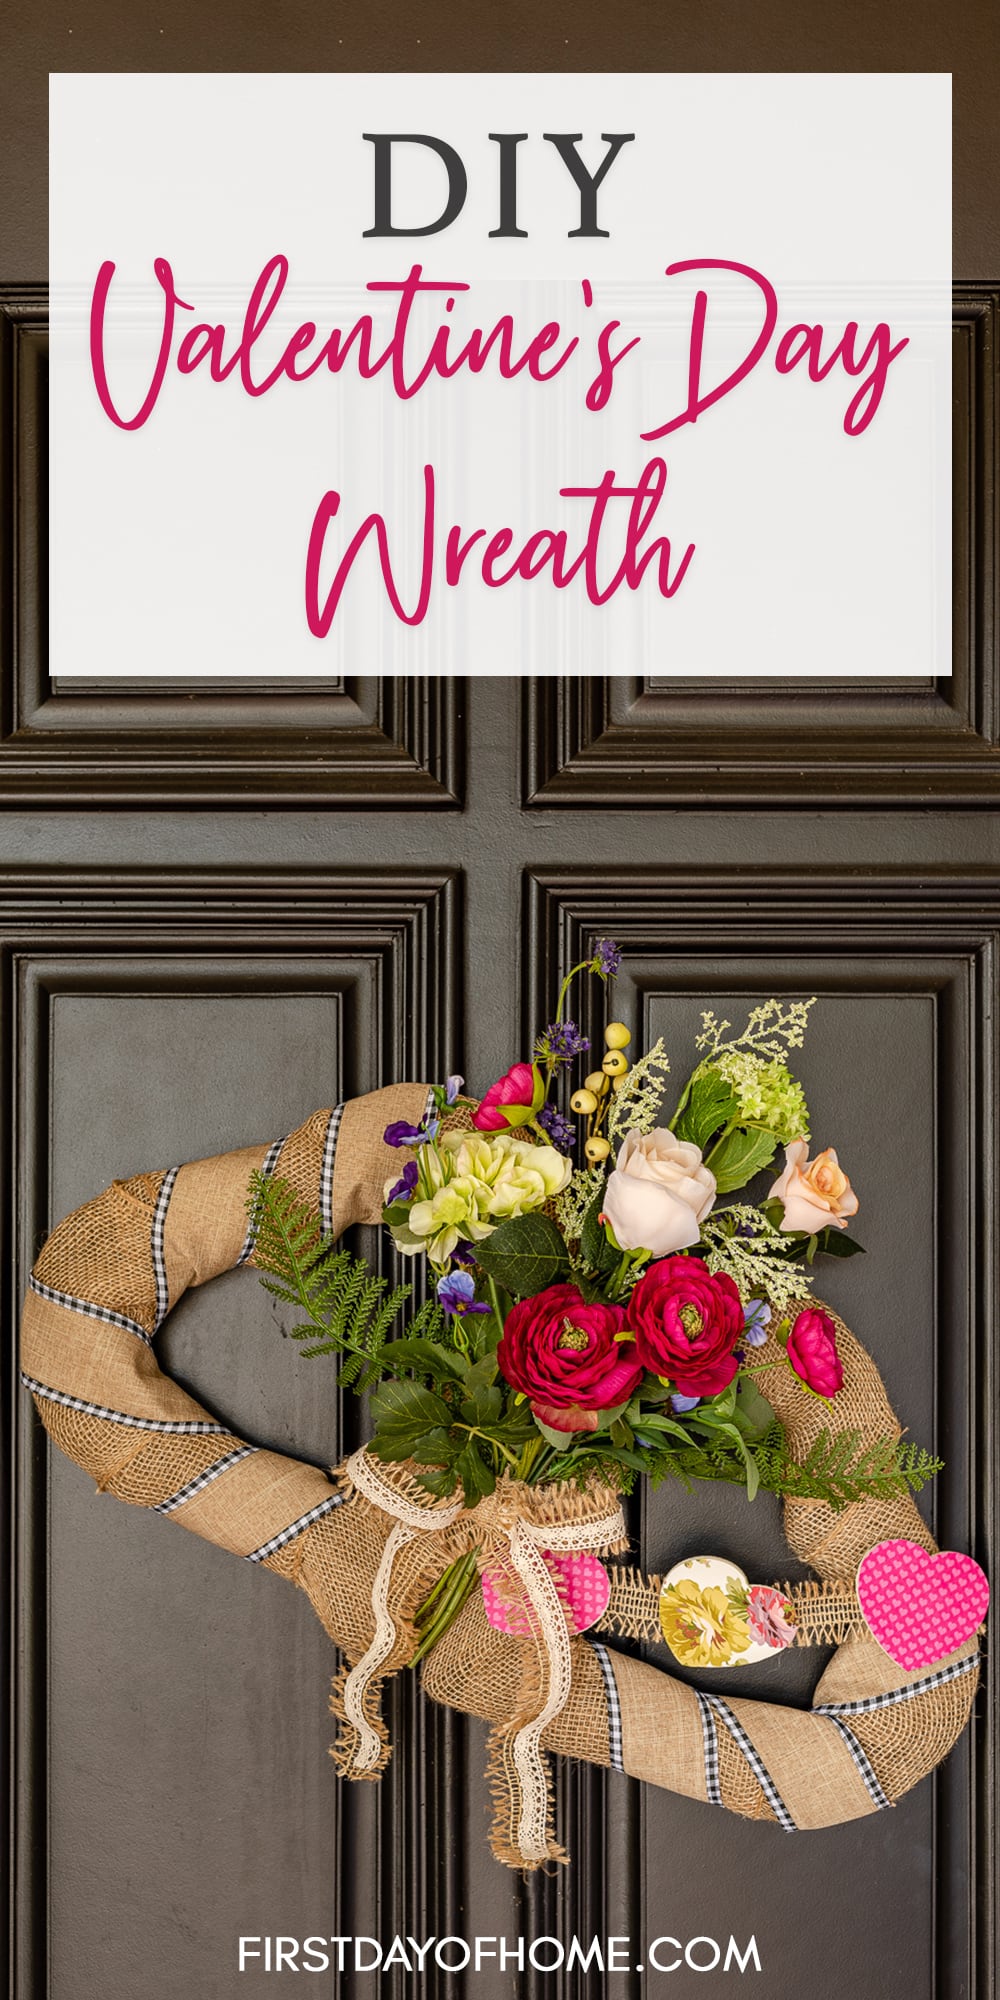
DIY Valentine Wreath with Double Hearts – A Pinterest Challenge
Love is in the air with Valentine’s Day just a few weeks away! In honor of the holiday, my friends and I are sharing DIY Valentine wreath ideas that we hope will inspire you to get your front door all dressed up.
This post contains affiliate links, and I will be compensated if you make a purchase after clicking on my links. For more information, please see my disclosures.
DIY Valentine Wreath – Pinterest Challenge
If you’ve followed my blog for a while, you know how much I love a good Pinterest Challenge! Each month, my dear friend Cindy from County Road 407 challenges a group of bloggers to recreate an image from Pinterest. Let me tell ya, everyone rises to the challenge!

If you’re stopping by from Cindy’s blog, you’ve already admired the pretty Valentine’s Day wreath on her front door. There’s more eye candy where that came from at the end of this post!
First, let’s start with the inspiration photo…
Heart Wreath Inspiration Photo
Our inspiration for February’s challenge comes from Sky at Capital B. She made this sweet and whimsical heart-shaped wreath using craft wire and paper flowers.
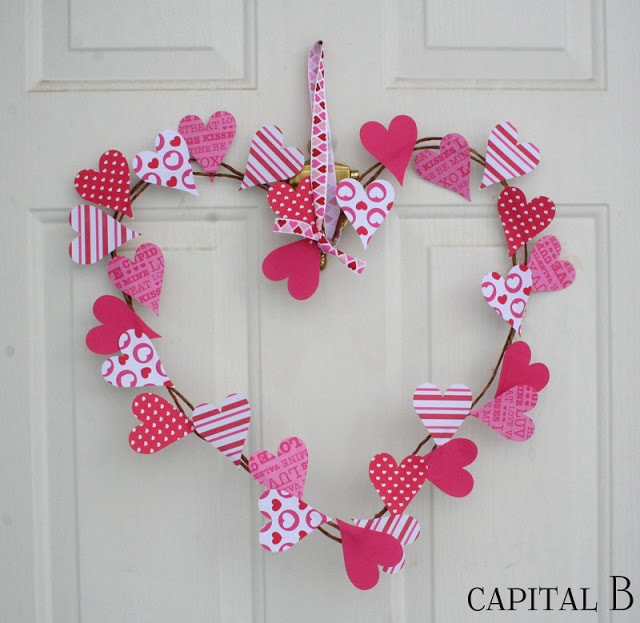
As a scrapbook-paper-loving girl, this felt right up my alley!
Since I have a black front door, I threw a few more supplies in to create contrast. However, I tried to pay homage to Sky’s wreath in the process.
The main elements I included are the following:
- Heart-shaped wreath form
- Scrapbook paper
- Mini heart cutouts
In my interpretation, I ended up deviating quite a bit from the original photo. Sometimes that happens when trying to adapt a style to your own home. That’s the fun of a challenge like this!
DIY Heart Wreath Tutorial
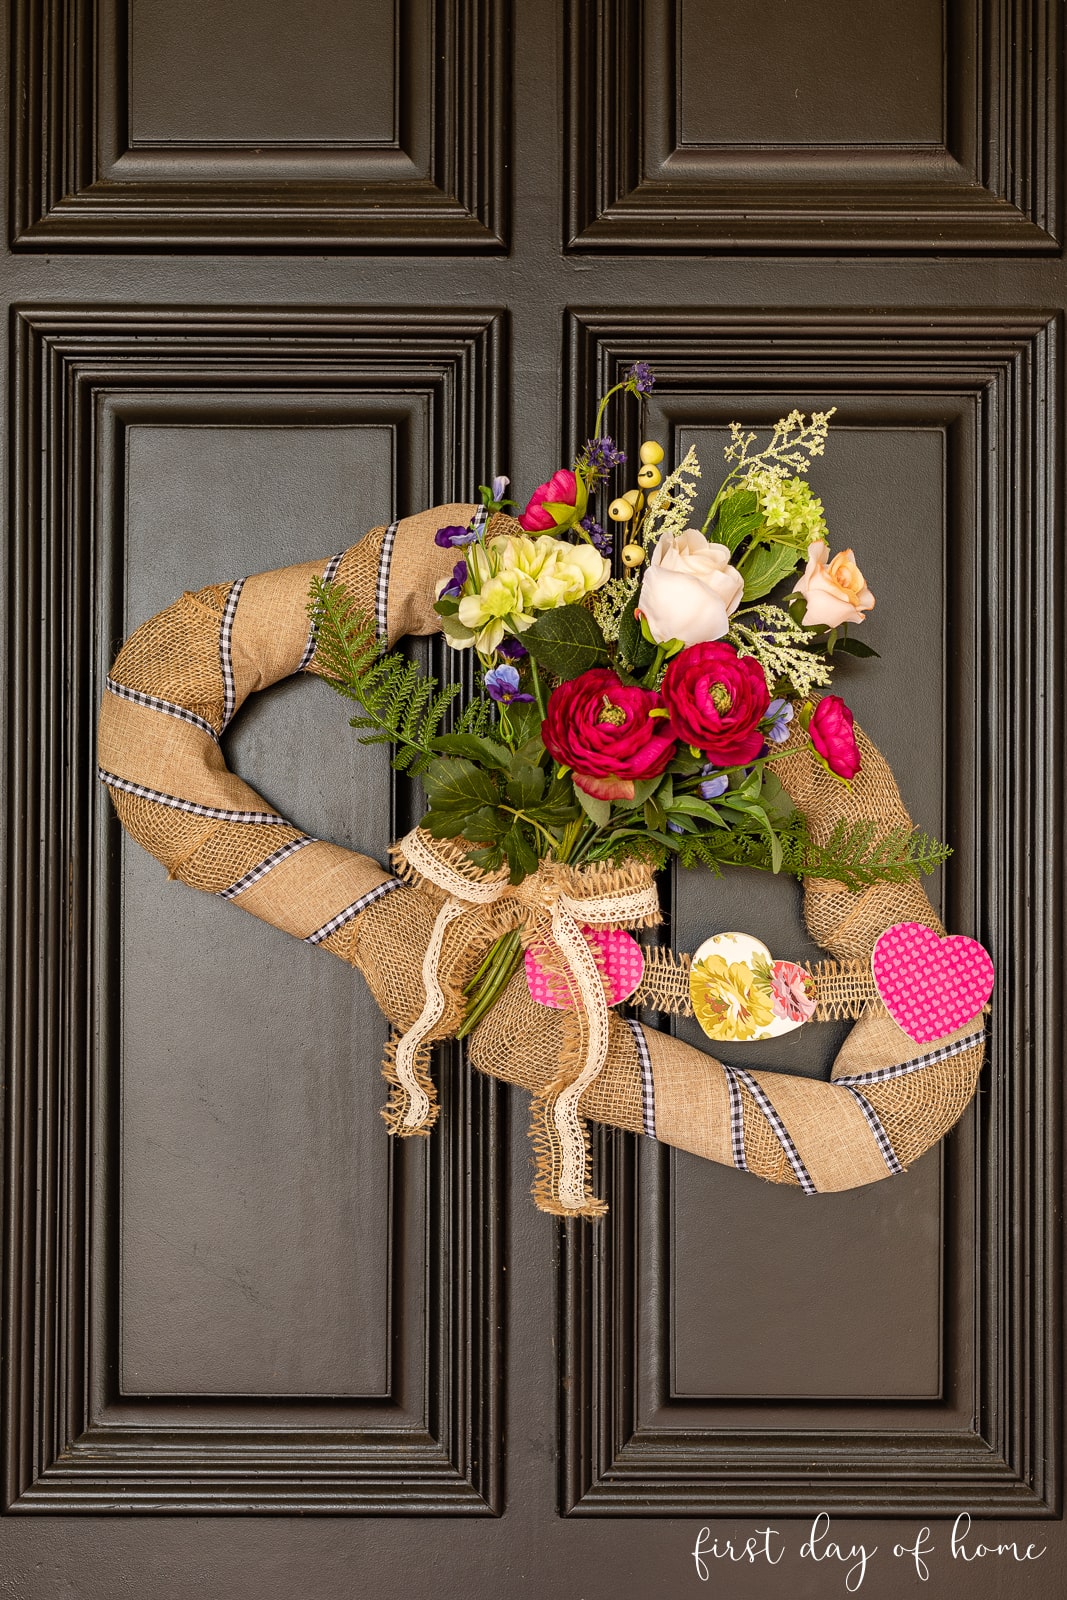
I decided to make a double-heart wreath for my front door because the only wreath form I could find was a wee bit small. (More on that later.)
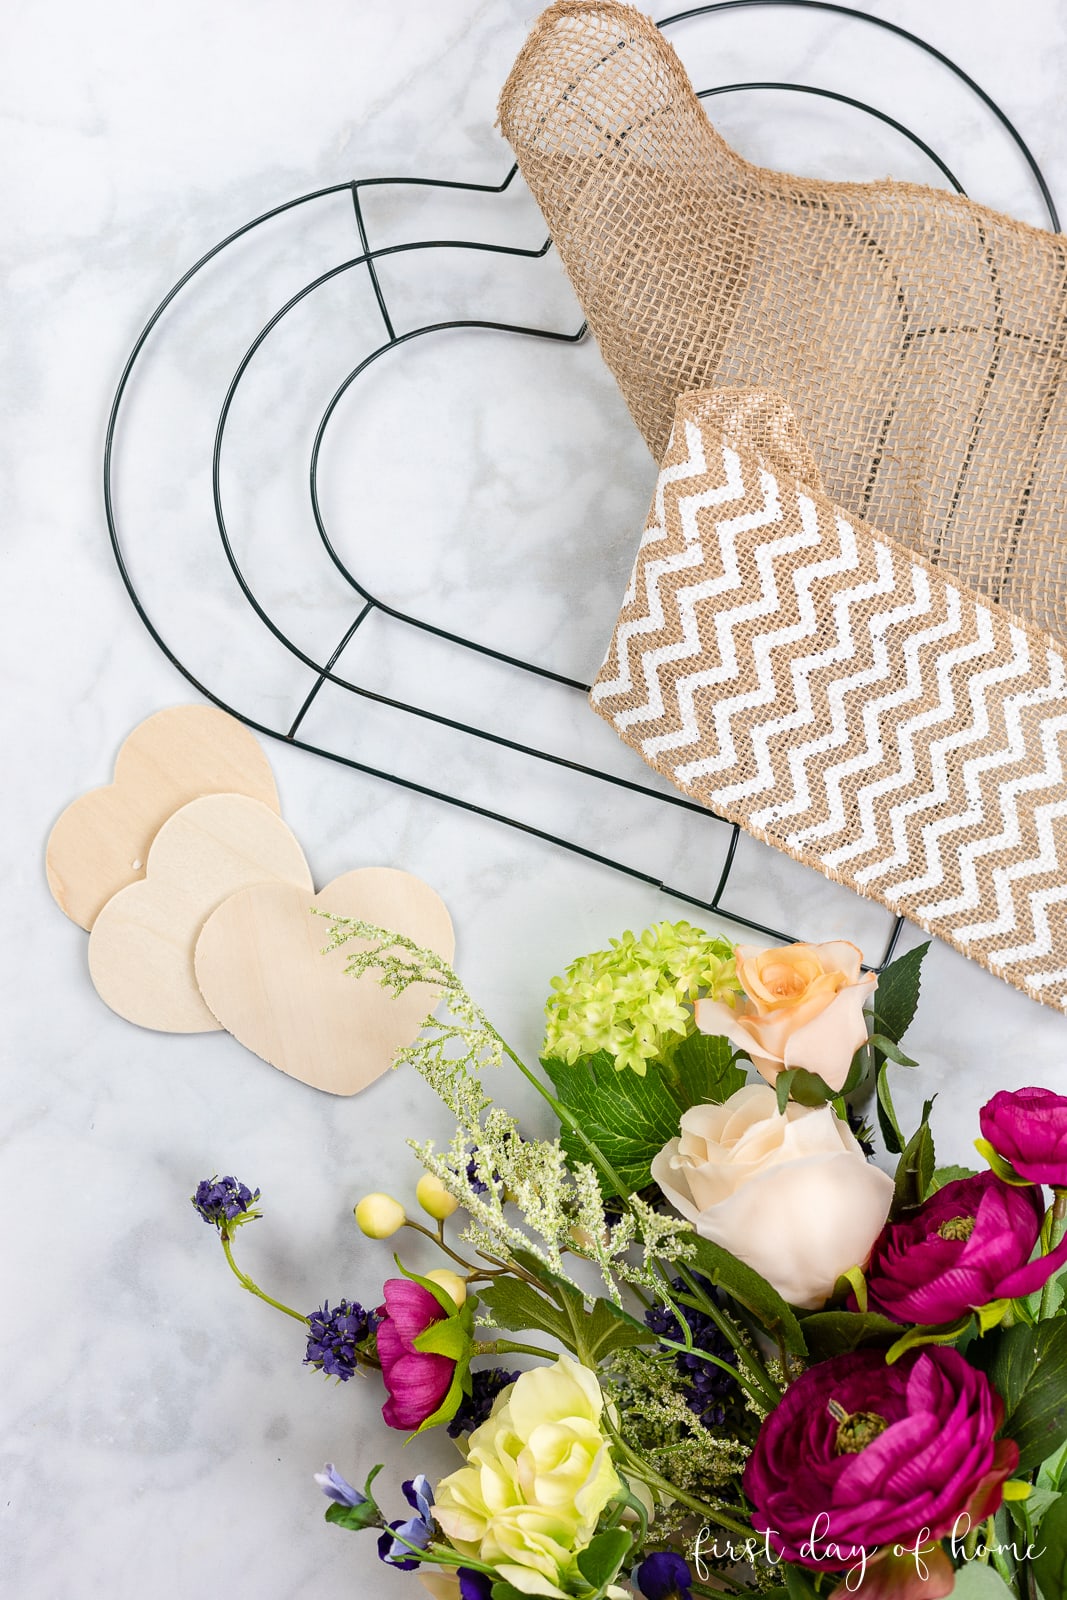
Supplies
- Heart-shaped wreath forms (2)
- Burlap ribbon (approximately 15 ft for two wreaths)
- Accent ribbons (optional)
- Wood heart cutouts
- Scrapbook paper
- Mod Podge Matte
- Faux flowers
- Floral wire
- Hot glue
- Paint brush
Note: If you wait to buy your heart-shaped wreath 30 days before Valentine’s Day, you’re too late! Or so I thought. Someone will gladly sell you Dollar Tree wreaths marked up 750% on Amazon, I discovered. Gah!
You can always substitute a round wreath or grapevine swag in this tutorial. Another good option is craft wire, like our inspiration blogger used for her wreath.
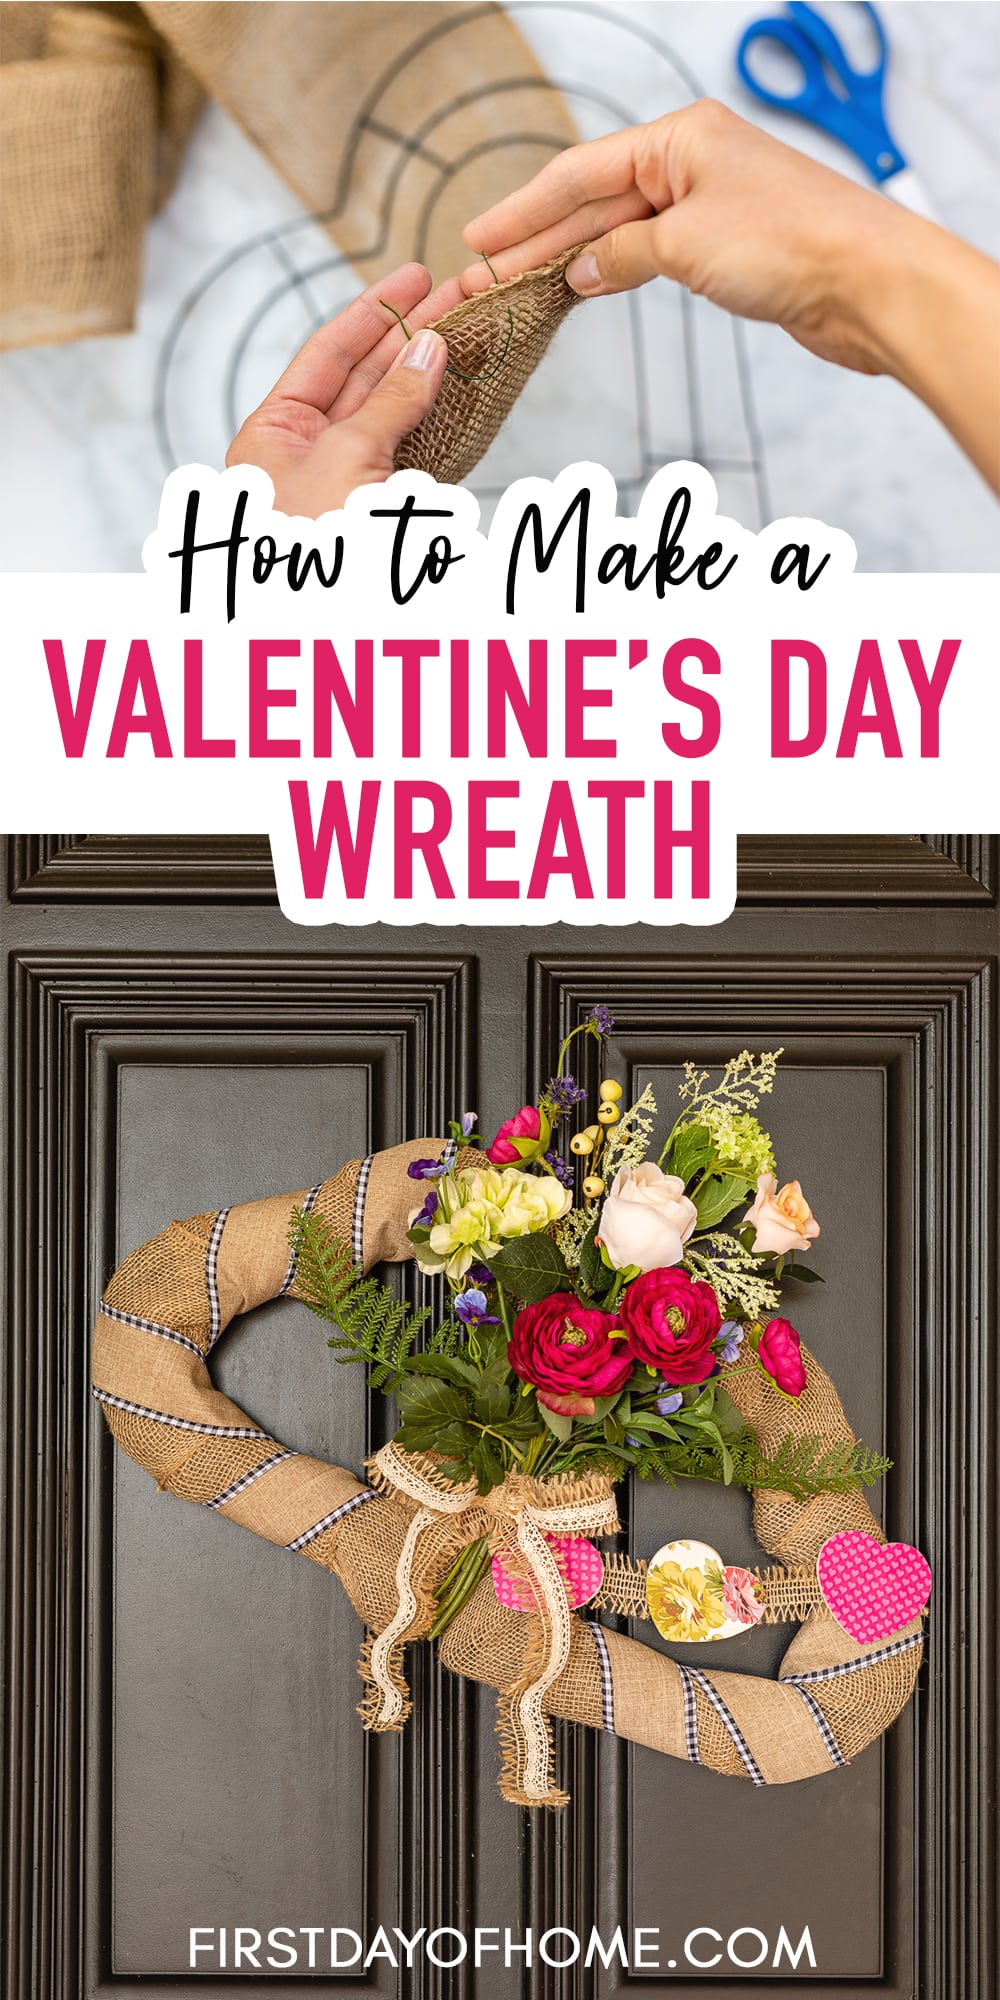
Step 1: Wrap Wire Wreath in Burlap
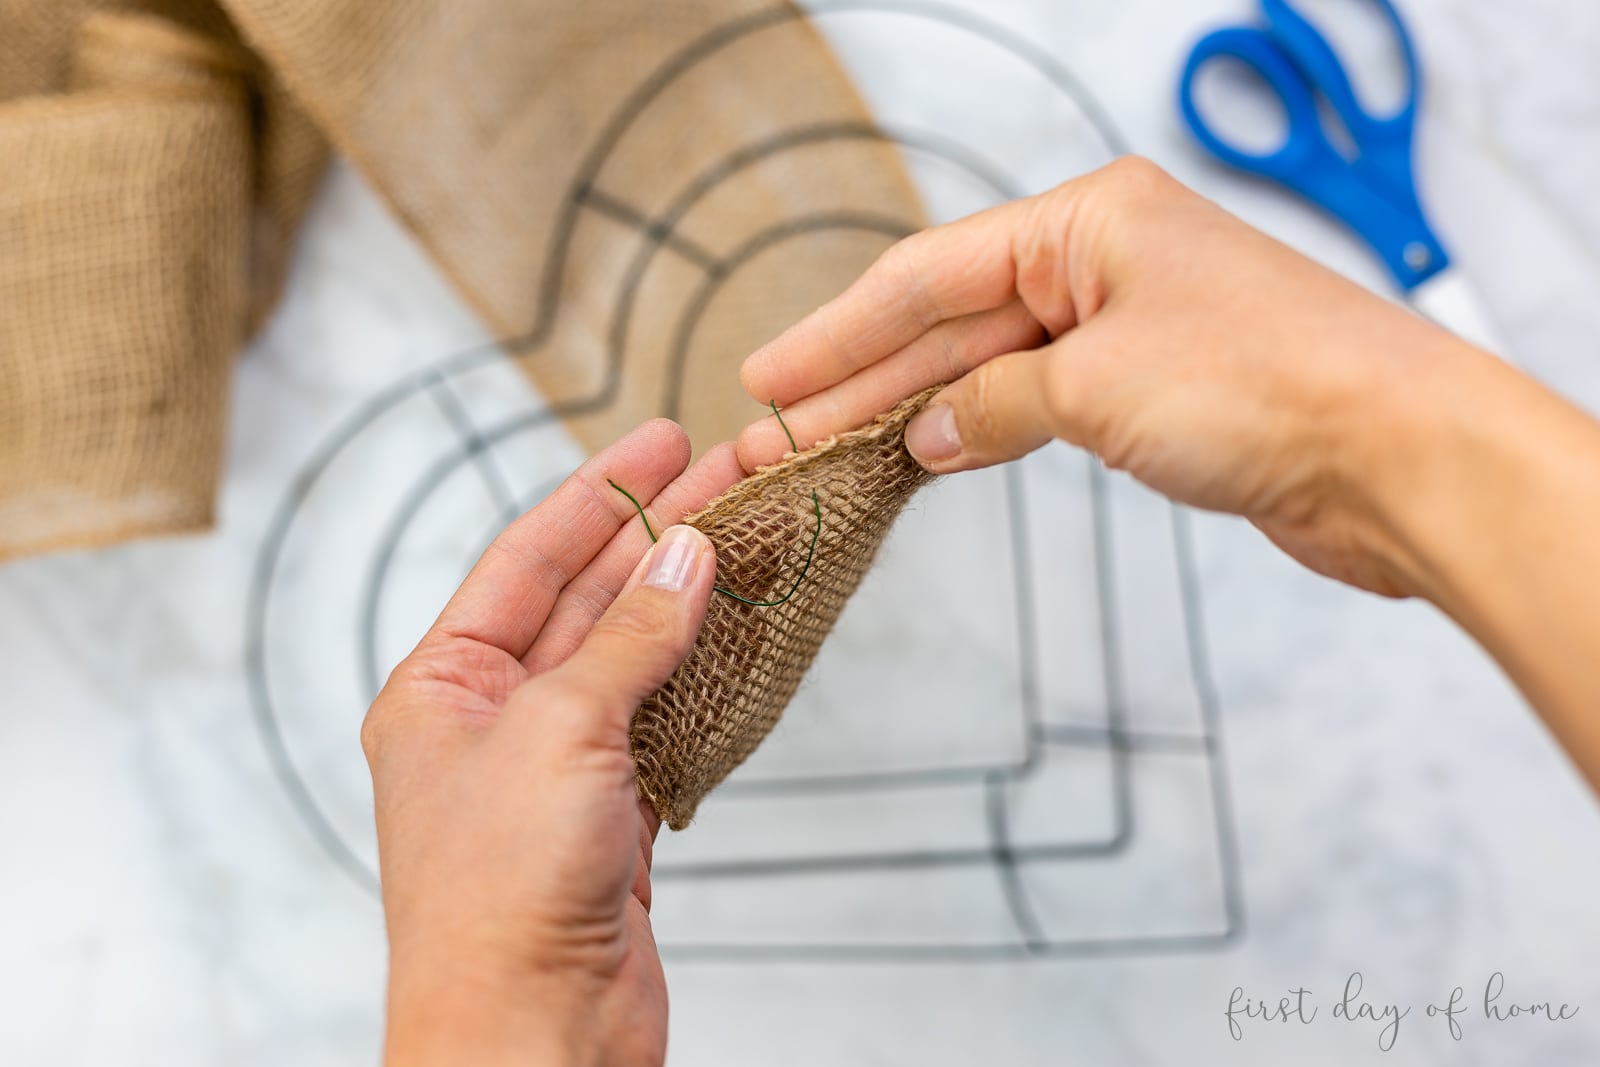
To begin, wrap your wreath forms in burlap (or the material of your choice) using floral wire to secure it to the frame.
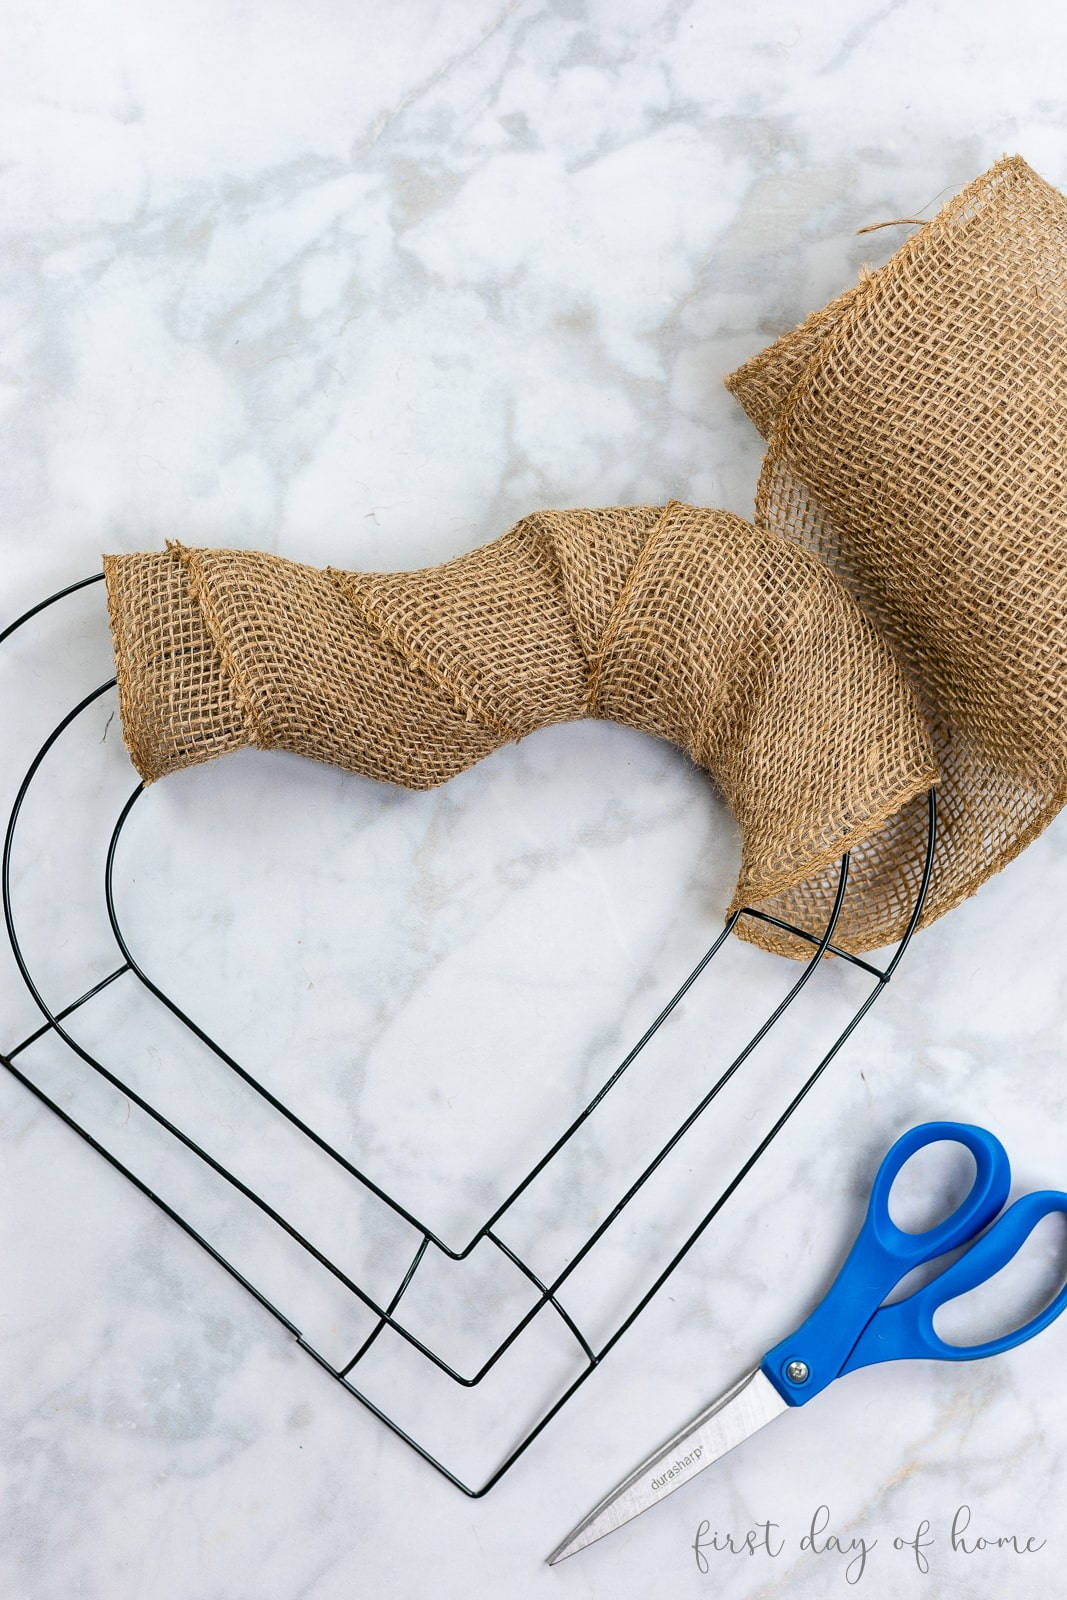
I slightly overlapped my burlap to prevent the wreath from showing through the ribbon.
I debated whether to use a different pull-through method for this burlap wreath as I did in my Burlap Valentine’s Wreath last year. However, I wanted a cleaner look for the porch this time.
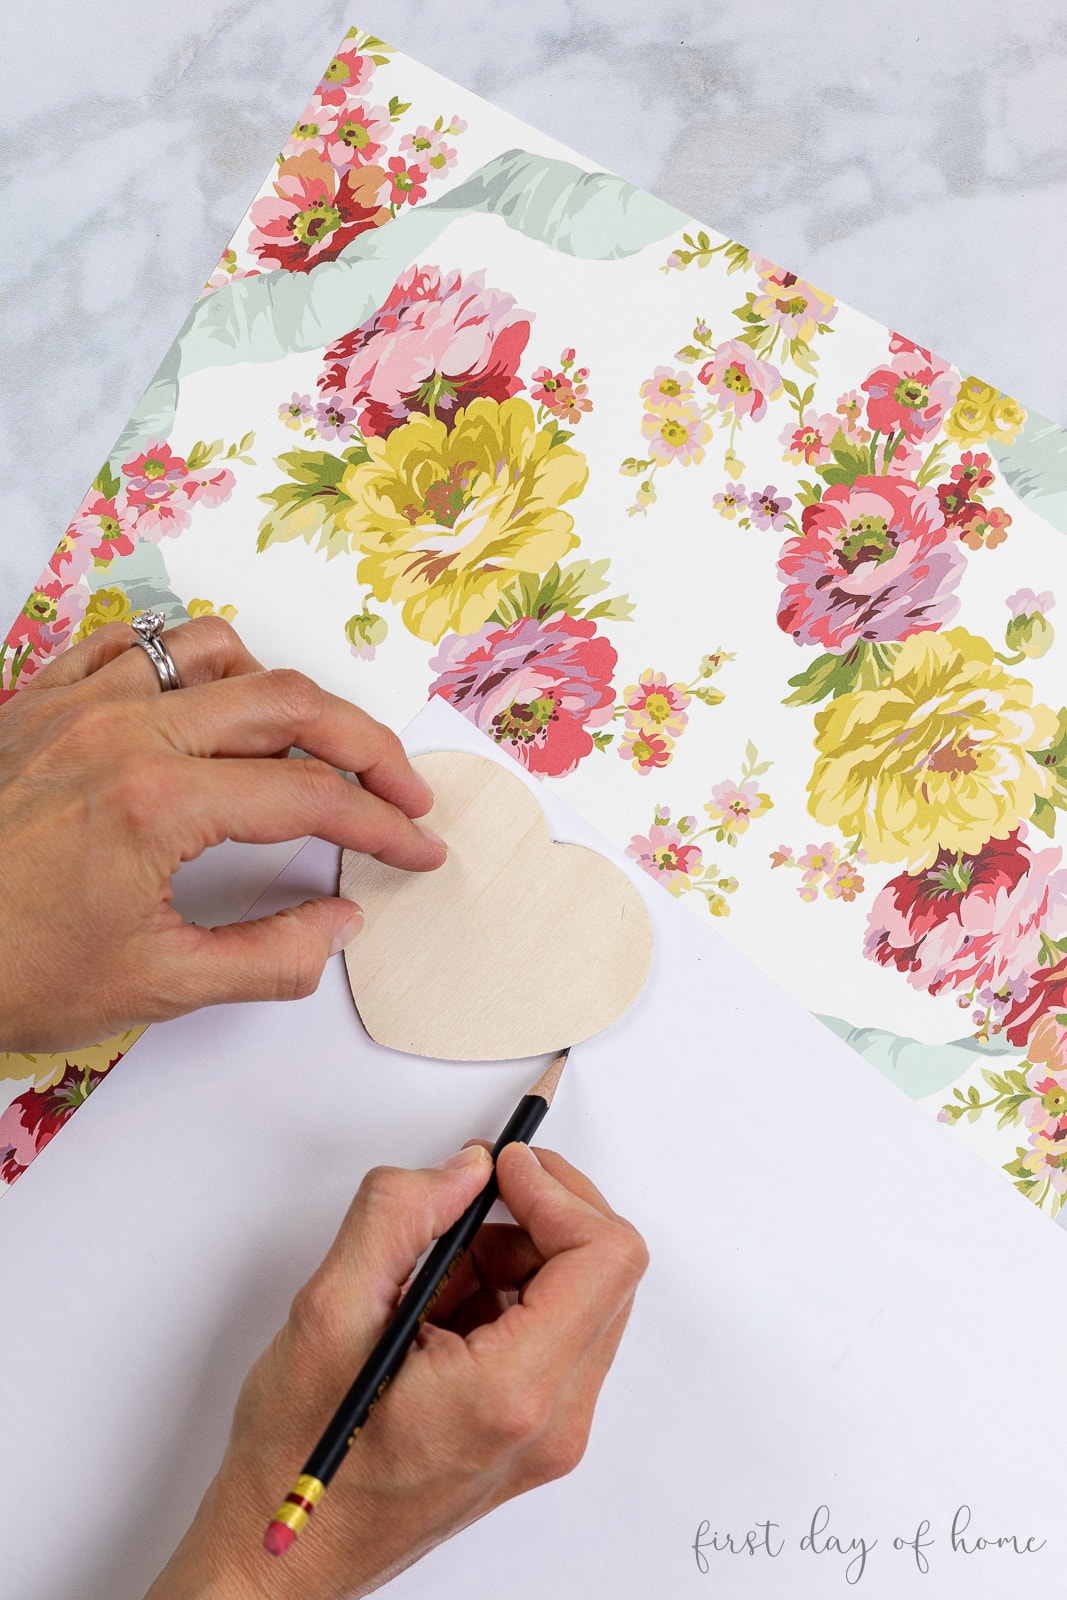
Step 2: Create Decoupage Wooden Hearts
To add a little nod to Sky’s original wreath, I decided to decoupage a few wooden hearts using scrapbook paper.

If you haven’t tried decoupage before, you can check out my Complete Guide to Decoupage on Wood. It’s a simple craft, but I do have a few tips and tricks.
The first step is simply tracing the heart shapes onto the scrapbook paper.
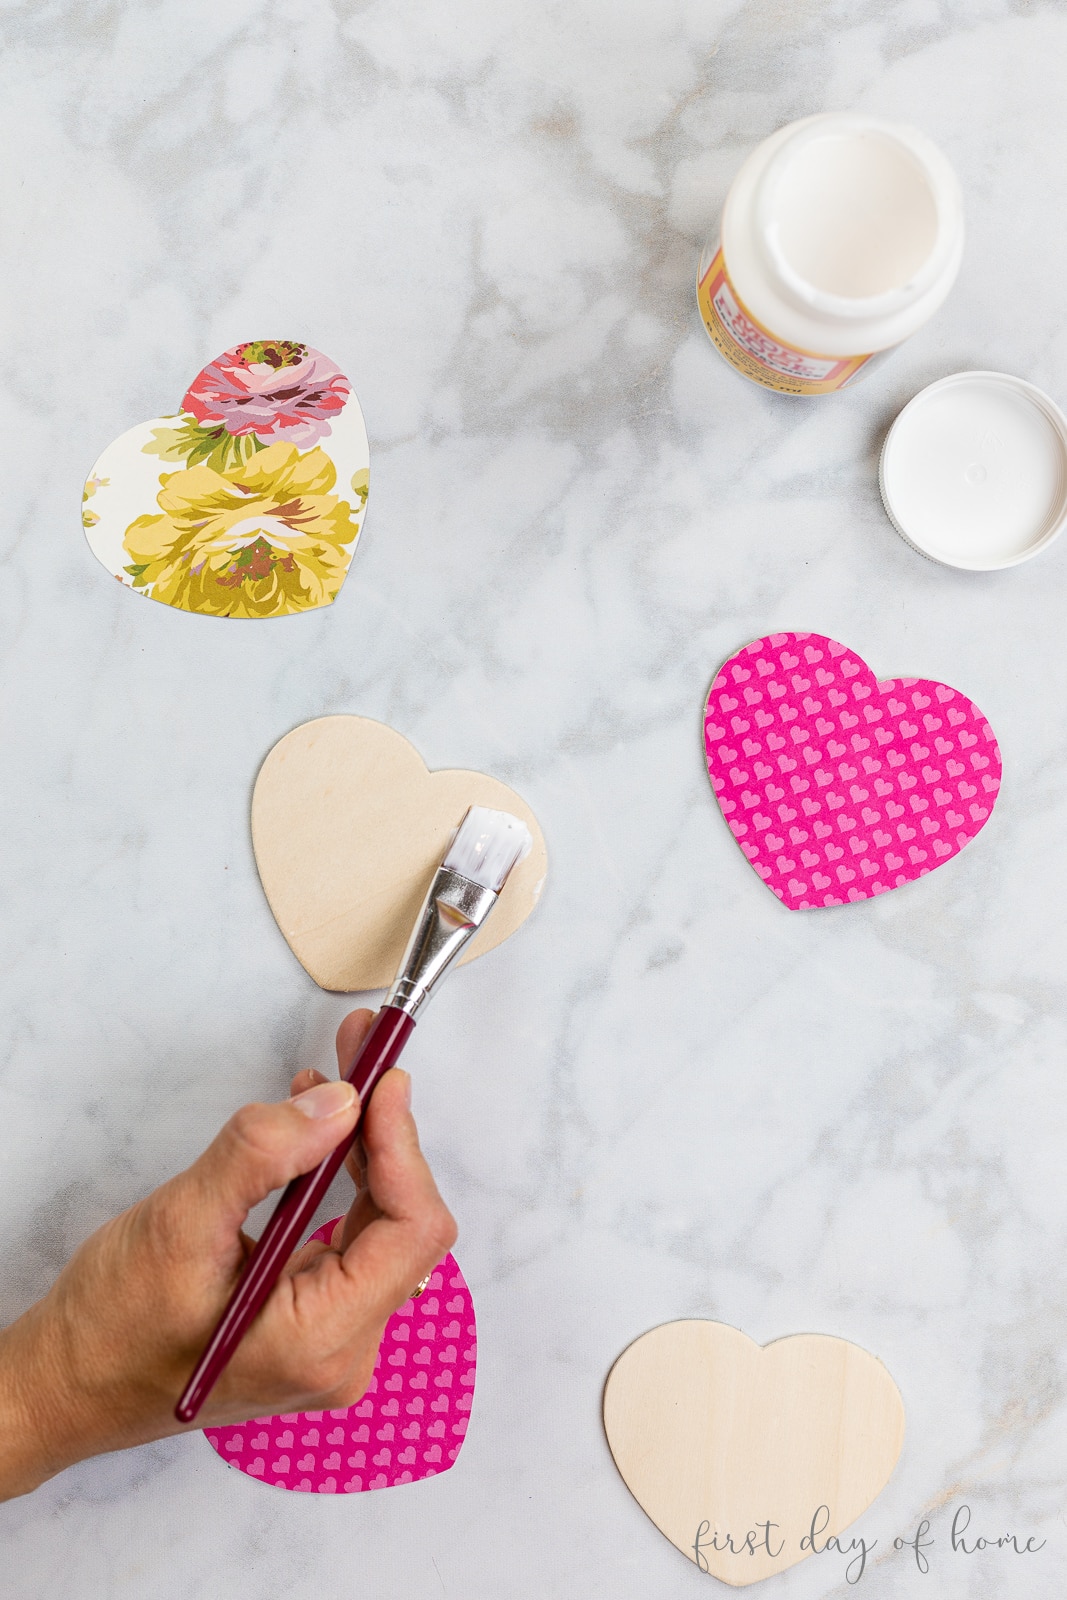
Then apply a coat of Mod Podge to the wood, place the heart cut-out on top, and wait for it to dry about 20-30 minutes.
Once the paper has dried, you can apply a top coat of Mod Podge again to seal the paper.
Step 3: Attach heart banner and faux florals
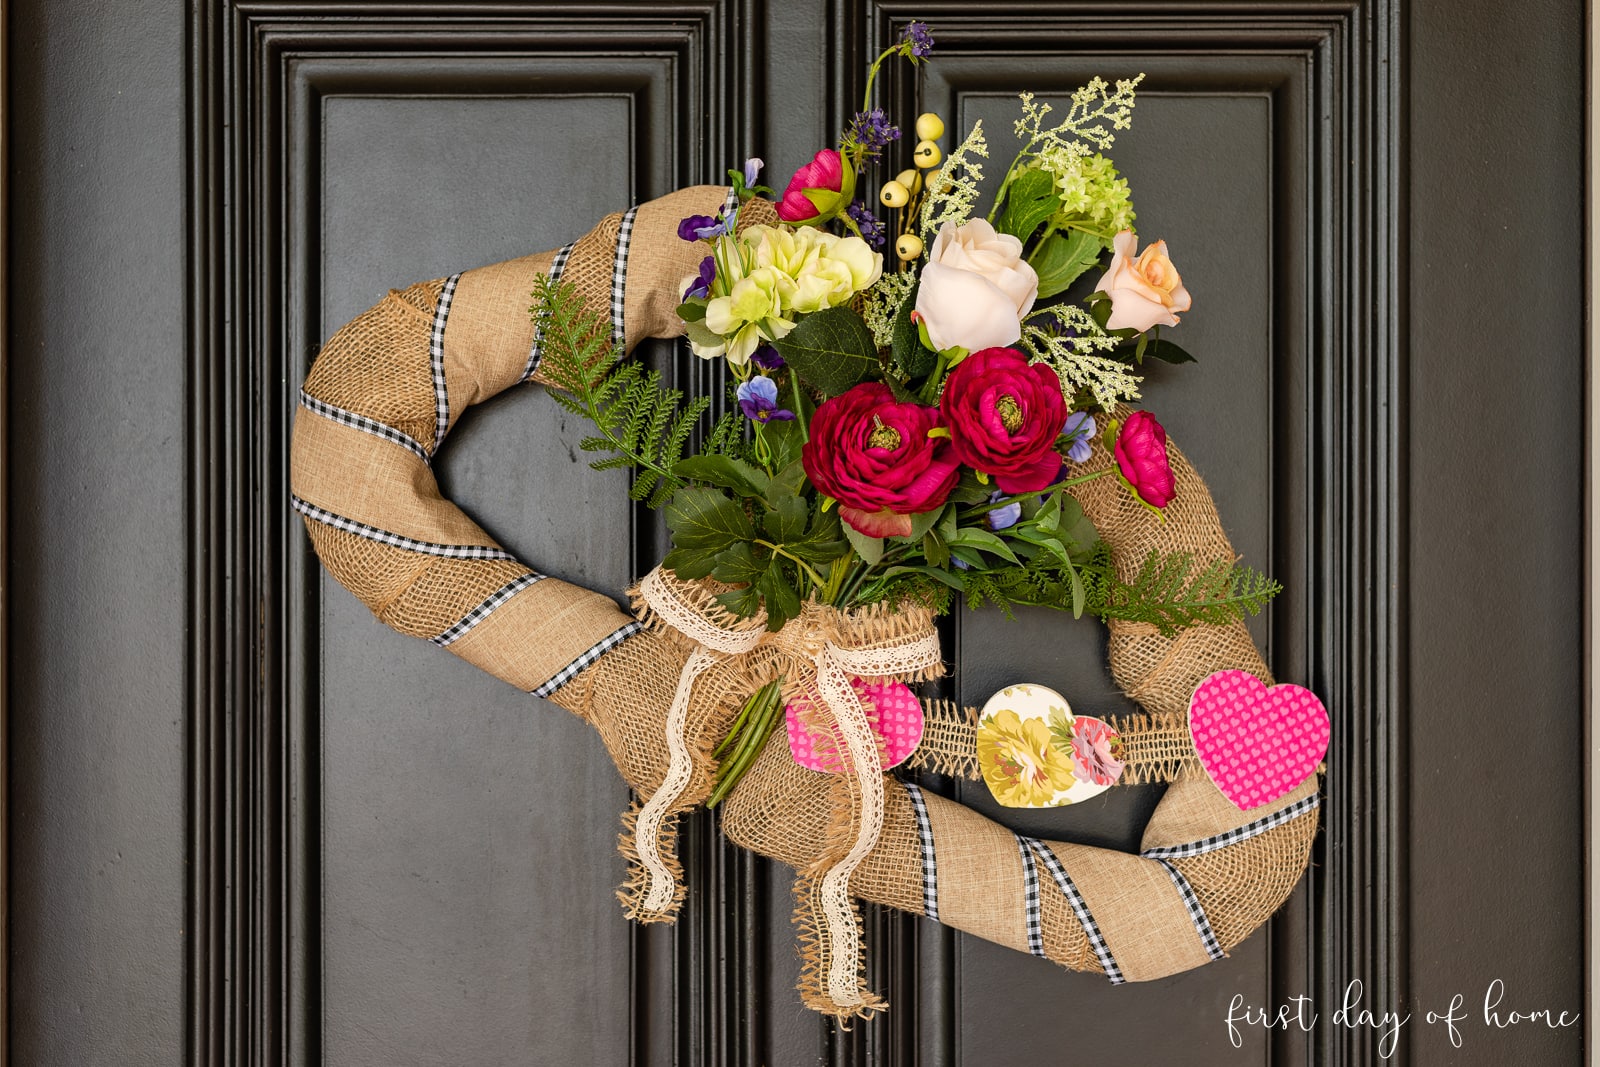
The final step to making your wreath is assembling all the pieces.
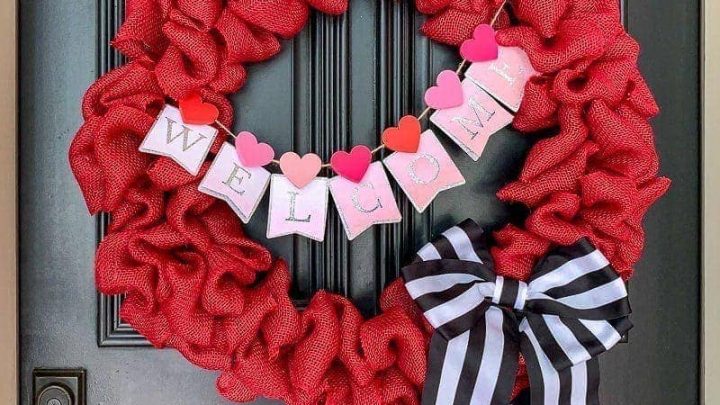
First, I secured the two hearts together using floral wire. I like how it represents two becoming one. (I know, I’m a hopeless romantic!)
Next, I added a bit of accent ribbon to give the wreath a touch of black for contrast.
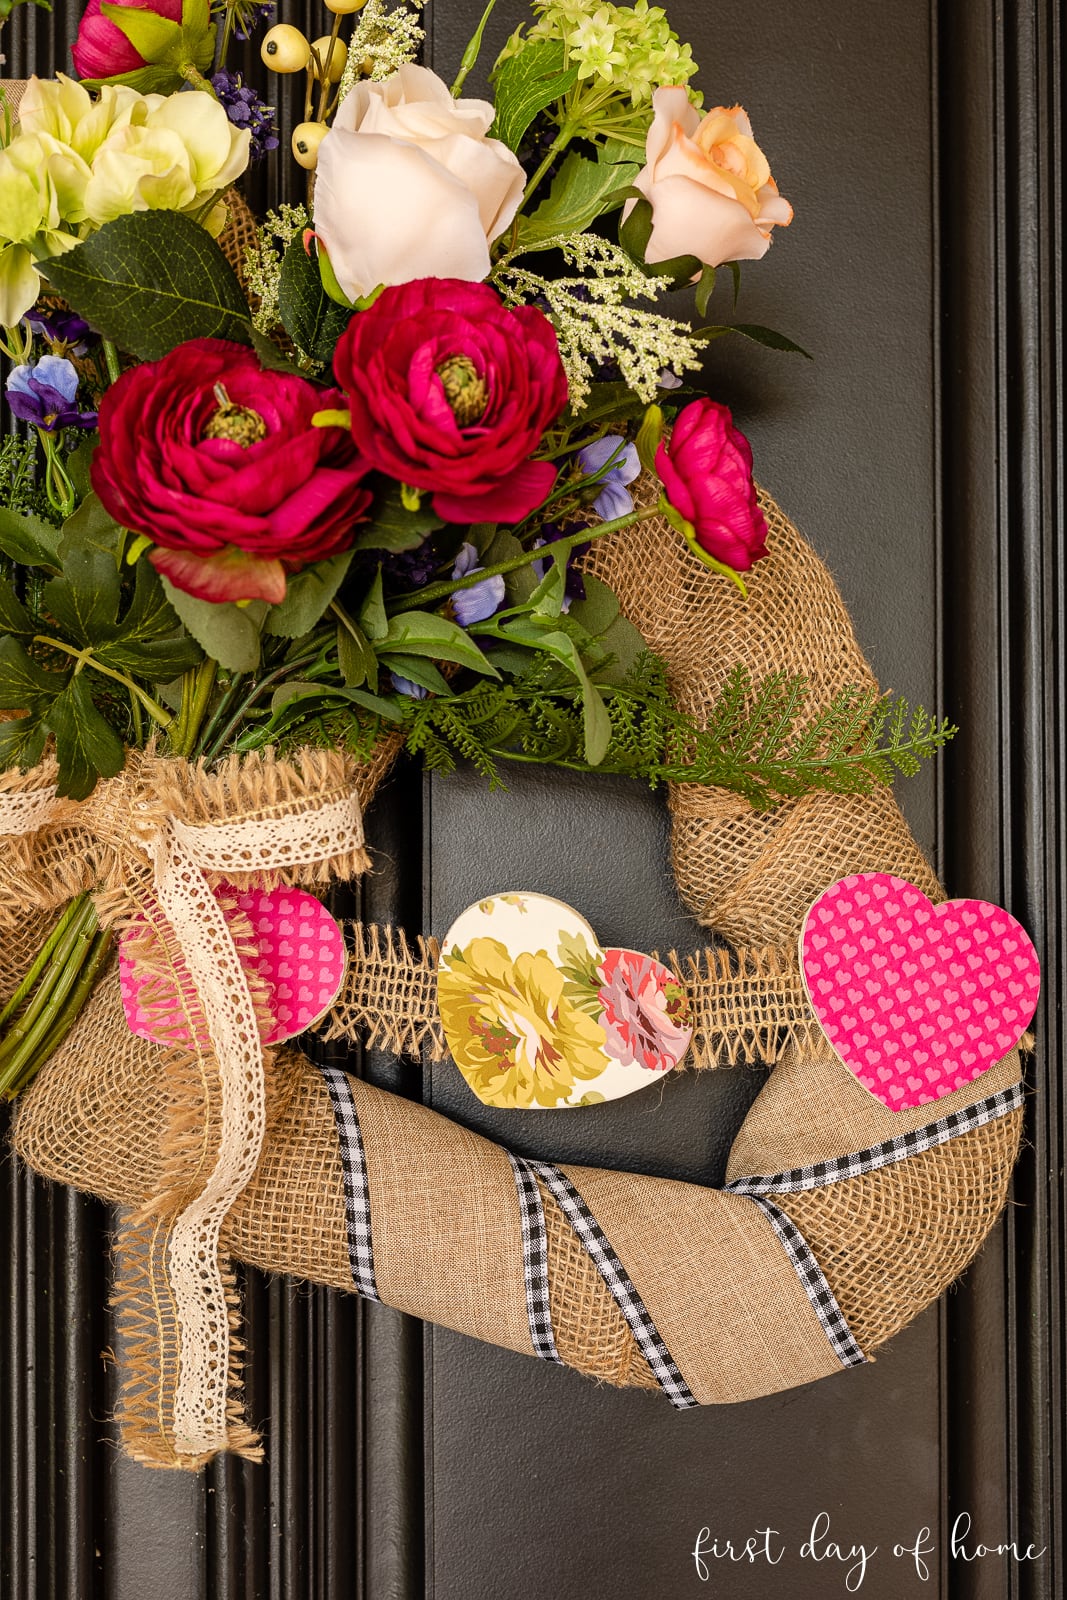
Then, I attached three decoupage wooden hearts by hot-gluing them onto a thinner piece of burlap ribbon and securing the ends of the “garland” to the wreath with wire.
Finally, I placed my faux florals in the center. I have to mention that this bouquet of flowers was a major score at my local thrift store!
For an extra “shabby chic” touch, I tied a piece of burlap and lace ribbon around the bouquet.
I played with a few variations in ribbon, and I’m still not quite sure I’m “done” with this DIY Valentine wreath. Does that ever happen to you?
The good thing about a Valentine craft like this is you can easily redesign it throughout the years!
Pin it for Later
Continue Your Tour
Don’t forget my friends have more Valentine’s Day inspiration for you. Check out the handmade decor below, and try some of these projects at home!
Next on your tour is Angie from Postcards From the Ridge. She is so talented, I know you’ll love her DIY fabric flower wreath!
More Valentine Crafts to Enjoy!
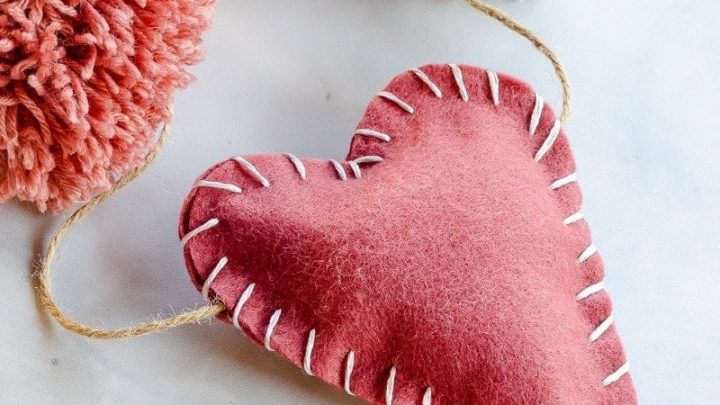
Making a Sweet Valentine Garland with Hearts and Pom Poms
Decorate your fireplace mantel or window for Valentine's Day with this pom-pom and felt heart garland.
How to Make a Burlap Wreath for Valentine's Day
Learn how to make a burlap wreath using the pull-through method.

How to Make a Rice Heating Pad with Lavender [Tutorial]
Learn how to make sweet heart-shaped heating pads with lavender and rice.
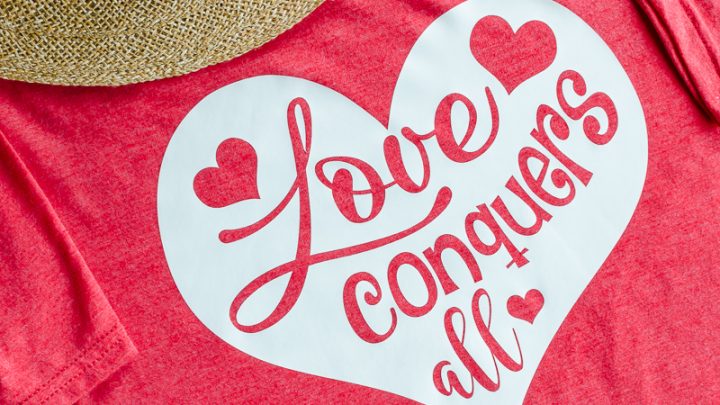
Make the Perfect Gift with this Free Love SVG Download
Grab a free cut file to make this t-shirt on your Cricut or Cameo cutting machine!
So darling Crissy! I love the two hearts! 🙂 It’s great to see what you’re up to! Take care and Happy 2022!
Hi Barbara! It’s great to hear from you. Thanks so much for the sweet note, and Happy Valentine’s Day! Hugs, Crissy
Love the double heart wreaths Crissy! Everything you make is so beautiful and I’m always so impressed with your tutorials. I feel like I learn something new every time I visit! Hugs!
Thanks so much, Michelle! That’s so kind of you to say, and it means a lot coming from you. Hugs back to you!
Oh, Crissy! This is so beautiful! I love that it’s a double heart. The floral spray is just the icing on the cake!
Thank you, Christy! I had fun seeing all the different spins on this challenge. I’m already inspired to try some new versions!
I really like that you used 2 hearts, Crissy! At first I didn’t see that there was 2, but now I see it. The bright colors look beautiful on your black door; such a great backdrop. Happy Valentine’s!
Thanks, Lora! You’re not alone. My husband was telling me it was hard to see two hearts. I guess it was a bit of an experiment. I’m already trying different arrangements! I loved what you did as well, and I can’t wait to try your origami tutorial.
Very pretty Crissy! I love that you used two hearts, and I love the thrifted flowers!
Thanks, Michelle! I rarely find gems at my thrift store, so it’s fun when I get something I can use. I loved seeing all the creativity with this hop. Happy Valentine’s Day (a little early)!
Stores are selling out of seasonal decor like crazy. I love your door decor. The burlap, hearts and flowers are perfect,
Thank you, Katie! Yes, it seems people have moved on from hoarding toilet paper to hoarding wreaths. Thanks for the sweet comment. I enjoyed hopping with you again!
Your double-heart wreath is lovely, Crissy… and I love how you always think about decoupaging something pretty, like the hearts. I didn’t even think that you could use different shape forms, like round wreath forms, and then just add the hearts elements to it. You so smawt!
Thanks, my sweet friend. What can I say? I should have a holster for my Mod Podge. You never know when you’ll have a decoupage emergency! Loved hopping with you again!
Looks like you have double the love for Valentine’s Day! Super cute. I can hardly believe someone would mark something up 750%! That should be illegal. I hope no one buys anything from them. That’s ridiculous. Anyway, pinned this cute wreath. Thanks so much for joining in.
Ha, Cindy! Yeah, I can’t believe anyone would pay that kind of markup in a desperate attempt to meet a Pinterest Challenge deadline! What a fool! (Truth be told, one wreath was broken, and they said not to even ship it back for a refund. It all worked out!) Thanks for hosting such a fun event!
Crissy, your wreath is so pretty! I love the paper you used on the little wooden hearts. And it seems like I’m never quite finished with projects and always adding to them too!
Thanks, Angie! Yes, I’ve already unwrapped this wreath and have started playing with the next version. Ha! I loved your sweet yarn wreath, too. You’ve inspired me to try fabric flowers someday!
Your version is so pretty, Crissy! You are so creative to use two hearts joined with a bouquet of flowers. Adding the decoupaged hearts is the perfect finishing touch.
Thanks, Paula! My husband said he couldn’t tell it was two hearts at first, so I’m thinking I might revisit this one. I always enjoy the process, even if I do change my mind on the final product!
Super cute! I love the added touch of the flowers to make it spring-y and fresh!
I’d love it if you’d share it at my link party this week, too! Sundays on Silverado!
Niky @ The House on Silverado
Thank you, Niky, and thanks for the invitation! I guess maybe I’m eager for spring, so I can’t resist some spring-y flowers! Looking forward to checking out your party!
Very cute approach to our Pinterest Challenge wreath, Crissy. Love wrapping the wire with burlap. Decoupage is always a fun addition to any project. And your flowers are very pretty.
Thank you, Carol. It was fun to play around with this one. I may still do a few more variations as you did!
Crissy, your interpretation of the heart wreath is super cute! I love the thrifted flowers and the decoupage wood hearts!
Thanks, Cindy! I loved your air dry clay hearts too. So fun to see the creativity from everyone!
Double the fun! What a cute idea. Love the floral accents.
Thanks, Laura! I was excited to find the flowers at a thrift store. Trash to treasure!