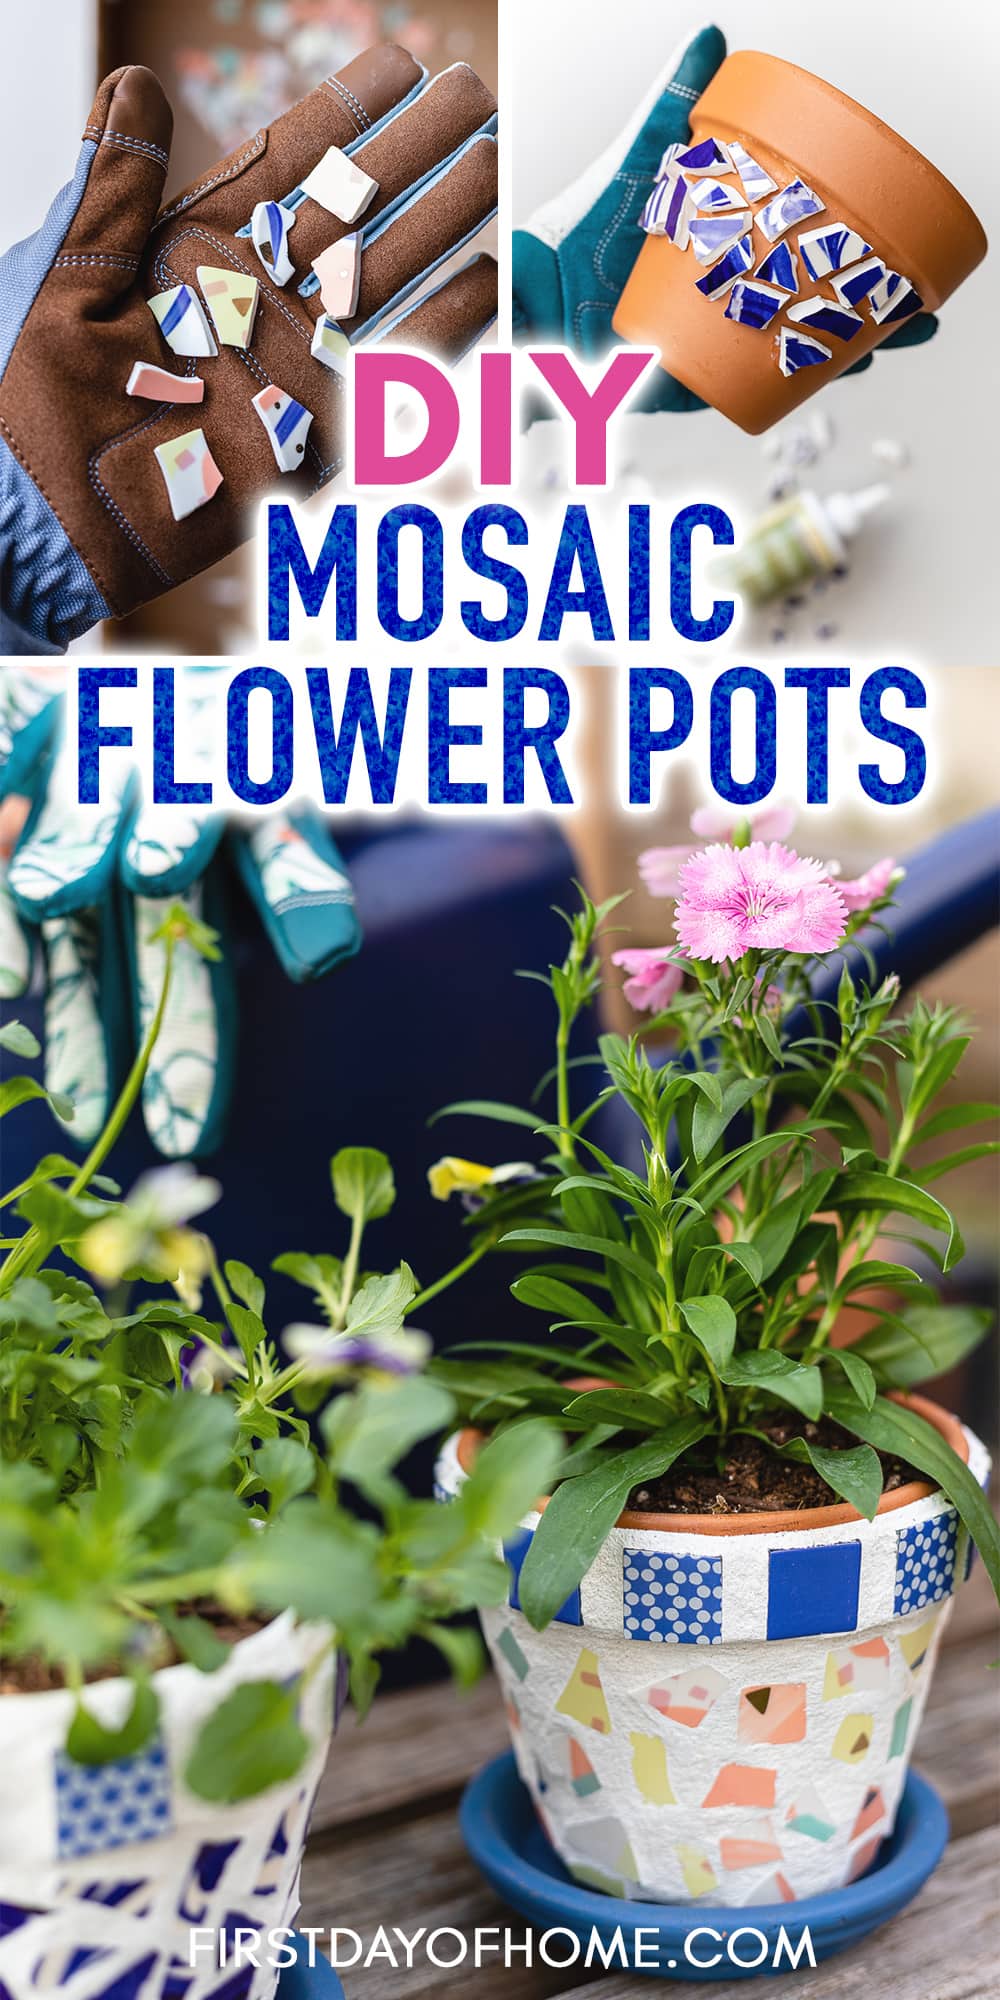
How to Make Gorgeous DIY Mosaic Flower Pots


Sometimes having the container garden of your dreams starts with beautiful clay pots. These DIY mosaic flower pots add visual interest and elegance to your outdoor space. Plus, you’ll have loads of fun making them!
This post contains affiliate links, and I will be compensated if you make a purchase after clicking on my links. For more information, please see my disclosures.
DIY Mosaic Flower Pots
Mosaic arts involve using small pieces of broken glass. stone or other objects to create unique patterned designs. The tradition dates back to Mesopotamia, and you get bonus points if you can remember which millennium that was.
(It’s the 3rd millennium BC. I looked it up.)

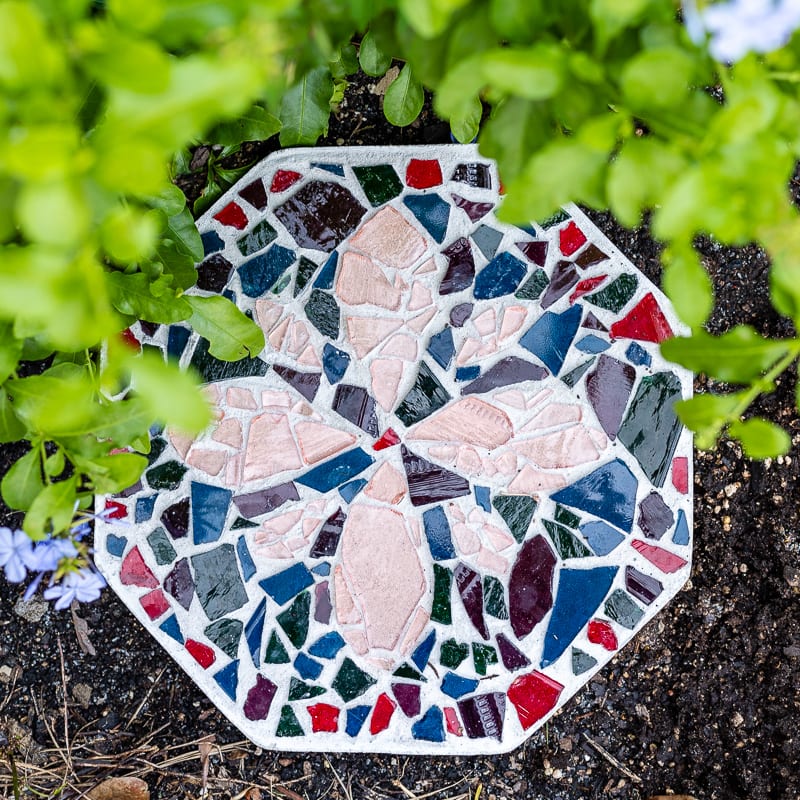
Nowadays, you can use mosaics to make DIY stepping stones, furniture, or (in this case) terra cotta pots. Many use it as a craft to repurpose broken china or thrift-store dishes. From trash to treasure, my friend!
Let’s gather our supplies and get started!
Supplies
- Broken plates, stained glass or mosaic tiles
- Terracotta flower pots
- Clay pot sealer (optional)
- Tile adhesive
- Mosaic tile grout
- Safety goggles and gloves
- Tile nipper (if breaking plates or tile pieces)
- Mosaic sealer
Step 1: Apply clay pot sealer (optional)
When I made my popular decoupage flower pots and painted terracotta pots, I used a sealer to prevent moisture from ruining my design.
This sealer works well to prepare your clay pots for the elements outdoors. Simply spray the inside and outside of the flower pot. Then, wait 24 hours for it to completely dry before applying your mosaic pattern.
If you’re concerned about using a sealer in pots with edible plants, you can definitely skip this step. I didn’t use a sealer for my fingerprint flower pots, and I just keep them in a covered area.
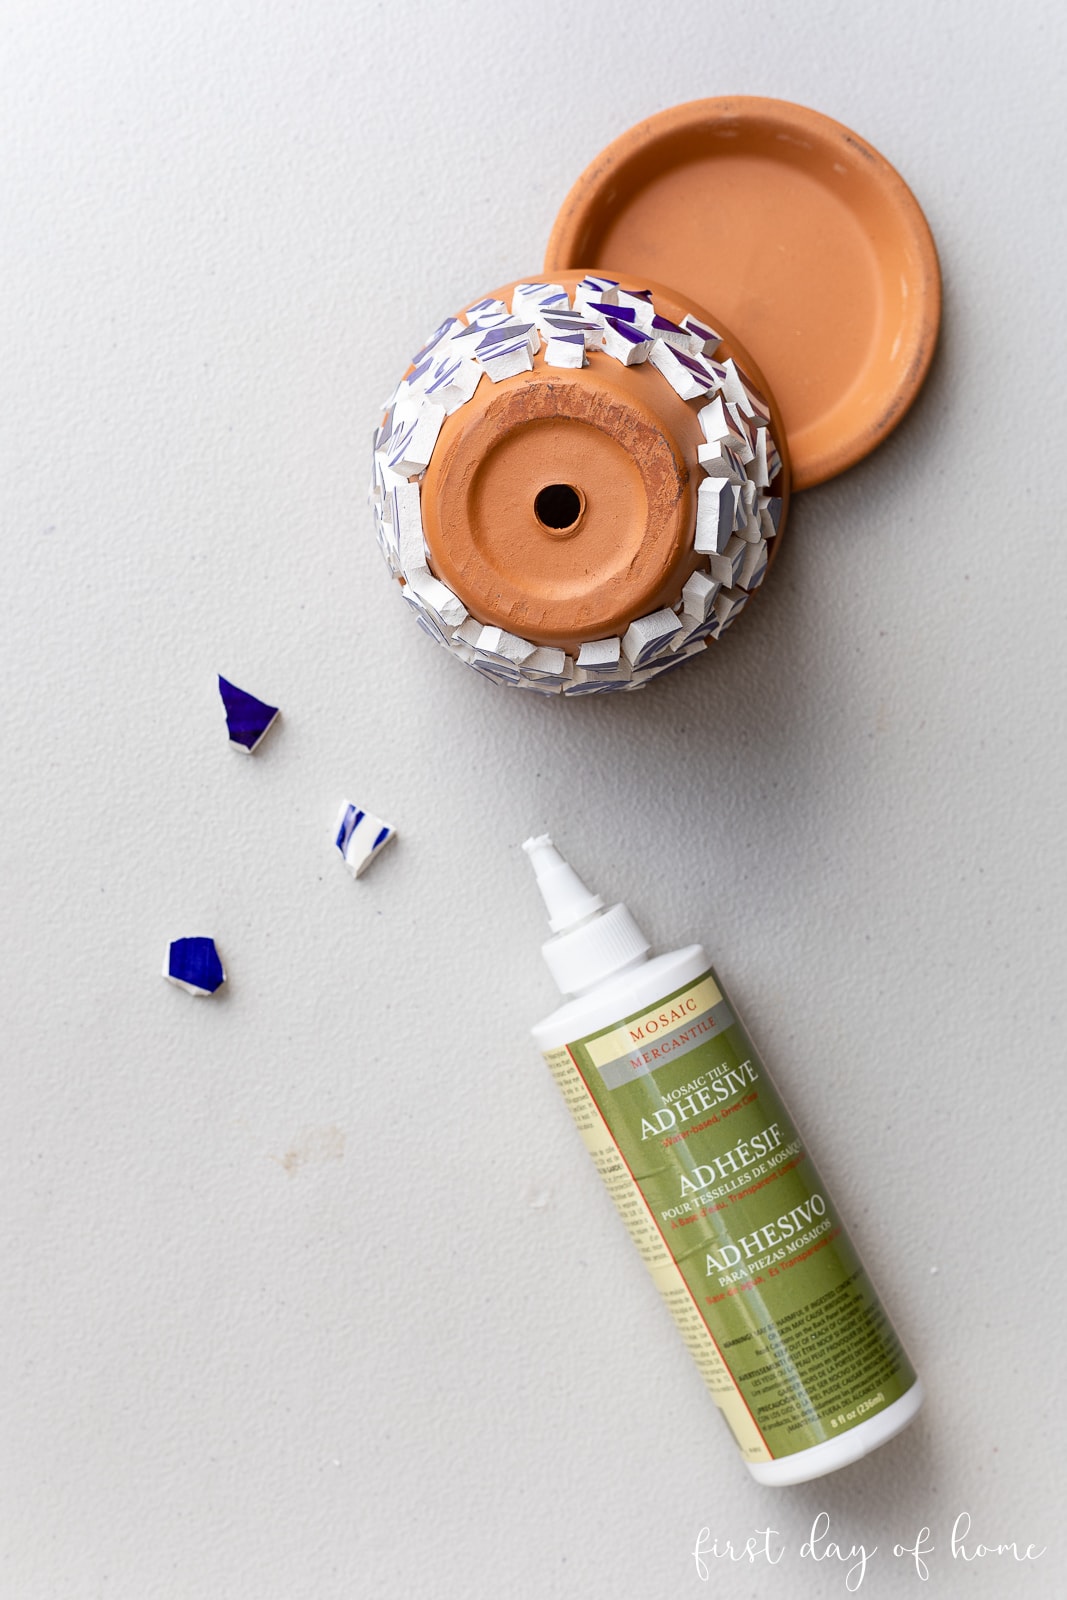
Step 2: Cut tile pieces
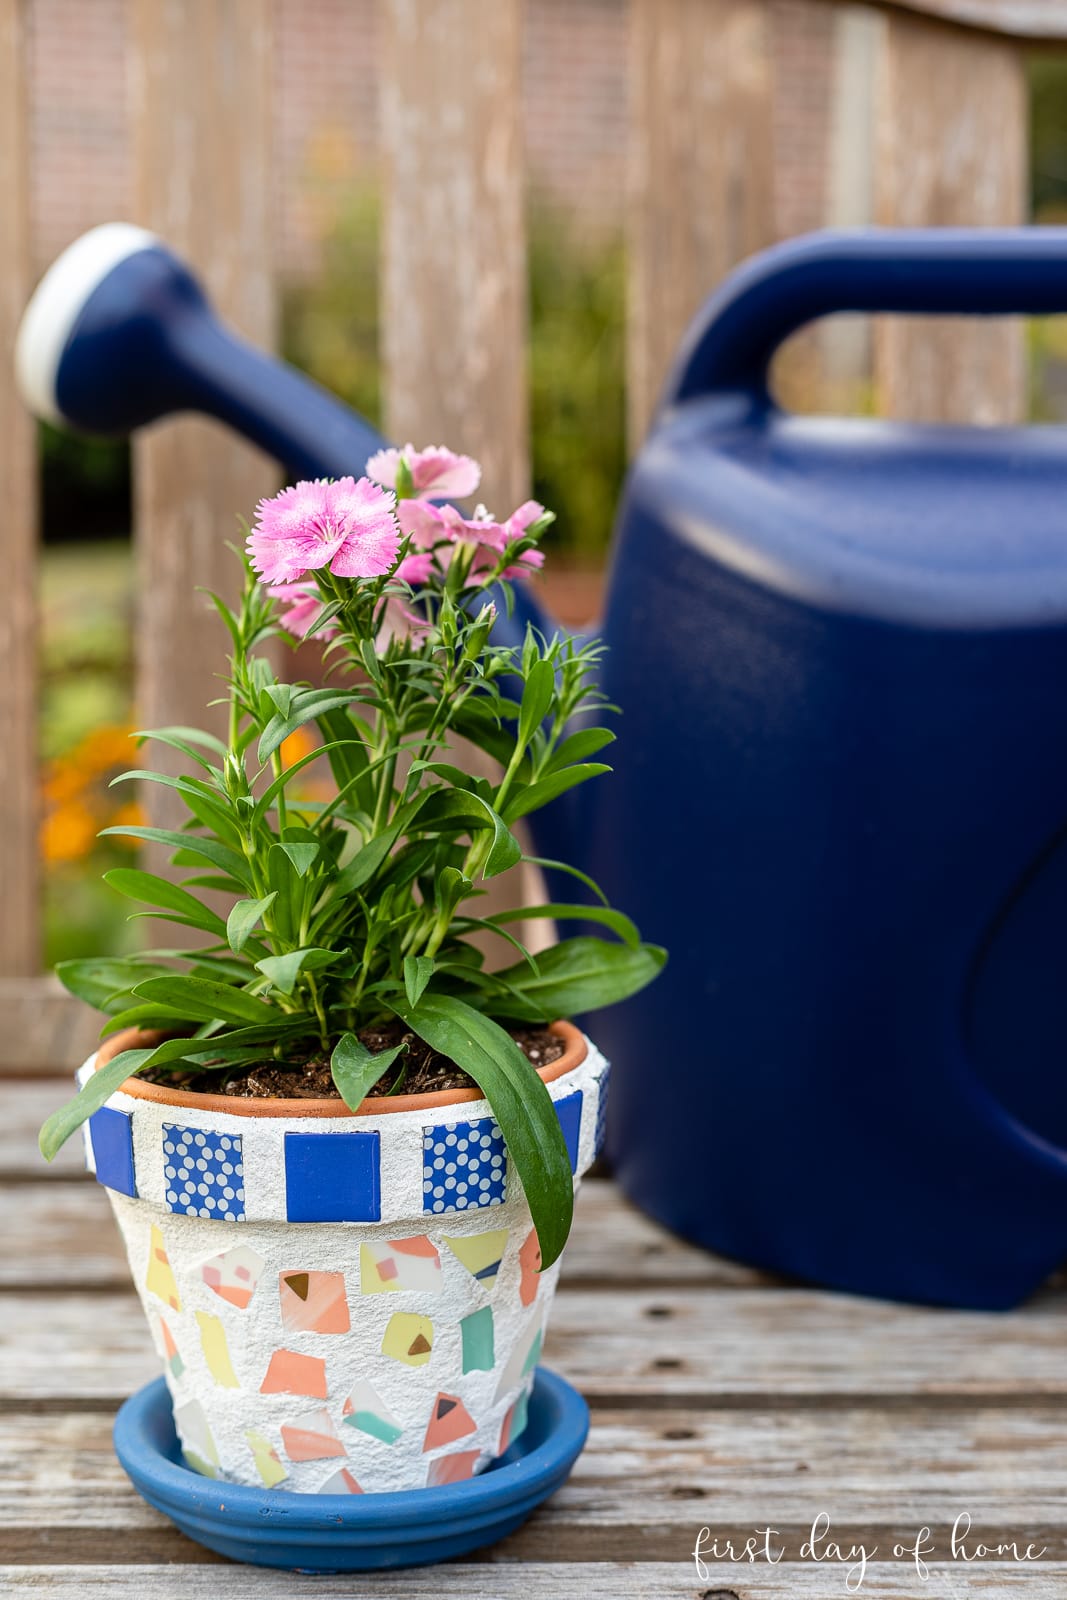
To create the best mosaic pattern, you’ll want to use pieces that “fit” the size of your pot. I used a 6-inch clay pot, so I made sure my pieces were about a 1/2-inch big.

If you’re planning to use a broken plate or cut tiles to size, you should use tile nippers*.
*Note: Always use safety glasses and gloves when cutting tile. To prevent pieces from flying, place the plate or tile in a plastic bag or cover it with a towel or drop cloth before cutting.
For the rim of my flower pots, I used pre-cut tiles that come in a variety of colors at any hobby store.
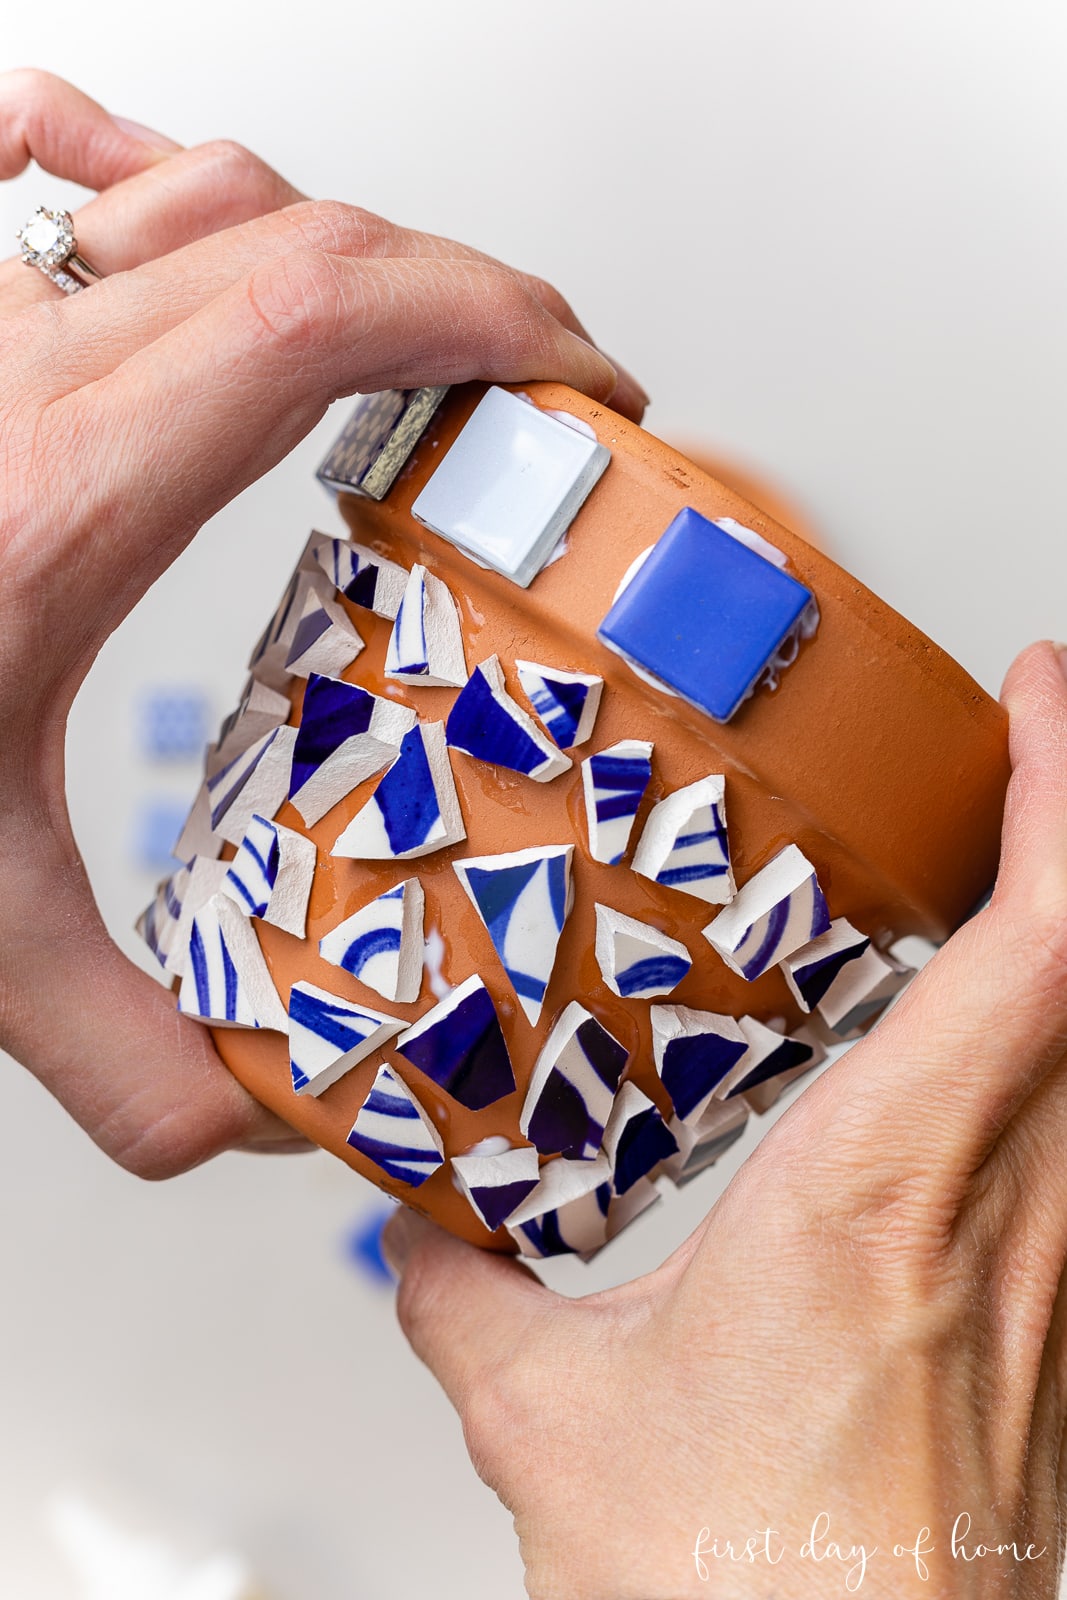
Step 3: Apply tile adhesive and attach mosaic pieces
Now the fun part begins! You are only limited by your imagination when it comes to designing a mosaic. You can make a mosaic flower pattern or create other geometric designs.
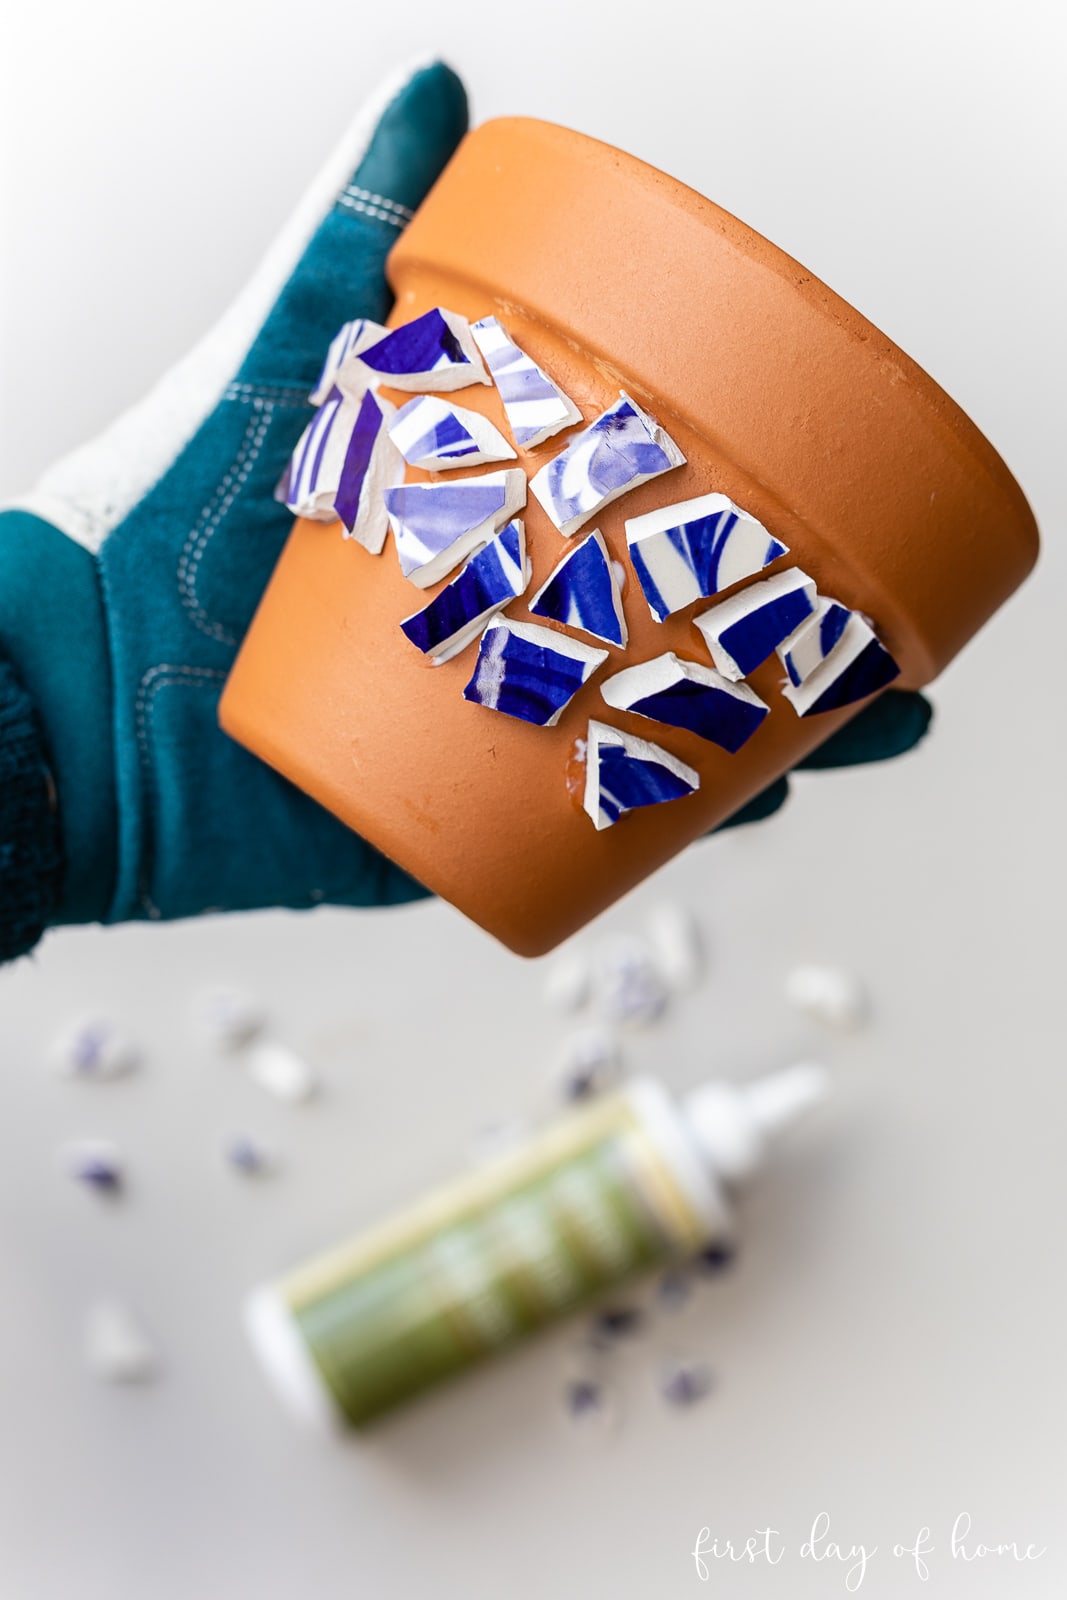
I decided to create a random pattern using two plates I picked up at Goodwill. I love how they create a stained glass effect on my clay pots.
When working with the tile adhesive, I found it easiest to set the rim of my pot on the saucer (see below). This helped me use both hands to squeeze out the glue directly onto the pot. (My glue took a bit of effort to squeeze, so this method worked best.)
You do have a few minutes to make minor adjustments to your tile position before the glue sets. Plan to work quickly, but don’t get frantic if you need to slide a tile here and there.
After applying all of the tiles, let the adhesive cure for 5-6 hours per the manufacturer’s instructions.
Step 4: Apply tile grout
Once you have let the tiles cure, it’s time to being grouting. The directions may differ based on the grout you choose.

I bought a white powdered form of mosaic grout that simply required adding water. You can also choose grout in other colors, like grey or black, depending on your mosaic tiles art project.
It’s best to use nitrile gloves or something similar to work the grout into all of the spaces on your pot. Ideally, the grout will remain flush with the tiles or slightly indented.
In hindsight, I wish I had placed my tiles even closer together to have less grout showing. I believe the size of my pots made it tough to break my plate (tiles) into small enough pieces. #lessonlearned
Step 5: Wipe away excess grout
After about 15-30 minutes, you’ll need to wipe away any excess grout to reveal the tiles underneath. Trust me, it’s tough to remove grout from tile once it’s cured.

You can use a damp cloth or sponge to buff away the grout on the tiles. This part does get a little messy, so work in an area where you can clean up the dusty particles that flake off.
Wait a few more minutes to let the grout set more. Then, repeat the process to remove any remaining cloudiness or residue on the tiles.
You Might Also Like: DIY Mosaic Stepping Stone
Step 6: Buff and seal the flower pot
After the grout has set for 24 hours (or the manufacturer’s recommended time), it’s time for some finishing touches!
With a damp rag, give the pot one final polish. Then, you can choose to apply a grout sealer. There are many to choose from, but this mosaic grout sealer is intended specifically for this purpose.
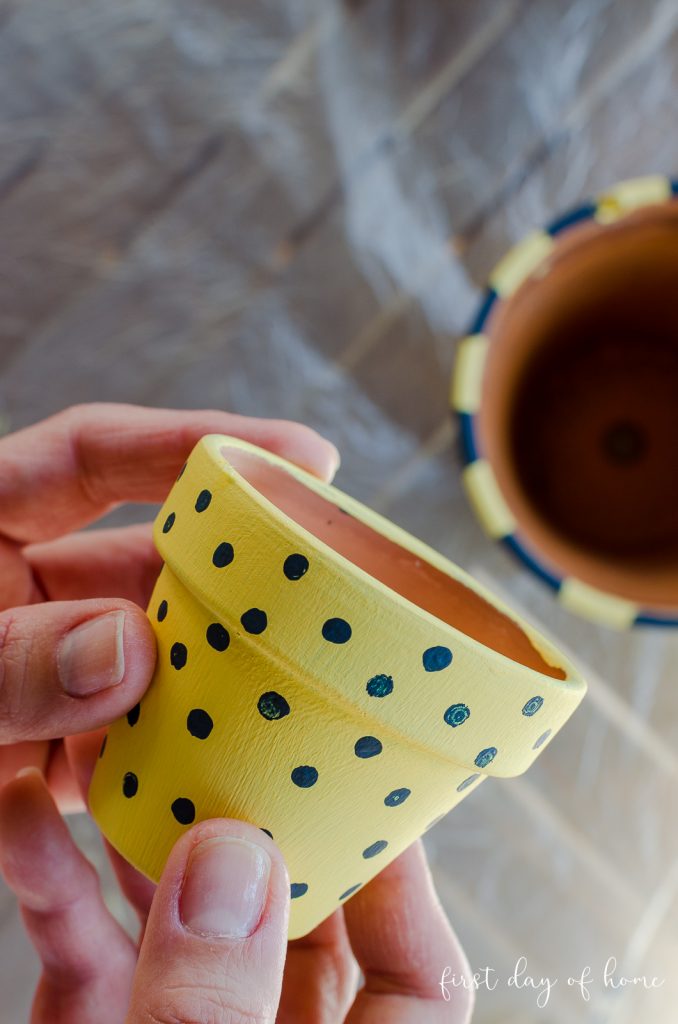
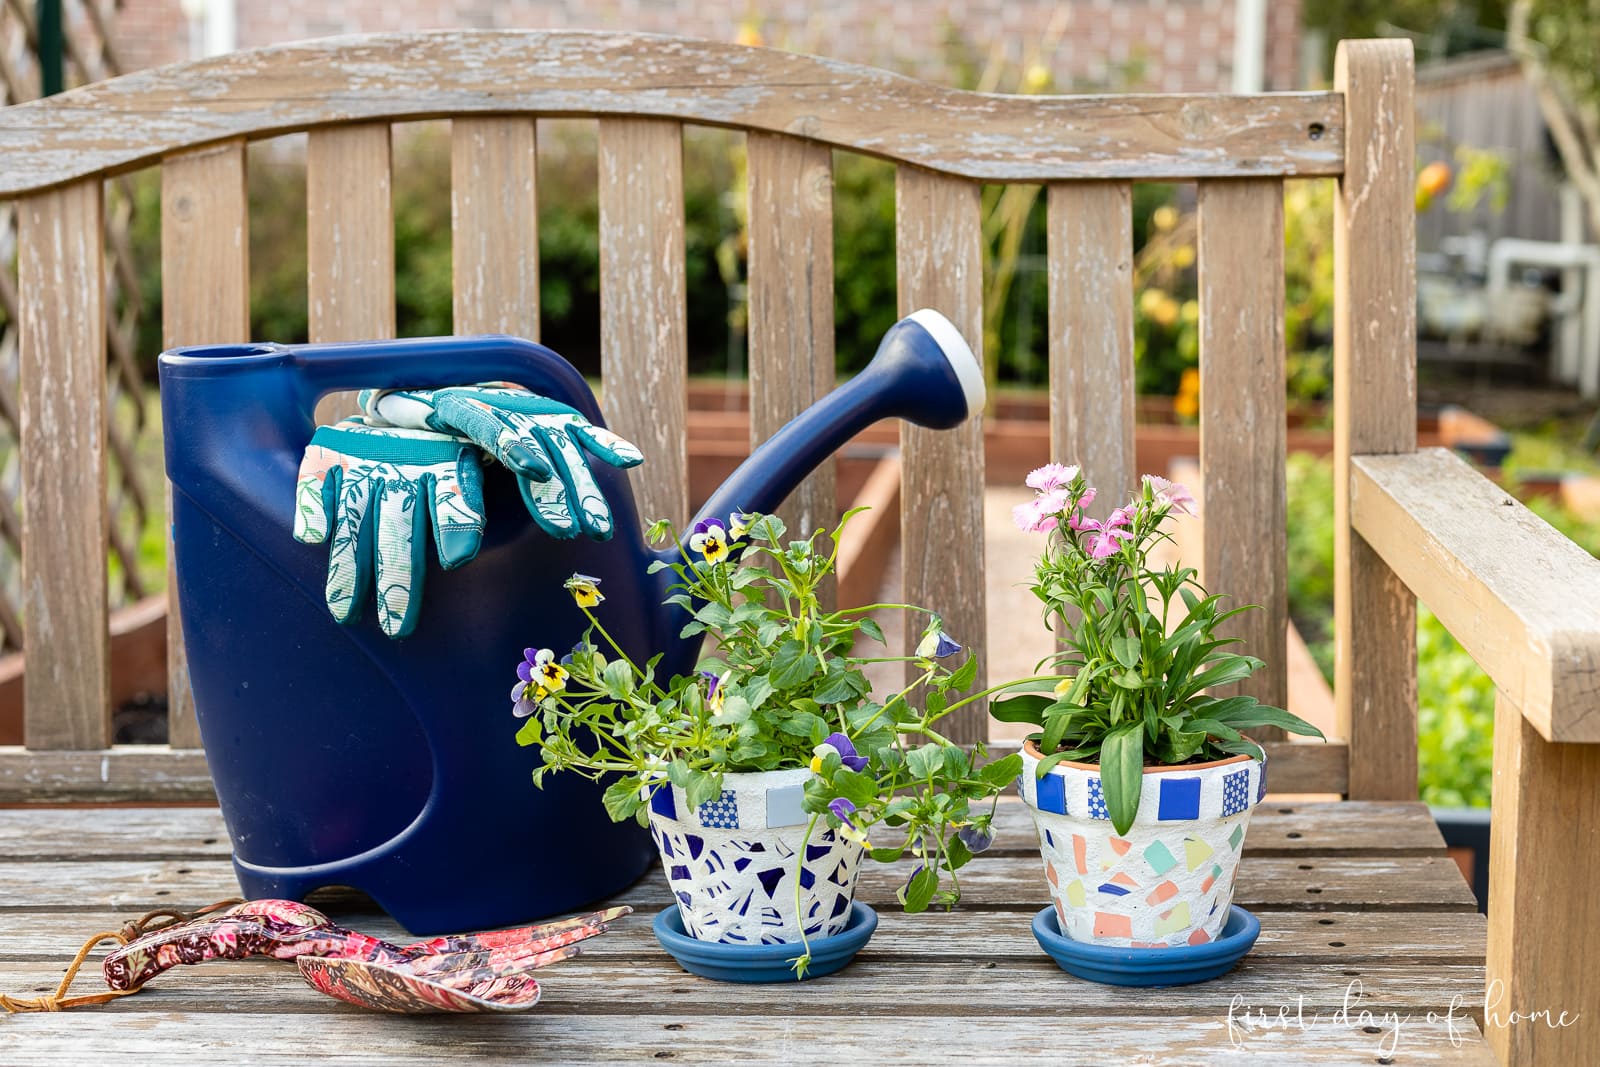
I decided to paint the saucer of my pot as well. You can learn more about how to paint your pots and properly seal them here.
Enjoying Your Mosaic Flower Pots
I hope this piece of garden art adds some beauty to your home this year. It’s an inexpensive way to salvage broken items and make them new again. Isn’t that a lovely metaphor?
To maintain your decorated pots, it’s best to place them in a covered area or at least apply a sealer for better longevity. I also recommend sheltering them from extremely cold temperatures to prevent cracking.
Related Post: DIY Macrame Plant Hanger
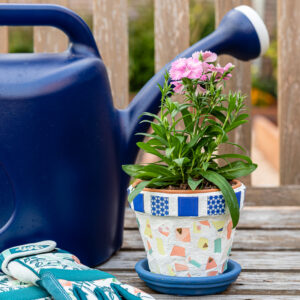
Pin it for later!

I’d love to see your creations! Be sure to tag @firstdayofhome on Instagram if you share your photos!
How to Make Mosaic Flower Pots
Equipment
- Safety goggles
- Gloves (for cutting and applying grout)
Supplies
Instructions
- Optional: Apply clay pot sealer inside and outside of the terracotta pot. Allow to dry overnight.
- Cut plate or tile pieces (if needed) using tile nippers. Always wear protective safety goggles and gloves when cutting tile. You can cover the plate with a towel or place it in a plastic bag to help prevent pieces from flying when cutting.
- Apply tile adhesive to the tiles or flower pot directly, creating any mosaic pattern you like. The spaces in between will be filled with grout. Allow to dry 5-6 hours or per the manufacturer’s instructions.
- Apply the tile grout in between the spaces on the flower pot. It’s easiest to use nitrile gloves for easy application and smoothing.
- Allow the grout to dry 15-30 minutes before wiping away the excess to reveal the tiles. You can use a sponge or wet towel for this purpose. Then, allow the grout to set for 24 hours or per the manufacturer’s guidelines.
- Buff the flower pot with a damp cloth. If desired, you can further protect the flower pot with a mosaic grout sealer.
Notes
You Might Also Like…


If I’m using broken pieces of dish in the mosaic. Will the finish on the dishes affect the way the mortar or kwikset holds the pieces onto the pot?
Hi Marie! I don’t believe the finish should affect anything since the tile adhesive is very strong. The grout is more like a paste, so it won’t really change the dish’s finish. What kind of plates are you planning to use, may I ask? Any type of china or porcelain should work.
These are so cute, Crissy! We just got a foot of snow, but these have me thinking about spring already 🙂
Aw, thanks Tiffany! Wow, I can’t imagine getting ANY snow here, much less a foot! I do hope you’ll try this once the weather gets warm again. Thanks for stopping by!
Awesome step-by-step tutorial!
I would love for you to join me over at the Creative Crafts Linky Party every Wednesday through Sunday
Have a great week,
Creatively, Beth
That sounds great, Beth! Thanks for the invite and for the sweet comment. I’ll stop by!
I’ve always wanted to try this! It turned out beautifully.
Thanks so much, Shawna! It took me a while to finally try this. I had been eyeing the tiles at Hobby Lobby for some time. I hope you try it someday!
Crissy, I love everything about this project!! I am definitely going to try it out with some of my clay pots. I will be sure to tag you and if I blog about this, I will link back to your post! Thanks for sharing and congrats on being featured!!
Thanks so much, Cindy! I know your pots would turn out beautifully. I can’t wait to see what you do! Thanks for stopping by! Hugs, Crissy
Oh Crissy I love this project! Your video was amazing too…so helpful! Pinning!
Thanks so much, Kelly! I appreciate you stopping by and pinning too!
These are so beautiful, Crissy. I bet my girls would love to help me make something like this. Pinned so we can try and make our own later!
Thank you, Jen! Yes, my boys love decorating pots as well. You can also buy pre-cut tiles to make it safer for kids, but I still recommend using gloves with the glue. Have fun!
Love this fun project! So perfect for spring!
Thanks so much, Ana! Can’t wait for spring…
Crissy,
Such a fun project and they look great.
Look for your feature on Wednesday’s Charming Homes & Gardens Link Party.
Rachel
Thanks so much, Rachel! I’m honored to be featured at your party! I look forward to joining again and checking out the other lovely bloggers. Have a wonderful week! Hugs, Crissy
I’m so happy to be featuring you at Charming Homes and Gardens this week Crissy! This is just so cute and I’m hoping to make one myself someday soon.
That’s wonderful news! Thanks, Kim! I hope you try making some pots of your own. They would look so pretty alongside your gorgeous gardens. Hugs, Crissy
This is such a great idea! So pretty! I did something similar when creating our cement walking path outdoors. Thank you for sharing at Charming Homes and Gardens.
That’s so sweet, Kim. Thank you! I’d love to see your walking path. I’ve thought of doing that, too. (I want to do all the projects I saw in the tile aisle at Hobby Lobby, to be honest.) I look forward to joining your party again!
I LOVE these mosaic flower pots… you’re so creative when it comes to gardening and garden items (and so much more)! I’m excited to be featuring you at the next Tuesday Turn About! Pinned… several times!
Woot! Thanks so much, my dear! Can’t wait to see the feature. I’m honored and appreciative! Thanks for pinning, too!
I love this craft idea! If you happen to break a plate or mug that you love, this is a great way to use the broken bits. This would also make a great gift for a friend or relative with a plant or herb in the pot.
Yes, especially if you have pretty vintage pieces like you do! My plates and glasses are all white or clear, so I had to go thrifting for these. They would make a nice gift. I’ve even seen small colored glass pebbles you can use to form a monogram.