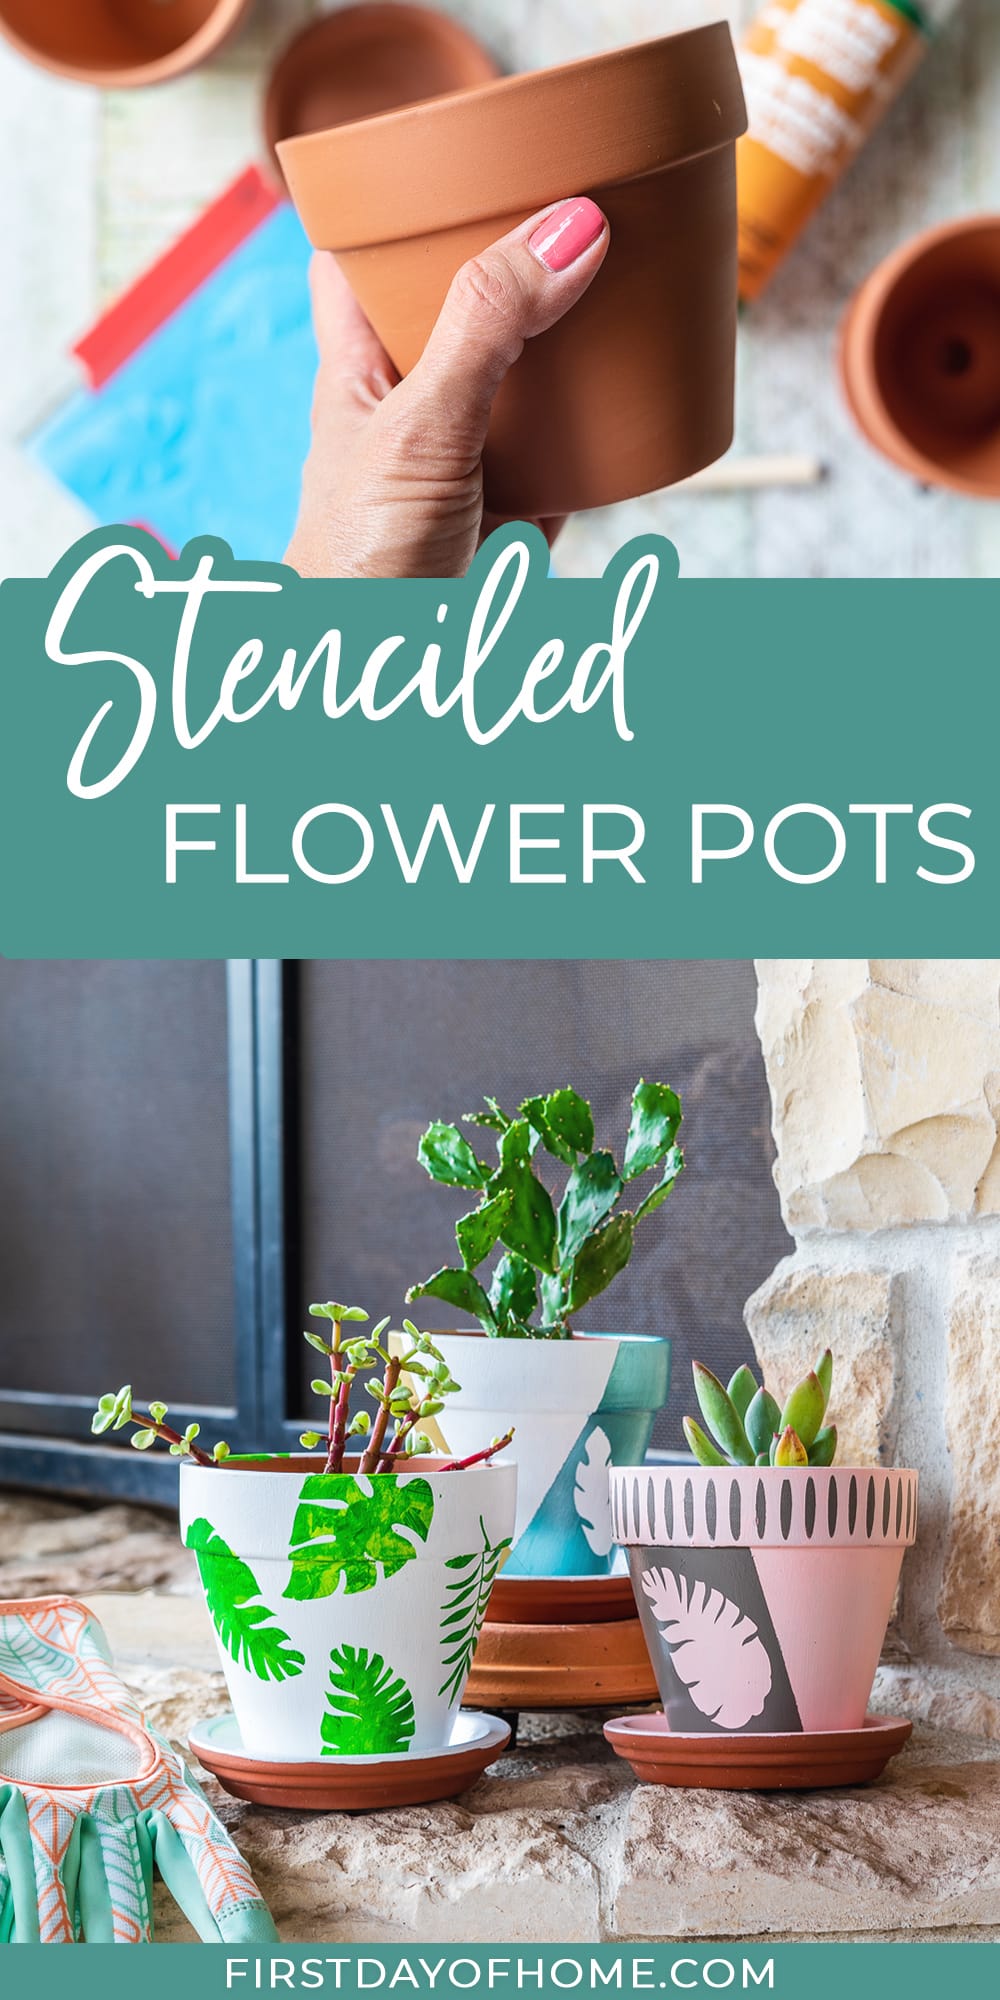
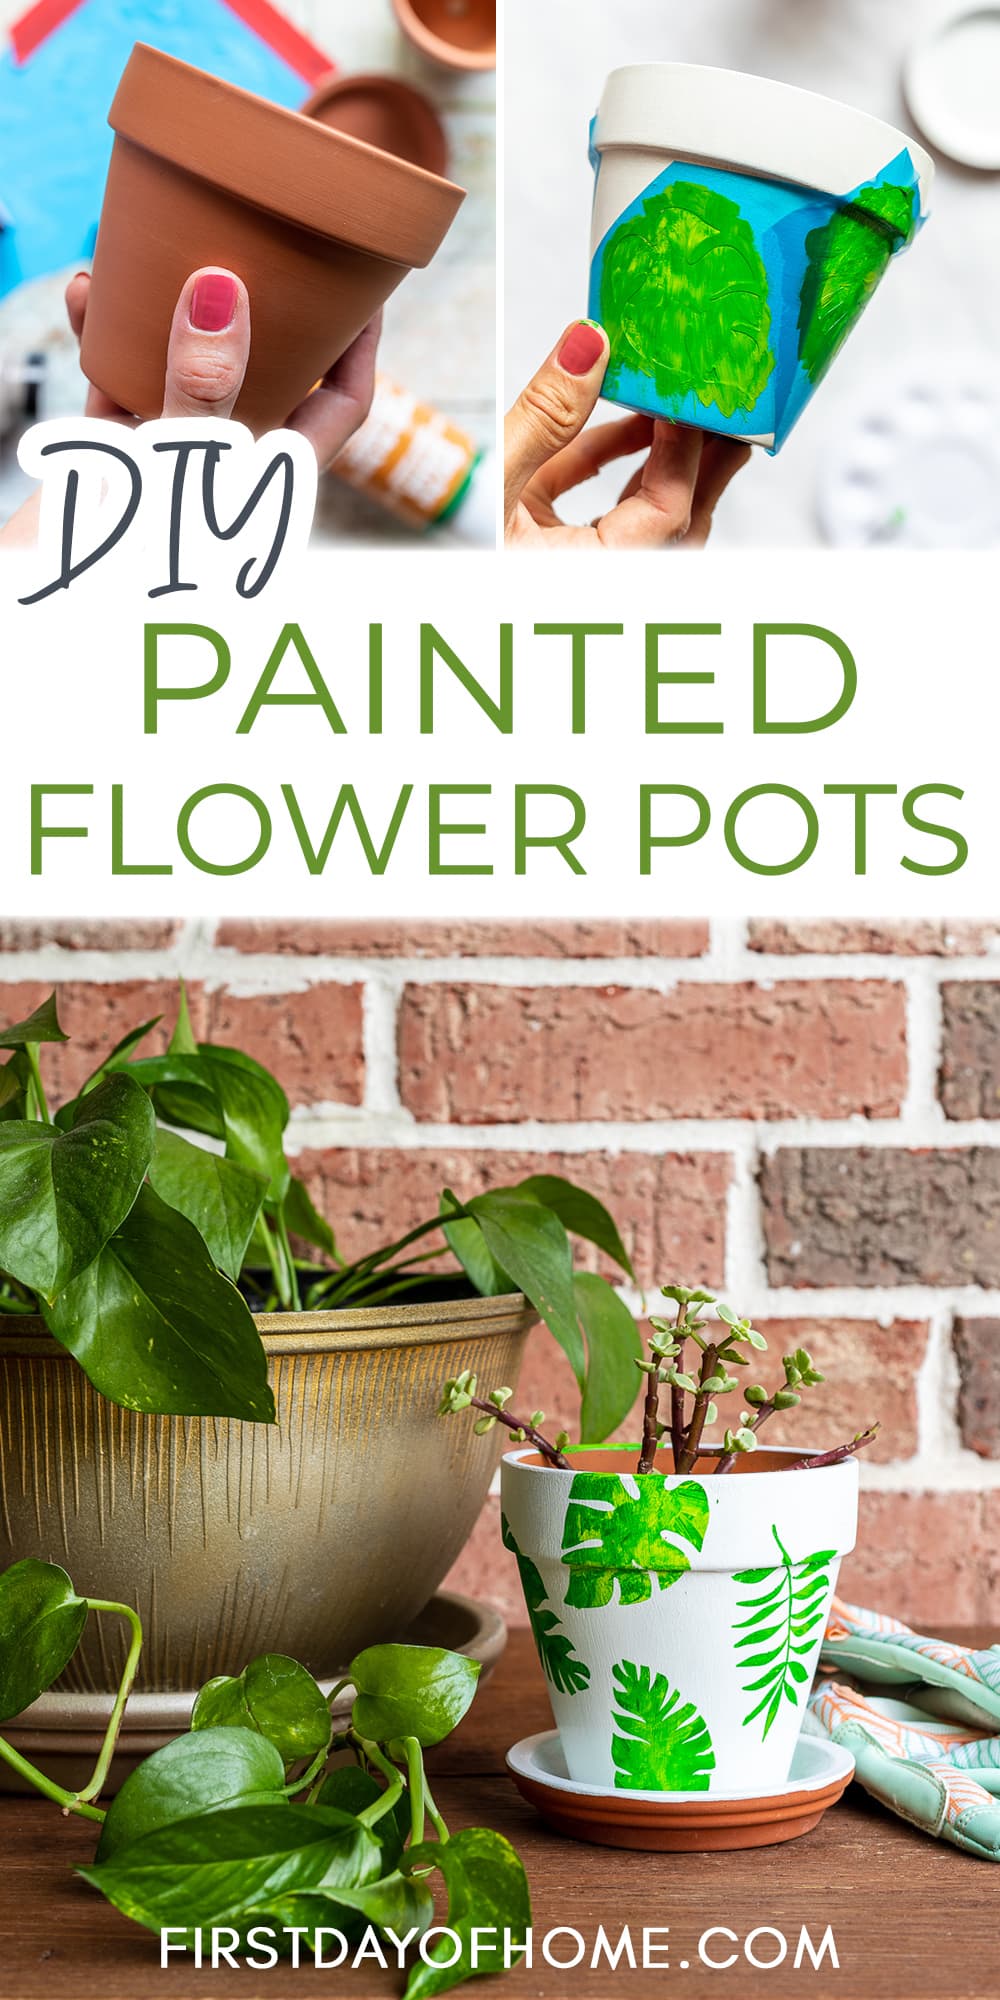
Easy Painted Flower Pots with Stencils
For the past few years, I’ve really gotten into painted flower pots. It’s such an easy way to take plain terracotta pots and give them a glam makeover. In this tutorial, I’m sharing a few techniques to make pretty pots with a boho vibe.
If you have a Cricut or Silhouette Cameo cutting machine, this is the perfect project for using stencil film. If you don’t, you can always get creative with painter’s tape and pre-cut stencils!
This post contains affiliate links, and I will be compensated if you make a purchase after clicking on my links. For more information, please see my disclosures.
Special thanks to Plaid Crafts for providing the paints used in this tutorial.
How to Make Painted Flower Pots with Stencils
I’ve had my fair share of Silhouette Cameo projects on the blog, and now I’m finally upgrading to the Cricut Maker.* With either machine, you can make these pretty stenciled flower pots.
But what if you don’t have a cutting machine? You can still use pre-cut stencils or painter’s tape for this craft. (I’ll share a few budget-friendly stencil options at the end.)
*The main reason I’m upgrading to
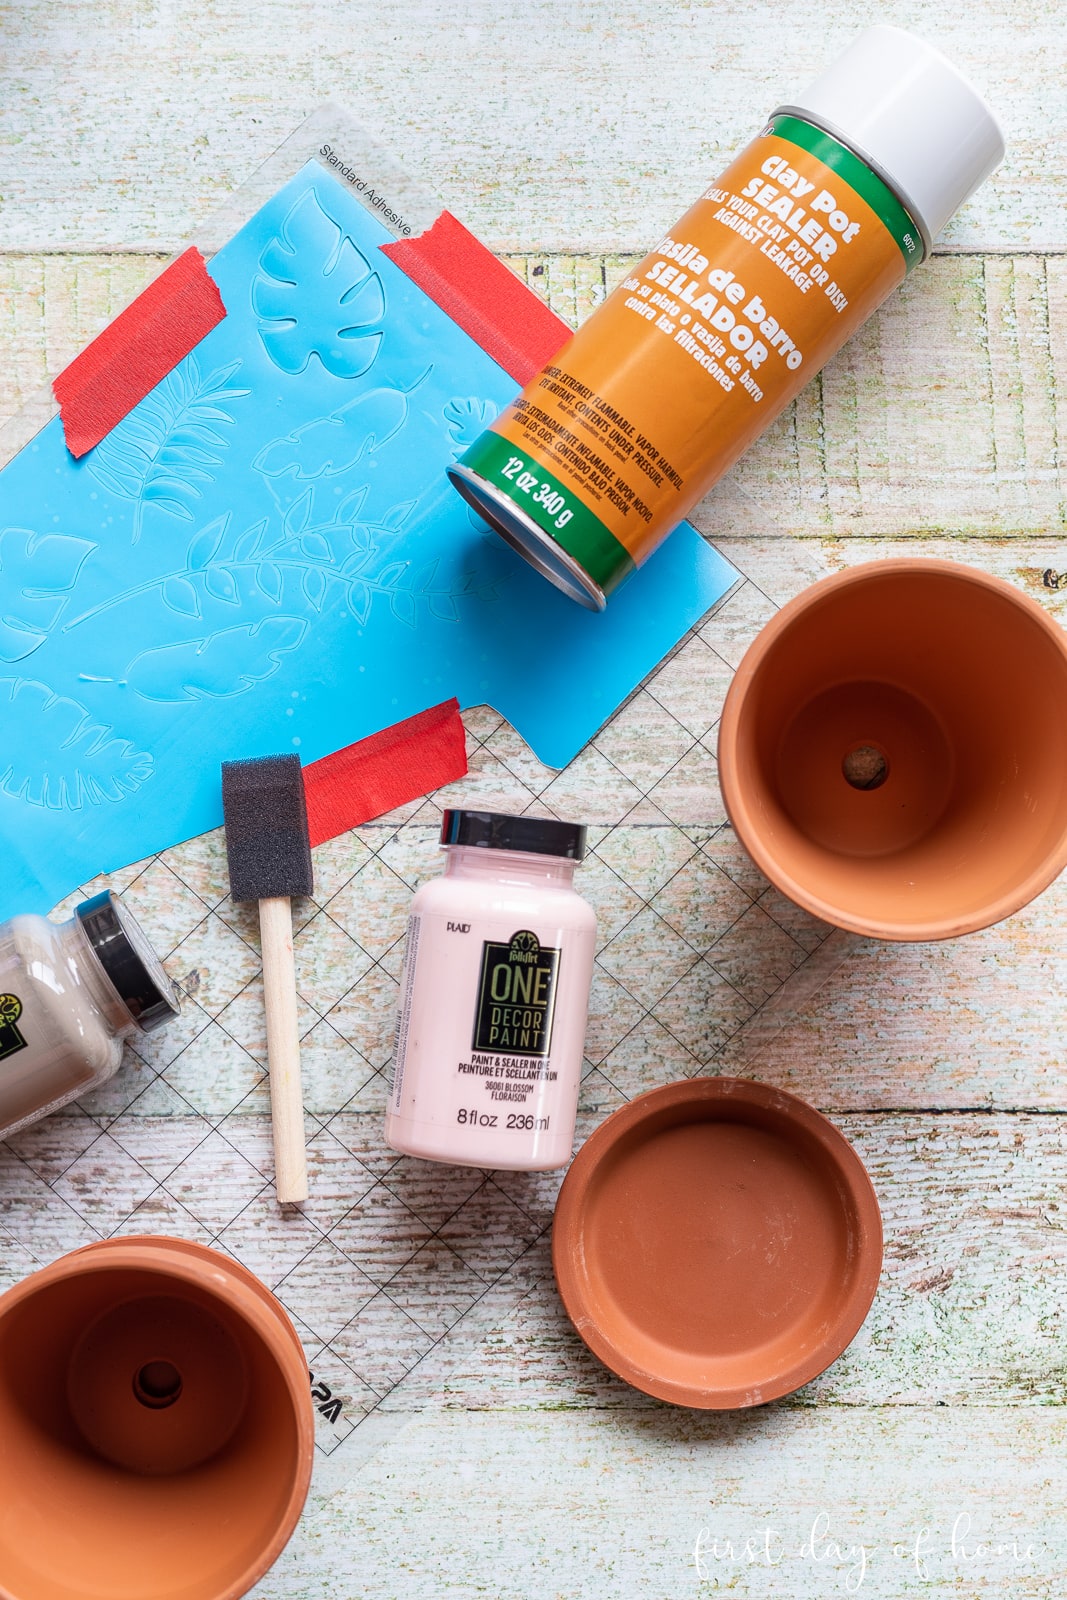
For this craft, you’ll only need a handful of supplies and a little patience waiting for the paint to dry.
Supplies for Painted Flower Pots
- Plain terracotta pots
- Clay pot sealer
- Acrylic paint (indoor/outdoor safe)
- Stencil film
- Stencil design
- Cricut or Cameo
- Painter’s tape
- Foam brushes
- Optional: pre-cut stencil (see options near the end)
If you’re looking for a painted pot craft that doesn’t require a cutting machine or stencils, be sure to visit my fingerprint flower pot tutorial. It’s the perfect craft for kids! You can also use paint pens as I did for these Halloween flower pots.
Step 1: Clean and dry the flower pots
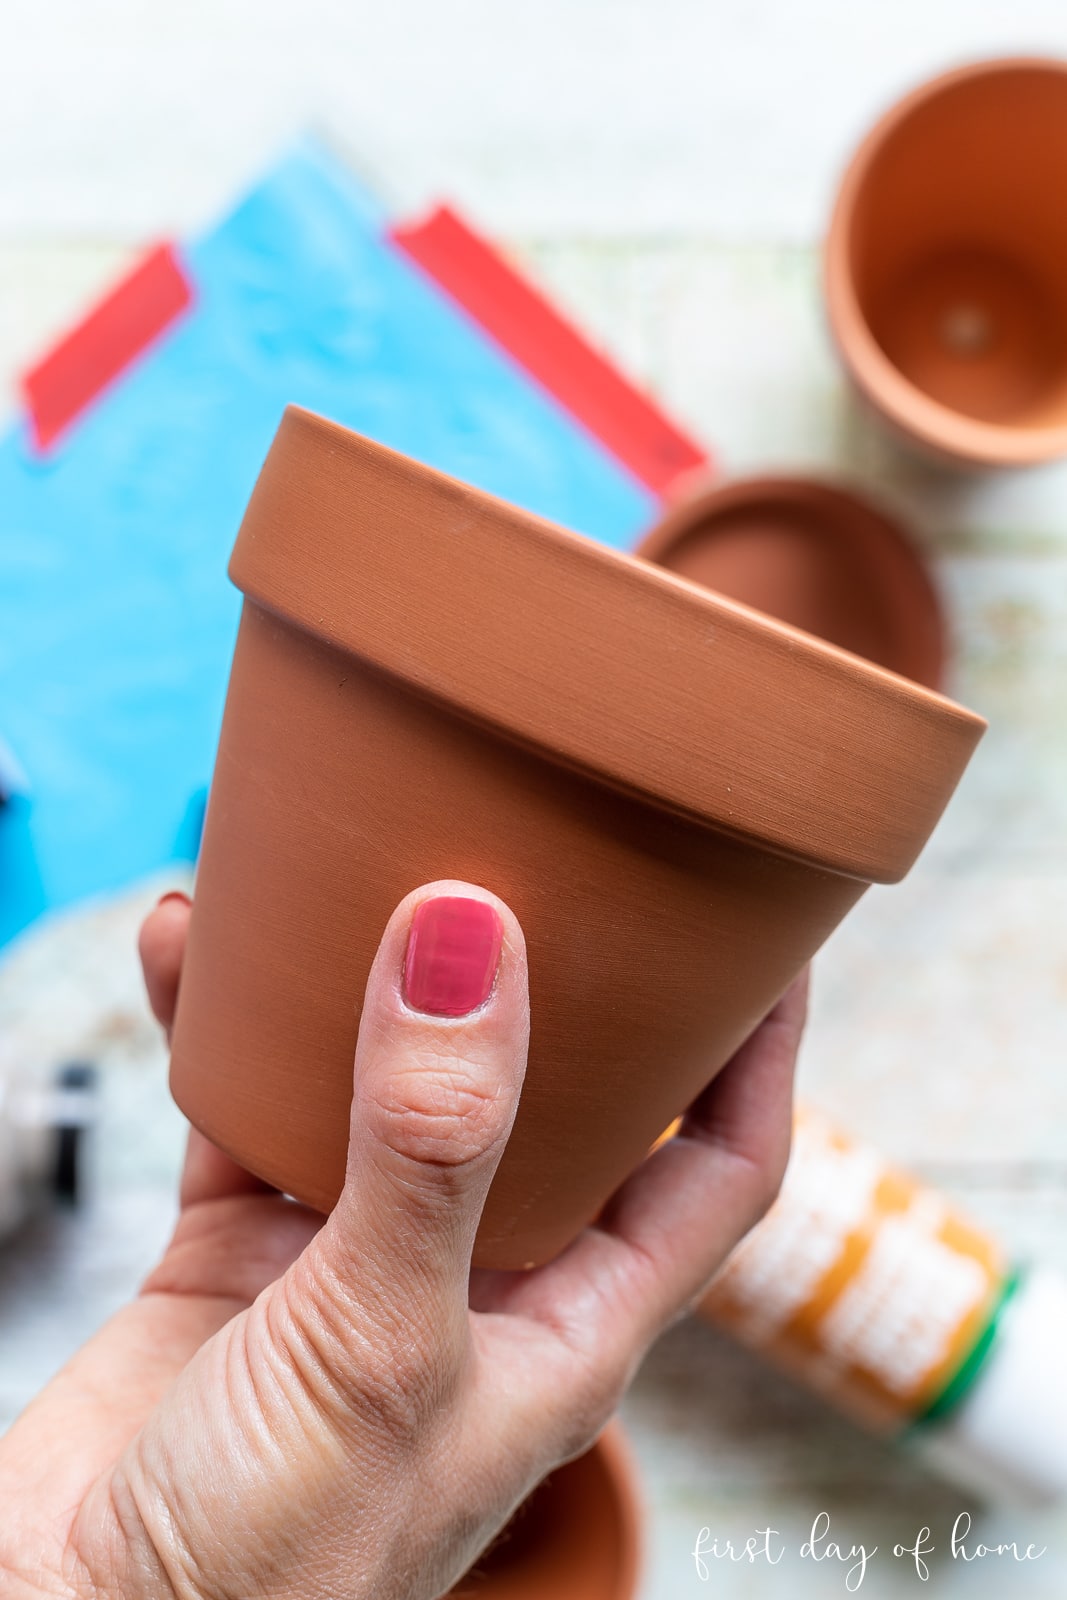
Before beginning your project, wipe down your clay pot with a damp rag. This removes any dust or particles that may wreak havoc on your painted design.
Make sure the pot is completely dry before proceeding.
Step 2: Spray the sealer on flower pots and saucers
When painting flower pots, it’s always a good idea to use this sealer to prevent moisture from seeping through to your design.

I’ve used the same sealer when making decoupage flower pots and mosaic flower pots. I swear by it! This extra step will help your pots to hold up in the outdoors.
Allow the sealer to dry for 24 hours before beginning to paint your pots.
Step 3: Apply 2-3 coats of a base paint
Paint the flower pots with 2-3 coats of acrylic paint that is suitable for outdoor use. Most labels will indicate if the paint is multisurface and/or appropriate for terracotta.
Wait at least 1 hour, if not longer, between coats.
Pro Tip
In high humidity climates, wait longer between coats of paint to prevent sticking and peeling. If sticking occurs, you can always touch up your project.
Of course, you can skip the base coat if you want the natural terracotta color to shine through after stenciling.
Step 4: Cut stencils (Cricut or Cameo option)
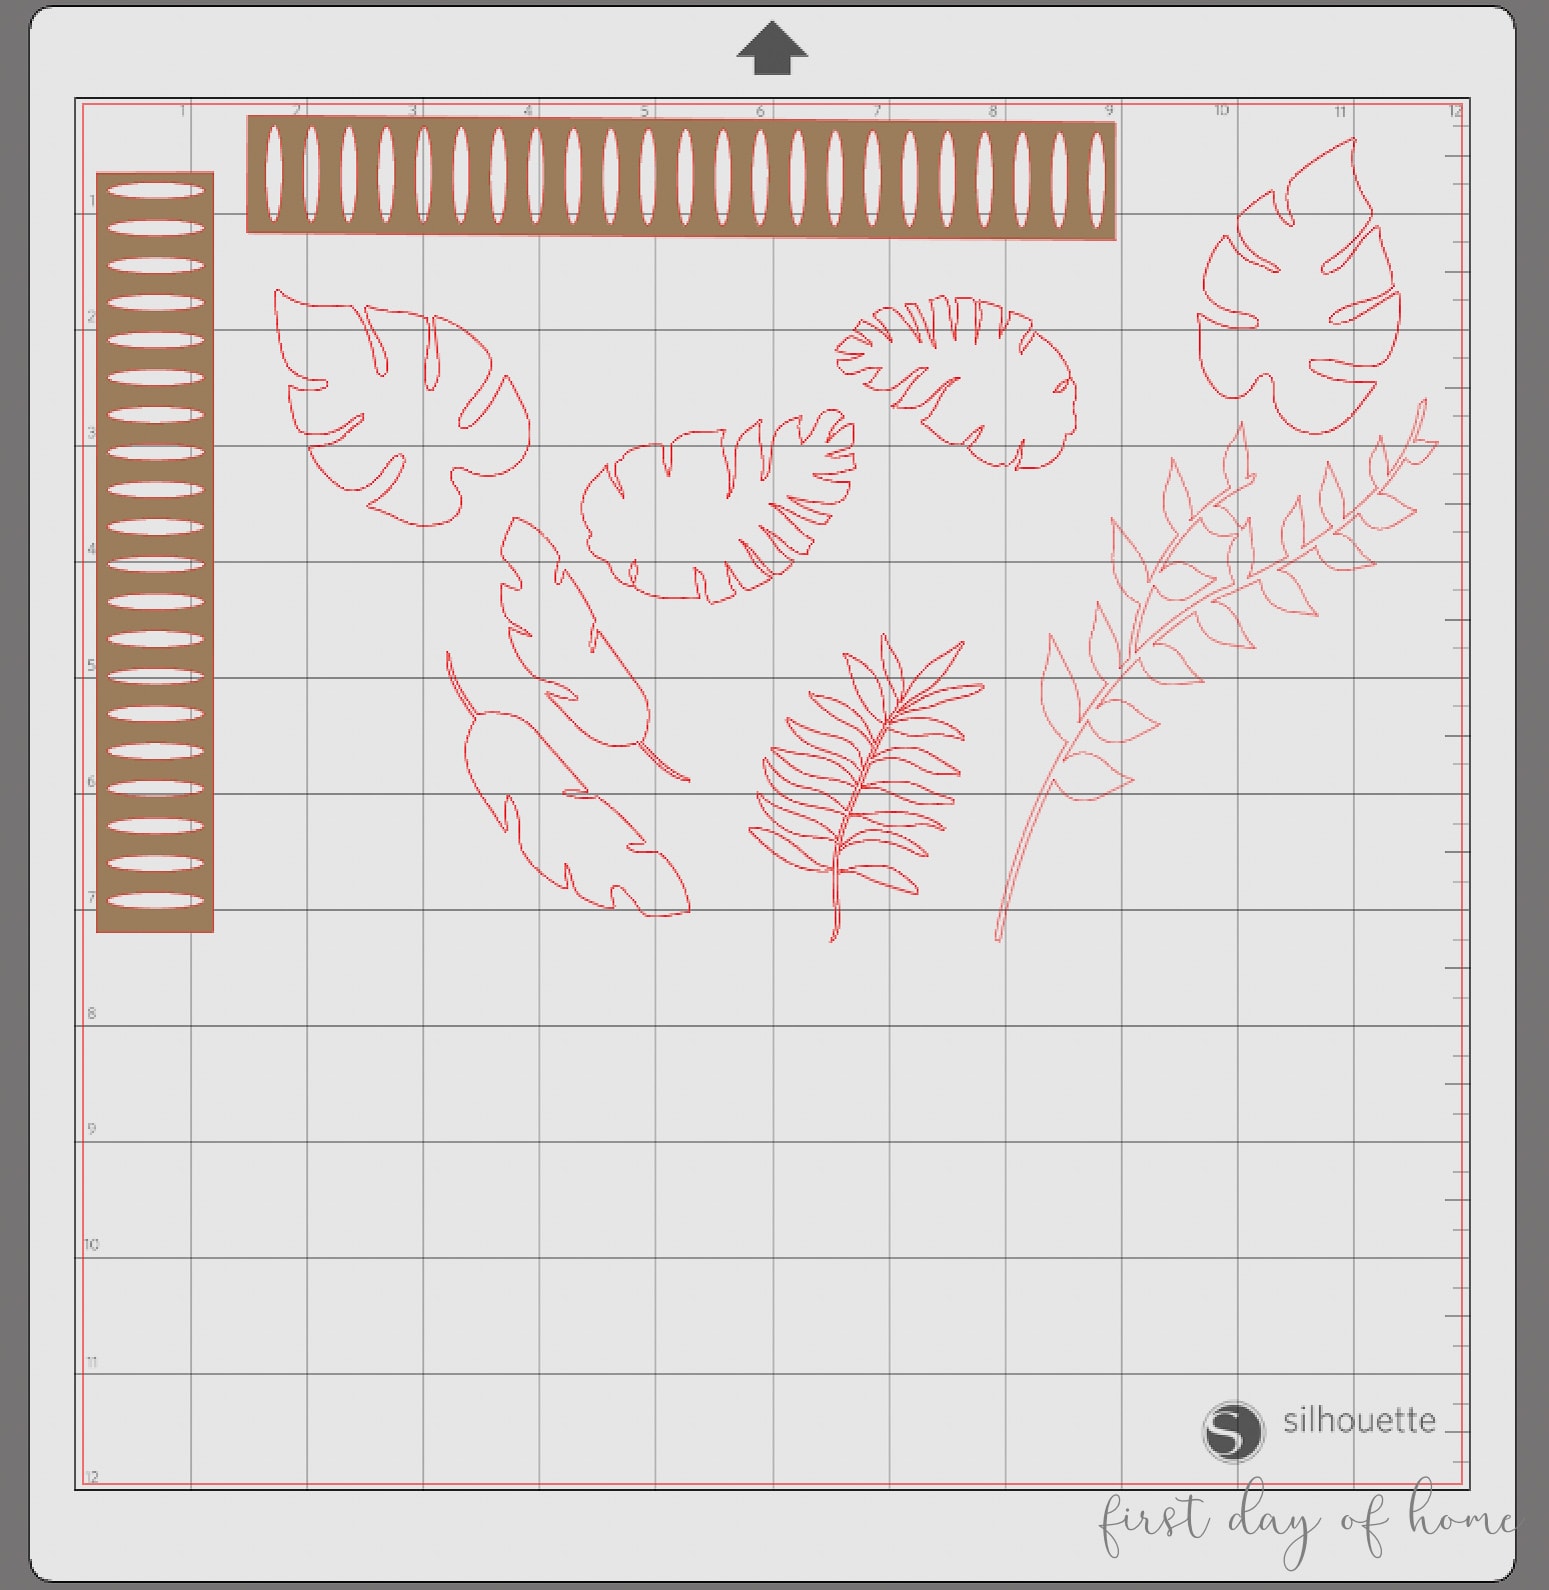
For my stenciled design, I used a combination of designs from the Silhouette Design Store and my own doodles.
Save up to 40% on Daily Deal designs in the Silhouette Design Store! There’s a new batch every day!![]()
You can find a similar design for the tropical leaves here.
Note: I measured the rim of my terracotta pots to make the rectangular pattern for the pink and brown flower pot.
Always be sure to measure your design and make a few test cuts before cutting the stencil film.
If you don’t have a cutting machine, you might like some of the stencil options below.
Shop for Pre-Cut Stencils
Step 5: Apply stencils
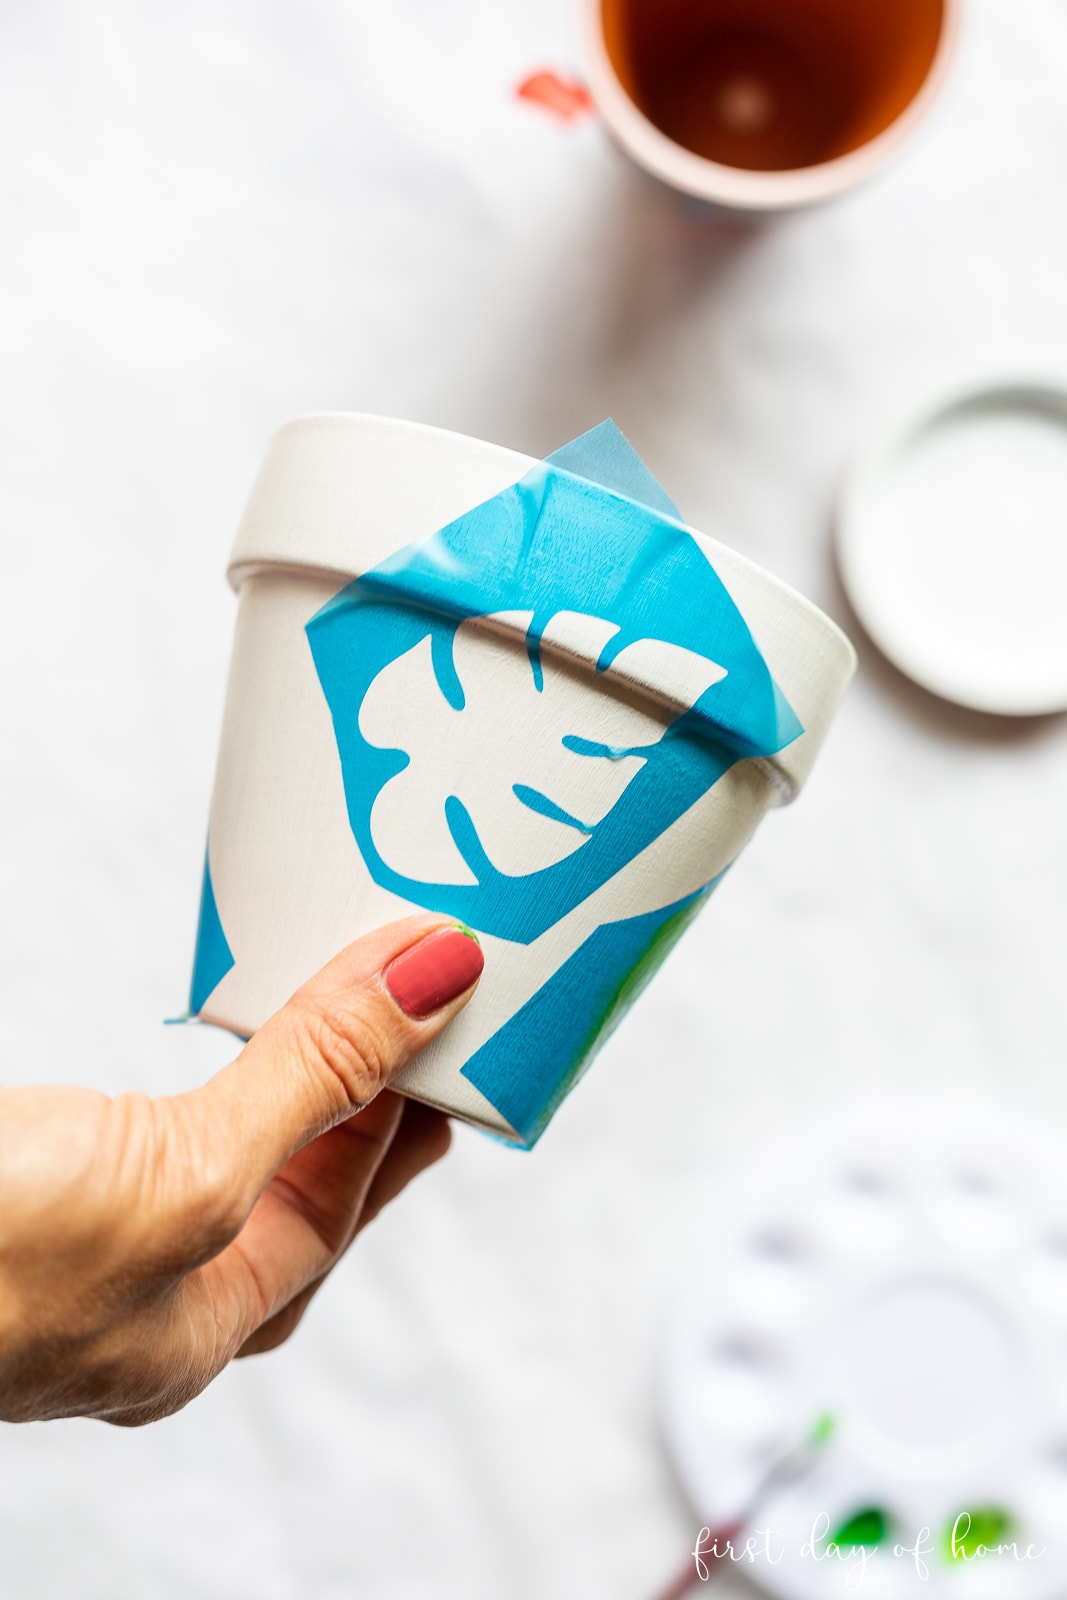
When applying your stenciled shapes, you can choose to paint a traditional stencil or a reverse stencil. Either way, make sure you remove any air bubbles in the stencil film.
For the green tropical leaf pot, I used the traditional method of stenciling. For the other two pots, I painted around the stencil to reveal the underlying base coat of paint.
Confused? See the next step for the full visual.
Note: For the more delicate shapes, I used transfer tape to pick up the design and transfer it to the flower pot more easily.
Step 6: Paint inside or around stencil
Now the fun part begins! Begin painting inside or outside your stencil shapes with the color of your choice.
You can blend colors, too. Check out the stippled look of the tropical leaves below. I used two shades of green to create more texture on this little boho flower pot.
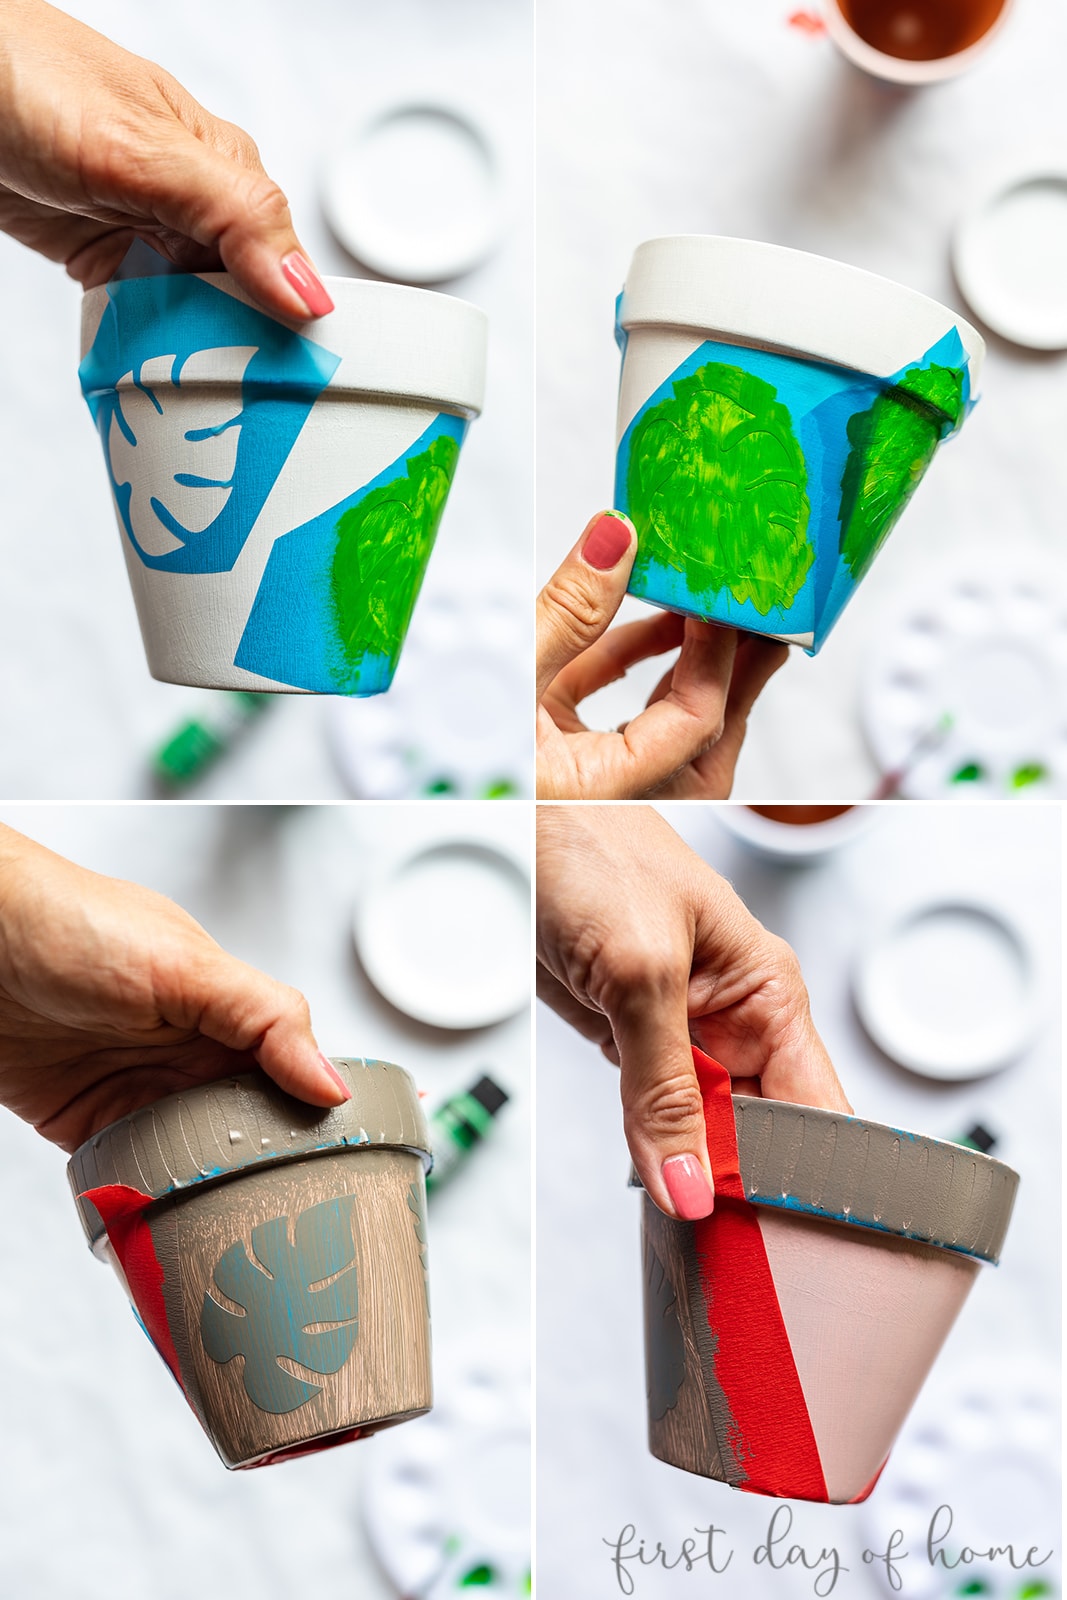
You can also apply painter’s tape to create angled edges and geometric patterns.

You’ll want to apply 2-3 coats of paint to make sure your design really pops, especially with the reverse stencil. In the above photo, you’ll see the reverse stencil with one coat of gold paint.
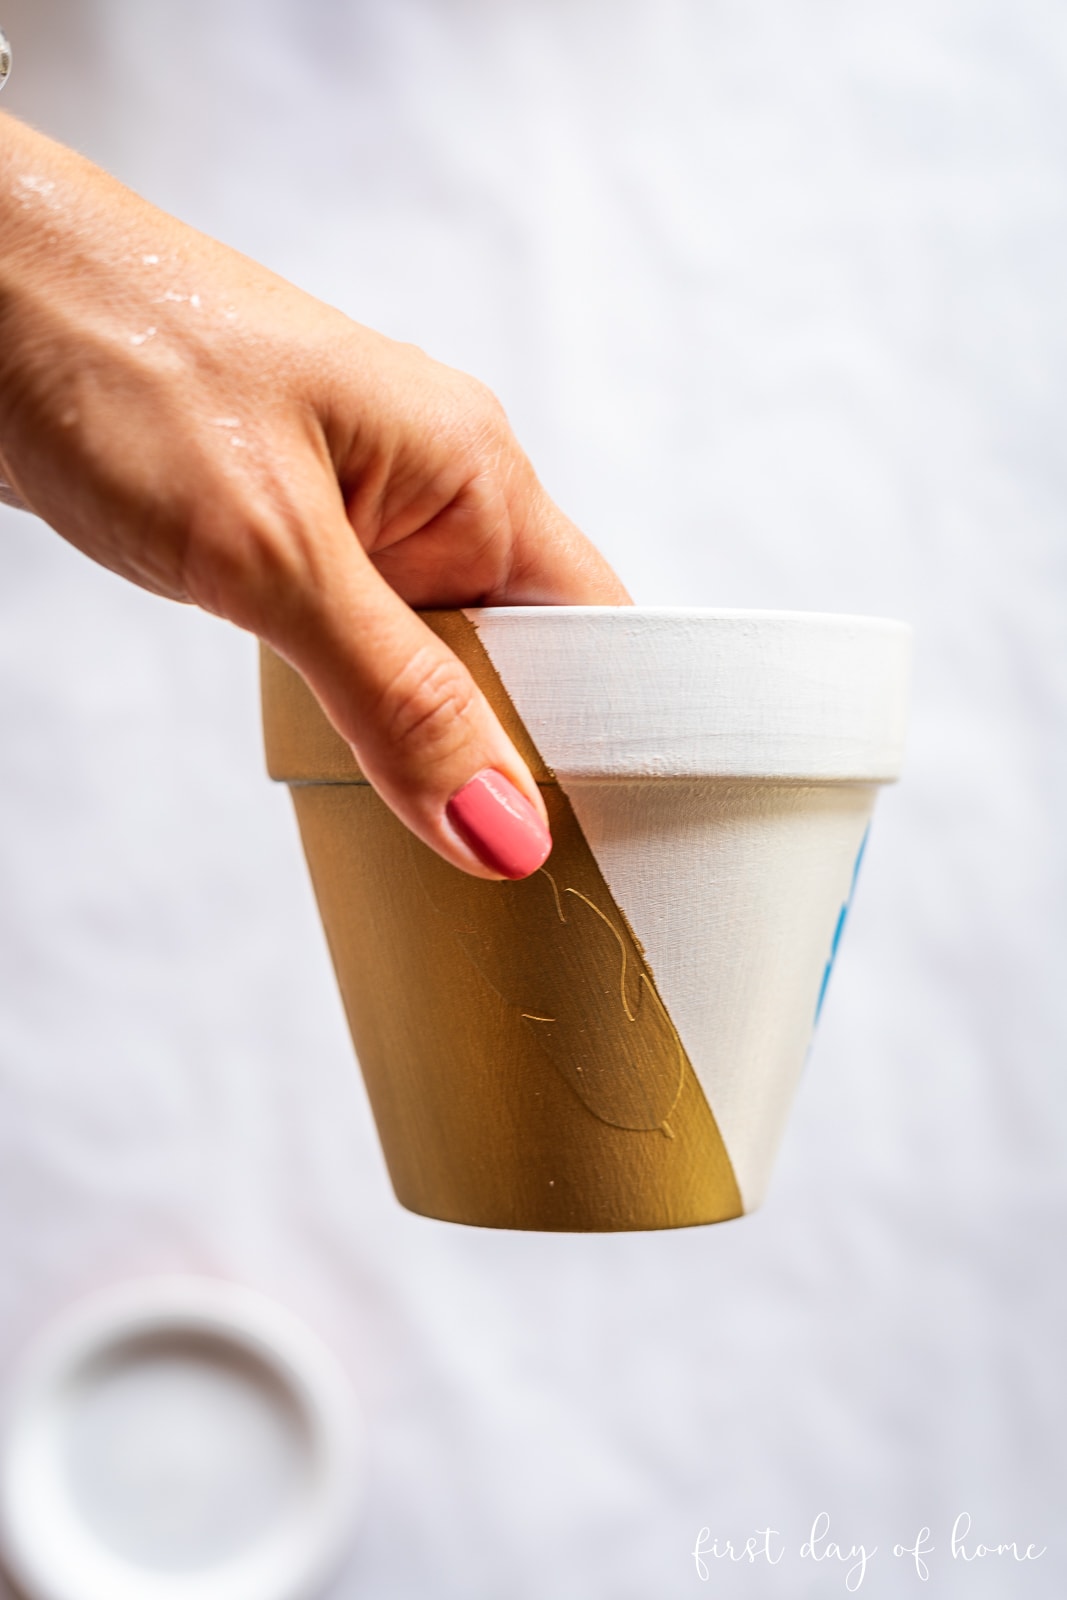
In most cases, three coats of paint will do the job to get enough coverage. You can see how the gold paint stands out after three layers of paint in the above photo.
Step 7: Remove stencils and touch up
After the paint dries completely, gently remove the stencils.
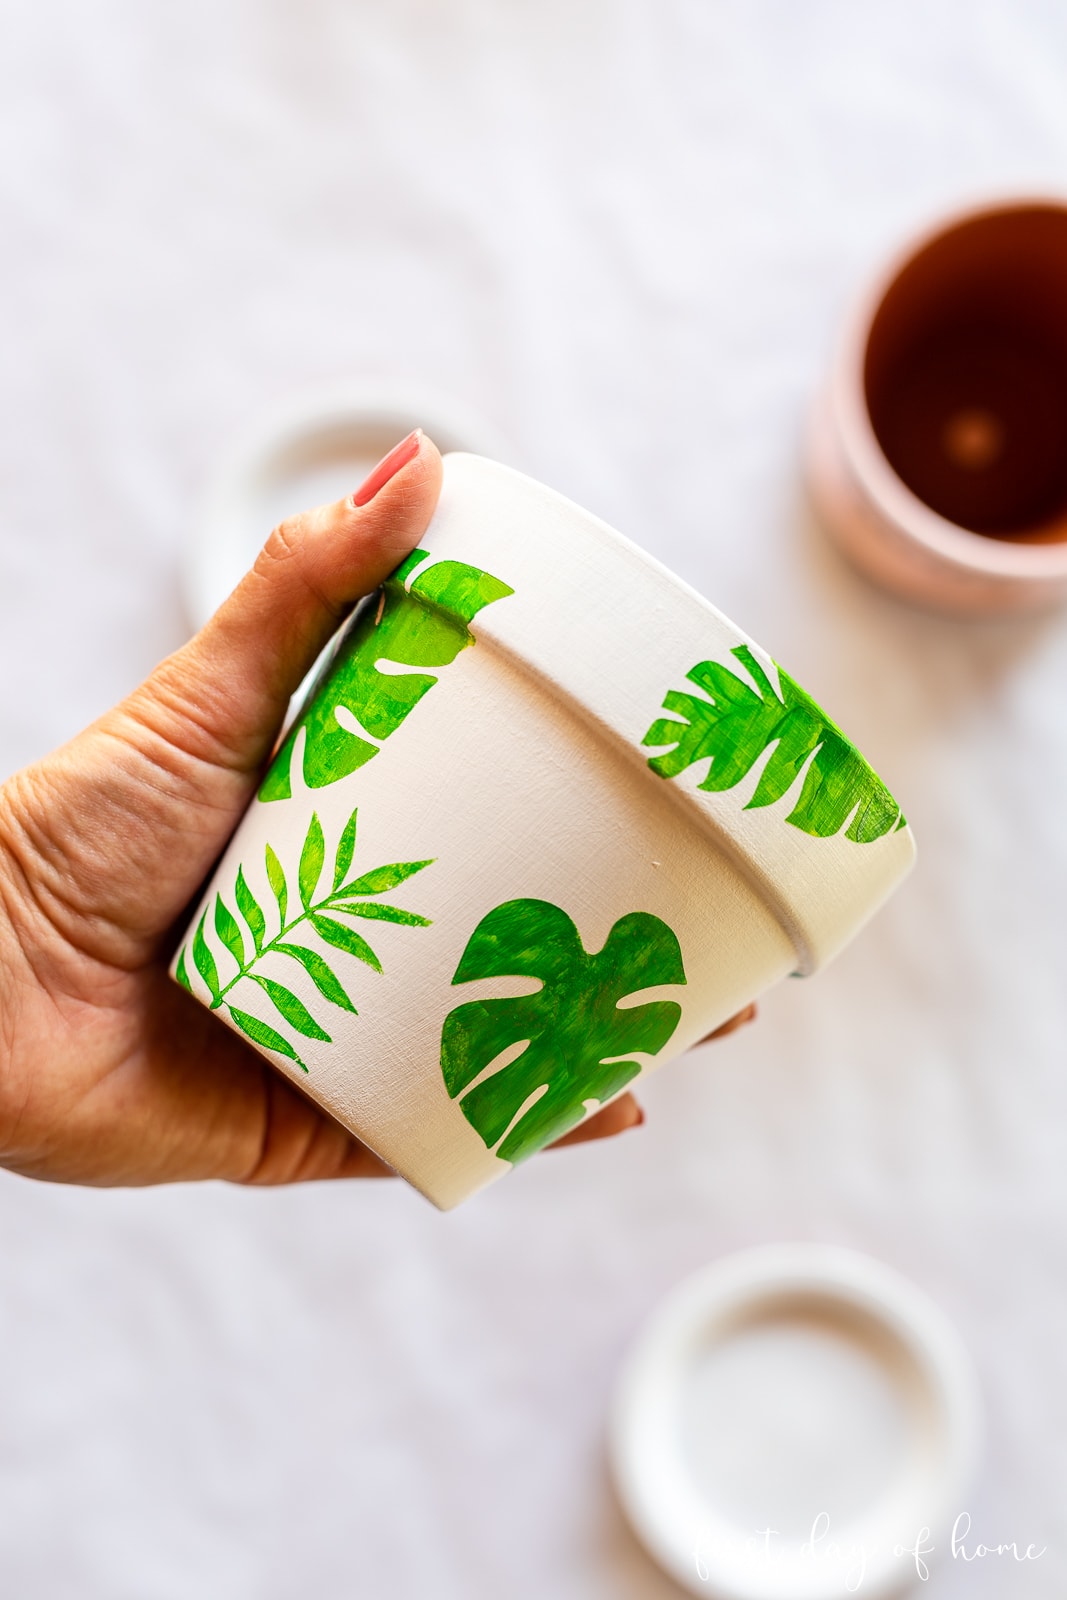
I think this is my favorite flower pot with its little tropical vibe! In most cases, you can easily peel the stencils off the pot. However, now and then, you might run into challenges…
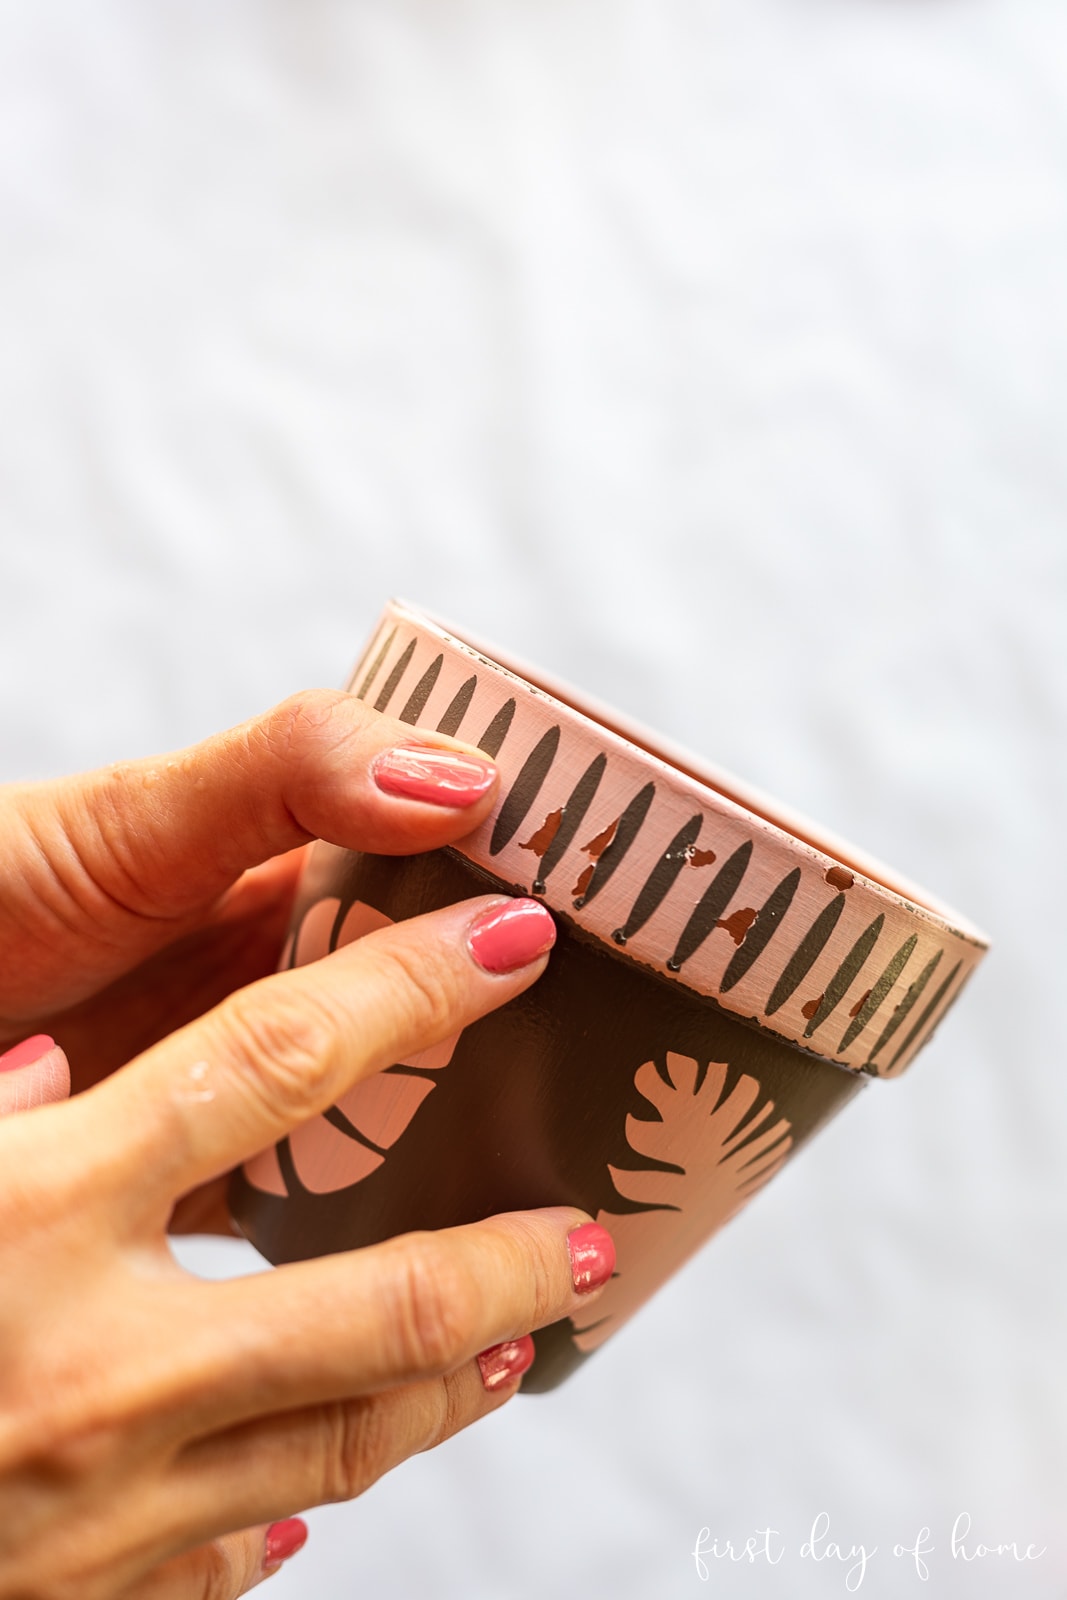
As you can see above, one of the paints didn’t dry fully before I applied my stencils. This resulted in some paint peeling off when I removed the delicate stencil.
No worries if this happens to you! I did a little manual touch-up painting, and all was good again.
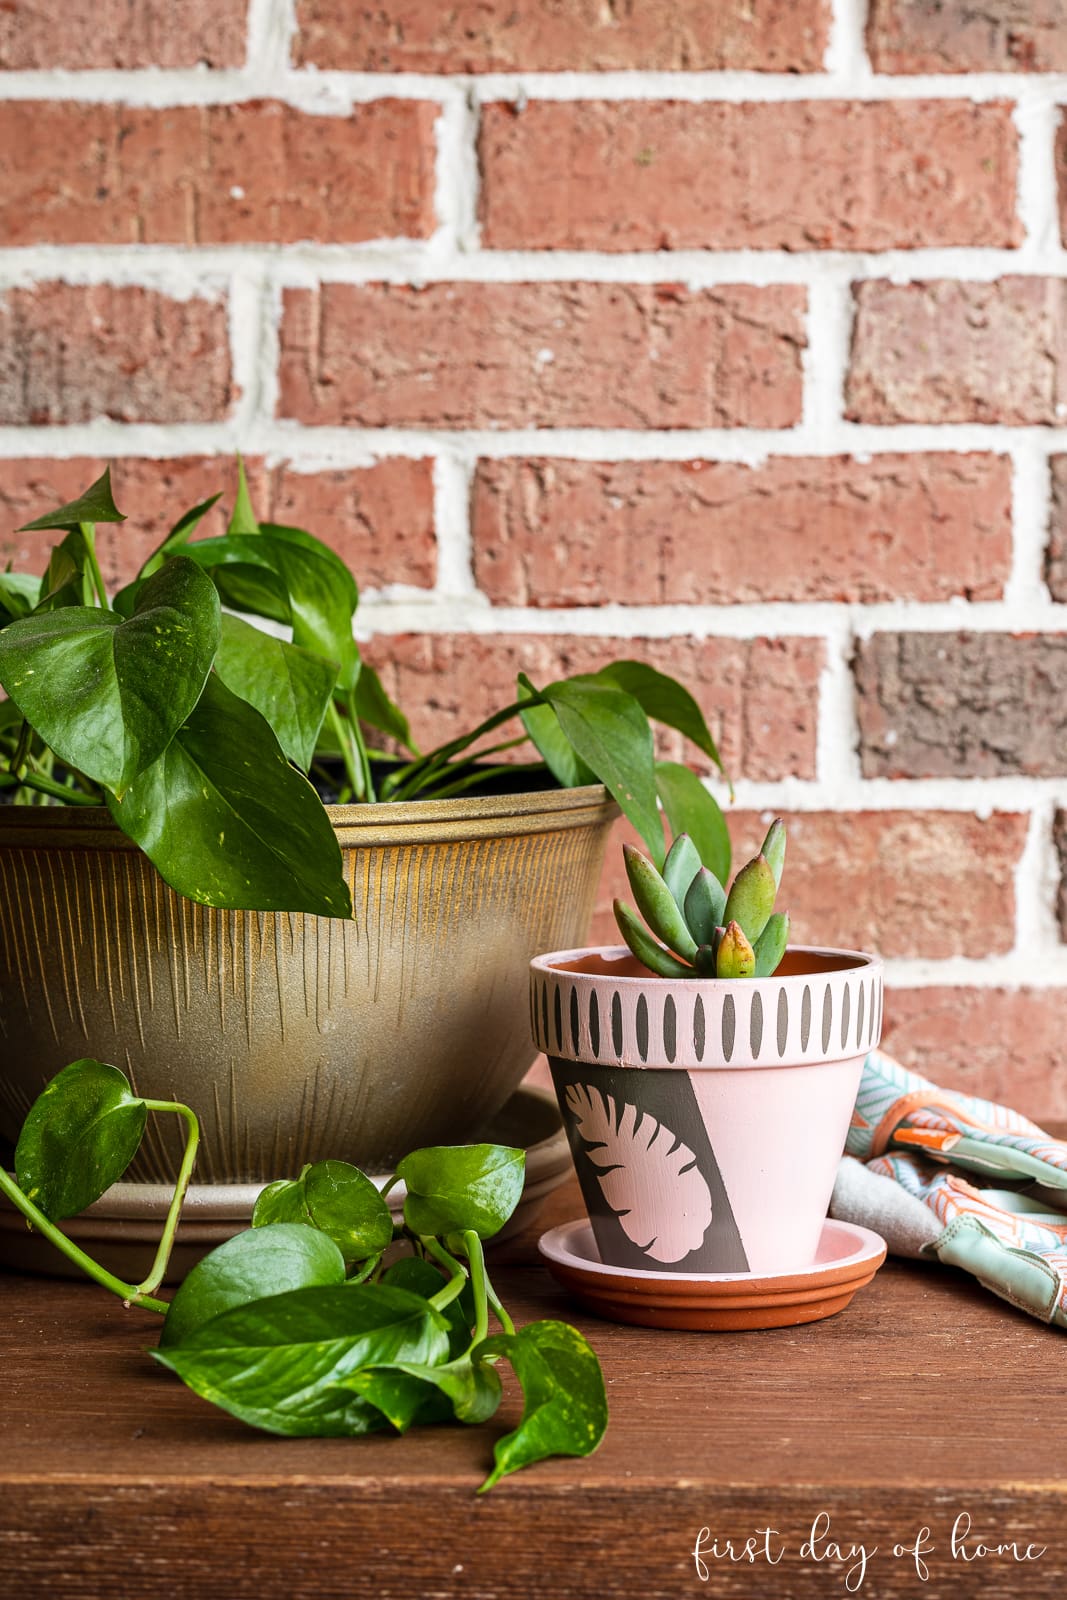
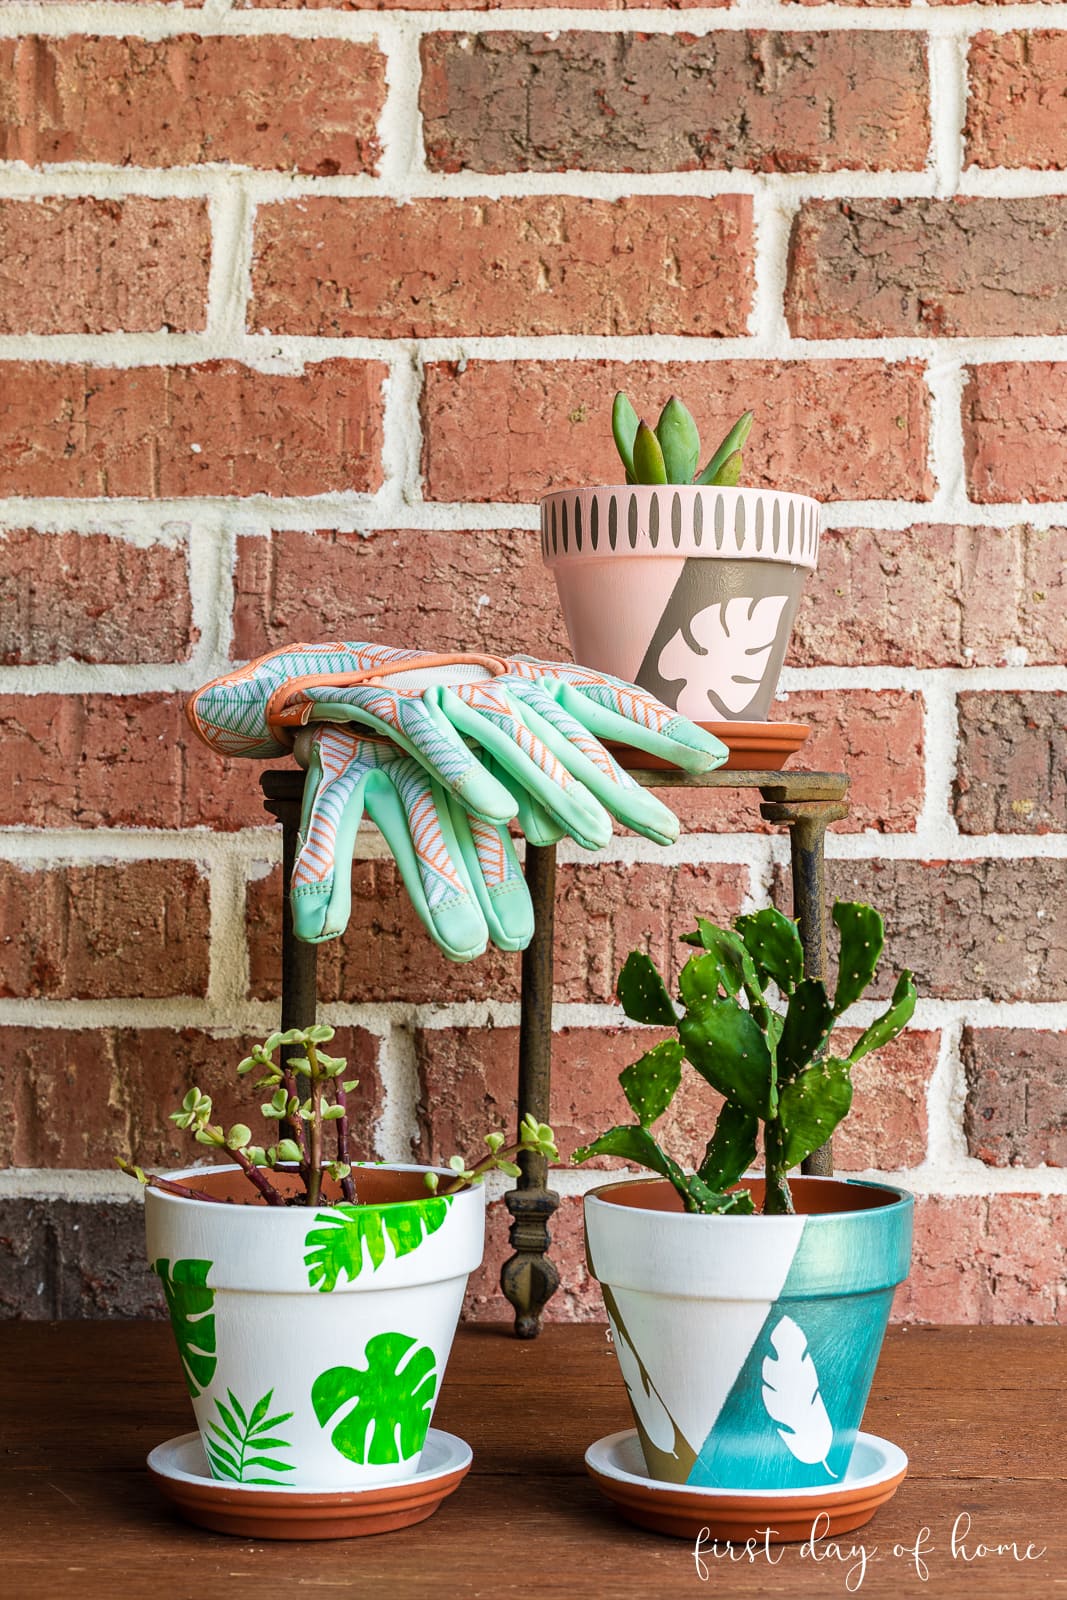
All you have left to do is pick your favorite plant to move into your cute painted flower pots! I chose a variety of succulents to tie my three painted flower pots together.
Pin it for later!

Easy Painted Flower Pots with Stencils
Equipment
- Cricut cutting machine optional
Supplies
- Terracotta flower pots
- Clay pot sealer
- Outdoor-safe acrylic paint
- Stencil film (if using Cricut or Cameo)
- Painter’s tape
- Transfer tape (optional)
- Pre-cut stencil (optional)
Instructions
- Clean and dry the flower pots with a damp rag. Make sure the pot is completely dry before proceeding.
- Spray the clay pot sealer on the inside of the flower pots and saucers. Allow the sealer to dry for 24 hours before beginning to paint your pots.
- Paint the flower pots with 2-3 coats of acrylic paint that is suitable for outdoor use. Wait 1-2 hours in between coats or until each coat is fully dry. If you'd like the natural terracotta color to shine through, you can skip this step.
- Pick a stencil design for Cricut or Cameo, if desired. Make sure you resize the stencil to fit the size of your terracotta pot. You can also use a precut stencil instead.
- Apply the stencil design to the pot, painting either inside the stencil shape or outside the shape for a reverse stencil. Paint 2-3 coats until you reach your desired coverage. You can also use painter's tape to create geometric patterns or sharp edges.
- After waiting 1-2 hours, gently remove the stencils from the flower pots. Touch up any areas that may have peeled with a small paintbrush.


I’m telling you I think about getting a circuit. Still on the fence. I have many stencils.
These are super cute.
Thanks, Cindy! Cricut may not be for everyone, but I enjoy my machine. Stencils would work really well for this type of project, too!
These stenciled flower pots are so pretty! Love the leaves you created with your cutting machine! Great idea! Pinned!
Thank you, my dear! I always appreciate your kind comments. Now you can make some of these too! Hugs!
I love this project idea! The pots that you created look so good.
Thanks so much, Paula! I appreciate you stopping by. 🙂