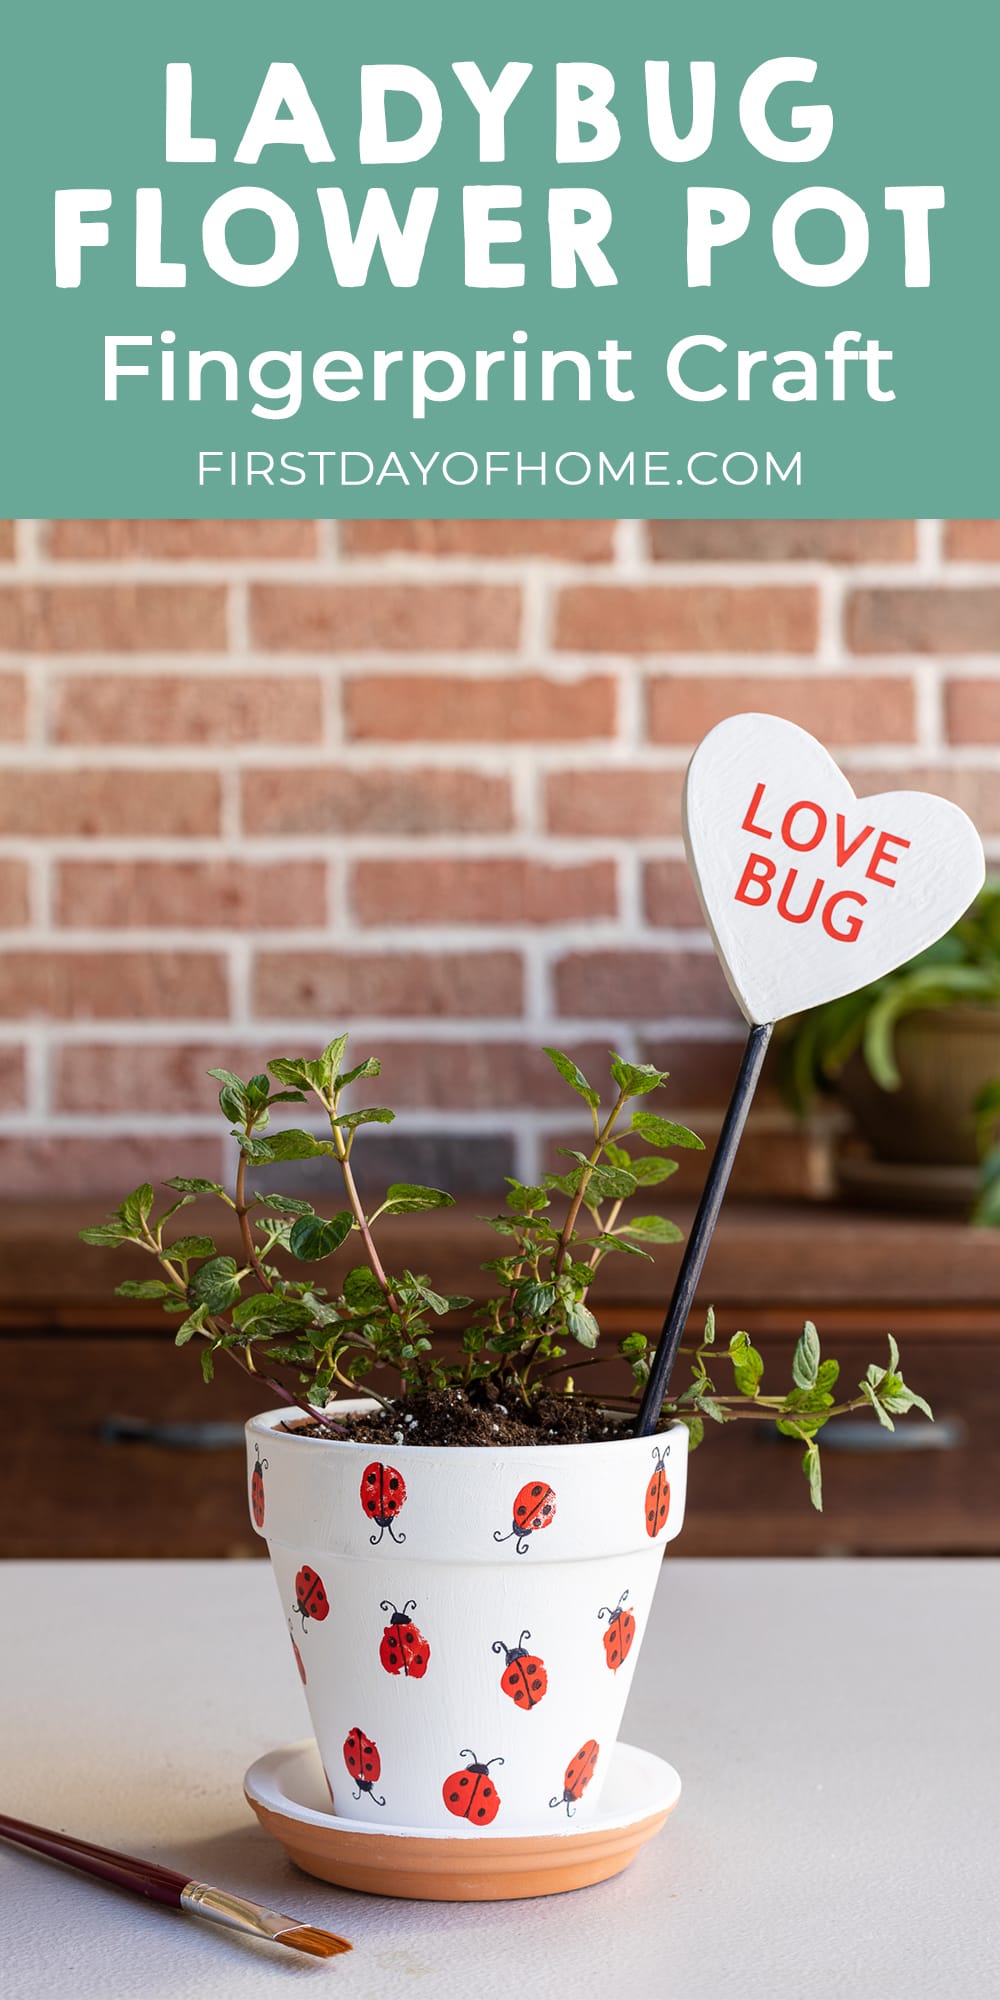
How to Make a Fingerprint Flower Pot with Kids
There’s something special about a keepsake with a child’s fingerprints on it. This fingerprint flower pot with a ladybug design is no exception. It makes the perfect gift for Mother’s Day, Grandparent’s Day, or Valentine’s Day. The kids will have a blast getting their hands dirty, too!
This post contains affiliate links, and I will be compensated if you make a purchase after clicking on my links. For more information, please see my disclosures. Thanks to Plaid Crafts for supplying the paint for this project!
Project Overview
- Time required: 1-2 hours (less if using a heat gun or hair dryer)
- Age Level: 2-10 years old, with adult supervision
- Cost: $5-7 for pot, paint, and supplies
Fingerprint Flower Pots
After making stenciled flower pots and decoupage flower pots for the patio garden, I thought it was time to involve my twin boys in the fun!
You’ll only need a handful of supplies to make fingerprint flower pots, and the craft is appropriate for most pre-school and elementary school-aged kids.
You’ll need your little one’s hands for about 10-15 minutes to make the ladybugs. Older kids can add their own ladybug details (antennae, legs, and spots), while younger children may need a grownup to help.
If you want more details about painting pots, you’ll find some helpful tips in my beginner’s guide to painting terracotta pots. The main difference with this project is that I did not use a clay pot sealer since I wanted to grow an edible plant.
Supplies
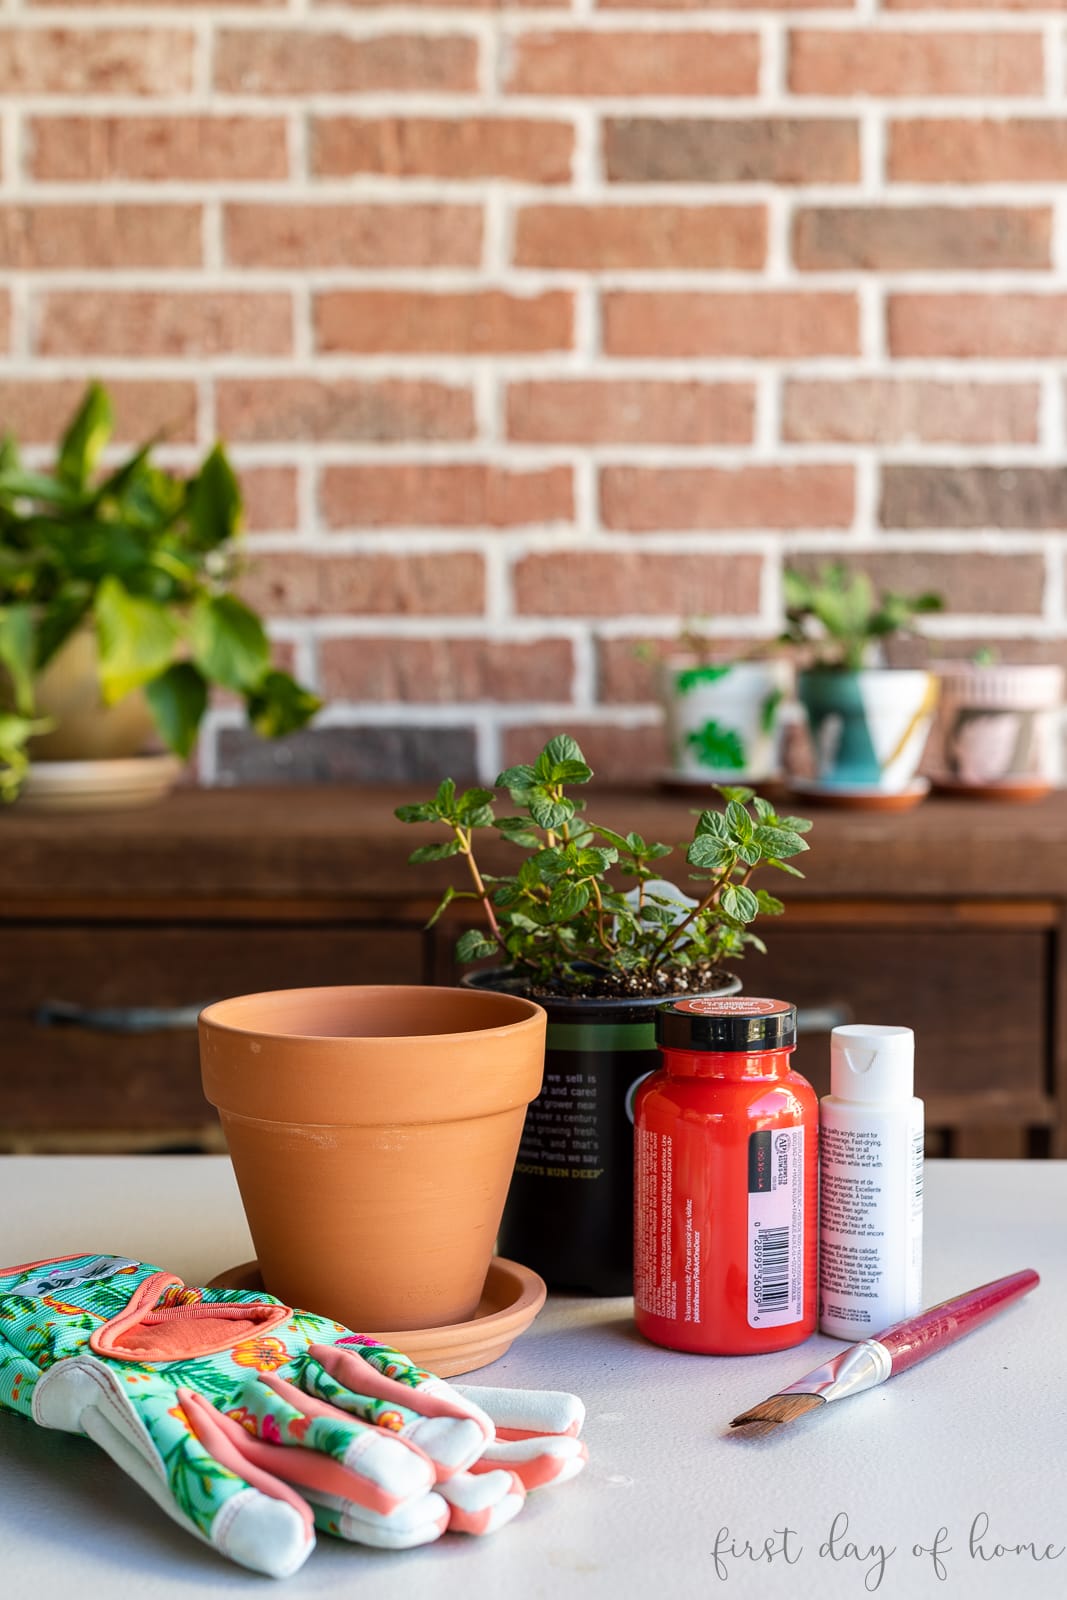
- Terracotta pot or plastic pot
- Acrylic paints (weather resistant)
- Paintbrush
- Sharpie marker or paint pen with a fine point
- Small plant or seeds and soil (optional)
- Garden stake (optional)
- Vinyl letters with transfer tape (optional)
Supplies Notes:
In this tutorial, I’m using a plain 4-inch terracotta pot. You could also use a plastic pot or another container for this craft. A mason jar would even look cute with this design, and you could fill it with treats instead of a plant.
Note: If using a plastic container, you may want to scratch the surface slightly with fine-grit sandpaper (100 or 200).
How to Make a Fingerprint Pot – Ladybug Design
Step 1: Clean the flower pot
For best results, wipe the flower pot and saucer inside and out using a soft cloth. You can dampen the cloth to remove any dirt or grime on the pots. Let the pot dry completely before painting.
Step 2: Paint a white base coat on the flower pot and saucer
The base coat of white paint is optional, but it makes the ladybugs “pop” more. Allow the paint to dry for 1 hour between coats, or use a hair dryer or heat gun to speed up the drying time.
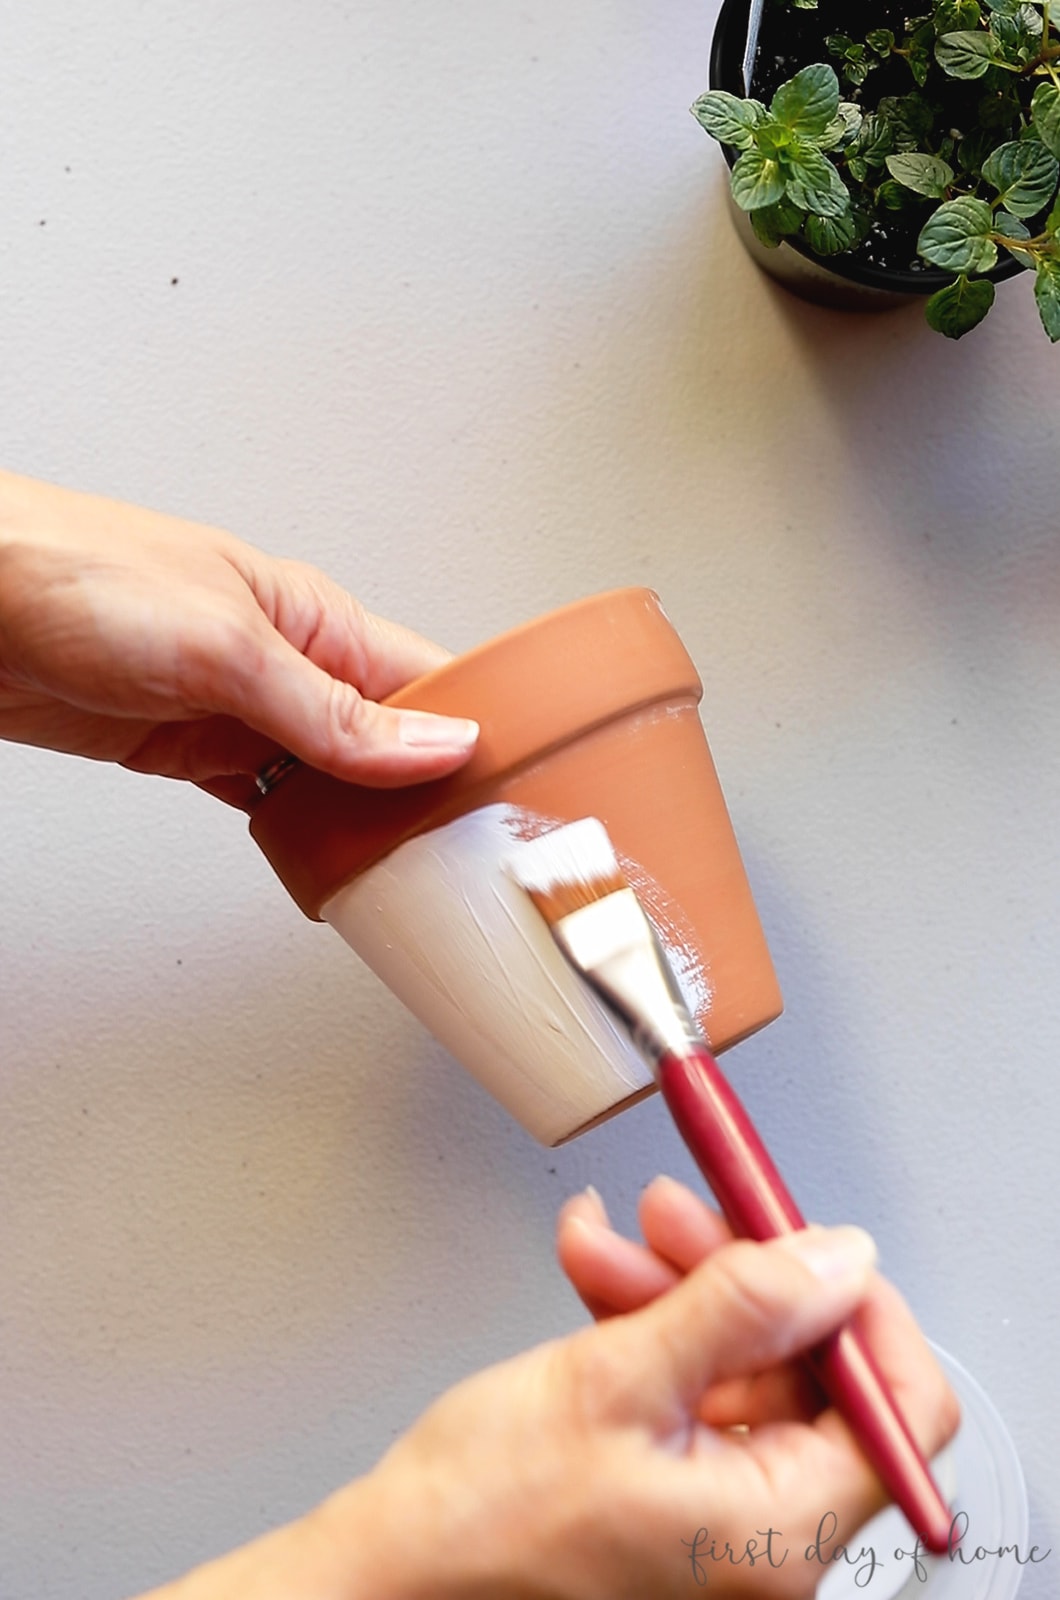
Depending on the thickness of your paint, it may take 1-3 coats to fully cover the pot.
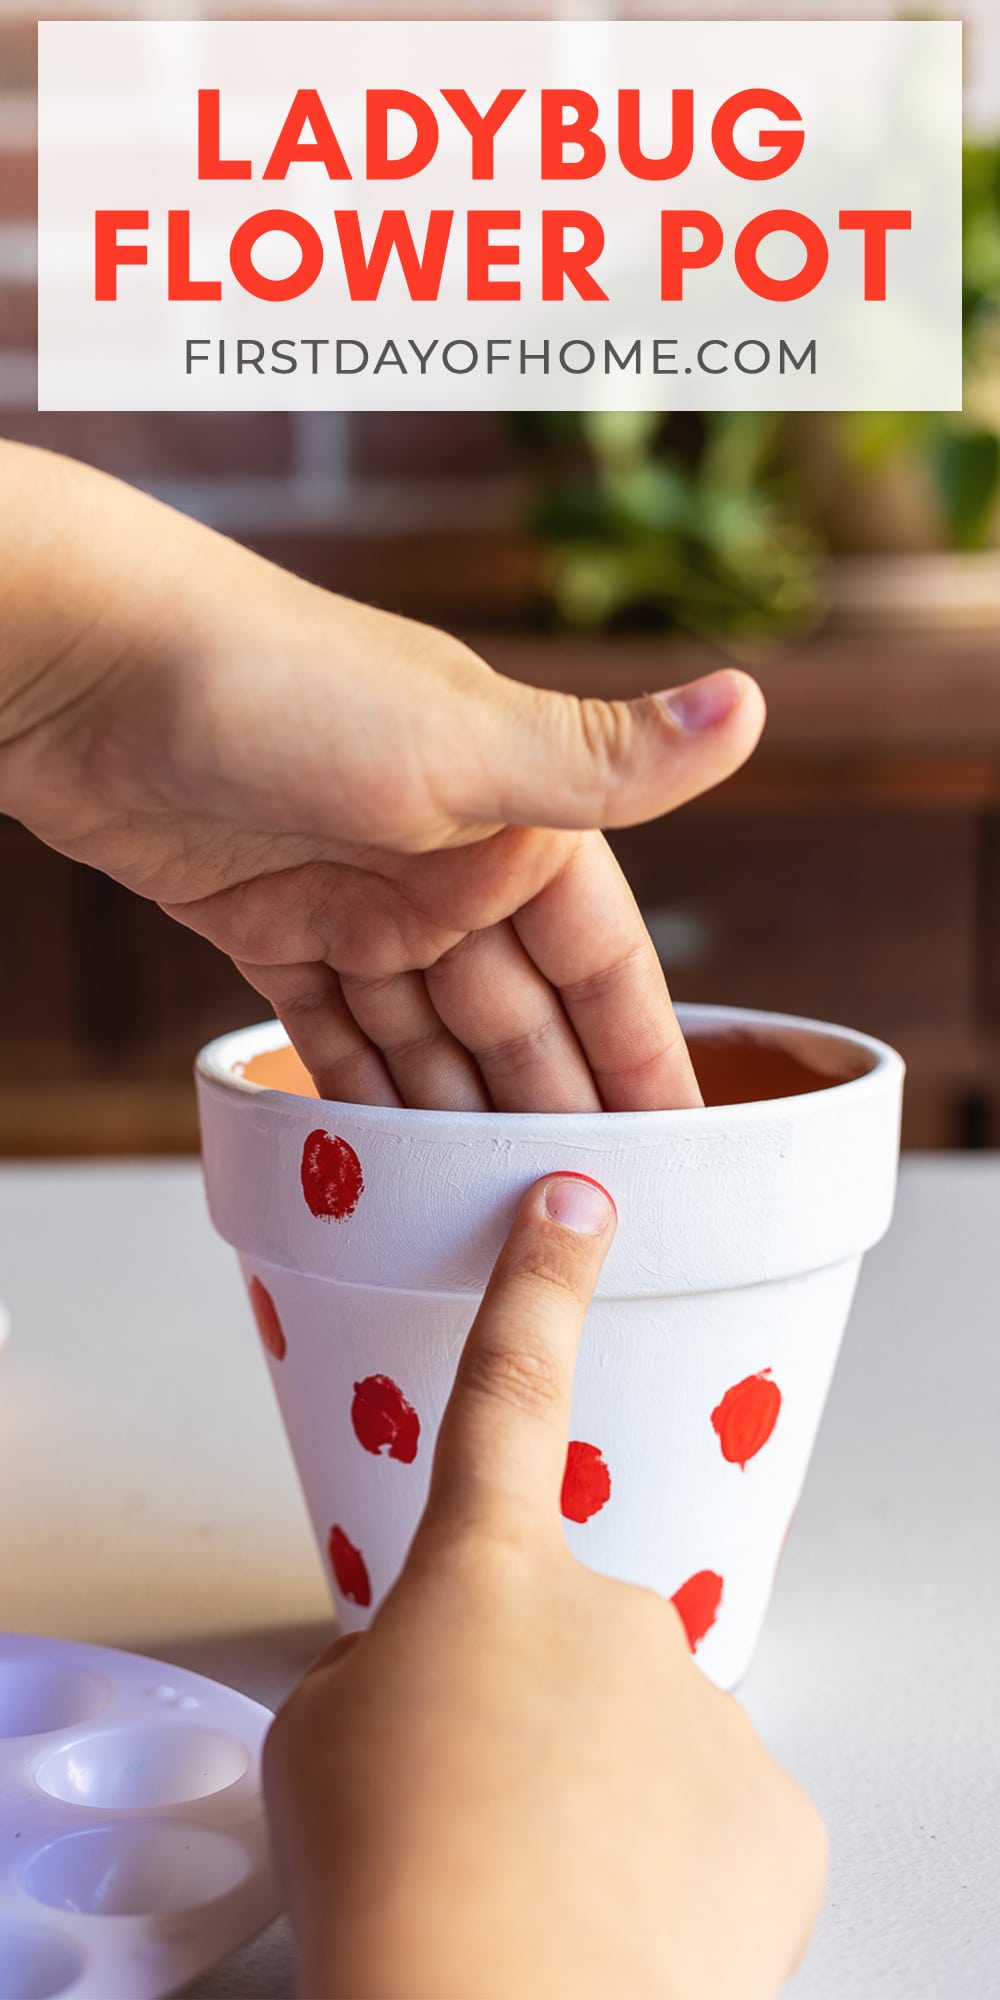
Step 3: Paint ladybug fingerprints
Pour a small amount of red acrylic paint into a shallow container, dish, or paint palette. Dilute the paint with water if needed.

Then dip the child’s finger in the paint. Dab off any excess paint onto a paper towel or sponge before placing it on the flower pot.
RELATED POST
DIY Scratch-off Cards
Make your own scratch-off cards to give as treats for kids or use for secret Valentine’s Day wishes.
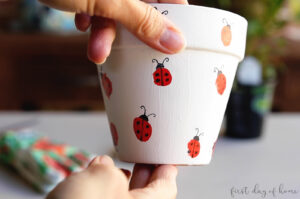
Step 4: Add ladybug details to the flower pot
Once the red spots have dried, begin adding details to the ladybug. I drew antennae and spots. You could also add legs or eyes if you like.

Step 5: Add plant or seeds (optional)
Add the plant of your choosing to the flower pot, or fill the pot with soil and add seeds. Water the plant and place it in a sunny spot or covered patio.
You could also present this pot as a gift with a small bag of soil and a seed packet inside. How cute would that be?!
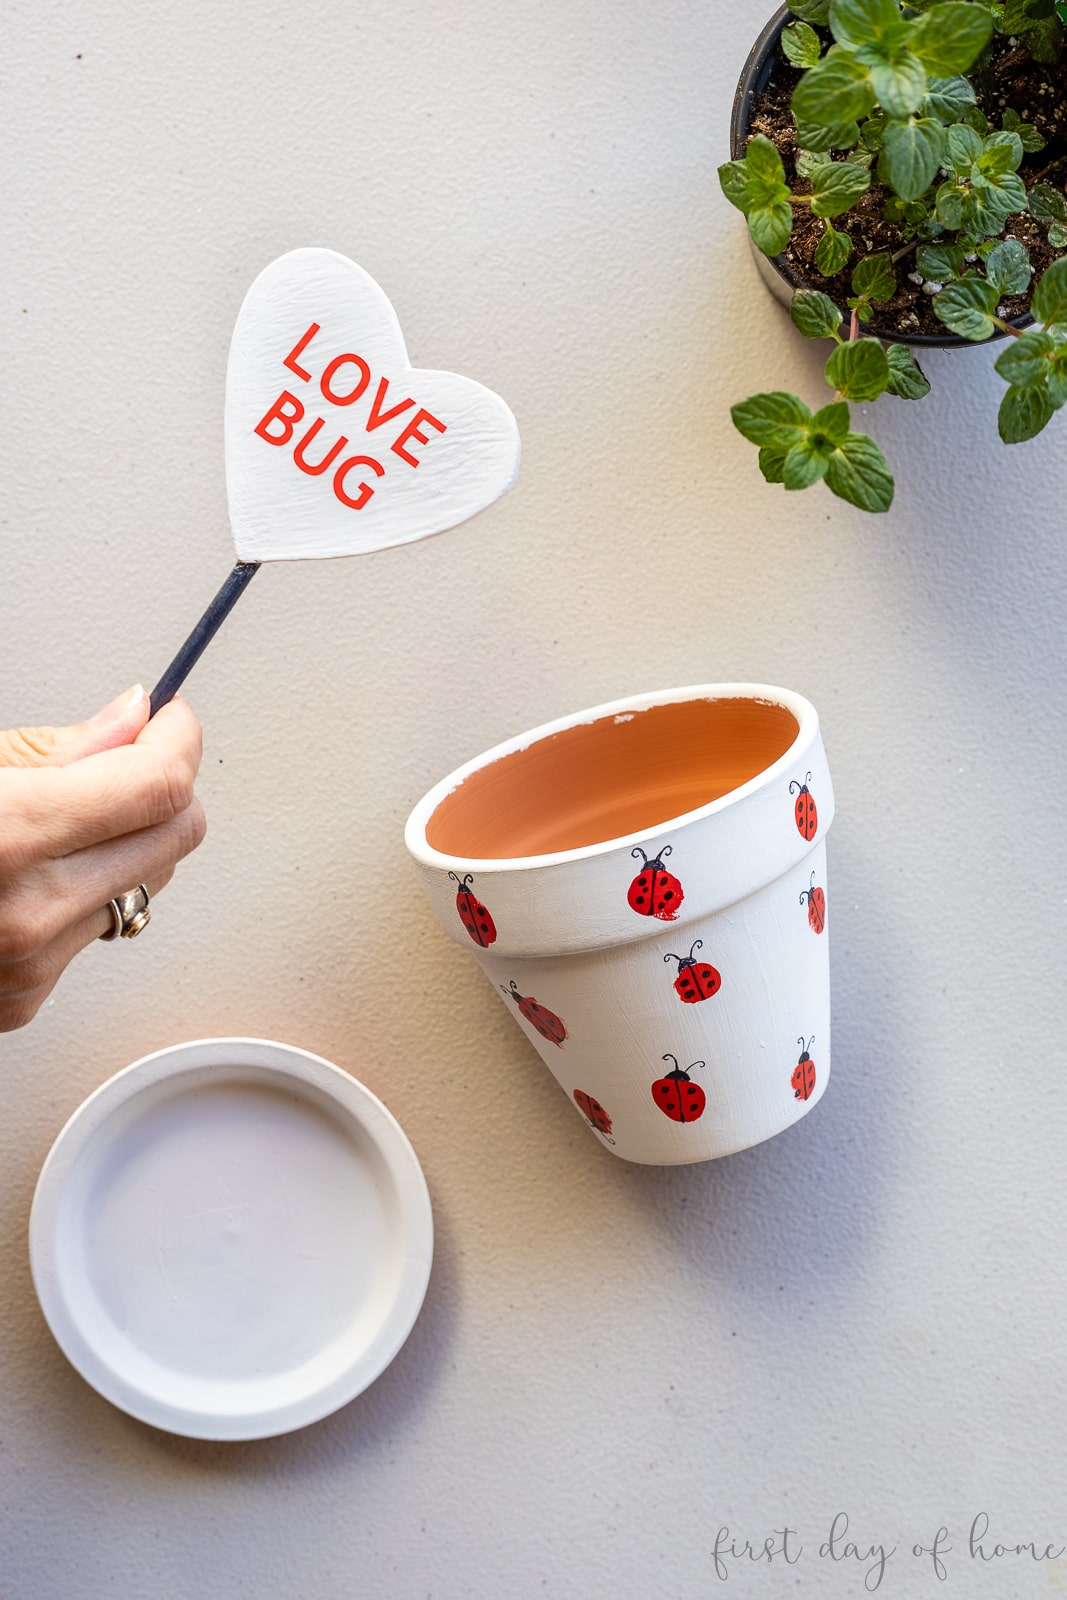
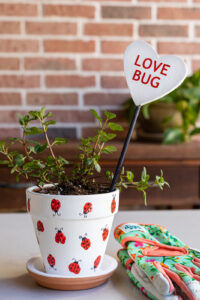
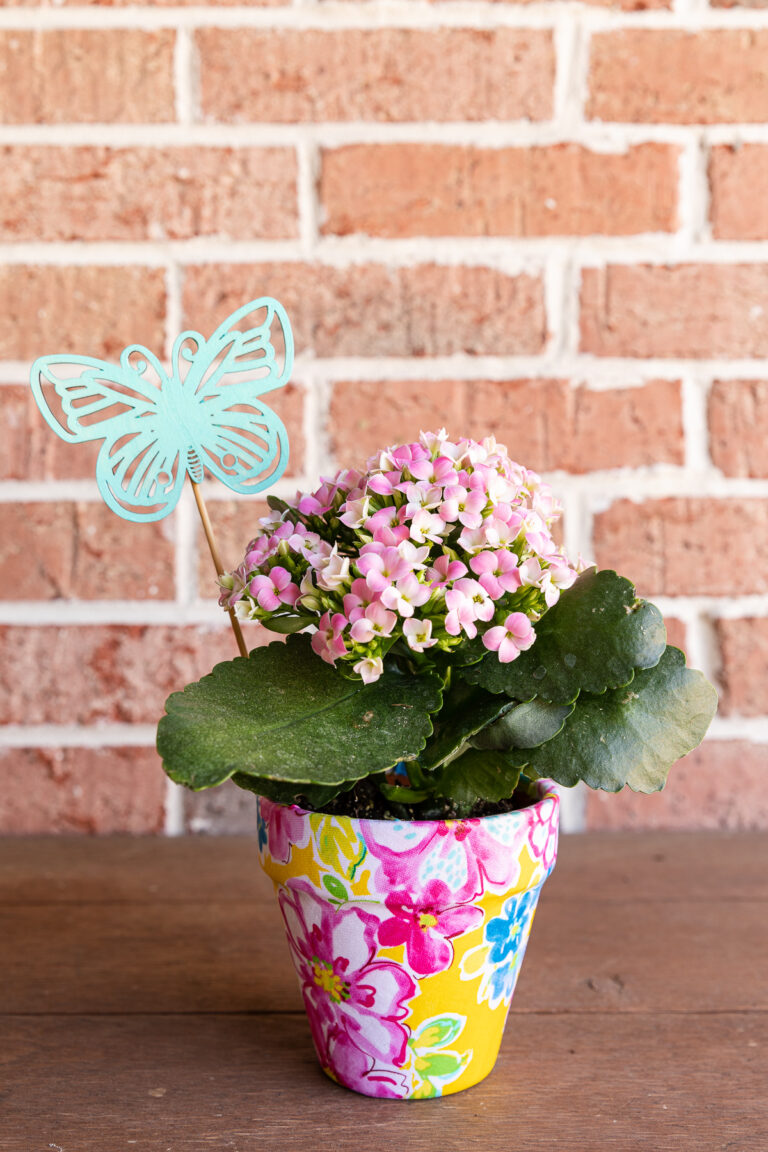
Step 6: Add a garden stake (optional)
Since I’m giving this pot to the grandparents for Valentine’s Day, I decided to add a cute wooden stake to the pot.

I made the vinyl lettering using my Cricut machine. Then I placed the phrase on a wooden stake that I repainted from an earlier DIY garden stakes project. I love repurposing old things!
Pin it for later!
How to Make a Fingerprint Flower Pot
Equipment
- Cricut cutting machine optional for vinyl lettering
- Heat gun optional, may use hair dryer also
Supplies
- 1 4-inch Terracotta pot
- 2 bottles Acrylic paint (white and red)
- Paint pen (black)
- Small plant or seeds with soil (optional)
- Wooden heart with dowel (optional)
- Vinyl lettering (optional)
Instructions
- Clean the flower pot with a soft cloth. Dampen the cloth to remove any dirt or grime.
- Paint a white base coat on the flower pot and saucer. Apply more coats as needed, waiting 1 hour in between coats. To speed up the drying process, you can use a hair dryer or heat gun.

- Paint ladybug fingerprints by pouring a small amount of red acrylic paint into a shallow container, dish, or paint palette. Have the child dip his/her fingertip into the paint, then dab off any excess on a paper towel. Add spots randomly around the flower pot.

- Once the red spots have dried, begin adding details to the ladybug. You can add antennae, spots, legs, and/or eyes to the fingerprints.

- Add a plant or add soil and seeds. Water the flower pot, and place it in a sunny location based on the plant's needs.
- Option: Add a garden stake with a message of your choice. If using vinyl lettering, cut the letters with a Cricut machine and use transfer tape to place them, or buy pre-cut vinyl letters.


Crissy, these are seriously adorable! I’ve pinned this so one day I can make them with my grandkids! Thanks for your creativity and for sharing it with the world!
Thank you, Cindy! I wish I had done even more of these when my boys were itty bitty. But I forget someday there will be another generation to share them with! Thanks for the kind words!
What an adorable DIY, Crissy! Who would have known that little fingers could create such a sweet gift! Perfect for parents and grandparents! Pinned, and I’m delighted to be featuring you this week at Tuesday Turn About!
What great news, Julie! Thanks for featuring me. I can’t wait to stop by tomorrow. Hugs!
What an adorable project for kids of any age to make.
Thank you, Paula! It’s definitely something I’ll treasure for years to come.