How to Sew a Tote Bag (Free Easy Pattern)
Are you looking for the perfect tote to cart around your goods this summer? Why not make your own custom bag that you can wash and wear over and over again? I’ll show you exactly how to sew a tote bag with this free easy pattern. It’s simpler than you think!

This post contains affiliate links, and I will be compensated if you make a purchase after clicking on my links. For more information, please see my disclosures.
How to Sew a Tote Bag – Beginner Tutorial
Everything you need to know is included in this short video tutorial, but feel free to read on for more details!
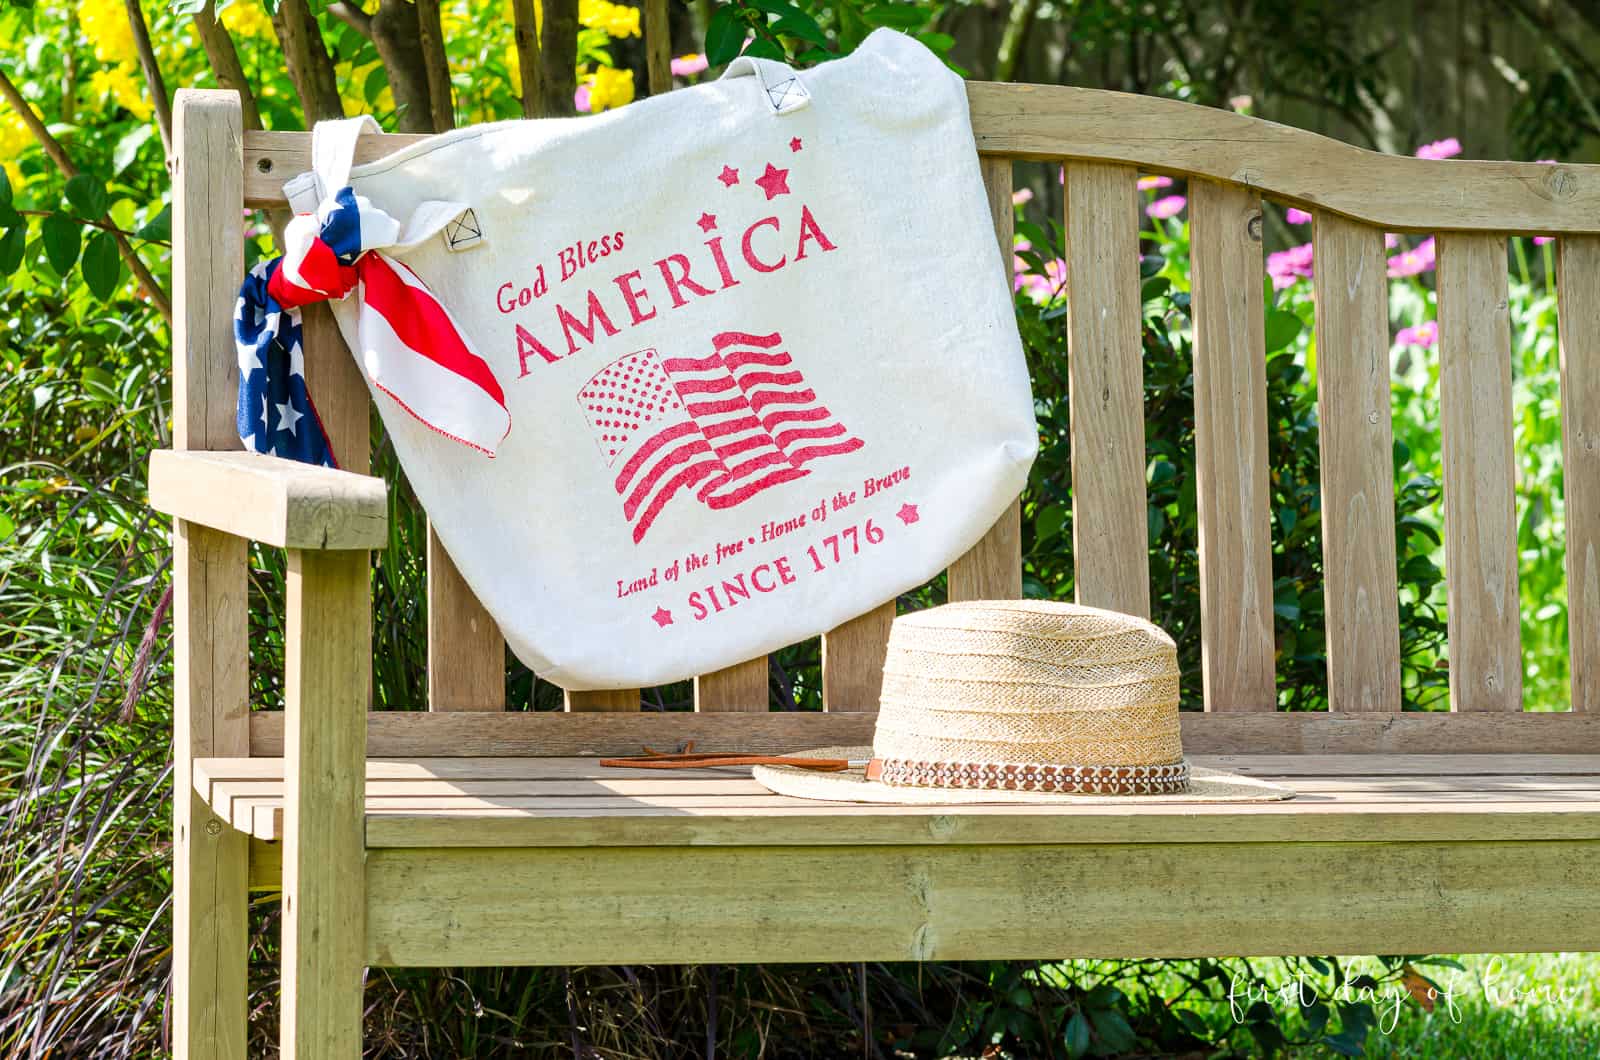
First, you’ll want to pick out a fabric of your choice. Duck and canvas are popular choices for totes due to their strength and resilience. I had something else in mind, as you’ll see below.
Supplies Needed
- Drop cloth (or duck/canvas)
- Sewing machine
- Sewing notions: needles, thread, etc.
- Optional: twill tape or bias tape
If you don’t know by now, I have a “thing” for drop cloth. It’s true.
Not only is the fabric cheap and easy to find, but it also invokes a certain farmhouse, rustic feel. I’ve made everything from a stenciled table runner to DIY wine gift bags using this fabric.
Drop cloth comes in a ridiculously large quantity, so I’m not done making things with it yet! If you mess up, no problem. There’s more where that came from.
Optional: To whiten your fabric, bleach it in a top-load washer or bathtub for 5-6 hours. It takes 4-6 cups of bleach to truly work, and I suggest bleaching only what you’ll need.
Cutting the Pattern
Since this tote bag is simply a series of rectangles sewn together, there’s not really a formal “pattern” but instead a series of dimensions you’ll need to cut.
Fabric Dimensions:
- Tote body: 20 in. x 34 in. (51 cm x 86 cm)
- Two straps: 29 in. x 3.5 in. (74 cm x 9 cm) each
- Pocket: 9 in. x 18 in. (23 cm x 46 cm)
Note: I find it easiest to fold my fabric in half along the long edge when cutting my pieces, so I can cut through two layers at once. For example, I cut my tote body 20 in. x 17 in., which was 20 x 34 in. unfolded.
Steps for Sewing DIY Tote Bag
My video walks through all of the steps in detail (I pinky promise!), but I’ve provided a few extra details below.
Step 1: Sewing the straps
Most tutorials will tell you to sew the straps wrong-side-out, using a straight stitch down the long edge. That means you’ll have the fun job of turning the straps right-side-out again later.

I like to skip that step and simply fold the long edges inward and do a top stitch with the fabric right-side-out. Then, I topstitch the other long edge to match and keep the strap flat.
Step 2: Sewing the pocket
I chose to include a simple inner pocket on my tote bag since we all need a place for cell phones and keys, right? (I want nothing to do with a tote if it doesn’t have a pocket.)
Because the drop cloth fabric tends to fray on the edges, I recommend using a zig-zag stitch on the sides of the pocket.
Another option is to use Fray Check along any raw edges. That stuff works wonders!
Step 3: Attaching the pocket
Here’s the beauty of making a simple inner pocket: You can sew it right into the top hem of your bag! You won’t see any extra stitching on the outside of your tote.
Start by folding the top edge of the tote (the 20-inch side) over the pocket, and pin in place. Sew the entire length of the hem, and do the same on the opposing top edge of the tote.

Step 4: Sewing the Sides of the Tote
Here comes the easy part. Fold the tote in half to bring the two top edges together (wrong-side-out). Pin the sides of the bag together and sew a straight stitch down the full length of each side.
Optional: You can sew twill tape or bias tape on top of the side seams for additional durability, as shown in the image below.

Step 5: Creating boxed corners
In the video, I show how to create boxed corners for extra shape on your tote. This is a great skill to have when making cushions, too!

I’ve measured about 3 inches from the corner peak to the blue line you see in the photo. Do this on both bottom corners of the bag to finish the tote.
Step 6: Attaching the Straps
The straps will be the final pieces you attach to your tote. I sewed a 1-inch square shape with an “x” inside to secure each strap to the tote.
As I mention in the video, you can also add a patch on the inside of the tote for added reinforcement.
Full disclosure: When I made my very first version of this bag, I accidentally sewed my straps across the top of the bag instead of on the same side. (Think about it for a moment…that won’t work.)
Mistakes happen to all of us! That’s why they invented seam rippers.
Decorating Your Tote Bag
In a related post, I show you how to paint a canvas bag to create the perfect DIY gift for any occasion. As you get more comfortable sewing, you can also add other embellishments, like an external pocket, buttons, tassels…your name it!
Here are some fun ideas for customizing your bag:
- Fabric ink and stamps (as seen on my DIY fabric wine bag tutorial)
- Heat-transfer vinyl using a Silhouette Cameo or Cricut (see my patterned heart design for inspiration)
- Iron-on transfers or rhinestone appliques
- Alternating color straps/pockets
- Embroidery/monogram
- Grommets for rope/ribbon handles instead of straps
Another option is to vary the size of your tote bag. You can apply the same principles to make a giant beach bag or a tiny favor gift bag.
Oh, I think I just came up with 5 more post ideas writing this one! 😂 Now you know why I started a blog!
Please tell me how you plan to use your tote. I respond to EACH and EVERY comment. Truly, it makes my day.
Pin it for later!

What a great tutorial! My 9-year-old daughter and I are making this bag together for her to use. What are the final dimensions of the bag if it’s made with the sizes you have posted here?
Hi Krista! That sounds so fun. I have twin 10-year-old boys, and I think this is a great craft for kids around that age. The final bag measures about 18.5″ wide by 16.5″ tall when it’s flat. You can always adjust your measurements to make it any size you like. I’d also suggest using some measuring tape to figure out how long you want the straps after you cut the main bag pieces. Have fun! -Crissy
Where is the video??
Hello. There is a link to the video in the article. Here you go: https://www.youtube.com/watch?v=hruWm4LkbD8. I hope this helps.
Great article! Thank you very much for sharing.
Thank you!
Finally!! I have scoured the net for the past 2 hours looking for a plain (but strong) tote pattern, and I’m so happy I found yours Chrissy!!
Thank you SO much! Your directions are fun, easy to follow and I love that your page isn’t riddled with ads that interrupt the flow of the tutorial. Oh, and I LOVE that you included the cm equivalent – I appreciate it so much! Can’t WAIT to make bags tomorrow!! A thousand thanks xxx
I’m so glad you found this helpful, Letitia! Good luck making your tote, and thank you for the kind comment. Let me know if you have any questions as you get started. Best wishes, Crissy
Looks great! It’s always handy to have an extra tote or two!
Thanks so much, Lauren! You’re so sweet. Yes, although I have many totes, I think homemade ones are the best! 🙂