How to Upcycle Old Picture Frames with Decoupage
I’m all about decluttering, but what happens when you come across something that just needs a little repurposing to bring joy into your life again? In this tutorial, I’ll show you how to upcycle old picture frames with decoupage.
Plus, there might be magnets involved. Time to get excited!

This post contains affiliate links, and I will be compensated if you make a purchase after clicking on my links. For more information, please see my disclosures.
It All Started with An Old Picture Frame
I could feel it. The urge to go thrift store shopping was slowly creeping up again. I mean, just look at all the thrift store makeovers invading Pinterest! Everybody’s doing it!
But wait. Marie Kondo taught me that I need to declutter my house first. So I began talking to my house and saying goodbye to my joyless possessions, and that’s when I stumbled upon an old picture frame. I knew it had good bones.

I also knew I had quite the stash of Mod Podge, scrapbook paper, and paint supplies cluttering up my craft space. Two problems solved!
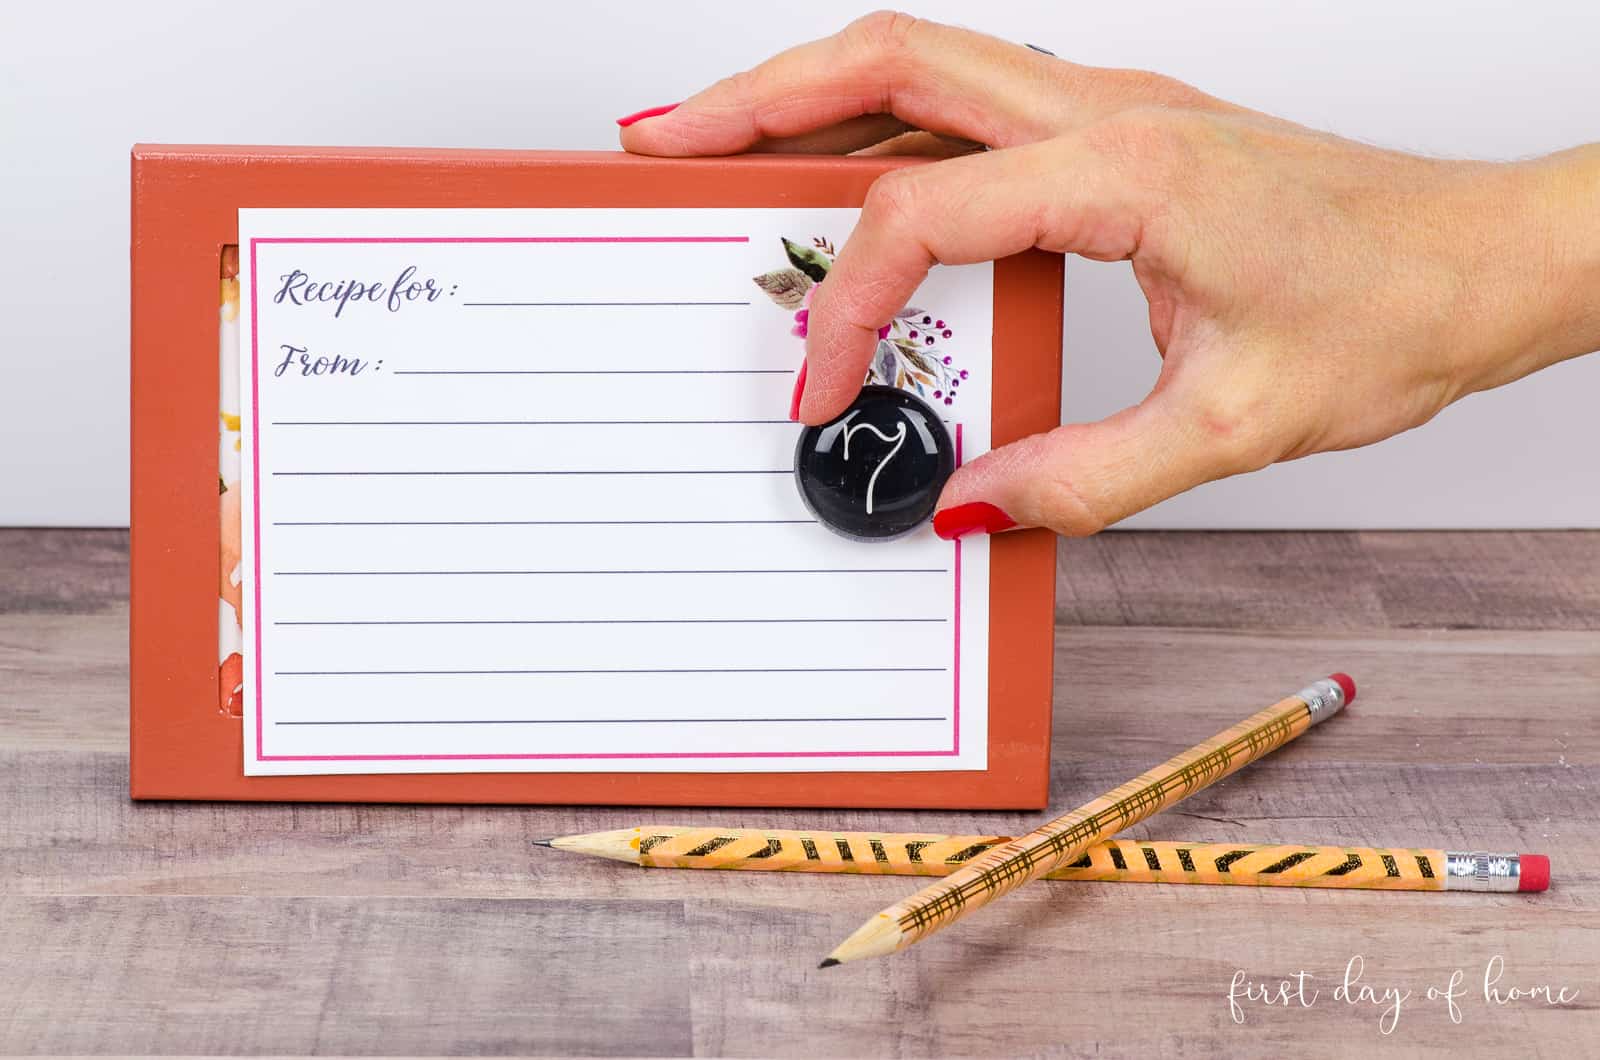
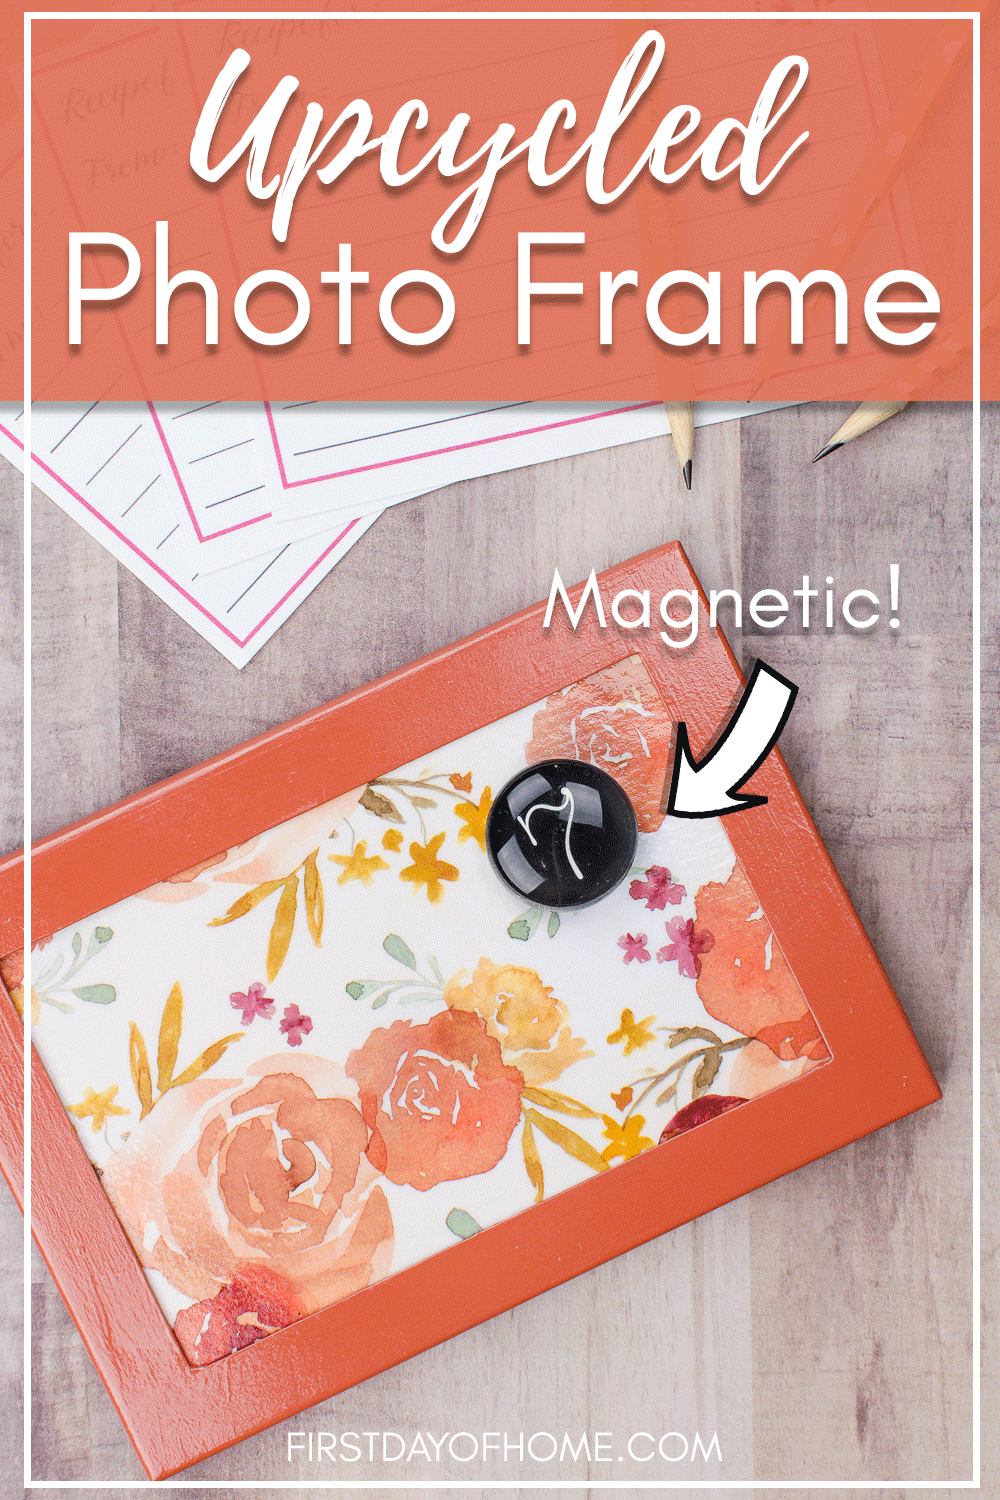
Several years ago, my sister-in-law gave me a nifty magnetic recipe cardholder, and I immediately knew I wanted to make something similar using this old metal frame. With its built-in kickstand, this frame was destined for kitchen greatness.
Upcycled Photo Frame Recipe Card Holder
For the best visuals, watch my short video on how to upcycle an old picture frame. It will walk through all the steps that I outline below.
What Not To Do
Before you begin, let me save you some time experimenting with “magnetic” supplies. I originally thought I needed a magnet sheet to create my recipe cardholder, and I loaded up on a huge value pack of those.
Guess what. Magnets don’t stick to those!
As it turns out, you really should just use a steel sheet like the one I’ve linked below. You will, however, need a good pair of snips to cut through the sheet.
Supplies
- Empty picture frame
- Scrapbook paper
- Galvanized steel sheet (and snips to cut)
- Acrylic paint
- Mod Podge
- Paint brush
- Clear acrylic sealer spray (optional)
Note: For this tutorial, I use a 4 x 6 inch metal frame, but you can use any size you like. I will reuse the glass insert from the picture frame in a future post, but you will not need it for this project.
Instructions
In the video tutorial, I show all of the steps to prepare your picture frame. You’ll begin by painting the frame and cutting the metal sheet and scrapbook paper to size.

I used a decoupage technique to apply my scrapbook paper to the metal and sealed it with two more coats of Mod Podge on top.
I also added two coats of clear acrylic spray to both the frame and the metal sheet. While this step is optional, I love the shiny finish it gives my decoupage projects.
See my complete guide on how to decoupage on wood or my DIY wood sign for more project examples with decoupage.
Bonus: Download Free Recipe Cards!
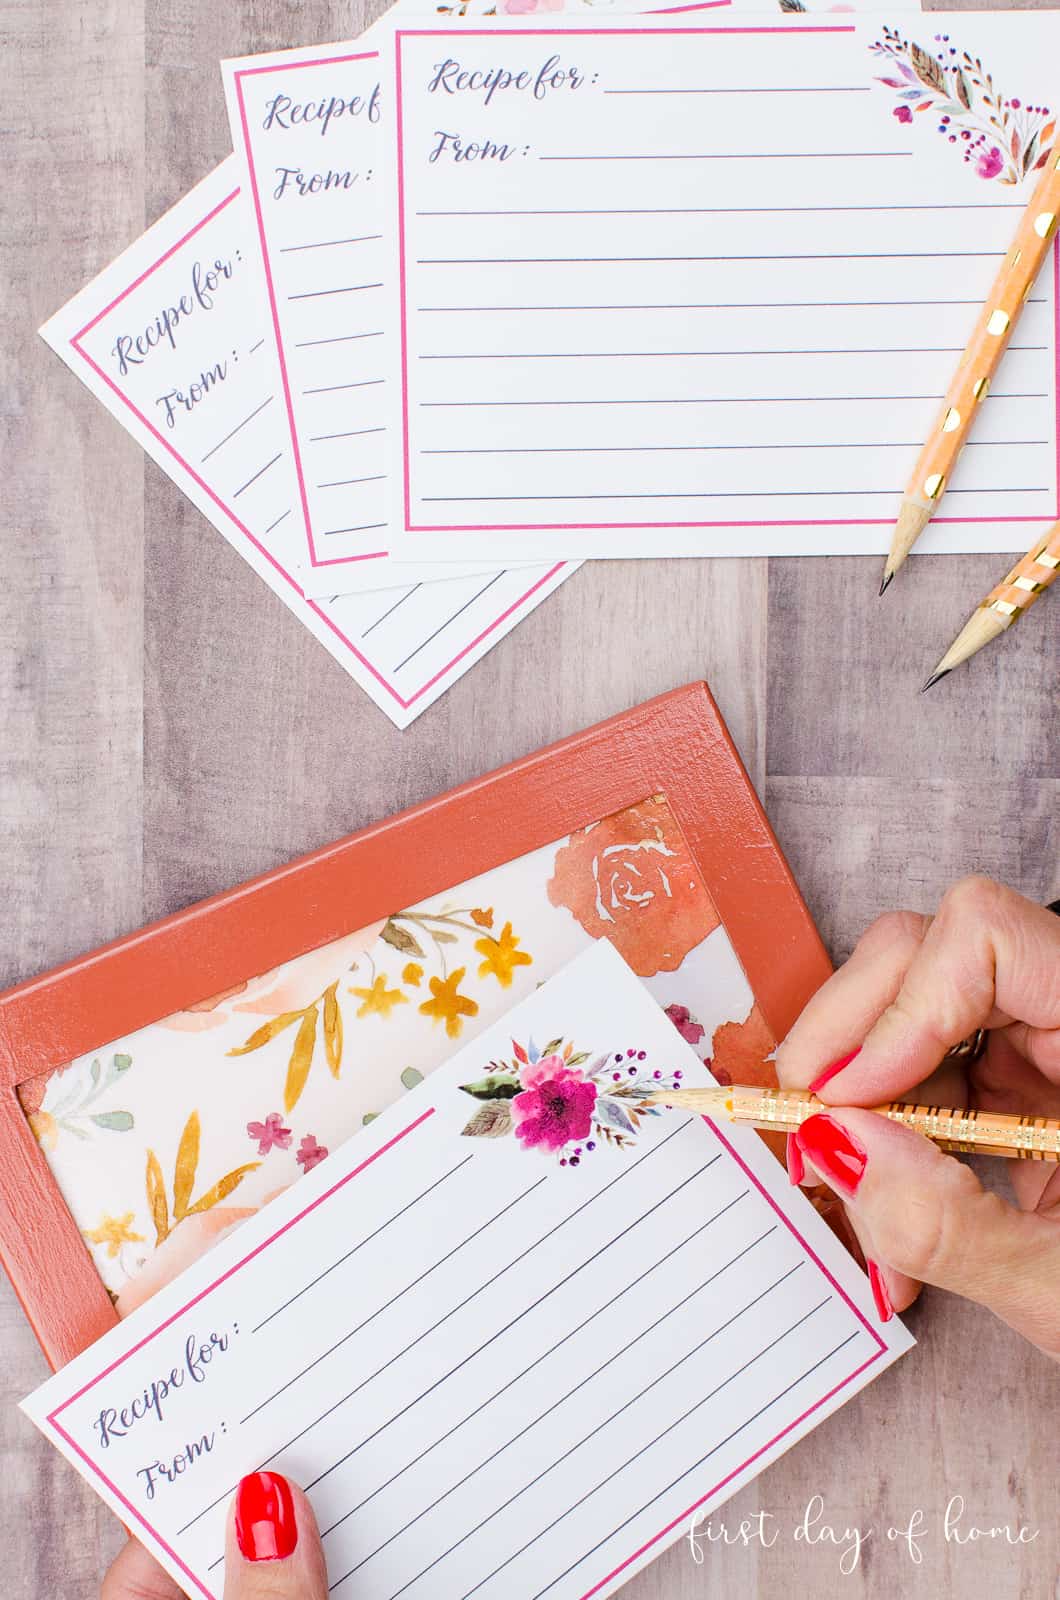
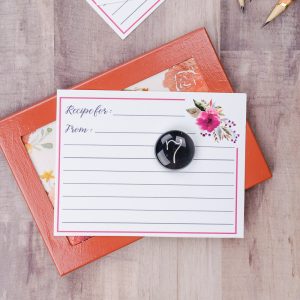
Since I envisioned this as a place to prop up my recipes, I decided to design printable recipe cards that I’m sharing with you for FREE!
These gorgeous but simple floral cards would make a great DIY gift along with an upcycled picture frame.
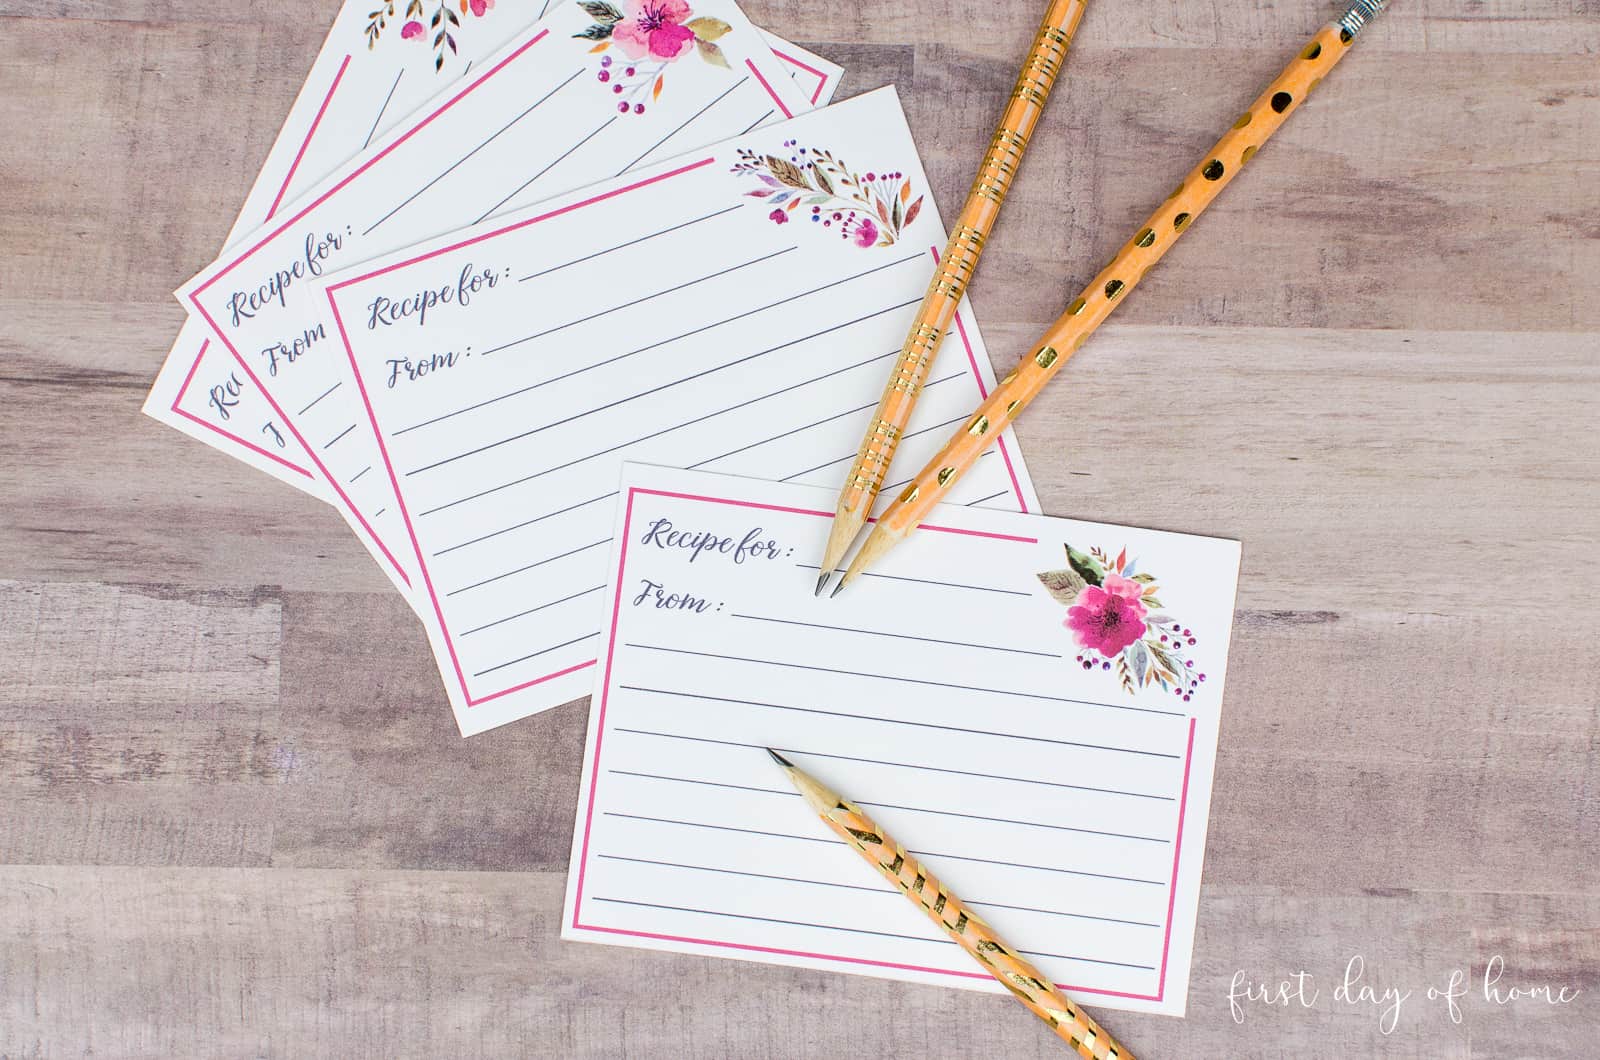
You can also learn the secret to making gold pencils like the ones above by hopping over to my post with free printable bridal advice cards.
More Upcycled Picture Frame Ideas
While I used this old frame as a recipe card holder, there are countless other possibilities! Instead of using a metal sheet, you could also decoupage paper onto the glass insert and attach a clip to the top of the frame to hold notes or cards.
Here are a few more crafty picture frame ideas:
- Bulletin board using cork tiles as a backing
- Chalkboard using chalkboard paint (works on multiple surfaces, including glass)
- Dry erase board using whiteboard contact paper
Before you throw out that old picture frame, give it a second life with these easy tips. Please comment below if you end up doing this project or have questions. I read every comment, and I love hearing from you!
Pin it for later!
Thanks for stopping by!
How to Upcycle an Old Picture Frame
Equipment
- Metal snips
- Scissors
- Paint brush
Supplies
- Empty picture frame
- Scrapbook paper
- Galvanized steel sheet
- Acrylic paint
- Mod Podge
- Clear acrylic sealer (optional)
Instructions
- Paint the frame with 2-3 coats of acrylic paint.
- Trace the glass insert onto the metal sheet, and cut to size using metal snips.
- Repeat step 2 with scrapbook paper.
- Apply Mod Podge onto metal sheet, and place scrapbook paper on top. Let dry, then seal with another coat of Mod Podge on top. The metal sheet should be completely covered by the paper.
- Optional: Apply a coat of acrylic sealer for a glossy finish.
What a wonderful idea. Thank you
Thanks, Teresa! I’m glad you liked it.
This is such and adorable and useful project! I think Marie Kondo would approve! Pinning!!
Ha ha! I’m so glad you think Marie would approve, Cindy! 🙂 Thanks for stopping by and pinning, my friend.
Hi Crissy!
I just wanted to let you know that you are one of my features this week at Homestyle Gathering.
I am always looking for ways to prop my recipe cards when I’m using them. This little project solves that problem! Thanks for the inspiration!!
And thank you for joining us and sharing at HG!
>>> Kim
Hi Kim! Aww, thank you so much! I’m honored to be featured. I love what you and Julie have done with HG, and I enjoy participating with you.
Another great project, Crissy. I love that you gave us several different options on how to use the frame, too! Pinned!
Thanks, sweet Julie! I want to try all of the options myself! I might end up with more frames than I started with…
I love this useful craft! I will have to try this.
Thanks, Lauren! It’s a fun one to do. Cutting the steel is the hardest part, but I was able to do it myself with no problem. I plan to make more of these to give away, too.