How to Get the Best Looking Spring Wreath for a Front Door


Today, I’m sharing my thoughts on how to get the best-looking DIY spring wreath for a front door. With these tips, you won’t waste time buying a new crop of artificial flowers every year.
This post contains affiliate links, and I will be compensated if you make a purchase after clicking on my links. For more information, please see my disclosures.
If you’re into making DIY spring wreaths, you’ve probably faced the challenge of keeping your artificial flowers looking fresh. This year, my faux florals went from fab to drab after just one season!
To keep your spring wreath looking stunning throughout the years, I have a few tips you should follow. I used these tips in my DIY lavender wreath, and they really work!
Tip #1: Buy Flowers Intended for the Outdoors
As pretty as some faux florals are, not all were meant for the great outdoors. After testing several varieties over the course of many years, I can happily make some recommendations.
I bought these artificial flowers for my spring wreath makeover last year. As you’ll see later on, some of these lasted and some didn’t!
Here’s what to look for when deciding which outdoor artificial flowers to buy (or not buy).
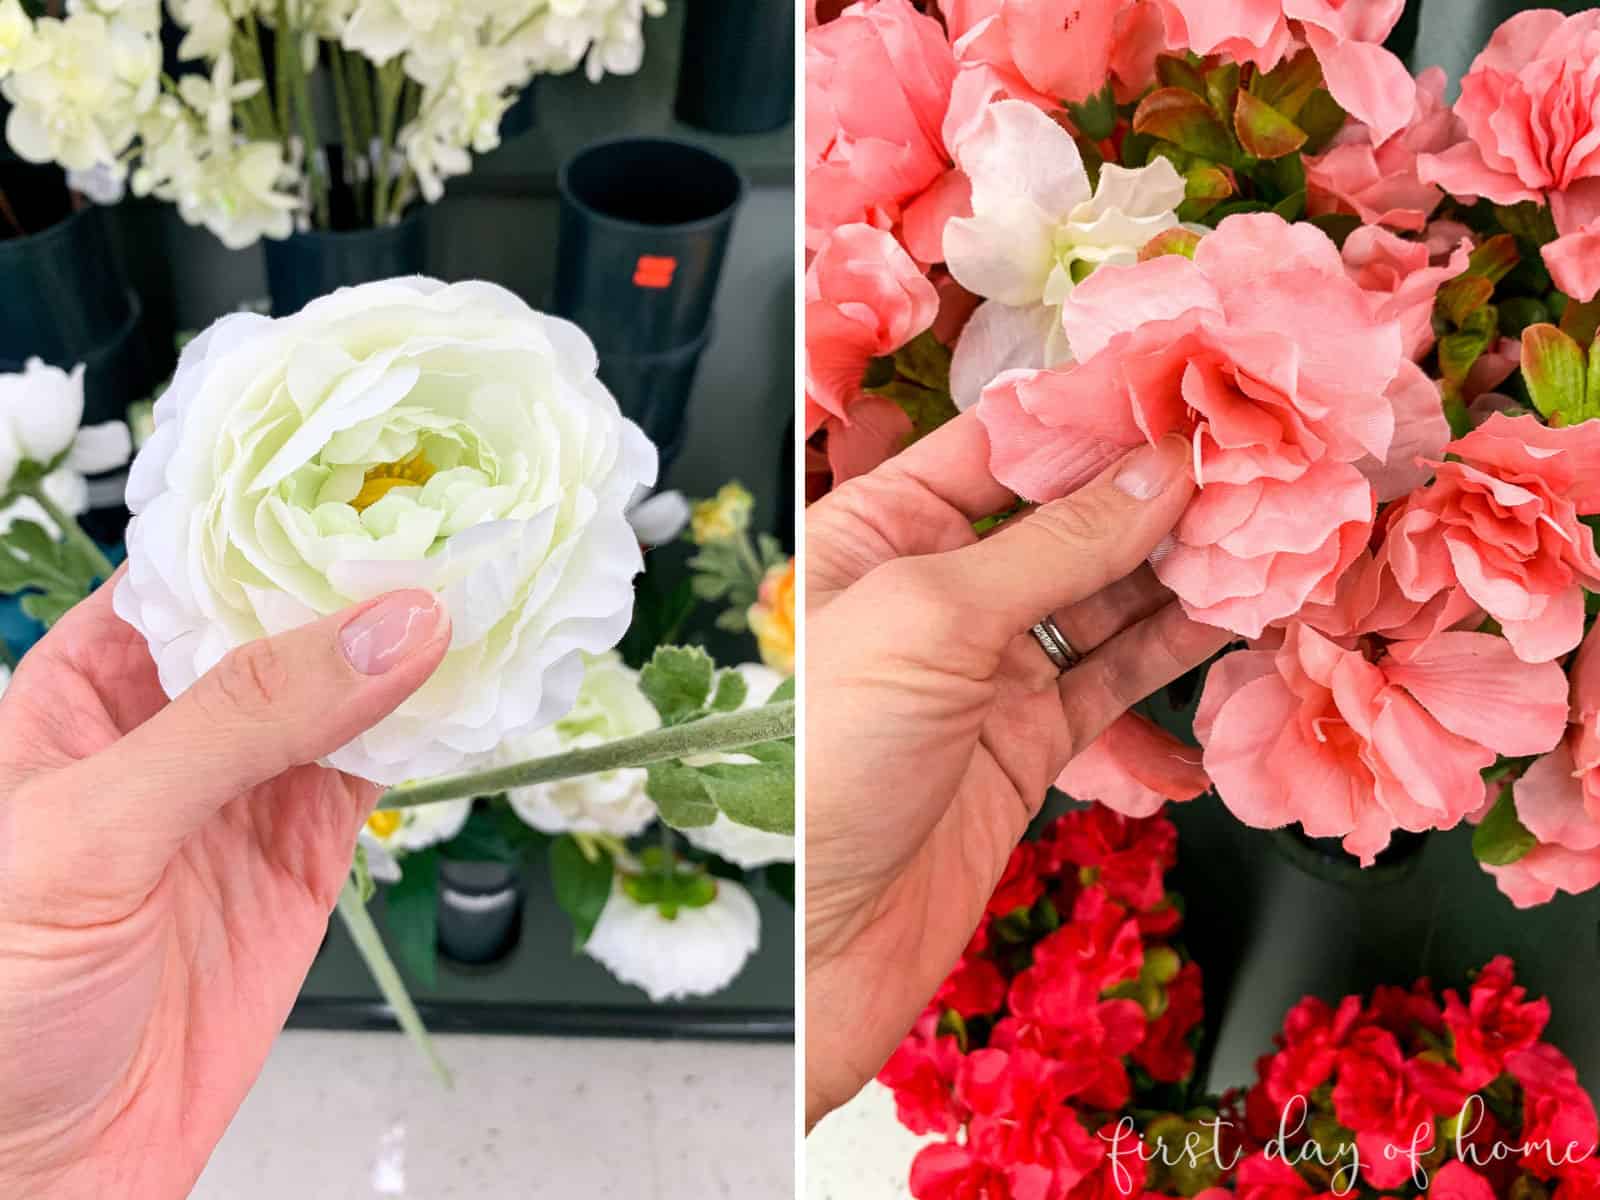
Flowers to Buy for a DIY Spring Wreath
- Petals with smooth, paper-like texture – Polyester flowers tend to retain color with light dusting and cleaning
- Smooth, plastic-like stems
- Hard plastic faux succulents – See my easy faux succulent arrangement for ideas
- UV resistant florals
Here are some lovely examples of silk flowers that make great outdoor pets:
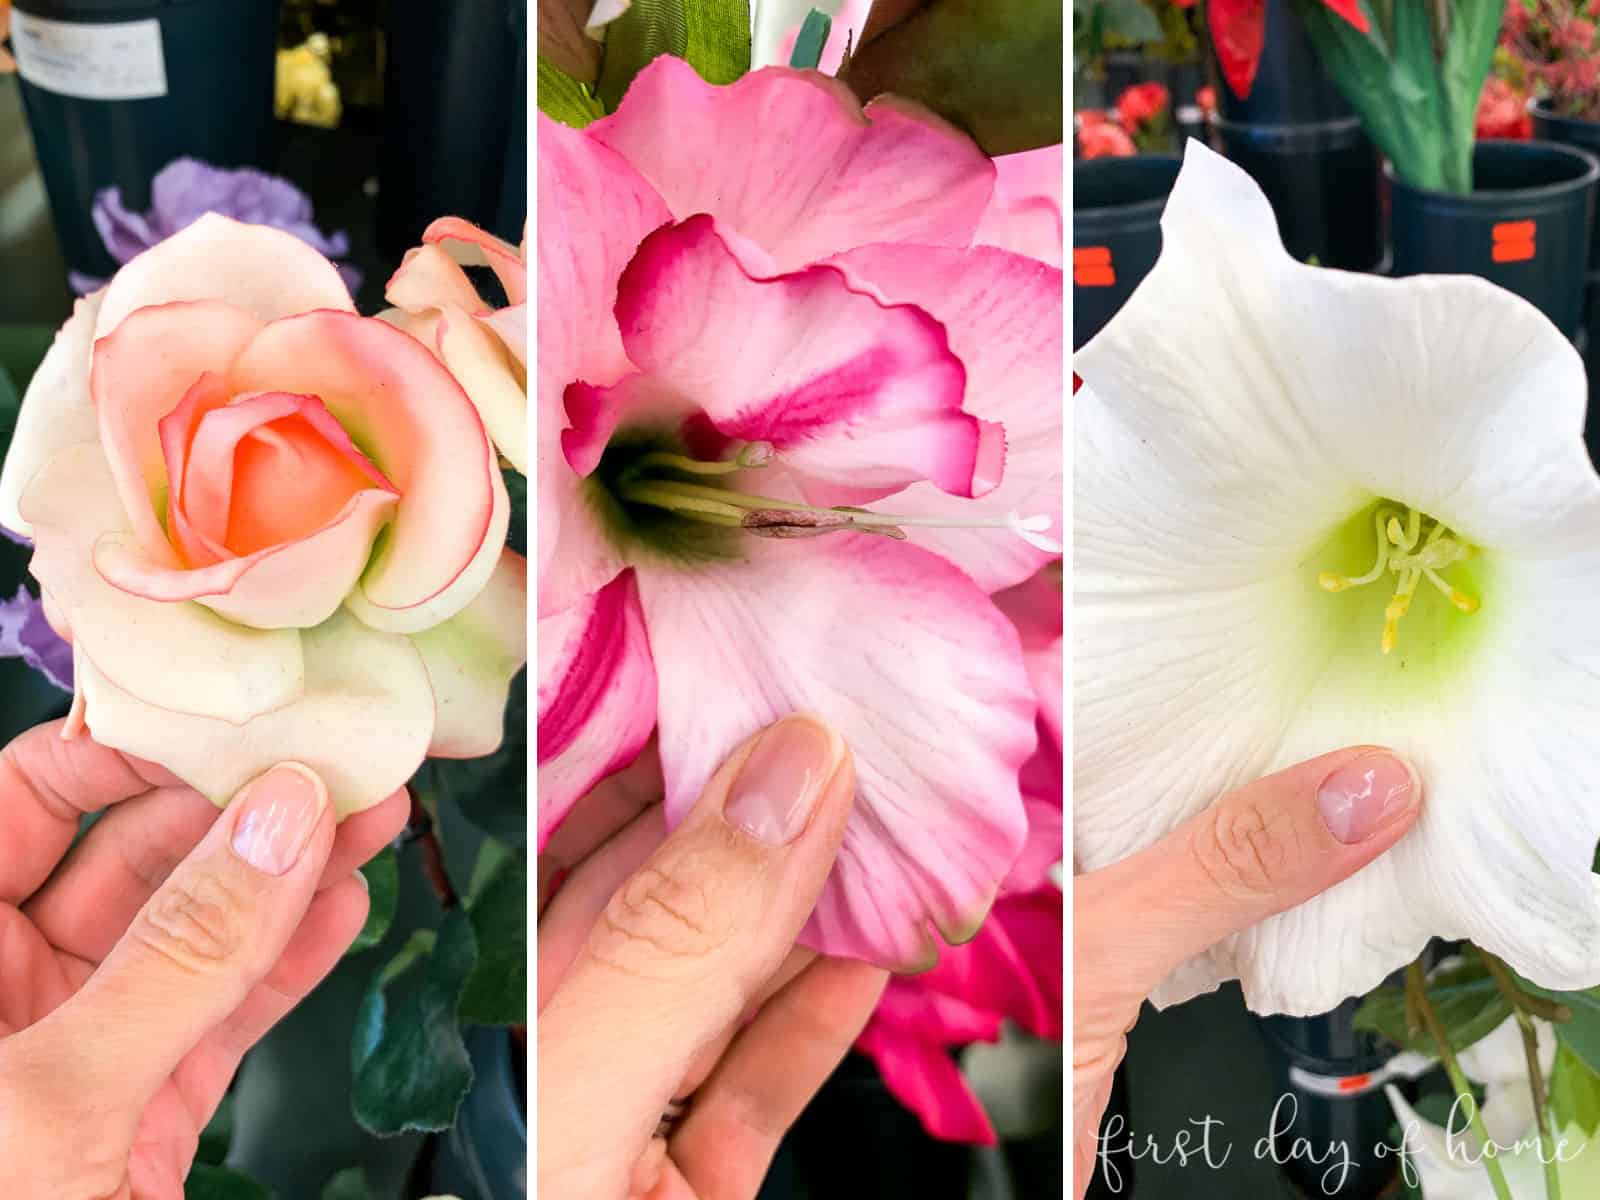
What Not to Buy
- Petals that feel rubbery and lifelike to touch – While these look great, they tend to turn yellow over time, especially when outdoors
- Blossoms with intricate petal structure – Depending on the flower, these can be harder to clean, since they trap dirt more easily
- Real dried flowers – These might look pretty, but they will not survive a strong gust or light rain
Here are examples of florals you should avoid placing outdoors:
Tip #2: Protect Your Faux Flowers From Direct Sun and Rain
This may sound obvious, but the more your outdoor plants and flowers are exposed to the elements, the worse they will look.
If you can’t avoid some spring showers, try using WD-40 to protect the petals and leaves from moisture and sunlight. I prefer a non-aerosol spray.
Tip #3: Learn How to Clean Fake Flowers
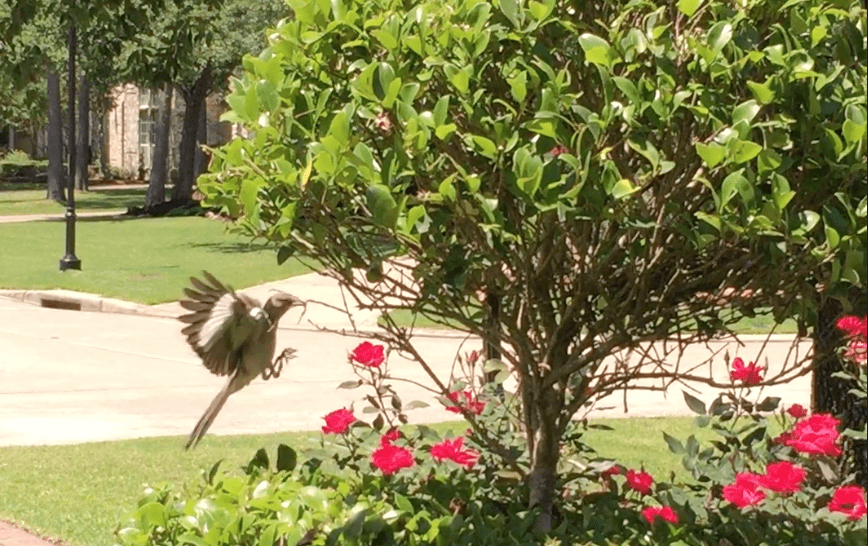
Last year, I did a major spring wreath makeover after a little feathered friend made its home in my wreath. For the most part, the new wreath remained in tact when I unpacked it this year.
However, many of the white blooms had turned an ugly shade of yellow. Blegh! Other flowers in my wreath just needed a good spring cleaning.
I’ve read many different approaches to cleaning faux flowers and plants. After a week of experimenting, I’m here to give you the low down. Are you ready?
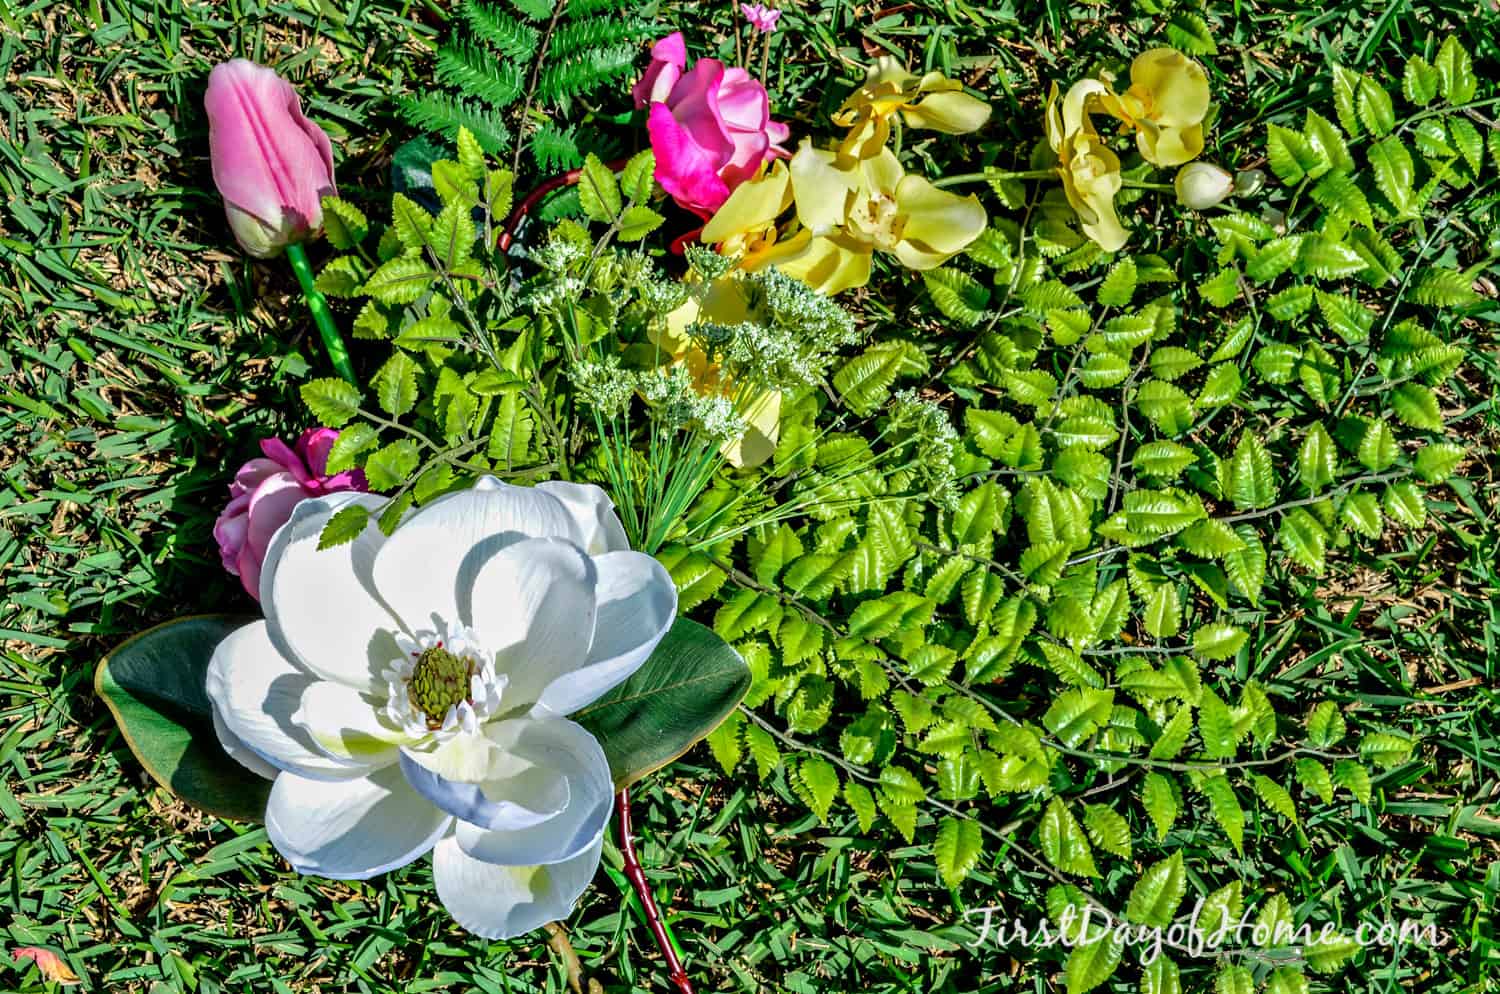
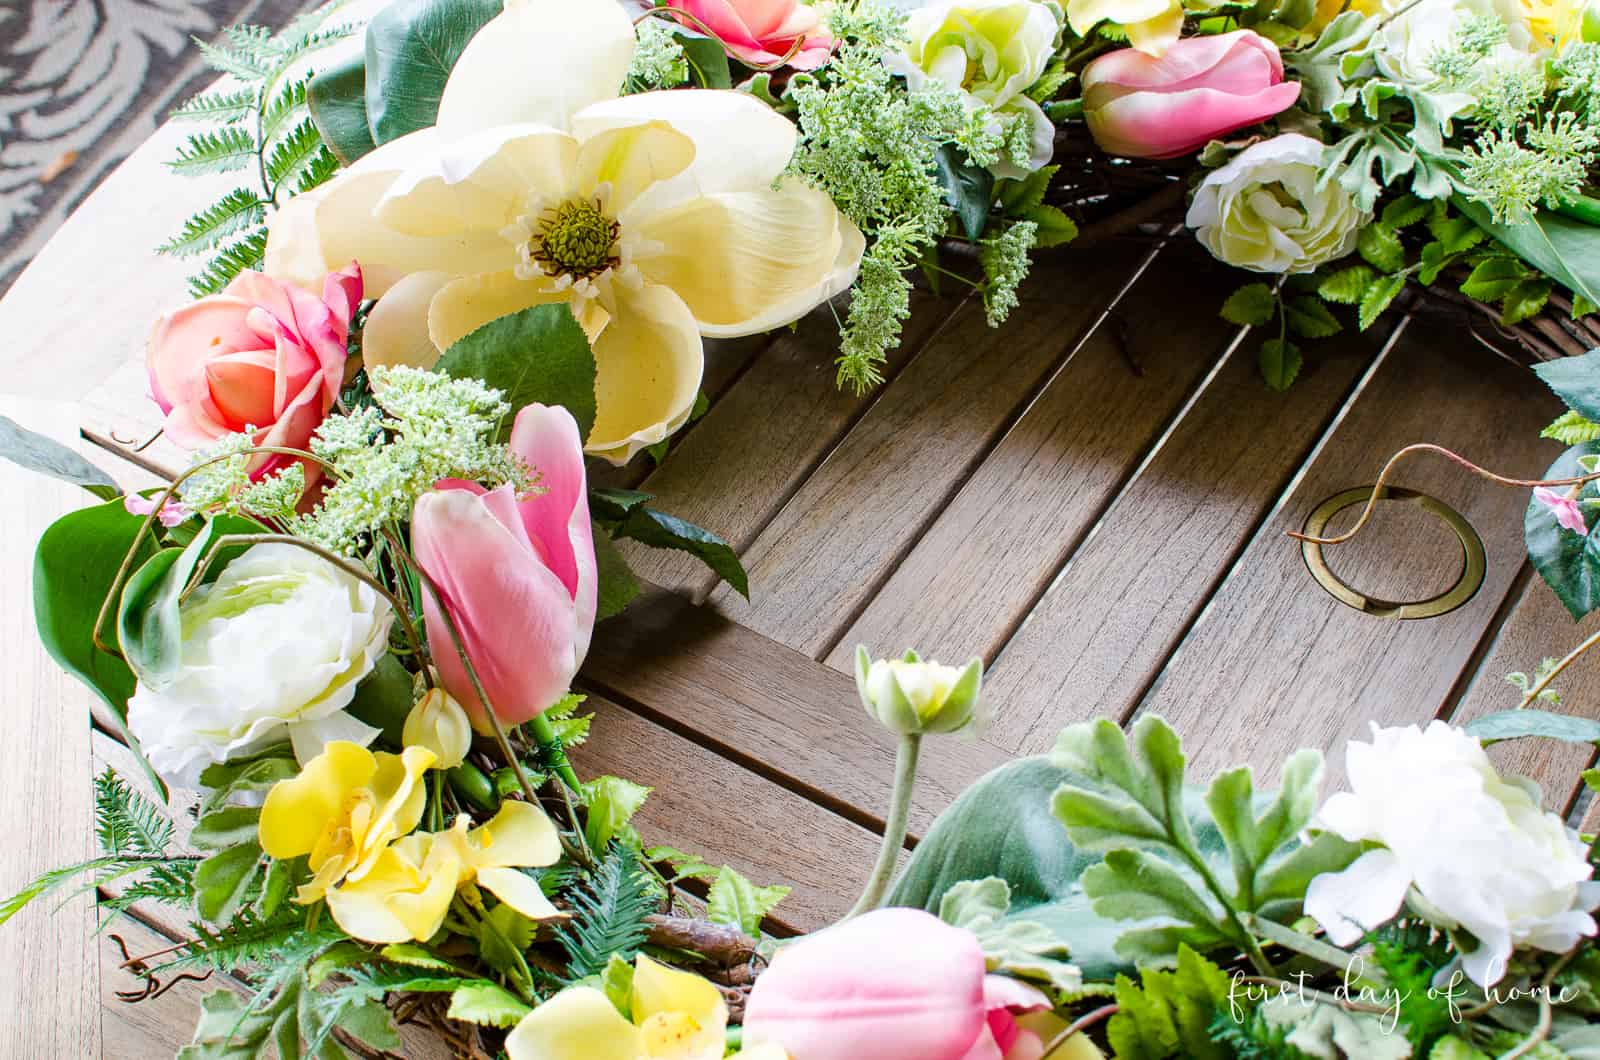
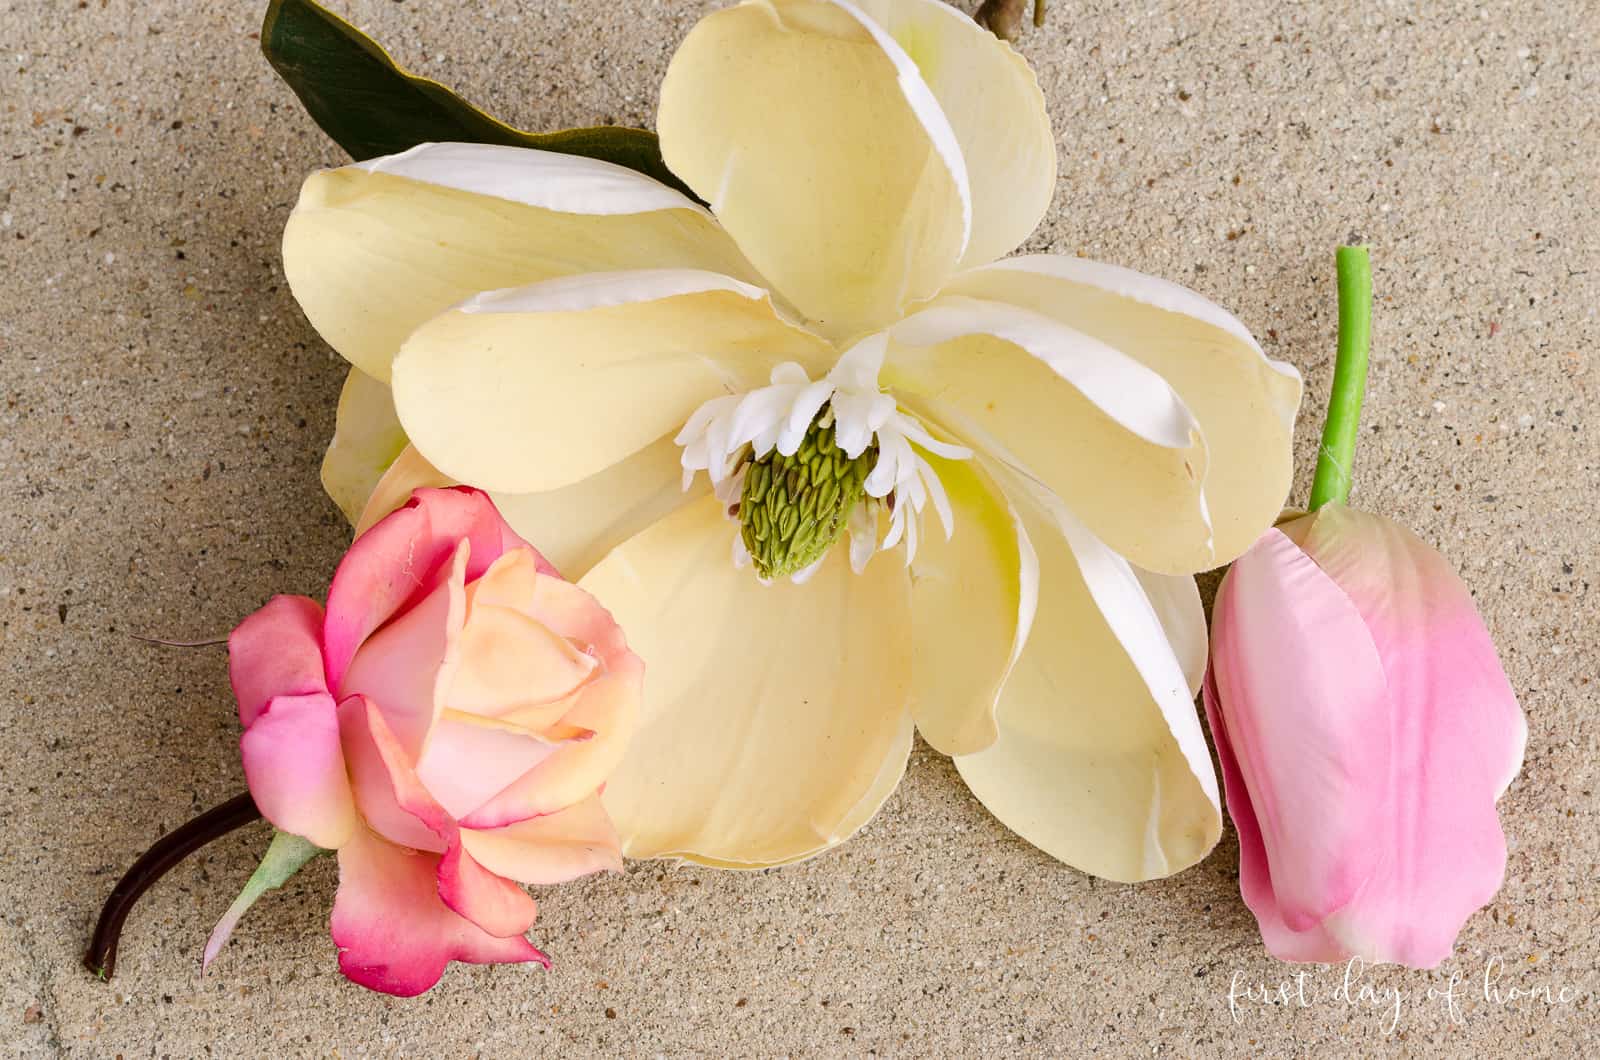
Some flowers, like the magnolias and roses, were damaged beyond repair because I didn’t follow tip #1. They were never meant to be outside! You’ll notice the yellow hue present on both flowers, even after cleaning.
Other florals, like tulips, orchids, freesia and white ranunculus, looked brand-spanking-new after a little cleanup.
So how did I clean them?
Best steps to clean artificial flowers
If you don’t have great looking faux florals after following these steps, it might be time to replace them. This is now my go-to method for cleaning all of my indoor and outdoor plants.
- Use microfiber cloth or bristle brush to remove dust and debris
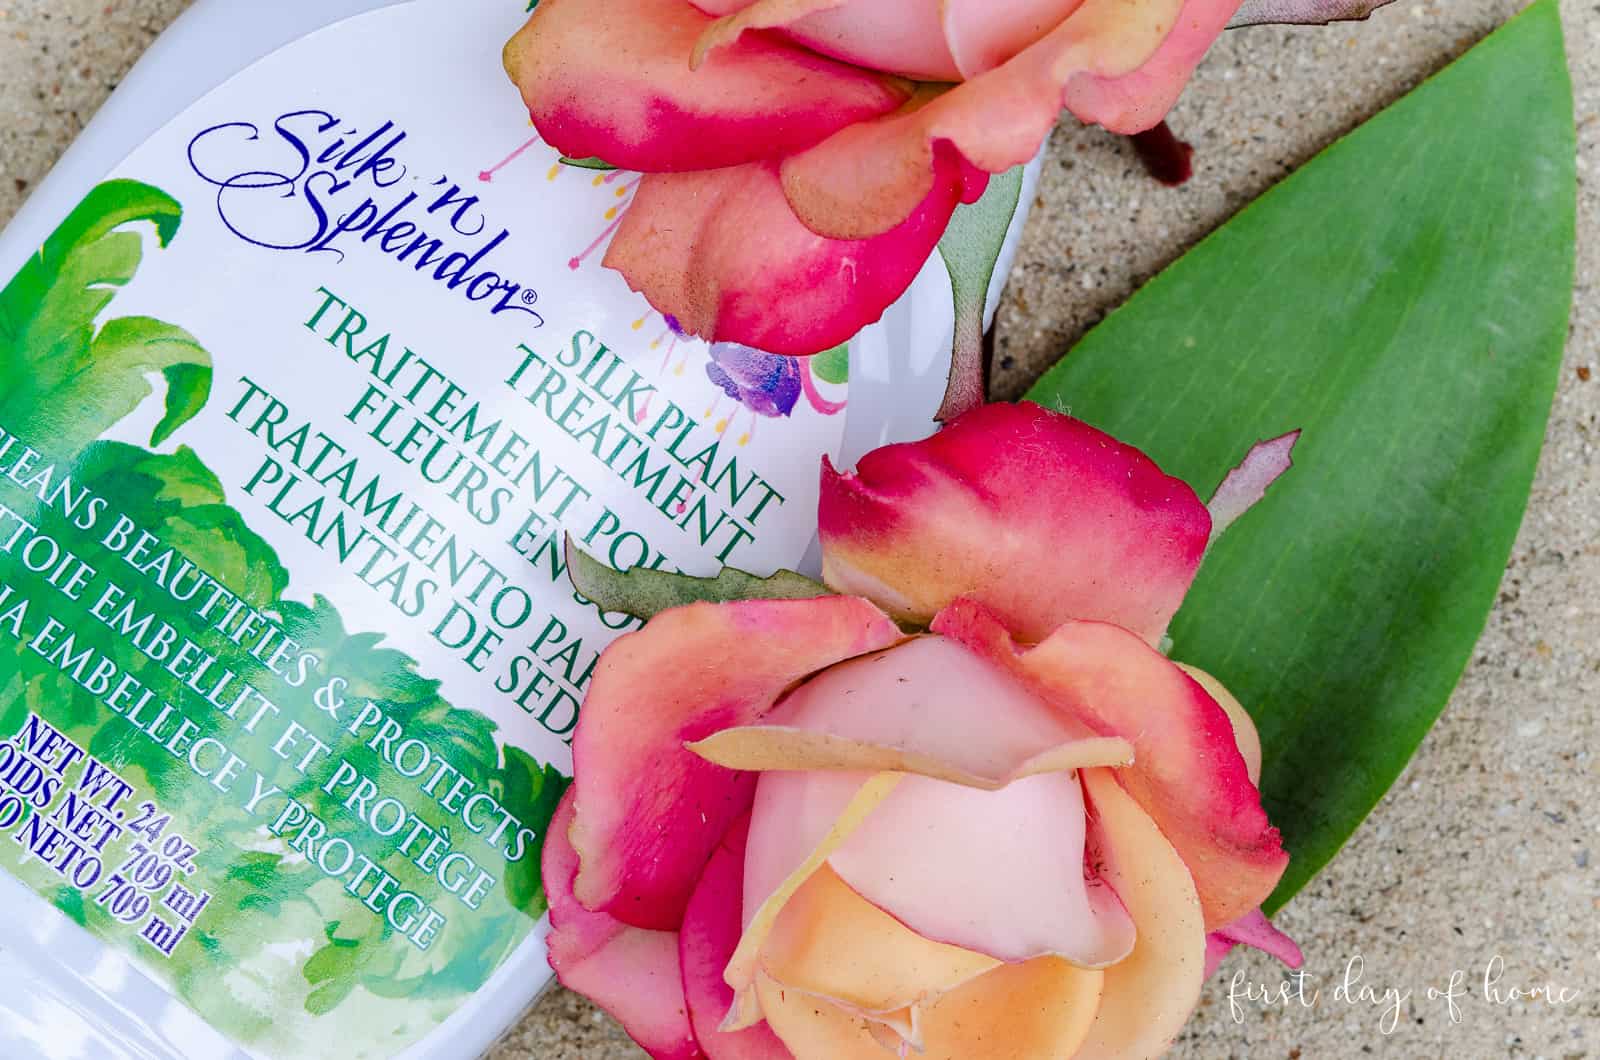
- Apply silk plant treatment spray
- For tough stains, use warm water and a soft towel to wipe petals/leaves while still damp
- Let air dry
If you don’t have access to the plant spray, you can try using a mild dish detergent with a wet cloth instead. While the cleaning spray won’t bring back the original color of a flower that has turned yellow, it does a great job cleaning dirt and grime.
Other options for cleaning fake flowers
I tried a few other recommendations to clean my flowers, but all of these had drawbacks.
- Cleaning silk flowers in a bag of salt or rice – I don’t have enough of these ingredients to spare. (Does anyone?) I wasn’t impressed with the results when I tested this option anyway.
- Spraying flowers with a mixture of vinegar and water – This works well for greenery and non-floral outdoor plants. With flowers, you risk removing the dye from colored petals.
- Cleaning flowers with hair dryer on low setting – This option works best to remove loose dust only (not grime). Beware of applying too much heat if you used hot glue on your wreath.
Tip #4: Use a Combination of Floral Wire and Hot Glue to Attach Stems to DIY Wreath
When making a DIY wreath, especially a grapevine wreath, I like to use both floral wire and hot glue.
The floral wire allows me rearrange stems when making my flower arrangement. Plus, it tends to hold stems in place more securely than hot glue. This approach comes in handy when you have to toss out big magnolia blooms and substitute other flowers like I did!
Glue helps to attach lighter items to your wreath, like leaves and foliage. It can also tame some of the more stubborn petals.
For some wreaths, like my lavender basket wreath, you won’t need glue or wire to keep your blooms in place!

Tip #5: Keep the Pests Away
If there’s one thing I’ve learned about making a spring wreath for the front door, it’s that all types of creatures find it attractive.
We’ve seen everything from mud daubers to birds trying to make a home in my wreaths. The occasional spider web is also par for the course.
Many pest control services will sell chemical sprays to deter these pests. No, thank you. I like to use natural remedies to protect my wreath whenever possible.
Here are a few DIY tricks you can try:
- Peppermint oil – known to keep wasps away and have therapeutic benefits for humans
- Reflective materials (small mirrors, foil or wind chimes) hung around porch to deter birds
- Hidden predator like a hawk or snake to scare birds away

Tip #6: Clean Your Wreath Before Storing
I recently learned that small particles of dirt and debris can cause white fabrics to develop stains over time in storage. The same is true for artificial flowers.
You can use the cleaning techniques above to fully clean your wreath before it goes into hibernation.
Tip #7: Store Your Spring Wreath in a Proper Storage Bag
If you store your wreath in a plastic garbage bag, prepare for the disappointment of yellowing flowers. These plastics may emit gases or other chemicals that can harm your precious florals. I’ve had this happen to eucalyptus garlands and other floral arrangements, even when stored in an air-conditioned closet.
For better protection, use a wreath storage bag made for this purpose. Here are some of my favorite options. (Click images to shop)

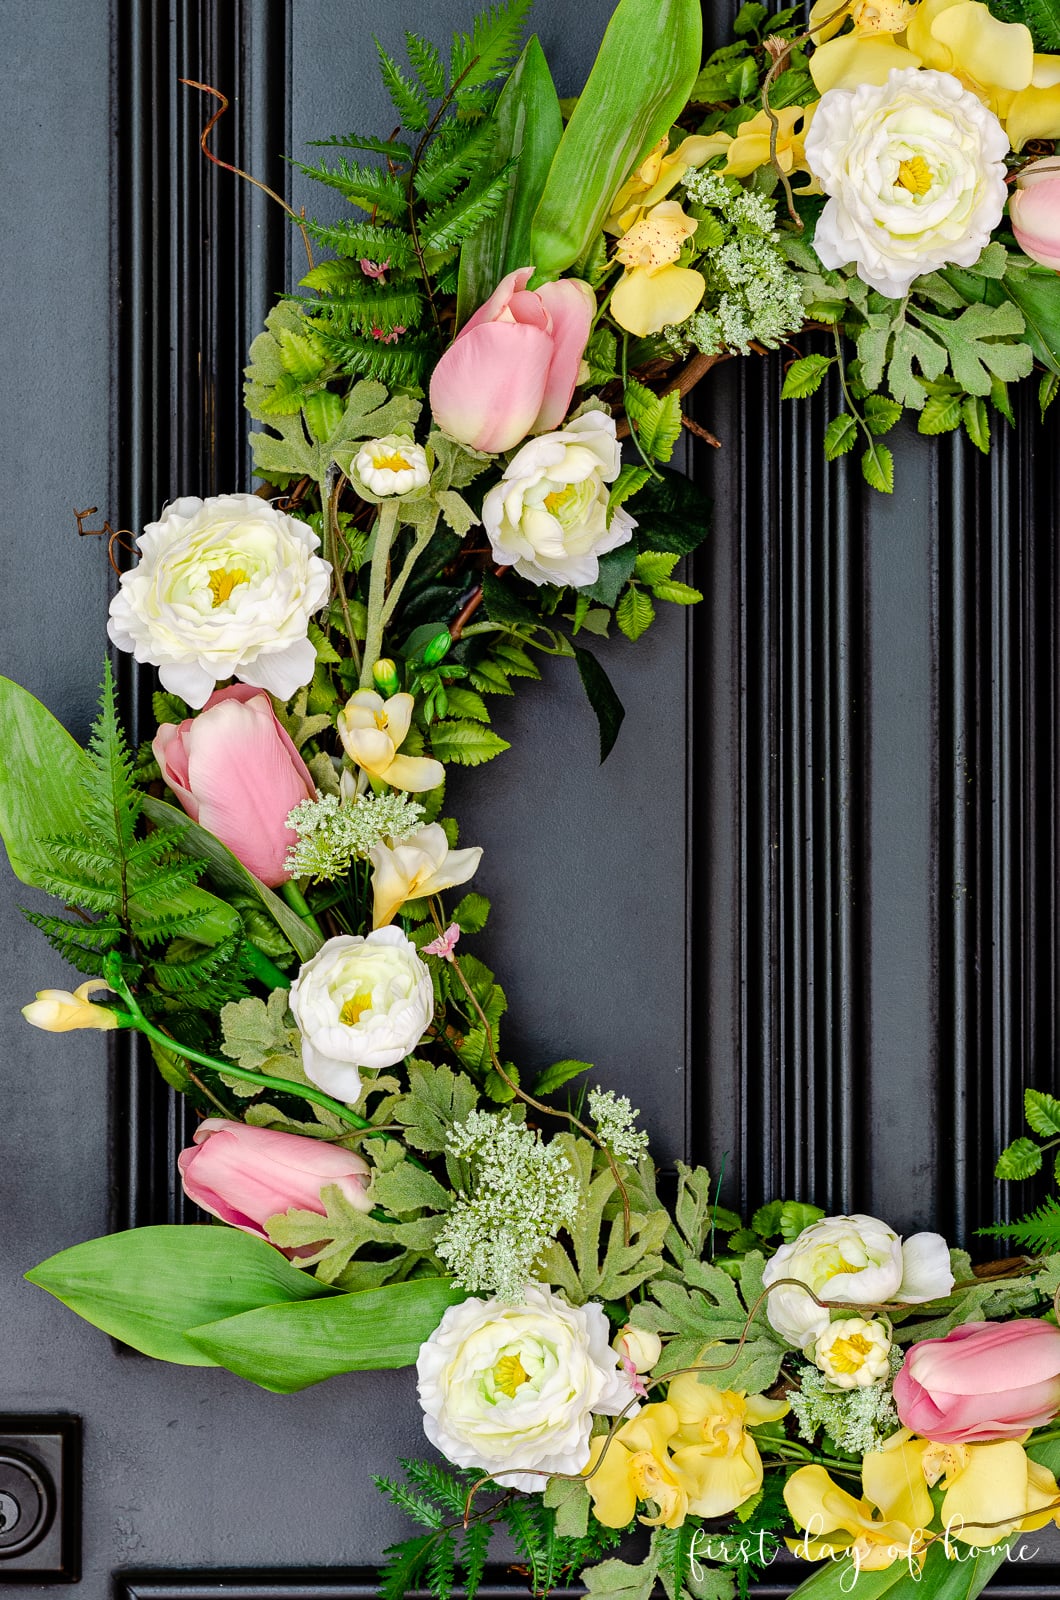
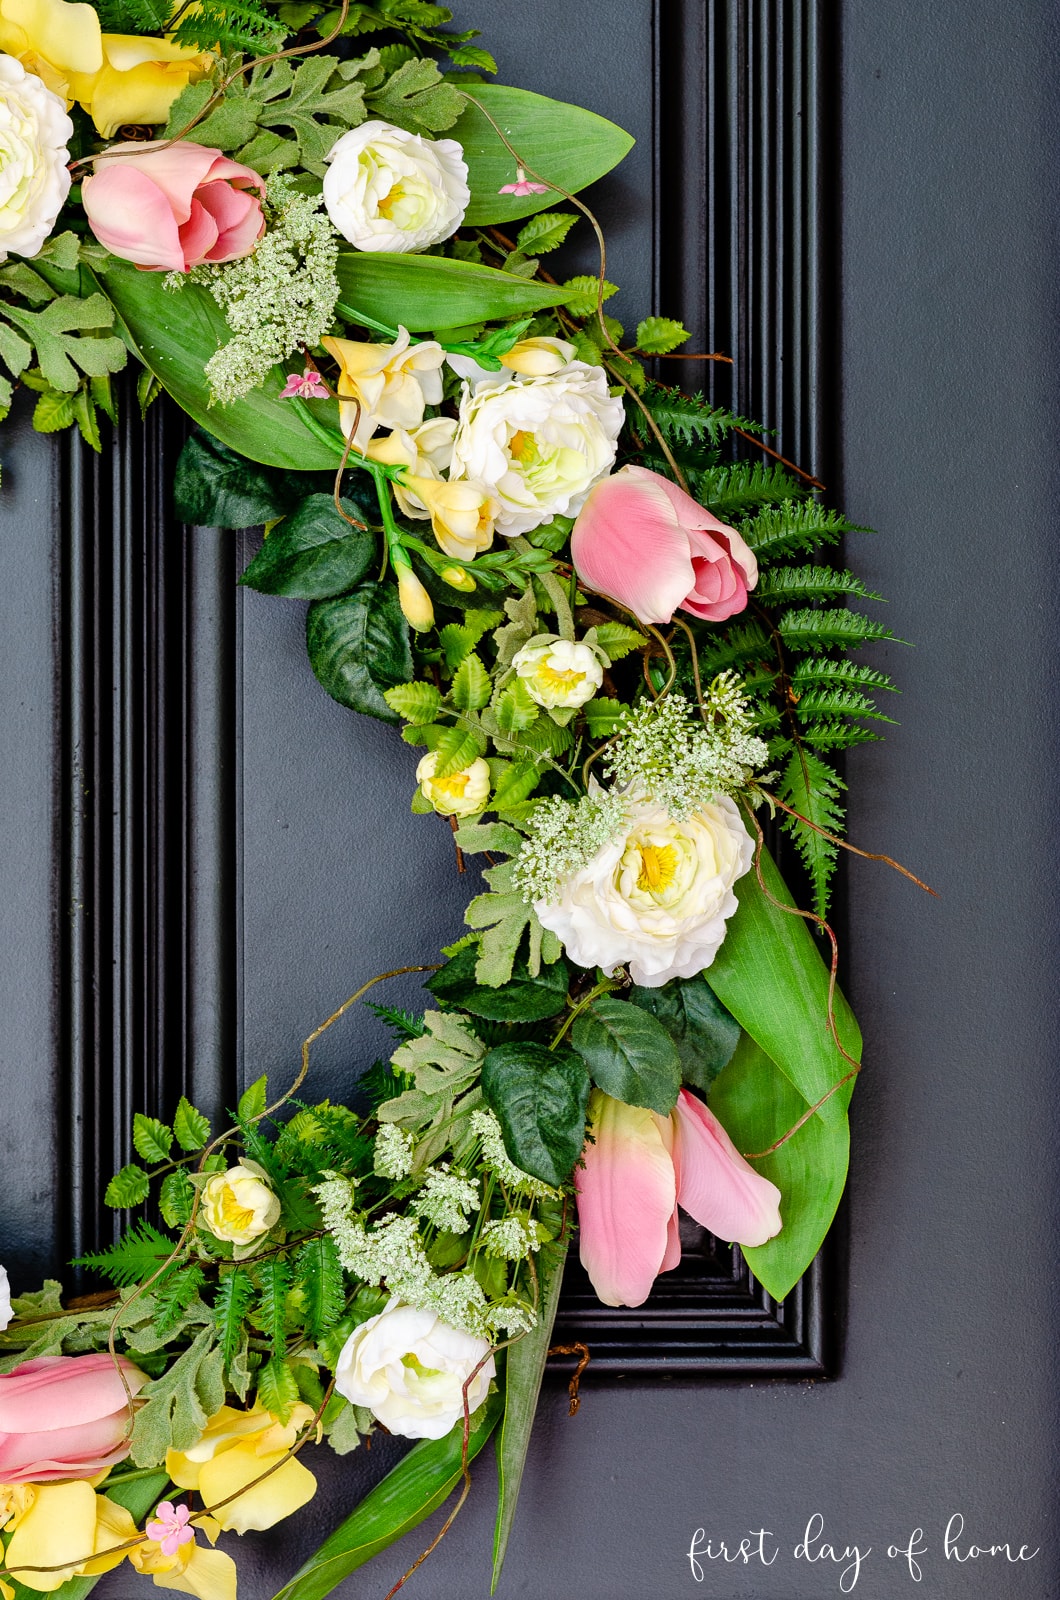
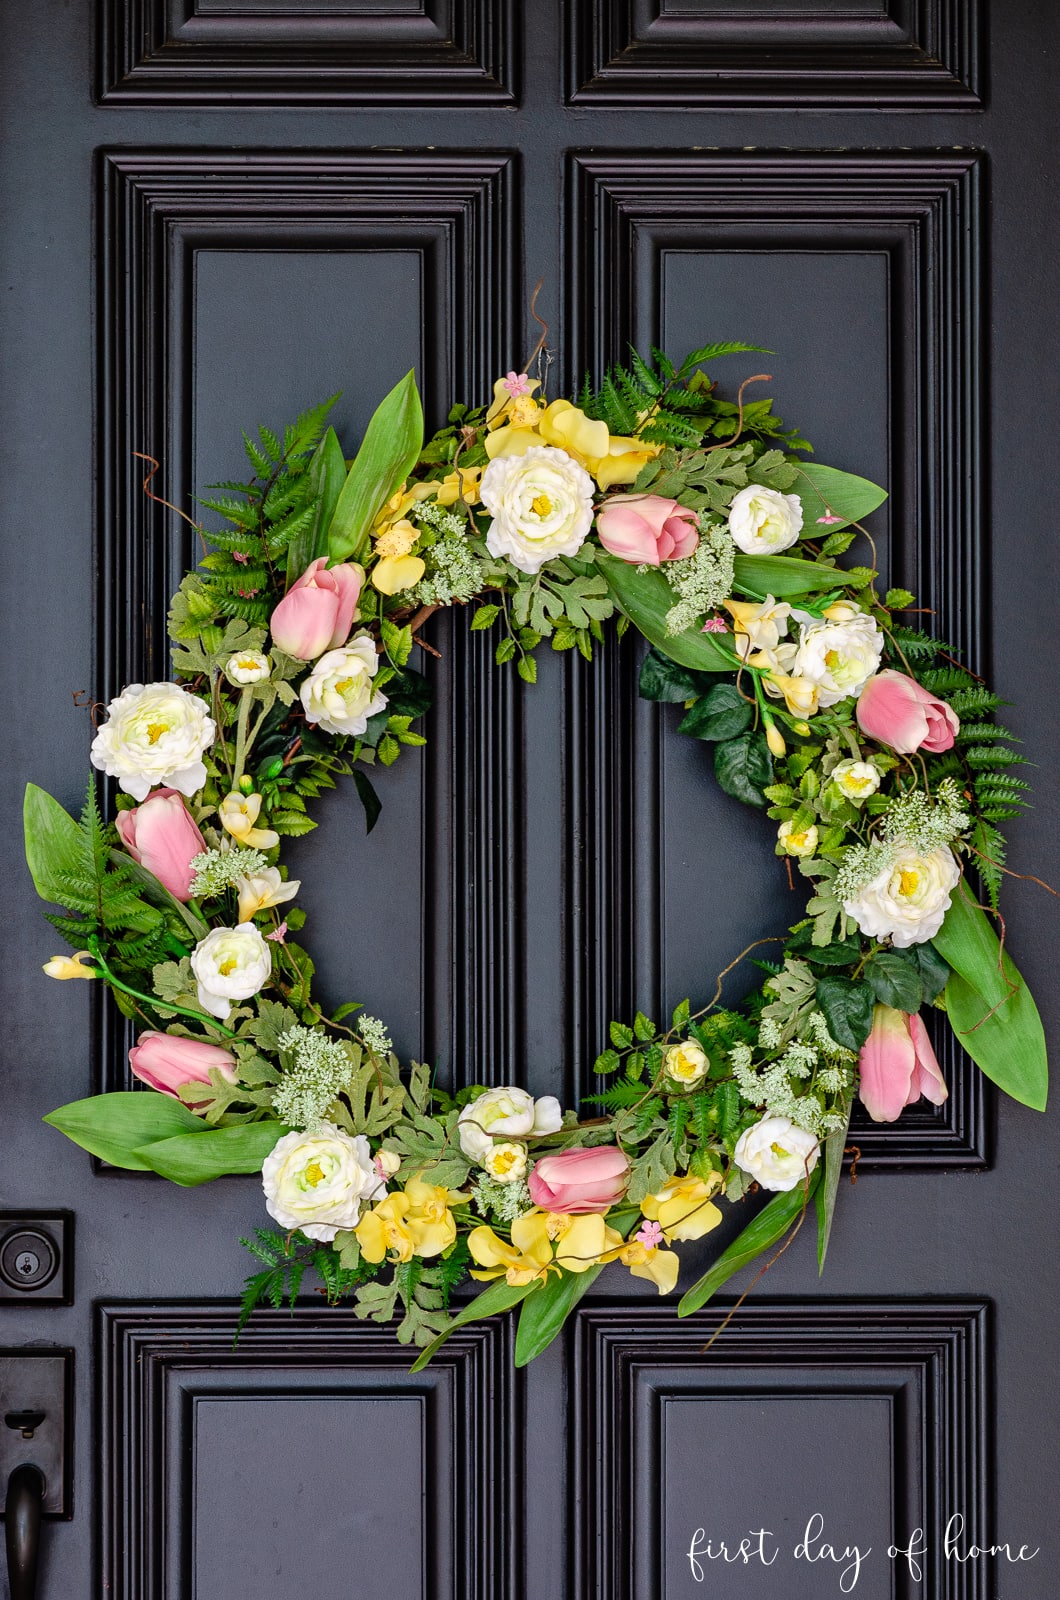
Final Look at DIY Spring Wreath for Front Door
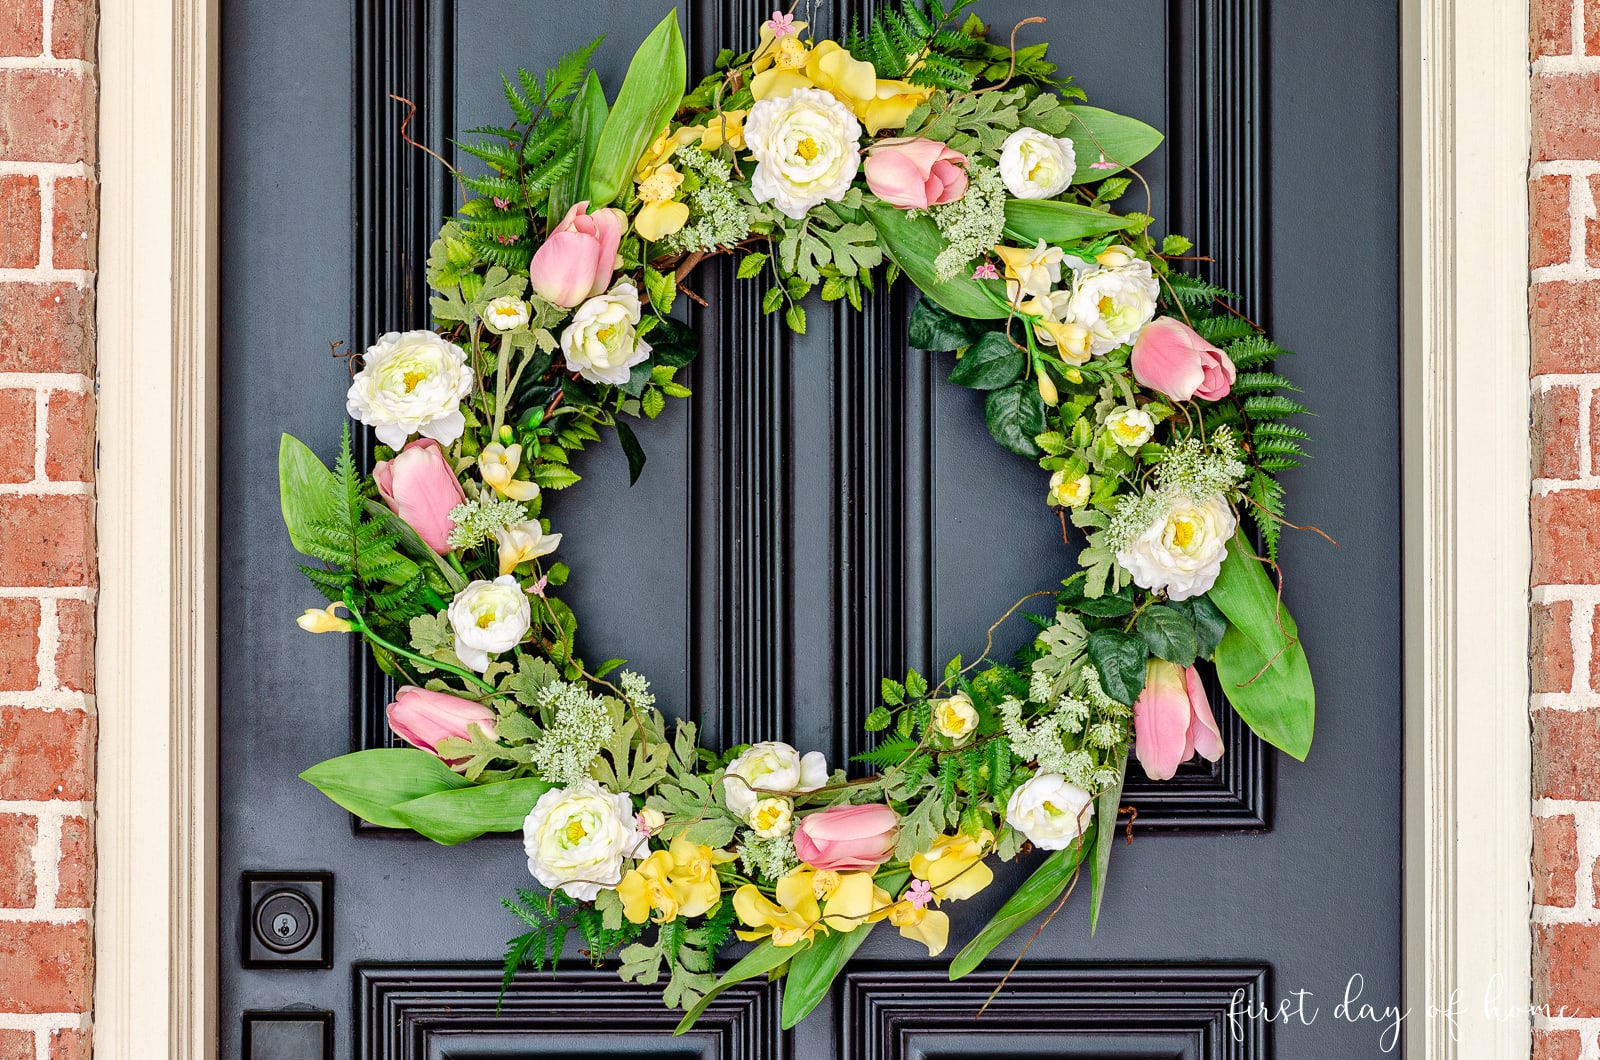
I’m very pleased with my updated front door wreath this year. I’m even more thrilled that I’ve now learned my lesson on picking the right supplies.
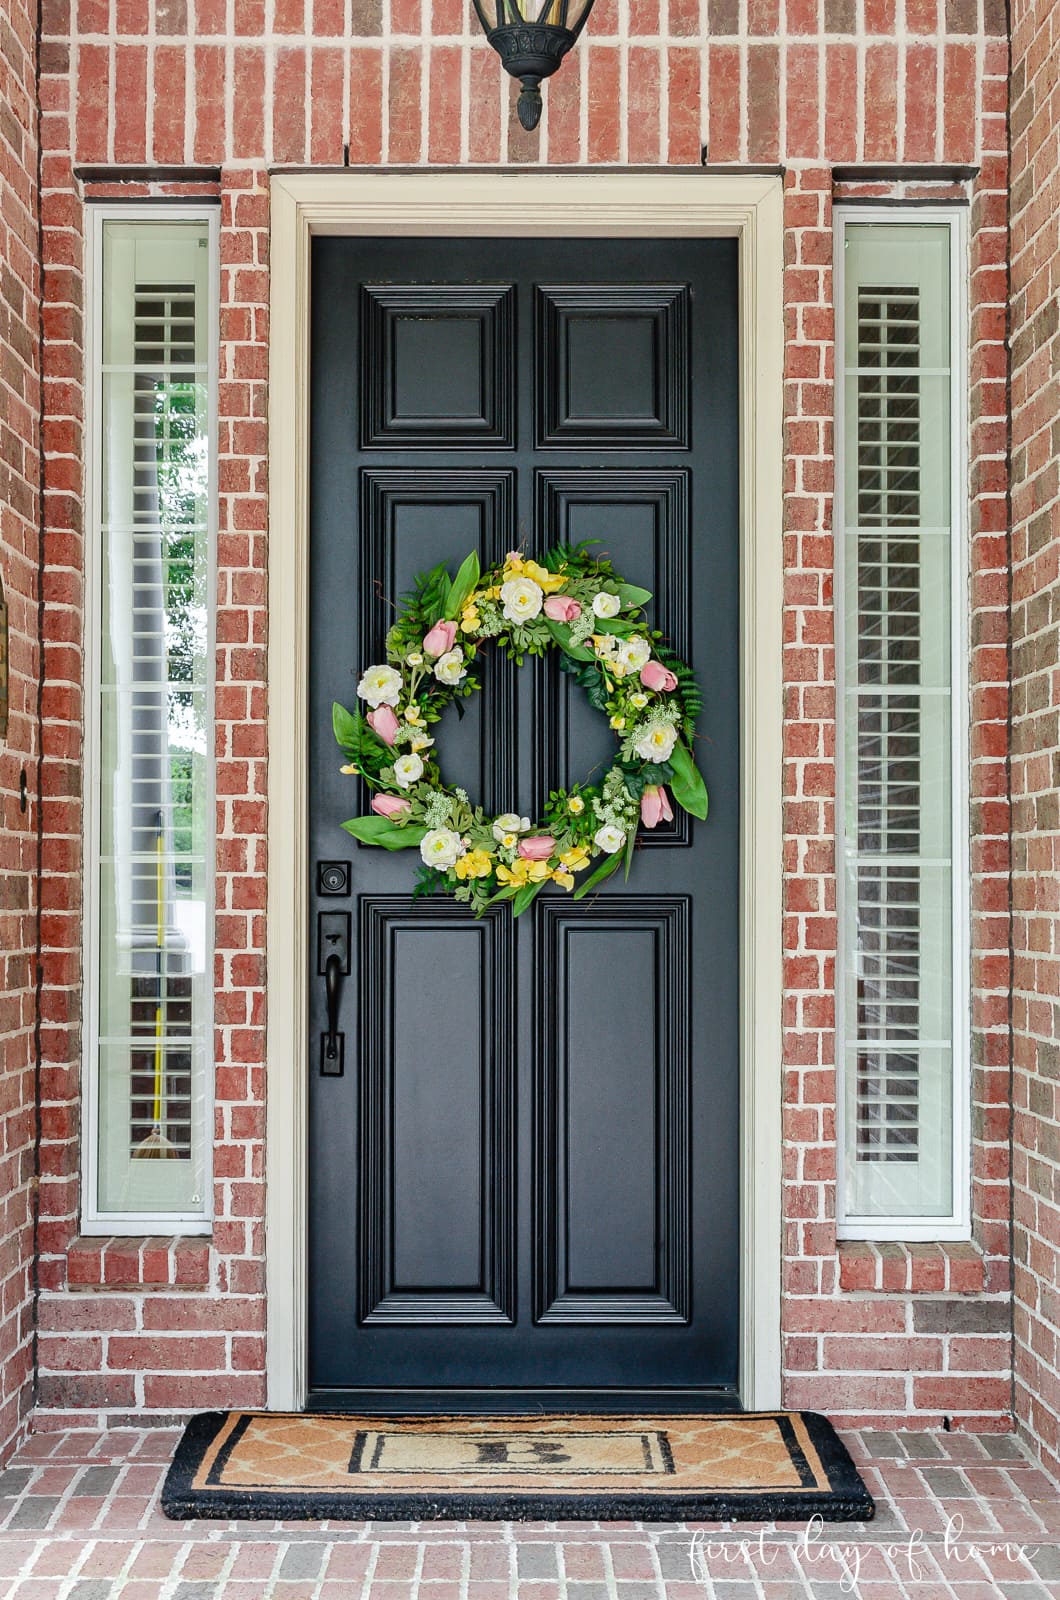
I hope you’ll enjoy making your own spring wreath that lasts for years to come!
Please pin it for later, and don’t forget to check out my Spring Decor board on Pinterest for more spring wreath ideas!
Pin it for later!

You Might Also Like…
Thanks for the advice! I was just wondering is there any thing you can spray your wreath with to prevent the petals from falling off in the wind?
Hi Becky! Are you using dried flowers? I generally use faux florals for my outdoor wreaths, so the petals are fairly sturdy against the wind. However, if you’re using dried flowers, you might try using a preservative spray like this one: https://amzn.to/30jEpID. You can read through the reviews and see if it’s something that you’d like. I do recommend using faux flowers outdoors, though, since a strong gust of wind may still damage dried flowers. Best of luck!
Chrissy, thanks again for letting me use a photo for my post on wreaths. The post went out this morning and is getting good views, so I hope it brings traffic your way.
Here’s the link if you want to take a look
https://myhubbardhome.com/friday-with-friends-may-15th-wreaths-door-decor/
Take care,
Rachelle
Thanks so much, Rachelle! I’ll stop by to take a look. Thanks again for including me in your post. I’ll share it on my Facebook page as well. Have a great weekend! Hugs, Crissy
Crissy, I love this wreath and would love to feature it on one of my Friday with Friends post linking back to you and your site 🙂
If you are comfortable with this please let me know.
Many thanks!
Rachelle
My Hubbard Home
Hi Rachelle! It’s great to hear from you! I’d be thrilled to be included as a feature. Thank you so much for the kind gesture! I look forward to reading the post.
Hope you’re well! Hugs, Crissy
I love the wreath and needed the tips. I threw out a wreath I think I could have refreshed a bit. Now I know exactly what to look for, thank you.
I’m so glad you found the tips useful. I’ve really tried to focus on reusing and upcycling as much as I can. I’ve learned most lessons the hard way! 🙂
Good tutorial! I’ve had wreaths that were destroyed by the sunlight that hits my front door!
Thanks, Lauren! Yes, it’s hard to keep them looking good, especially in harsh climates. We get so much humidity here, so I have to learn all of these tricks!
So much helpful information Crissy! I am terrible at making wreaths even though I love them! Yours makes your entryway so welcoming😊 I have never heard of using WD 40 to protect the florals! Thanks for sharing and I will pin!
Thanks so much, Cindy! After seeing your amazing restoration work, I’m sure you could make a gorgeous wreath. I’m glad you found the tips useful, and I appreciate you pinning!
This is a lovely wreath. And your tips are WONDERFUL! It’s funny… I’ve seen your ‘yellowed’ roses in several pics now (on your social medias outlets). And each time I think, “That’s so pretty and looks so real”. LOL! I think the yellowing, at least in the photos, make it look for natural (I’m sure I’ve seen a similar true variety of those colors). BTW, for year now I’ve use the salt trick for dusting my faux florals. It works like a dream for dusting, but definitely doesn’t give them a good washing. Your tips on washing and protecting are GREAT!
Thanks, Julie! Well, you’re probably seeing old photos from before my roses turned yellow. Ha! Yes, the roses still look usable and have a more vintage effect. The magnolias, however, looked very aged. I couldn’t find a good use for those once they turned. I do like the salt trick for small individual stems, but the spray I found worked wonders when I didn’t want to take apart my wreath. I just sprayed the whole thing and let it drain outside. Thanks for the great comment!