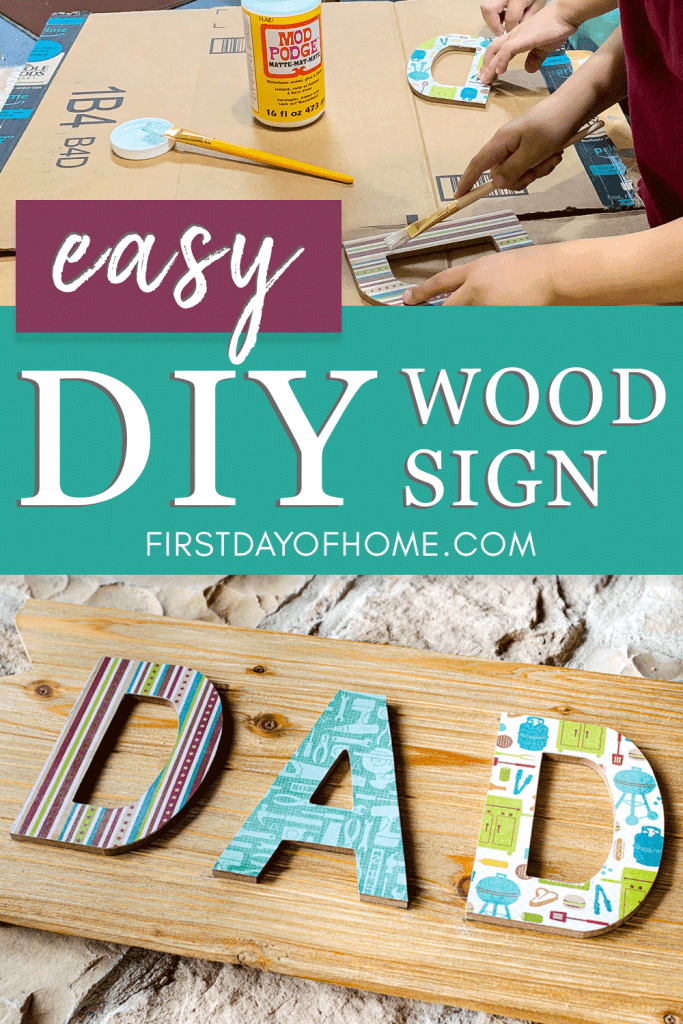
How to Make Easy Decoupage Wood Signs

Making decoupage wood signs is SO easy, even the kids can join in the fun! This beginner tutorial walks through all the steps you need to know. The best part is that you can personalize your sign to fit any occasion or gift recipient.
This post contains affiliate links, and I will be compensated if you make a purchase after clicking on my links. For more information, please see my disclosures.
A Note on Decoupage for Beginners
Years ago, the very word “Mod Podge” intimidated me because I had no idea what to do with it. Now, I’m obsessed with the stuff!
I love nothing more than introducing my friends and followers to all the DIY decoupage projects you can make, especially as a beginner crafter. This wooden sign craft is no exception.
If this is your first time here, you might like to start with my post How to Decoupage on Wood. I made a quick YouTube video that shows you every step.
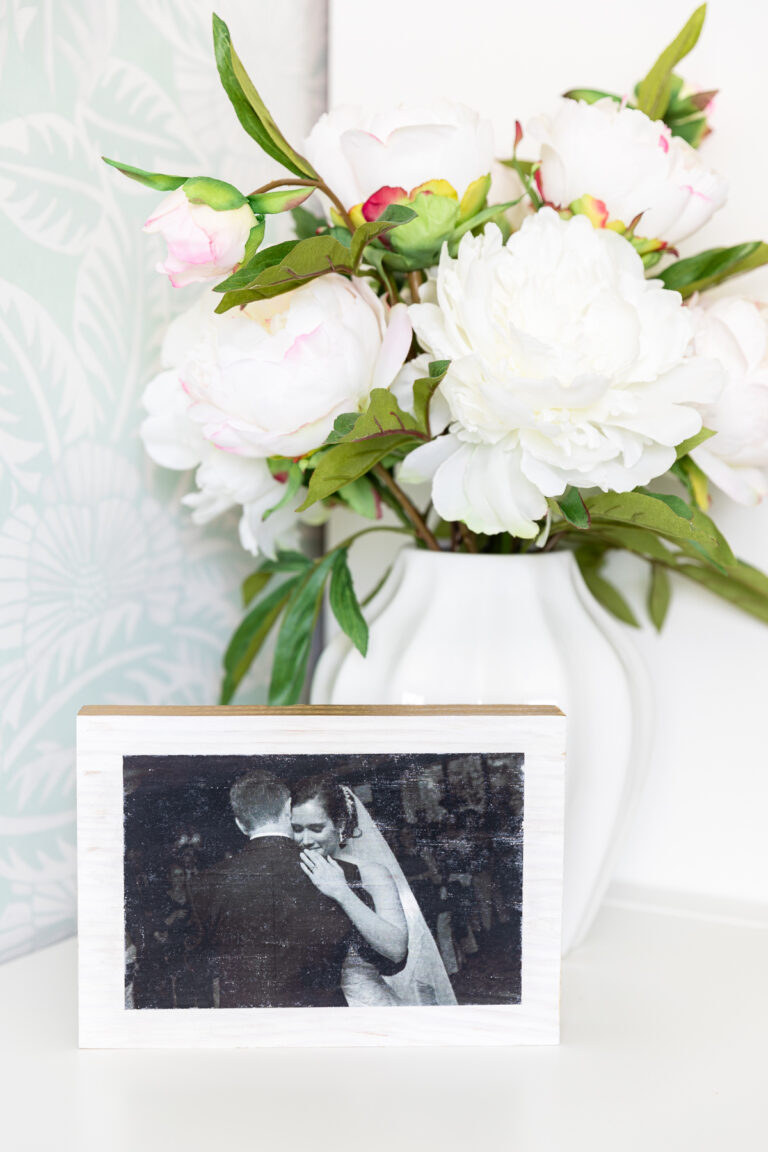
In it, you’ll find all the tips and techniques you need for a wide variety of decoupage projects. You may also want to visit my photo transfer to wood tutorial for a great gift idea using a slightly different technique.
Making a DIY Decoupage Sign on Wood
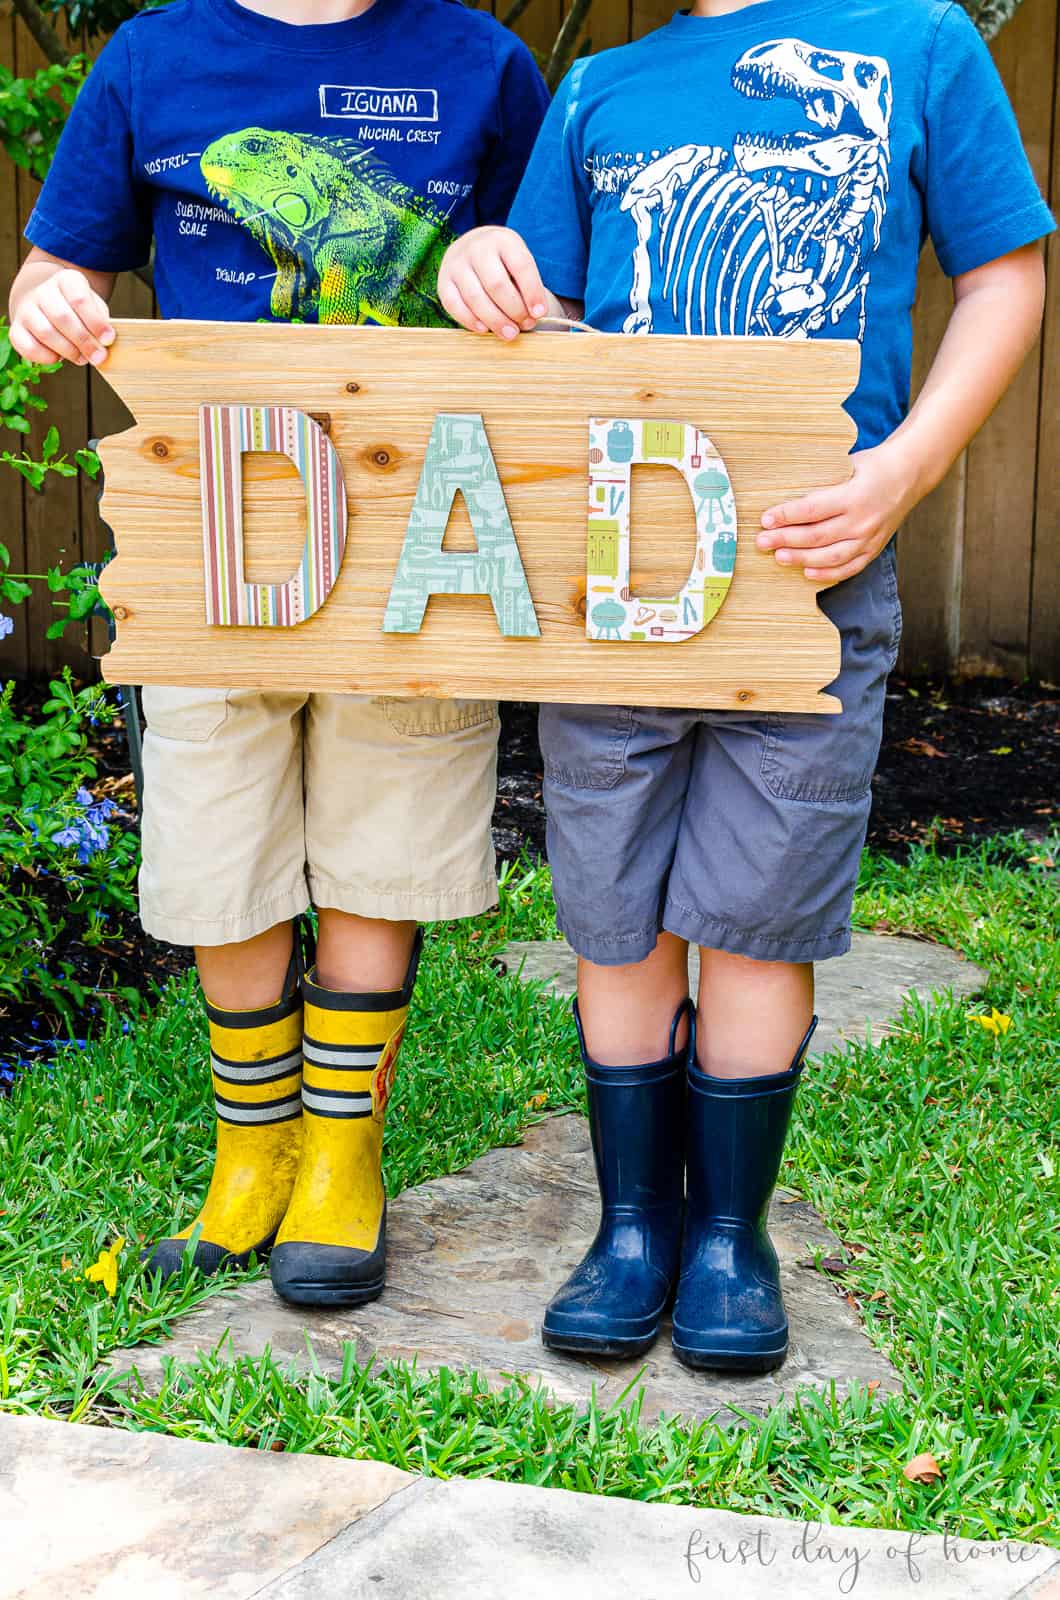
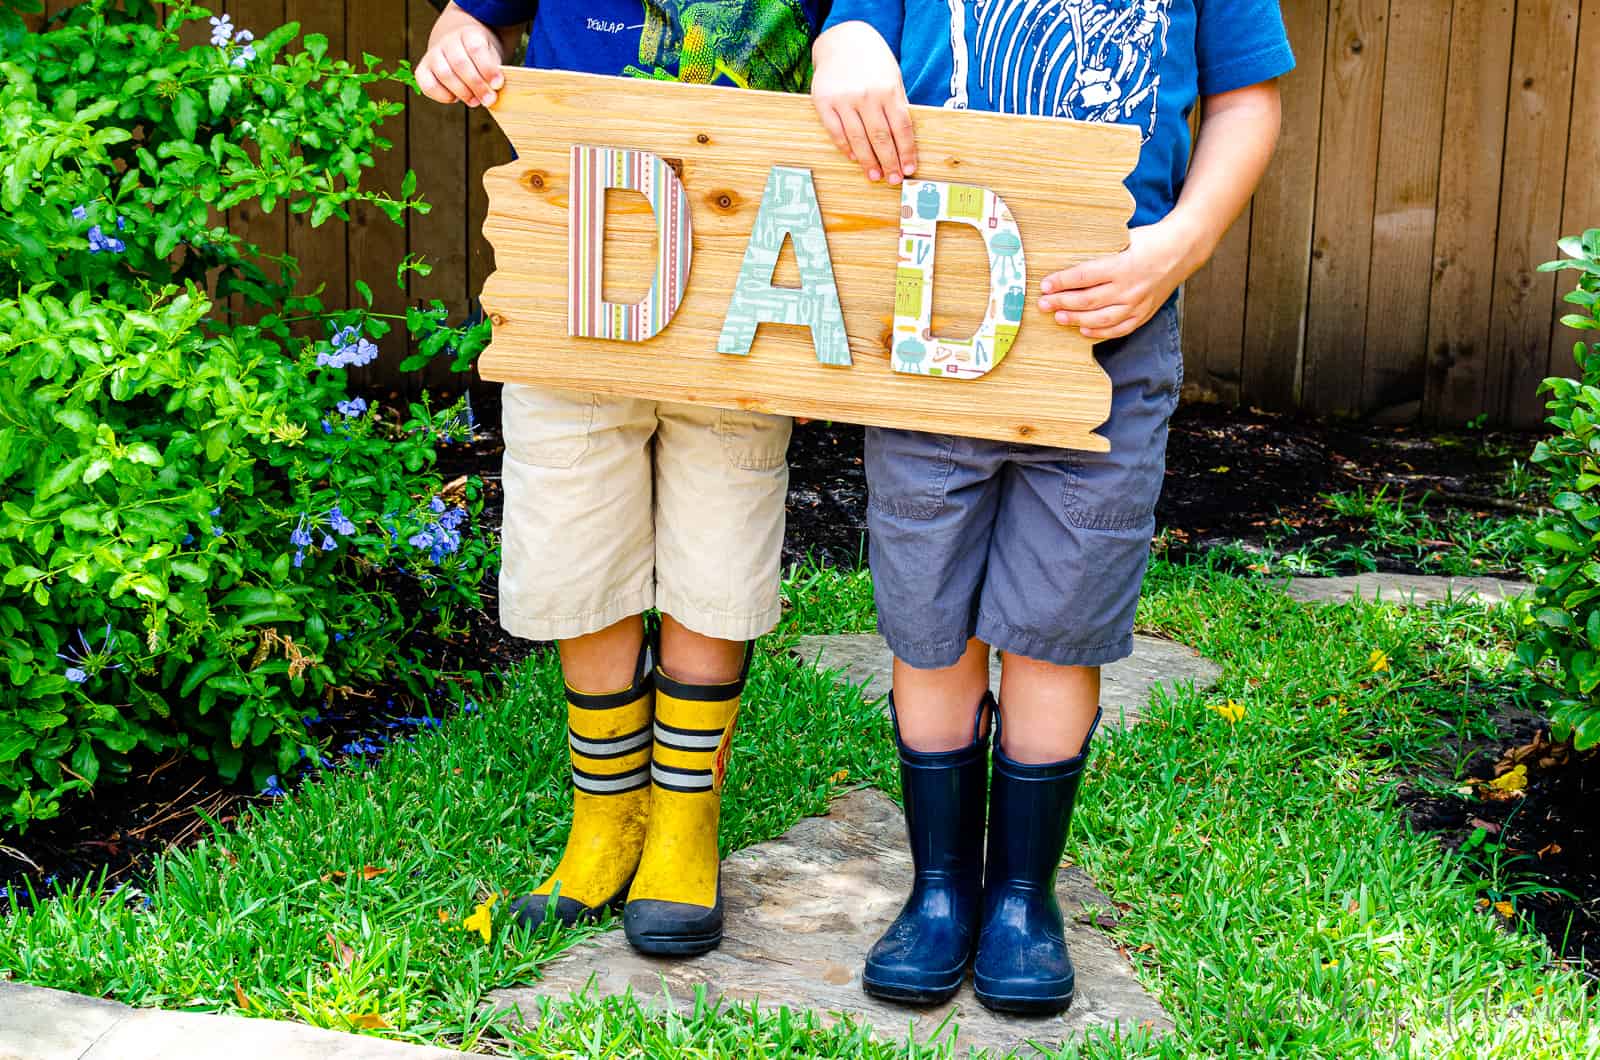
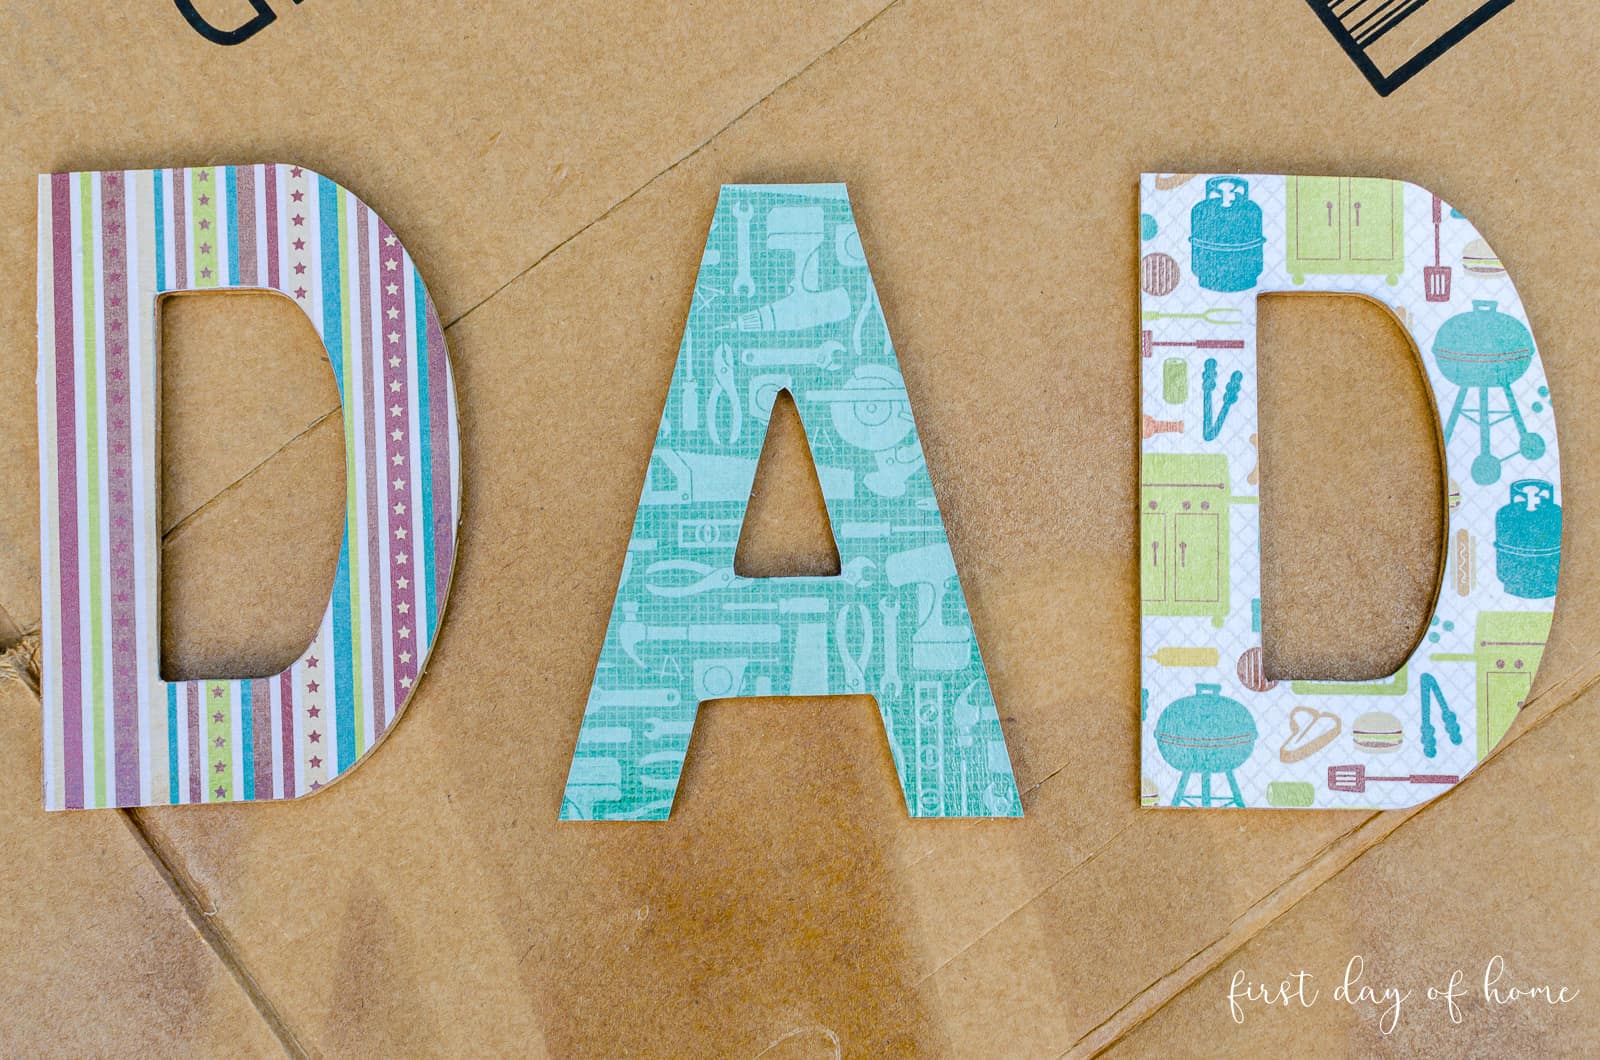
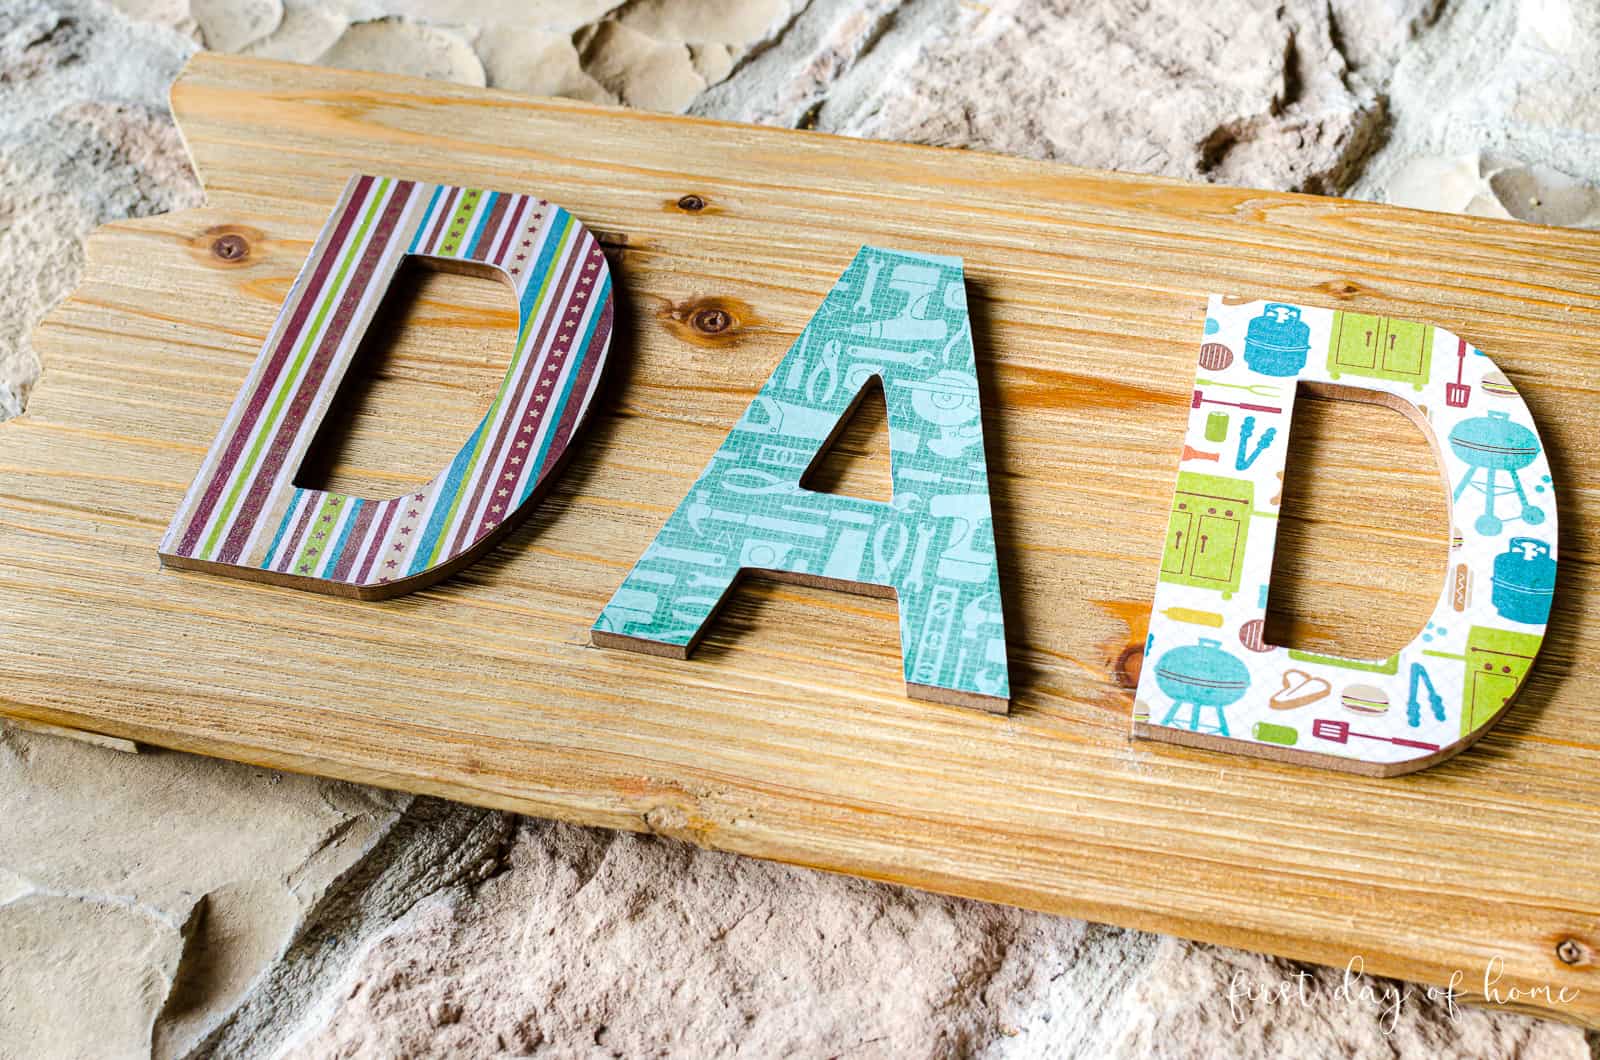
My twin boys and I designed our wooden “Dad” sign in honor of Father’s Day. It now hangs proudly over my hubby’s workbench so he can think of his little “woodworkers” every time he starts a new DIY project.
Supplies
- Wooden plaque
- Craft letters
- Wood stain or paint
- Scrapbook paper
- Mod Podge
- Foam or bristle brush
- Wood glue
- Optional: Clear acrylic sealer
Step 1: Stain or paint the wood
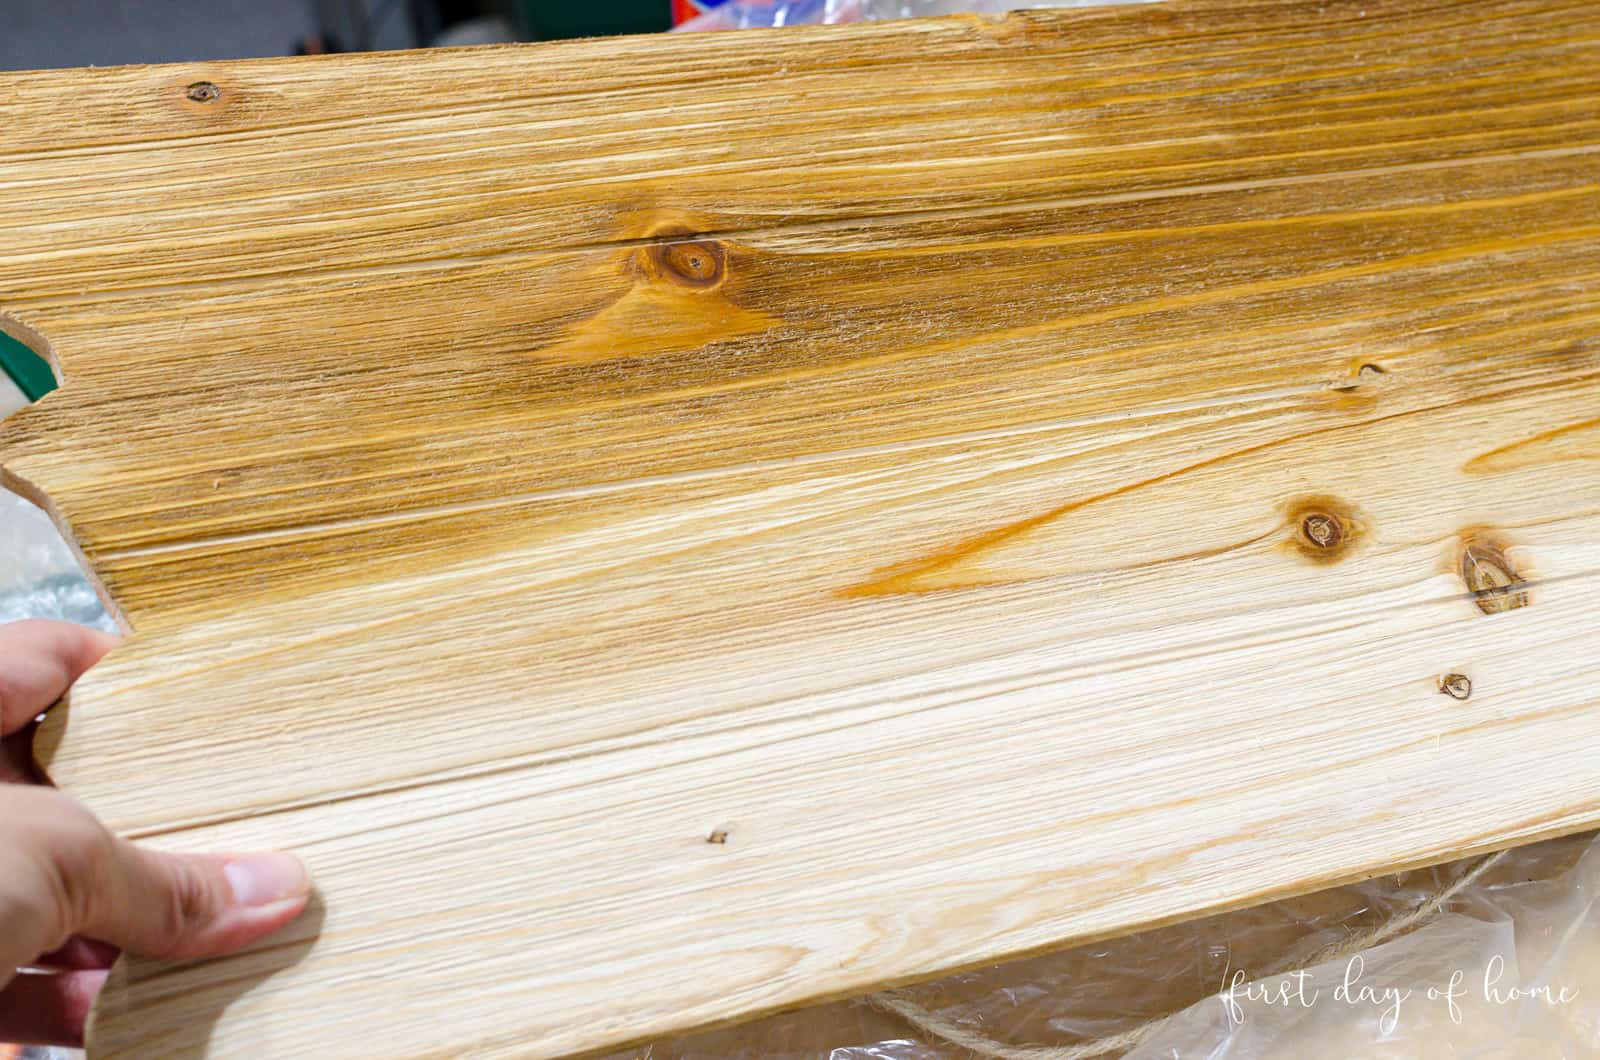
To get started, you’ll want to add a stain or paint to your sign (assuming it’s unfinished wood). I chose to stain my pallet sign for a rustic effect.
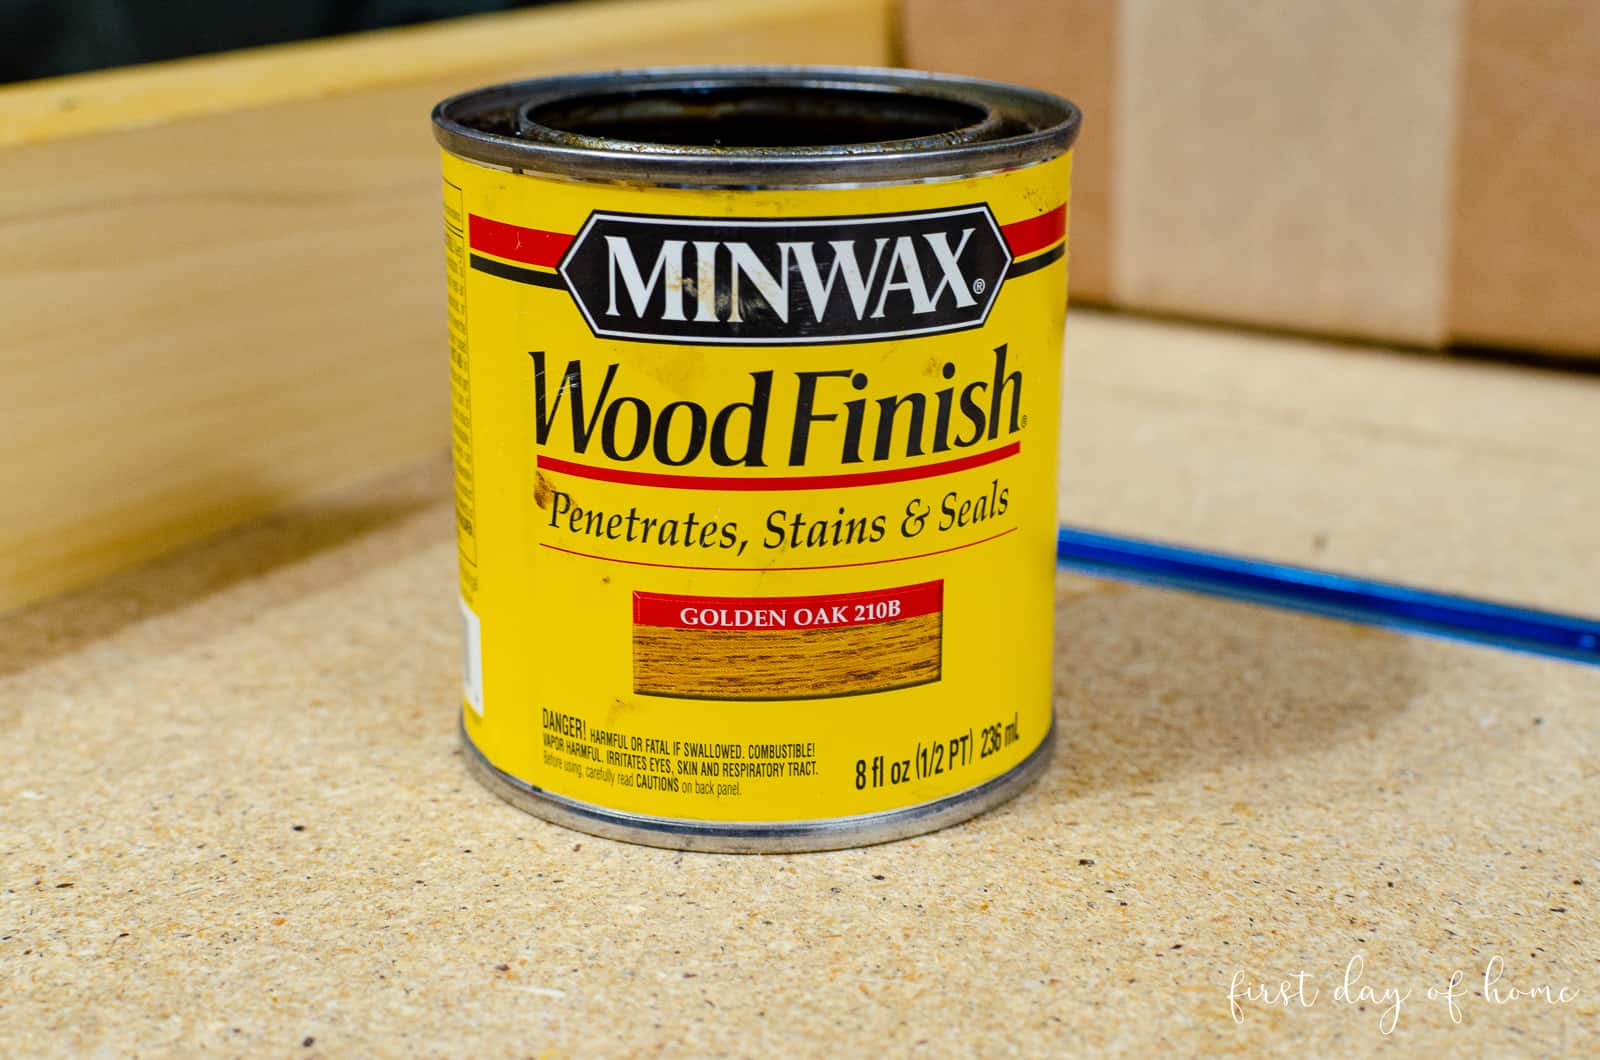
This stain worked well for this project. It has a subtle color that complemented the rest of our design.
To apply the stain, use an old t-shirt or rag to wipe the stain on in sections. Then, immediately wipe off any excess using a separate rag. Let the stain dry for 24-48 hours before applying the decoupage wooden letters.
In the photo below, you’ll notice the difference between the stained (top) and unstained (bottom) portions of my wood plaque. Hmm…it reminds me of my farmer’s tan in late summer.
Step 2: Cut paper and decoupage onto wood letters
Next, trace the outline of your craft letters onto scrapbook paper, and cut the shapes out using scissors or a detail knife like an X-acto. We chose a combination of patterned paper with images of grilling and workshop tools, which fit my husband perfectly.
Tip
You can buy scrapbook paper packs at craft stores when they go on sale. Then, you’ll have a readily available supply or coordinating patterns for decoupage projects.
Once you have your shapes ready, brush a generous amount of Mod Podge onto the wooden letters and attach your paper cutouts.
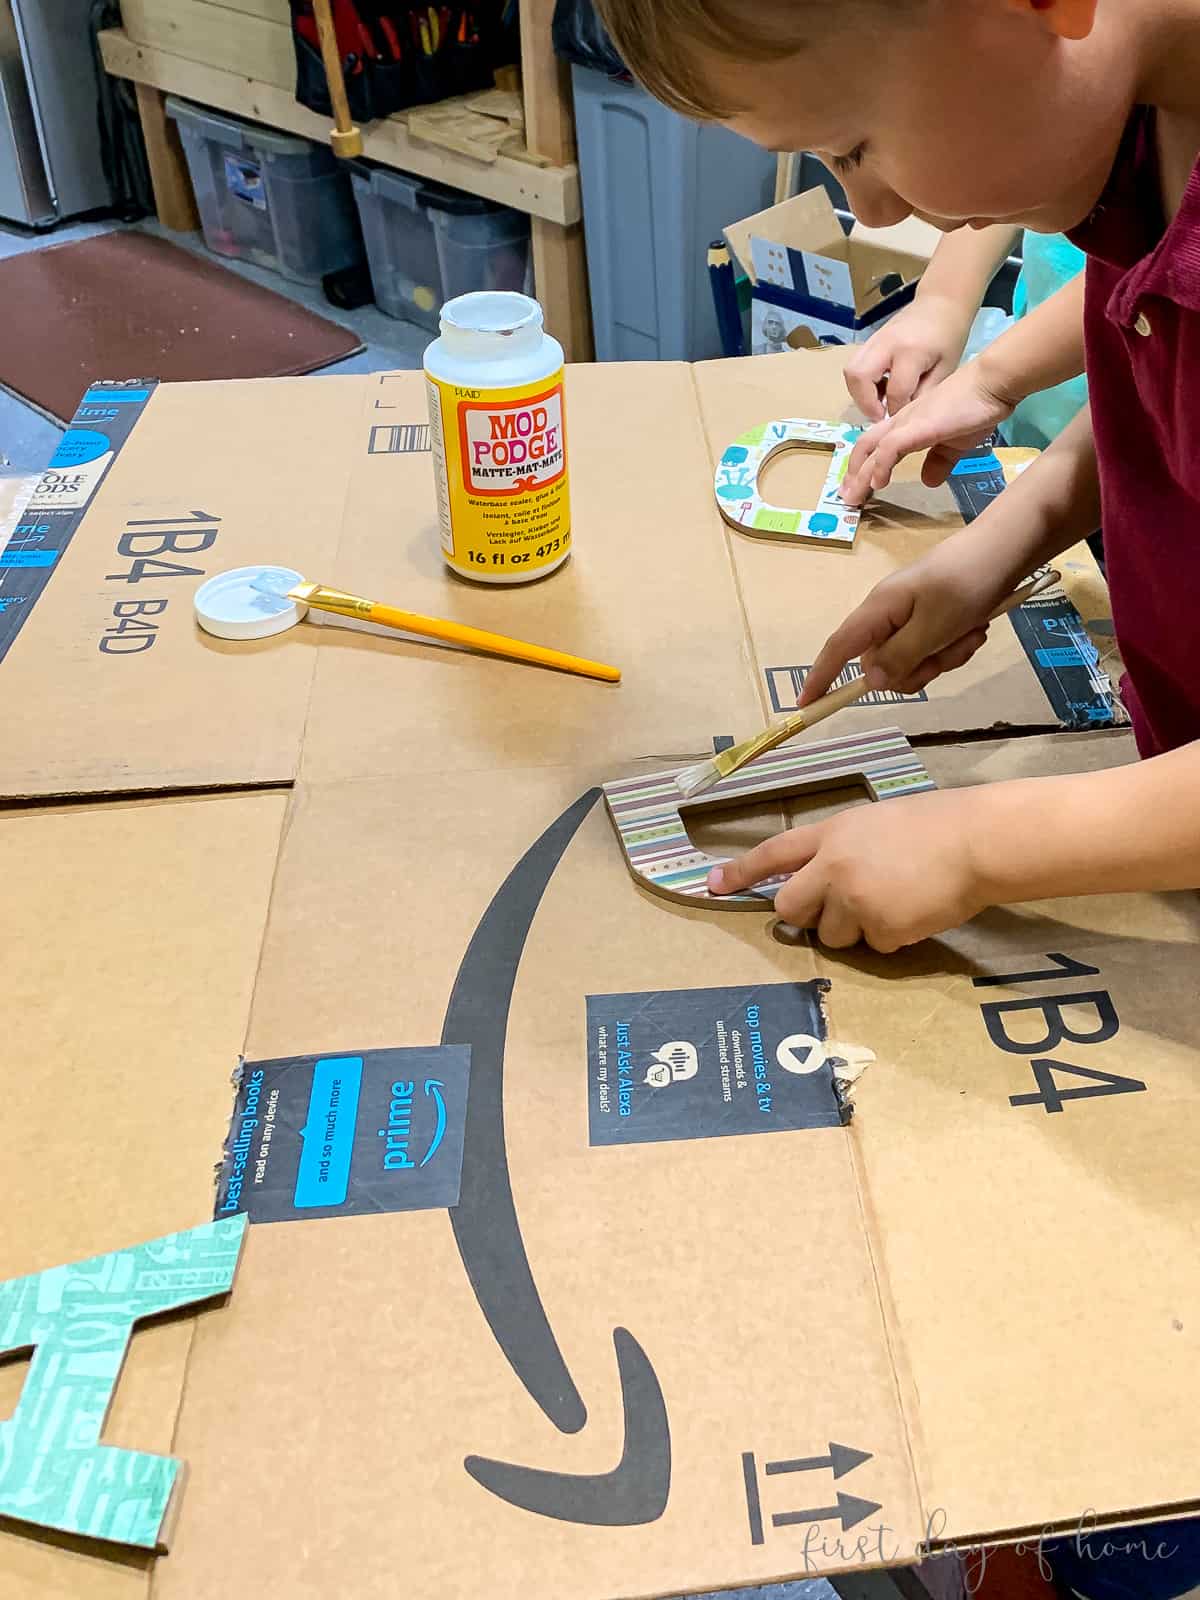
You can use a brayer to smooth out the paper onto the wood letters, but for a project of this size, you may not find it necessary.
(For those of you scratching your heads, a brayer is like a mini rolling pin and is often used to smooth the paper onto larger surface areas and remove air bubbles when decoupaging.)
After you secure the paper to the wood letters, let the glue dry 20-30 minutes. Then, apply a final coat of Mod Podge on top of the letters. This top coat helps seal the letters and protect them from regular wear and tear.
Important: To prevent the paper from ripping, do not smooth or spread the Mod Podge glue with your bare hands.
Don’t worry if the glue seems slightly white…it will dry clear. I pinky promise!
Step 3: Apply clear acrylic sealer (optional)
In most of my decoupage wood projects, I like to apply a clear sealer for extra shine and durability. I took my letters outside and sprayed them with two coats of sealer before attaching them to the wooden background.
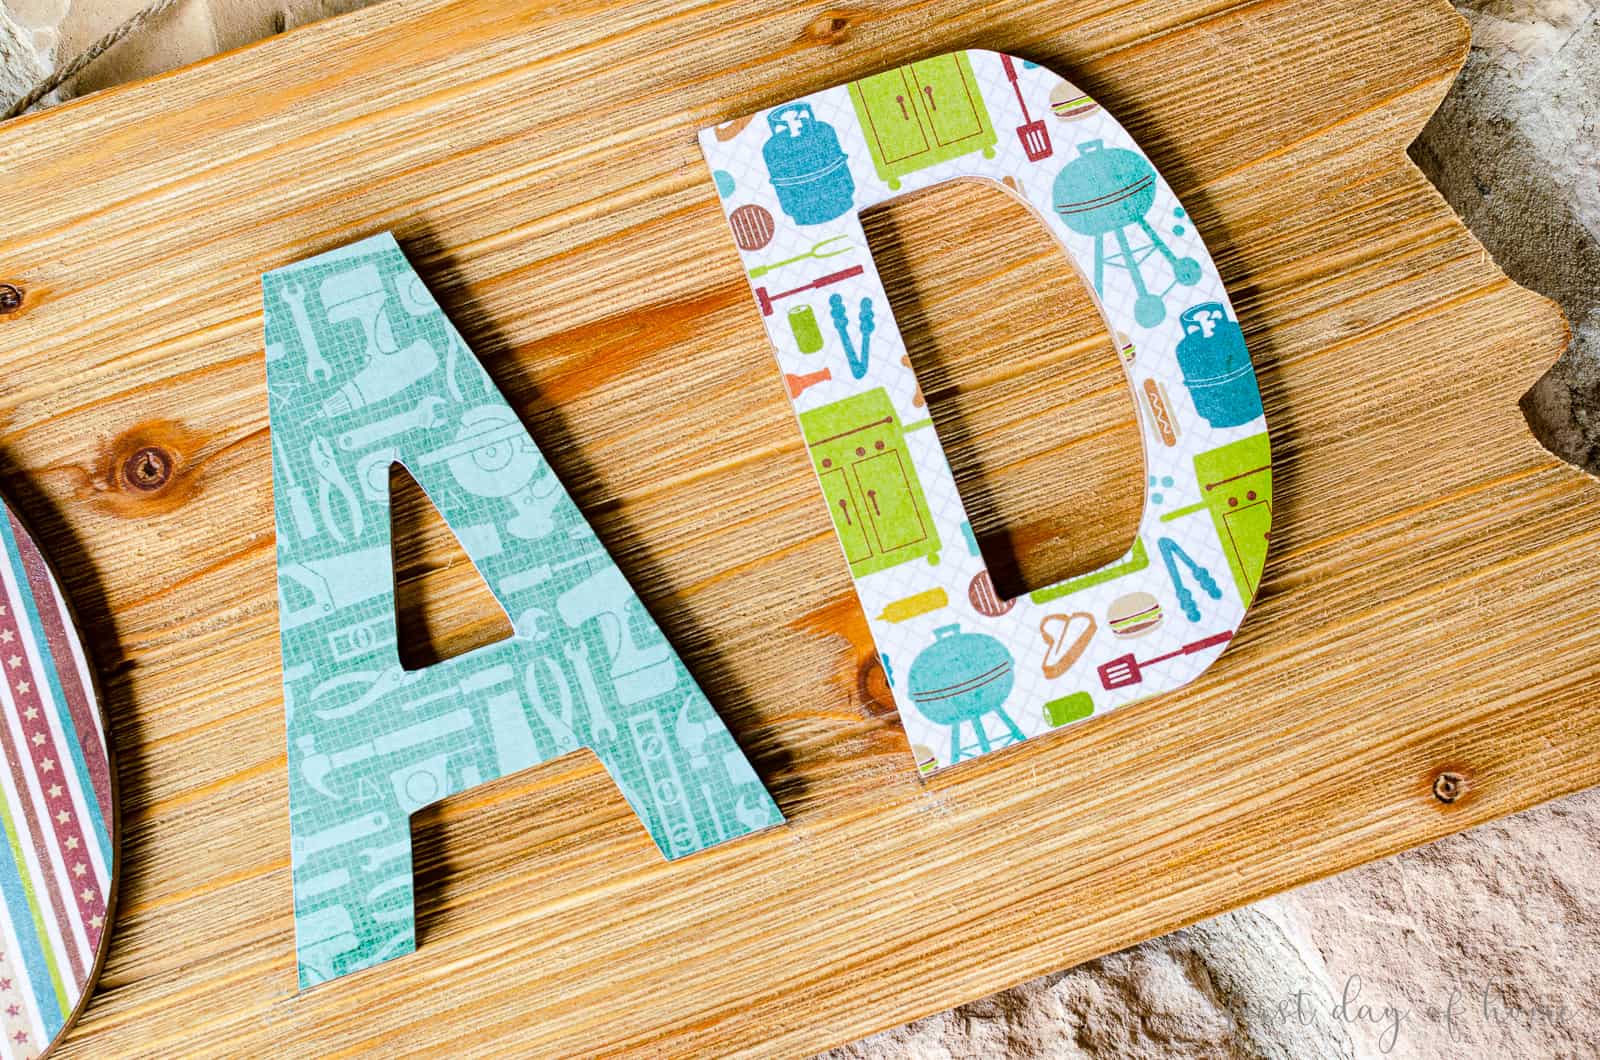
Step 4: Attach letters to the wood plaque
The last step is to attach the letters to your wood plaque. I highly recommend using strong wood glue and NOT regular hot glue.
Let the glue dry overnight before hanging.
If you don’t believe me about the hot glue, let’s just say that “a friend” tried using it on an outdoor sign once…and it didn’t turn out so well for her!
More Decoupage on Wood Ideas
I love the way this DIY sign turned out, but I’m even more excited about the possibilities of making unique decoupage wood signs for every holiday!
How about these ideas, for starters?
- Art in a nursery or child’s room
- Dorm signs
- Holiday mantel sign
- “Open/closed for business” sign
- Kitchen sign
- Game room signs
- Beach/coastal sign with added shells
- She Shed “Keep Out” sign (hee hee)
Should I go on? Because I can!
Since you can make decoupage wood signs for literally any occasion, try mixing and matching scrapbook paper or different wood backgrounds to customize your look.
Pin this for later!

How to Make a Decoupage Wood Sign
Equipment
Supplies
Instructions
- To begin, add a stain or paint to your sign (assuming it’s unfinished wood). To apply the stain, simply use an old t-shirt or rag to wipe the stain on in sections. Then, immediately wipe off any excess using a separate rag.
- Let the stain dry 24-48 hours before applying the decoupage wooden letters.
- Trace the outline of your wooden letters onto scrapbook paper, and cut the shapes out using scissors or a detail knife like an X-acto.
- Once you have your shapes ready, brush a generous amount of Mod Podge onto the wooden letters and attach your paper cut-outs.
- After you secure the paper to the wood letters, let the glue dry 20-30 minutes.
- Apply a final coat of Mod Podge on top of the letters.
- Optional: Apply a coat of acrylic sealer for extra shine and durability.
I hope you have fun making your very own DIY decoupage wood signs. Don’t forget I have plenty of other decoupage projects to explore!
Leave a comment if you have any questions as you get started.
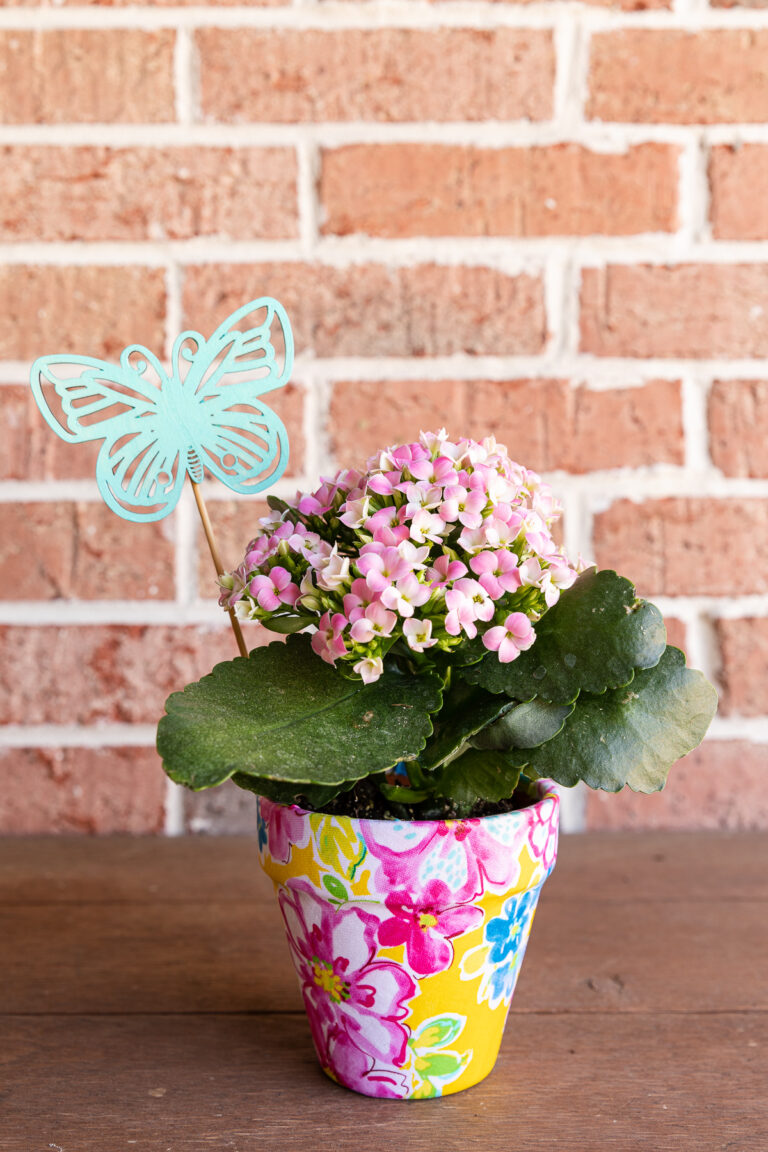
More Decoupage Projects


It turned out so cute, Crissy. Your boys (and you😉) did a great job!
Thanks so much, Jen! I love finding simple projects the boys can make with me.
Such a sweet gift! I love how your sign turned out. You are right about not using hot glue for outdoor projects. I’ve used hot glue for decor (like wreaths) to hang on my front door. Eventually the sun melts the hot glue and I lose items from my wreaths, etc. lol
Thank you, Lauren! Yes, it’s funny how you have to learn the hard way sometimes. Ha! At least now we know what NOT to do. Thanks for stopping by!
What a cute and creative gift! I bet they had fun making it! Have a great week Crissy!
Oh, thanks so much, Kim! Yes, the boys took such pride in giving their gift to Daddy. I hope you have a wonderful week, too!
I bet Dad loved it! How cool!
Thanks! He sure did enjoy it! It’s a great homemade gift for someone special.
Super!
Super cute project and helpers.
Have a great week,
Kippi
Thanks so much, Kippi! I’m quite fond of my little helpers, too. They make crafting such a joy. You have a great week, too!
Crissy, what a lovely and personal gift idea for any father, but especially when made by precious little hands. This gift is a true keepsake!! Congratulations on your creative photography and amazing blog! Keep up the good work!
Thanks, NC! My husband loved the way this DIY sign turned out, and I know he’ll cherish it for many years to come. I hope you’ll give it a try and have fun with it! Thanks for the sweet compliments!