Acrylic Laser Cutting: Complete Guide

Laser cutting acrylic allows you to create vibrant home decor and accessories for any occasion. If you’re new to acrylic, the process can seem intimidating at first. To help you get started, I’m sharing three beginner projects with acrylic laser cutting that will give you professional-looking results in no time.
This tutorial is sponsored by xTool, but all opinions expressed are my own. This post also contains affiliate links, and I will receive a small commission if you make a purchase after clicking on my links. See disclosures for details.
How to Laser Cut Acrylic
Learning how to cut acrylic opens up so many crafting possibilities. Perhaps you’ve tried to cut acrylic sheets (a.k.a. plexiglas) using woodworking tools like a scoring knife, jigsaw, or coping saw. As long as you’re cutting simple lines, these methods can come in handy.
But we don’t want to be stuck with just simple designs, right?
You can create stunning and sophisticated designs using a high-quality laser machine instead. To demonstrate how easy it is to cut acrylic, I’ll be using the xTool P2 laser machine.
Watch this Tutorial on YouTube!
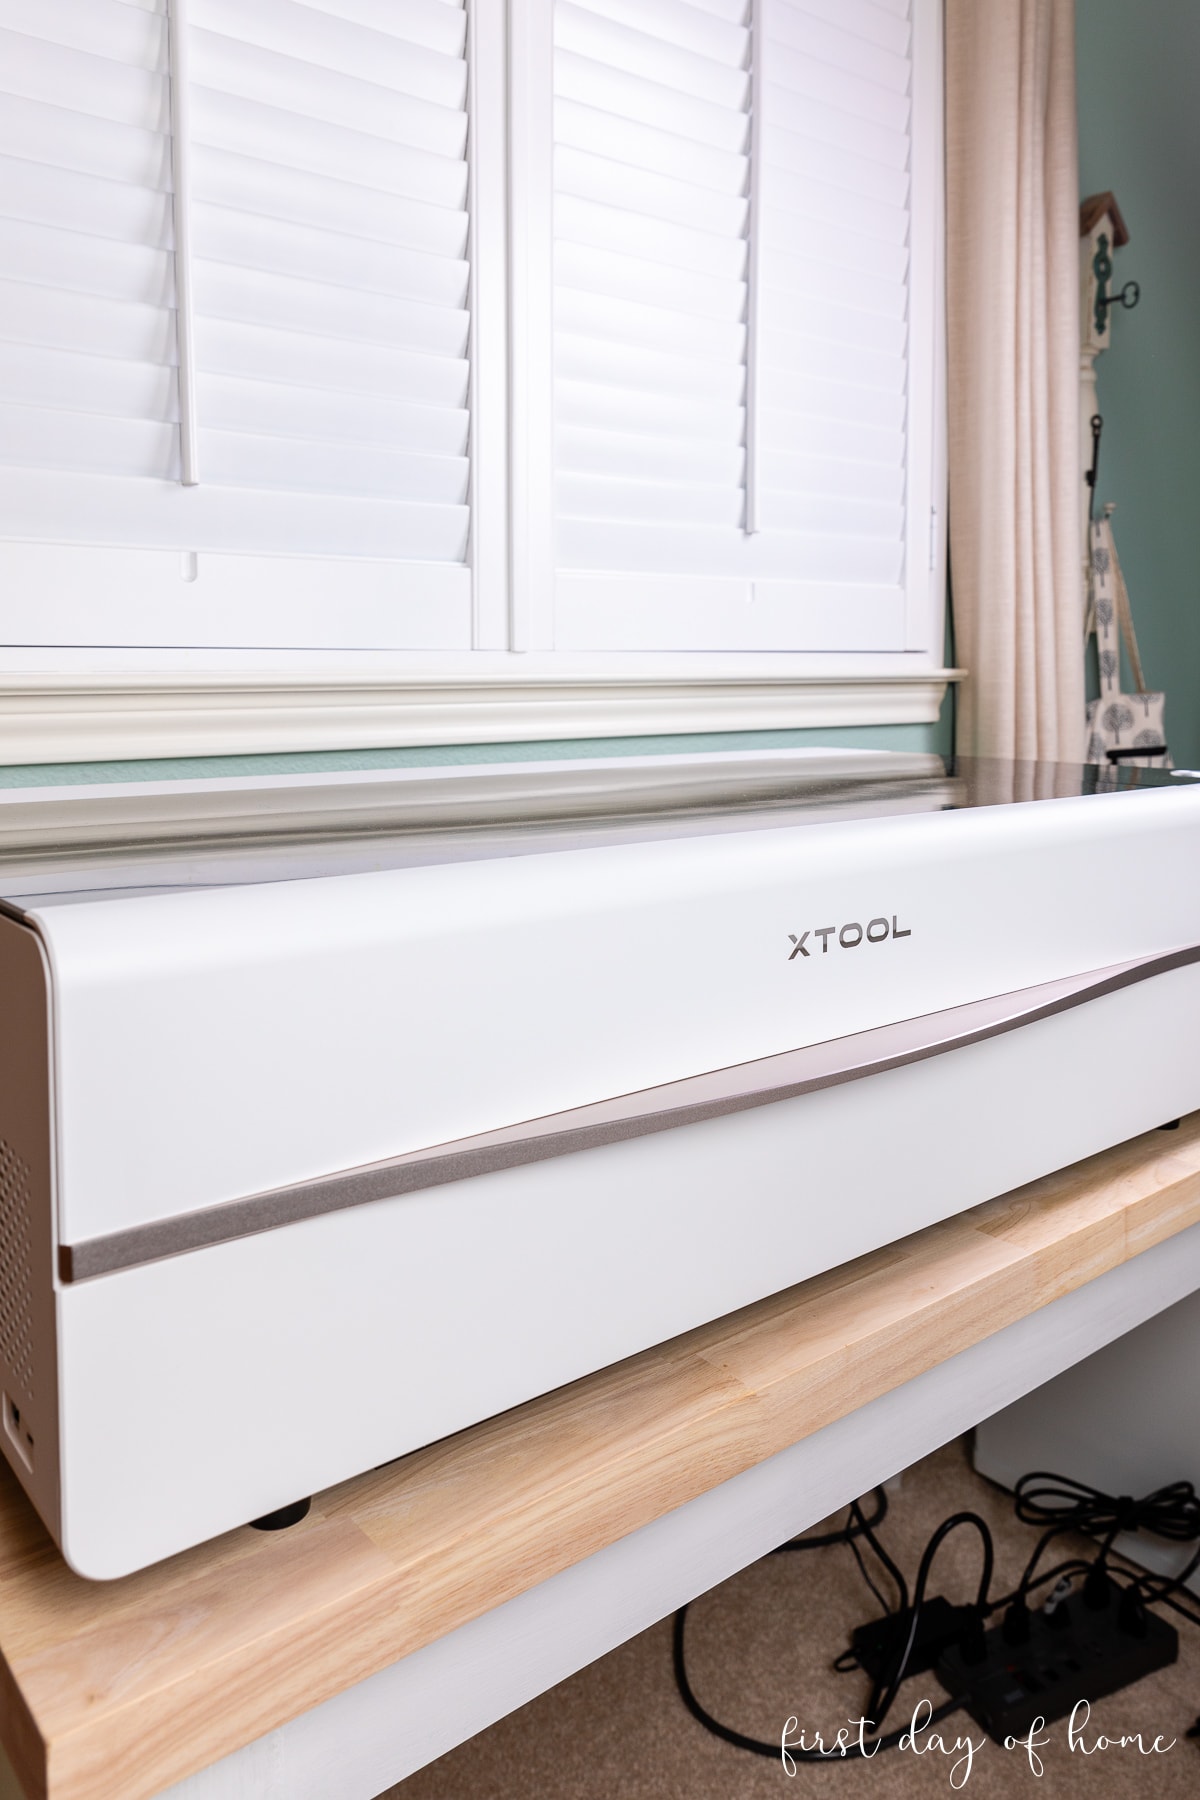
The P2 Laser Cutting Machine (now in Pearl White)
The P2’s laser technology has incredibly high precision and cuts nearly any type of acrylic you would use for handmade gifts and decor.
Since a computer controls the laser beam, you can cut more intricate designs than a saw could handle. The result is a smooth flame-polished edge that looks super professional.
The P2 is a 55W laser cutting machine with CO2 laser technology that makes it capable of handling thicker materials than diode lasers like the xTool M1 or Glowforge Aura machine.
While I’ve written extensively about xTool M1 as a great entry-level laser machine, the P2 is the best desktop laser cutter for small businesses. It offers faster speeds, higher accuracy, and greater material compatibility compared to diode lasers.

The P2 laser also has the capability of cutting transparent materials like clear acrylic, which diode lasers can’t due to their different wavelength. (Many diode lasers are limited to cutting dark opaque acrylic only.)
The pearl white model of the P2 is a new addition to the xTool suite of laser cutting machines. However, it still has the key features of the original dark grey P2, including a dual 16MP cameras with live preview and the ability to engrave curved surfaces.
Special xTool Coupon
Use the promo code FDOH80 for an additional $80 off your xTool! Learn more here.
Safety Tips for Laser Cutting Acrylic
Before we dive in, make sure you’ve taken the necessary precautions to safely operate an acrylic laser cutter.
Remember you can’t leave your machine unattended while it is operating under any circumstances.
SAFETY TIPS
Here’s a list of other safety considerations to keep in mind:
- Proper ventilation to the outside
- Personal protective equipment, like a respirator
- Fire safety set and extinguishing device
I highly recommend purchasing xTool’s Fire Safety Set with your machine. It contains sensors that will help sound an alarm if it detects a flame, and it includes a fire-extinguishing capability. Right now, the Fire Safety Set comes free with the Pearl White P2.

I know talk of smoke and fire sounds scary, but any time you’re working with a high-powered laser, you want to be prepared for anything!
The optional Smoke Purifier is another good investment to improve ventilation in your workspace.

While the fumes from cutting acrylic are not toxic, they are unpleasant. You’ll want a respirator since the smell can be irritating, especially considering you cannot leave the machine unattended.
Beginner Acrylic Laser Cutting Projects
Today I’m sharing three laser-engraved acrylic projects to showcase how to cut acrylic with a laser. Since Valentine’s Day is approaching, I’m choosing three items with heart-themed accents including a few party designs.
Project #1: Acrylic Swizzle Sticks
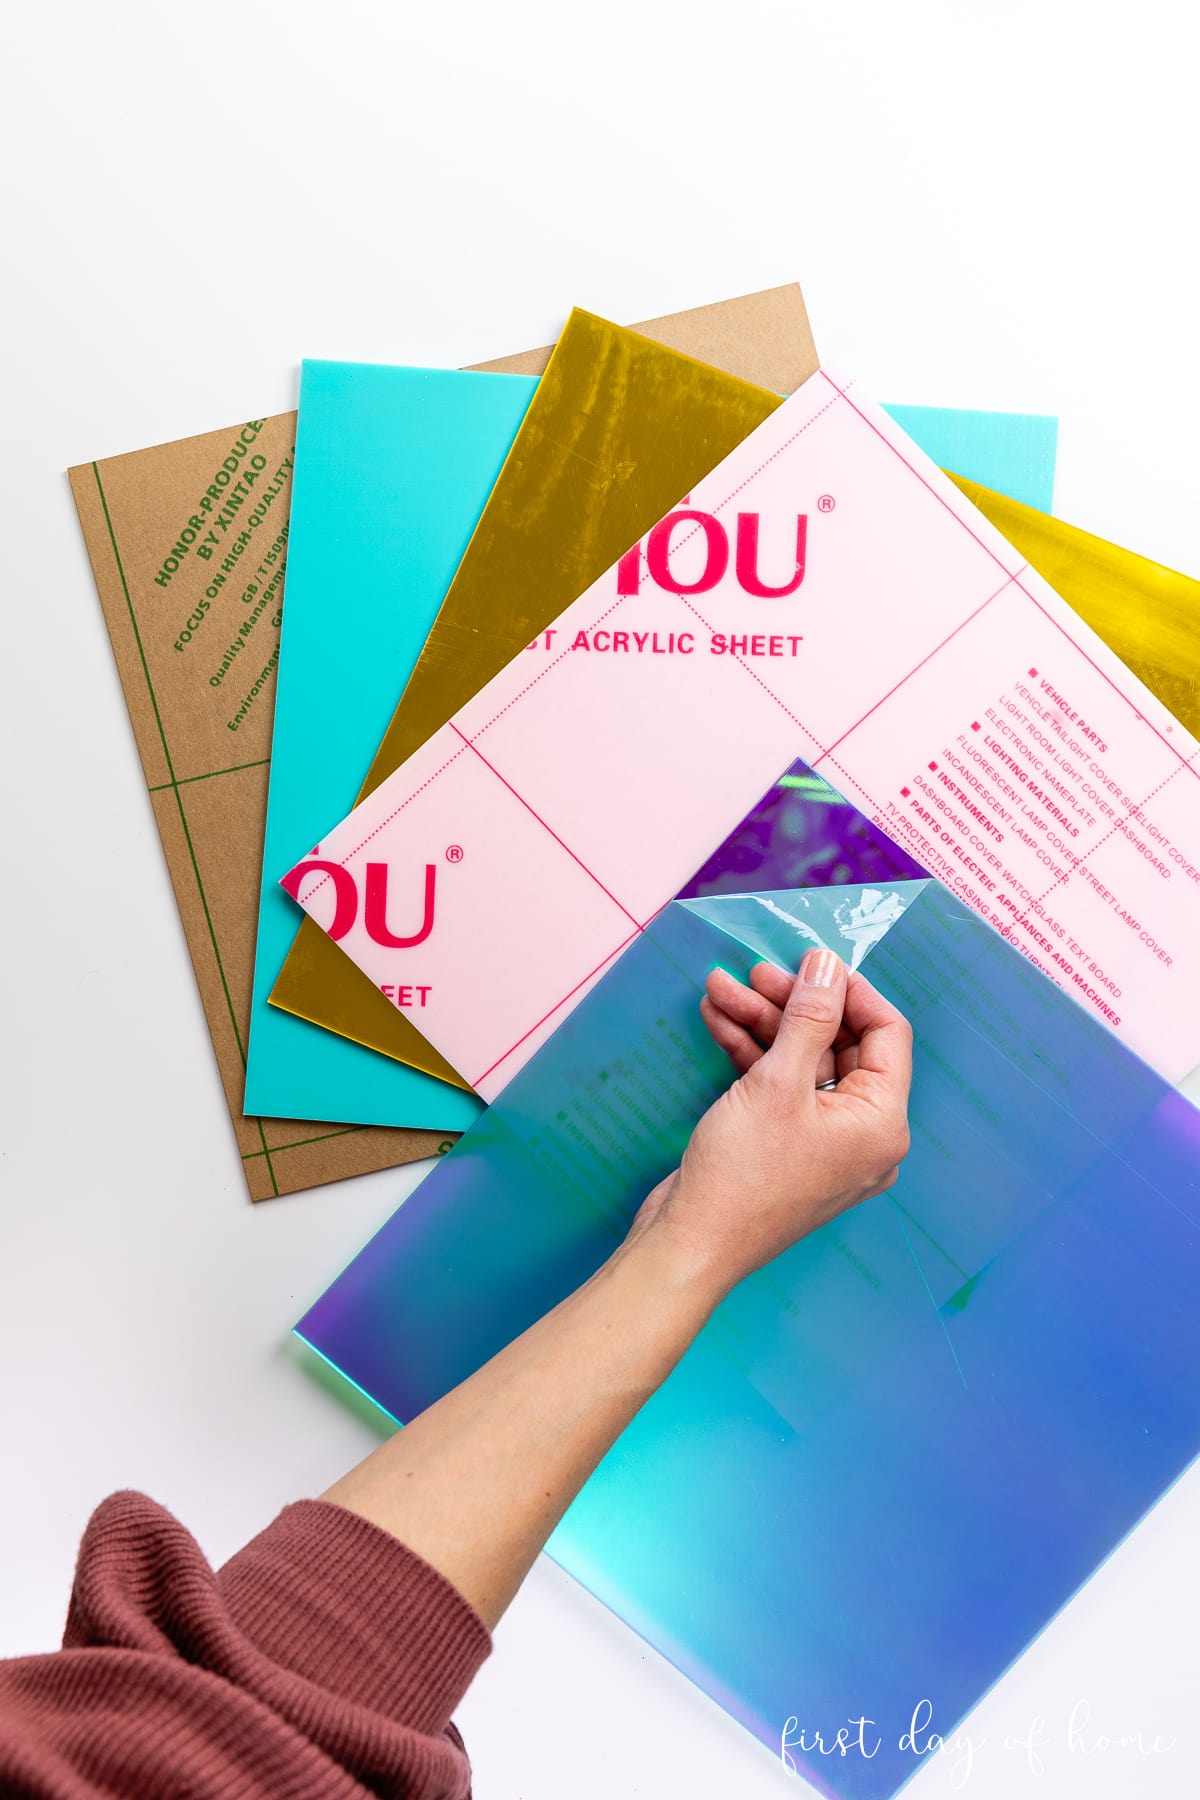
For this first project, I’m using a gorgeous red iridescent acrylic. It looks blue until you remove the plastic masking from both sides.
Note
Acrylic sheets will typically come with paper masking or plastic masking. You can choose to leave the paper masking if desired, but you should always remove the plastic film from both sides to prevent additional fumes and discoloration.
In xTool’s software called Creative Space (XCS), I created four different swizzle stick designs. Each design is a combination of a word or heart image, a rectangle body, and a circle tip united together.

Since the P2 gives you a preview of your material, it’s easy to alter the dimensions of your design and make precise cuts. Just make sure you Weld any script fonts and Unite your pieces (under the Combine menu) before cutting or engraving.
I used a font called Lobster and reduced the spacing to make sure the letters overlapped. This ensures the machine cuts the word as one piece.
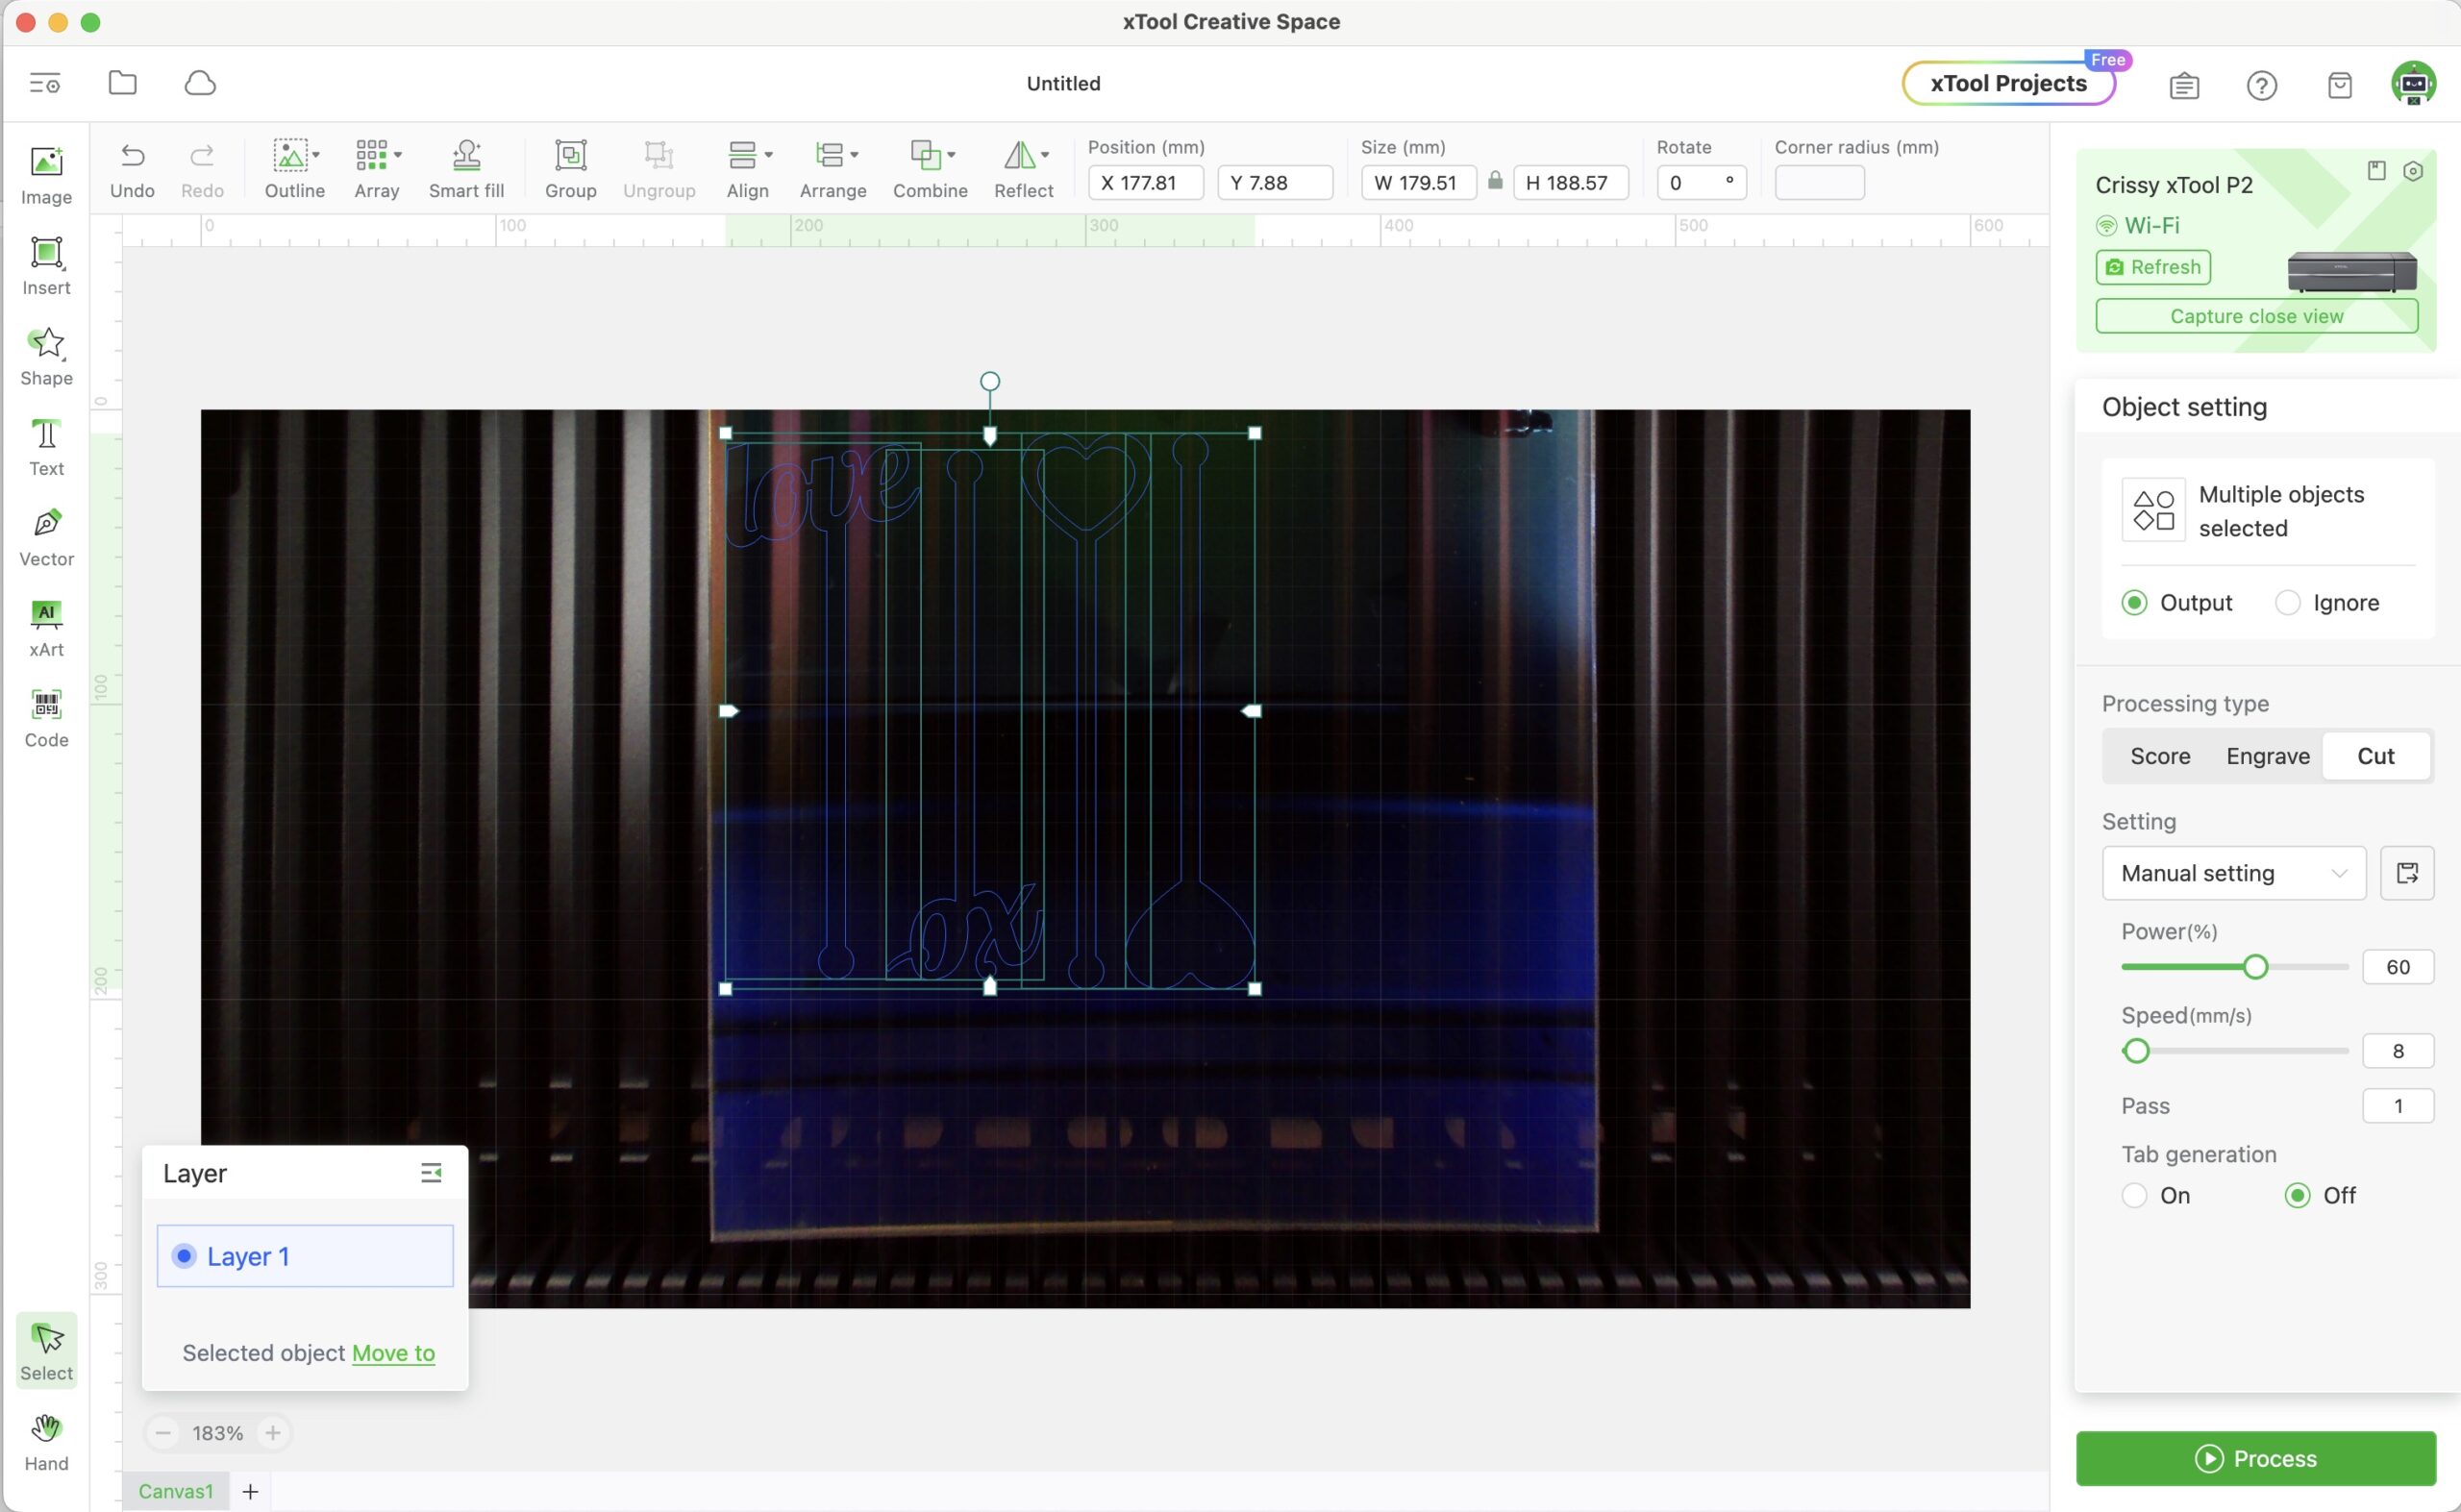
Laser Cutting Settings
- Slats flat
- Material: 3mm Clear Acrylic
- Processing type: Cut
- Power: 60%
- Speed: 8
- Pass: 1
There’s no need to auto-measure the material if you are using the Slats flat setting with a standard 3mm acrylic sheet.
Note: I did not follow the material cut specifications suggested by xTool. The consensus among xTool P2 users is that a low power setting works better for laser cutting and may also prolong the life of your laser.
Laser Cutting Checklist
When it’s time to process your design, here’s a handy checklist to remember.
- Click Process in the XCS software.
- Make sure the Smoke Purifier is turned on and the Fire Safety Set is in the monitoring mode.
- Hit the button on the top of the P2 machine.
- Do not leave the machine unattended while it is laser-cutting.
- Remove the finished acrylic project once the machine has stopped running. A safety lock will prevent the lid from opening while processing.

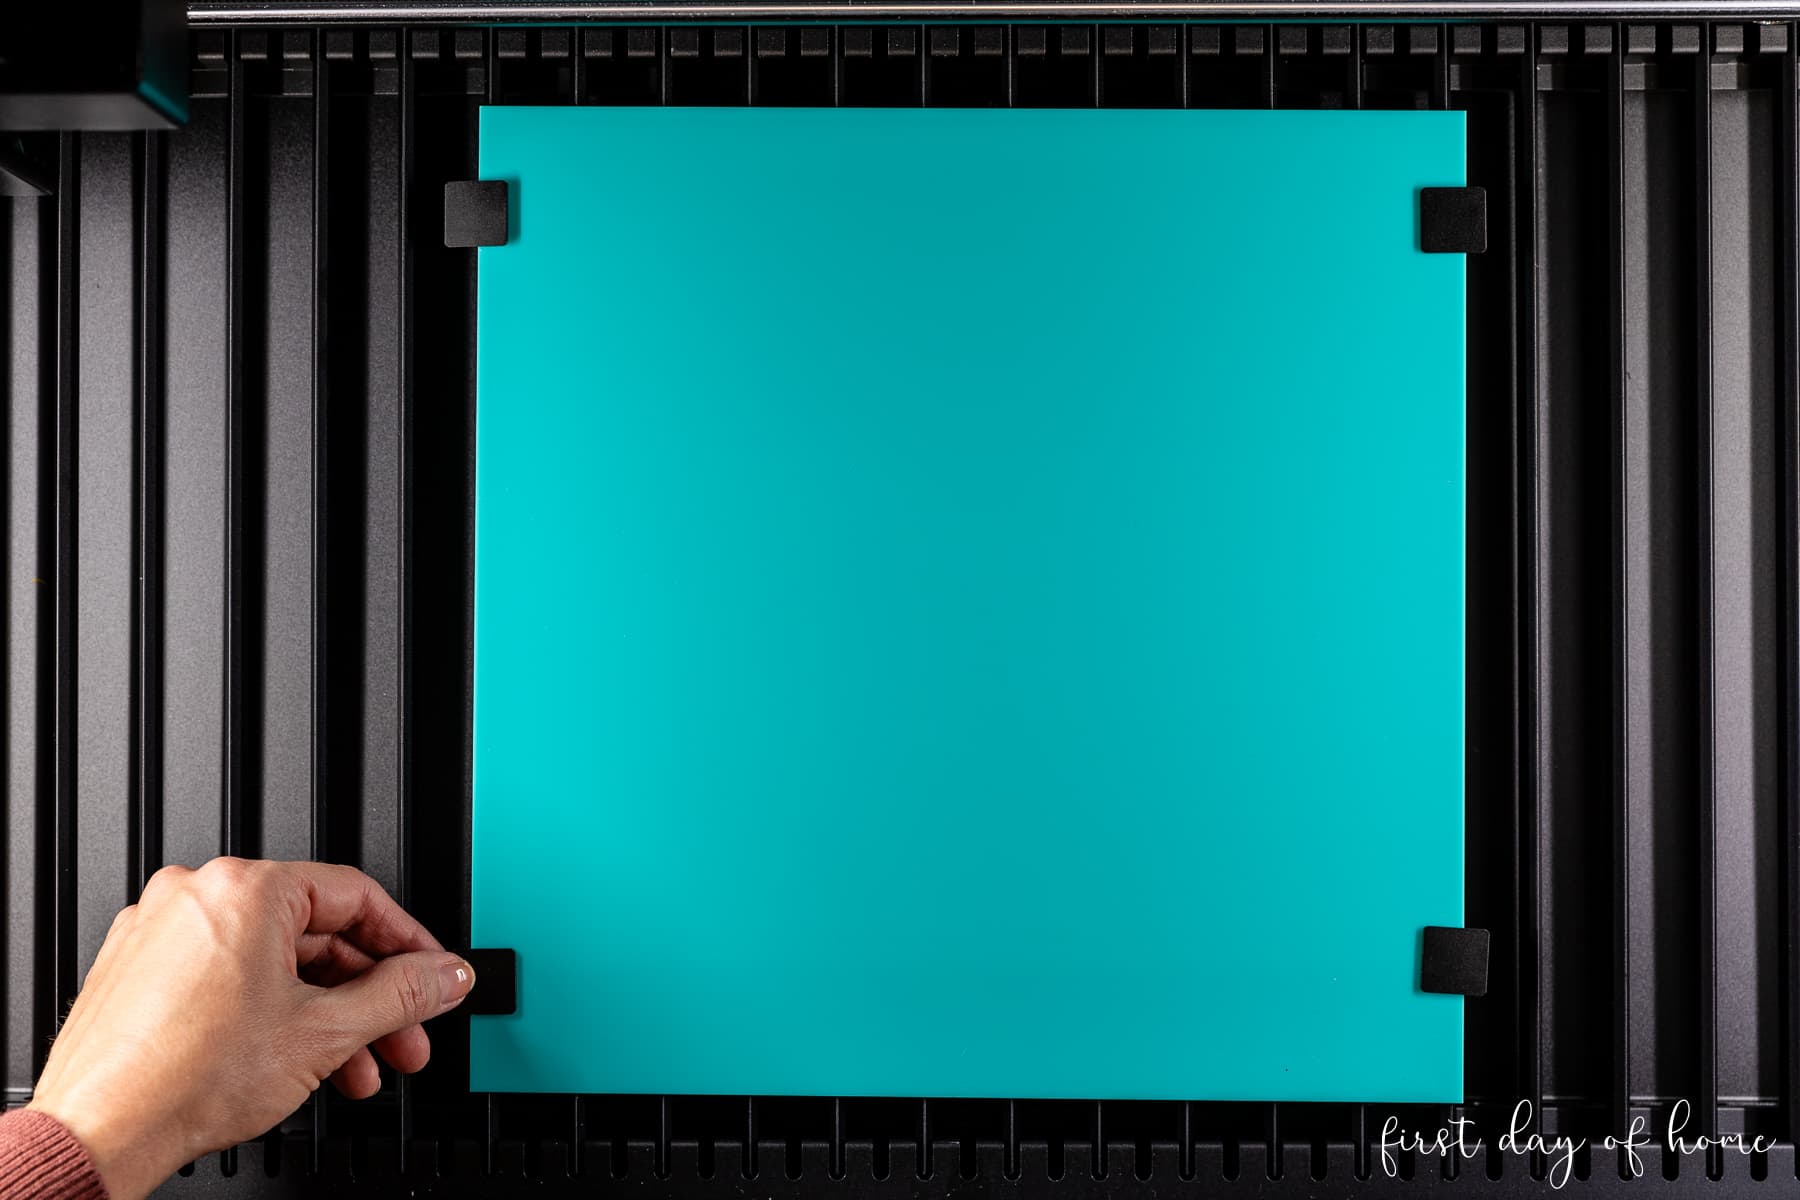
As part of your setup, I highly recommend using the P2’s material clamps. When I cut my stir sticks, the acrylic shifted slightly while in operation. Fortunately, the project turned out fine, but it was a good reminder to clamp things down.

It’s hard to tell in the photo, but these finished stir sticks have a beautiful color-shifting quality. They are perfect for a bridal shower brunch or Galentine’s Day party!

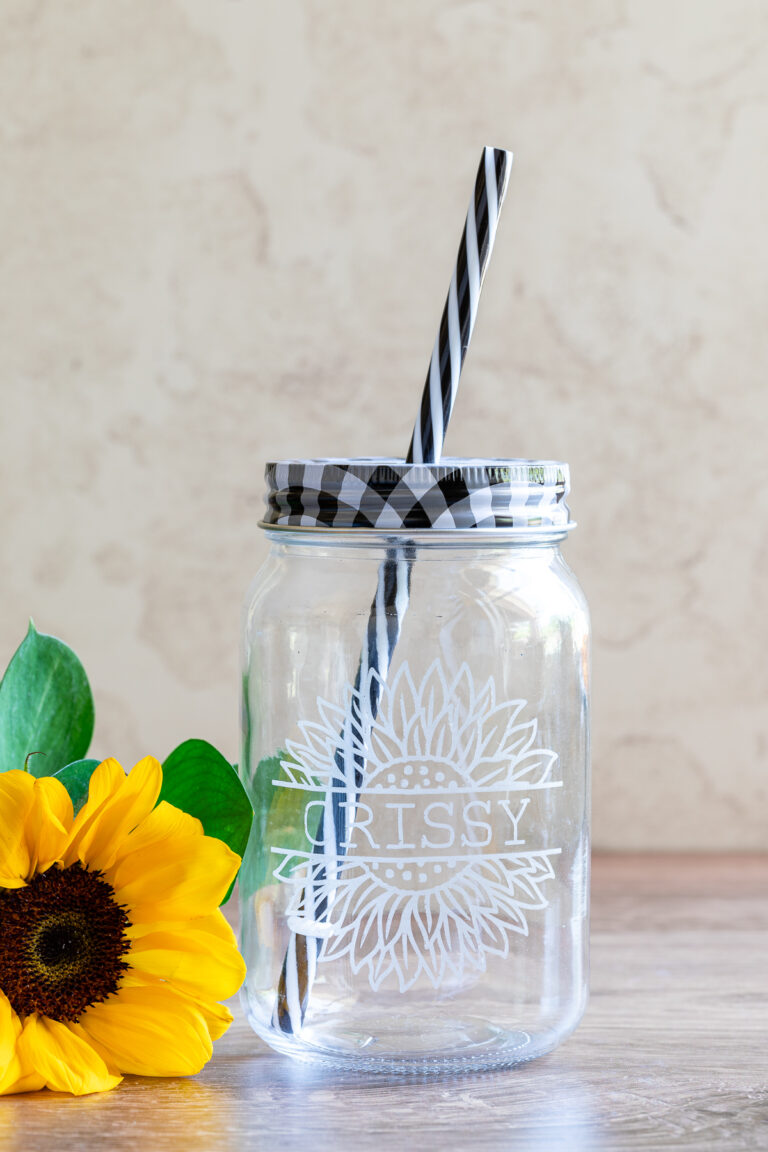
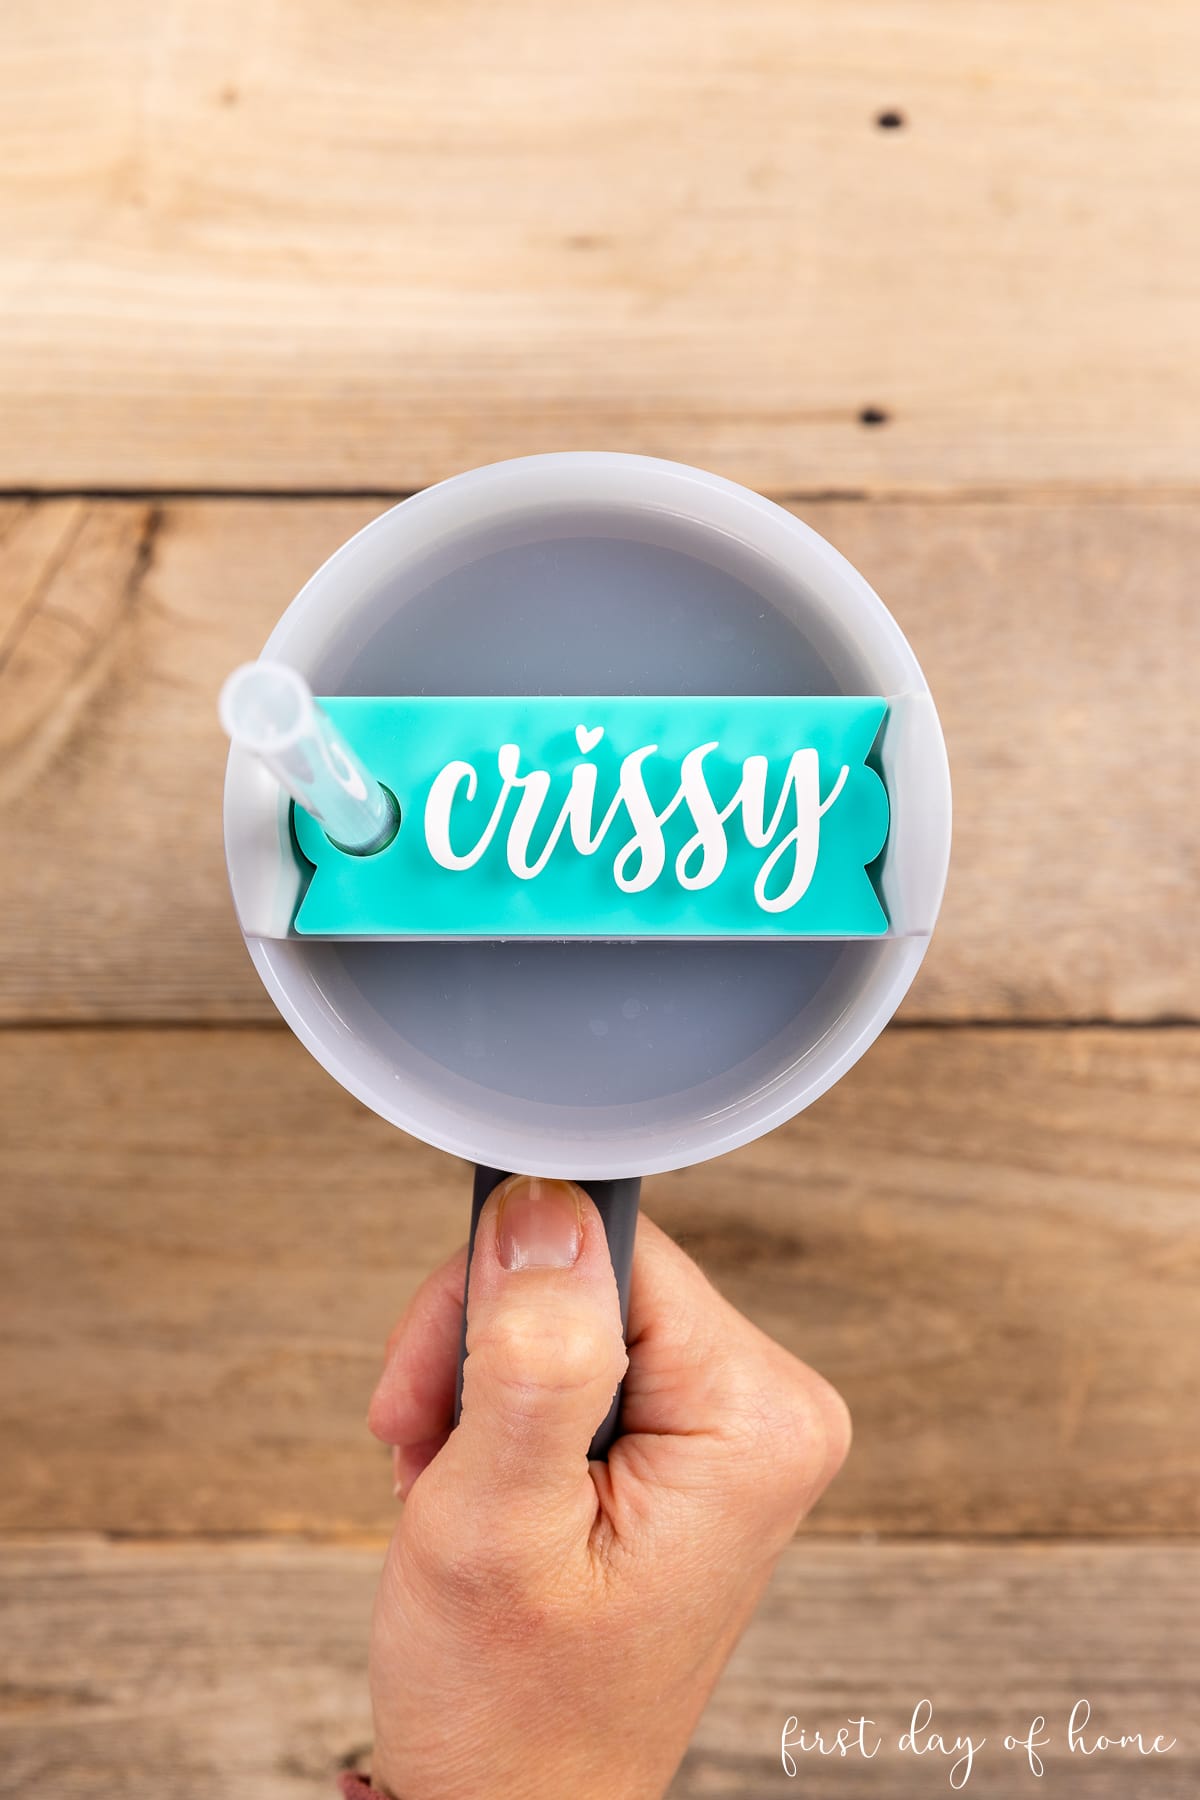
Project #2: Acrylic Stanley Tumbler Name Plate
Stanley tumblers have been all the rage these days. I figured creating a personalized name plate with acrylic sounded like the perfect beginner project.
I began with an SVG template and decided to personalize it with my name in a script font.
For the name plate, I’m using a teal pastel acrylic as the base and a blush pink acrylic for the name. Both measure 3mm in thickness, which is a common dimension for acrylic sheets from xTool.
In Creative Space, choose “Ignore” in the Vector setting to skip cutting certain layers.
For the name, I chose a font called Gabelisa that has a sweet little heart to dot the “i.” Don’t forget to fuse any script letters using the Weld button before you make your cuts.
Laser Cutting Settings
- Slats flat
- Material: 3mm White Acrylic
- Processing type: Cut
- Power: 60%
- Speed: 8
- Pass: 1
I experimented with increasing the speed slightly for the blue acrylic, and it seemed to improve the flashback (small sparks from the heat) I saw in the machine.
You can always create a material test grid on a scrap piece of acrylic to perfect your settings.
To attach the name to the back plate, you can use double-sided 3M tape on the back of the acrylic before laser cutting, or you can use acrylic adhesive after both pieces are cut.
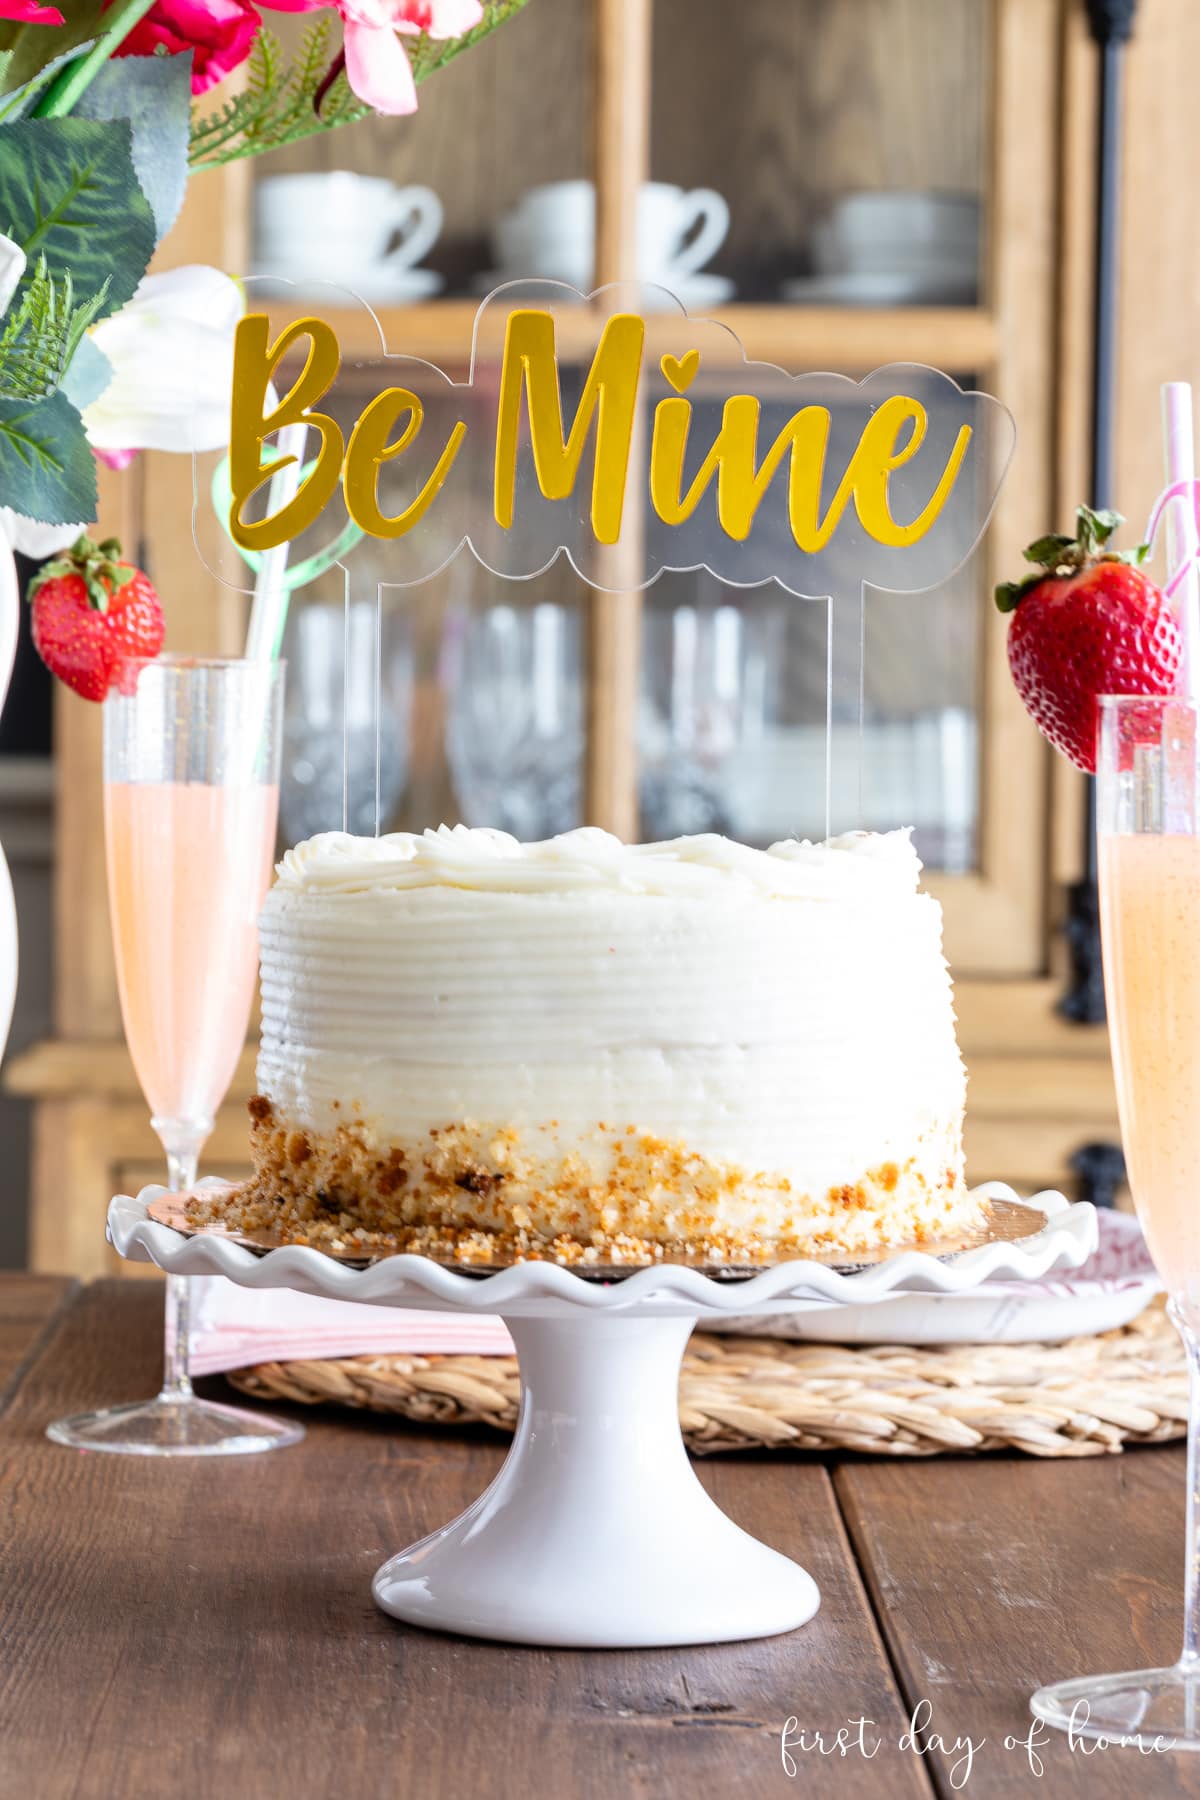
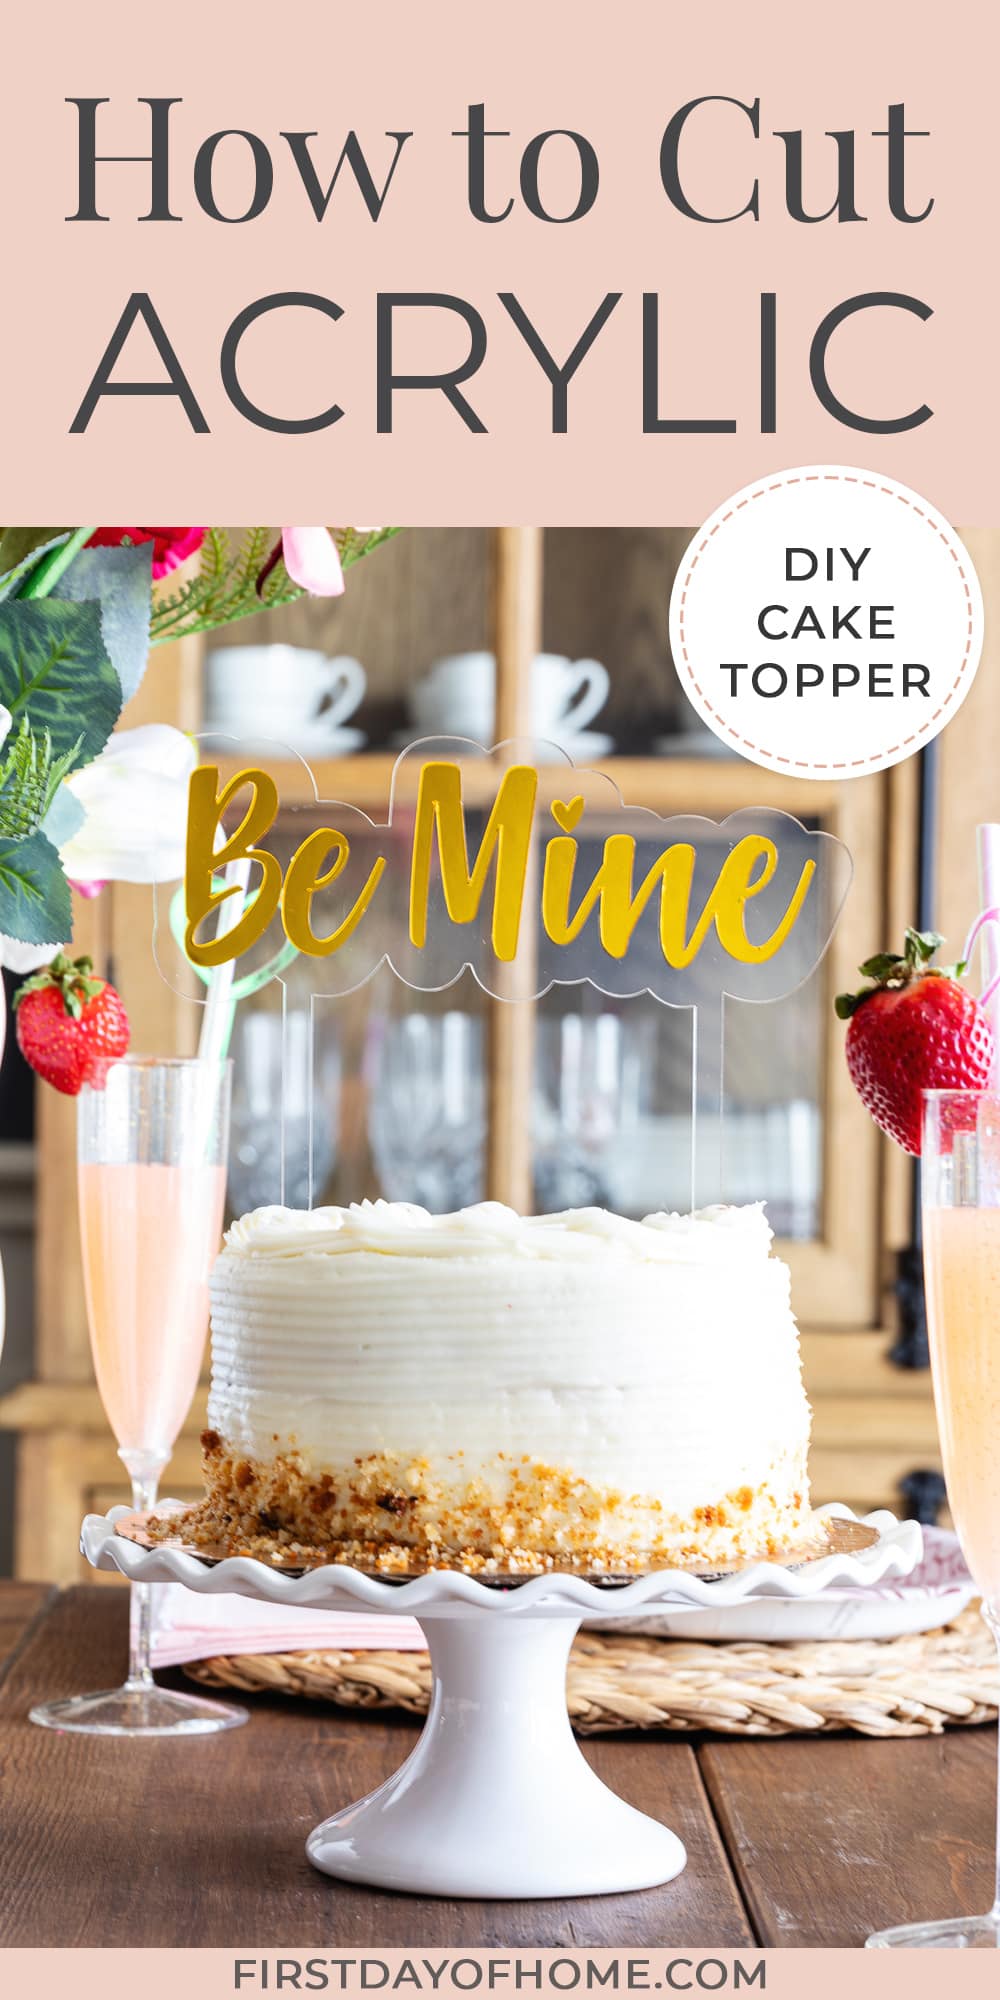
Project #3: Acrylic Cake Topper
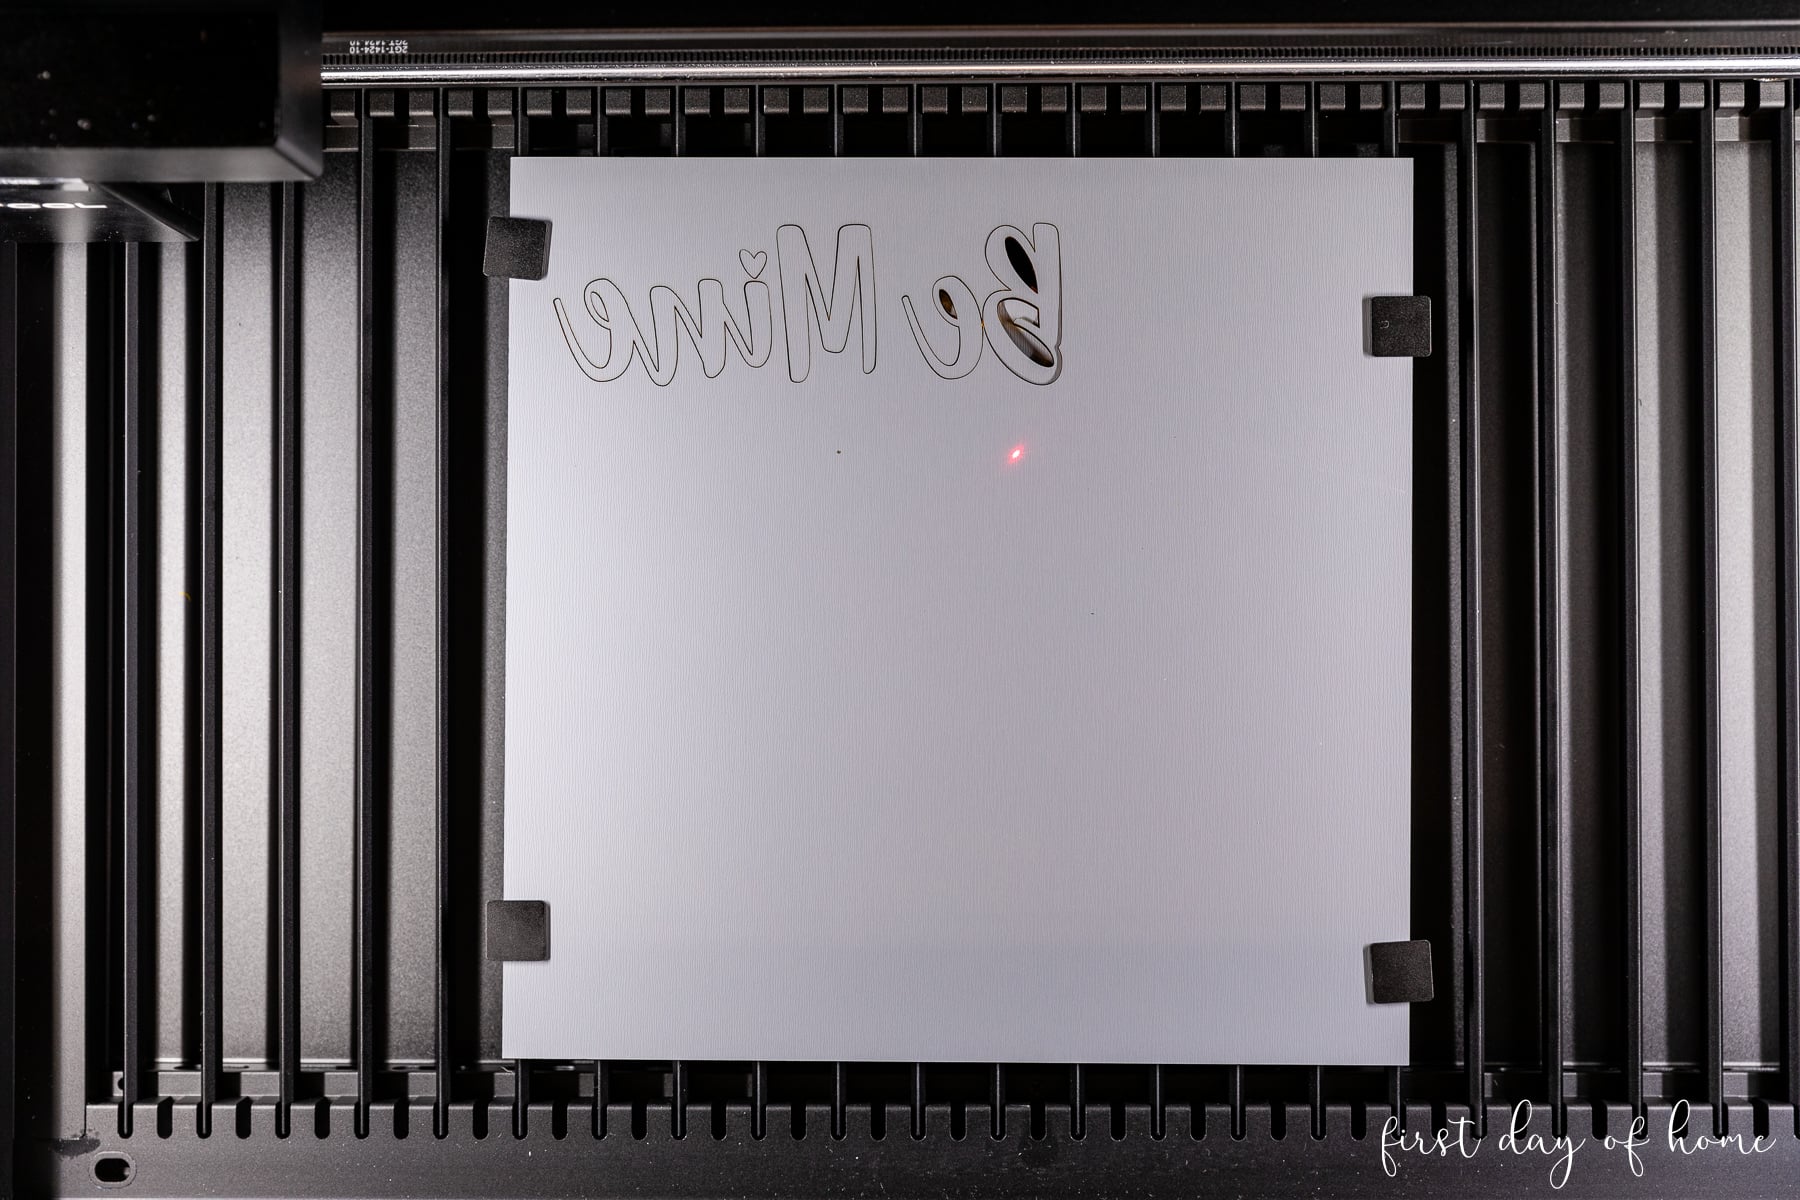
To create a “Be Mine” cake topper, I decided to try a combination of clear acrylic and gold mirror acrylic, both 3mm thick acrylic.
In XCS, I designed my text again using the Gabelisa font which will be cut from the mirror acrylic. Then I created an “offset” of about 0.344 inches using the Outline feature in XCS. This back layer will be cut from clear acrylic.

To make the stakes for the topper, I united two long rectangles with two small triangles (see photo above). Then I attached the stakes to the offset piece by selecting all elements and clicking the Unite button (under the Combine menu).
For mirror acrylic, you’ll need to reflect your design horizontally and laser cut the back side of the acrylic instead of the glossy front. (Don’t forget to remove the plastic masking film from the mirrored side first.)
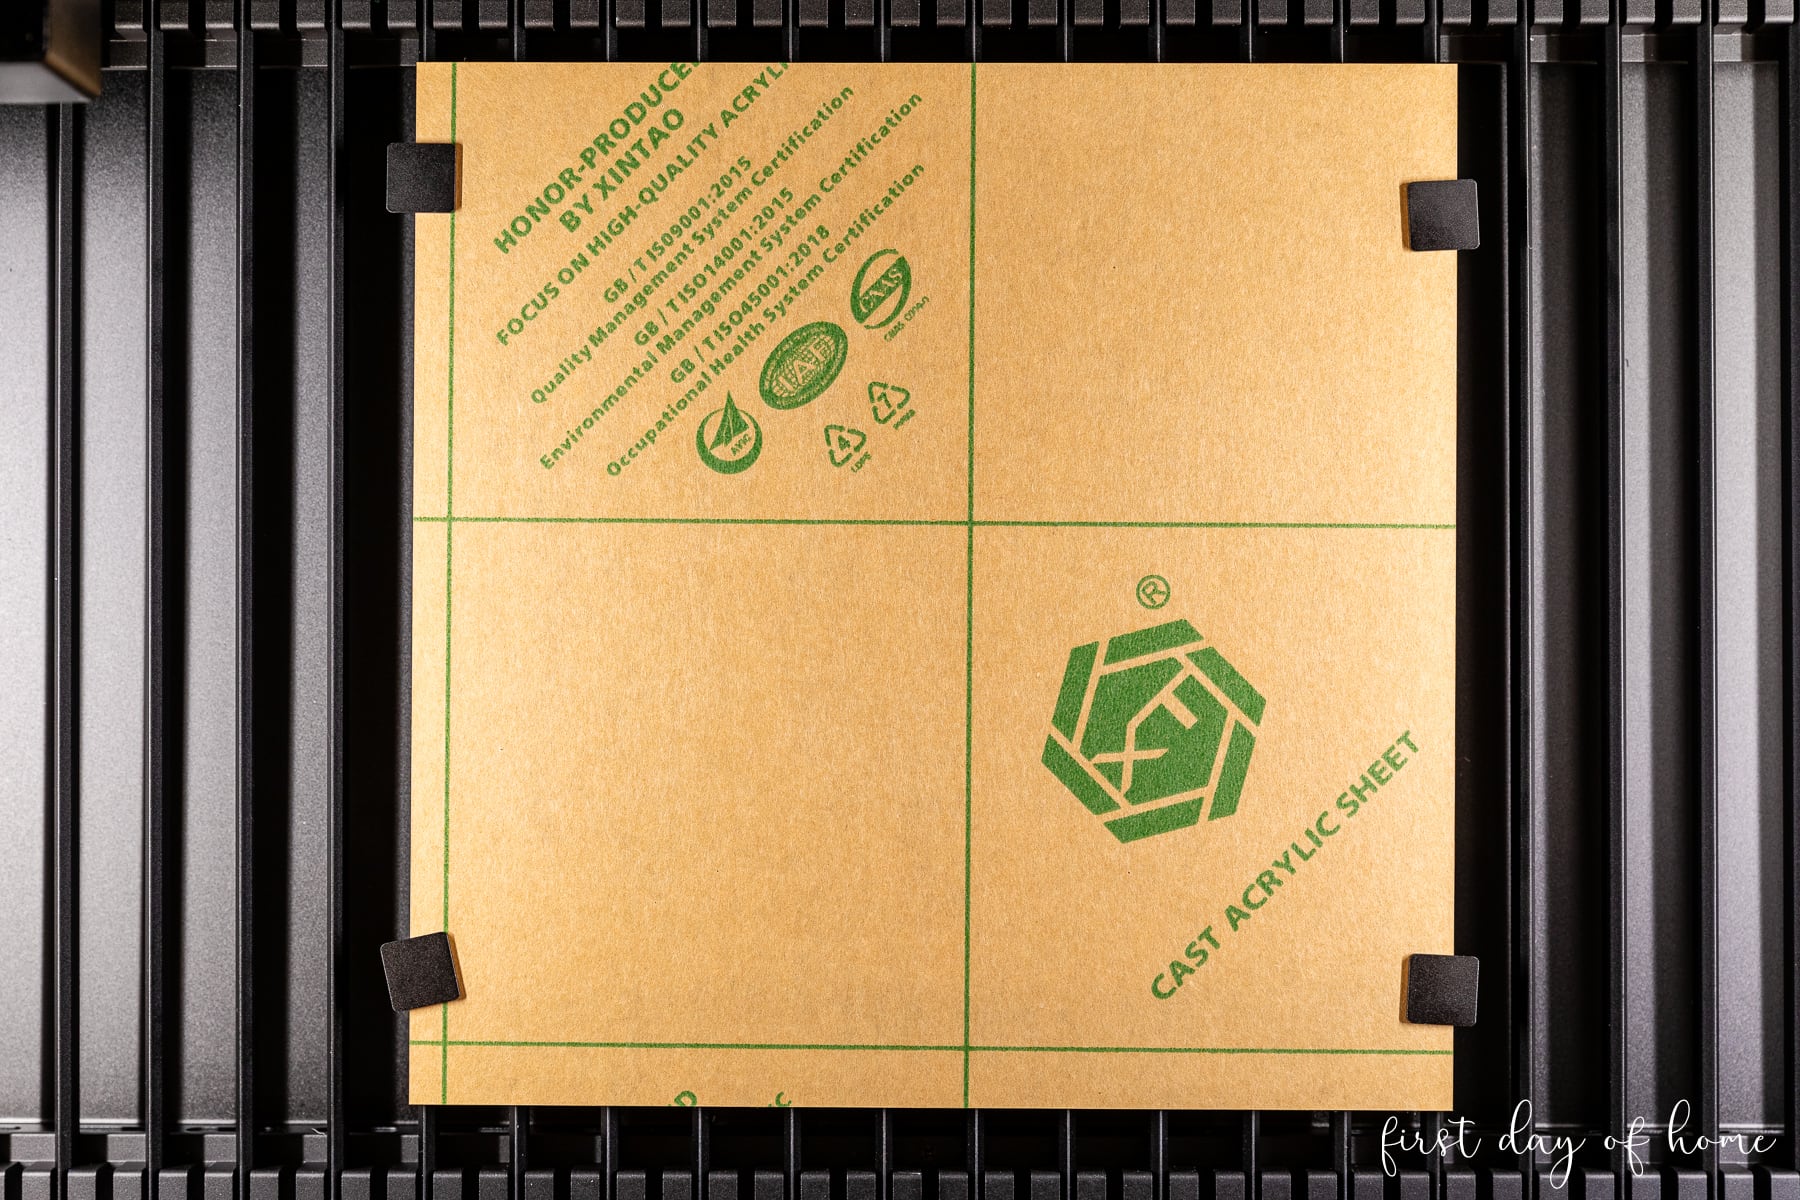
For the clear acrylic, I opted to leave the paper masking to prevent the sheet from scratching. For an acrylic engraver project, it’s sometimes helpful to leave the masking paper on while engraving. This allows you to paint sections of your acrylic one piece at a time.
Laser Cutting Settings
- Slats flat
- Material: 3mm Transparent Acrylic
- Processing type: Cut
- Power: 60%
- Speed: 8
- Pass: 1
I used simple double-sided foam tape to attach my pieces since I didn’t have any transfer tape handy.
I can’t wait to use this acrylic cake topper Valentine’s Day this year! Be sure to pin this post to save it for future projects.

Pin it for later!
Cutting and Engraving Acrylic: Final Thoughts
Now that you understand how to cut acrylic, just think of all the things you can make! Acrylic is great for making custom signage, toys, party favors, keychains, puzzles, and a wide range of decorative accents.
The optical clarity of acrylic means the finished results look pretty enough for even the most formal occasion like a wedding.
Just remember to always keep safety in mind when cutting acrylic and other materials at home, and have fun designing your own creations!
FAQs
-
How long does it take to laser cut acrylic?
Each laser cutting example in this tutorial took 2-3 minutes to process or less. The P2 takes very little time to cut acrylic.
-
What type of acrylic is best for laser cutting?
There are two main types of acrylic out there: cast acrylic and extruded acrylic. Extruded acrylic is usually more budget-friendly due to the manufacturing process, but some believe cast acrylic (which uses molds to form the shape) may work better for engraving. Ask the manufacturer to decide which is best for your project.
-
Why is my acrylic discolored after laser cutting?
If your power setting is too high or your speed is too slow, you may see scorching on your acrylic sheet. You can also try raising your acrylic off of the slates to prevent flashback scorching on the back side. If you do this, however, you’ll need to make adjustments to the measurements to account for the shorter distance between the laser and the material.
-
Where can I learn more about working with the xTool P2?
I like to visit the xTool CO2 Facebook Group any time I have a question about specific products. There are many “group experts” who have shared specific project examples and settings in that group, and it’s moderated by xTool team members as well.
You Might Also Like…