xTool M1 Review: What to Know Before You Buy
The xTool M1 is marketed as “your first smart gift-making laser & blade cutter for home use,” but does it live up to its promise? In this xTool M1 review, I’m giving you my honest opinion and sharing a few beginner projects. I’ll also cover the main product features and common accessories. Then you can judge for yourself.
This review is sponsored by xTool, but all opinions expressed are my own. This post also contains affiliate links, and I will receive a small commission if you make a purchase after clicking on my links. See disclosures for details.
Since this is a comprehensive review, feel free to skip to the section that most interests you using the table of contents.
What is the xTool M1?
Let’s start with the basics. The xTool M1 is a laser cutting, engraving, and blade-cutting machine all in one. Perhaps you’ve seen layered wooden signs, engraved metal tags, or etched tumblers and wondered how those Etsy sellers make them. That’s where a laser cutter comes in.
Below are a few examples of projects I’ve personally completed in my first week of owning the xTool M1.

Specifically, the xTool M1 has a diode laser, which can cut up to 8mm (0.3 inches) in one pass (like basswood) or reportedly 10mm for soft wood. Compared to a CO2 laser machine, a diode laser machine is much more affordable and often smaller but has some limitations on the thickness of the material it can cut as well as the transparency of the material. The xTool M1 cannot cut or engrave transparent or clear acrylic, for instance.
Both xTool and their competitor Glowforge offer more expensive CO2 laser machines, but we’ll cover those options later.
Special xTool Coupon
CURRENTLY ON SALE! Save $80 on your xTool M1 (U.S. store) with the discount code FDOH80! Redeem here.
Overview: xTool M1 and Accessories

For this xTool M1 review, I tested the following equipment:
- xTool M1 (10-Watt)
- xTool Air Assist Set
- xTool Riser Base with Honeycomb Panel
- xTool RA2 Pro Rotary Attachment
- xTool M1 Premium Material Package
You can buy the xTool M1 Deluxe package to receive the Air Assist and RA2 Pro Rotary at a better value. There’s also an xTool M1 Bundle that includes everything except the Premium Material package.
After successfully completing a few projects, I strongly recommend buying the Air Assist Set for optimal laser cutting and engraving results with the xTool M1. The Riser Base also promotes better ventilation and provides flexibility to work on larger materials and cylindrical objects (with the Rotary attachment).
I’ll share my thoughts on all the accessories below, but let’s start with the main focus, the xTool M1.
xTool M1 Dimensions and Space Requirements
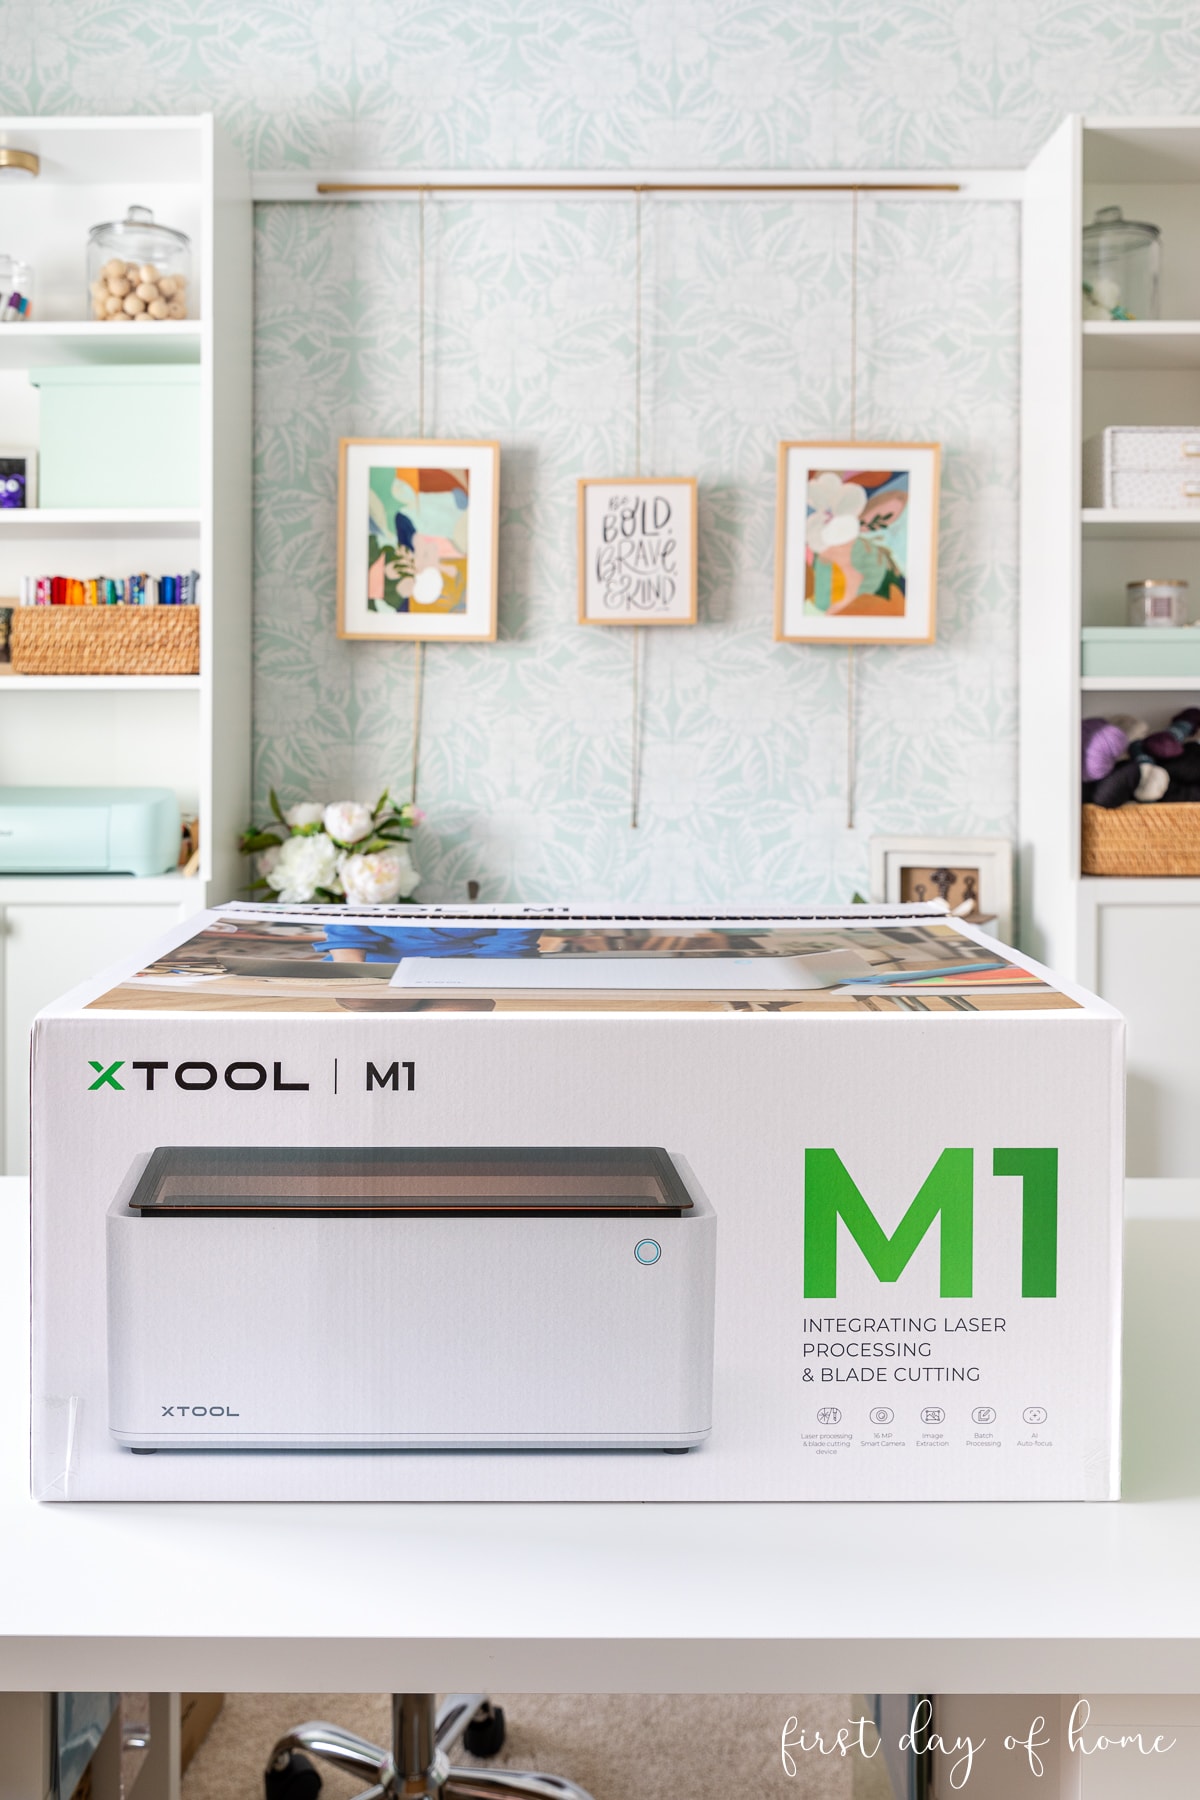
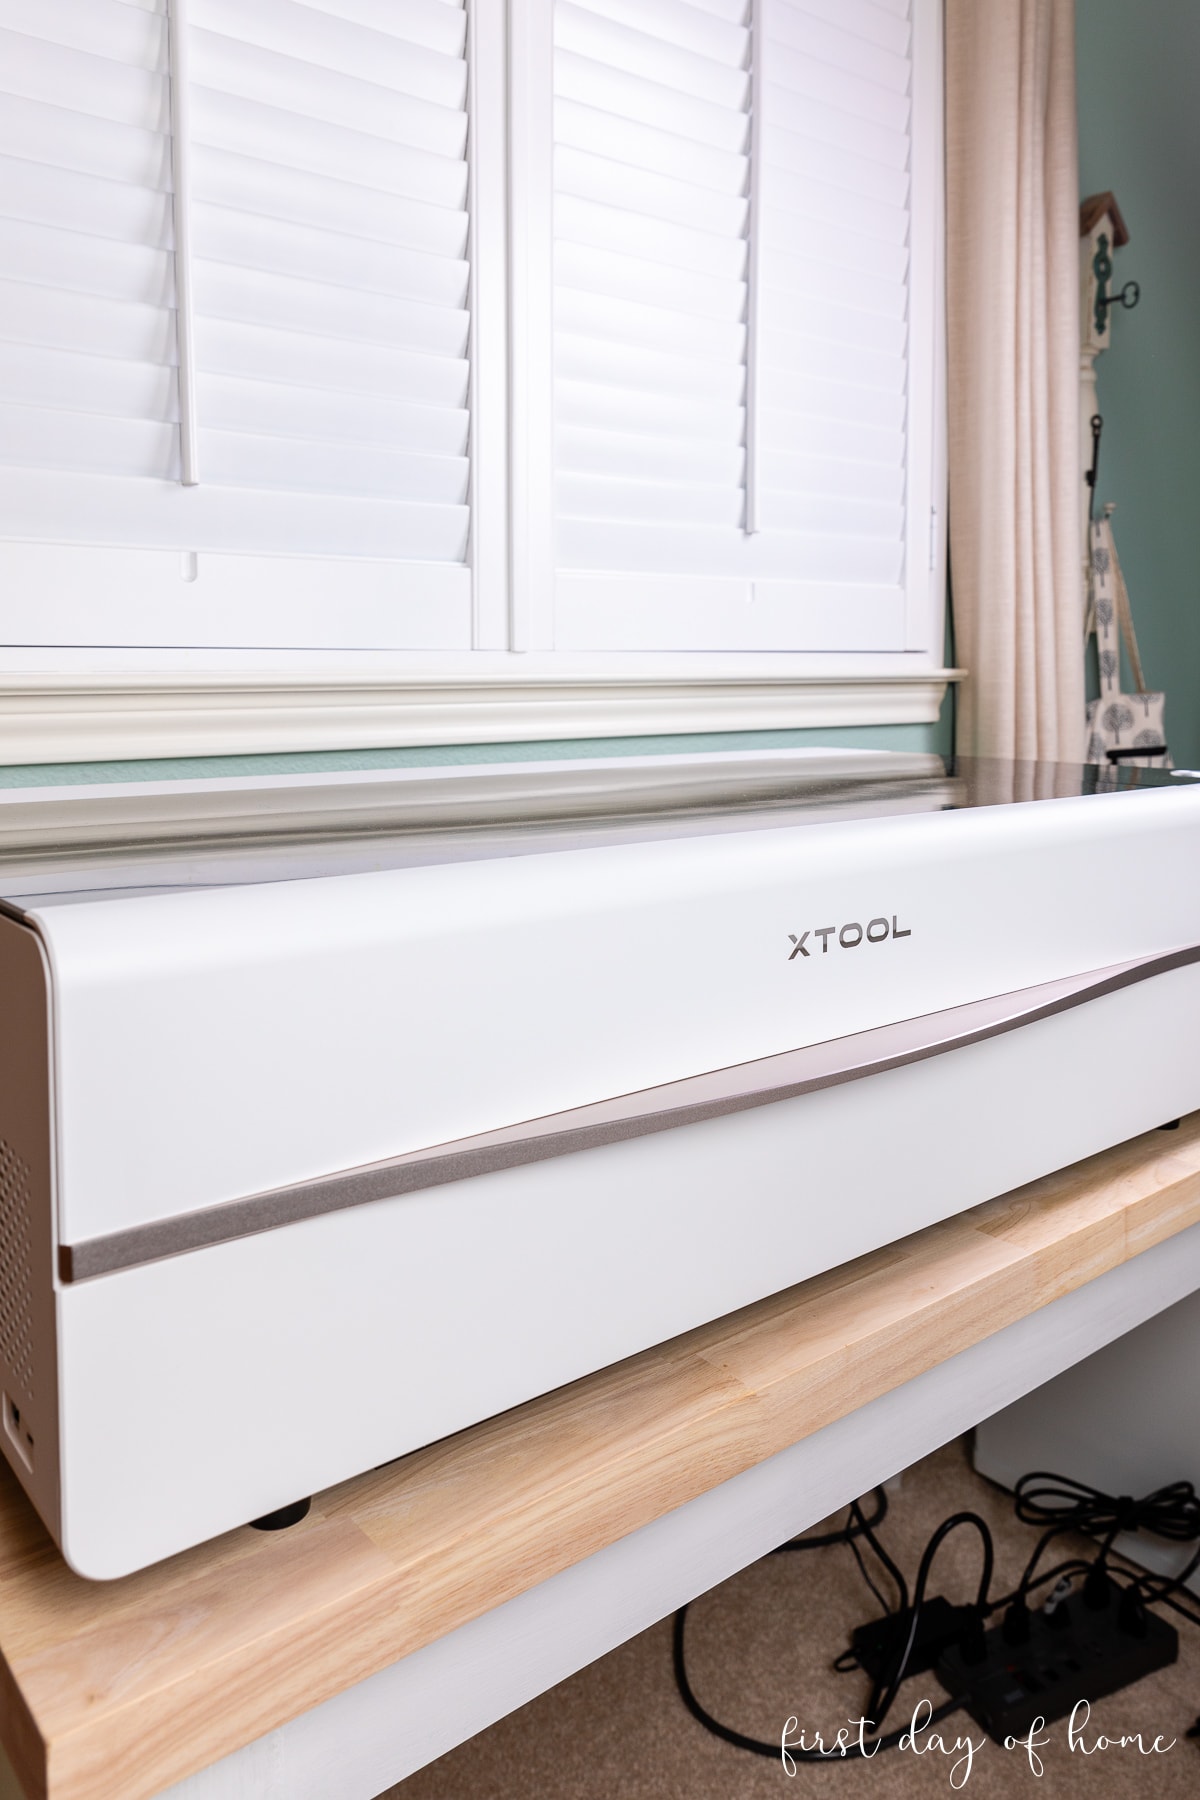
The xTool M1 is about twice the size of my home inkjet printer. You’ll want a dedicated space for the machine near a window or door leading to the outside. Proper ventilation is important when laser cutting.
Here are the product specs of the machine and the space required:
- Product dimensions: 22″ wide x 18″ deep x 9″ tall (557x453x230mm)
- Weight: 21.6 lbs (9.8kg)
- Space required: You’ll want at least 18″ above the machine to raise the lid and 6-8″ depth behind the machine to accommodate the exhaust hose.
What materials can the xTool M1 cut and engrave?
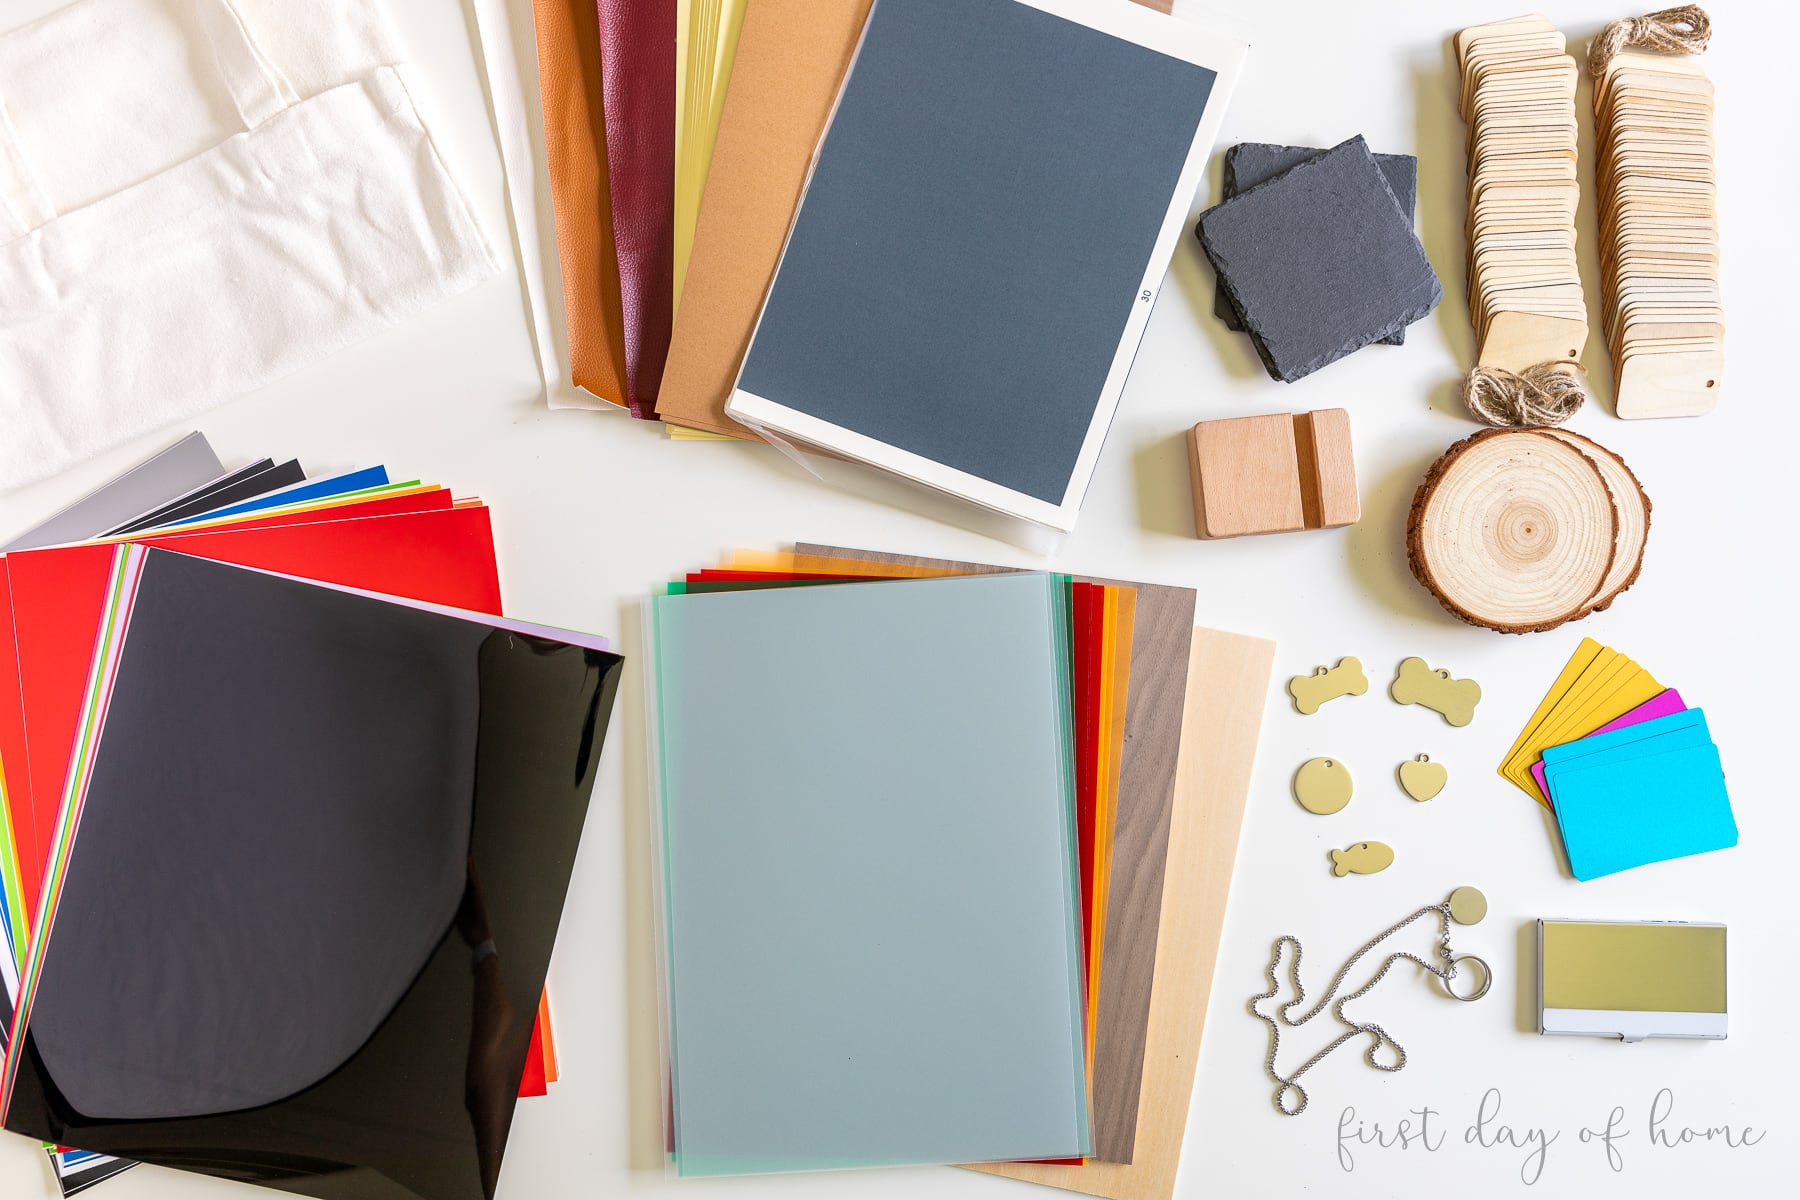
The xTool M1 can cut or engrave 300+ materials, from wood to metal to opaque acrylic, which gives you plenty of project inspiration. Since the machine can process SVG, DXF, JPG, PNG, BMP, TIF, and CR2 files, you can cut or engrave a wide range of designs (even photos).
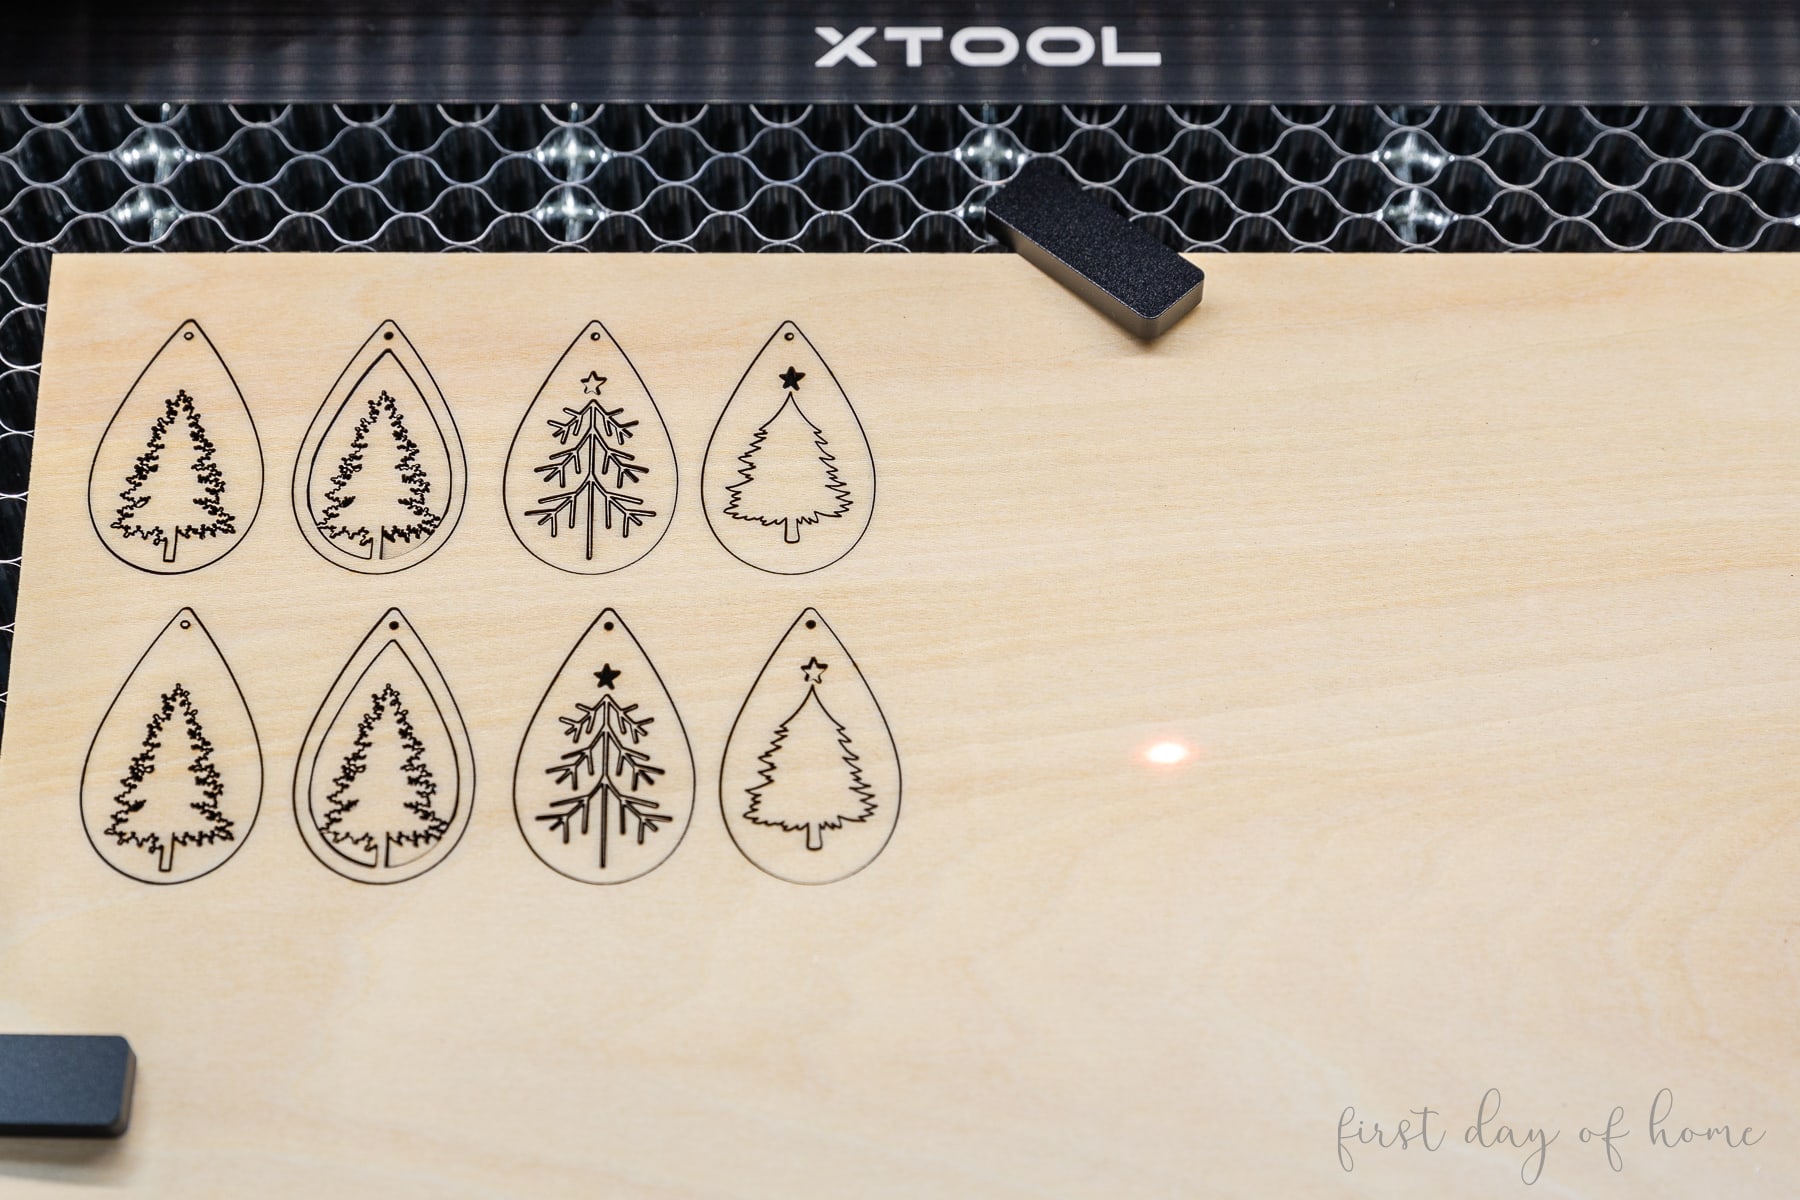
The M1 also has a built-in 16MP wide-angle camera with autofocus. This allows you to visualize your project in the Creative Space software. You can then batch process multiple items using the “smart fill” feature, as in the photo below.

In my opinion, the camera feature was a big upgrade compared to using craft machines like Cricut or Silhouette Cameo to cut materials.
The camera also performs an “automeasure” function, allowing the laser to detect the distance to the material. When this fails, xTool has instructions for manually measuring the distance with the provided ruler.
What size can the M1 cut?
The maximum cut size is 15″ wide × 12″ tall (385x300mm) for laser projects and 14″ wide × 12″ tall (365x300mm) for blade cutting. The Honeycomb Panel reduces the workable space slightly to about 15 × 10 inches, but it still feels adequate.
Since the M1 machine can cut materials using either a laser beam or a blade, be sure to select the correct operation in the Creative Space software. Some materials like vinyl and PVC are hazardous to cut/engrave with a laser because they can create a corrosive vapor.
What can the xTool M1 laser cut?
With its highly focused dual-beam laser head, the xTool M1 can cut through a variety of materials in one pass, including:
- Basswood Plywood (up to 8mm)
- Black Walnut Plywood
- Pine Plywood
- MDF
- Foam
- Bamboo plant labels
- Kraft Paper
- Wood tags
- Some dark acrylics (not transparent)
- Leather
- Fabric
- Felt
Note: To cut clear acrylic or transparent acrylic, you would need a CO2 laser like the xTool P2. To learn more, see my post on acrylic laser cutting with the P2.
What can the xTool M1 laser engrave?
The xTool M1 can both score and engrave (raster engrave) materials depending on your desired outcome.
What’s the difference between score and engrave? When “score” is selected, the xTool M1 will etch the design with a single stroke onto the material, while “engrave” will fill in the entire shape or text.
The xTool M1 can engrave a wide range of materials since the thickness of the material is less critical compared to laser cutting.
I tried engraving the metal tag that was included with my premium material box. The monogram looked perfect on my handprint ornaments!

Engravable materials include everything listed under laser cutting, plus:
- Stainless steel dog tags
- Metal jewelry
- Apple watch bands
- Metal cards and cardholders
- Stone
- Ceramic
- Wood coasters
- Glass
- Rubber stamps (2.3mm)
- Stainless steel tumblers
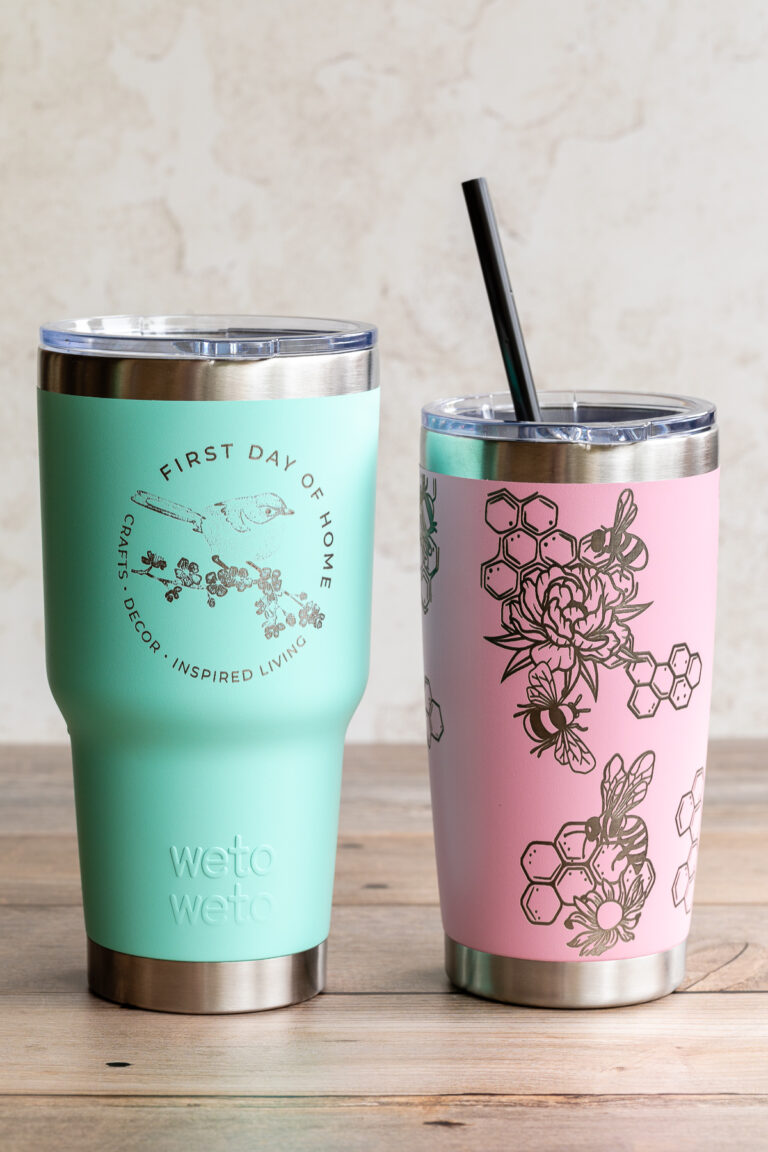
I tested the laser engraving feature with the xTool Rotary on a few powder-coated tumblers. As you can see below, the laser engraved tumblers look professional enough to sell!

See the projects section for another engraving example.
What can the xTool M1 blade cut?
As a hybrid laser cutter, the xTool M1 has a blade to cut materials like heat-transfer vinyl, frosted PVC, sticker paper, and PU leather. The machine comes with both light-grip and strong-grip cutting mats for blade-cutting projects.

In my test of faux leather, I found that I needed tape around the edges to help it stick to the mat while cutting. Overall, the cut was clean and had similar results to my Cricut Maker 2 and Explore 3 machines.

To showcase the blade-cutting feature, I have a complete tutorial on how to use heat transfer vinyl with the M1. It walks through the steps to design your own SVG in the xTool software to make a t-shirt.
The blade is easily removed when performing laser cutting/engraving operations.
Safety Considerations & Accessories
The xTool M1 comes with built-in safety features like a safety interlock that stops the machine if the lid is lifted during operation.
Like other laser-cutting machines, the xTool M1 generates fumes when laser cutting or engraving certain materials. For this reason, the machine includes an exhaust hose that you can vent out a window.
Many users aren’t bothered by the exhaust with this setup, but I wanted more ventilation for my indoor craft room space. To reduce fumes, I use an inline fan along with an exhaust port vent adapter and aluminum ducting. In combination with the xTool Smoke Purifier, this setup has made a noticeable difference.
Whether you retrofit your xTool with an inline fan or not, there are two accessories I highly recommend in addition to the vent pipe.
Air Assist Set
The xTool Air Assist attaches to the laser module to blow high-pressure air while the laser is cutting or engraving, removing dust and debris. The noise from the pump is minimal, and you can fully adjust the air volume depending on the project.
By turning the air assist on, you’ll achieve a cleaner cut and avoid scorching and discoloration. The difference is quite noticeable, so it’s worth the additional investment, which runs just under $150.
Riser Base with Honeycomb Panel
The Riser Base sits underneath the M1 machine, enabling it to cut or engrave larger projects. (Think of thicker pieces of wood and cylindrical objects like tumblers.) The riser includes a Honeycomb Panel that you can slot in at different heights depending on the object.

Most importantly, the Honeycomb Panel allows more smoke to escape under the material. Having the smoke enclosed in the Riser Base helps with the exhaust and also protects your work surface underneath. Without the honeycomb, you’ll want to use the triangular prisms (included in the box) to elevate wooden objects and prevent scorching.
Note: One tip I’ve learned with the honeycomb panel is to position your object at roughly the same height as the original base plate. When working with thick objects, you may find yourself lowering the honeycomb panel in the riser base but then raising an object slightly with a block underneath to bring it to the proper height. You’ll see an example of this in my post on laser engraving cutting boards.
Other Safety Accessories
The makers of the xTool also sell a Smoke Purifier to help with the exhaust. It sits near the machine, connecting to the exhaust pipe, and is about the size of a trash bin.
After using this product for the past few months, I can attest that the purifier significantly helps with the exhaust, but the filter replacements can be costly. It’s still a great option for those who are sensitive to the exhaust.
xTool Creative Space Software
All the magic happens with xTool’s free software called Creative Space (XCS). There are both desktop/tablet and mobile versions of the software available. I find it’s easier to maneuver on a desktop for intricate projects.
When you set up your M1 machine, you’ll connect via USB cable to your computer. Setting up a Wi-Fi connection is easy, but be sure to avoid special characters in the Wi-Fi password for it to work properly.
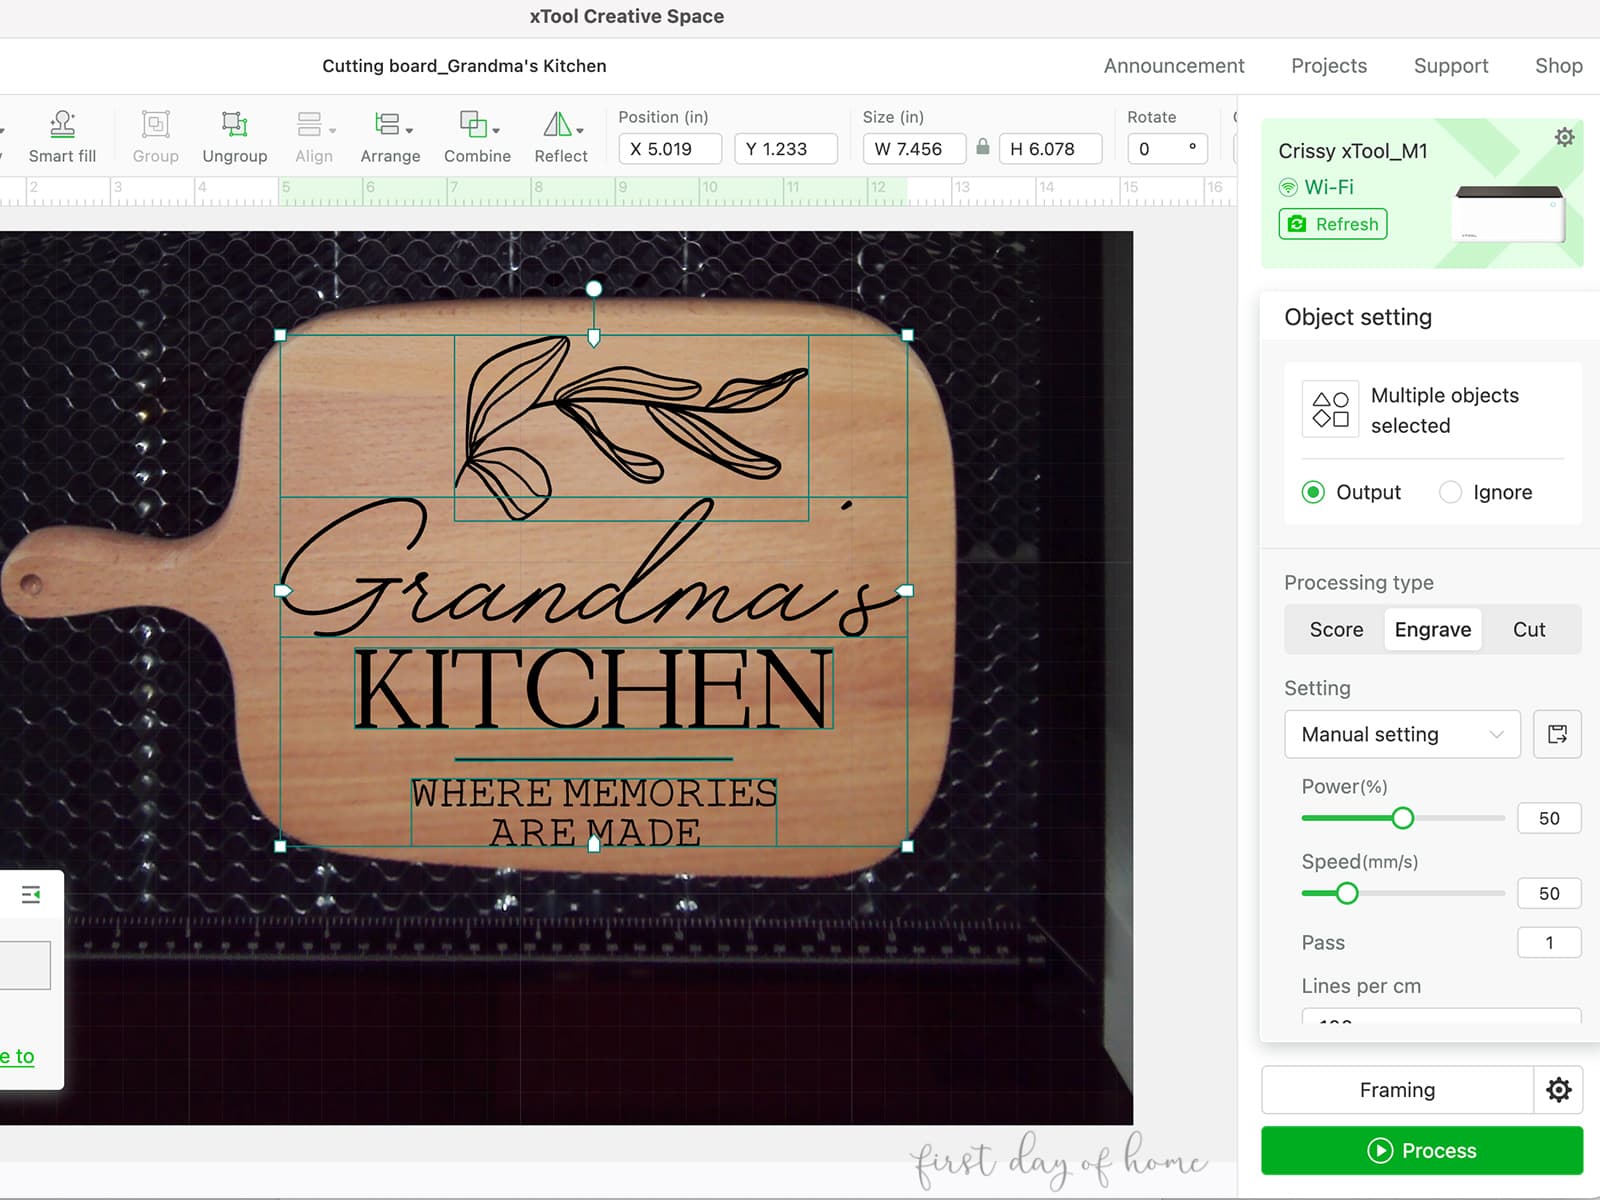
The XCS software is similar in functionality to Cricut Design Space if you have experience with that program. The great thing about XCS, however, is having the ability to preview your project with the built-in camera.
You’ll size and format your design for laser cutting, engraving, or blade cutting within the software. You can also batch fill within the software if you’re creating multiple copies with the same design.
XCS offers many graphics and shapes you can format directly in the software. You also have the option to upload designs from Canva, Adobe Illustrator, Procreate, or any other design software.
Another popular laser software option is Lightburn. While you can’t directly control the M1 from Lightburn, there is a workaround that you can read about here.
xTool M1 Beginner Projects
I decided to test the xTool M1 on three projects. Of course, I got a little carried away and started making gifts and accessories for myself in the process! Overall, I couldn’t be more pleased with the results.
Always follow the manufacturer’s safety instructions when operating laser equipment like the xTool M1.
1. Engraved Cutting Board
I’ve wanted to make an engraved cutting board for ages, but I was skeptical about the results I’d get with the xTool. This project won me over completely.
You can buy a beech cutting board directly from xTool, though other brands will also work. I just decided to play it safe with my first attempt.

For this project, I used the Riser Base with Honeycomb Panel, but it took a little detective work to realize I had to lower the panel and place my cutting board on a thin piece of wood to elevate it.
The cutting board came with clear instructions for the material settings. It was just a matter of sizing my SVG files and hitting “process” and the start button to begin engraving.
We can’t wait to surprise Grandma with this engraved cutting board for her birthday!
Read the full step-by-step tutorial on how to engrave a cutting board for more details.

2. DIY Rubber Stamp
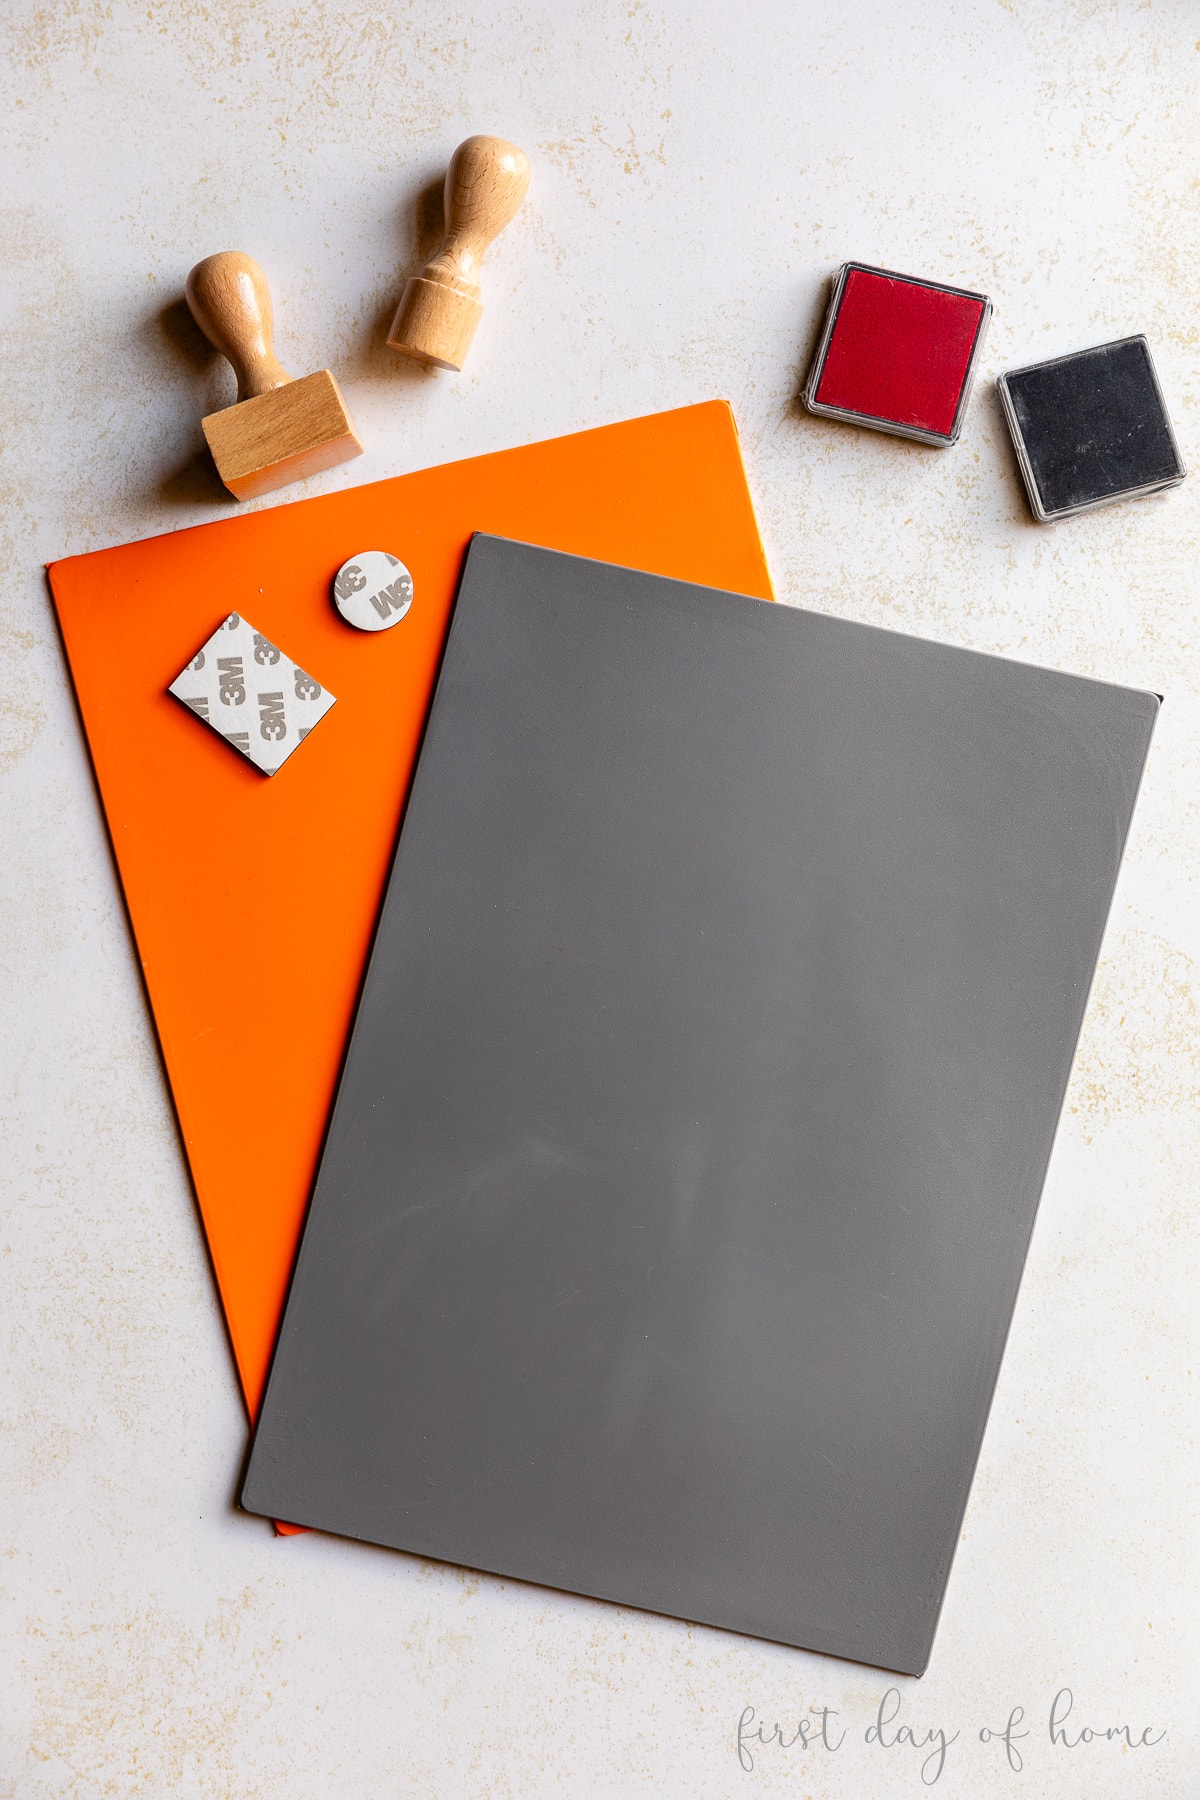
The xTool M1 can also cut rubber, which may appeal to those who want custom stamps for cardmaking or small business marketing. (Think of stamping your packages with a company logo for your Etsy shop as an example.)
I tested the rubber stamp kit from xTool, which included two rubber stamp sheets, rectangular and round wooden stamps, and two ink pads.
I wanted to see if the xTool could engrave an intricate design, but I had to keep it small enough to fit on the 1.5×1 inch stamp base. I chose a reindeer design since the image was available in the free Creative Space software.
The results blew me away! Those antlers!

In a future post, I’ll cover an in-depth tutorial on how to make stamps. (I’ve learned a trick or two.) Can you picture making personalized stamps for friends and family this year?
3. Engraved Glass Tumbler
Engraving glass was the project that scared me the most, but I can assure you it was far easier than I imagined. I’ve done plenty of etched glass with Cricut, so I felt comfortable with the old stencil and etching cream technique.
Using a laser to engrave glass (also called marking glass) will give you far cleaner lines. The precision of the laser makes it possible to capture small details that glass etching might miss with a stencil.
When you want to engrave something clear with the M1, you’ll have to apply an even coat of dark paint. Otherwise, the laser won’t accurately detect the object and will shine right through the glass. (With a CO2 laser like the P2, you don’t have to coat the glass first.)
I used three coats of chalk paint on my mason jar, which I easily rinsed off after the laser engraving.

Since I used a cylindrical object, I also had to use the RA2 Rotary Attachment. This accessory plugs into the M1, and the software rotates the wheels to ensure the design wraps around the object while engraving.
You’ll also need the Riser Base or individual wooden risers included with the M1 Deluxe package. The riser helps accommodate taller objects, putting them at the right level for the laser to read the surface.

I chose a monogram sunflower design to dress up a Dollar Tree glass tumbler, and I couldn’t believe how crisp the lines looked. I placed a piece of black paper inside to reveal the design in the photo, but it’s easily visible (and gorgeous) in person.
Read the full step-by-step tutorial on how to laser engrave glass for more details.
xTool M1 vs. Other Laser Cutting Machines
There are many laser cutting and engraving machines on the market. Here’s a quick look at the price and performance of xTool M1’s main competition.
xTool M1 vs. Other xTool Machines
xTool offers three other machines with diode lasers, ranging from around $700 to $1,900 in price: the xTool D1 Pro, xTool F1, and the S1. (Remember diode lasers tend to be cheaper and smaller but less powerful than CO2 lasers.)
The xTool M1 sits in the middle of the price range around $1,000 on sale without accessories.
| xTool M1 (10W) | xTool D1 Pro (10W) | xTool F1 (10W) | |
|---|---|---|---|
| Price | ~$1,000 | ~$670 | ~$1,600 |
| Working area | 15.2 x 11.8 in. | 17 x 16 in. (can expand) | 4.5×4.5 in. (can expand) |
| Max speed | 250 mm/s | 400 mm/s | 4,000 mm/s |
| Unique features | Blade, Camera, Enclosed | Enclosure sold separately | Portable, Enclosed |
xTool D1 Pro (10W)
The D1 Pro is for hobbyists and beginners who want to get started with laser cutting.

The D1 also comes in a 20W option which can cut thicker materials in a price range closer to the M1. The D1 is not enclosed, but you can buy it with an enclosure. Its working speed is slightly faster than the M1, and you can buy an extension kit to expand the workable project area.
xTool F1 (10W)
The portable xTool F1 includes a 10W blue laser and a 2W infrared laser to cut a wider range of materials.

Its main selling point is portability and speed (4,000 mm/s), so this machine is perfect for craft fairs and personalization on the go.
xTool S1 (20W or 40W)
xTool also just released the “flagship” S1 Enclosed Diode Laser Cutter, which comes in 20W and 40W versions and has switchable laser modules. This machine is perfect for those seeking a “side hustle” selling handmade items.

The 40W version runs around $2,400 and can cut up to 18mm thick wood in one pass. However, as a diode laser, you won’t be able to cut clear acrylic.
Like the D1 Pro, the S1 is expandable. You can also purchase an automatic conveyor feeder for large projects.
xTool P2 (55W CO2 Laser)
The higher-end xTool P2 (55W) uses a CO2 laser suitable for larger and thicker materials but will cost around $4,300. This is the perfect machine for running a small business selling laser-crafted products.
If you have a commercial need to cut up to 18mm of walnut or 20mm of acrylic (including clear acrylic) in a single pass, this higher-end machine might be for you. See my tutorial on how to laser cut acrylic for some P2 project examples.
xTool M1 vs. Glowforge Machines
The xTool M1 competes most closely with the new Glowforge Aura, which is a similar diode laser machine. Other Glowforge products use CO2 laser technology and will cost quite a bit more.
Here’s how the xTool M1 stacks up vs. the closest Glowforge products:
| xTool M1 (10W) | Glow- forge Aura (6W) | Glow- forge Plus (40W CO2) | |
|---|---|---|---|
| Price | ~$1,000 | ~$1,200 | ~$5,000 |
| Working area | 15.2 x 11.8 in. | 12×12 in. (can expand) | 19.5 x 11 in. (can expand) |
| Max laser cut depth | 0.3 in. | 0.25 in. | 0.5 in. |
| Unique feature | Blade | Works with clear acrylic |
All of the machines above include cameras with a live view of the work area. The real question comes down to price and required functionality.
The Aura will cost will cost roughly the same with a smaller working area but the flexibility to expand. The Glowforge Plus is more in the professional category competing directly with CO2 lasers like the P2 but at an even higher price point.
Clearly the xTool carries a lot of value for the price, and it’s more of a scrappy new competitor challenging established brands like Glowforge.
The Final Verdict
I was officially blown away by these beginner projects and can’t stop coming up with more ideas for things to make, especially for DIY gifts!
Of all the features xTool offers, I believe the laser cutting and engraving options have the greatest appeal, especially if you already own a Cricut, Silhouette, or other craft cutting machine.
With the Riser Base installed, it’s a bit tricky to swap back and forth between laser cutting/engraving and blade cutting. You’ll have to remove the honeycomb panel for blade cutting and put the base plate back in its original position at the bottom of the M1. (Some users just place one screw back in instead of all five.) Then you’ll unscrew the base plate and replace it with the honeycomb panel when you return to laser cutting. I recommend batching projects to do all your blade cutting together.
That said, the versatility of this machine and its relatively small size make it the perfect solution for crafters or small business owners starting out.
I will definitely be sharing more tutorials and ideas to help beginners get started with laser cutting, so don’t forget to subscribe to my weekly newsletter!
Helpful Resources for xTool M1
- Material Settings Reference
- xTool M1 Official Facebook Group
- xTool M1 Owner Facebook Group (very helpful)
- Riser Base and Air Assist Installation
- How To Articles
- M1 Project Community
Pin it for later!
You Might Also Like