Glass Laser Engraving: Beginner Project


Glass laser engraving sounds intimidating, especially if you’re new to laser machines. I was in the same boat when I first started! However, the process is quite simple. Once you master these basic engraving techniques, you’ll make personalized laser-engraved glassware in no time.

This post contains affiliate links, and I will be compensated if you make a purchase after clicking on my links. For more information, please see my disclosures.
Tutorial Overview
Maybe you recently bought your first laser machine and can’t wait to start trying “all the things.” I remember my excitement when I unboxed my machine too! The idea of making monogrammed tumblers and wine glasses was a major reason for wanting a laser machine.
Laser engraving glass is actually a process called marking glass. The laser creates tiny fractures when it reacts with the silica and other materials inside the glass. The result looks like a frosted image. For simplicity, I’ll still refer to it as “engraving” in this guide.
Which laser machines can engrave glass?
For this tutorial, I’m using the xTool M1 machine to create a custom design on a mason jar tumbler. The xTool M1 is a 10-watt diode laser, so I’ll share the settings for that particular machine using the Rotary Attachment. However, you can also use a CO2 laser machine like the xTool P2 with the same attachment.
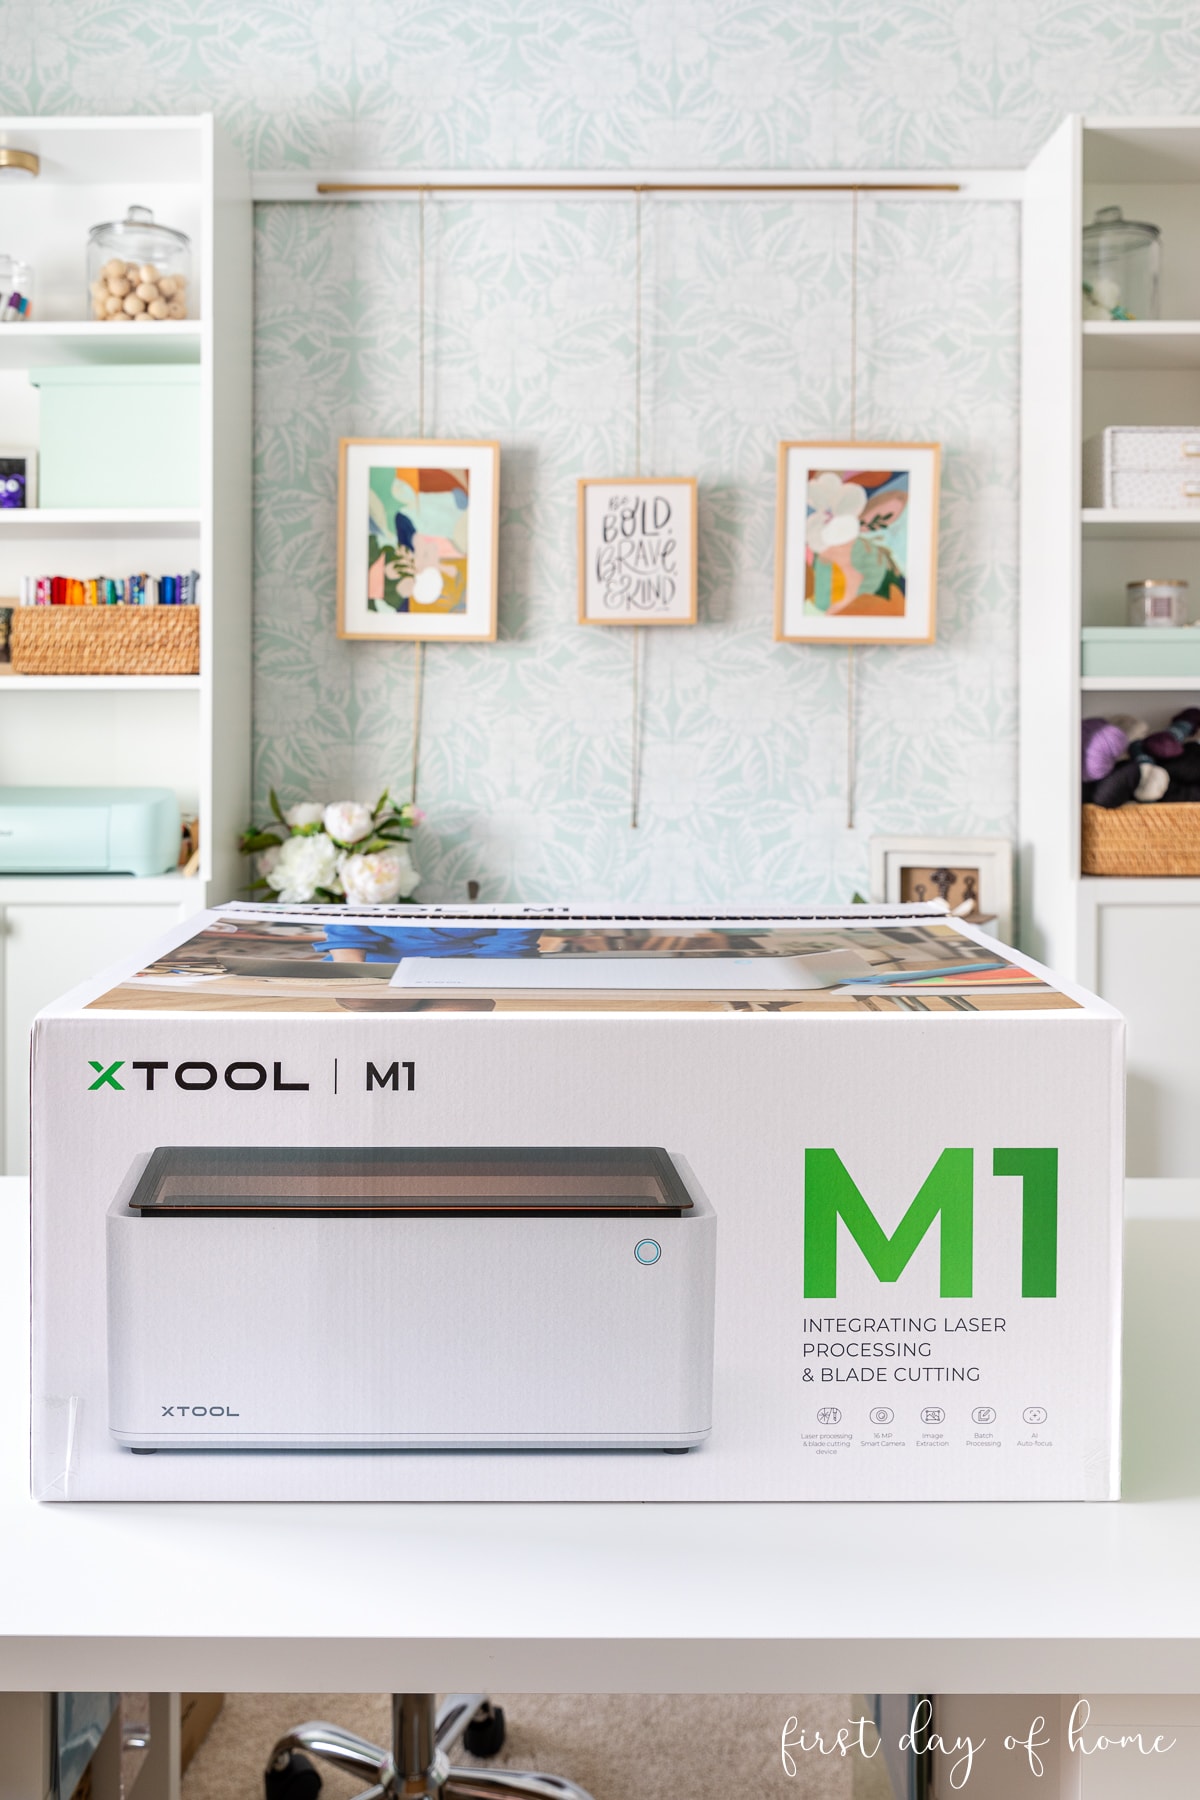
Check out my full xTool M1 review or my M1 unboxing video for more information. Laser engraving glass is just the tip of the iceberg regarding projects you can make.
Engraving Cylindrical Glass Objects
Engraving cylindrical objects was a steep learning curve for me, so I hope to simplify the process for you. The biggest hump you need to get over is using a rotary tool.

The rotary attachment turns your object as the machine does the engraving. While it looks complicated because it comes with many parts, you’ll only need a few parts for this project setup.
If you’re not planning to engrave a round or cylindrical object, you can skip the rotary part of this tutorial (step 5 of the tutorial).
Practice with Budget-Friendly Glass
Before you begin laser engraving glass, I highly suggest starting with a few “practice pieces” to test your laser settings. You can devote one piece to making a test grid with variations in laser settings to determine which speed and power combination you like best.
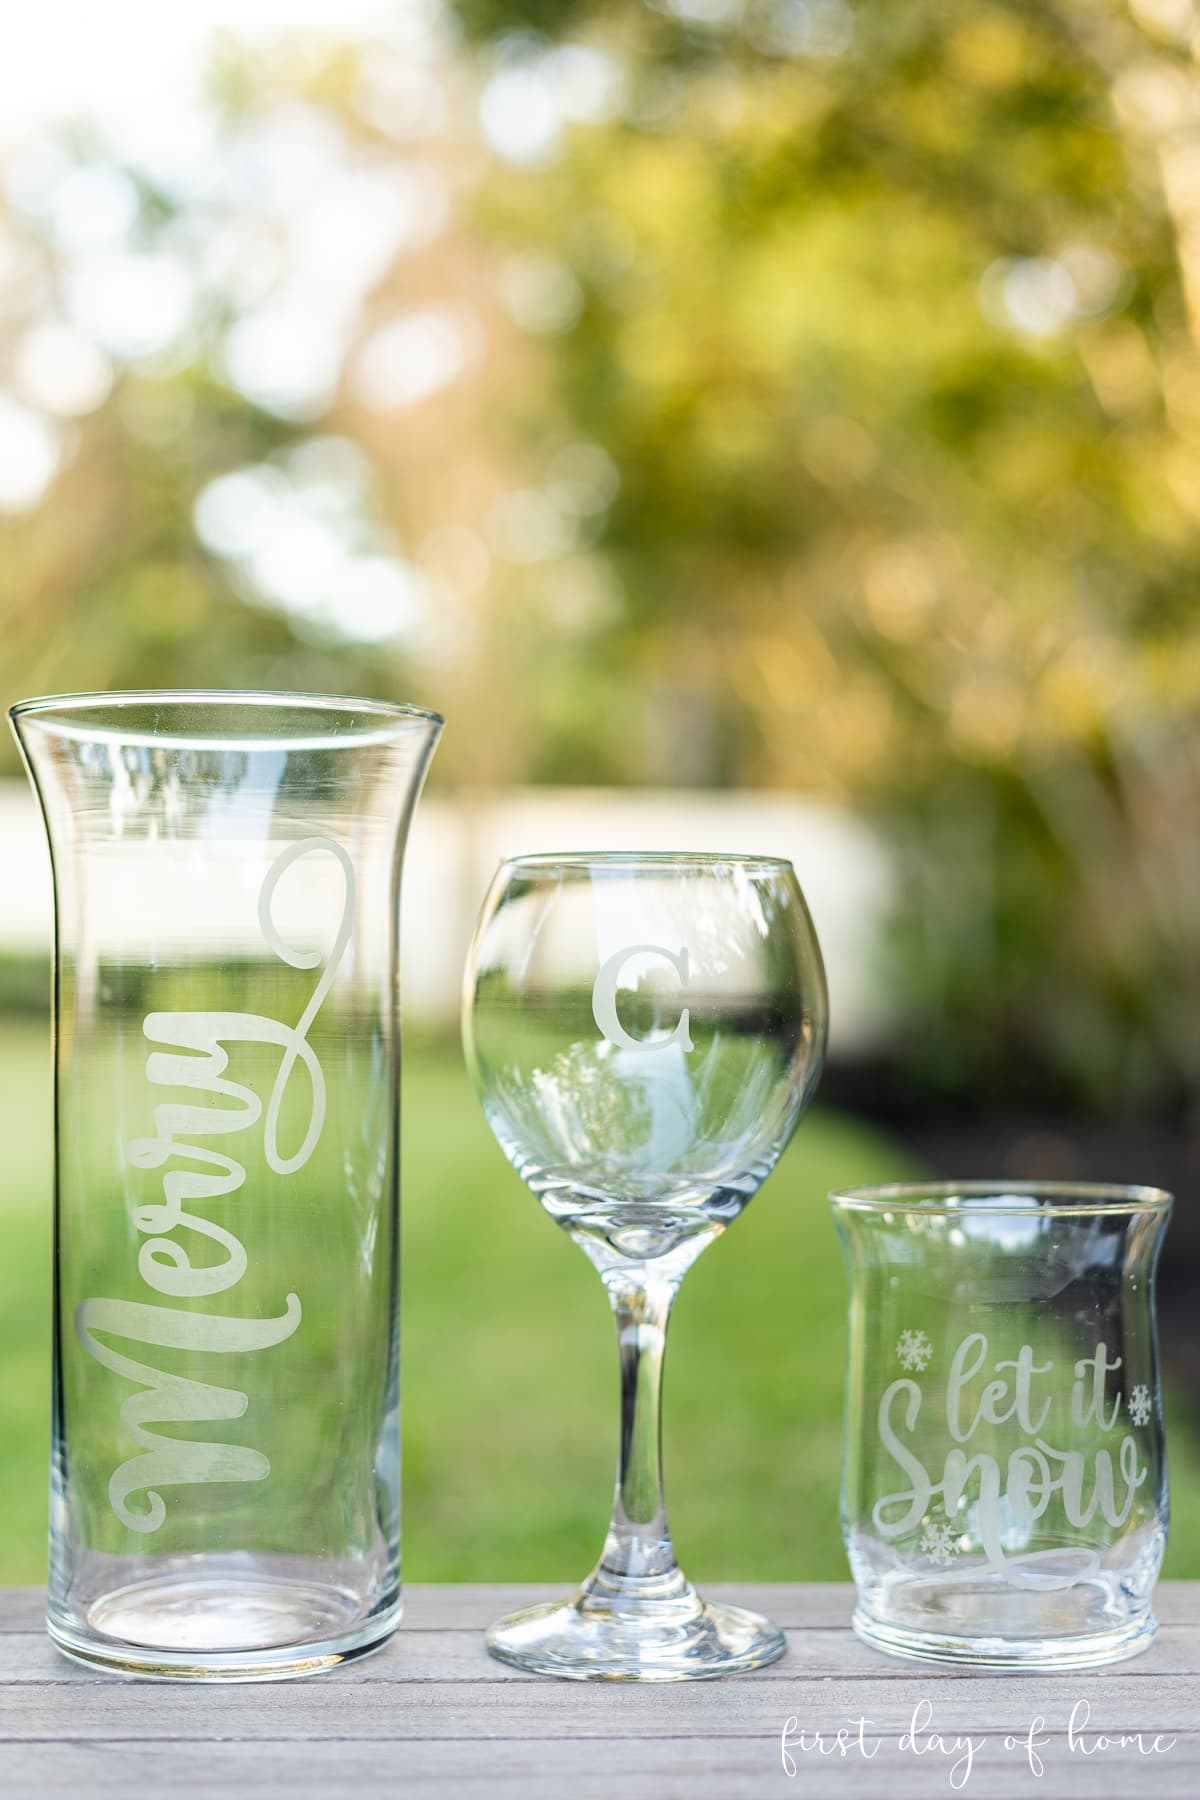
Head to a dollar store like Dollar Tree to grab cylindrical glass pieces like goblets, wine glasses, or vases. The etched glass objects in the photo above are just a few examples of other glassware I’ve purchased at Dollar Tree. In fact, that’s where I found the adorable mason jar tumblers for this tutorial.
Believe it or not, cheap glass is often better for laser engraving because it has a lower metal content (unlike leaded glass).
Tip: Start with a perfectly cylindrical object (with minimal tapering) for your first project.
Glass Laser Engraving vs. Glass Etching
First, you should know there’s a difference between glass etching, which uses etching cream, and glass laser engraving, which uses a laser beam to engrave (or mark) the surface of the glass.
I’ve written extensively about glass etching and created a YouTube video showing how to etch glass with Cricut if you’re interested. With glass etching, you need to create a custom stencil (or use a pre-bought stencil) before applying an acidic cream to “eat away” the exposed parts of the design.
Pros of Laser Engraving vs. Glass Etching
- Ease – Glass laser engraving does not require a stencil. The design you create in your laser software program gets sent directly to your machine.
- Precision – A laser machine can easily engrave detailed images onto a glass surface. Since glass etching requires a stencil, you may struggle with intricate designs.
- Speed – With a laser machine, you can laser-engrave glass in just a few minutes. It’s also easier to batch-process glass objects for small business orders.
- Safety – Laser engraving glass requires no additional safety precautions beyond what you would normally use for laser projects. You still need good ventilation and fire safety measures, but you don’t need protective gloves and safety glasses as you would for glass etching cream.
Cons of Laser Engraving vs. Glass Etching
The biggest disadvantage of laser engraving is the cost. If you don’t already own a laser machine or have plans to launch a laser-engraving business, laser engraving could be cost-prohibitive.
Glass etching, on the other hand, requires only a small jar of etching cream, personal protective gear, and a stencil. The total cost would run about $15-30 depending on the stencil used.
In short, glass etching is a great method for hobbyists and crafters while laser engraving achieves professional results worthy of a small business.
How to Laser Engrave a Glass Tumbler
For this simple project, I recommend using a perfectly cylindrical object. This mason jar tumbler has the same circumference across the entire area that will be engraved, so you’ll avoid the heartache of dealing with distorted images.
Supplies for Glass Engraving

- xTool M1 laser machine (or similar)
- RA2 Pro Rotary Attachment
- xTool Riser Base and Honeycomb Panel (or wooden risers)
- Mason jar or other cylindrical object*
- Chalk paint or dark tempera paint
- Painter’s tape (optional)
Special xTool Coupon
CURRENTLY ON SALE! Save $80 on your xTool M1 (U.S. store) with the discount code FDOH80! Redeem here.
Step 1: Prepare the glassware
With a diode laser like the xTool M1, you need to mask the glassware with dark paint to allow the machine to read the surface of the object.
After cleaning the glass surface with rubbing alcohol, I painted several coats of grey chalk paint over my engraving area, waiting about 1 hour between coats. Other xTool users also recommend tempera paint or chalkboard spray paint. The goal is to create an opaque layer so the laser won’t pass through the glass. You only need to paint the area you plan to engrave.
To help center my design, I also placed painter’s tape on both sides of the design. Using masking tape or painter’s tape can also prevent the glass from slipping in the rotary.
Note about C02 Lasers
With a CO2 laser (like the xTool P2), there’s no need to mask the glass with tape or paint. However, it’s useful to place a small piece of tape on the area to be engraved. This helps to automeasure the distance from the laser to the glass surface in the software. You can then remove the tape when you’re ready to engrave.
To determine the proper placement of the rotary roller tool, you need to measure the perimeter of the glass object.

As you can see in the above photo, the measuring tape helps determine the settings for the rotary rollers and the riser base. Level “C” on the Rotary Attachment Gear indicates the position of the rollers (see photo below).

The red dot inside the laser machine should fall on the highest point of the glass object.
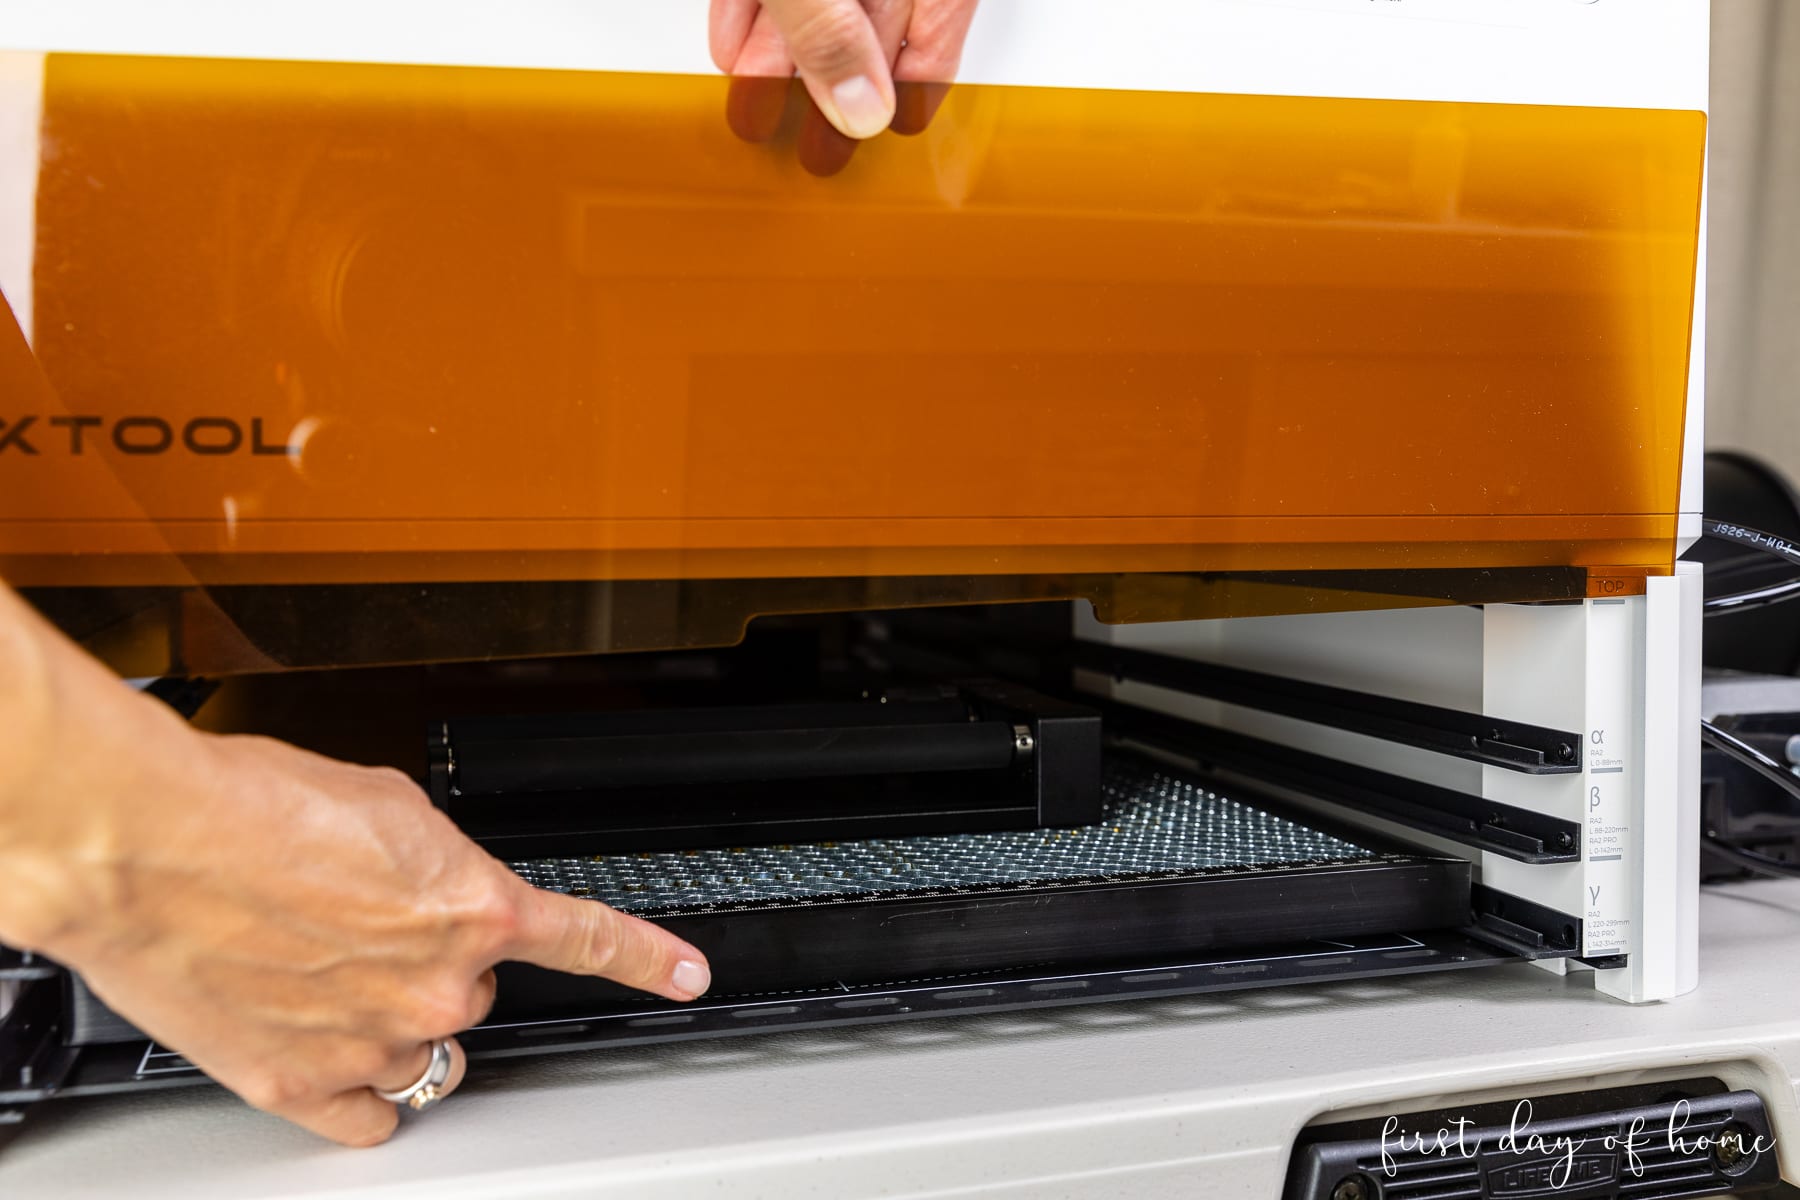
Step 2: Install the Riser Base
The gamma (γ) symbol on the measuring tape indicates the level of the honeycomb panel in the riser base (or wooden risers if applicable). As you can see in the photo below, I’ve placed my honeycomb panel on the lowest setting before placing my Rotary inside the machine.
Step 3: Set up the rotary tool
In my tutorial on engraving tumblers, I showed the steps to install the RA2 Pro Rotary Attachment. In that blog post, you can also see the jaw chuck setup of the rotary as opposed to the roller setup.
After you plug the rotary into the machine, you may need to level your object if it has a tapered shape.
Tip: Leveling Glassware
The Rotary Attachment includes a small level and Support Module that can raise or lower an object to achieve a flat plane. You can also use a piece of wood or other object underneath the rotary to level your item.
Step 4: Format the design
In the xTool Creative Space software (XCS), you can upload any design you like or choose from a wide selection of standard shapes.

I’m using a free SVG file I downloaded from Creative Fabrica. If you’d like to get a free all-access trial with 10 free designs, you can go here.
First, I sized my design to fit the tumbler and added my name using the XCS software. Then, I selected Engrave as my processing type and entered the laser engraving settings shown below.
Settings for Laser Engraving Glass*
- Power: 100%
- Speed: 90 mm/s
- Pass: 1
- Lines: 260 lines per cm
- Engraving mode: Bi-directional
*Note: Some glass may require different settings, so test your settings before attempting a final project.
Hit “Refresh” in the XCS software to see a live preview of the glass object.
Step 5: Select settings for cylindrical objects
For cylindrical objects like wine glasses, vases, and tumblers, select Laser Cylindrical as your mode. If you plan to engrave a flat glass object, you can choose Laser Flat (for relatively thin objects) or Open Plane (for thicker objects requiring wooden risers or the Riser Base).

“Laser cylindrical” directs the machine to use the rotary attachment, and a green line will appear in the software (see below). Once you verify that the red light in the machine touches the highest point of your glassware, hit the ruler icon in XCS to automeasure the distance to the laser head.

If automeasure fails, you can manually measure the distance to the laser with the provided ruler from xTool.
Next, line up the design with the left border adjacent to the green line. The green line marks the starting point of the engraving, and you can click and drag the green line as needed.
Take care that the image is facing the right direction based on the opening of the glassware. You can rotate the design within the software if needed. I placed my mason jar mouth to the left in the rotary, but it shows up at the top in the software preview.

Your design may look like it extends beyond the image of your glassware, but as long as the width of the design doesn’t exceed your object perimeter, you’re fine. Remember, the rotary will rotate your object as it is engraved.
Step 6: Frame and process the design
Choose Framing in the software to preview where the laser will engrave. When prompted, click the button on the xTool machine to begin framing, and you’ll see the laser head outline the area to be engraved. This is a good opportunity to make adjustments if necessary.
Once you’ve ensured that the rotary is turning properly and the glassware is aligned, the moment has arrived! You can hit Process to begin engraving.
Safety reminder
Never leave your laser machine unattended while in process.
Once you hit Process and the Start button in XCS, you’ll want to do the following things, in order:
- Make sure your exhaust hose is venting to the outside.
- Turn on your smoke purifier (if applicable).
- Hit the button on the front of your M1 machine to begin engraving.
- Do not leave your machine unattended. You can always pause the operation in the software if you need to take a break.

Once the engraving is finished, remove the glass from the machine, and rinse the engraved area under running water to remove debris and paint. Depending on your paint, a cotton ball or Q-tip soaked in alcohol can help remove fine dust or fragments.

It took just over 34 minutes to complete this project, and I was amazed by the results! I inserted a piece of black paper inside my tumbler to better see the engraving in the photo above.
If you have a different experience with your settings while laser engraving glass, please comment below! You can also share your projects with me on Instagram by tagging me (@firstdayofhome).
Pin it for later!

More Laser Tutorials