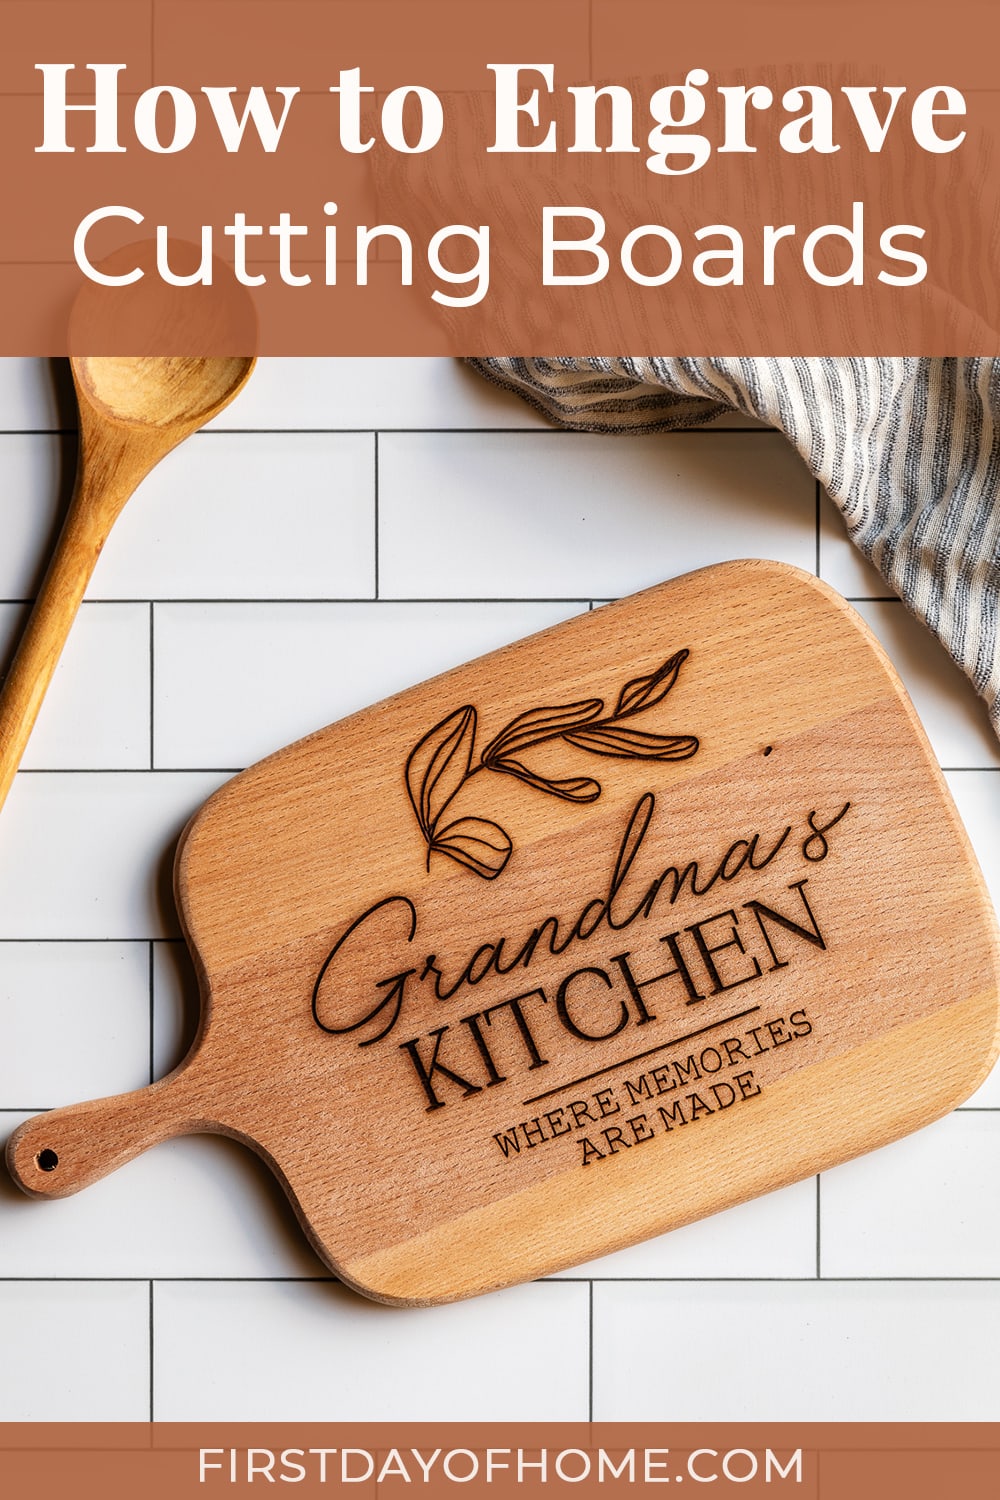
How to Engrave a Cutting Board
Laser engraving continues to gain popularity, and a cutting board is a great beginner project. You can easily learn how to engrave a cutting board using the xTool M1 or M1 Ultra to make personalized DIY gifts. Your friends and family will thank you!
This post contains affiliate links, and I will be compensated if you make a purchase after clicking on my links. For more information, please see my disclosures.
How to Engrave Cutting Boards
You’ve probably seen custom cutting boards all over Etsy. They make excellent wedding or anniversary gifts, in particular. (I’ve given a few as personalized gifts over the years.) This time, I wanted to learn how to make my own. If I can do it, you can too!
This tutorial covers the steps to engrave a wood cutting board using the xTool M1 or M1 Ultra laser machine. You can learn more about these machines in my complete xTool M1 review or M1 Ultra review.

I’ve chosen to use xTool’s wooden cutting board, but you’re not limited to using that brand or type of wood. Woods like beech, bamboo, walnut, cherry, and maple work well. Remember that you’ll want the engraving to stand out, so light-colored wood works best.
Note: The software in this tutorial may look slightly different than current versions, but the process remains the same.
Supplies
- xTool M1 or M1 Ultra laser cutting machine
- Wooden cutting board
- Riser Base with Honeycomb Panel or Wooden Risers
- Air Assist (optional)
- Air Purifier (optional)
Note: If you have a CO2 laser machine, like the xTool P2, you can achieve the same results in even less time. Check out my tutorial on laser-cutting acrylic to learn more about the P2.
Shop for Engravable Cutting Boards

Step 1: Choose a design for your cutting board
You have many options when picking an engravable design for your cutting board. The Atomm Craft Lab is a great place to start when you want to personalize a design quickly. You can see my custom cake topper as one example.
You could also design images directly in xTool Creative Space or use Adobe Illustrator, Inkscape, Procreate, or Canva.
Another great design source is Creative Fabrica. When you sign up for their emails, you’ll also get plenty of free goodies delivered to your inbox.
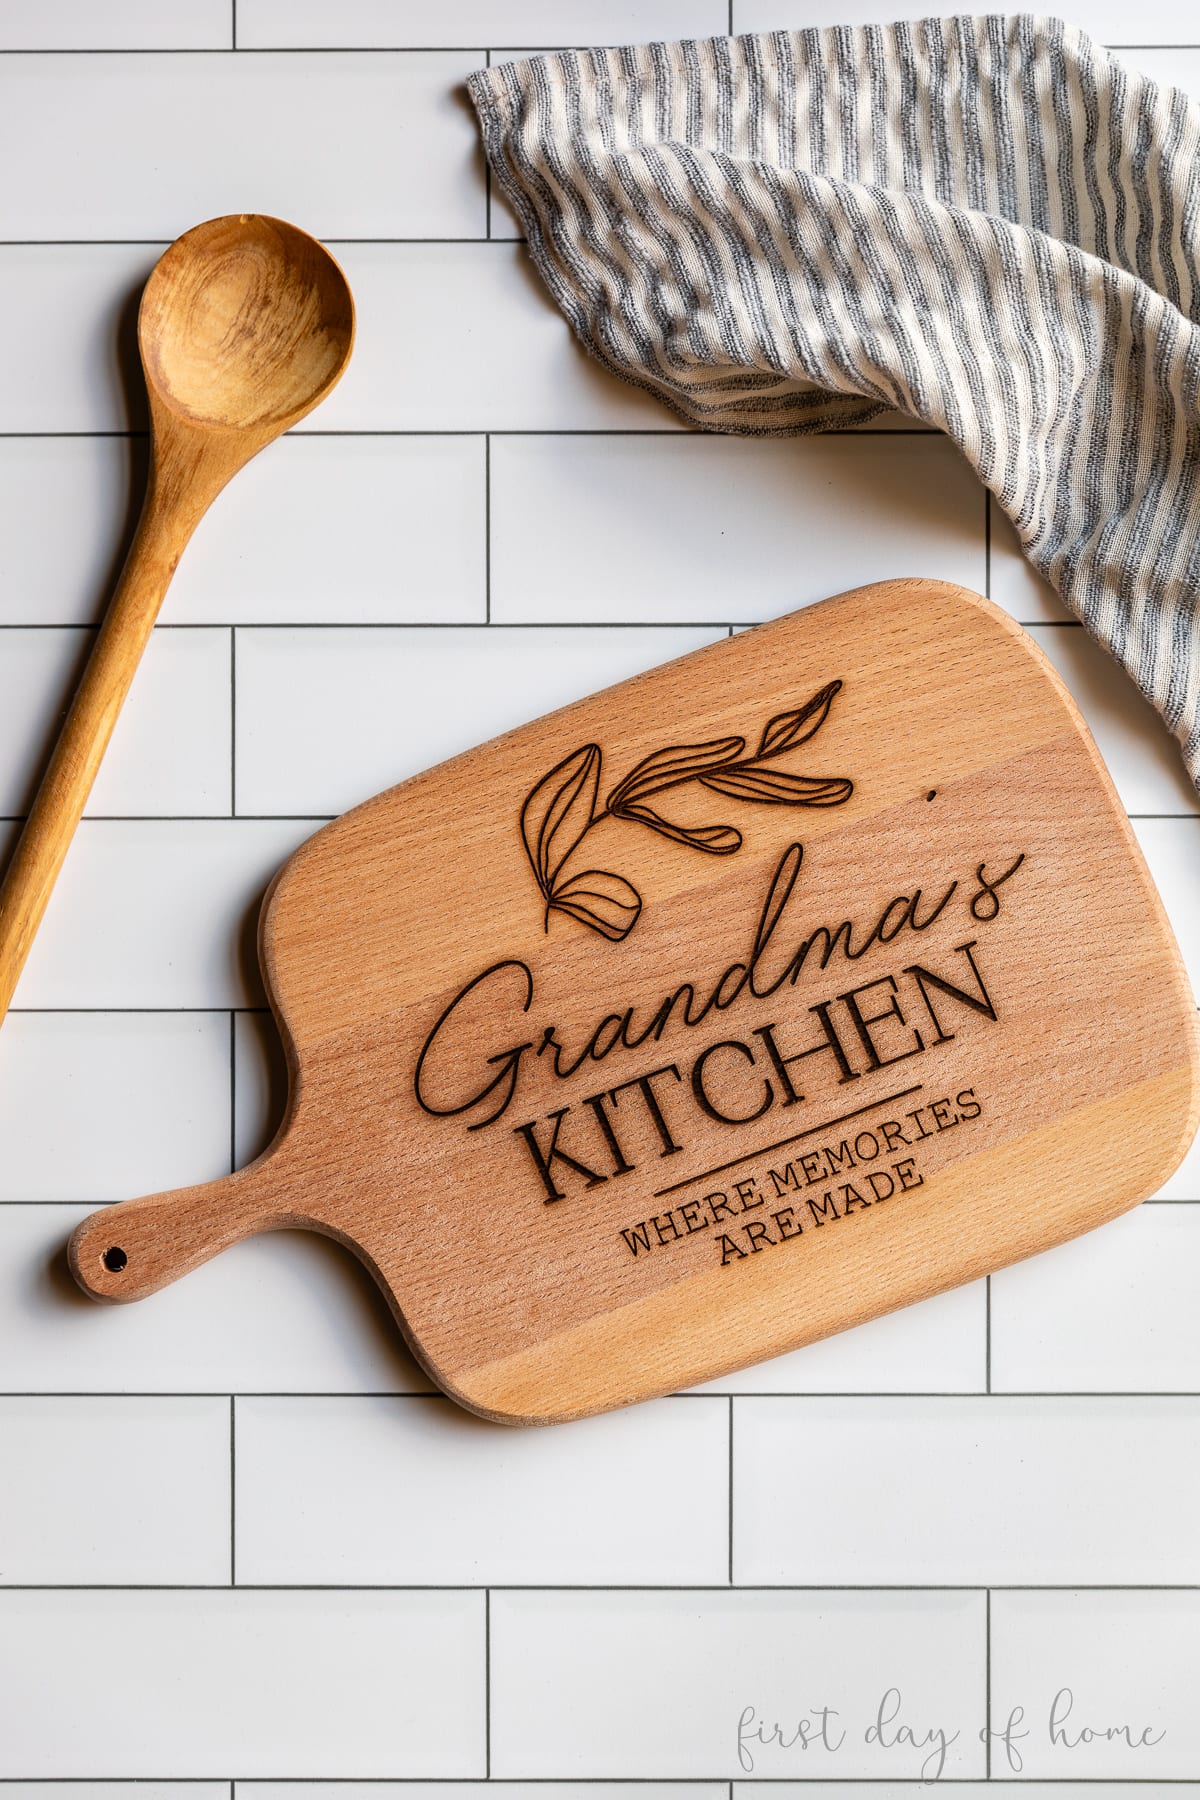
For this tutorial, I selected a Grandma’s Kitchen design from Creative Fabrica. It came as a bundle of 20 designs.
Here are a few popular design ideas if you’re stumped:
- Monogram of your recipient
- Favorite menu item or family recipe
- “Established [Year]” with the date celebrating special occasions
When choosing a font for your design, consider a typeface that resembles a stencil or handwriting style. You may want to avoid an intricate design depending on your laser engraving machine’s capabilities.
Step 2: Adjust the laser machine to the proper height
Before importing your design and sizing it in xTool Creative Space (XCS), you should adjust your xTool’s work surface to the proper height. Start by opening the XCS software, and turn on your machine.
Pro Tip
A good rule of thumb is that the material you want to cut/engrave should be about the height of your base plate.
If you place the cutting board on the base plate, you may notice an error message when you try to auto-measure with the ruler icon. The message says “Auto-measure failed” indicating the material needs to be no more than 0.630 inches above or 0.748 inches below the baseplate.
What does this mean exactly? You need to lower the material. To do that, you have two options.
Option 1: Wooden Risers Method
If you have wooden risers instead of a riser base, prop up the xTool M1 machine on the risers to create more distance between the object you want to engrave and the laser head.
First, measure the thickness of your cutting board. Mine was about 15mm thick, so this tells me I should insert four wooden risers at the lowest height beneath the M1.
Before propping the machine on the risers, you’ll want to unscrew the base plate and remove it from the inside of the M1.
After placing the wooden risers under the M1, rest the base plate below the machine to protect your work surface.
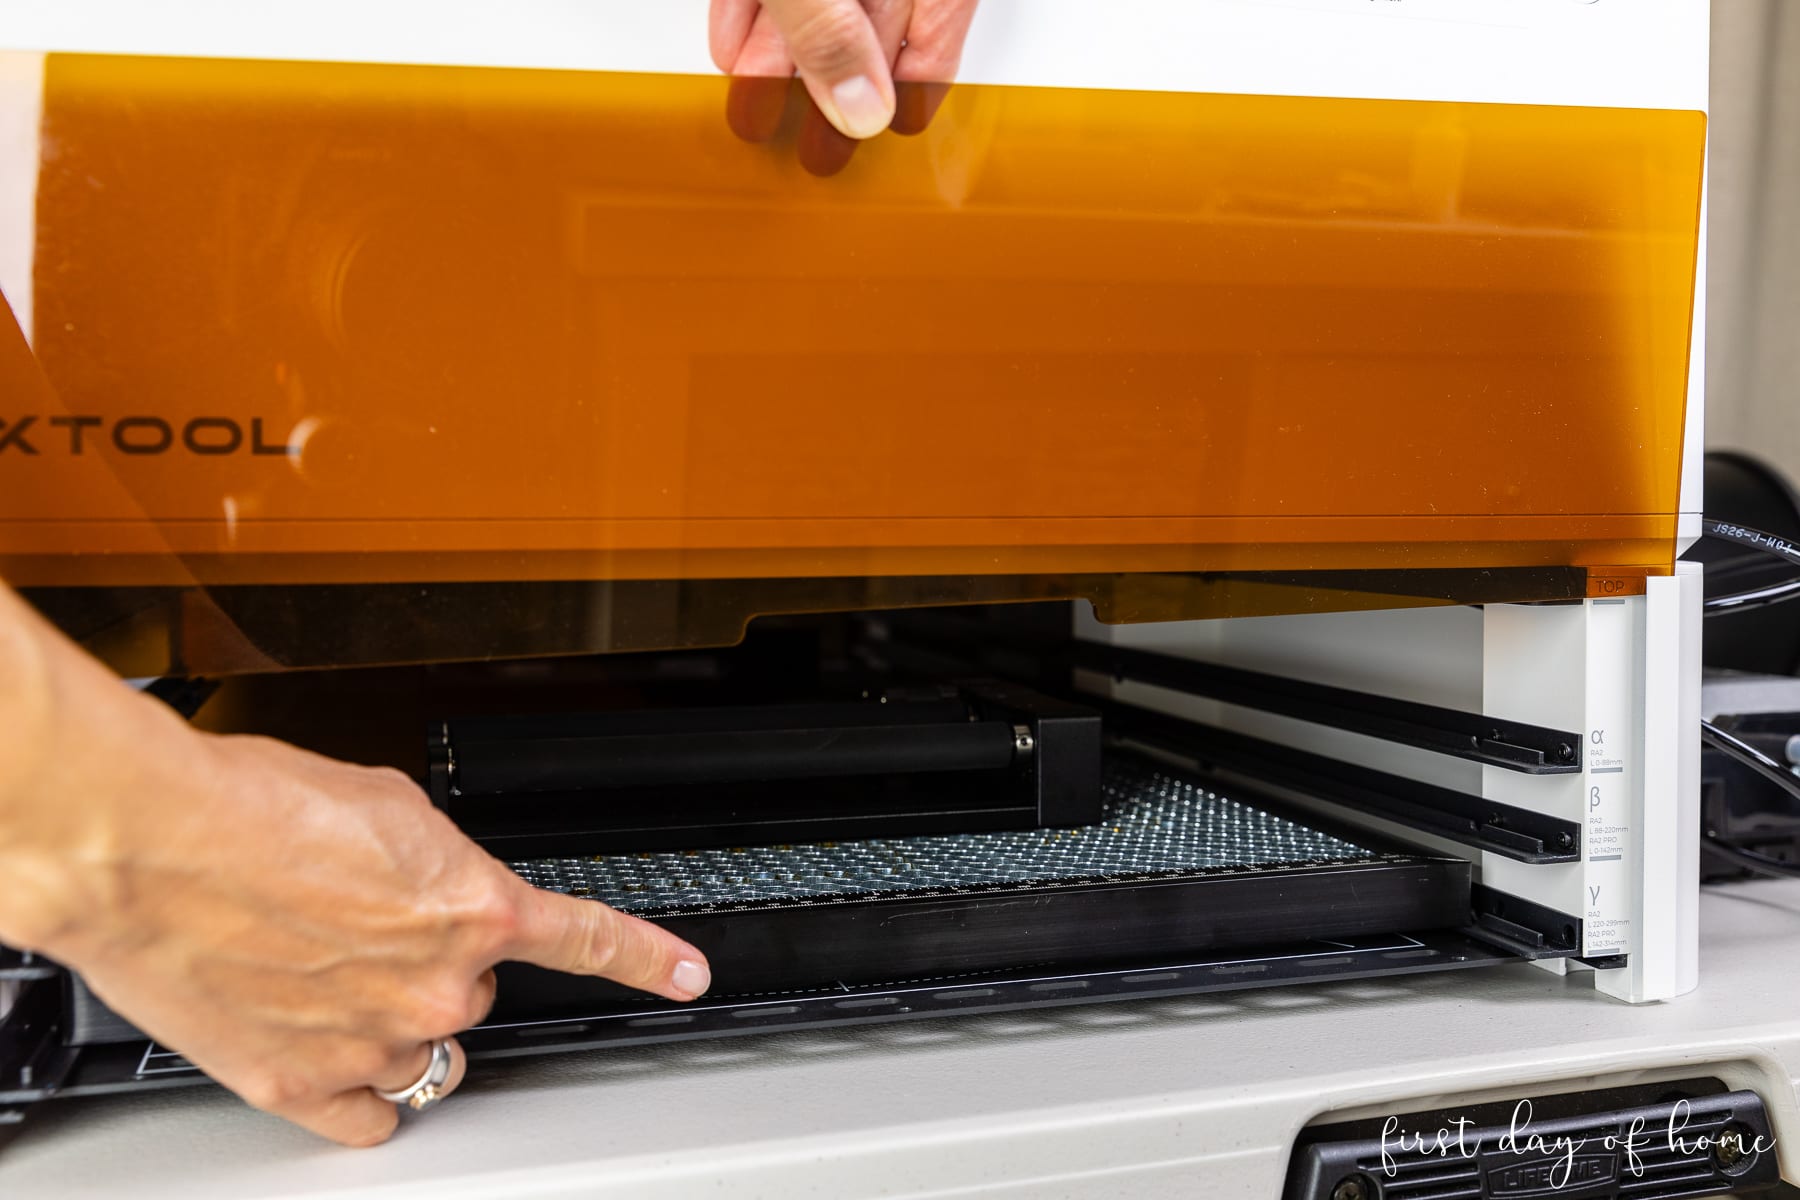
Option 2: Riser Base and Honeycomb Panel Method
My preferred method is using the riser base and honeycomb panel.
By having the riser base, you can ensure your machine is enclosed, reducing the exhaust that enters the room. It also prevents you from having to raise and lower the machine with the wooden risers every time you switch projects.
The xTool M1 Ultra Deluxe Package (an upgraded model of the first M1) also includes a Riser Base and Honeycomb Panel. It differs slightly from the original M1 Riser Base but serves the same purpose.
For this project, I had my riser base in the alpha (A) position, but my cutting board sat a bit too low, making it outside the range for auto-measure. To solve this problem, I inserted a piece of scrap wood beneath the cutting board (see below).
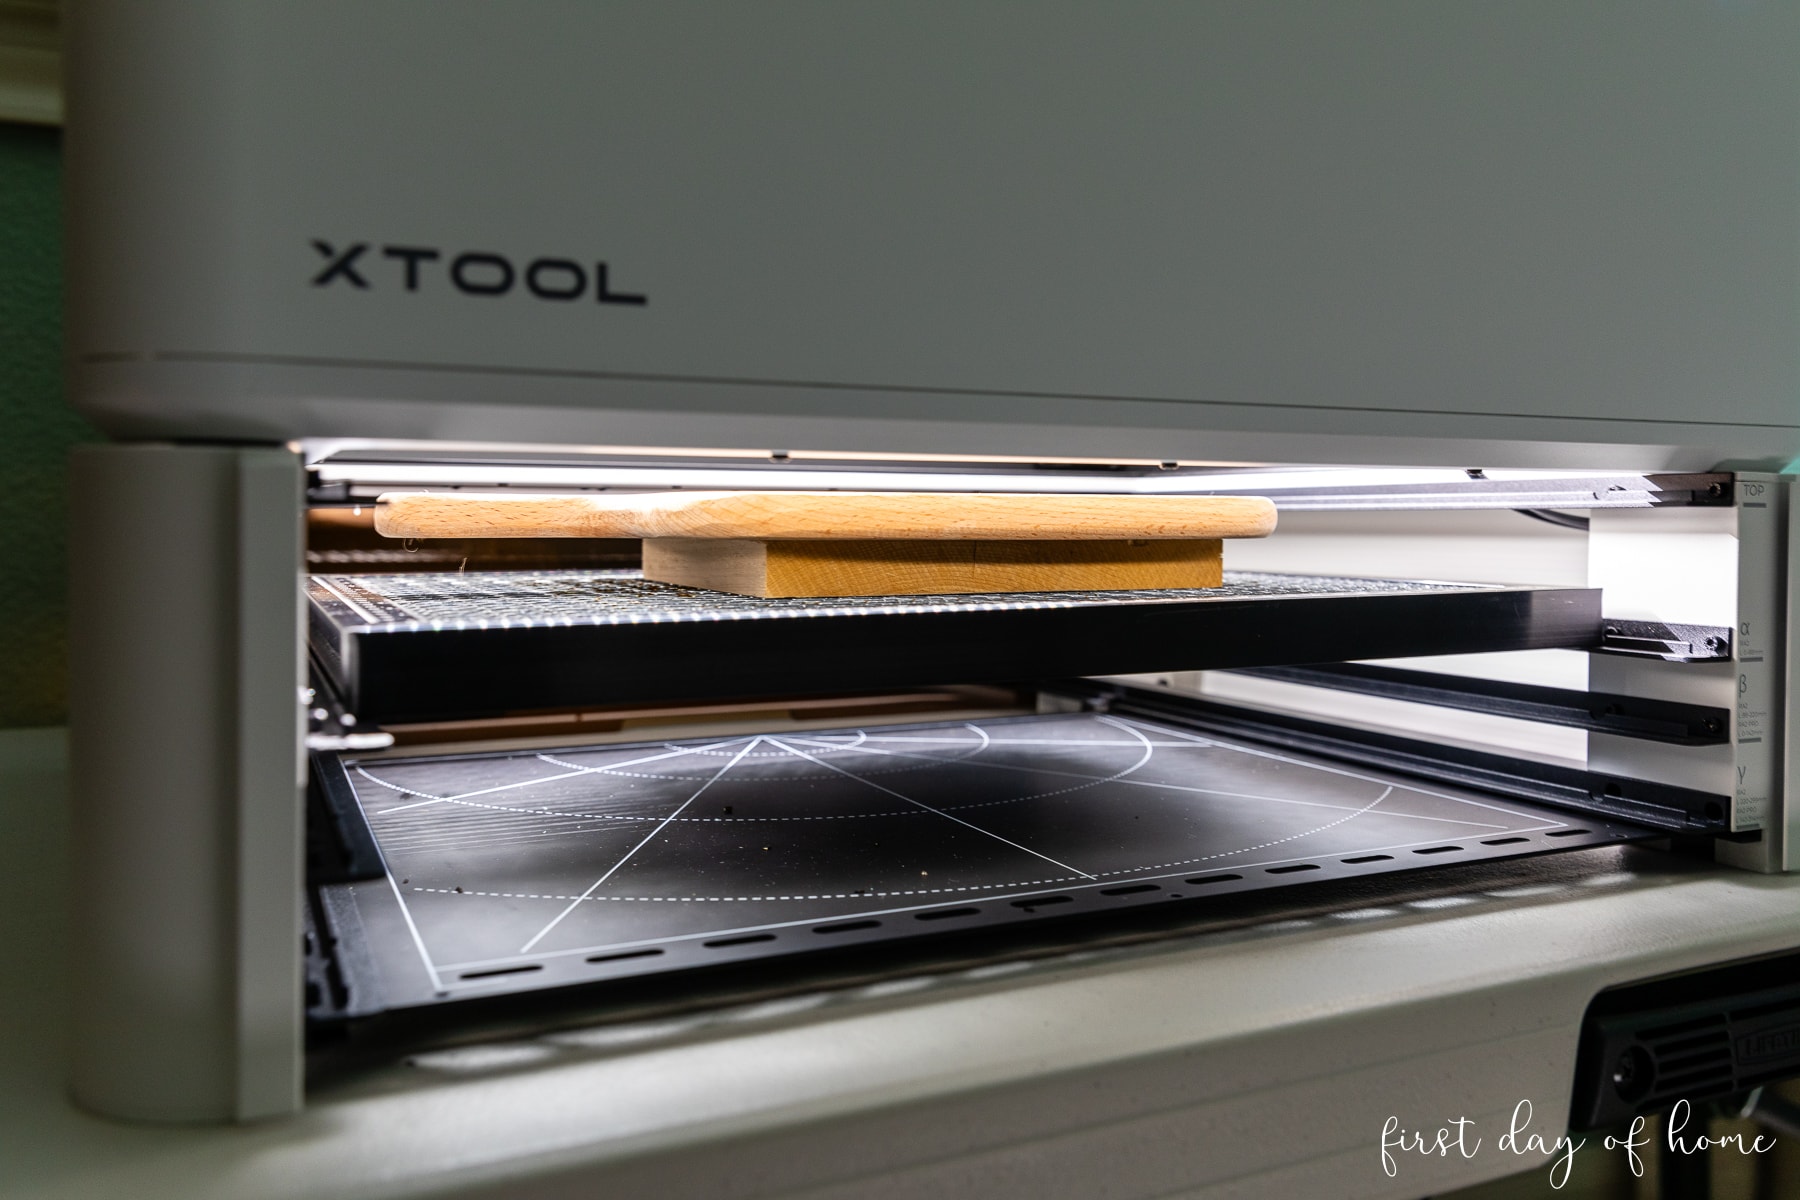
Voila! After bringing the cutting board up slightly to approach the level of the original base plate, auto-measure succeeded.
Tip: When engraving thick materials, bring your material to approximately the same level as the original base plate to achieve the best results.
Step 3: Upload and size your design
If you plan to import your design, click Image on the left side panel and locate the file on your computer. Hit “Refresh” to preview the cutting board in your machine (or use the SnapShot Preview tool if you’re using an M1 Ultra).
You should now see a screen similar to the one below. Since I uploaded an SVG file, the image is crisp and requires no further editing. If you’re using a JPG or PNG file, you may need to adjust the sharpness to 100%.
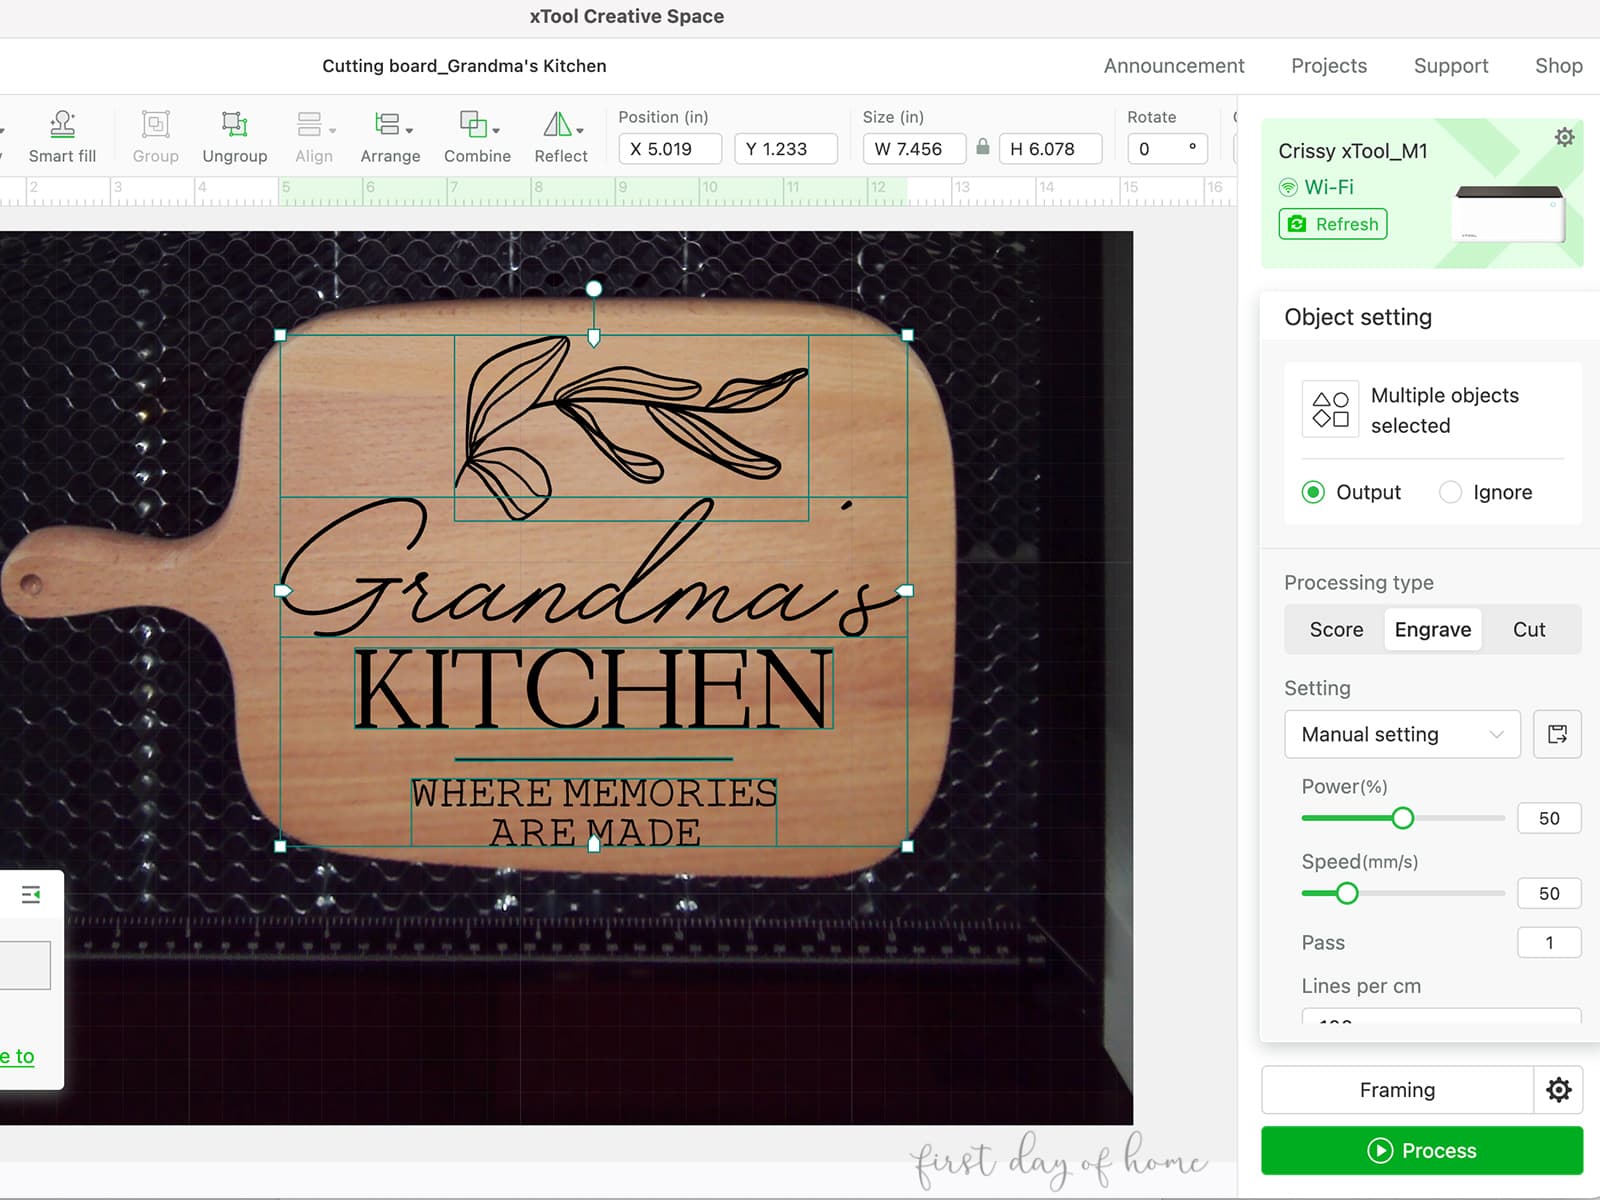
You’ll want to select all pieces of your design (holding Shift to select all pieces) and choose the Engrave processing type. Then you can resize your design to fit the cutting board.
The xTool cutting board instructions suggest settings of 50% power, 50 mm/s speed, and 1 pass.
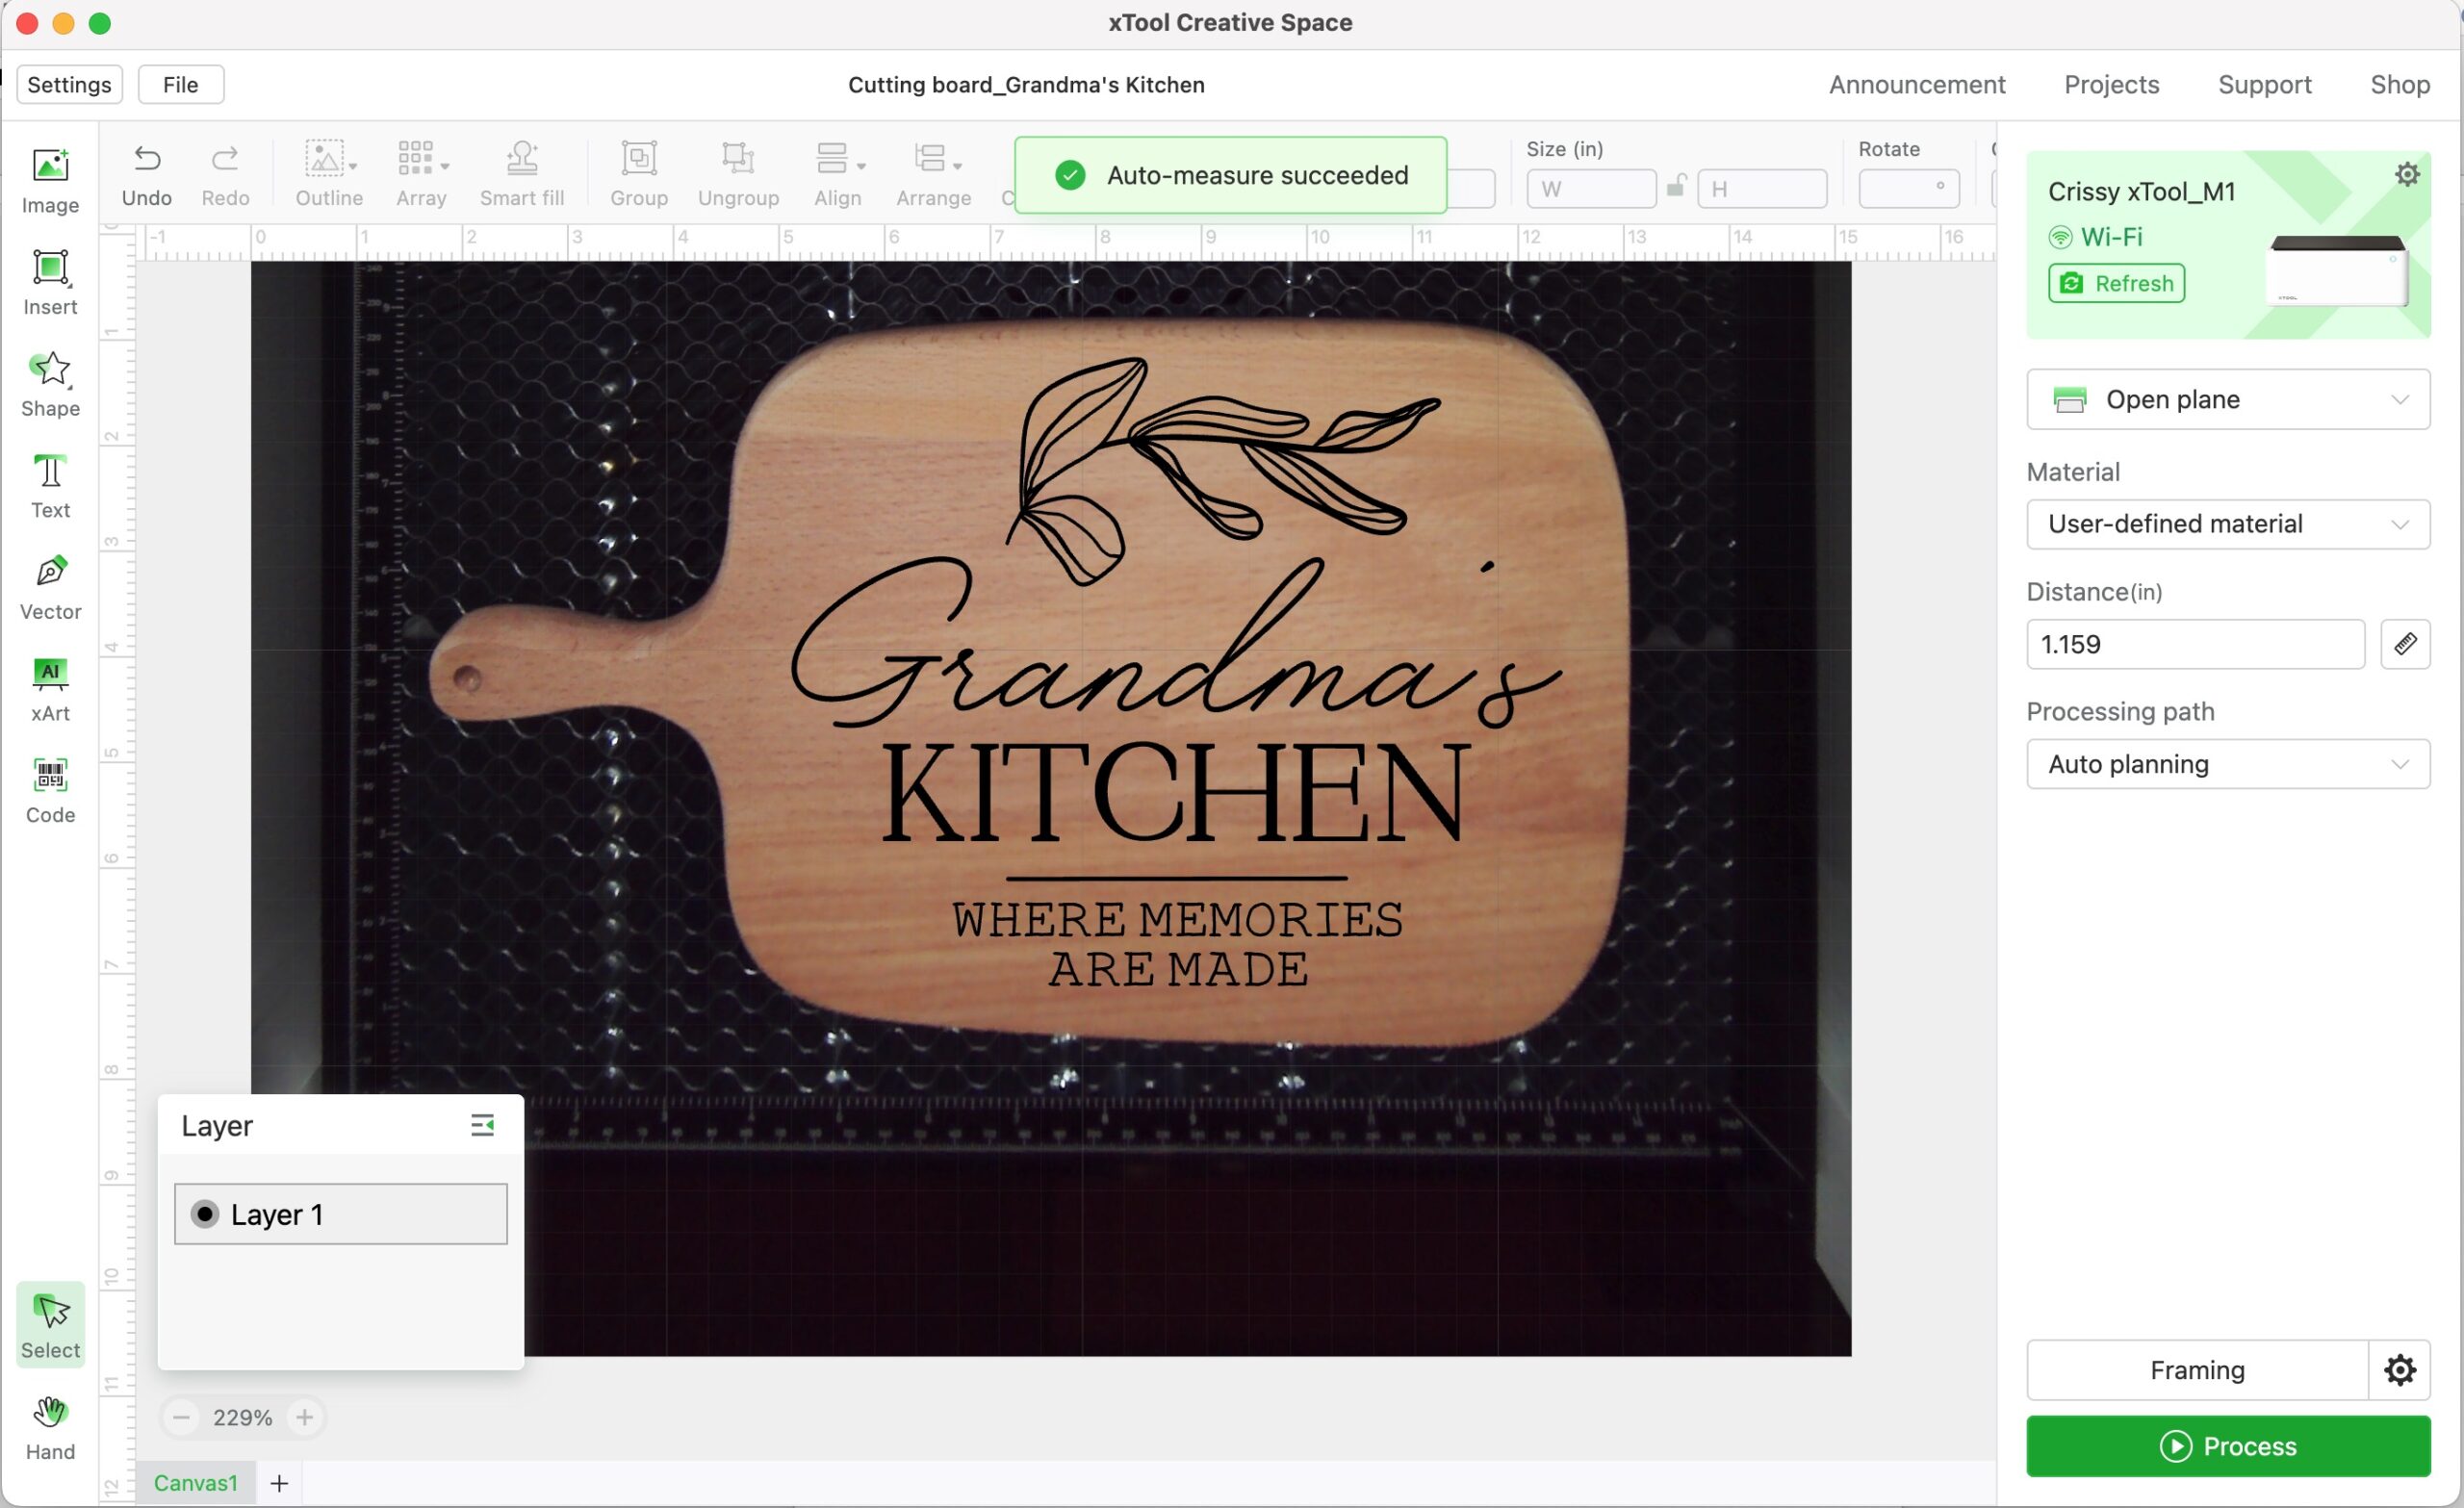
With the risers or riser base installed, choose Open Plane instead of Laser Flat. (Open Plane is for processing thicker materials with the baseplate removed.)
Now we’re ready to begin engraving!
Step 4: Send the design to be engraved on the laser cutting machine
After sizing and auto-measuring the design, it’s time to frame and process it.
Click the “Framing” button in the lower left corner to preview where the laser will engrave the cutting board. If you’re satisfied with the outline, hit “Process” to begin engraving.
Safety Tip
Do not leave the laser machine unattended while in operation. Always ensure proper ventilation by venting the exhaust hose out a window or external door.
If you have the original Air Assist module that blows debris and dust away from the surface, you can turn it on a low to medium setting for engraving. Air Assist should be on a higher setting for laser cutting vs. engraving. The Air Purifier accessory can also significantly help with ventilation.


RELATED POST
How to Engrave Tumblers
Get all the pro tips to make laser engraved tumblers at home using the xTool RA2 Pro Rotary Attachment.
Step 5: Clean and protect the engraved cutting board
After completing the engraving, you may need to sand the surface to remove any rough spots. Then wipe down the cutting board with a damp cloth to remove dust or particles.
Engraved cutting boards are generally not food-safe without further treatment, but they make a great home decor accent.

I was excited to present my mom with this laser-engraved cutting board for her birthday. She’s quite the chef, and I’m always trying to live up to her culinary standards! A personalized cutting board was the perfect DIY gift. By adding a piece of jute twine to the handle, she can now proudly display the cutting board in her kitchen.
Care Instructions for a Custom Cutting Board
An engraved cutting board would not be food-safe since bacteria from food can get trapped in the engraved areas. However, you can use the blank side for cutting or chopping to preserve the details of your engraving.
To hand-wash the cutting board, use soapy water. Do not place it in the dishwasher or leave it submerged in water since this will damage the cutting board over time.
To preserve the cutting board wood, you can apply a thin layer of mineral oil or this butcher block conditioner that my husband and I love.
I can’t wait to make more of these as housewarming gifts and Christmas gifts this year. I’d love to see what you come up with too, so please tag @firstdayofhome on Instagram to share your creations!
Pin it for later!