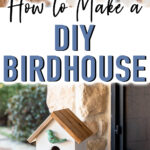
DIY Birdhouse Plans: Easy Tutorial for Beginners
With spring right around the corner, it’s the perfect time to perfect your woodworking skills with these easy DIY birdhouse plans!
I’ve made these plans as simple as possible with the beginner in mind. If all you own is a hand saw and a drill, you can do this project.
This post contains affiliate links, and I will be compensated if you make a purchase after clicking on my links. For more information, please see my disclosures.
Supplies to Build a DIY Birdhouse
Before we get too far, let’s talk about what you’ll need to get the job done.
Watch This Tutorial
Woodworking Supplies
If you have about six feet of scrap wood, along with a hand saw, drill, and hole saw, you’re golden. Just like my DIY wooden bunny, this is a great scrap wood project.
You’ll notice that we own a nice stash of equipment, but I’ll give you options along the way if you don’t have the same setup we do.
For those looking to upgrade your woodworking tools, I’ll list my recommendations at the end of this post.
Choice of Wood: Tips for Best Results
For this project, we used pine, but you can also choose to use cedar or another wood of your choice.
If you choose to work with an inexpensive wood like pine, you may see the wood bowing/bending with changes in weather. Unless you’re entering a birdhouse beauty contest, this isn’t a problem.
The sooner you assemble your birdhouse after cutting the wood, the easier it is to prevent bowing.
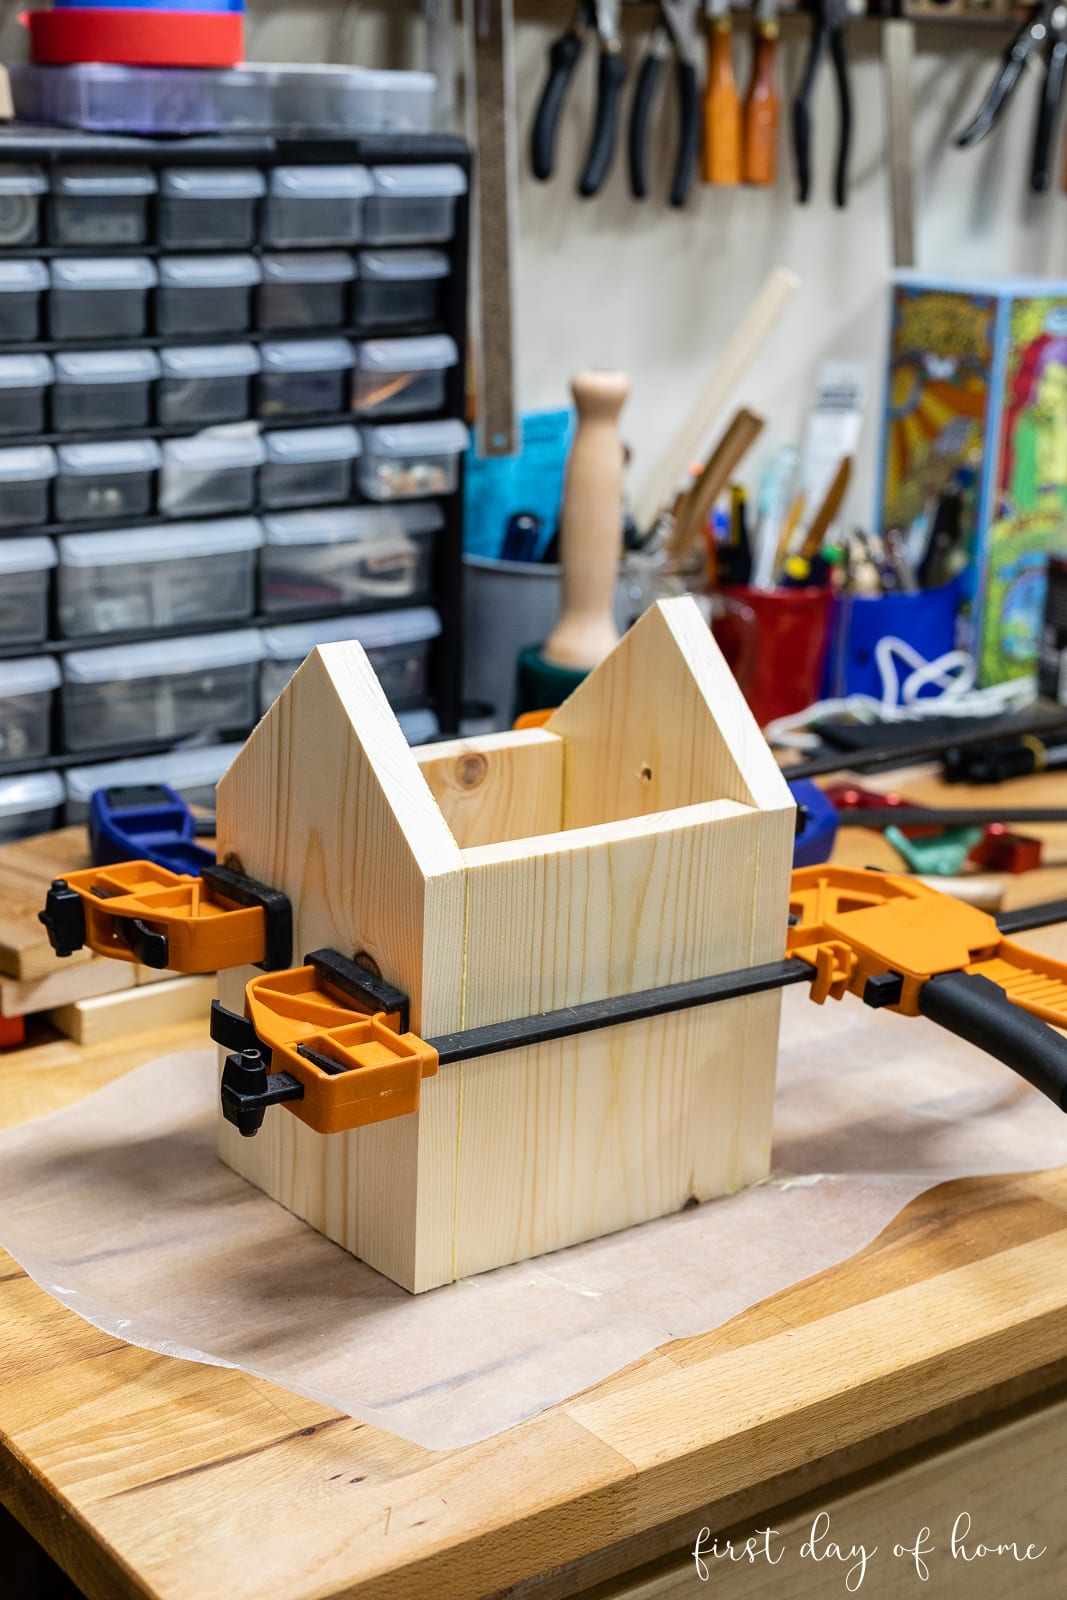
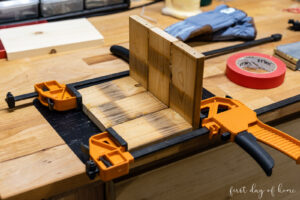
I also recommend using clamps to secure your pieces together, whether you’re planning to use screws, nails, or wood glue.
Painting and Sealing Tips
To decorate your birdhouse, you’ll want to make sure you use a good exterior paint or another sealer like linseed oil.
Typically, you won’t need to seal the project when using exterior paint. The DIY wooden pumpkins we made as yard decorations have held up fairly well using only exterior paint.
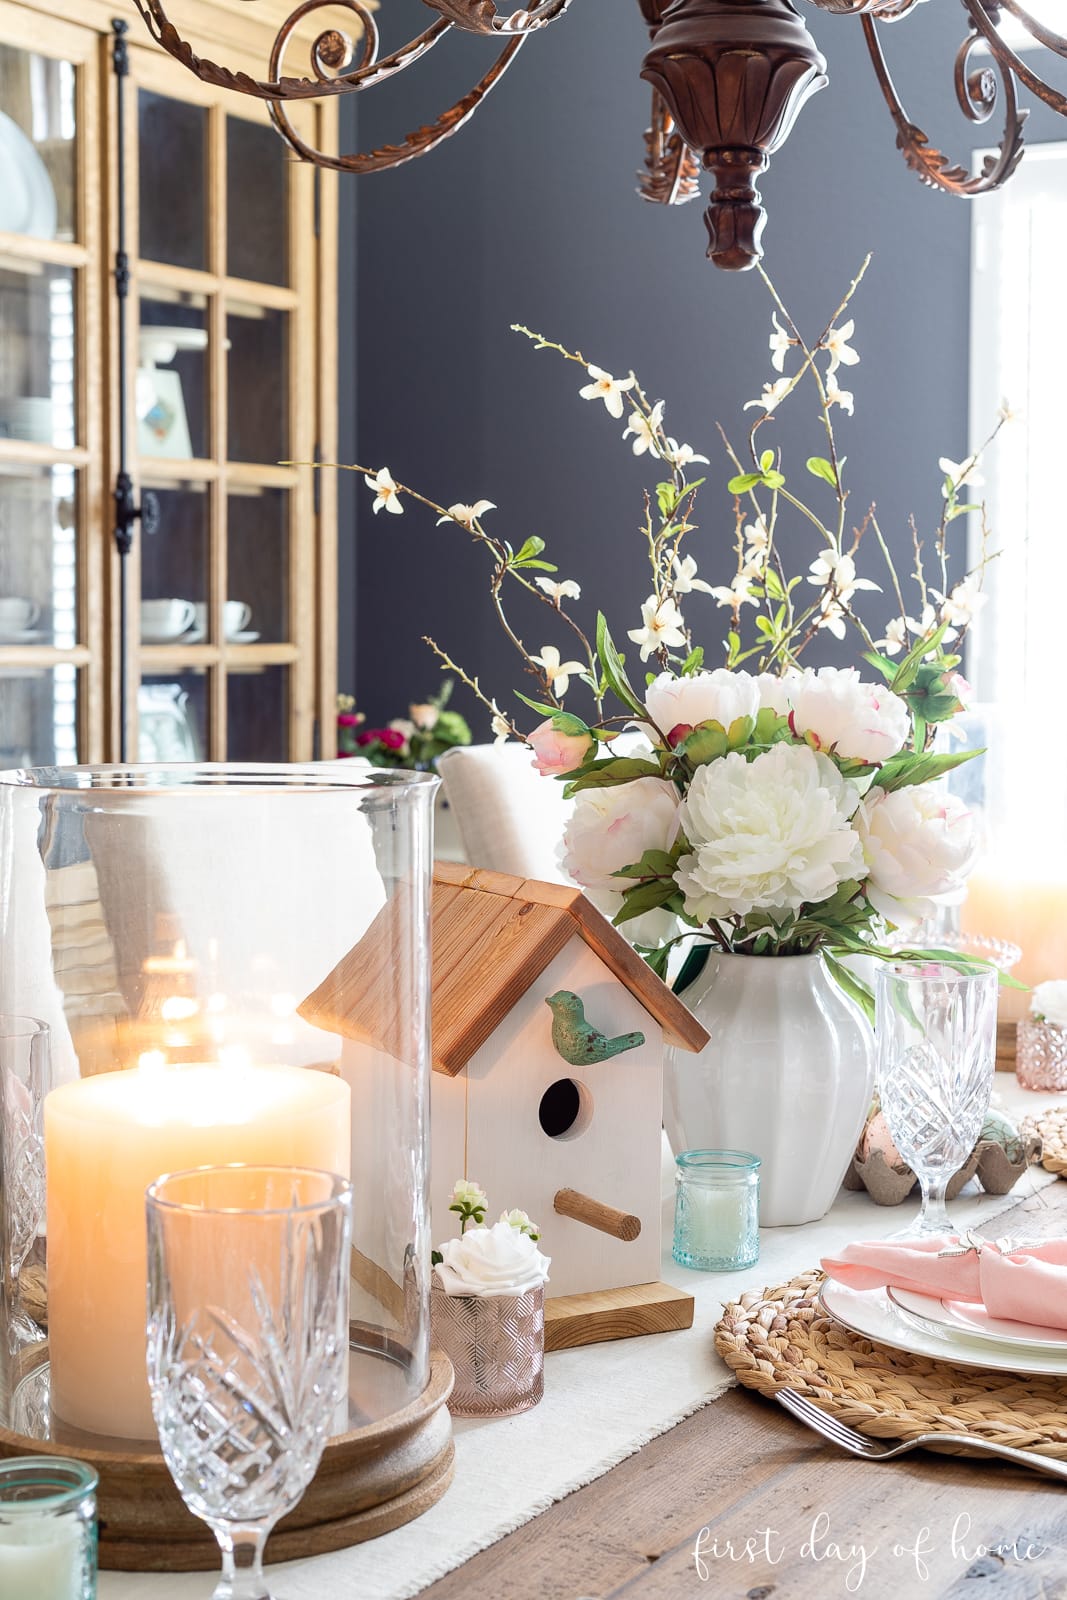
You can also use your birdhouse as a home decor accent. Head over to my spring table decor (shown above) to see one example.
Free Birdhouse Plans
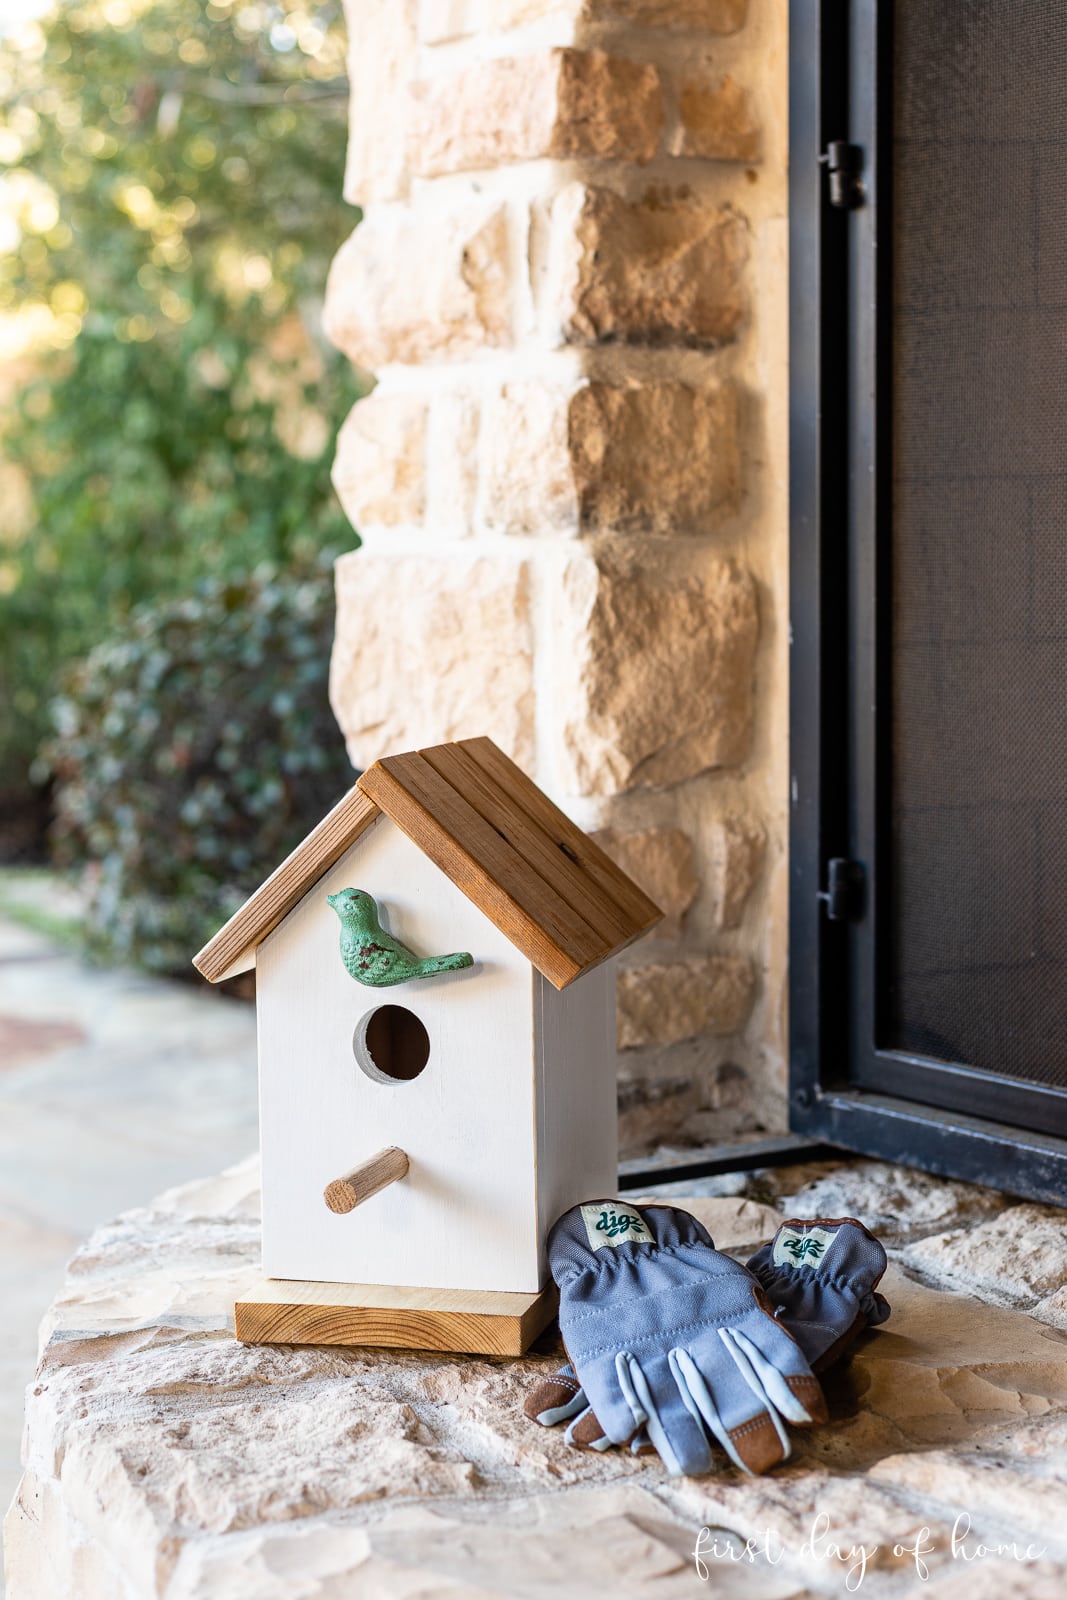
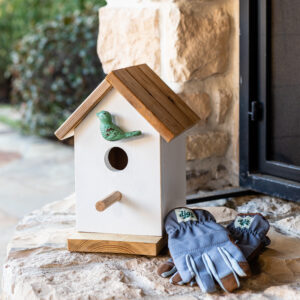
The beauty of building a birdhouse is that you can make it any size you desire. I’m sharing my plans as an illustration of one possibility. There’s no reason you can’t make yours shorter, taller, or skinnier.
Be sure to also check out my DIY bird feeder project that kids can help with too!
DIY Birdhouse Plans – Free Download
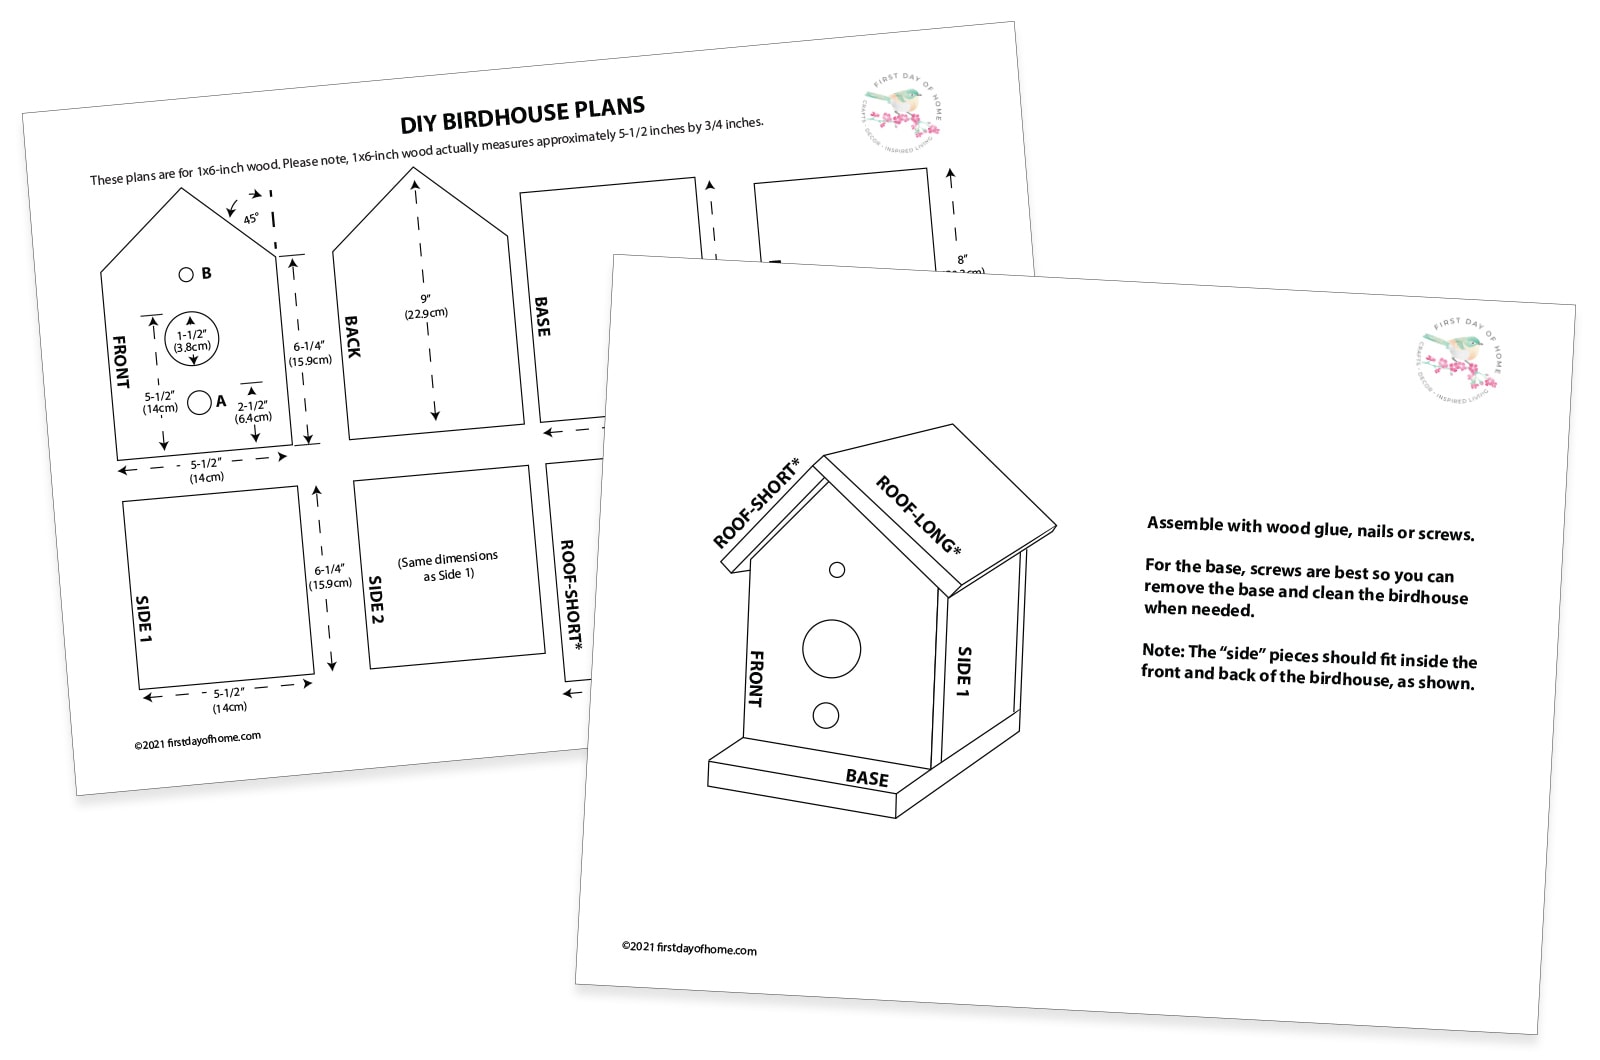
To get started with this project, click the button below for my free plans and then view the tutorial below. These files are for personal use only and may not be distributed or reproduced in any way.
The download will begin immediately, so please check your download folder. You will need Adobe Acrobat Reader to view the files, which you can download for free.
DIY Birdhouse Plans: Easy Tutorial for Beginners
Equipment
- Drill bits if needed
Supplies
- 1 ×6-inch pine board (approx. 6 ft.)
- Scrap wood for roof (or leftover pine)
- Wood glue (or Elmer’s Glue for indoor decorative use)
- Small dowel for perch
- Door knob accent (optional)
- Sand paper
- Screws or nails
- Exterior paint
Instructions
- Download the free birdhouse plans at firstdayofhome.com for suggested dimensions.
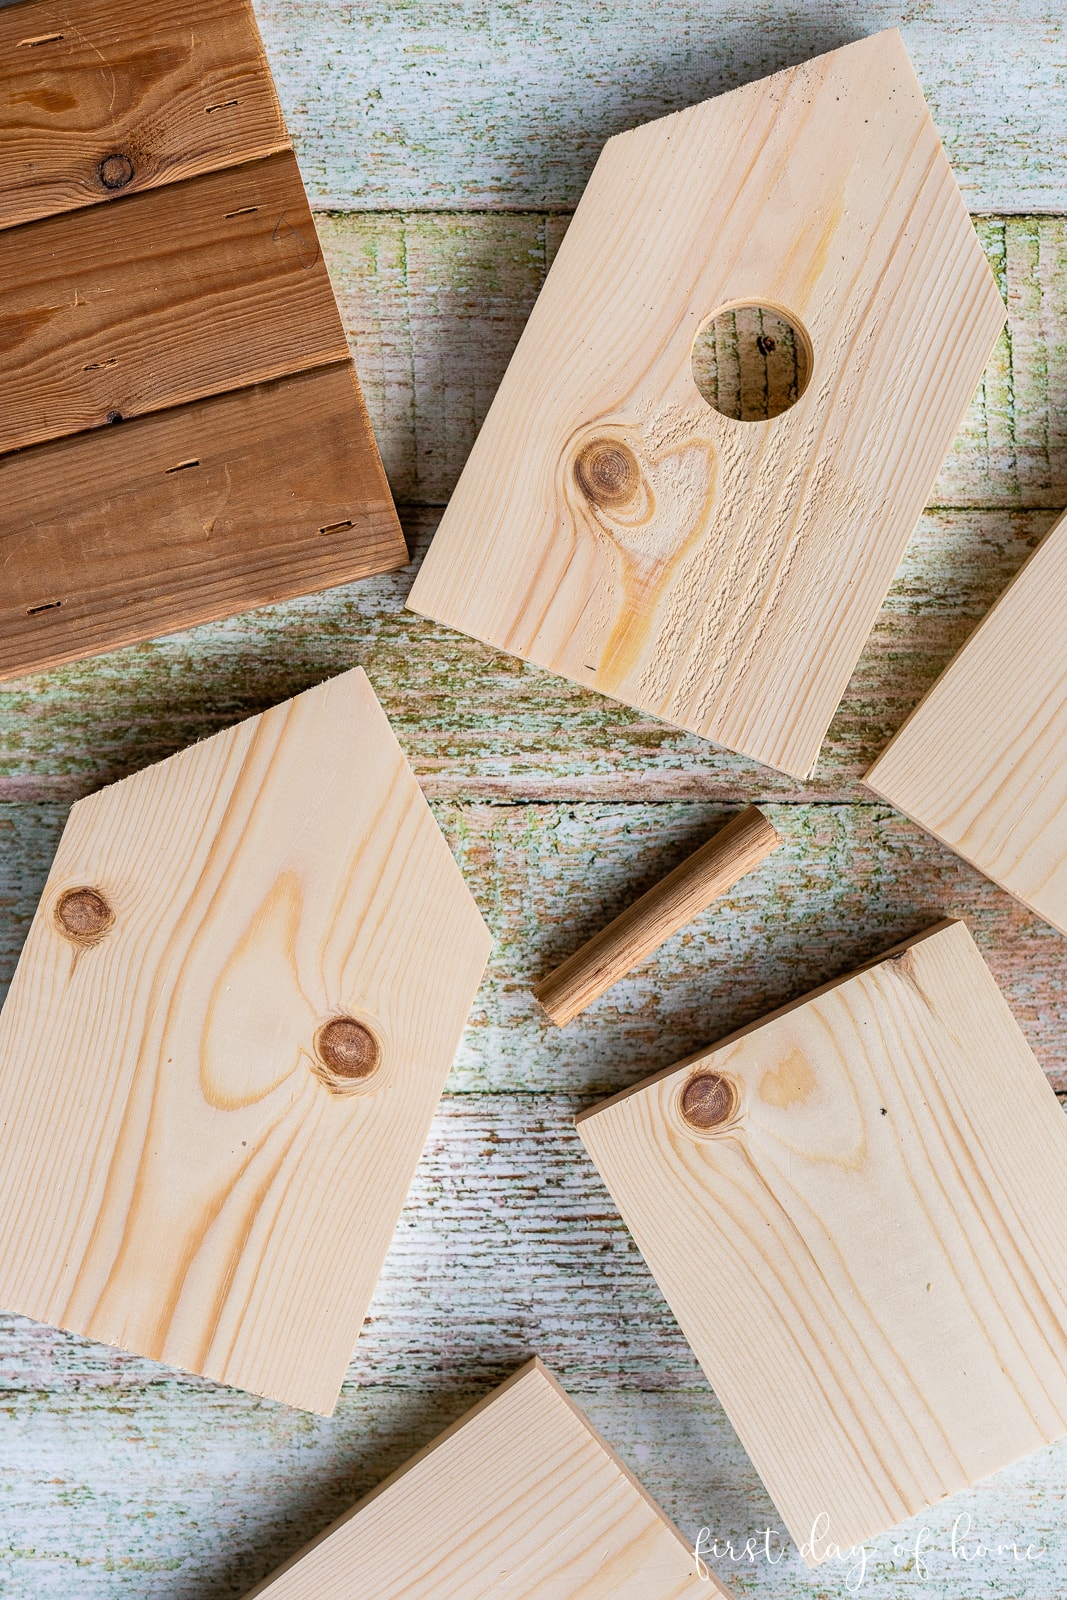
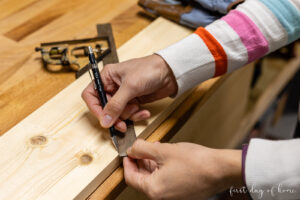
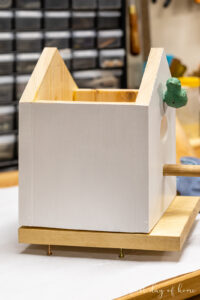
- Using a hand saw or table saw, cut the front and back house pieces to length. Make 45-degree cuts for the peak of the roof. (The pieces should measure about 9” from the bottom to the roof peak.)

- Cut the side panels of the house to length (6¼”).
- Cut the base to length (approx. 8½”) to give the house a “front porch.”
- Glue together or cut scrap wood pieces to form a roof. Another alternative is using small nails or screws to attach the pieces for added durability. When using screws, you may find it helpful to pre-drill small pilot holes to avoid splitting the wood.
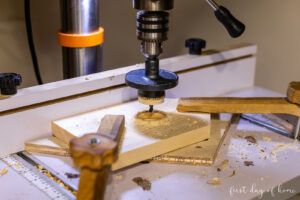
- Using a hole saw and/or drill bit, cut holes in the front of the house for the bird entrance, dowel (perch), and any decorative accents. You can simply use a hand drill with the appropriate drill bit.
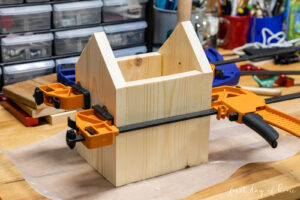
- Glue the house frame together using wood glue, screws, or nails. If using glue, allow the frame to dry overnight or at least an hour before painting. Do not attach the base or roof yet.
- Sand any rough edges as needed.
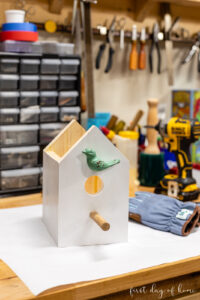
- Paint the house in the desired color. Sand the edges for a more rustic look.

- After the paint has dried (2-3 hours), glue/attach the dowel and decorations to the front of the house.
- Drill a few ¼" drainage holes in the base, and then screw or nail the base onto the bottom of the house. Using screws will allow you to remove the base for cleaning, as needed. You can optionally use screws to attach the roof, but removing the base allows for a more thorough cleaning.
- Glue the roof on top with wood glue, and allow the birdhouse to dry 24 hours before using outdoors.
Notes
I hope you have fun this spring watching the birds move into their new home! If nothing else, you’ll admire your handiwork and pat yourself on the back for a job well done.


Great pattern
Thanks, Teresa! I appreciate the great rating, too. Enjoy your birdhouse!
Making a birdhouse sounds like a fun DIY project. The way you decorated and painted yours is so pretty. When I was teaching, a project that the 7th grade shop class did was make a bird house. My students were so proud the day that they got to take theirs home. Every once in a while, a kid wouldn’t want theirs and guess who ended up with it? 🙂
Ha ha! Hmm…let me guess who. What a great memory, Paula. I’ll bet you some of those kids still have their birdhouse. You may have sparked the imagination of the next Chip Gaines. I love that this project is easy enough for older children to make with some supervision. I’m hoping my boys will make their own someday, too.
Building a DIY birdhouse is a great project for spring! And such an easy project for beginning woodworker! Pinned!
Thanks so much, Julie! I can’t wait to start using it and watch the birds move in (fingers crossed)! Thanks for pinning, my friend.