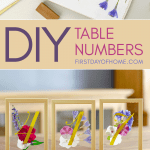
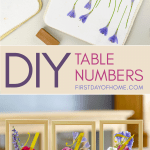
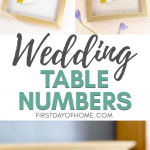
How to Make Stunning DIY Wedding Table Numbers
The peak of wedding season is approaching! If you’re a bride planning her big day, you know that every little detail matters. You also know that weddings can get expensive. Today, I’ll show you how to make stunning DIY wedding table numbers that add unique charm without costing a fortune.
Save that dough for your honeymoon instead!

Thank you to Microfleur for sponsoring this post! The opinions expressed in this post are completely my own, and I only recommend products I personally use and enjoy. This post may also contain affiliate links. See disclosures.
Wedding Table Number Holders with Pressed Flowers
Table numbers come in a variety of shapes and sizes these days, from rustic to modern. It’s no longer just a matter of helping guests find their reception seats, it’s a chance to show off your personal style.

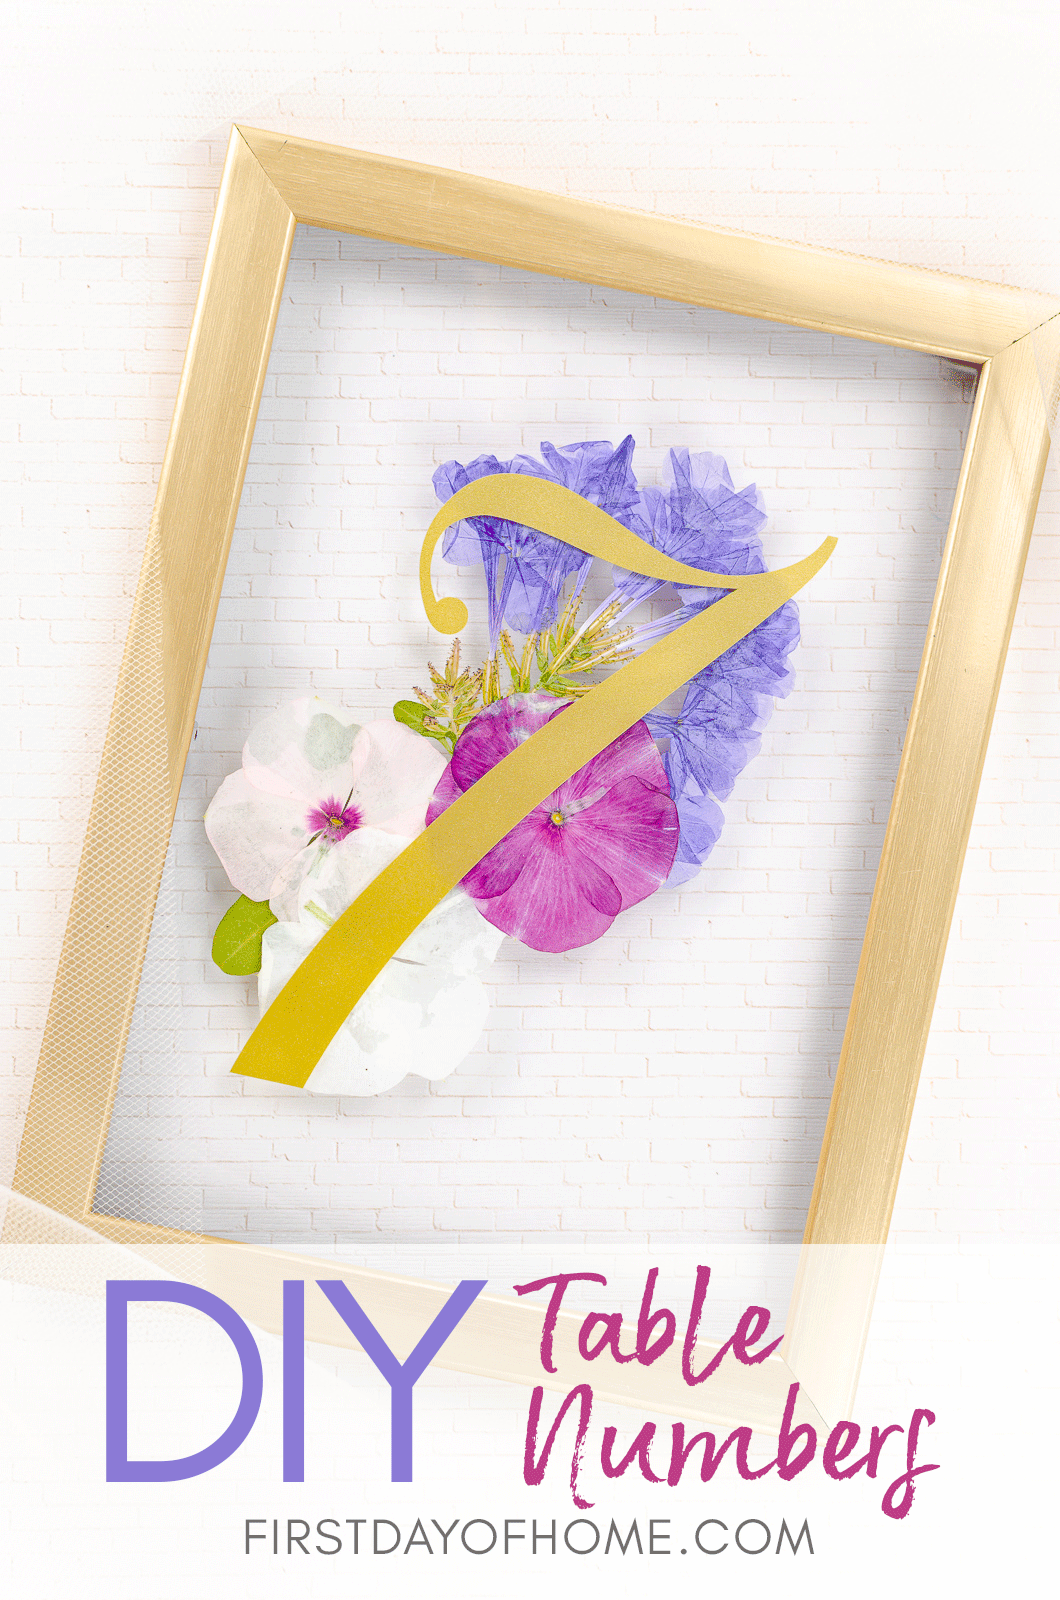
With budget as a major factor, I devised these gold table number frames using a key ingredient from Mother Nature…pressed flowers!
As I mentioned in my post on DIY pressed flower art, using the Microfleur flower press means I can dry flowers in just a matter of minutes.

These unique wedding table numbers can incorporate your special love story and history as a couple. Imagine pressing flowers from a few of these places for a sentimental touch:
- Your childhood home
- The site of a first date
- The place where you met
- Your reception venue
- Your current home

Supplies
- Microfleur microwave flower press (Max or Regular)
- Removable matte vinyl (if using Cameo/Cricut), or gold vinyl decals
- Transfer tape (if using Cameo/Cricut)
- Gold frame
- Craft glue
I found my gold frames at the dollar store, which makes these table numbers super affordable. If you want a frameless option, try these acrylic wedding table numbers, which look great and provide a more rustic feel.
Steps to Make DIY Table Numbers
I like to choose flowers from my garden and landscape, but you can always purchase a small bouquet for this project as well. Many readers have told me they like to save special flowers from a loved one to have on hand for pressed flower projects.
Step 1: Press Flowers
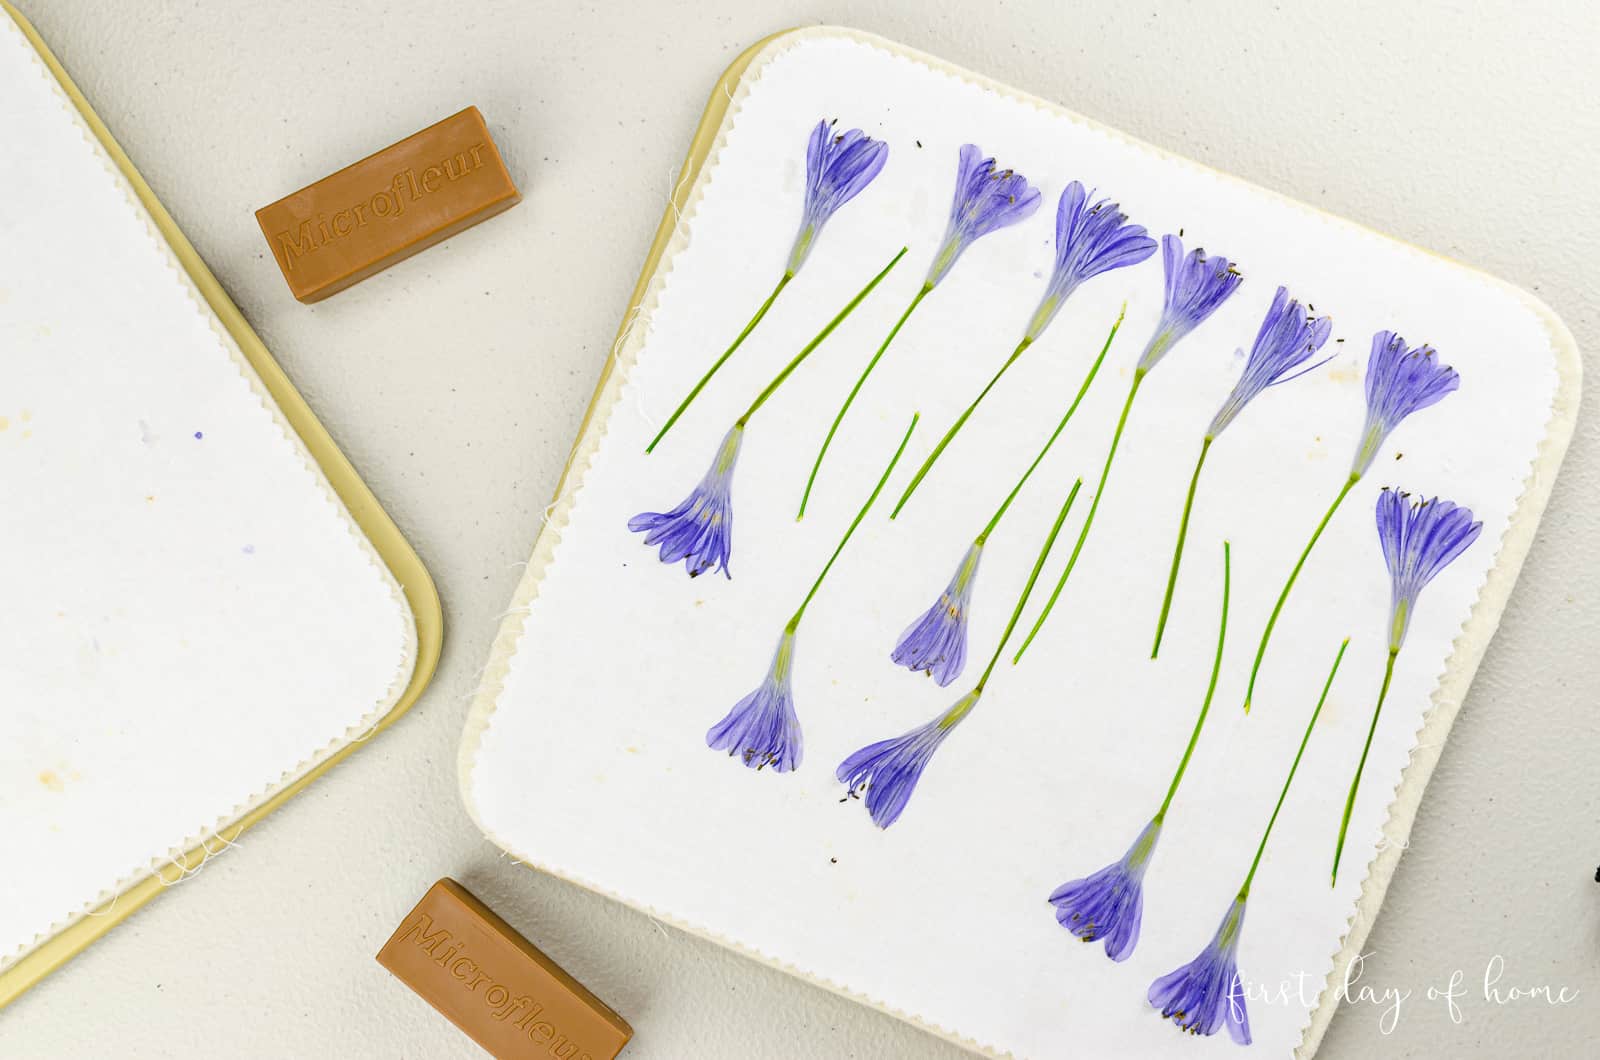
Press any flower of your choosing. In another post, I walk through a detailed tutorial on how to press flowers with the Microfleur.
The reason I love this method is 1) it saves a ton of time because you can press flowers in short bursts in the microwave and 2) the flowers retain their original color far better than traditional methods of pressing flowers.
Get 10% off your entire order of Microfleur products with the code FIRSTDAYOFHOME. Limit one per customer.

What are the best flowers to press?
I recommend using plants with thin petals or stems for the best results. For this tutorial, I used Knock Out Roses, Angelonia, Vincas, Plumbago, and Agapanthus.
Keep in mind that lighter-colored flowers (white/yellow) may darken when pressed. Also, bright pink blooms may turn a shade of purple.
You never know what you’ll get until you experiment with it, which is part of the fun! In my recent Instagram stories, I shared part of my process when choosing my flowers.
Step 2: Apply Gold Letters
Remove the frame backing and set it aside. (You can reuse these frames after the wedding, so don’t throw anything away!)
If using pre-cut vinyl decals, you can apply the numbers directly to your glass insert. If you plan to cut letters using a Silhouette Cameo or Cricut machine, continue with the following steps.
Cricut Instructions

A. After cutting your numbers (no mirroring needed), weed any excess vinyl to just expose the number.
B. Then, cover the number with transfer tape, smoothing out any bubbles.
C. Peel back transfer tape, picking up the number.
D. Place the number on the front of your glass frame, smooth out any air bubbles, and peel off the transfer tape.
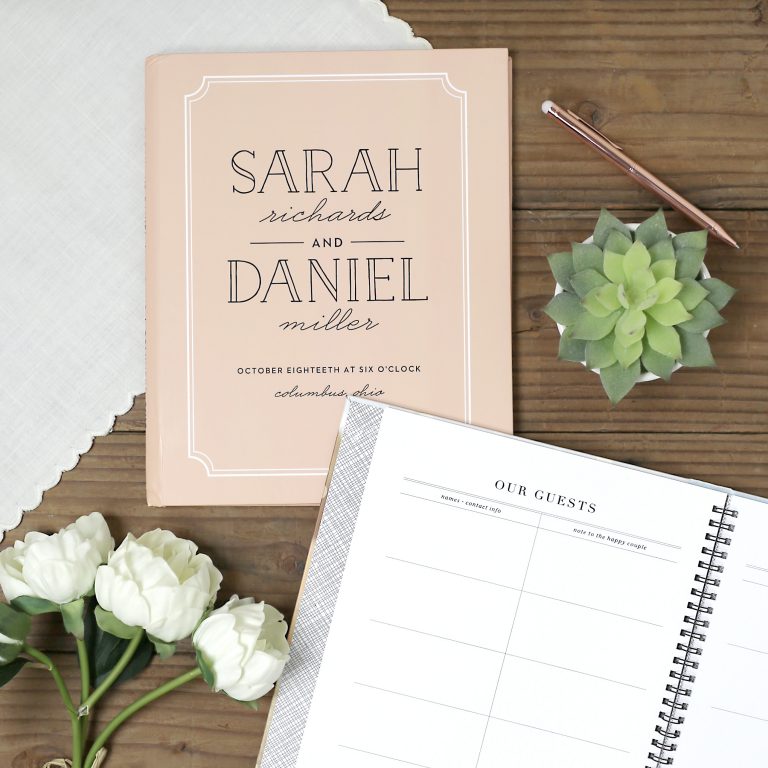
Related post: Why You Need a Wedding Guest Book
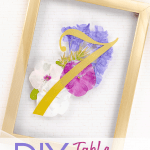
Step 3: Apply Pressed Flowers
Experiment with your pressed flowers until you find a floral arrangement you like. Then, carefully attach the dried flowers to the back of the glass insert using craft glue.

I suggest using the smallest amount of glue possible to strategically place your petals and stems. Start with the layer closest to the glass, and use tweezers if necessary to gently arrange your flowers.
If you slip up, you can use a glass cleaner to wipe off any excess glue. No one will notice a little glue smudge when you’re dancing the night away at your wedding reception anyway!
Plus, you can always press more flowers in less than 5 minutes using the Microfleur flower press.
Related post: 10 Cricut Bridal Shower Ideas
Step 4: Secure the Back of the Frame
My gold frames came with prongs that I simply pushed forward to keep the glass insert in place. If you prefer to use a piece of scrapbook paper as a backing, you can insert that and attach the back of the frame.

Another option is to hot glue the glass insert into the frame to prevent it from slipping out.
Since I created backless frames, I plan to prop them against a centerpiece on a table to keep them from falling down.
What To Do With Your Pressed Flowers After the Wedding
As I mentioned, you can reuse your wedding table number stands long after you say “I do.” Here are just a few ideas you (and your guests) might enjoy.

Sun Catchers
After the wedding, you can remove the vinyl numbers and glue a short chain to the back of your table numbers for an easy sun catcher.
Pressed flowers may fade over time, but that just means you’ll have some vintage charm hanging on your window.
Flower Pressed Art
These pretty table numbers don’t need much dressing up to make pretty wall decor. You can remove the table number or leave it on and make a wall collage. You can also turn it into framed botanical art with pressed flowers.
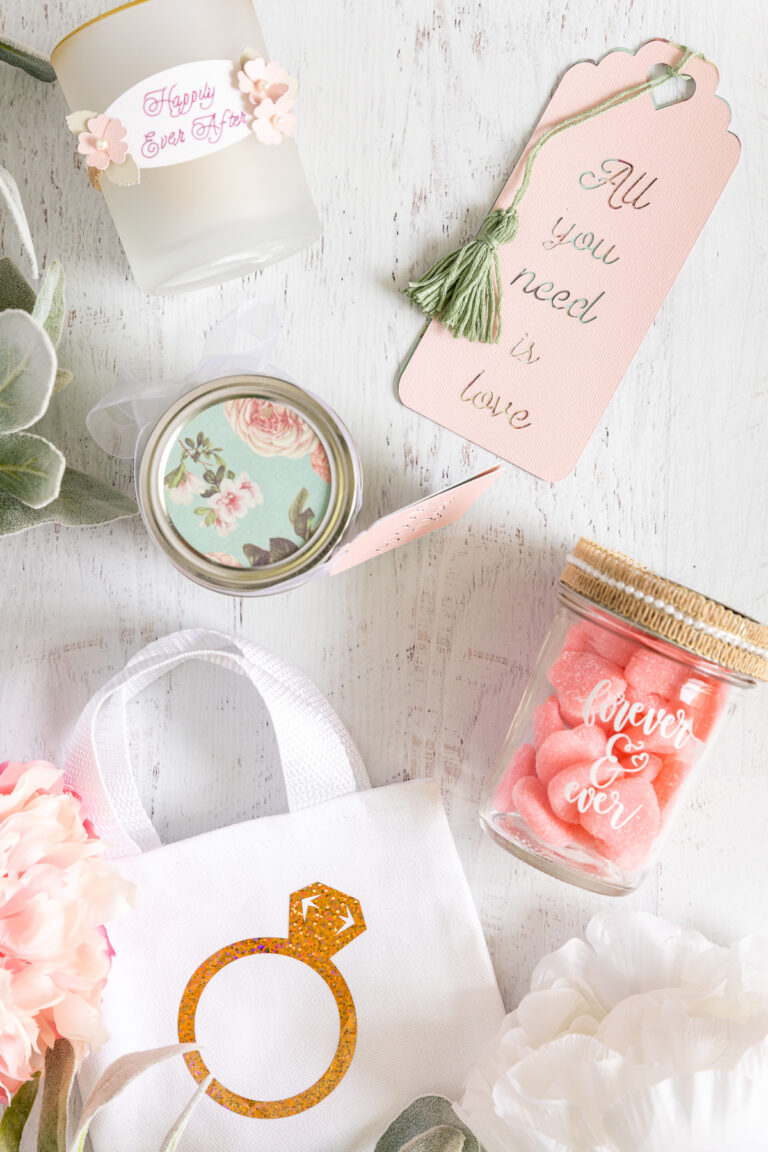
Bridal Party Favors
Another option is to tell your wedding party to take the table numbers home and use the frames as a keepsake from your wedding. Your guests will love having a token to remember your big day.
Preparing for Your Special Day

Since these pressed flowers will retain their color for an extended period of time, you can make them a few months in advance and store them in a cool, dry place.
Don’t forget to create a seating chart or table number cards to guide your guests to their tables (where they will soon be amazed by your awesome DIY table numbers).
If you would like to preserve your wedding bouquet, then you must head over to read my post about drying flowers with silica, too!
If you have any questions about this tutorial or have a request for another post, please leave a comment below.
Shop the Post
Pin it for later!

WOW! These are stunning! I can also see doing some wall art/similar decor pieces for a wildflower baby girl nursery.
Oooh, I like that idea, too! There are so many possibilities for pressed flower art. Thanks for stopping by, and thank you for the kind words!
These are beautiful, Crissy! Pinned!
Thank you, Lora! I appreciate you sharing the table numbers. 🙂
These table numbers are just stunning!! I can see them being used for all sorts of special occasions! So pretty!
Thank you so very much for sharing your awesome project with is over at Waste Not Wednesday!
Aw, thanks, Sam! I’m glad you liked them. Yes, I am looking to use them for my next celebration. They are so fun to customize.
I’m glad I could join your party! Thanks for hosting!
I love how unique this idea is. So different from the normal table numbers at weddings. It is soft, delicate and just so ‘sweet’. Absolutely love it – my sister-in-law is getting married so sending her this fabulous wedding DIY craft idea now 🙂
Hi Sam! I’m so glad you liked the table numbers. I get a lot of use out of my flower press, but this is one of my favorite projects! Congratulations to your sister-in-law!
Wow! I love this project! So beautiful with the pressed flowers. Would love for you to share at our new link up; Handmade & Otherwise. Hope you will join us!
Thank you, Katy! I’ll definitely swing by and join the party. I appreciate you stopping by!
Oh my, these are so pretty! What an elegant idea for wedding table numbers. Great tutorial too. Pinned to my wedding board 🙂
Thank you, my friend! I’m glad you like them, and I appreciate you sharing them!
I love your dried flower posts, and this one is so practical and lovely! LOTS of brides will be able to save money using this beautiful table number tutorial! Pinned to THREE boards!
You are always the sweetest, Julie! Thanks for the kind words. I do hope I can help inspire some brides. It’s cheaper to buy the Microfleur and DIY these beauties than to spend on renting table numbers. I so appreciate you sharing this, too!😘