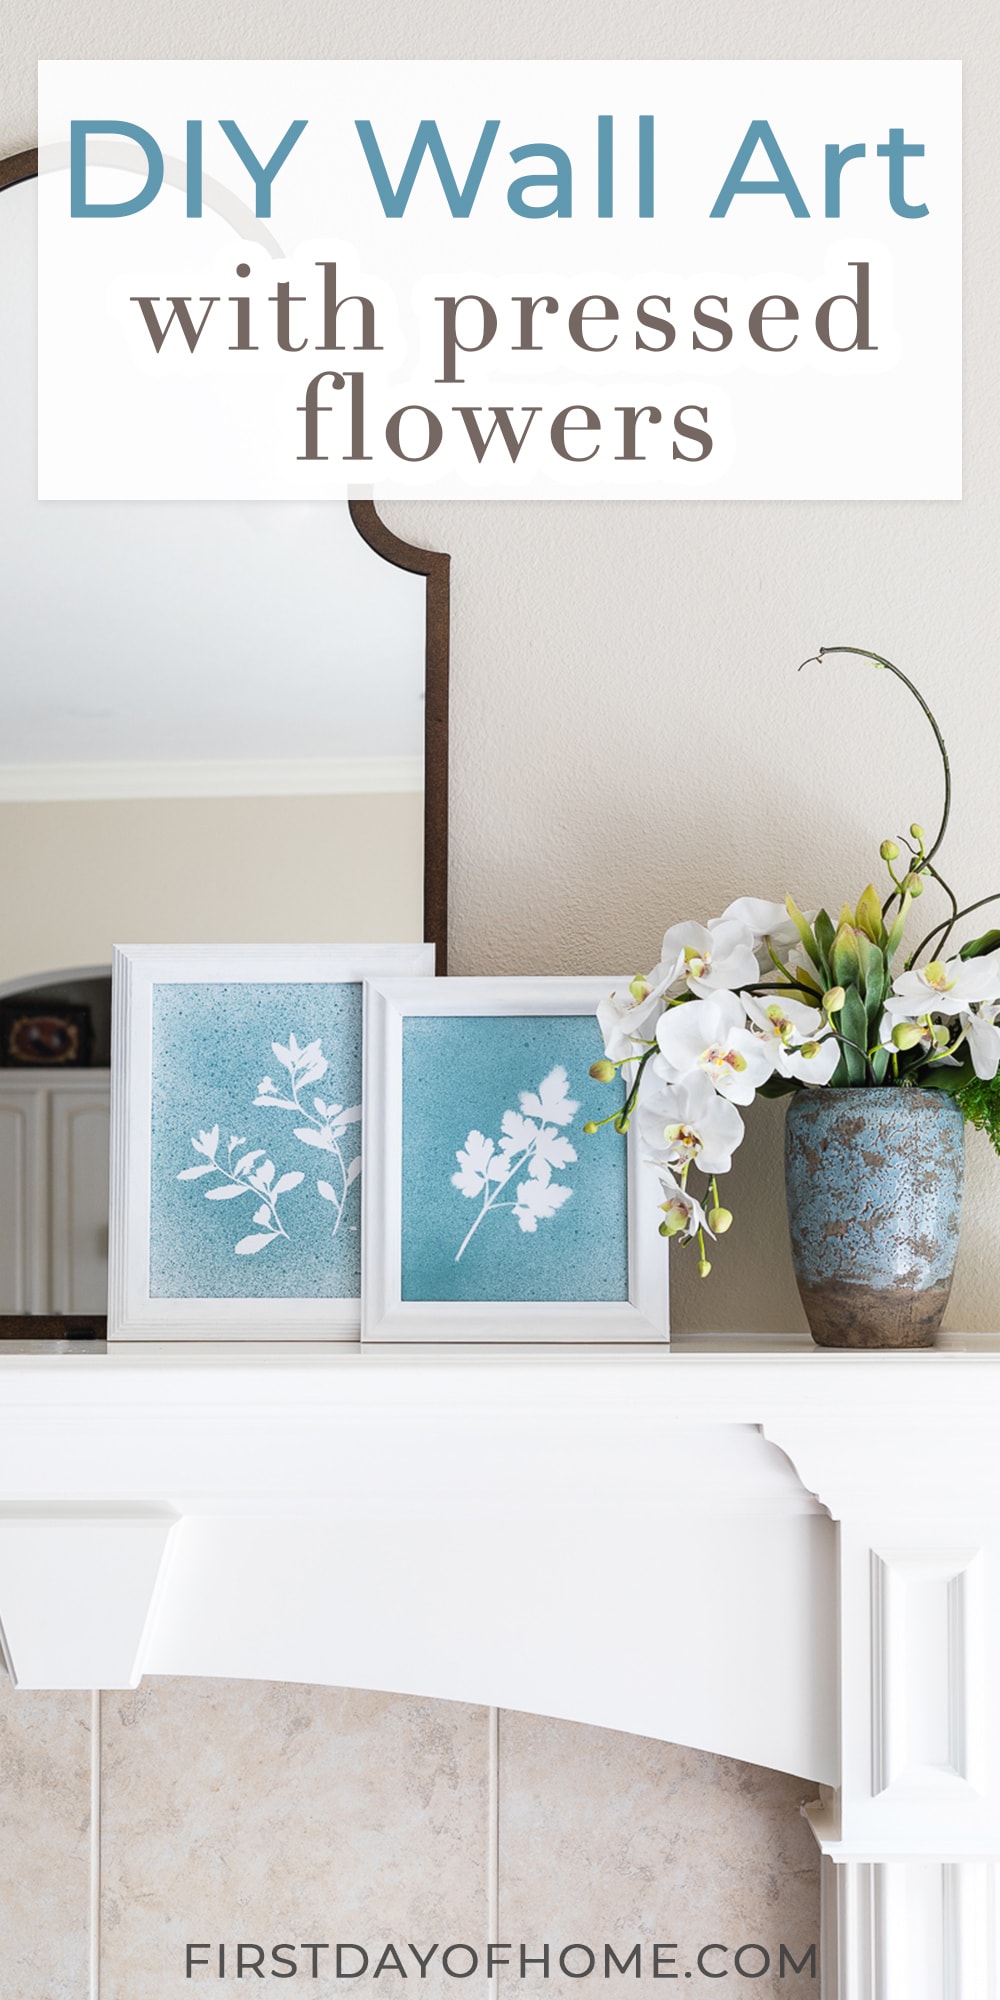
How to Make Pressed Flower Wall Art
Readers often ask me what they can do with pressed flowers. Pressed flower wall art ranks high on the list! In this quick tutorial, I’ll show you how to press flowers to make art with a cool, coastal vibe. No one will believe you made it yourself.
This post contains affiliate links, and I will be compensated if you make a purchase after clicking on my links. For more information, please see my disclosures.
Pressed Flower Wall Art – The Basics
I’ve published loads of tutorials on how to press flowers and how to dry flowers. It’s one of my favorite hobbies. I feel like there’s something sentimental about preserving flowers, especially ones that have special meaning.
If you’re completely new to pressing flowers, watch my YouTube video on how to dry flowers 5 ways, which has over 431,000 views and counting!
For this tutorial, I’m using a technique that I first talked about when I made DIY pressed flower art using a Microfleur flower press. Below, you’ll find a coupon exclusively for my readers if you’d like to purchase your own.
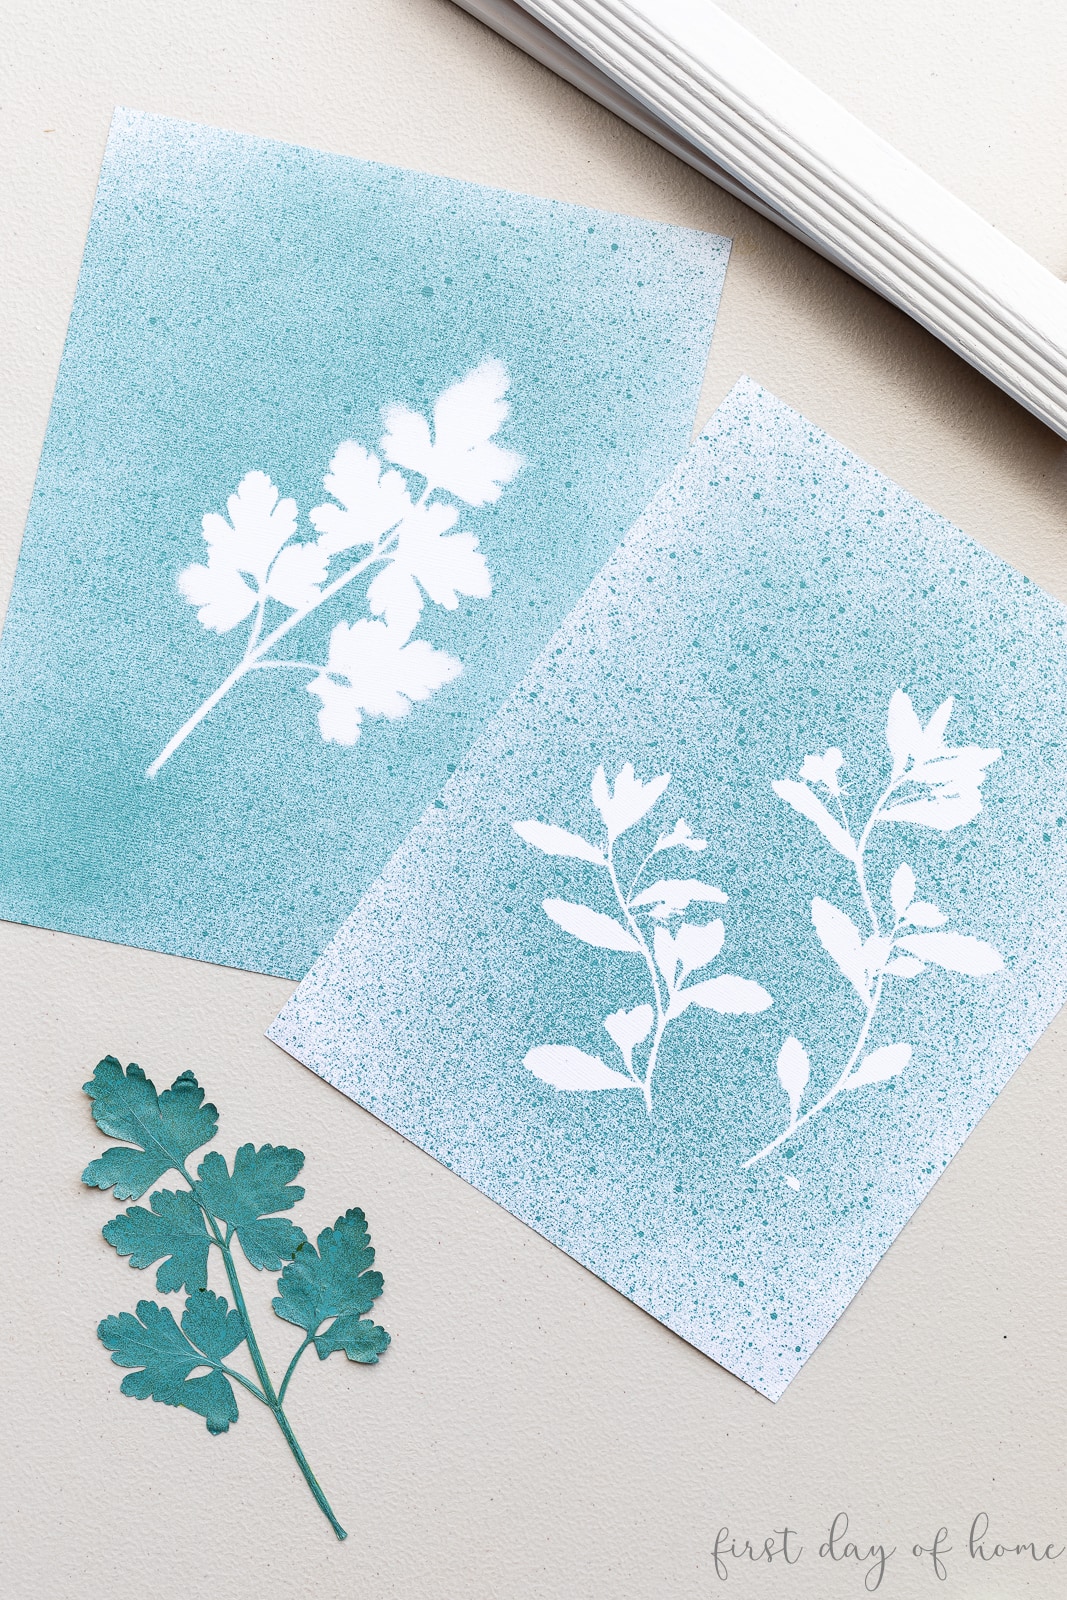
The benefit of this type of art is that you don’t have to stress about how pretty the pressed flowers look. We only need a good silhouette, so choose a stem or flower with great curves and texture!
Supplies
- Fresh flowers or herbs
- Flower press
- Scrapbook paper or watercolor paper
- Spray paint
- Frame
You can also use a wrapped canvas for this project instead of paper.
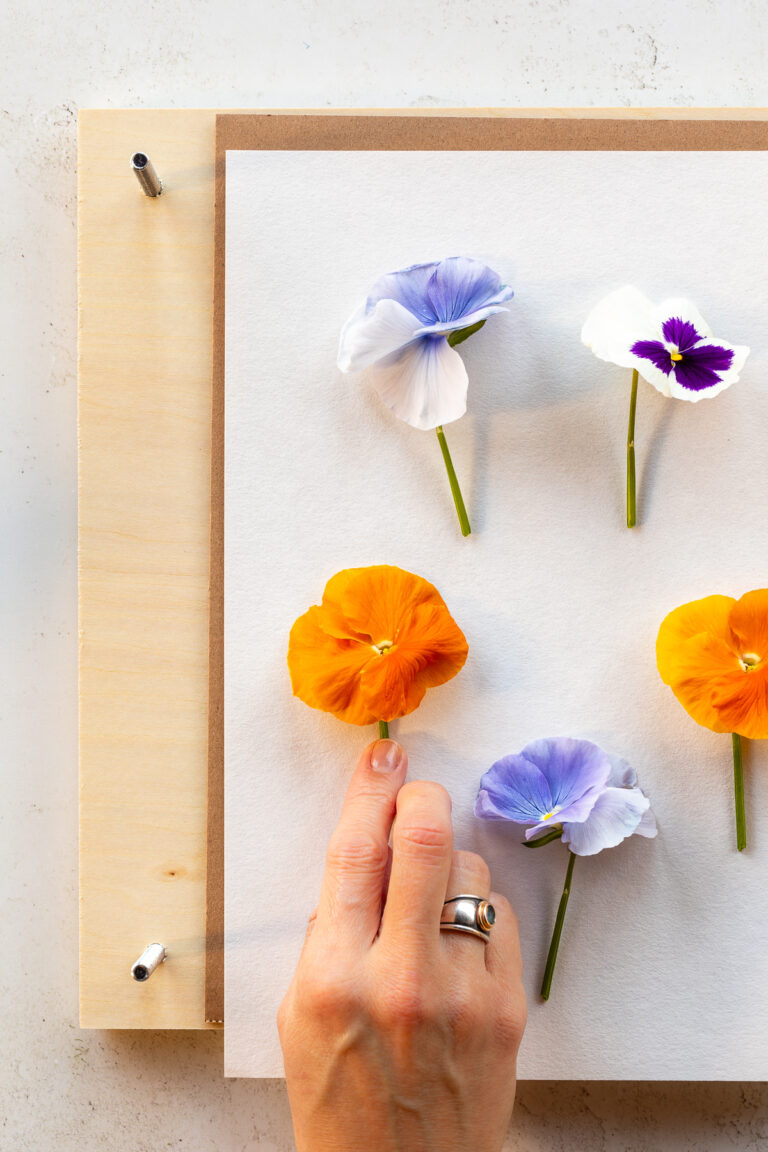
Step 1: Cut the fresh flowers or herbs
If you’re planning to use flowers or herbs from your garden, cut the stems in the morning after the dew has dried. The best plants for pressing have single-layered petals and/or flat faces (think pansies).
Water-rich petals like those in the succulent family are typically not the best for pressing.
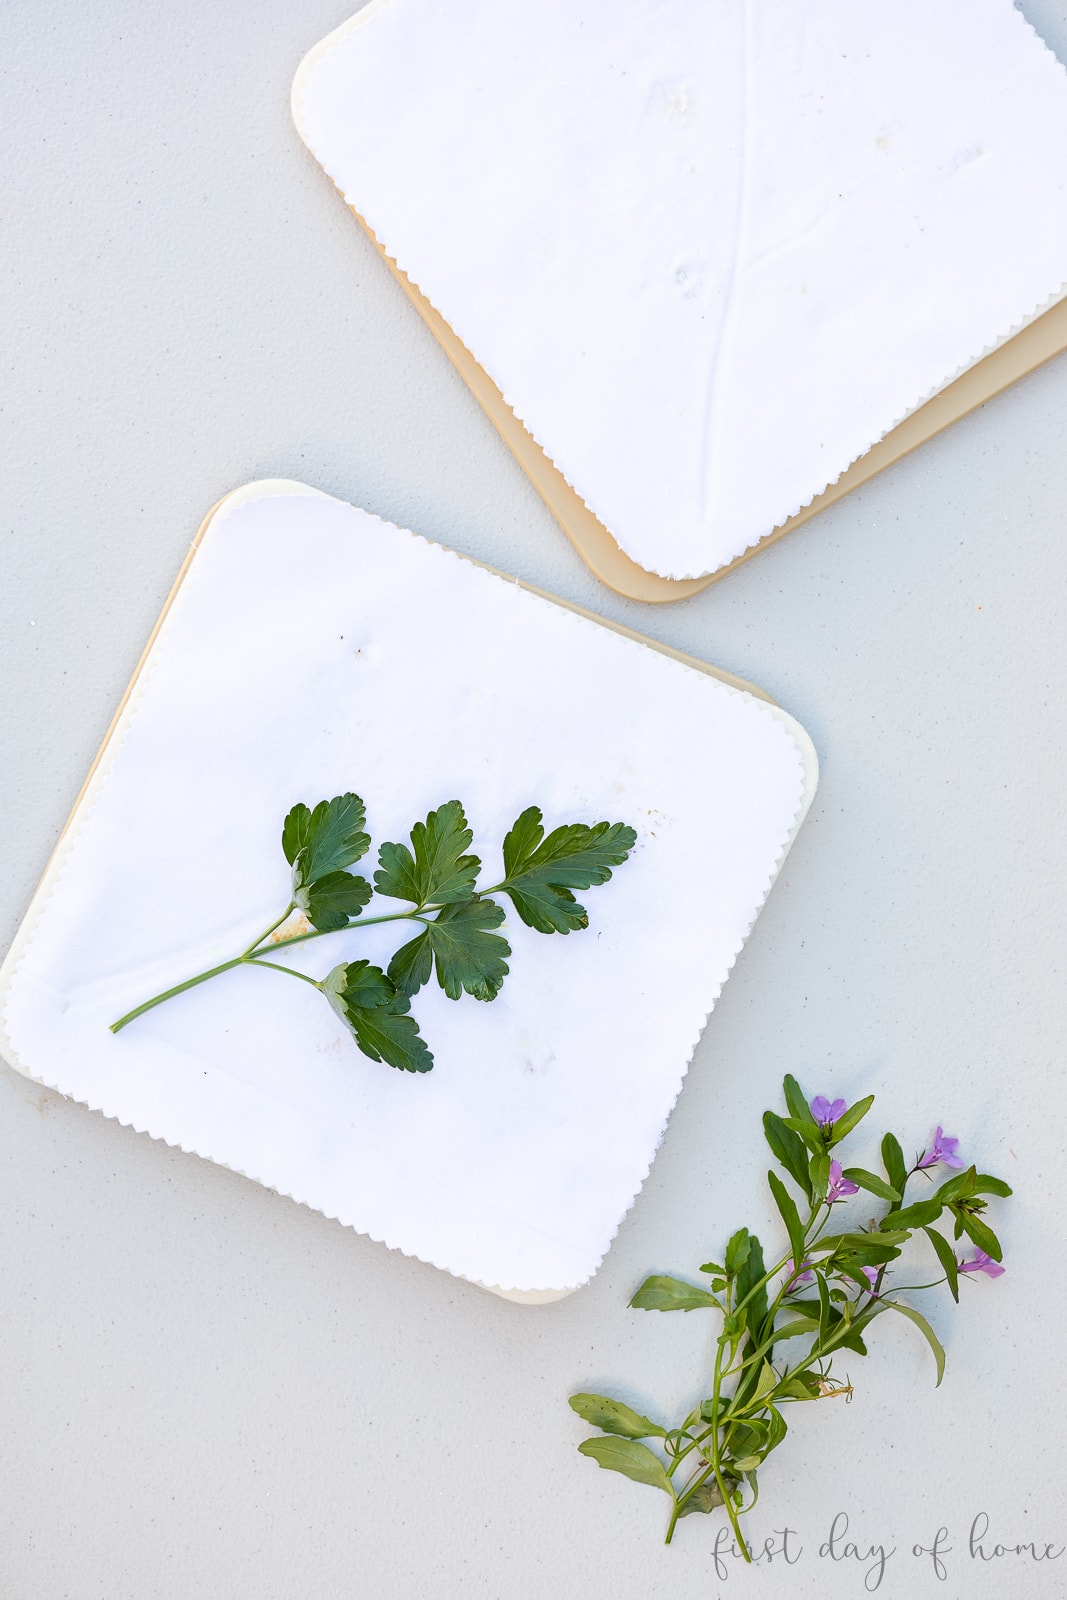
If you have some wildflowers, those would work well. As you’ll see, I used plain parsley for one of my botanical prints, and it still turned out great!
Step 2: Press the flowers in a microwave press or wooden press
I recommend the Microfleur flower press for all types of pressed flower crafting. I’ve used it for years and love the fact you can literally press flowers in minutes rather than days. See the discount offer below for a great deal!
Get 10% off your entire order of Microfleur products with the code FIRSTDAYOFHOME. Click [HERE] to redeem. Limit one per customer.

If a traditional flower pressing is more your style, hop over to my instructions for the book press method. You can also make a simple DIY flower press in under 30 minutes with my step-by-step tutorial.
Pressing flowers in the microwave will take 5-10 minutes while using the book press method will take 2-3 weeks depending on the flowers.
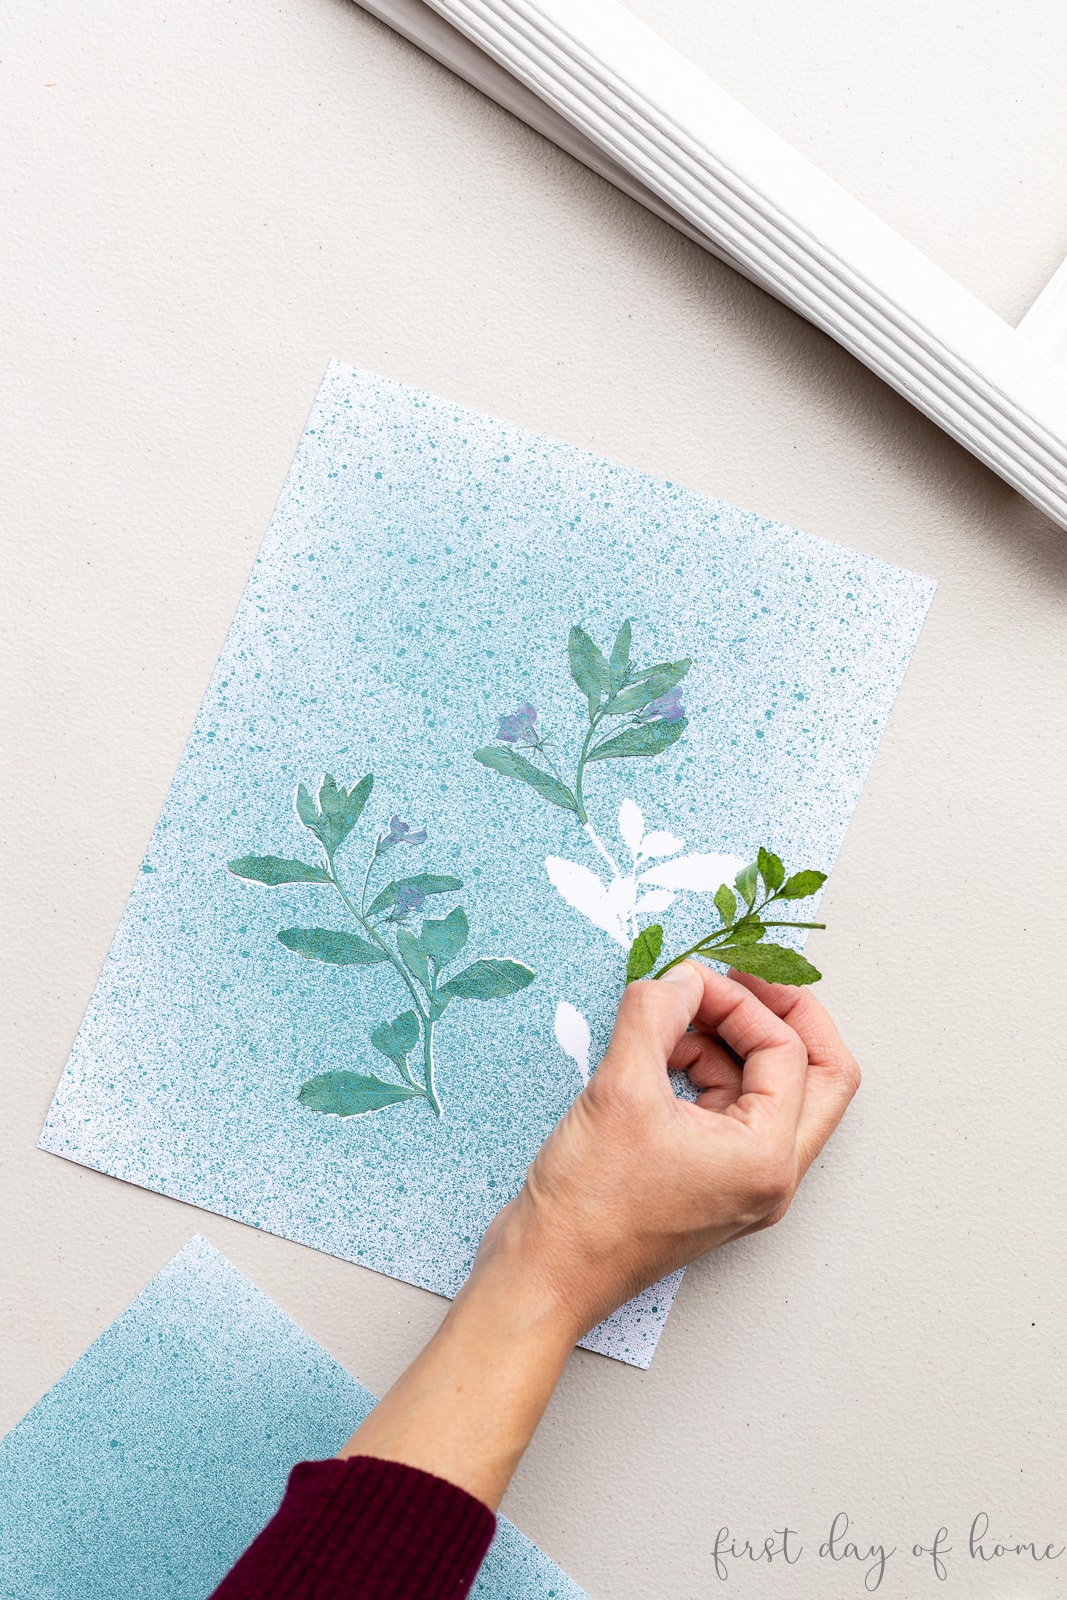
Step 3: Spray paint the dried flowers
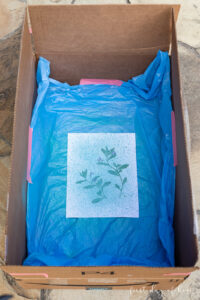
Once the flowers or herbs have dried fully, place the specimen on your paper or canvas. I suggest placing the paper inside a cardboard box to prevent the dried flowers from flying away or moving while you spray.

Safety tip
Always use spray paint outdoors or in a well-ventilated area. Spray paint also adheres best when there is low humidity.
For best results, work in short bursts to add just a touch of spray paint, holding the can about 10-15 inches away from the canvas. You can add a small amount for a more splattered paint effect or thicker layers for full coverage.
If using paper, avoid spraying the same section with multiple coats at once, since this could cause the paper to warp.
RELATED PROJECT
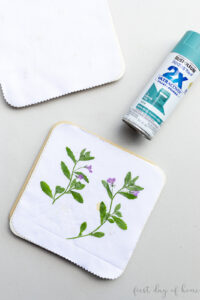
DIY Pounded Flowers
For another fun spin on pressed flowers, try making this pounded flower art. Transfer floral impressions to either paper or fabric in this tutorial.
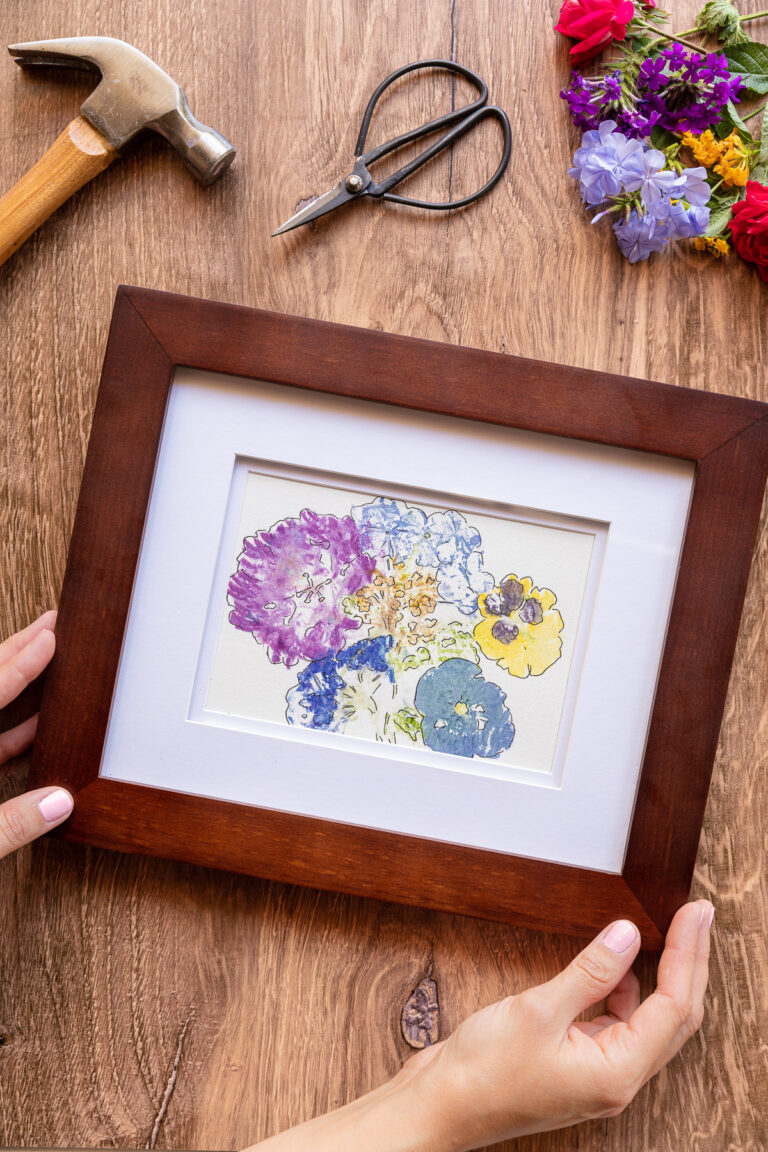
Step 4: Frame and display your art
Allow the paint to dry 20 minutes before touching the artwork and 24 hours before framing it.
You can see how since the flower itself isn’t used for this project, even the parsley looks interesting as a silhouette. Who knew?!
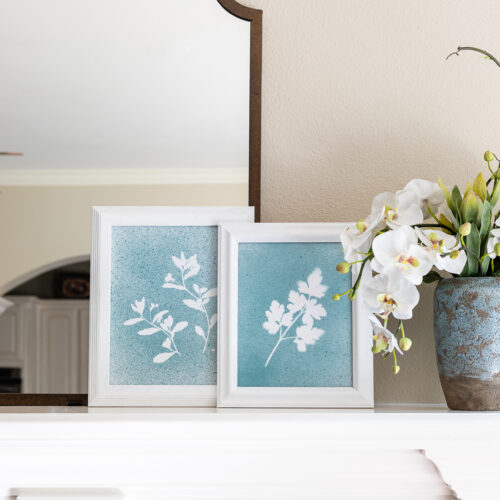
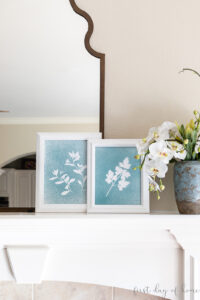
I repurposed a few old wood frames by painting them with white chalk paint to match the white of the botanical prints. It’s a great way to upcycle old picture frames you might have lying around the house.
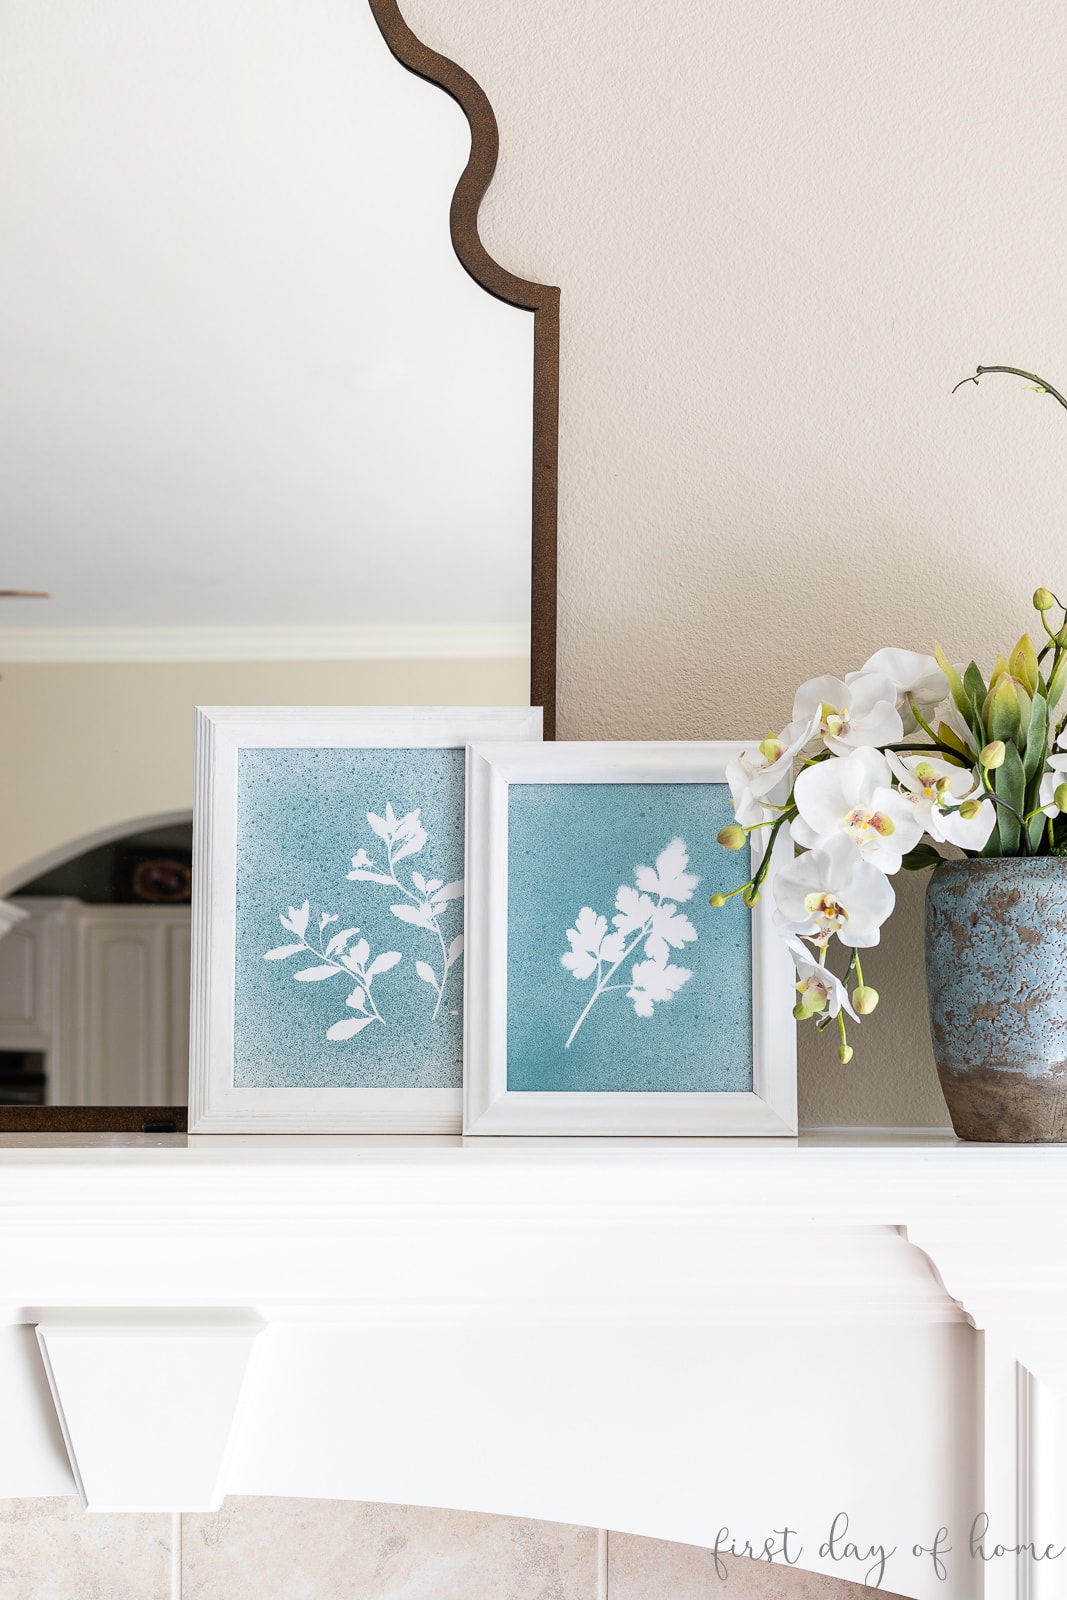
I’m really digging the calm coastal feel of this pressed flower wall art. It’s a wonderful way to add budget-friendly DIY decor to your home or create a unique gift for friends and family.
Pin it for later!

How to Make Pressed Flower Wall Art
Equipment
- Flower press (See article for a coupon on my favorite one)
Supplies
- Fresh flowers or herbs
- Scrapbook paper (optional: watercolor paper or canvas)
- Spray paint
- Picture frame
Instructions
- Cut fresh flowers or herbs to the appropriate length for your picture frame. If cutting from a garden, pick the stems in the morning after any dew has evaporated.

- Press flowers using a microwave flower press or the book press method. If using the book press method, press the flowers between the pages of a heavy book using parchment paper to protect the pages. Wait 2-3 weeks for the flowers to fully dry. (See the full article for detailed instructions on pressing flowers with these methods.)
- Spray paint the flowers onto scrapbook paper, watercolor paper, or a wrapped canvas. Use a cardboard box or tarp underneath to protect your work surface and to prevent the canvas from moving while spray. Always use spray paint in a well-ventilated area.
- Wait 20 minutes before touching the pressed flower wall art and 24 hours before framing it. Once the prints are fully dry, place them in frames for display.
- Optional: If desired, you can use white chalk paint to paint old wooden frames to match the pressed flower art.


This is my kind of project Crissy, and your new artwork looks so pretty on your mantel! Pinning!
Thanks so much, Michelle! It’s so nice to see you here. I could see you doing something like this on your twin mantel too. Ha! Thanks for pinning!
What a great project, Crissy! I love this! It is so clever and creative! Pinned!!
Thanks for the kind words, Lynne! I so appreciate you pinning, dear friend. Hope you’re staying warm in your neck of the woods!