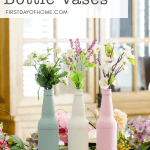
How to Paint a Glass Bottle: Tips & Tricks
We’re all about upcycling glass in this house, especially when you can use it for craft projects! In this post, you’ll learn all about glass bottle painting for seasonal decor.
So get your glass bottles ready, and let’s get started!

This post contains affiliate links, and I will be compensated if you make a purchase after clicking on my links. For more information, please see my disclosures.
Easy DIY Glass Bottle Painting
For this project, I decided to use beer bottles to make a trio of vases. You can display the bottles together or separately, with or without flowers. They’d make a great accent for bookshelves or window sills, too.
Supplies
- Chalk paint (ultra matte acrylic paint)
- Paint brushes
- Matte acrylic sealer (optional)
- Real or faux flowers
Obviously, you’ll need to get your hands on a few empty bottles to get started. (Maybe that’s part of the fun for this project?)
Any type of bottle will do. Feel free to mix up the bottle shapes if that strikes your fancy!

Note: You can also use wine bottles for this craft, but I like the small size of the beer bottles. You can easily pair/bundle them without taking up too much room.
For paint colors, I used sage green, off-white, and soft pink.
Step 1: Wash bottles and remove labels
I soak my bottles in sudsy water to help remove labels. You can also use Goo Gone or another similar liquid if you find yourself struggling to get rid of all the stickiness.
Step 2: Paint 2-3 coats of chalk paint
Using a good acrylic paint brush, apply 2-3 coats of chalk paint to your bottle. Start at the base and work your way up to the neck.
This chalk paint dries fairly quickly, so you’ll want to apply the coats quickly, too. You may also want to paint the inside of the bottle neck just enough to hide the amber-colored glass.
I painted the bottom of my bottles after finishing all of my coats. No one will see that part much anyway.

Painting Tip
For consistent coverage, you can also use spray paint instead of acrylic paint. However, I like the fact that with acrylic paint, you can work indoors and without fumes.
Step 3: Allow the bottles to dry 2 hours after each coat
While one bottle is drying, rinse your brush and start on another bottle. Dry. Rinse. Repeat!
Make sure you allow the bottles to dry fully before applying more coats of paint. If the paint is still tacky, you’ll find that the brush strokes will actually remove the layers of paint underneath.
Step 4: Apply acrylic sealer (optional)
After the bottles are completely dry, you can use sandpaper to strip away some paint and create a more vintage effect, or you can go straight to applying a spray sealer.
I chose a matte spray sealer for this project. It helps protect the paint from peeling or getting damaged.
If you’ve seen my decoupage wooden tissue box or my decoupage wooden spoons, you’ll notice I used a different “high shine” sealer for those projects.

This would’ve given my bottle vases a polished look, but I was going for more of a rustic vibe in this tutorial.
Step 5: Add flowers, and enjoy!
I added some simple faux floral stems from Dollar Tree to complete my look.
Since you’re not painting the inside of the beer vases, you can also use fresh flowers. Just don’t let the outside paint get too wet.
Care Instructions for Painted Glass Bottles
While you can rinse out the inside of your painted bottles, don’t submerge the bottles in water once they’re painted. Use a soft cloth to wipe down the outside if necessary.
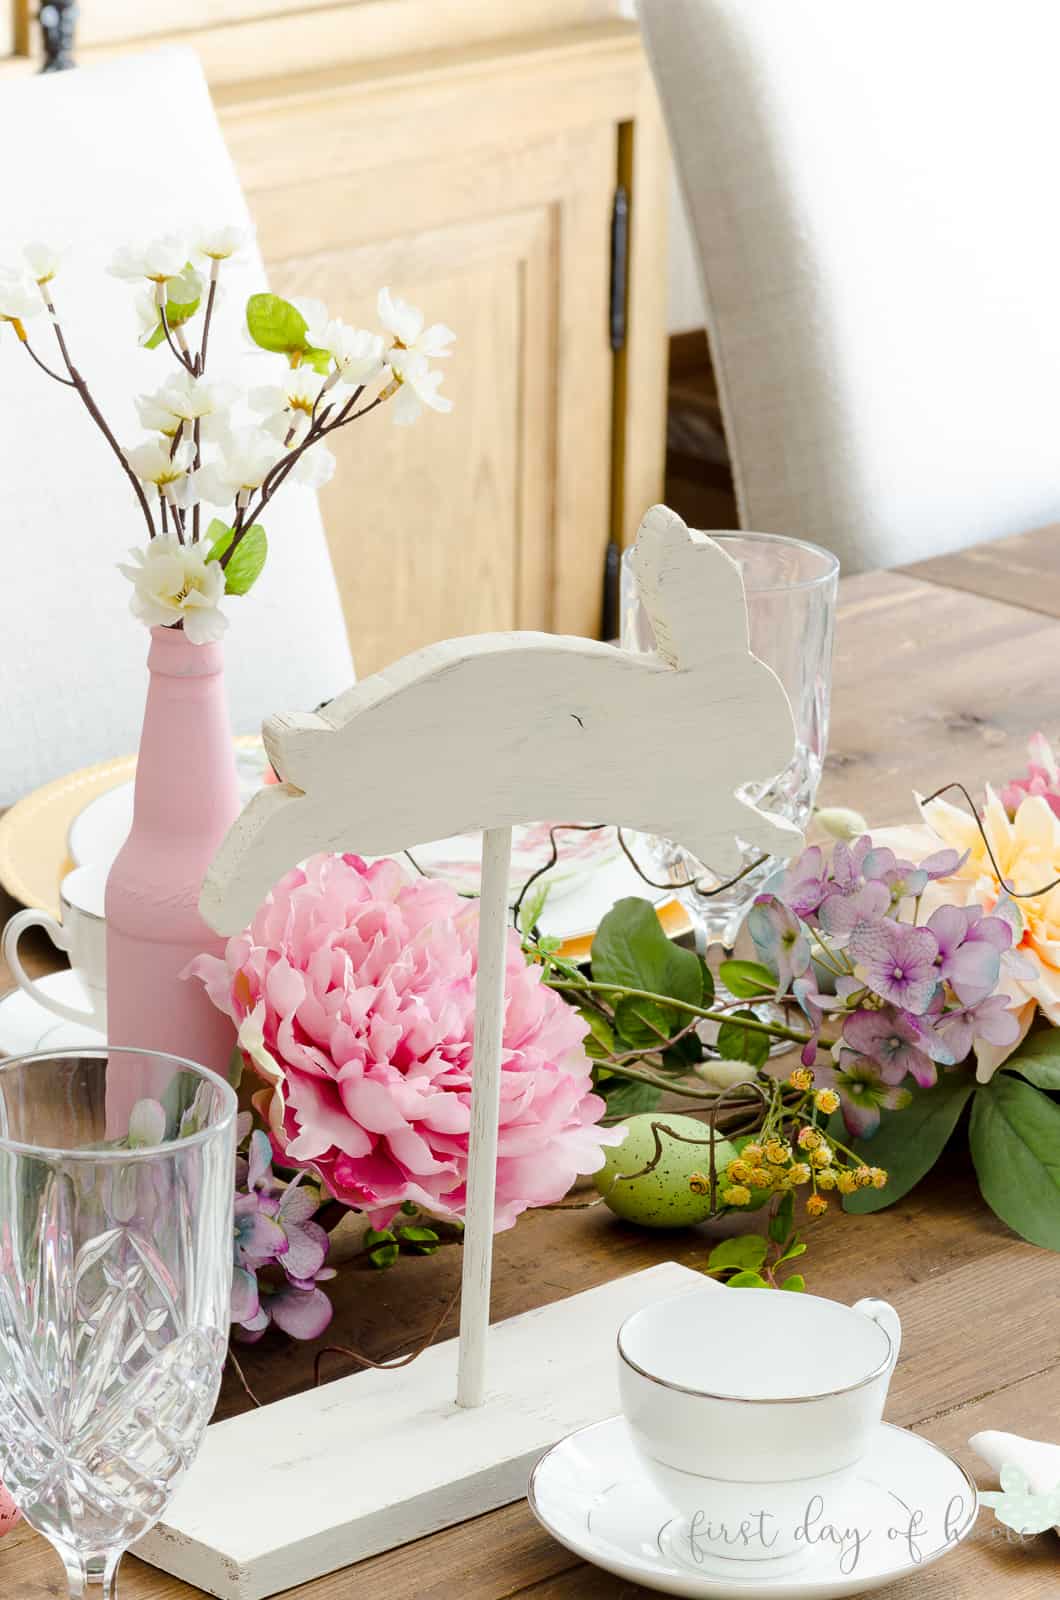
I used my painted glass bottles as part of my Easter tablescape. You would never notice these are beer bottles unless you looked closely.
Other Ideas for Bottle Painting
There are so many possibilities for painting glass bottles for any occasion. You could go more modern, add stencils or apply hand-painted details.
I also now have a faux mercury glass technique you can try!

Here are a few more painted glass bottle ideas to get your gears turning:
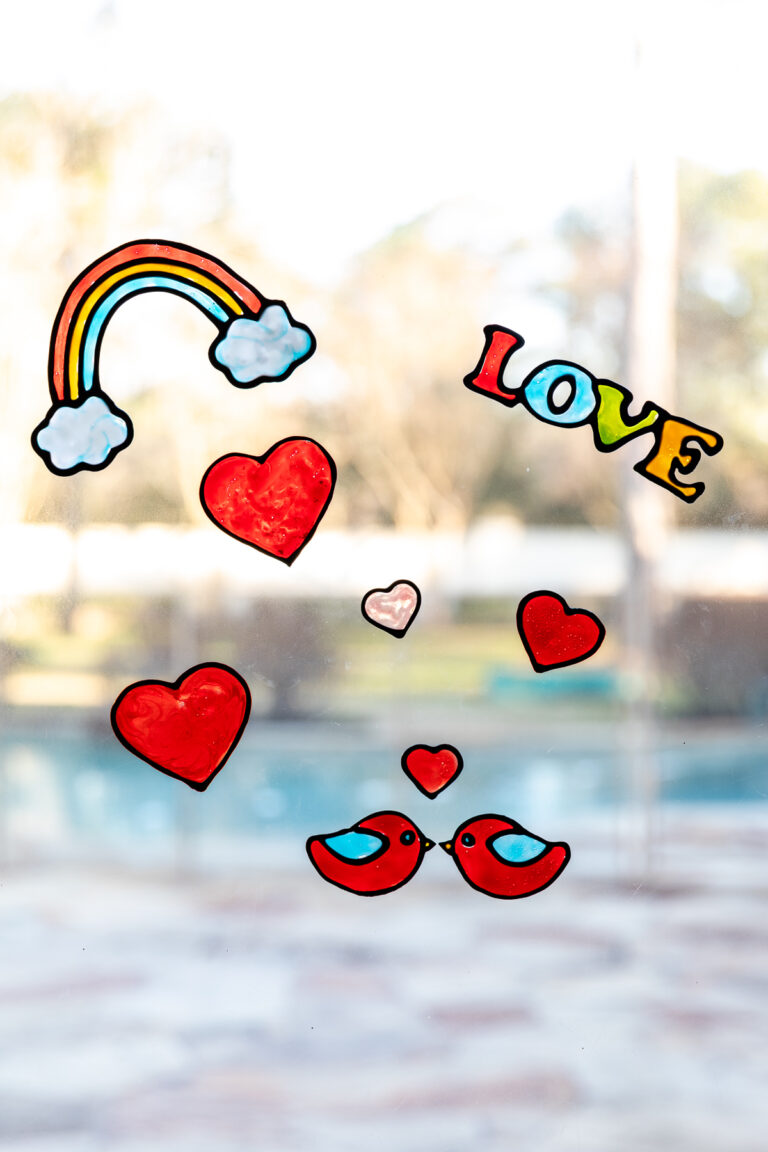
- Valentine’s Day — Red, white and pink bottles with hearts
- Summer — Fruit-themed painted bottles, like watermelon or pineapple
- Fourth of July — Red, white and blue bottles to hold your sparklers
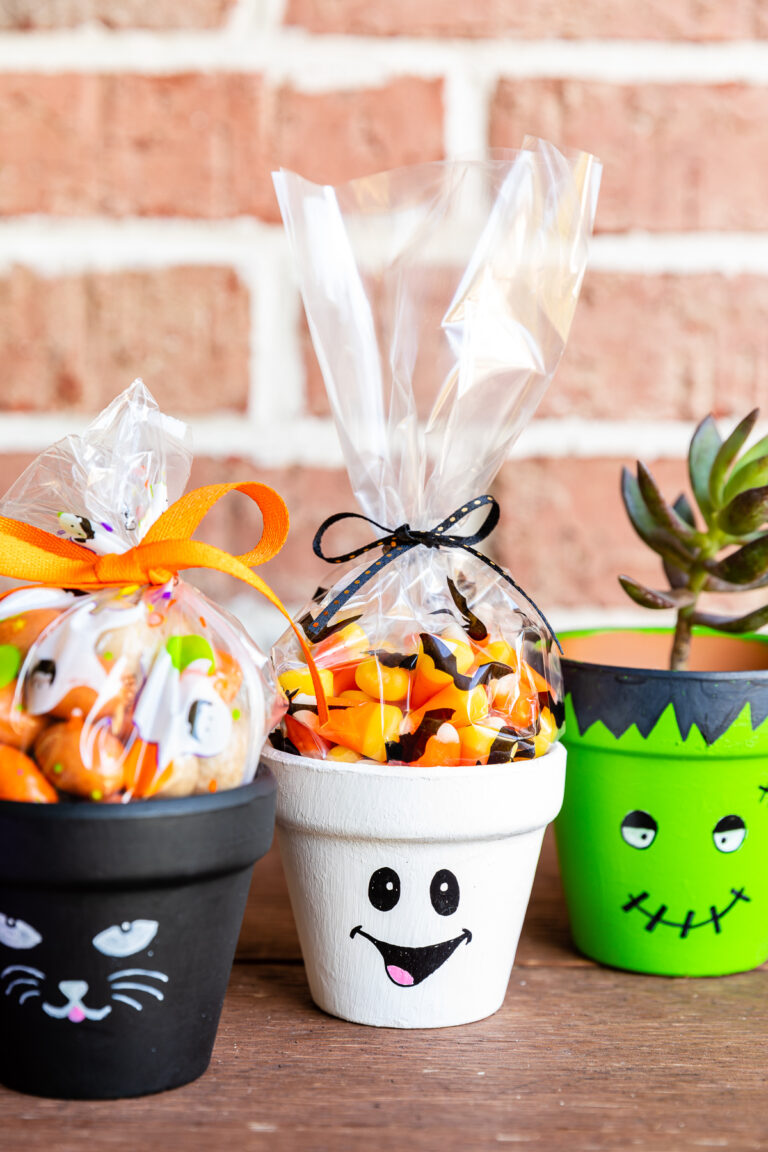
- Fall — Witches, jack-o-lanterns or Frankenstein bottles
- Christmas — Snowman, Santa, or reindeer bottles
You can also experiment with color blocking or mosaic patterns. Don’t stop with bottles, either! I’ve made painted terracotta pots and painted Dollar Tree pumpkins with similar materials.
Don’t forget to subscribe to get regular updates and FREE printables in my VIP library.
Pin it for later!

You Might Also Like…

I painted some bottles but the paint is peeling off. I’m using an acrylic craft paint. I use this paint for all my crafts. Do you know why this would be happening
Hi Fran! Sorry to hear you’re having trouble.
First, I always thoroughly clean my glass, preferably with rubbing alcohol. I used chalk paint for my bottles (https://amzn.to/2BVyCQr), which is an ultra-matte acrylic paint. It tends to adhere very well without peeling, but I also don’t let the bottles get wet where I’ve painted.
Another option is to add glass and tile medium as a primer before applying your acrylic paint. You can also mix this medium with your acrylic paint to make it more transparent. Here’s a link to the product: https://amzn.to/2Uxfi2q.
Additionally, you can use an acrylic spray sealer (https://amzn.to/30vAtpu) to set your design. Just please make sure you don’t paint/spray near areas where someone will ingest food. I hope this helps! Please reach out if you have any more questions.
Best wishes,
Crissy
I love your painted bottles. They look so beautiful. I featured this beautiful post at TFT this week. Hope to see you again on Thursday. Have a great week ahead!
Hi Amber! Thanks so much for featuring my painted bottles! I look forward to the next party and hope you have a great week as well! 🙂
Who knew beer bottles could be so beautiful! Love this idea and the pretty colors you painted them. Pinned 🙂
Hi Marie! Thanks so much for stopping by! I’m glad you liked my little painted bottles. Isn’t it funny how things that seem ugly could turn into something charming? 🙂
I just wanted to let you know that I would be featuring your project tonight on Celebrate Your Story! It goes live at 7:00 p.m. CST. These bottles are so pretty!! Hugs!
Thank you so much, Benita! That makes my day! Hugs back to you, my dear!
I love these, the colors are so springy and refreshing! If you haven’t already, please considering sharing at Celebrate Your Story. Our link party is still open! Have a great one! Hugs!
Hello, Benita! Thanks for the kind compliments! I’m definitely paying a visit to your party. Thanks for the encouragement! 😉
So pretty, an creative with the beer bottles, Crissy. I wouldn’t have known. Pinned!
Thank you, Julie! It was a very fun and easy project. I’m planning to customize these for other events, too. 😉