Father’s Day Ribbon with Cricut – Free SVG
I’m always looking for ways to make Father’s Day extra special. If birthdays have party hats, Father’s Day can have a party favor too! How about making a handmade Father’s Day ribbon to pin on his shirt? All the cool dads are wearing one this year.

This post contains affiliate links, and I will be compensated if you make a purchase after clicking on my links. For more information, please see my disclosures.
Easy Father’s Day Ribbon with Cricut
This
This type of button is also called a “tinplate badge” or “award ribbon rosette” depending on who you ask. It’s usually made from ribbon; however, I decided to create one with paper instead.

You can mix and match any scrapbook paper for this project. (It’s a great way to whittle down that stash you’ve been hoarding.) These tinplate badges also look great on the front of gift bags.
For the full step-by-step tutorial and a free SVG download, keep scrolling.
No Cricut ? No problem.
For those without a
How to Make a Paper Ribbon
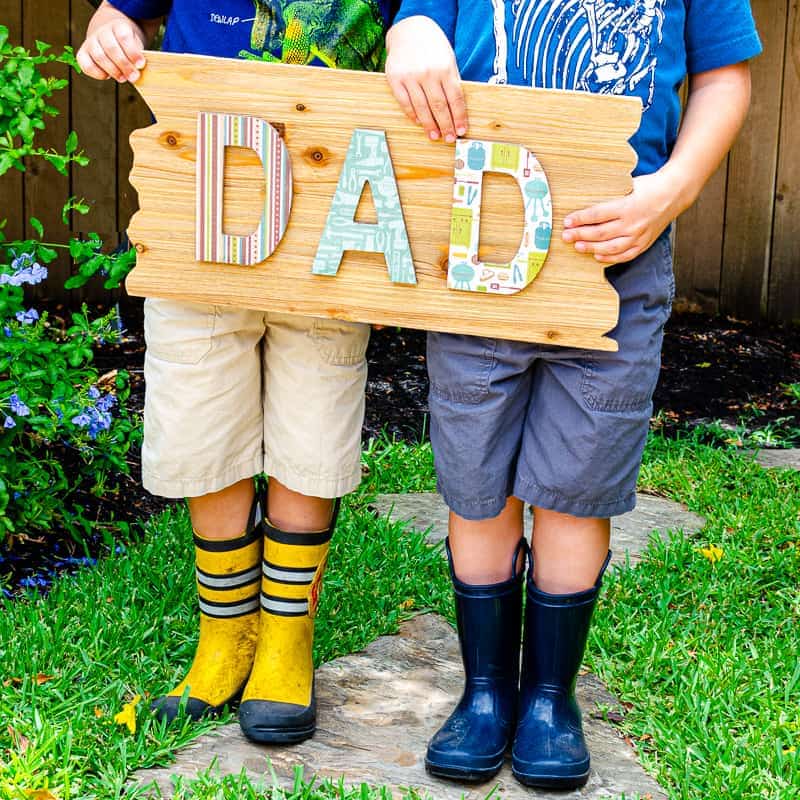
I have a wonderful collection of masculine scrapbook paper filled with fun plaids, paisleys, and neck-tie motifs. It’s the gift that keeps on giving! You might recognize it from the decoupage wood sign I made with the kids for Father’s Day one year.
Beyond scrapbook paper and a
Supplies

- Cricut Maker, Cricut Explore, Cricut Joy, or Cricut Joy Xtra
- Cricut Marker (optional)
- Cricut scoring wheel or scoring stylus
- Standard grip mat
- Scrapbook paper
- Double-sided tape, roller adhesive, or glue gun
- Ribbon or string for pinning
Step 1: Upload the design into Cricut Design Space
Once you download my free SVG file, you’ll need to upload it into Cricut Design Space. On your Canvas, click the Upload button (shown below) and select the file from your computer. You can also upload a PNG file separately that says, “#1 Dad” following the same steps.

When you import the SVG file, all layers will be grouped together. Click the Ungroup button to isolate the individual layers before continuing.
You’ll notice the file comes with the following shapes: two types of rectangles for different-shaped fans, two tags of different sizes (for a layered look), and a medallion.
Step 2: Format the design in Cricut Design Space
The design includes lines for scoring paper, which will make folding easier. To designate the scoring lines, select each layer with lines (while holding Shift), and choose Score from the Operation menu, as shown below.

You may need to resize the “#1 Dad” PNG file after adding it to your canvas as well.
You’re almost done! There’s one more step before we send this to our
Tip: Cutting Multiple Colors
If you’d like to cut the shapes with different colored paper, select each shape and change the color. In my example below, I’m changing some panels to pink, and I duplicated the tags to make more than one set.
Step 3: Attach the scoring lines and cut lines
Before sending the file to cut, we need to Attach any scoring lines to the appropriate layers. Without this step, the machine will make scoring lines independent of the cut lines.

To attach layers, select the score lines with their corresponding cut layers (while holding Shift) and click Attach (see above). Repeat this step for each of the rectangular shapes with score lines.
You’ll only need to complete steps 1-3 the first time you upload this design. Whew!
Step 4: Selecting Print Then Cut in Cricut Design Space
Next, hit the Make button to begin processing your Father’s Day ribbon pieces.
If you decide to import the “#1 Dad” PNG file, you’ll need to print the design on a home printer. In the print setup, choose “Use System Dialog” as shown below.

A pop-up window will appear for your printer settings. If you don’t see this, try moving the
Then select “Best” under the Media Quality settings. I recommend printing your design on thick cardstock for the best results.

After the design prints, continue following the prompts to cut the button and corresponding ribbon pieces.

You’ll need to pay attention when the software prompts you to insert the Scoring Wheel into Clamp B. If you have a Scoring Stylus instead, click on “Edit Tools” to change the tool accordingly.

Note: In an upcoming video, I’ll share how I created an extra circle shape and added text with a
Step 5: Assemble the Father’s Day ribbon
Once you’ve cut your shapes, it’s time to put this puppy together! For one badge, you’ll need the pieces shown below. (I’m showing two options for the center medallion text.)

Start by folding each rectangle along the score lines as if you’re making a paper fan. Then follow the steps illustrated below.

- Overlap the edges of the two folded rectangles, and join them with hot glue or adhesive.
- Cut a small strip of cardstock paper to fold around one edge of the collapsed rectangle.
- Glue the paper strip to one edge of the fan, pressing it tightly against all edges.
- Open the fan shape, and glue the open edge together to create a rosette.
Use double-sided tape or foam tape to attach the center medallion pieces and glue the ribbon tags to the back of the paper rosette.

Step 6: Add a pin or brooch clasp
For a finishing touch, glue a strip of ribbon to the back and attach a pearl head pin. You can also attach a brooch clasp (a.k.a. safety clasp) if you prefer.

More Cricut Crafts to Try
I love the fact that you can customize these paper rosettes for just about any celebration! If you’re looking for more paper crafts with
Pin it for later!

Free Father’s Day Ribbon SVG
To download a free SVG file that you can use with
Make sure you save the file to a location on your computer that you can locate later. Upload the file in
Feel free to tag me if you try this project! I’m @firstdayofhome on Instagram.